Sugar cookies show up often in Halloween baking, but they rarely stay soft by day two. This recipe corrects that. You’ll get buttery cookies that keep their shape and taste fresh longer, and icing that dries smooth enough for stacking.
There’s also the decorating part. These aren’t just for show. The dough handles well, the icing dries firm but not rock hard, and the steps make sense for anyone baking with kids, or doing it all solo on a busy October weeknight.
You’ll learn how to get vibrant Halloween iced cookies without adding too much moisture. You’ll also see how small adjustments make the difference between too-stiff icing and easy piping.
Soft Cookie Base for Halloween Cutouts
You start by whisking flour with baking powder and salt. Nothing unusual here, but I like to sift the flour if it’s been sitting in the pantry a while. It makes the dough easier to roll later.
In another bowl, cream room temperature butter with sugar until pale and fluffy. Don’t rush this. If the butter’s too cold or the mix looks greasy, your cookies won’t hold their shape in the oven.
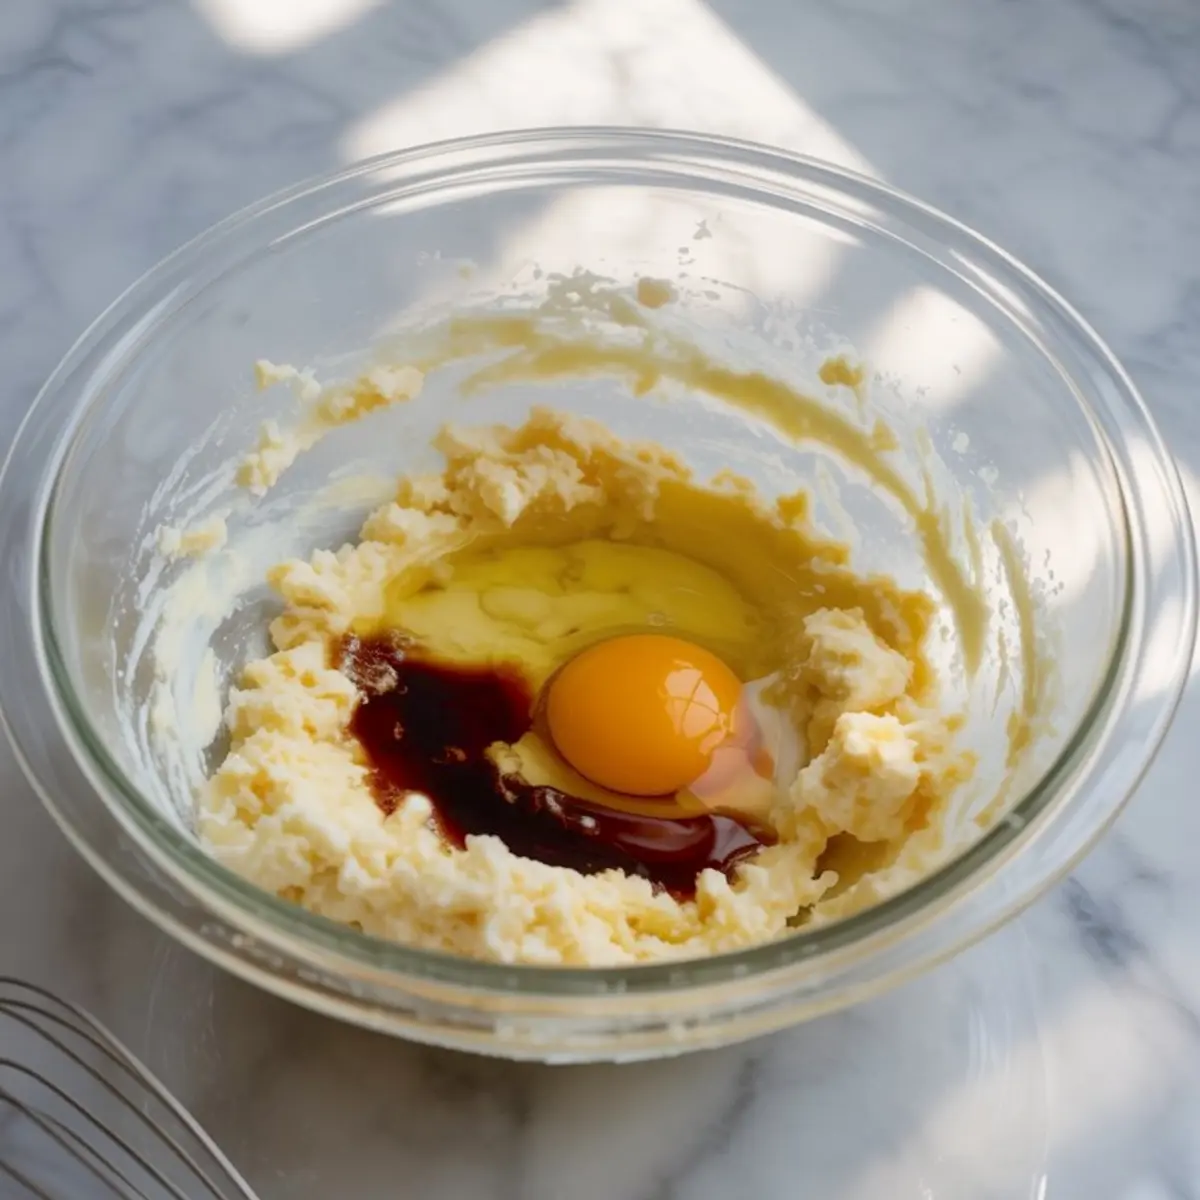
Once the egg and vanilla go in, the dough starts to look glossy. Slowly add the dry ingredients and mix just until combined. It should pull away from the sides of the bowl, not stick. Overmixing can turn these into crunchy cookies by day two. Wrap the dough well and refrigerate it for at least an hour. You’ll get cleaner shapes that way.

Over the years, I’ve tested both chilled and unchilled versions, especially around Halloween cookie ideas. The chilled dough always wins for definition and flavor. It also cracks less while baking.
Rolling and Baking for Sharp Edges
Once chilled, roll out the dough on a floured counter. I go for just under ¼ inch thick. That way the edges stay sharp, but the centers stay soft.
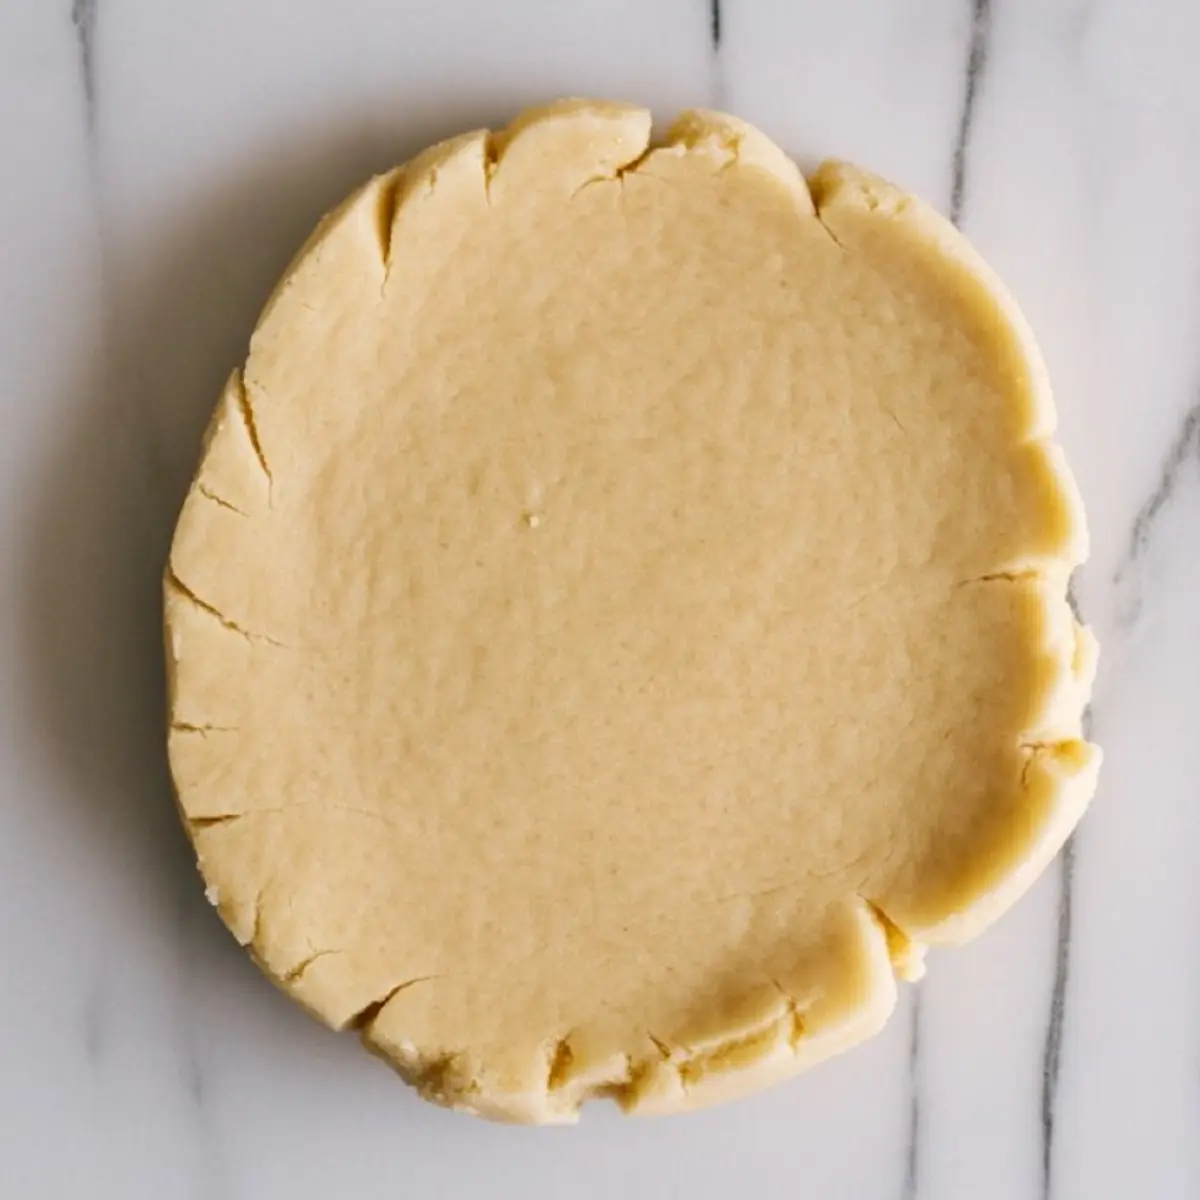
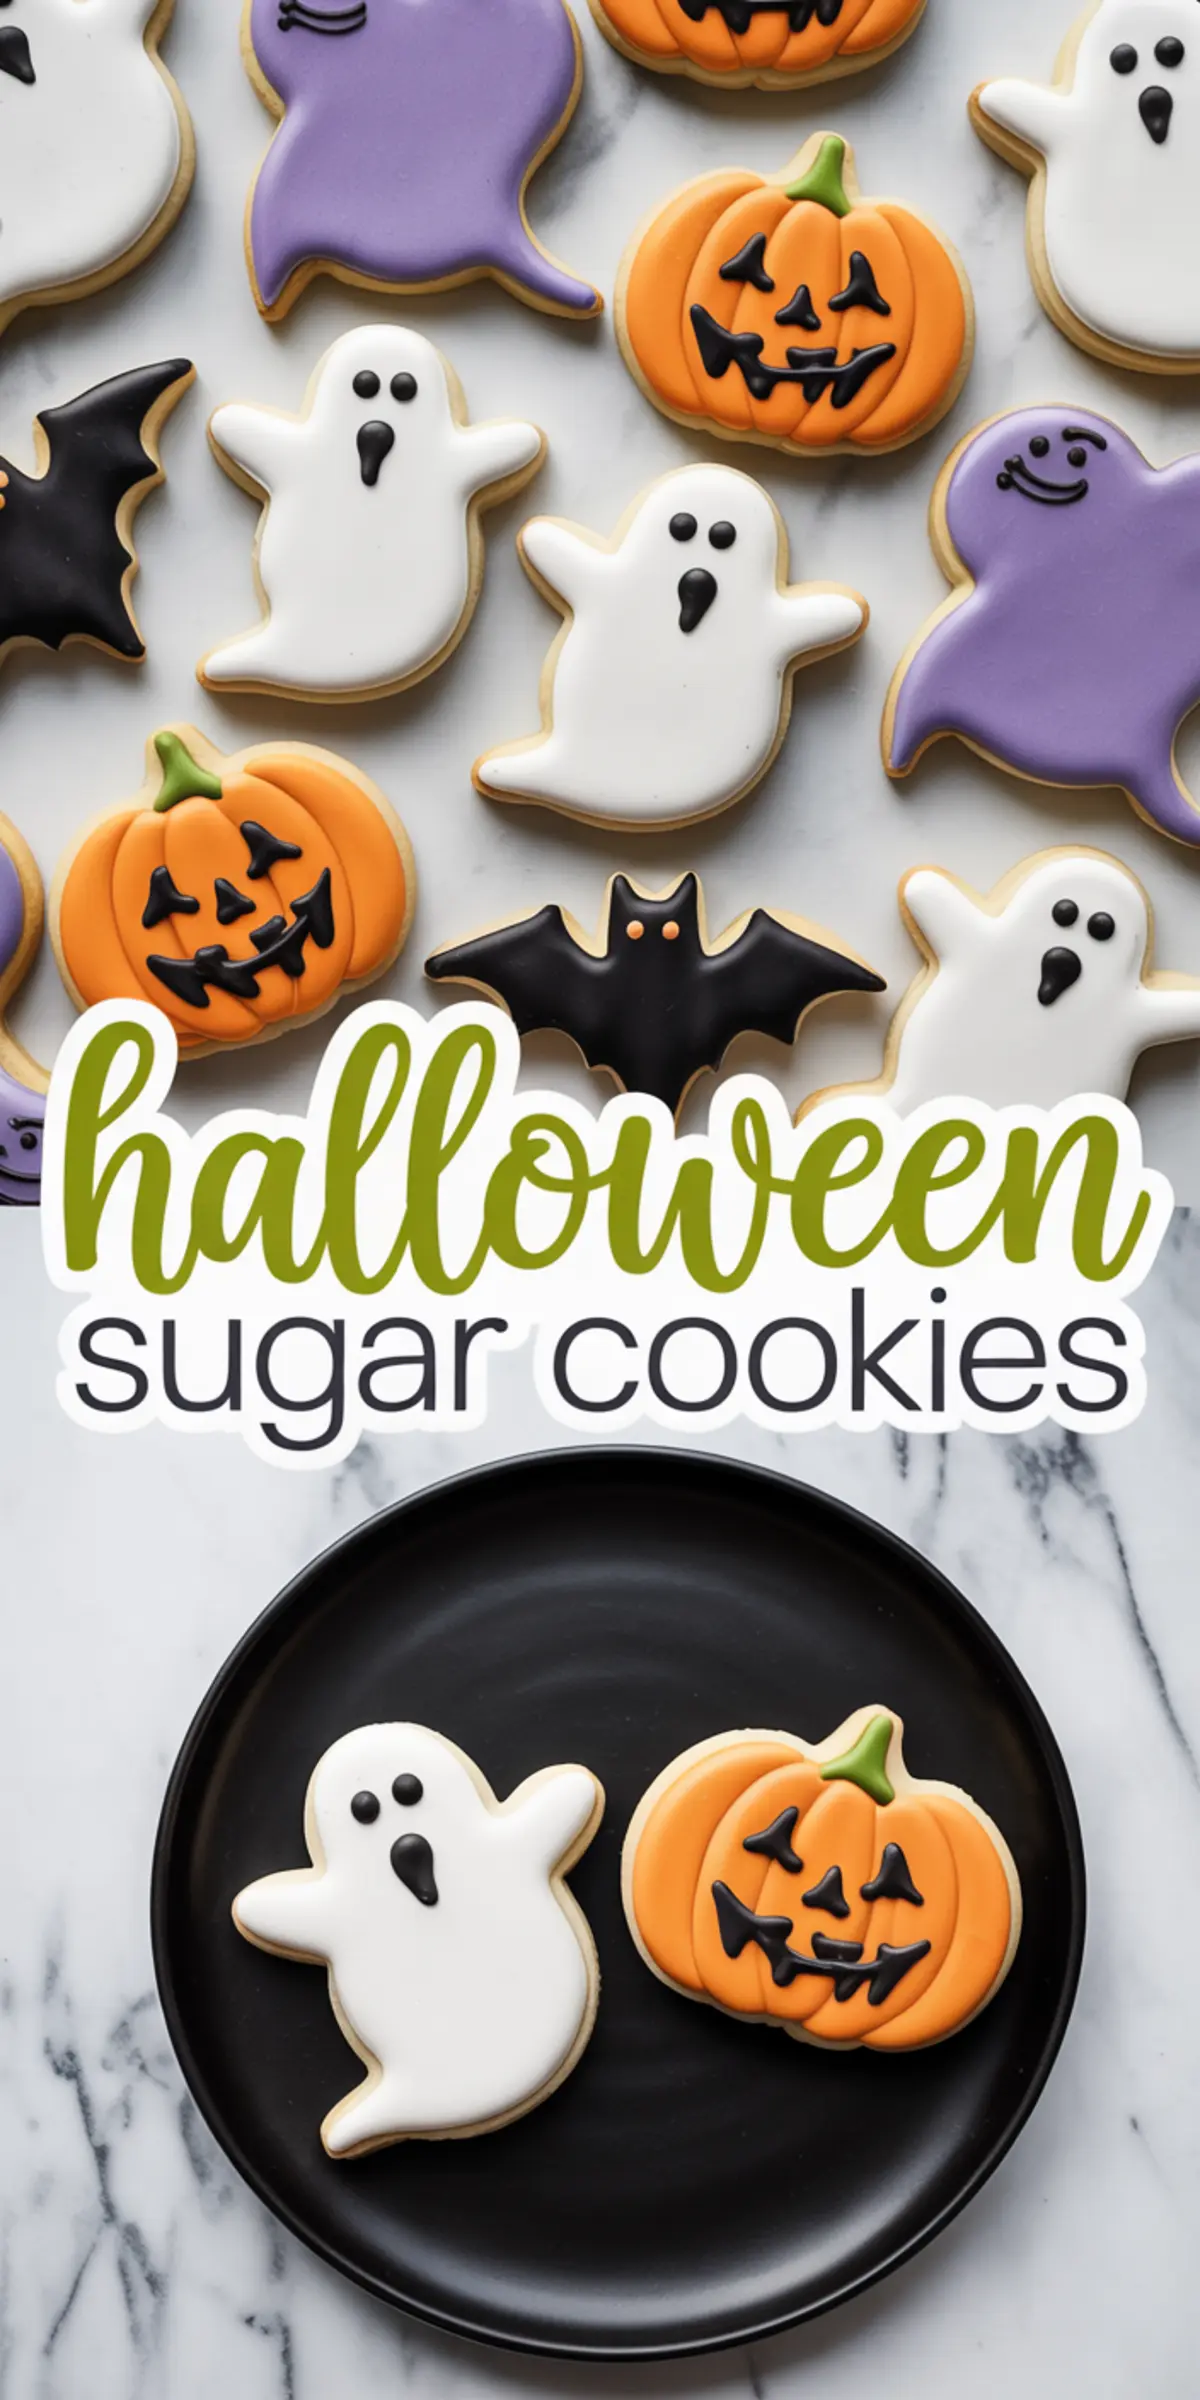
Use cutters in classic shapes like bats, ghosts, and pumpkins. Press straight down and lift. Don’t twist the cutter, or the cookies will bake with uneven edges.
Bake on a parchment-lined tray for 8–10 minutes, just until the edges start to color. Watch the first batch closely. Some ovens run hot, and golden edges can turn brown fast. If you’re working with kids or prepping for a party, bake a test cookie first.
Cool completely on racks before icing. This avoids melted designs and saves your piping bags from frustration.
For more spooky inspiration, try pairing these cookies with this simple Halloween dip that doubles as a party centerpiece.
Making Royal Icing That Actually Sets Well
Combine sifted powdered sugar, meringue powder, and warm water. Start mixing on low speed, then beat for about 5 minutes until it turns glossy and thick.
You want icing that holds its shape but isn’t dry. If the icing forms peaks that flop slightly, you’re in the right range. Divide it into bowls and tint each with gel color. Liquid food coloring throws off the balance, so stick with gel.
I keep a note in my binder for this one: Always cover the bowls with damp paper towels while working. The icing crusts quickly, and dried bits clog your piping tips.
If you’re experimenting with other Halloween desserts like spooky cake, you can reuse this same icing base for outlines or webbing effects.
Decorating Halloween Cookies With Royal Icing
Transfer the icing to piping bags with round tips. Start by outlining the shape, then fill in the center (called flooding). Let the base layer dry before adding details like eyes or spider webs.
One detail that helps: tap the cookie gently on the counter after flooding. It smooths out any bubbles. If you see peaks or air pockets, the icing’s too thick or wasn’t mixed long enough.
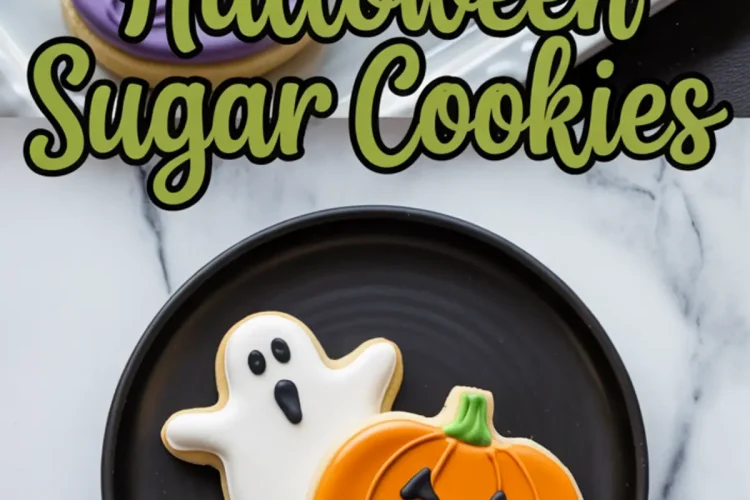
Try designs like stitched-up ghosts, glittery pumpkins, or even black cats. A quick sprinkle of sanding sugar before the icing sets gives great texture.
If you want more ideas on how to decorate baked Halloween treats, see this guide to Halloween cupcakes decoration.
Serving, Storing, and Making Ahead
Let the cookies dry uncovered at room temperature for several hours. I usually leave them overnight before packing.
Once dry, layer the cookies between sheets of parchment in a tin or airtight box. Keep them at room temperature for up to a week.
The dough can be frozen up to two months. Just wrap it tightly in plastic and seal in a freezer bag. Thaw overnight in the fridge before rolling. The icing doesn’t freeze well, but you can prep the sugar cookies in advance and decorate later.
I’ve compared butter brands in the past and found that European-style butter, with its higher fat content, gives a slightly richer flavor. That said, standard unsalted butter works just fine if that’s what you keep on hand.
For another treat that complements a spooky dessert table, check out these festive Halloween macarons for a crisp-chewy contrast.
Save These Halloween Cookies for Your October Board

These Halloween sugar cookies give you more than decoration. They bake up soft, taste rich, and hold their shape for clear outlines and clean icing work. Whether you’re baking for trick-or-treaters, a classroom party, or just yourself on a cool October night, they deliver both flavor and fun.
Pin this recipe to your favorite Halloween desserts board so you can find it again next year. And let me know in the comments how yours turned out—or if you found a new Halloween cookie design worth sharing.
Halloween Sugar Cookies
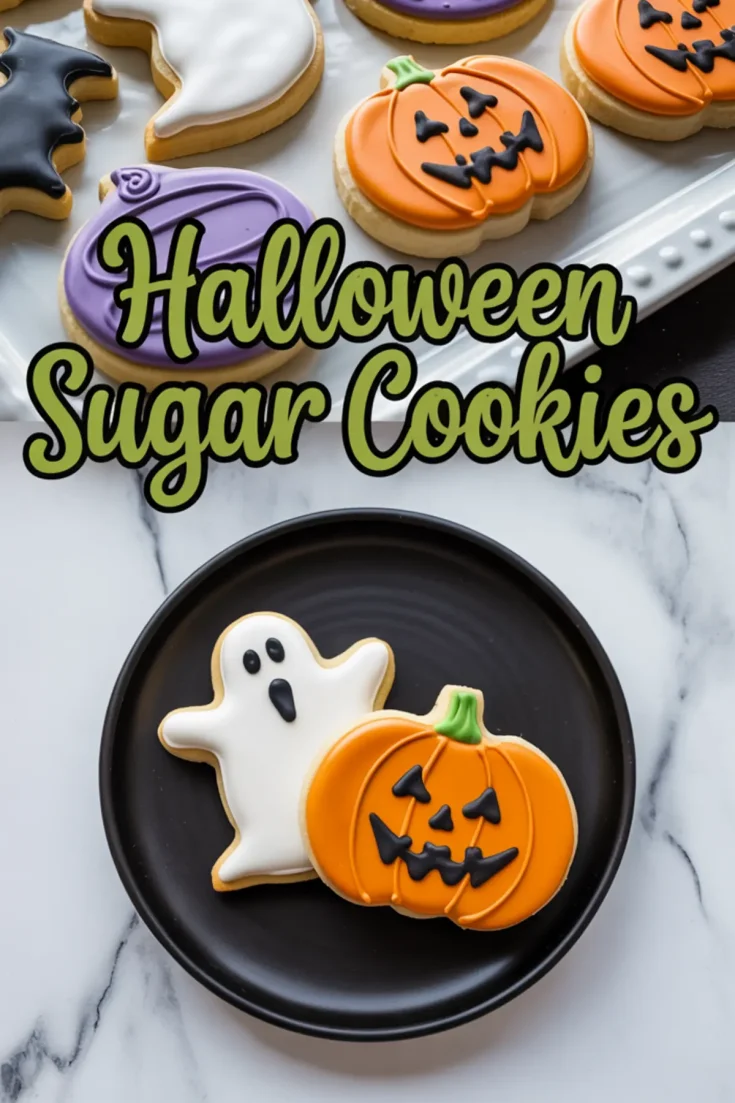
These Halloween sugar cookies are buttery, soft, and fun to decorate with royal icing. Cut into festive shapes like pumpkins, ghosts, and bats, they bring sweet flavor and seasonal charm to your celebration. The simple dough and smooth royal icing make this recipe easy for kids and adults to enjoy together.
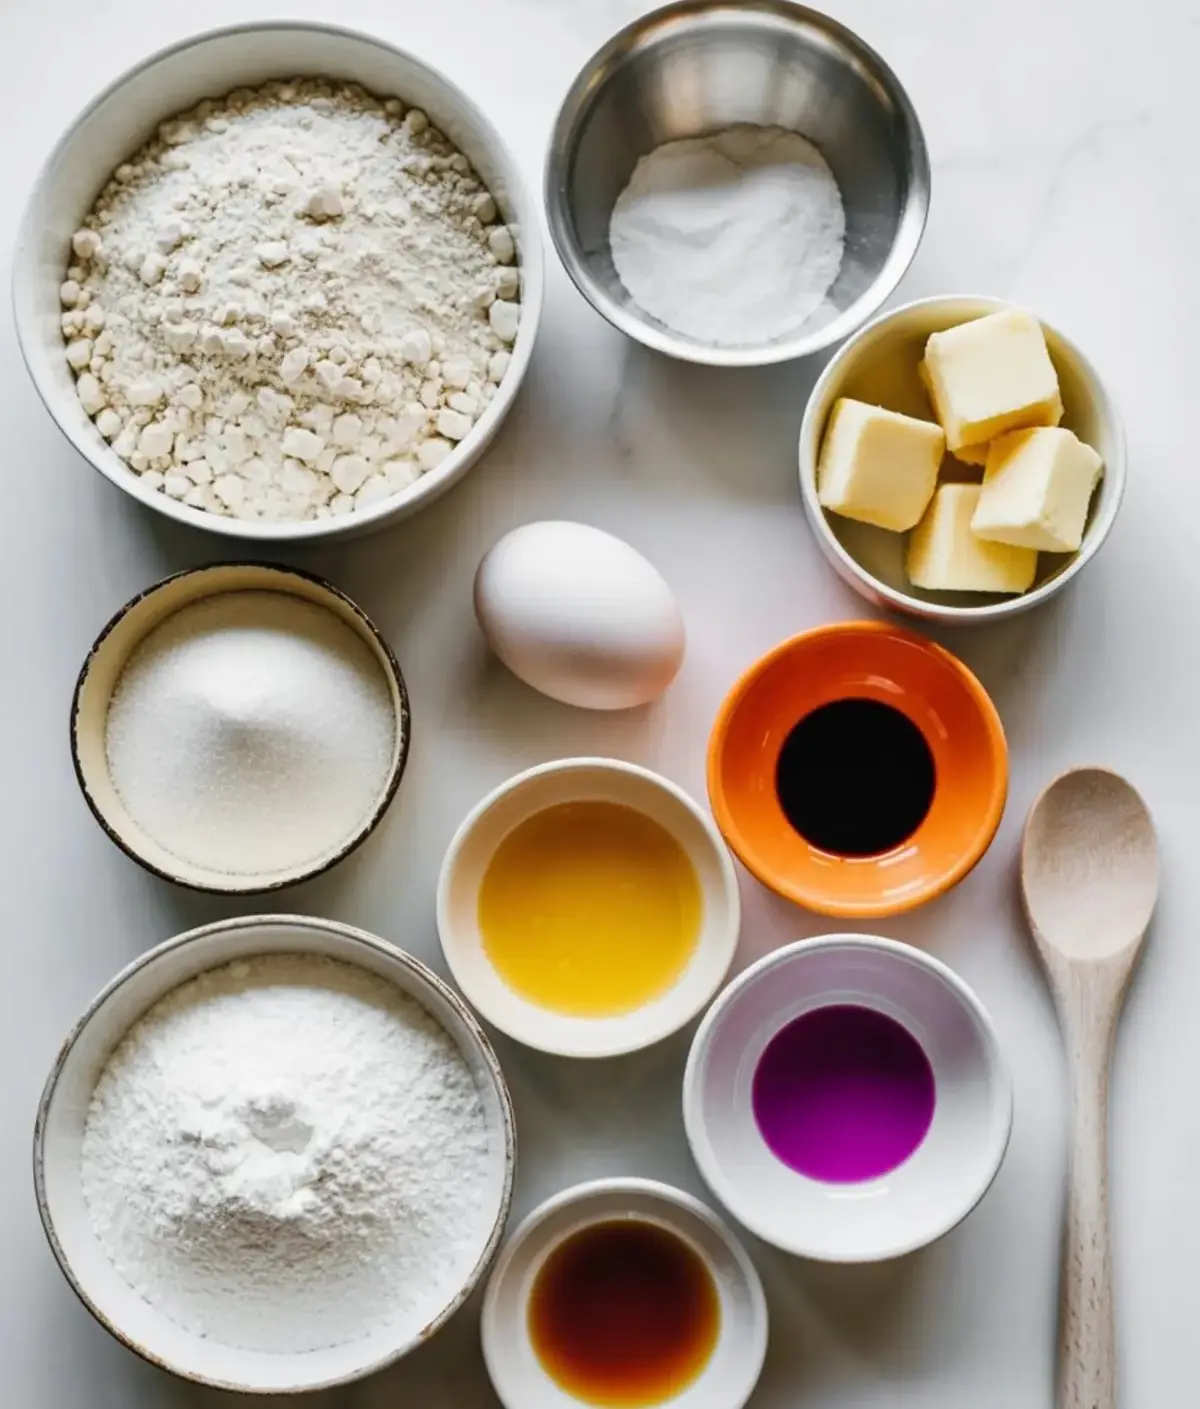
Ingredients
- FOR THE COOKIES
- 3 cups all-purpose flour, plus extra for dusting
- 1 teaspoon baking powder
- ¼ teaspoon salt
- 1 cup unsalted butter, softened to room temperature
- 1 cup granulated sugar
- 1 large egg
- 2 teaspoons vanilla extract
- FOR THE ROYAL ICING
- 4 cups powdered sugar, sifted
- 3 tablespoons meringue powder
- 5–7 tablespoons warm water
- Gel food coloring (black, orange, purple, and other Halloween colors as desired)
Instructions
PREPARE THE DRY INGREDIENTS: In a bowl, whisk together the flour, baking powder, and salt until well combined. Set aside.
CREAM THE BUTTER AND SUGAR: In a large bowl, beat the softened butter and granulated sugar with a mixer until light and fluffy, about 2 to 3 minutes.
ADD EGG AND VANILLA: Beat in the egg and vanilla extract until smooth and fully combined.
MIX IN THE FLOUR: Gradually add the flour mixture to the butter mixture, mixing until a soft dough forms. Avoid overmixing.
CHILL THE DOUGH: Wrap the dough tightly in plastic wrap and refrigerate for at least 1 hour or overnight to make rolling easier.
ROLL AND CUT: Preheat oven to 350°F (175°C). On a lightly floured surface, roll the dough to about ¼ inch thickness. Use Halloween-themed cookie cutters to cut out shapes such as pumpkins, ghosts, and bats.
BAKE THE COOKIES: Arrange the cut cookies on parchment-lined baking sheets, spacing them slightly apart. Bake for 8 to 10 minutes or until the edges are just starting to turn golden.
COOL THE COOKIES: Let cookies cool on the baking sheet for 5 minutes, then transfer to wire racks to cool completely before decorating.
PREPARE THE ROYAL ICING: In a mixing bowl, combine powdered sugar, meringue powder, and warm water. Beat with a mixer on medium speed for about 5 minutes, or until the icing is thick and glossy.
COLOR THE ICING: Divide the icing into small bowls and tint each with gel food coloring to create festive Halloween shades.
DECORATE THE COOKIES: Transfer icing to piping bags fitted with small round tips. Outline and flood each cookie, then pipe details such as spooky faces, pumpkins, ghosts, or bats.
DRY THE ICING: Leave cookies at room temperature for several hours or overnight until the icing has set completely.
Notes
For best results, bake cookies on light-colored baking sheets to prevent overbrowning. If you want to prepare ahead, the dough can be frozen for up to 2 months; thaw overnight in the refrigerator before rolling.
Nutrition Information
Yield
24Serving Size
1Amount Per Serving Calories 250Total Fat 9gSaturated Fat 5gTrans Fat 0gUnsaturated Fat 3gCholesterol 28mgSodium 57mgCarbohydrates 42gFiber 0gSugar 29gProtein 2g