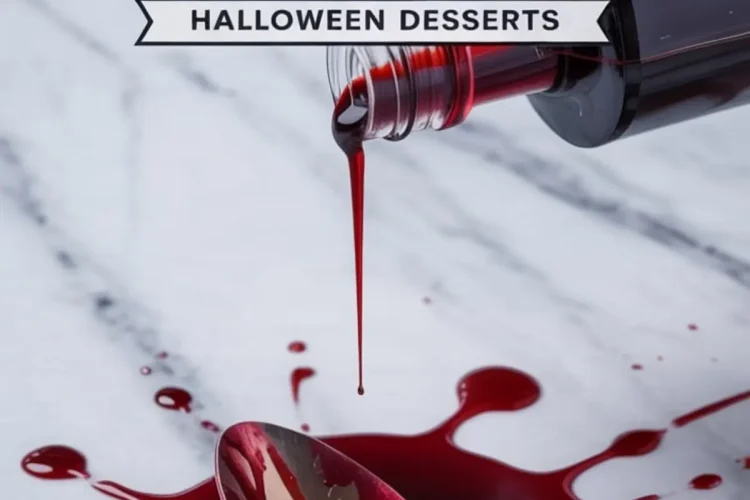
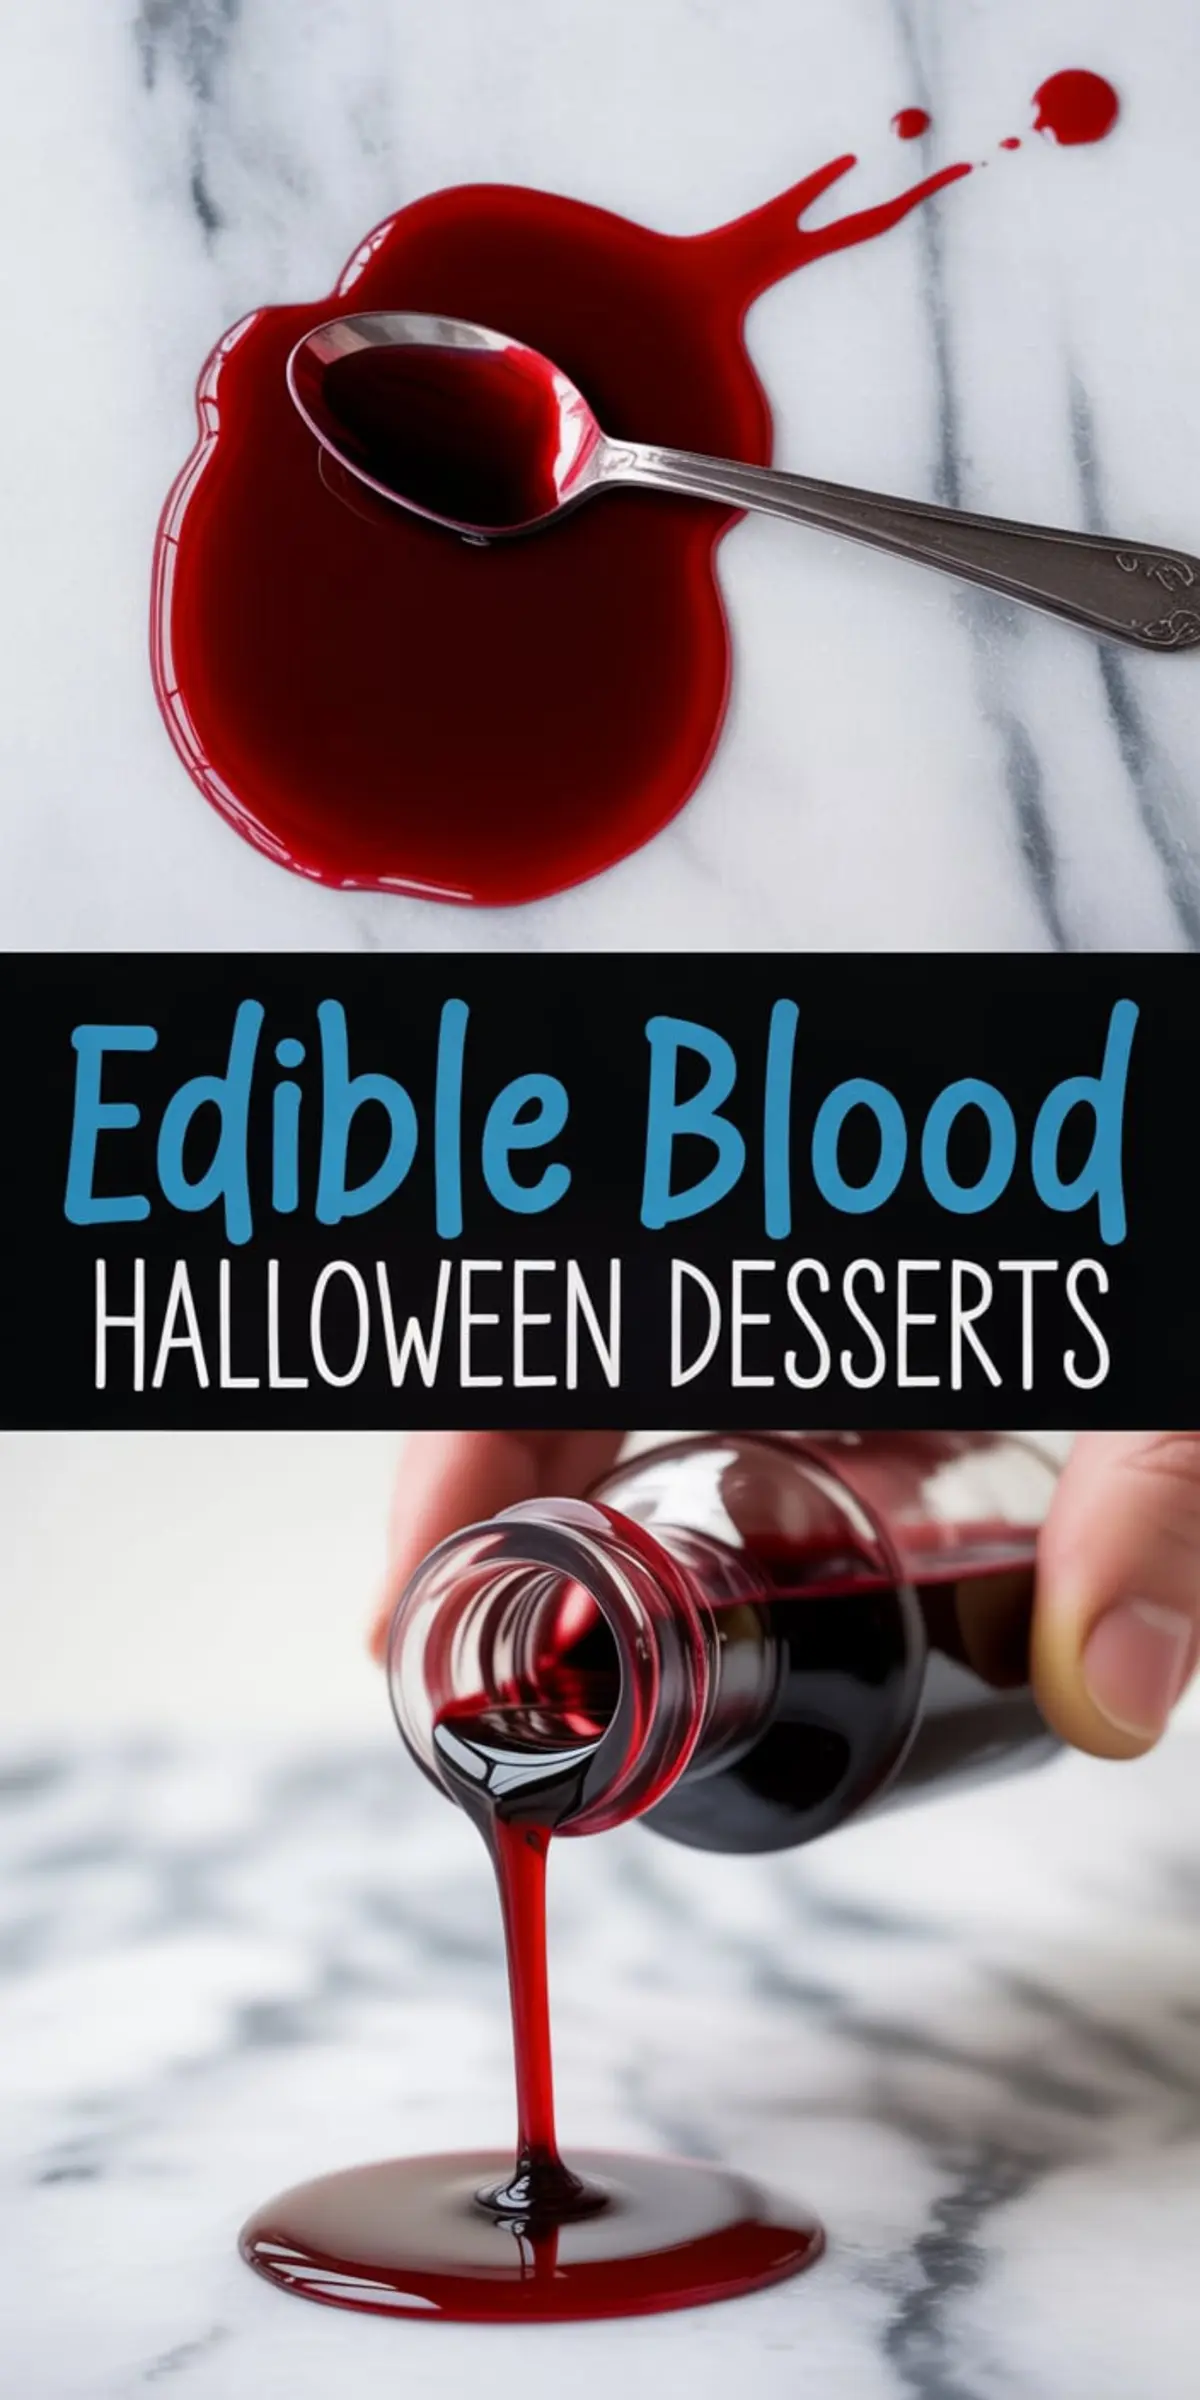
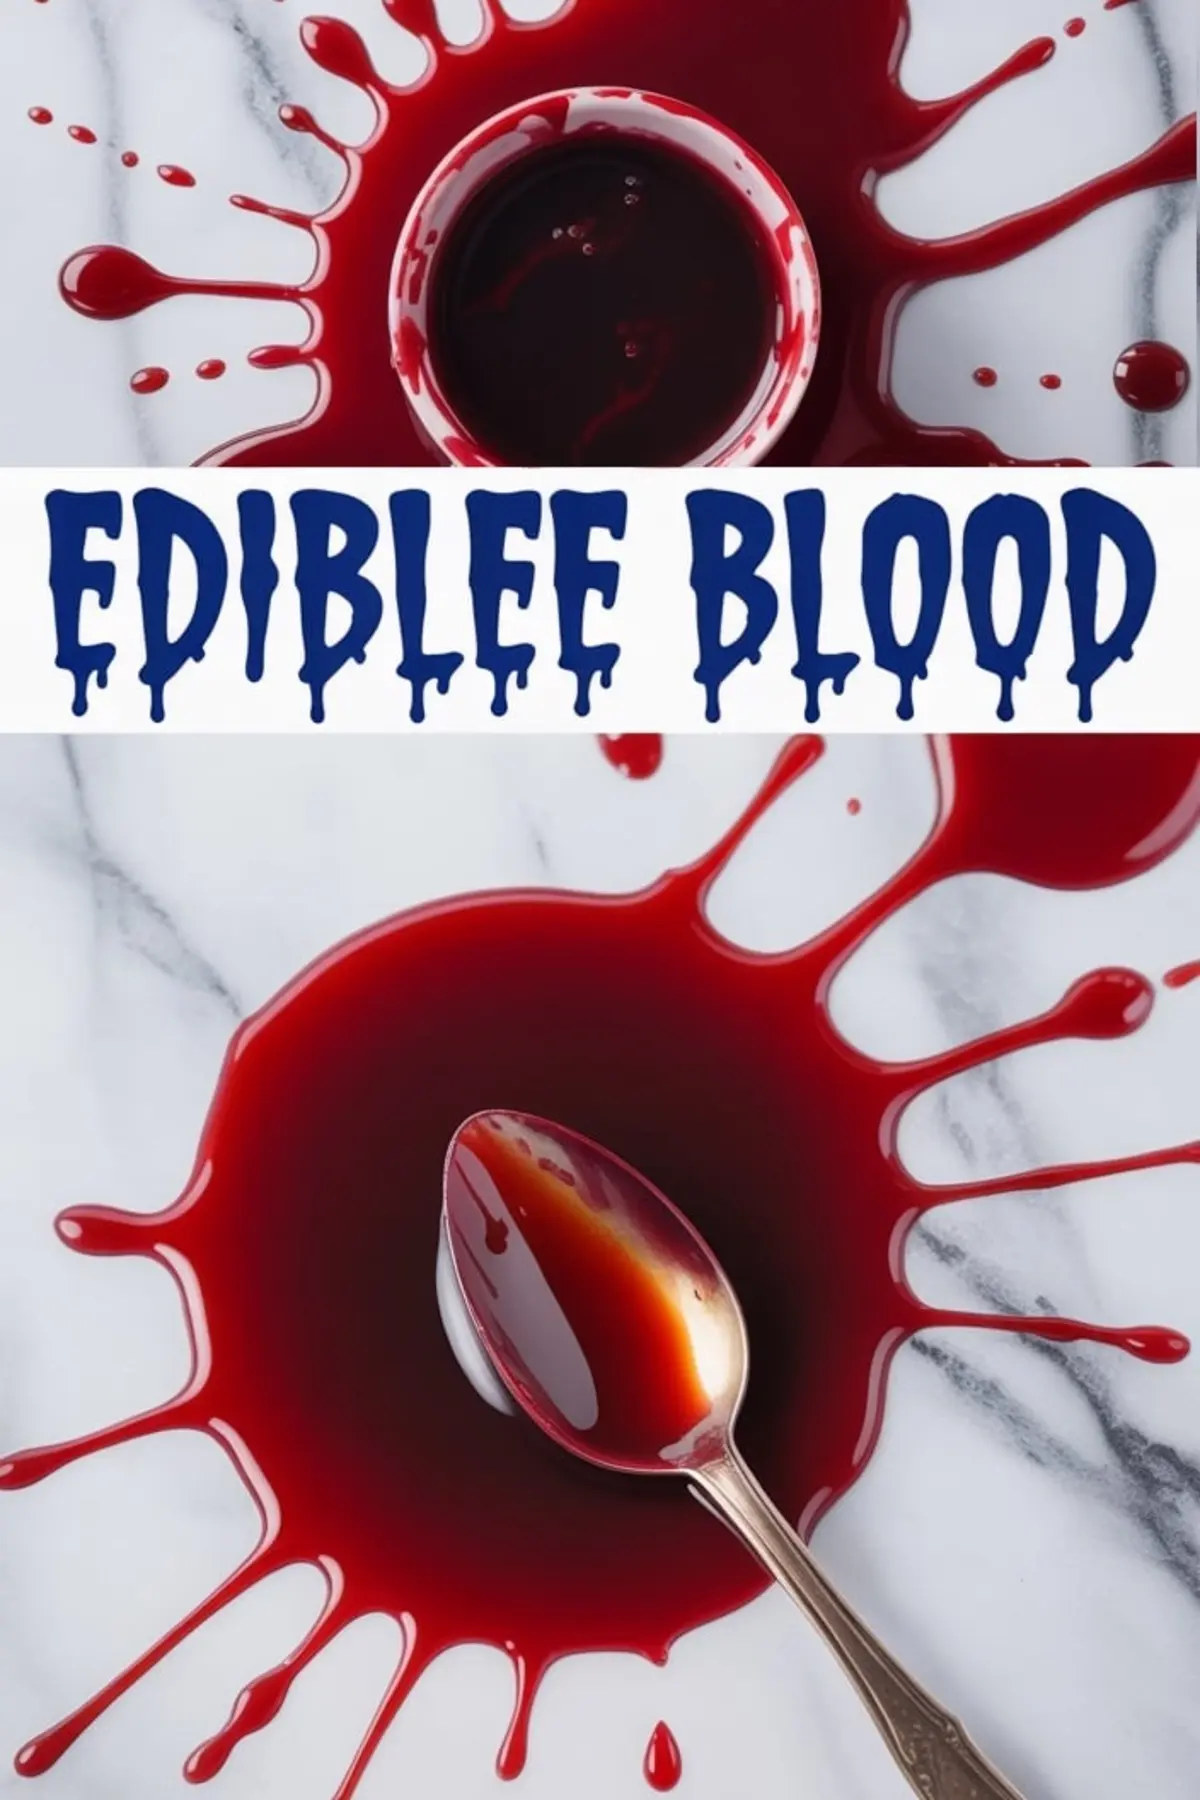
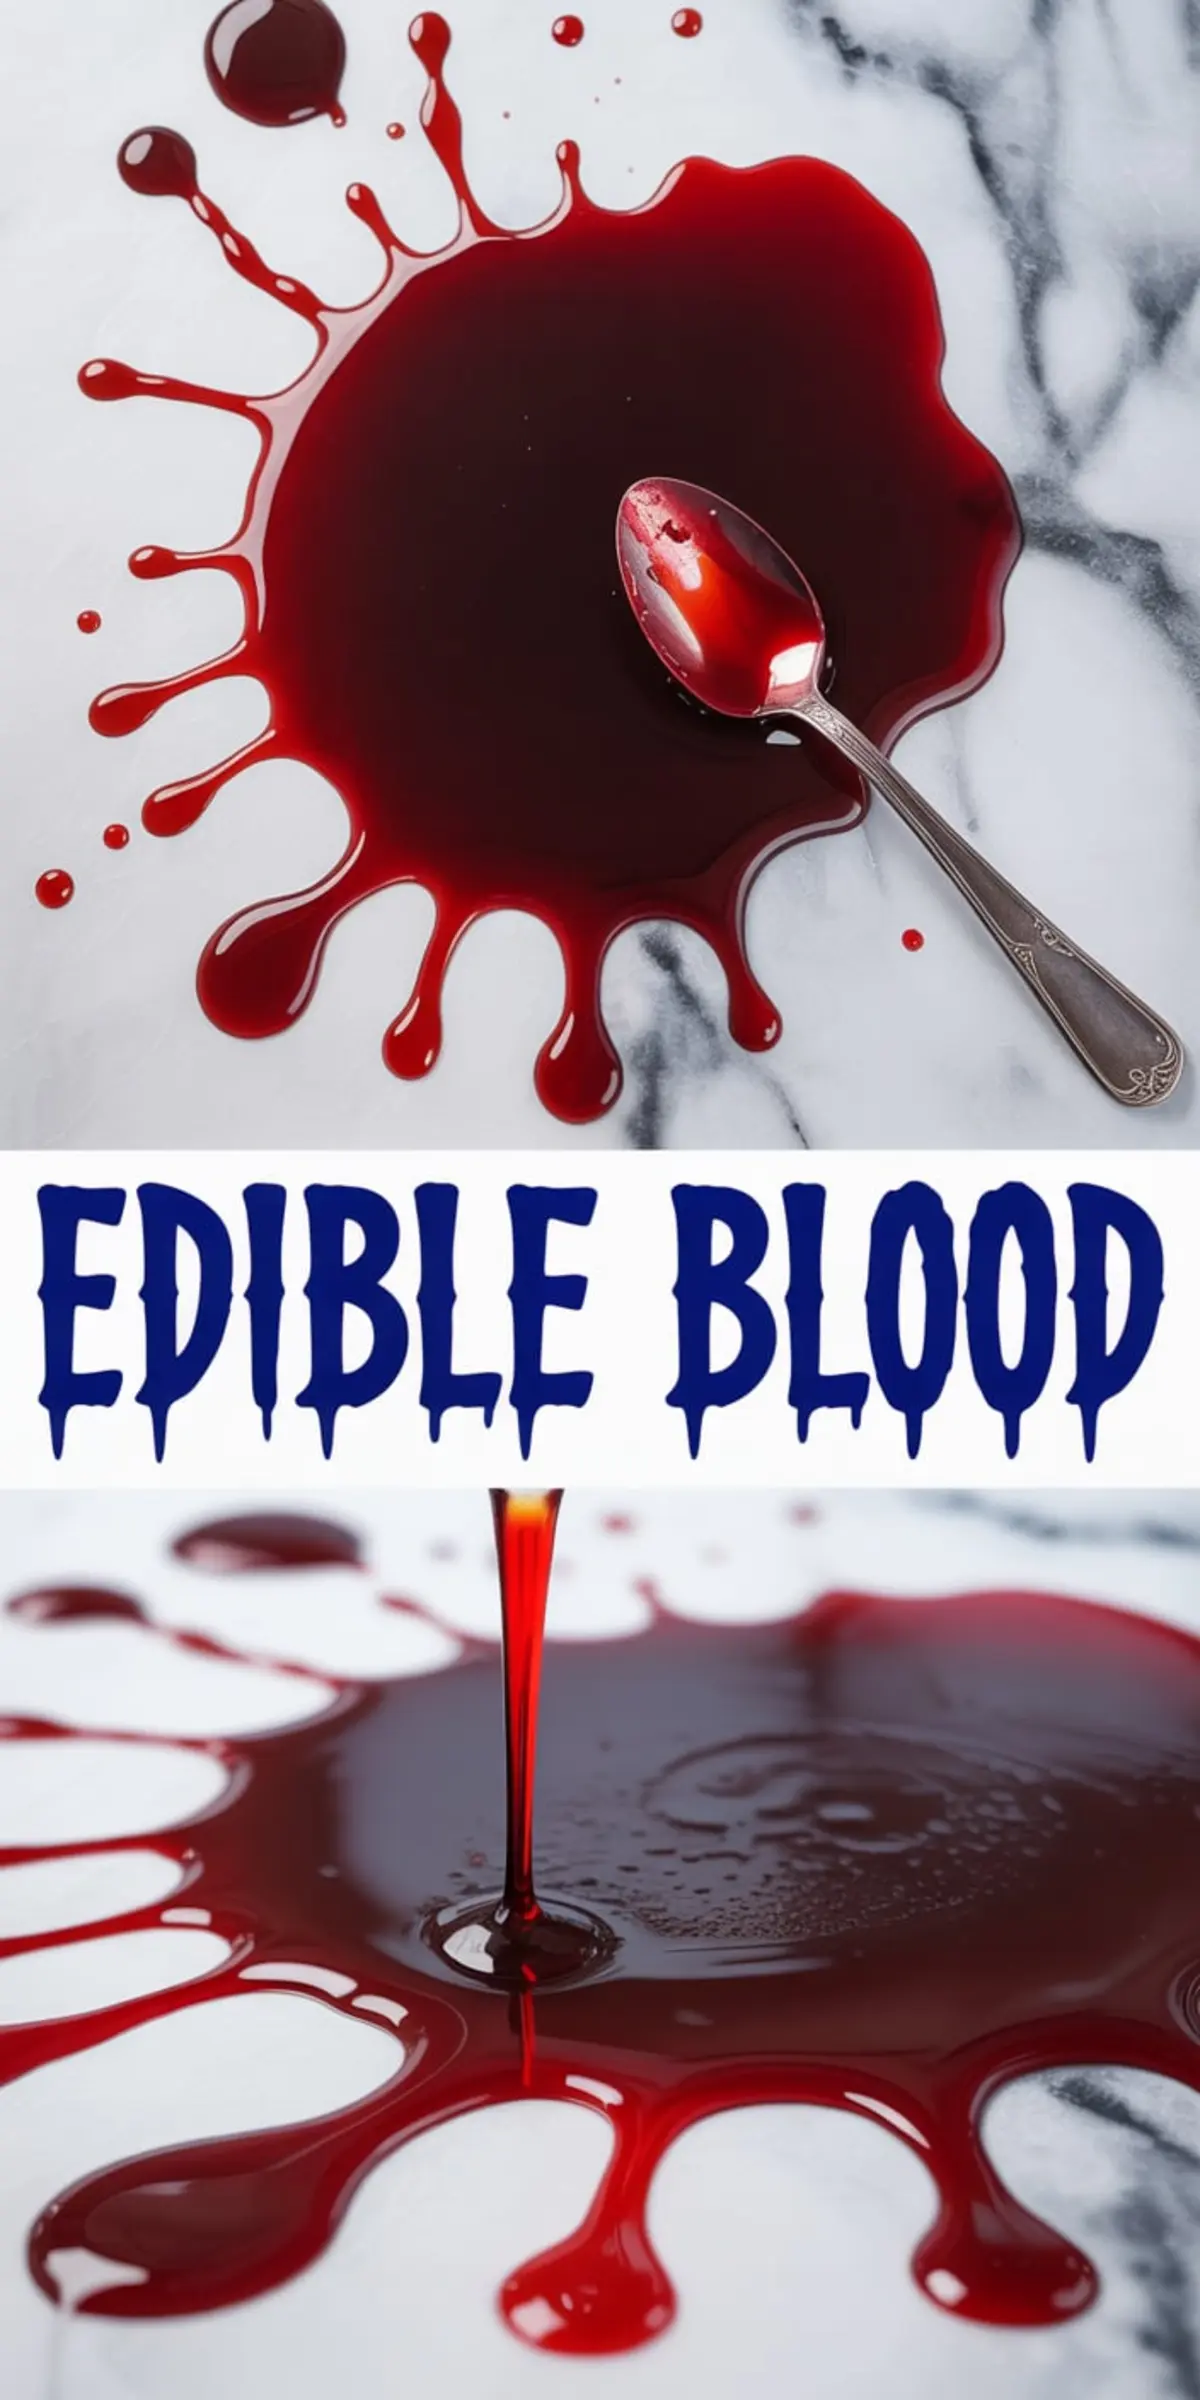
If you’re planning Halloween desserts and want to create something that looks freshly bitten, this edible blood recipe is the detail that transforms ordinary into unforgettable.
The syrup coats cupcakes with a glossy, deep red drip. It oozes out of cakes with convincing thickness. You can even fill syringes or decorate a platter with splattered blood for creepy effect. Whether you’re making a haunted layer cake or planning spooky Halloween Jell-o shots in syringe form, this mixture brings every treat to life.
In just five minutes, you can stir together a batch that looks like it came from a horror movie. And yes—it tastes good, too. This isn’t just about shock value. This is about balancing visual impact with flavor. I’ve tested versions over the years, and this one gets it right. You’ll learn how to mix, darken, flavor, and store it.
You’ll leave with a recipe you’ll actually use again. It’s clean, fast, and fully adjustable for cupcakes, cakes, cookies, or even Halloween cocktails.
Following a special diet?
Every recipe on this site can be converted to gluten-free, vegan, dairy-free, keto, nut-free or egg-free with adjusted ratios so nothing falls flat.
Try the Recipe Converter →Why This Edible Blood Looks So Real on Halloween Desserts
I’ve made many edible blood recipes over the years. Some turn out too pink. Others are sticky but lack depth. This one uses cocoa powder and just a drop of blue food dye to get the color right.
The corn syrup creates that shiny, realistic thickness. It’s what gives the drips their clean edge as they slide down a buttercream swirl or bleed from inside a cracked cupcake top. You can also spoon it over cookies or drip it down the sides of a cake like I did last year with my Vampire Brownies.
If you’re planning to decorate themed Halloween cupcakes, this recipe lets you take creative control. For a full spooky table, pair it with this Halloween Cupcakes Decoration guide. You’ll find simple ways to style toppers that match the drama of this edible blood.
You can even apply it as a glaze with a small dropper or paintbrush, depending on the look you’re after. Don’t worry if it settles slightly just stir again before each use.
What You’ll Need to Make Edible Blood for Cakes and Cupcakes
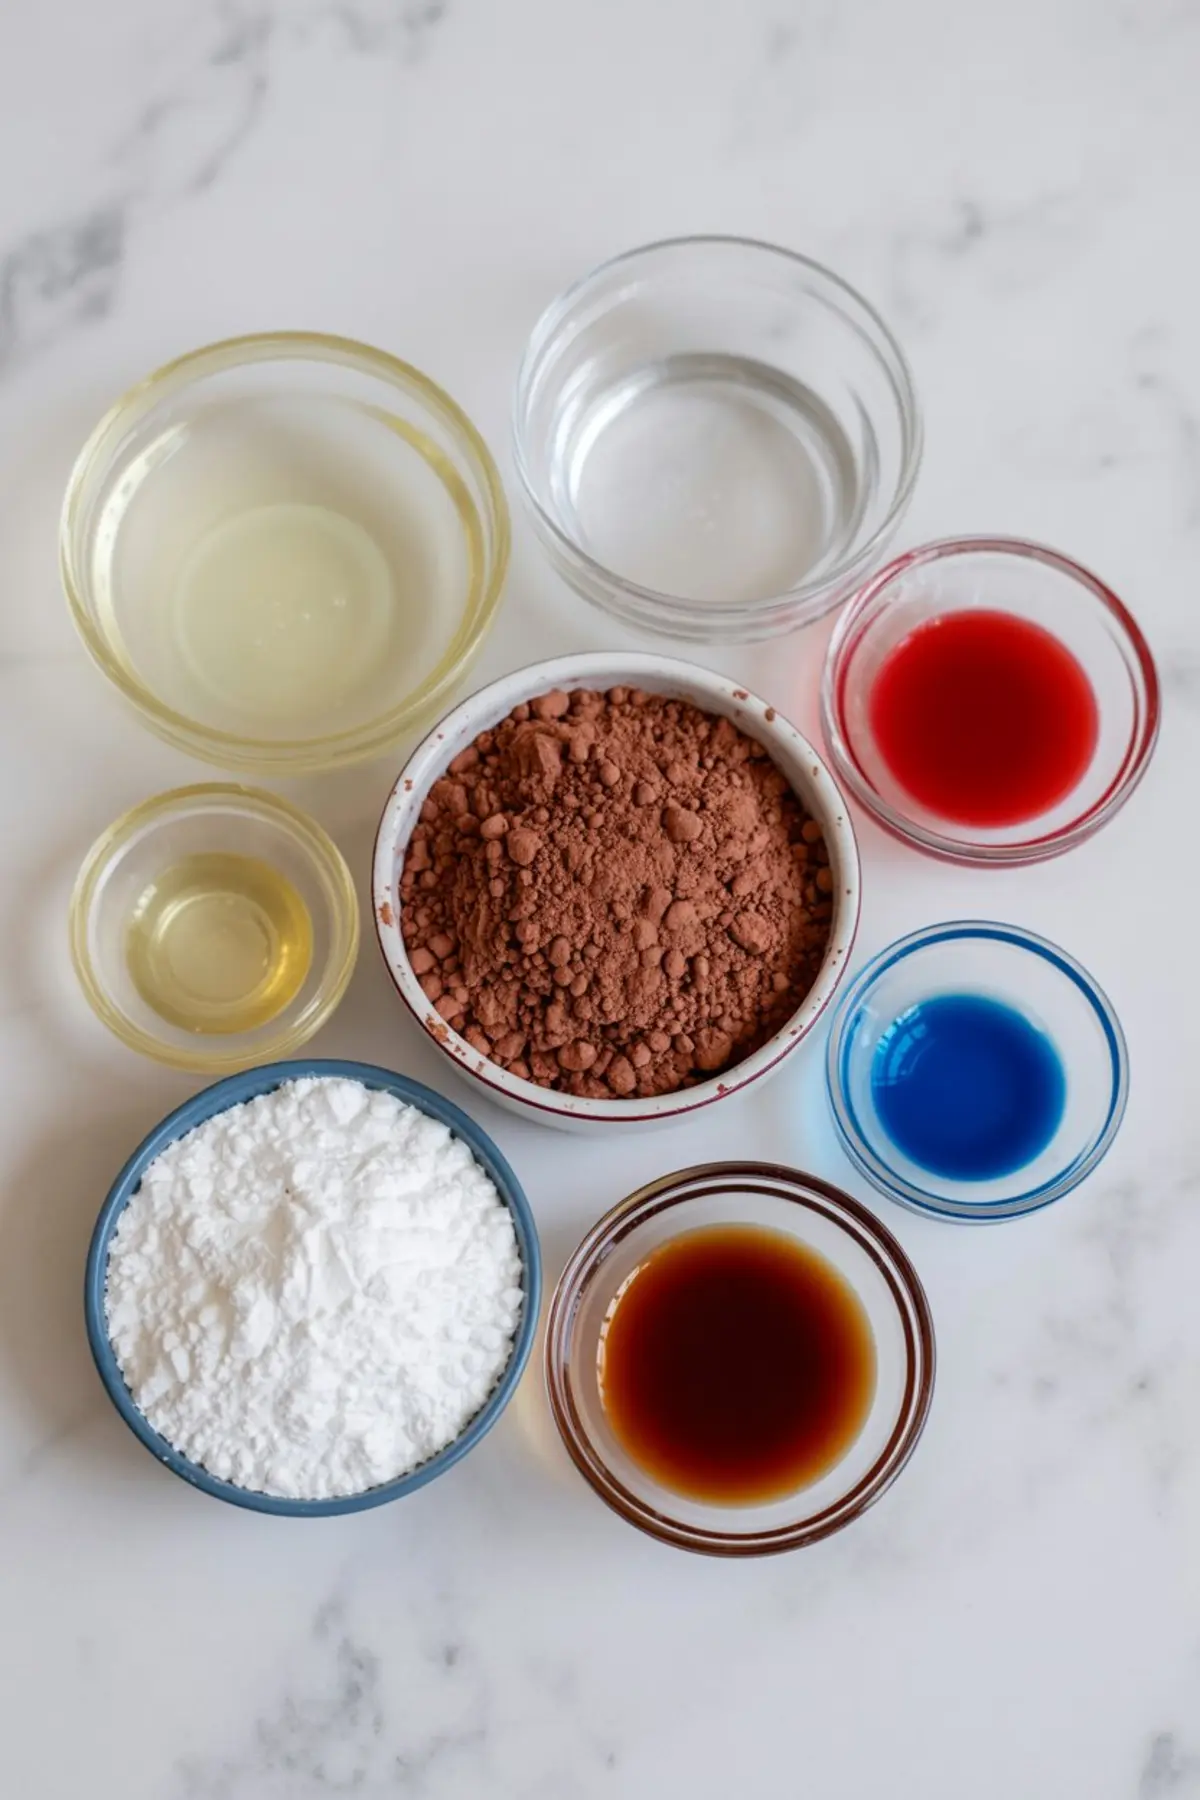
The recipe calls for light corn syrup as the base. I use this instead of glucose or sugar syrup because of its shelf-stability and texture. A spoonful of water softens the mix just enough to make it flow. You’ll add red food coloring next.
For deep, bold results, gel coloring gives you better pigment with less liquid. Liquid red food dye also works, though you may need slightly more. For a darker, bloodier shade, a tiny drop of blue will do the job. Go slow. A single drop changes the entire tone.
Cocoa powder adds depth—not just to the color, but to the opacity. Without it, the syrup can look too translucent. You’ll see the difference as soon as you stir it in. If you want a thicker syrup for dripping into cupcakes, cornstarch works in small doses. A quarter teaspoon is more than enough.
Adding a drop or two of vanilla or cherry extract is optional, but I do it when I know guests will be licking this off spoons. It adds that something extra, especially when paired with chocolate desserts.
This also works beautifully alongside dramatic Halloween food treats like these Halloween Jello Shots that benefit from a few scattered drops across the serving board.
A Quick Ingredient Comparison: Gel vs. Liquid Food Coloring
I’ve tested both kinds of red food dye in this recipe. In my notes, gel gives stronger color faster. You need less of it, and the result is thicker from the start. But if you only have liquid dye, that works fine too. Just expect to use an extra drop or two, and stir longer.
When I’m decorating cupcakes or piping blood along sharp cake edges, I always use gel. It holds its shape better and doesn’t run as quickly. If I’m creating a splatter effect on a Halloween fruit platter, liquid works great—it moves faster and spreads wider.
So it depends on the look. Both can work, but I reach for gel when the blood needs to drip slowly and stay put.
How to Use and Store This Edible Blood Recipe
Let the mixture rest for 5 to 10 minutes after mixing. This gives the cocoa powder time to settle in and lets the color mellow slightly. It also makes it easier to spoon, drip, or pipe.
You can spoon it onto cupcakes, drip it over cake layers, or flick it with a pastry brush for dramatic splatters. It works well on chilled desserts too. Last Halloween, I even swirled a few drops into a whipped cream topping for a Halloween cocktail and it stayed in place beautifully.
Store any leftovers in a small glass jar or container with a tight lid. Room temperature is fine for up to a week. Stir before each use. If you want thinner blood for cookies or sugar decorations, a drop or two of water will loosen it just enough.
For the ultimate effect, try filling a cupcake with edible blood in the center. Slice it open or let guests bite in to reveal the oozing surprise. This also works inside layered cakes.
Related Recipes to Pair With Edible Blood
If you’re planning a full table of Halloween desserts, this mixture goes a long way. Try serving it alongside this dramatic Halloween dip or include it as a drizzle over a haunted jell-o spread.
For something more playful, add a drip to the rim of a cocktail glass or syringe-style treat and set it next to your Halloween Jell-o Shots in Syringe. The combination makes a dramatic impression and ties the dessert table together.
Final Thoughts and Pinterest Tip
This edible blood recipe gives you total control over Halloween cake decorations. Whether you want drips, splatters, or oozing centers, this mixture delivers. It looks real, tastes pleasant, and holds its shape on chilled desserts.
I keep a small jar of this in my kitchen every October. You never know when a cupcake or cookie needs a little drama.
Save this pin so you can find it again when you start your Halloween baking.
And if you try this recipe, tell me in the comments how it went. Did you use it on a cake, fill a cupcake, or drip it over a Halloween treat? I’d love to hear what you made.
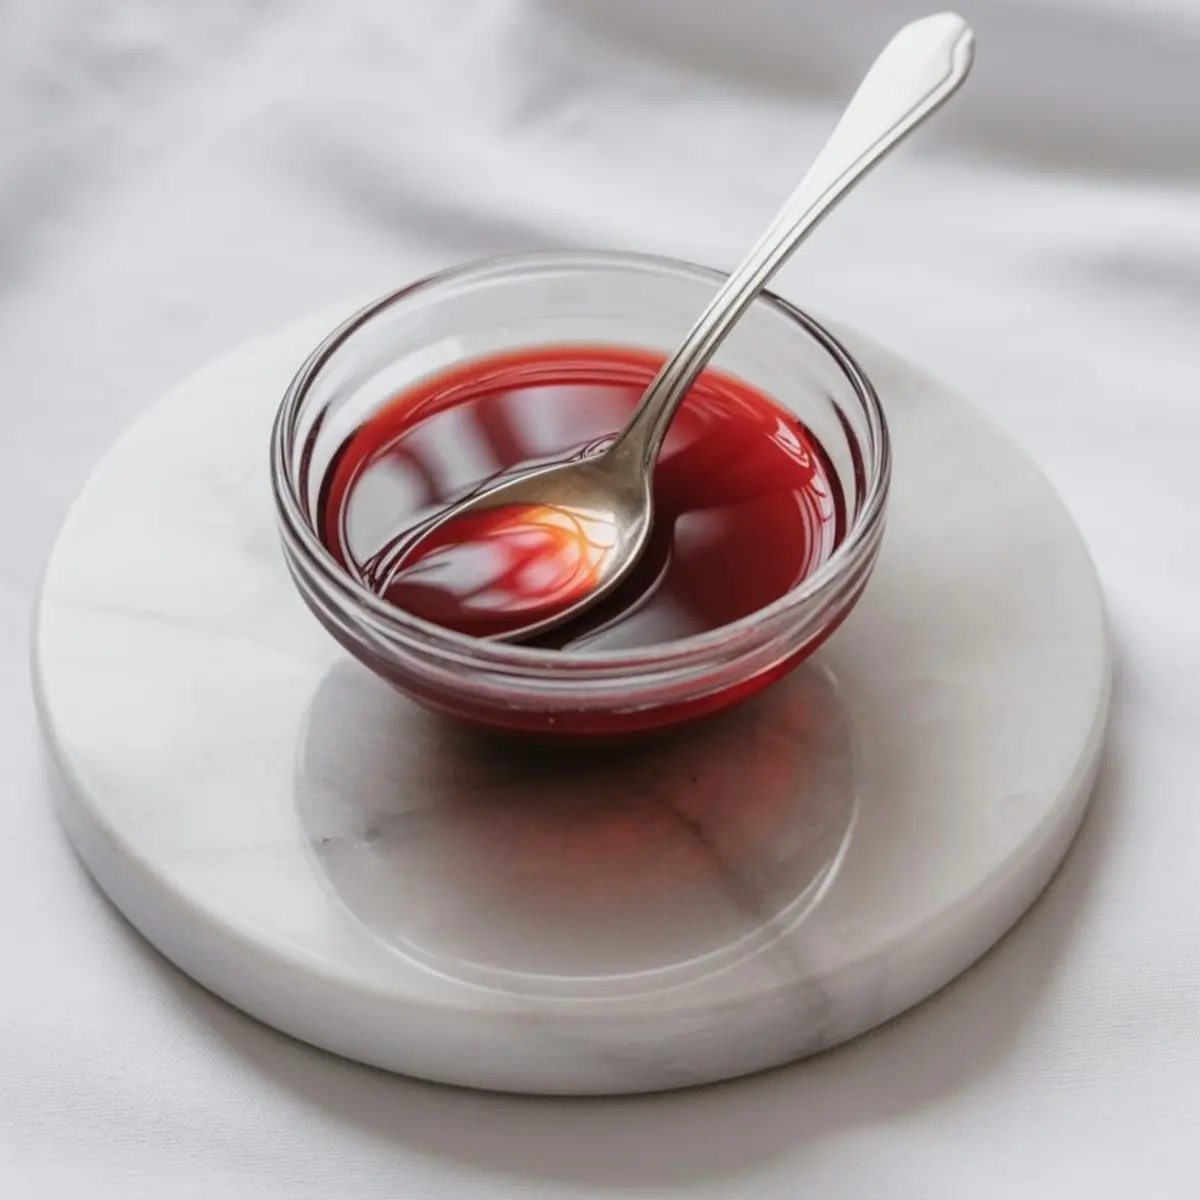
Edible Blood Recipe

Edible blood is one of those Halloween food treats that always makes desserts more dramatic. I mix corn syrup, cocoa, and red food dye into a smooth sauce that looks spooky but tastes sweet. This edible blood recipe works as a drizzle over cakes, a filling inside cupcakes, or even served with Halloween Jell-O shots in syringe glasses for parties. Some call it edible blood for cakes, others edible blood for cupcakes, but no matter the name it’s a simple trick to make Halloween desserts stand out. Among Halloween dessert ideas, this recipe is quick, easy, and adds that perfect creepy touch to your spread.
Ingredients
- ½ cup light corn syrup
- 1 tablespoon water
- 2 tablespoons red food coloring (gel or liquid)
- 1 teaspoon unsweetened cocoa powder
- ¼ teaspoon cornstarch (optional, for a thicker effect)
- 1–2 drops blue food coloring (optional, for darker red)
- 1–2 drops cherry or vanilla extract (optional, for flavor)
Instructions
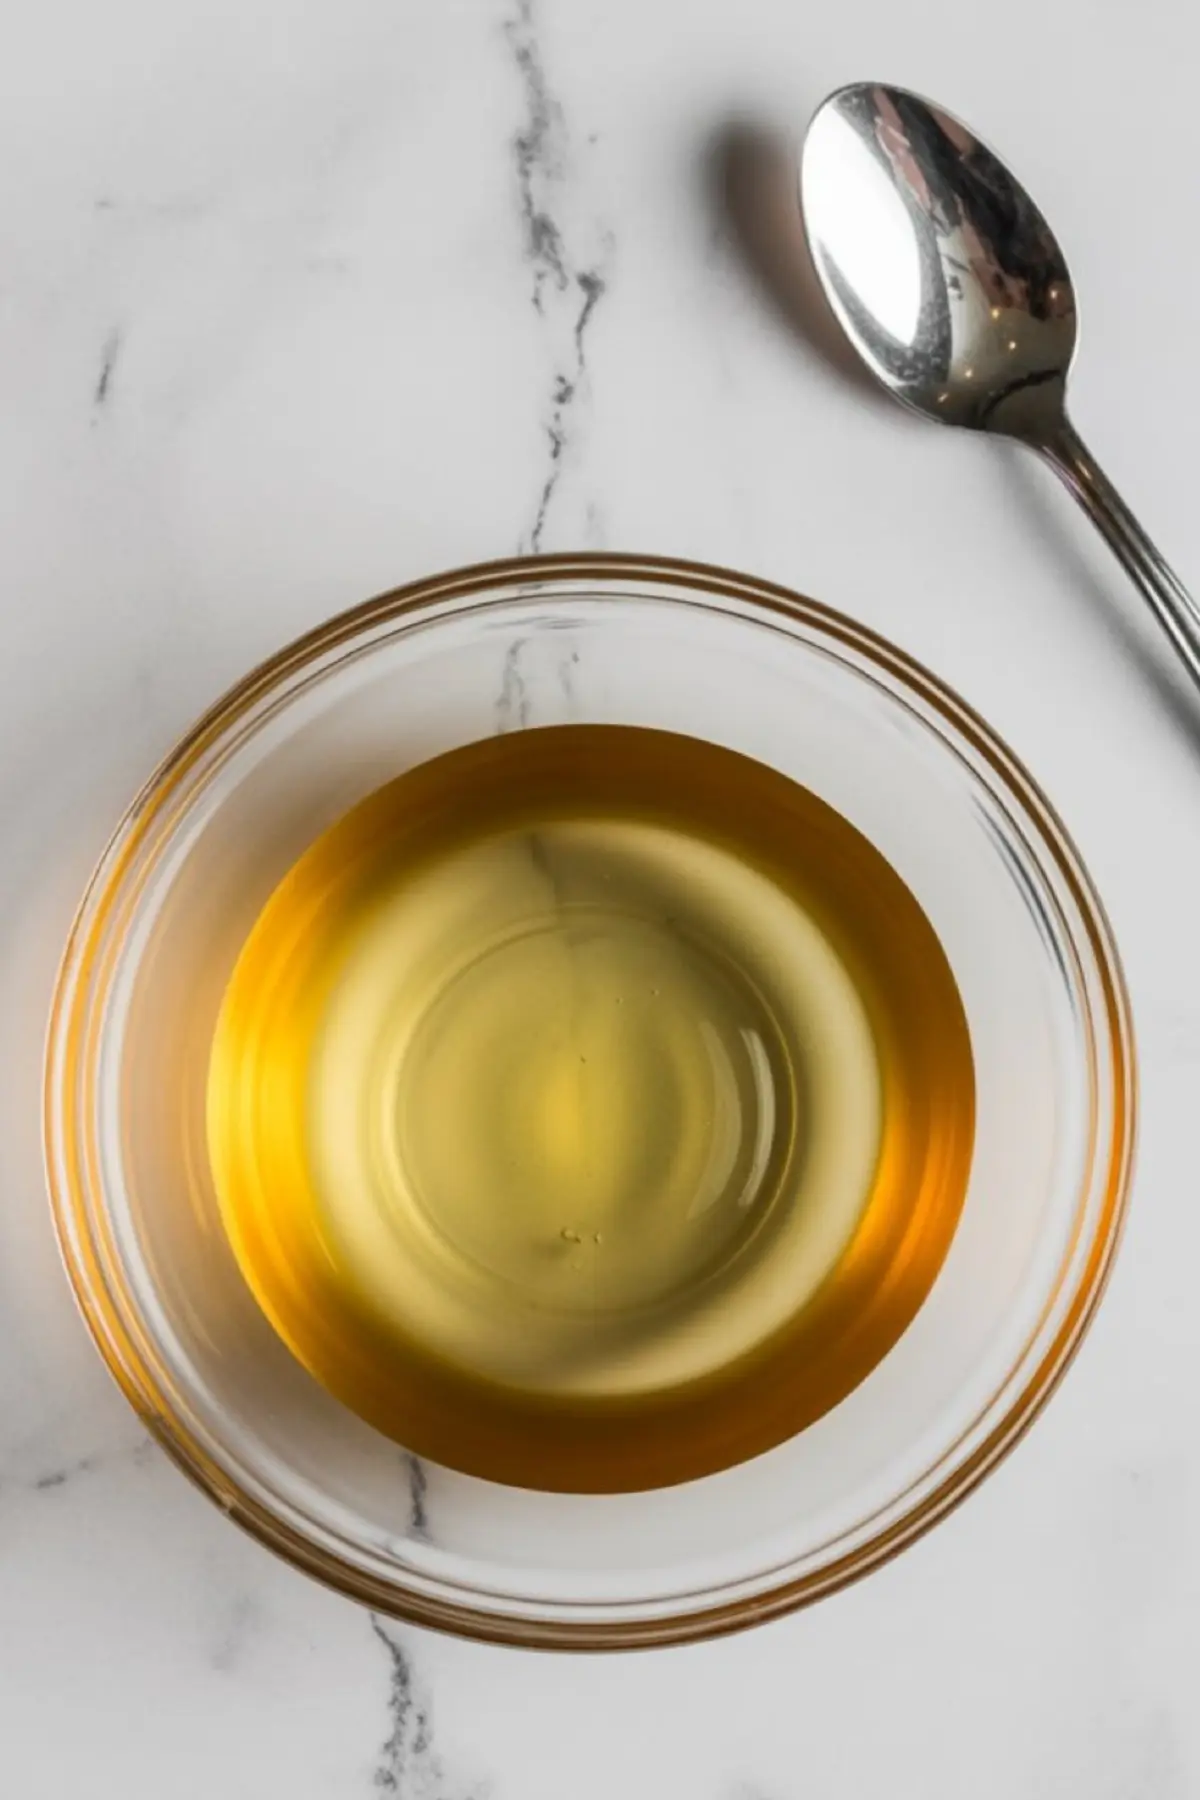
- MIX THE BASE: In a small bowl, stir together the corn syrup and water until smooth and fully combined. This forms the base for the edible blood mixture.
- ADD THE COLOR: Mix in the red food coloring. Start with 2 tablespoons, adjusting if needed for intensity. For a more realistic blood tone, stir in 1 to 2 drops of blue food coloring to darken the red and reduce brightness.
- THICKEN AND DARKEN: Stir in the unsweetened cocoa powder to deepen the color and make the mixture appear more opaque. If a thicker consistency is desired, add a small pinch of cornstarch and mix thoroughly until smooth.
- FLAVOR IT (OPTIONAL): If preferred, add a drop or two of flavoring such as cherry or vanilla extract to give the edible blood a subtle, pleasant taste.
- LET IT SIT: Allow the mixture to rest for 5 to 10 minutes before using. This helps the color and cocoa powder fully integrate for a smoother, more realistic appearance.
- USE IT CREATIVELY: Apply the edible blood using a spoon, dropper, or piping bag to decorate cakes, cookies, cupcakes, or other themed desserts. Drizzle, drip, or splatter as desired.
Notes
Store any leftovers in an airtight container at room temperature for up to 1 week. Stir well before each use, as some settling may occur. For thinner drips, add a few extra drops of water.
Nutrition Information
Yield
1Serving Size
1Amount Per Serving Calories 566Total Fat 1gSaturated Fat 0gTrans Fat 0gUnsaturated Fat 0gCholesterol 0mgSodium 110mgCarbohydrates 149gFiber 2gSugar 144gProtein 1g
Do you have a substitute for cocoa powder if you are planning on making a cake without chocolate?
Hi Summer! You can skip the cocoa powder if you’re not going for a chocolate flavor, it’s mostly there to darken the red and make it look more realistic. To keep the same effect without the cocoa, try adding a drop of blue or black food coloring to deepen the red, and a tiny pinch of cornstarch to give it that slightly opaque, thicker look. Let me know if you try it!
Do you know how well this will hold up on a cake. I’m using it on a wedding cake but unsure if it will look good if I put it on the night before.
That’s a great question, especially for a wedding cake where you want everything to stay clean and intentional 😊
In my experience, this type of edible blood will still look good the next day, but it will slowly spread and soften the edges overnight because of the corn syrup. The drips won’t stay as sharp as when you first apply them, especially on a smooth frosted cake.
If you want that defined drip effect, I usually add it closer to serving time. If you do need to do it the night before, I’d make it slightly thicker and keep the cake well chilled so it holds its shape better.