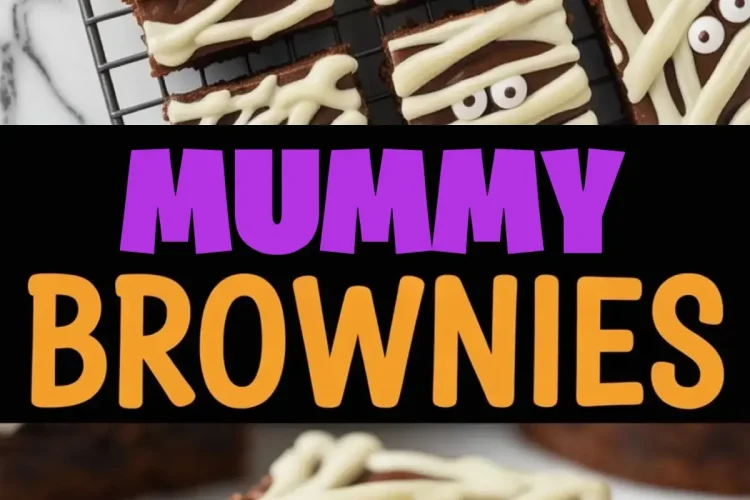
These Fudgy Ghostly Squares Are the Best Halloween Baking Project This Fall
There’s a moment between late October and the first frost when the kitchen becomes a stage. You don’t need smoke machines or dry ice.
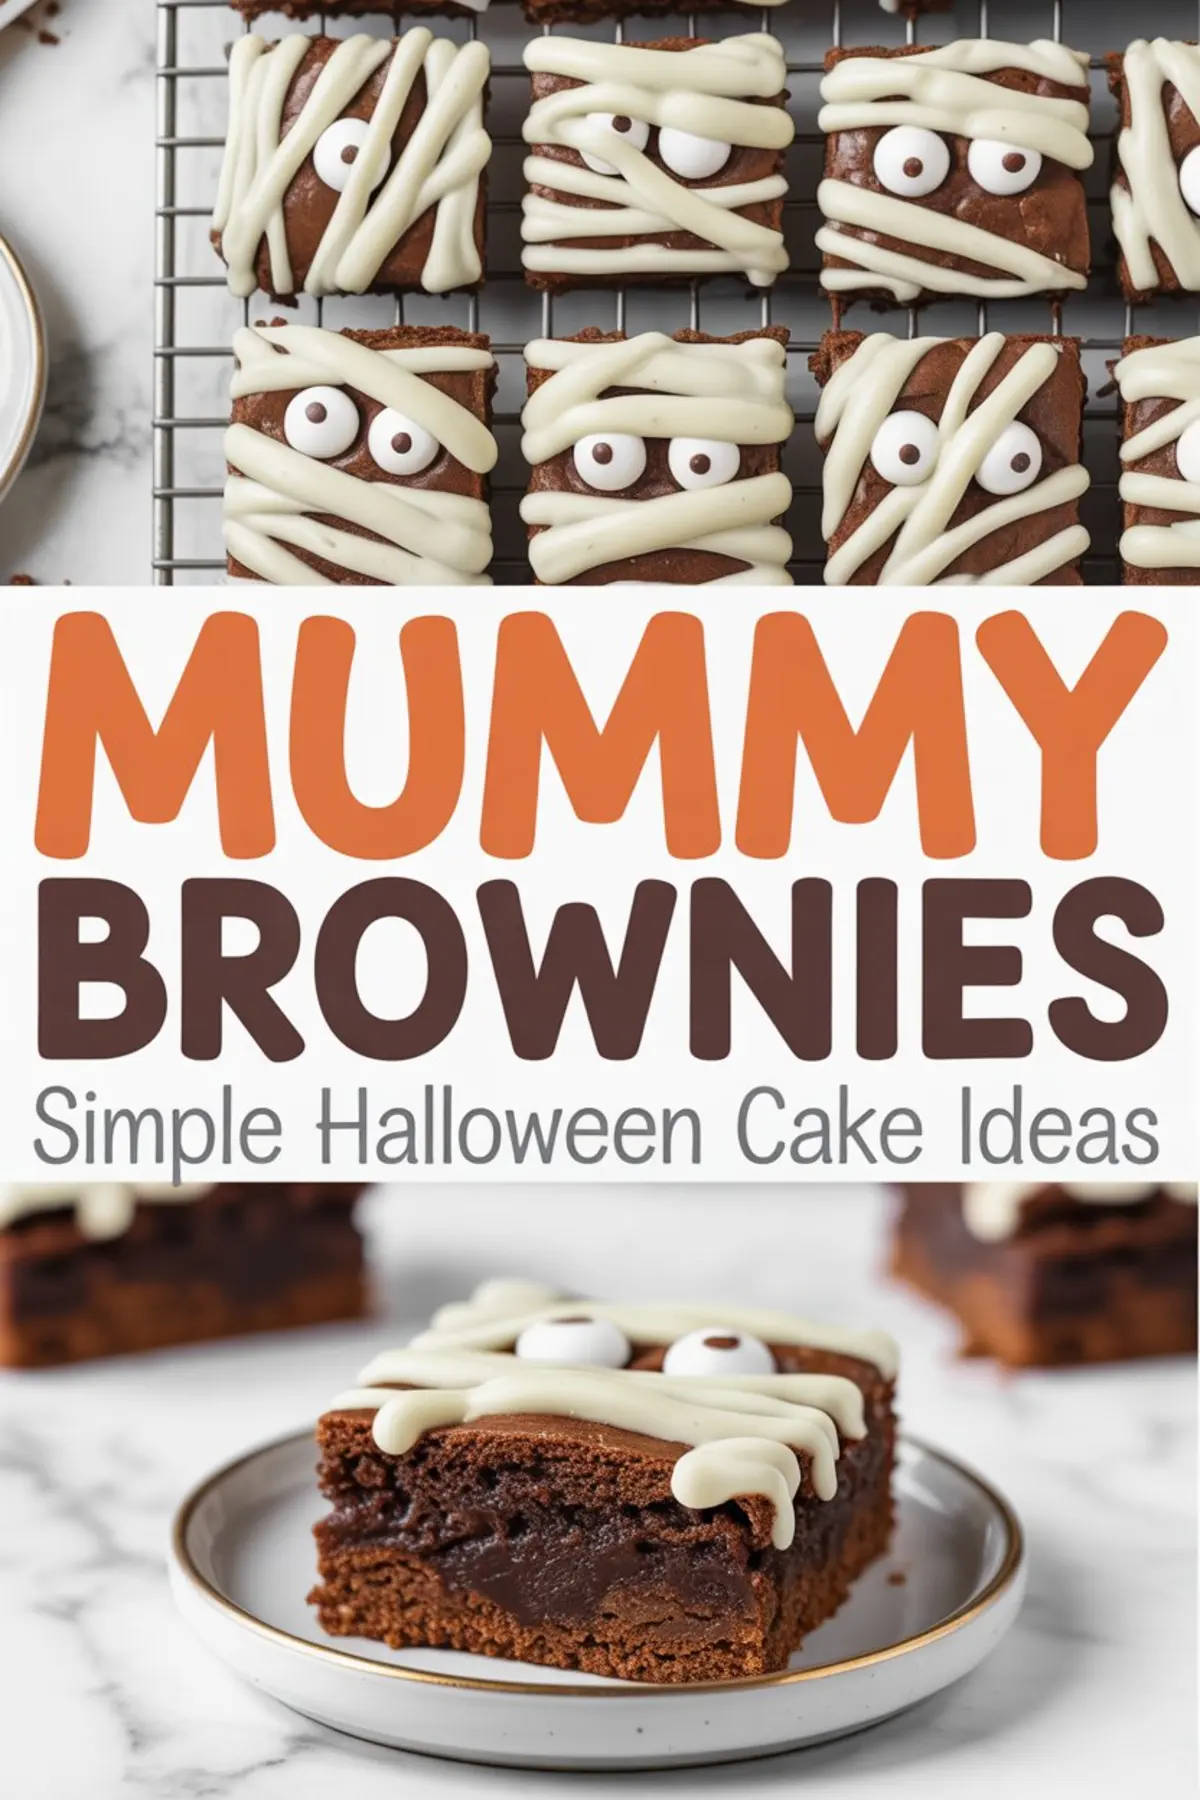
Just a pan of rich homemade brownies, a drizzle of white chocolate, and two candy eyes looking back at you from under sweet, ghostly wrappings.
That’s exactly what you’ll get with these Mummy Brownies a homemade Halloween dessert that mixes simple technique with striking results.
You’ll find plenty of Halloween brownies out there. But this one begins with a deep, fudgy base made from scratch. No box mix shortcuts.
Just pantry staples and a bit of care. It ends with a decorating step that’s easy enough for kids, yet clever enough to make adults take a second look.
This recipe fits well on any spooky dessert table, alongside Halloween Oreos or Rice Krispie Brains. But the real reason I return to it every year is its balance rich, chewy brownie texture paired with a crisp bite of white chocolate drizzle.

Following a special diet?
Every recipe on this site can be converted to gluten-free, vegan, dairy-free, keto, nut-free or egg-free with adjusted ratios so nothing falls flat.
Try the Recipe Converter →Why Homemade Brownies Make a Better Base for Halloween Decorating
Boxed brownies have their place, but they can fall short when you need a sturdy structure that won’t crumble under melted chocolate or candy decorations.
I’ve tested both approaches, and the difference is clear. The homemade version holds its shape after slicing.
The butter and cocoa powder blend into a glossy batter that bakes into a dense yet tender square ideal for layering on white chocolate “bandages” without cracking.
This base also lets you control sweetness. That’s key when adding candy eyeballs and chocolate on top.
If you’re browsing through Halloween brownies ideas, or searching for brownies recipe easy enough for an afternoon bake, this one checks all the boxes without skimping on quality.
Ingredient Notes for the Fudgy Brownie Base

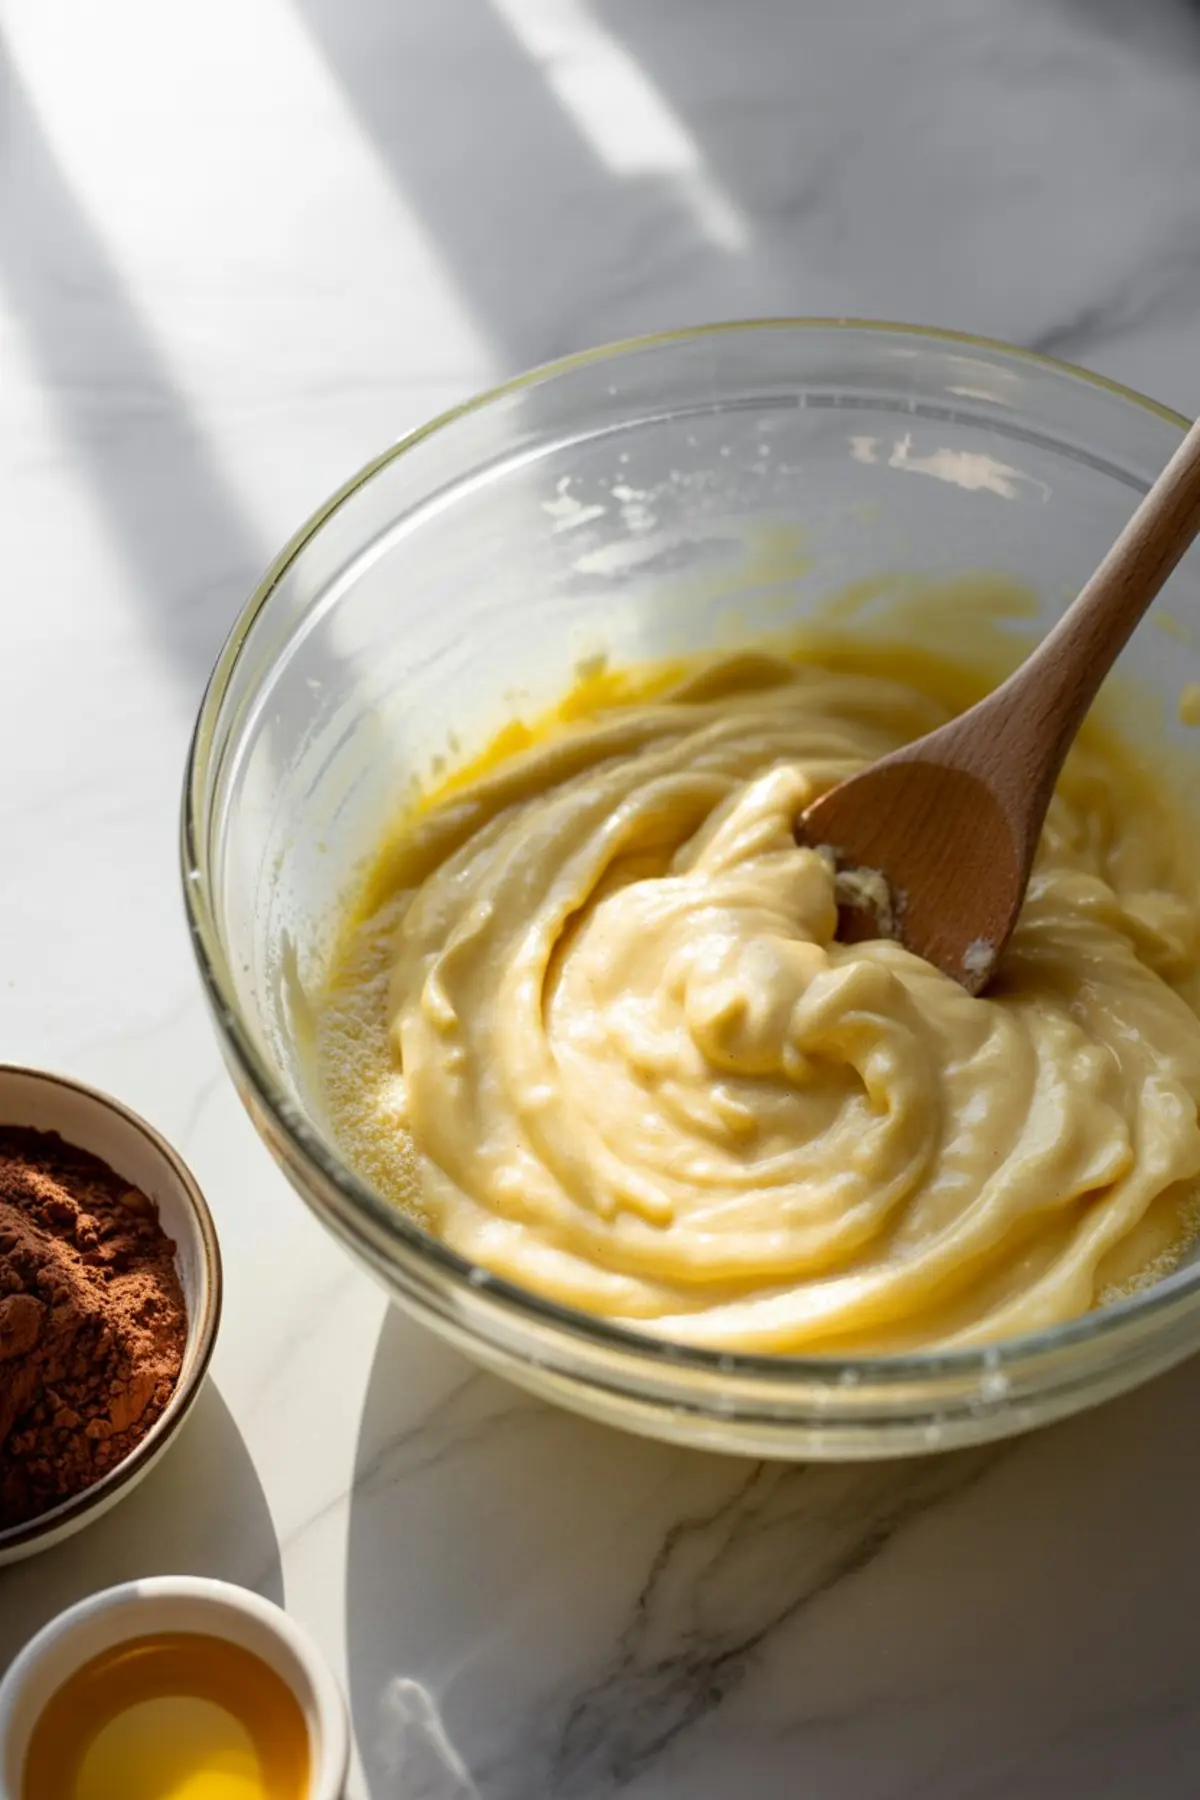
You’ll begin by melting unsalted butter and stirring it with granulated sugar until it forms a glossy mixture. This step builds the base for that signature crackly top.
Cocoa powder gives the batter its deep flavor, while vanilla adds a roundness you don’t want to skip. I always use natural unsweetened cocoa here, never Dutch-process, as it plays better with baking powder and preserves that chewy texture.
Eggs go in one by one. I learned this the hard way—if you add them all at once, the batter turns streaky and dense. Gradual mixing helps each egg emulsify into the cocoa mixture smoothly.
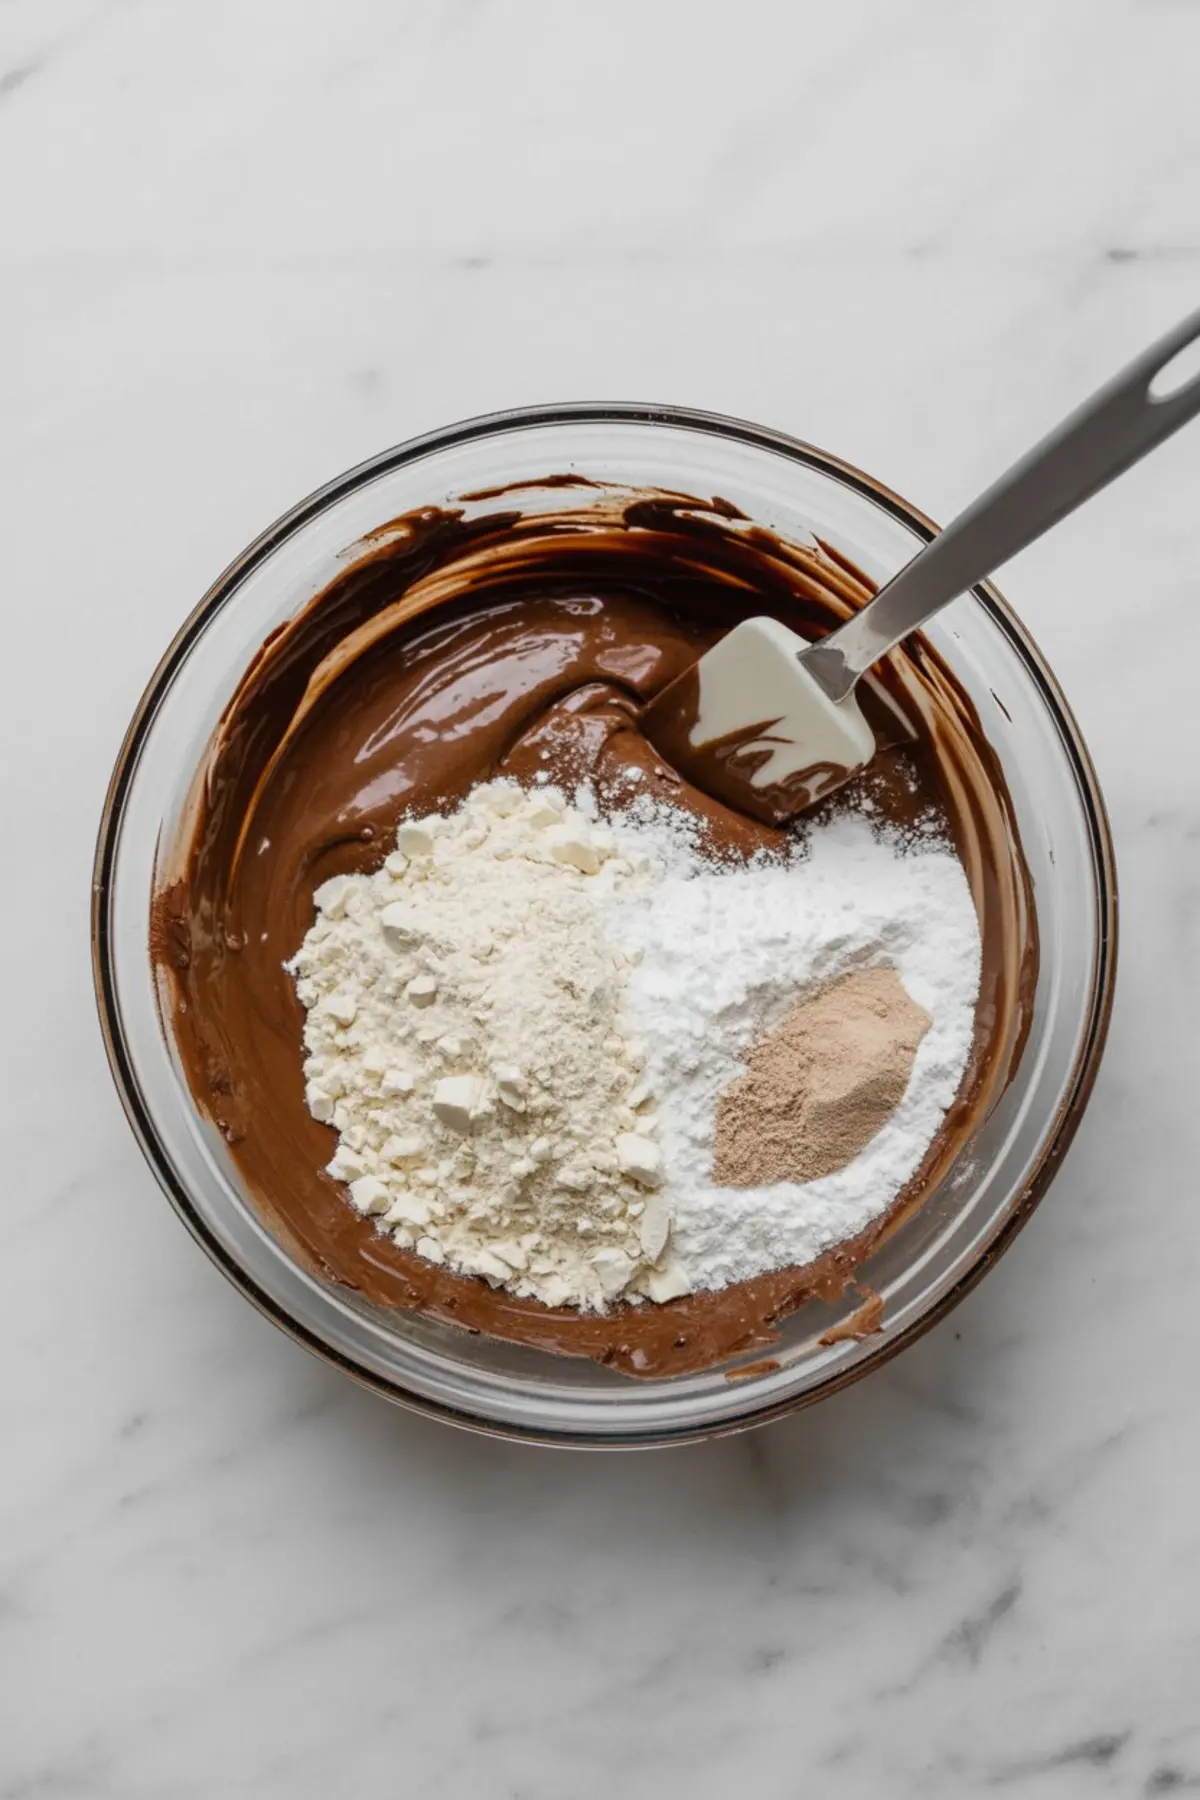
Flour, salt, and baking powder finish it off. Stir only until combined. Overmixing develops gluten, which toughens the crumb.
I keep a handwritten note beside my mixer: Stop when the flour disappears. It saves me every time.
For something more whimsical, you could swap this with the batter from my Halloween Dirt Cake. But I prefer the clean contrast of dark brownie under bright white drizzle.
Baking and Cooling for Best Results
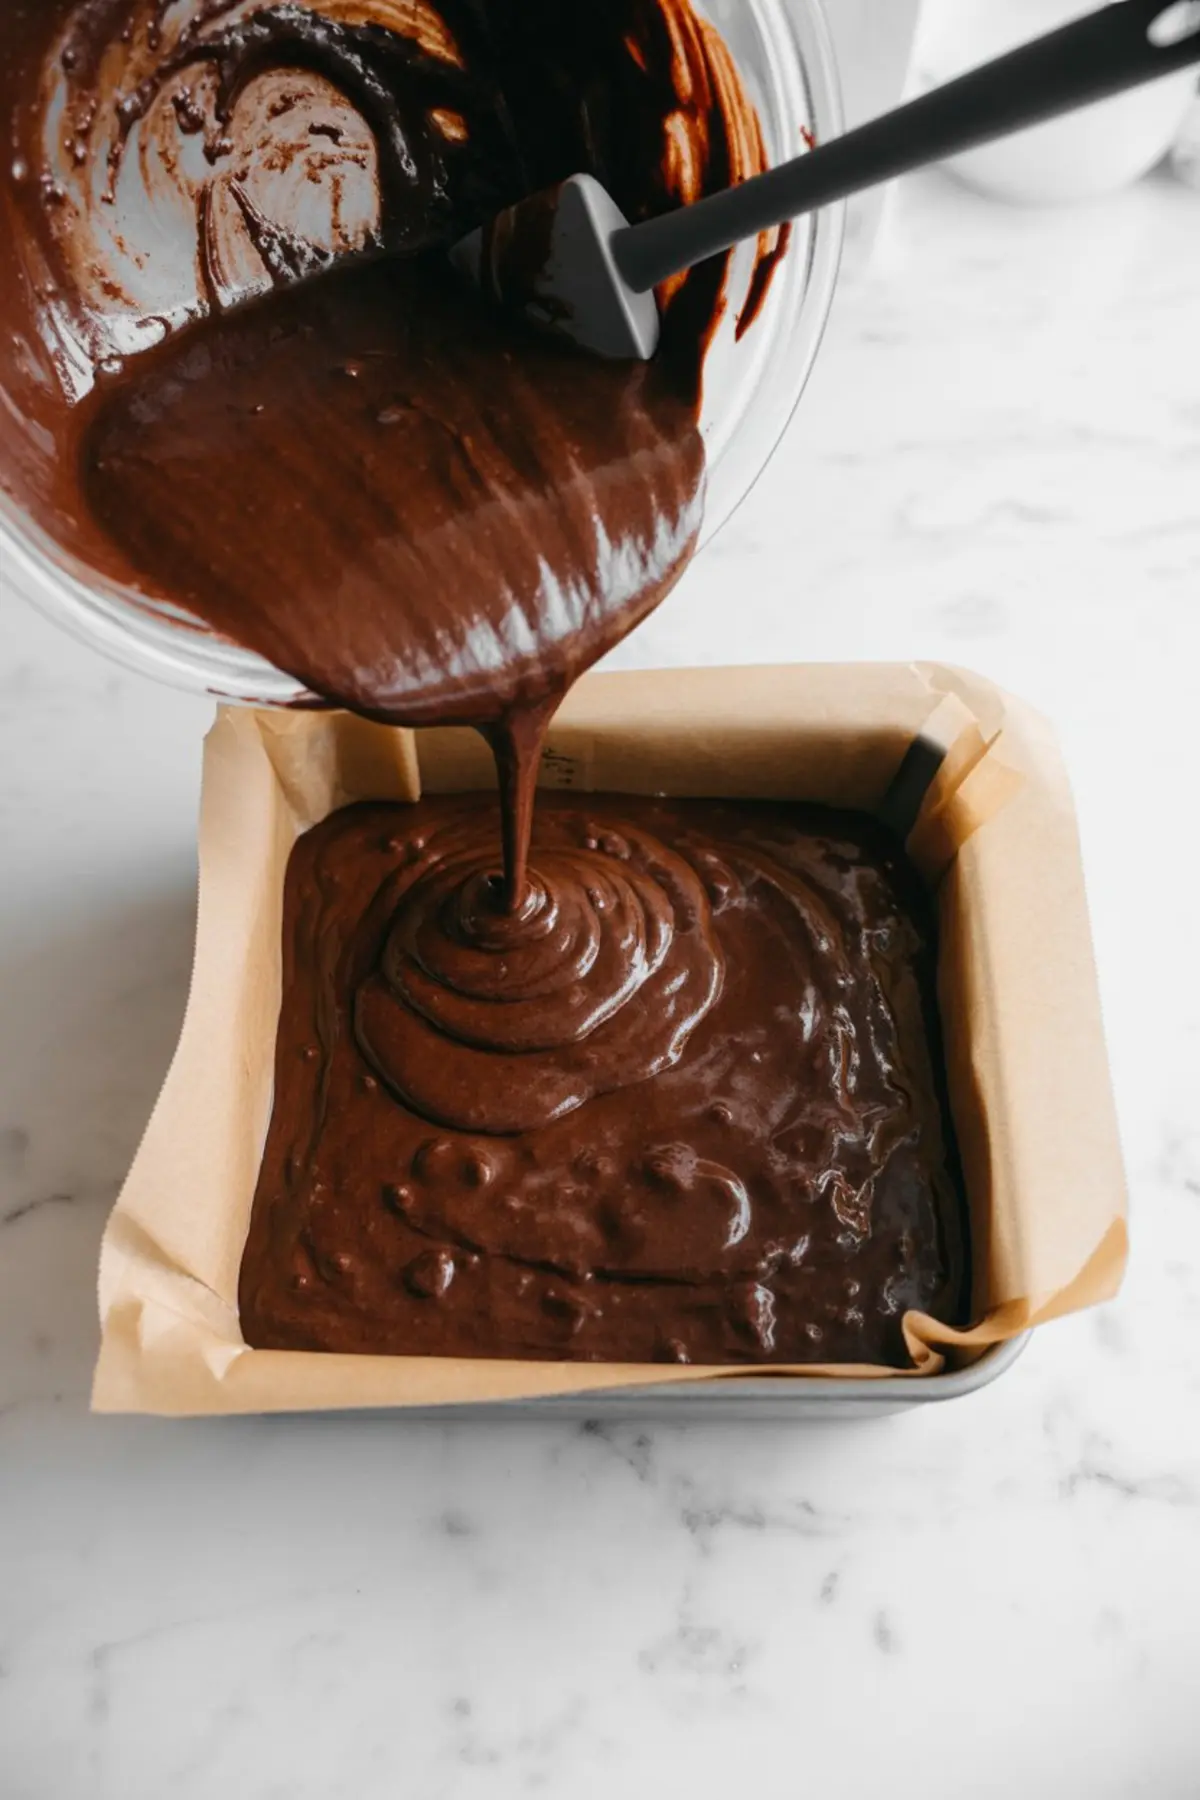
Line your pan with parchment, leaving enough overhang to lift the brownies after baking. This step isn’t optional. It makes slicing easier and cleaner, especially when the top layer is delicate chocolate.
Bake at 350°F until the center gives just a few moist crumbs. Not wet. Not dry. A slight underbake ensures chewiness without rawness.
Let the pan cool completely. I usually wait at least 45 minutes before lifting them out. A warm brownie will tear under a piping bag. Patience gives the best edges and smoothest surface for decorating.
How to Pipe White Chocolate for Mummy Decorations
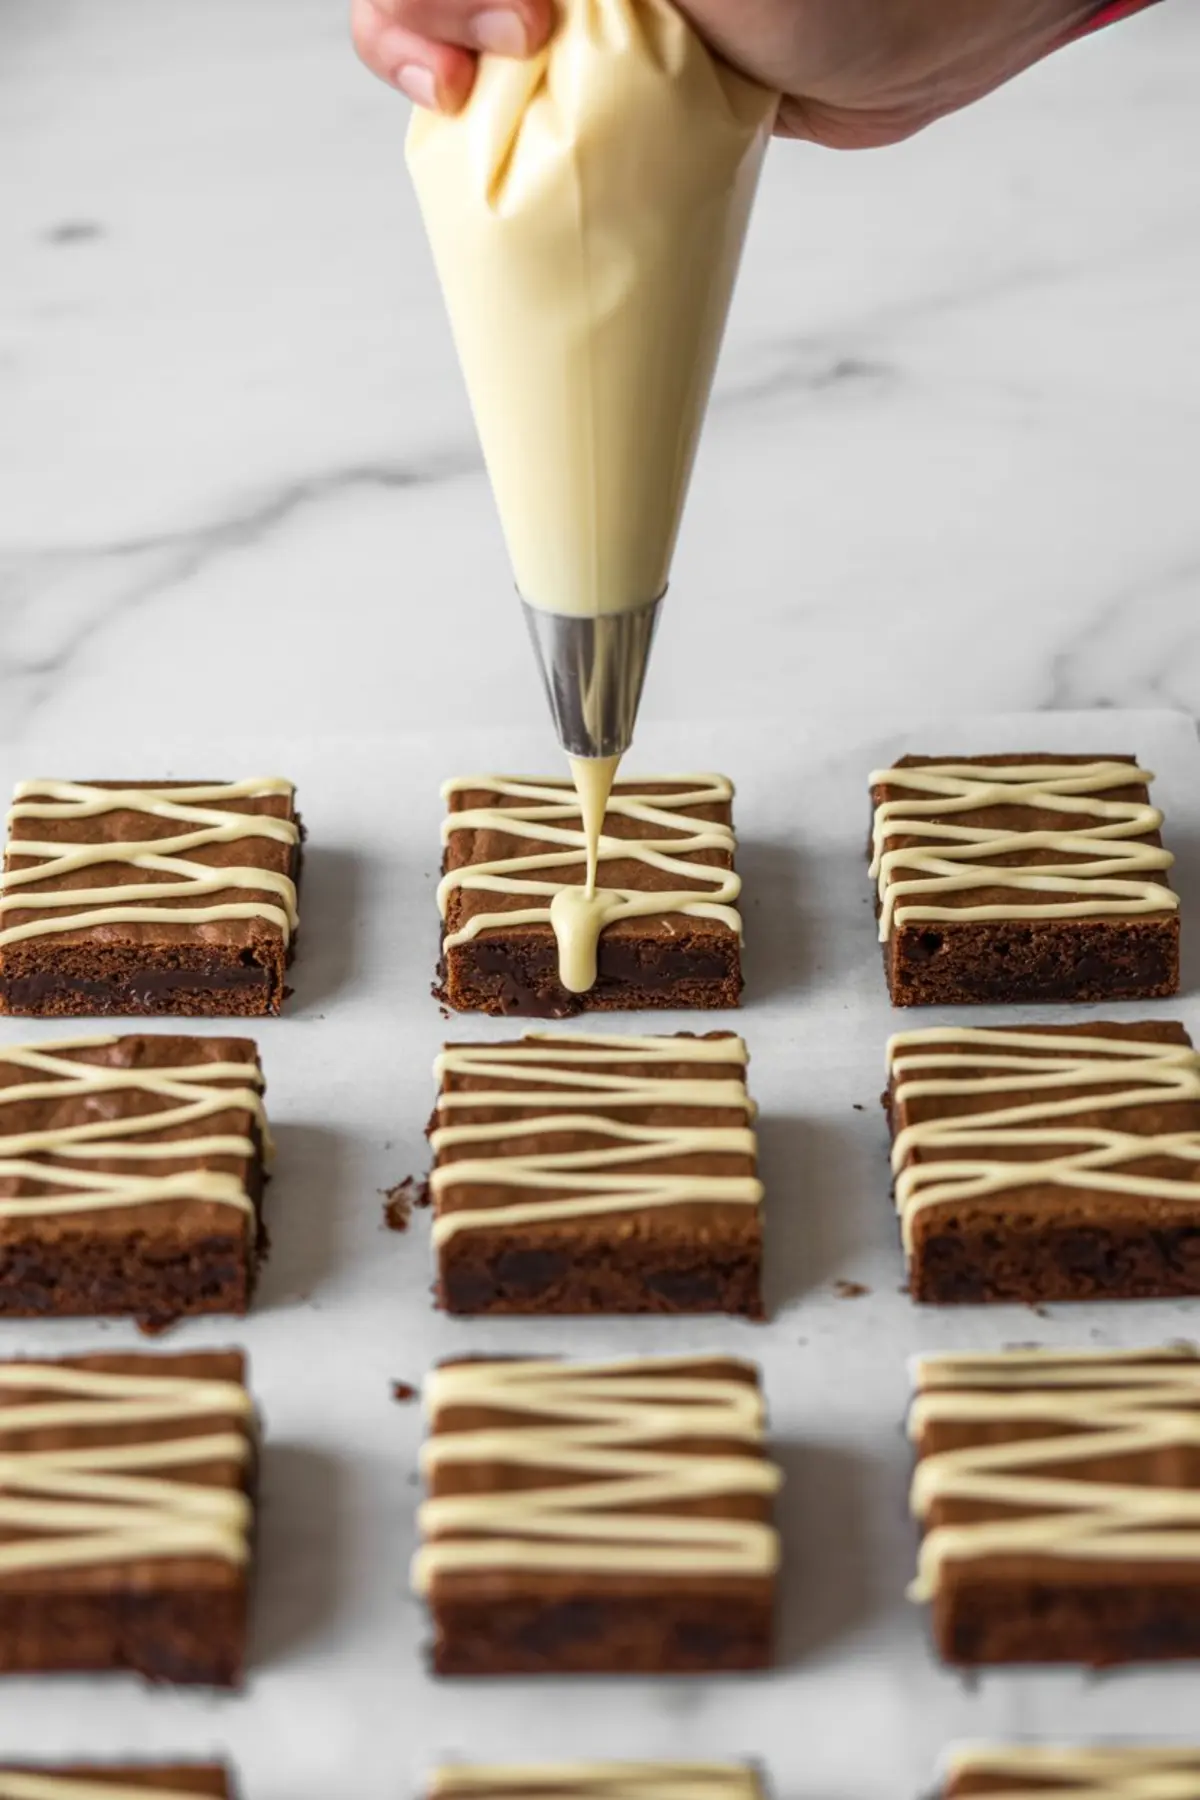
Once sliced, the fun begins. Melt your white chocolate chips slowly. I use the microwave in 20-second intervals. Stir each time. Even one second too long can cause seizing.
If you prefer a shortcut, white candy melts melt faster and hold their shape better. But flavor matters here. Candy melts tend to taste flat. I go with chips unless time is tight.
Transfer the melted chocolate to a piping bag or a sandwich bag with a tiny snip in the corner. Then draw zig-zag lines across each brownie. Crisscross patterns give the most character.
Quickly press in two candy eyeballs before the chocolate firms up. If you wait too long, they’ll fall off.
I usually set the tray in the fridge for 10–15 minutes after decorating, just to help everything settle. After that, they can stay at room temperature until serving.
Serving Ideas and How to Store Mummy Brownies
These mummy brownies belong on a plate next to more Halloween brownies, or even beside themed snacks like mummy cookies, ghost brownies, or mummy pretzels. I’ve even placed them next to mummy pizza slices at our Halloween party buffet. They always disappear first.
For best results, store in an airtight container. They stay soft for up to 3 days at room temperature. Refrigerate them if your kitchen runs warm, but bring them back to room temp before serving for better texture.
Avoid stacking them. The chocolate drizzle may smudge. If you must layer them, use parchment between each one.
I’ve also frozen a batch (before decorating) and thawed them later with no loss in flavor. Just wait to add the white chocolate until after thawing.
Related Recipes to Build Your Halloween Dessert Table
If you’re planning a full dessert spread, try adding one of these festive treats to round it out:
- Halloween Dirt Cake for a layered, spoonable dessert
- Rice Krispie Brains for something silly and crunchy
- Halloween Oreos if you’re short on time but want maximum effect
This mix of baked and no-bake Halloween party treats balances effort and fun. I like to serve a combination so guests have a range of textures—chewy, creamy, crispy.
Save This Recipe for Halloween & Share Your Ideas Below
Pin these Mummy Brownies now so you don’t forget them when Halloween rolls around. They’re easy, homemade, and always a conversation starter.
If you bake them, I’d love to hear how it went. Leave a comment below—tell me what your kids thought, or share if you added a twist like pumpkin puree or peanut butter.
Let’s turn this into a thread of great Halloween baking memories.
Mummy Brownies Recipe

Mummy brownies are one of the easiest Halloween brownies to make, and they always look festive on a dessert table. I bake a batch of fudgy brownies, then pipe white frosting across the top to create mummy bandages and add candy eyes for the final touch. Some call them decorated brownies, others just fun Halloween desserts, but no matter the name, they’re simple and spooky. I’ve made them alongside other Halloween desserts and scary food ideas, and they fit right in with easy Halloween food for parties. Among mummy brownies recipes, this one is quick, cute, and a delicious way to dress up a classic treat for October.
Ingredients
- FOR THE BROWNIES
- 1 cup (2 sticks) unsalted butter, melted
- 2 cups granulated sugar
- 1 cup unsweetened cocoa powder
- 1 tsp vanilla extract
- 4 large eggs
- 1 cup all-purpose flour
- ½ tsp salt
- ½ tsp baking powder
- FOR THE MUMMY DECORATION
- ¾ cup white chocolate chips (or white candy melts)
- Candy eyeballs
Instructions
- PREHEAT AND PREP: Preheat the oven to 350°F (175°C). Line a 9x13-inch baking pan with parchment paper, allowing some to hang over the edges for easy removal after baking.
- MIX THE BROWNIE BATTER: In a large mixing bowl, stir together the melted butter and granulated sugar until combined and glossy. Add the cocoa powder and vanilla extract and mix until smooth. Beat in the eggs one at a time, ensuring each is fully incorporated before adding the next. Gently fold in the flour, salt, and baking powder just until no dry streaks remain. Avoid overmixing the batter.
- BAKE THE BROWNIES: Pour the batter into the prepared baking pan and spread it evenly. Bake for 30 to 35 minutes, or until a toothpick inserted near the center comes out with a few moist crumbs. Allow the brownies to cool completely in the pan before decorating.
- SLICE AND PREPARE DECORATIONS: Once the brownies are fully cooled, lift them out using the parchment overhang and cut into 12 equal rectangles or squares. Melt the white chocolate chips in a microwave-safe bowl in 20-second intervals, stirring between each, until completely smooth. Transfer the melted chocolate to a piping bag or a zip-top bag with the corner snipped off.
- DECORATE THE MUMMIES: Pipe zig-zag lines of white chocolate over each brownie to resemble mummy bandages. While the chocolate is still soft, gently press two candy eyeballs onto each brownie. Let the chocolate set completely at room temperature or in the refrigerator before serving or storing.
Notes
White candy melts can be used in place of white chocolate chips for easier melting and piping. Store brownies in an airtight container at room temperature for up to 3 days, or refrigerate for longer freshness.
Nutrition Information
Yield
12Serving Size
1Amount Per Serving Calories 306Total Fat 8gSaturated Fat 3gTrans Fat 0gUnsaturated Fat 3gCholesterol 70mgSodium 173mgCarbohydrates 54gFiber 2gSugar 40gProtein 5g