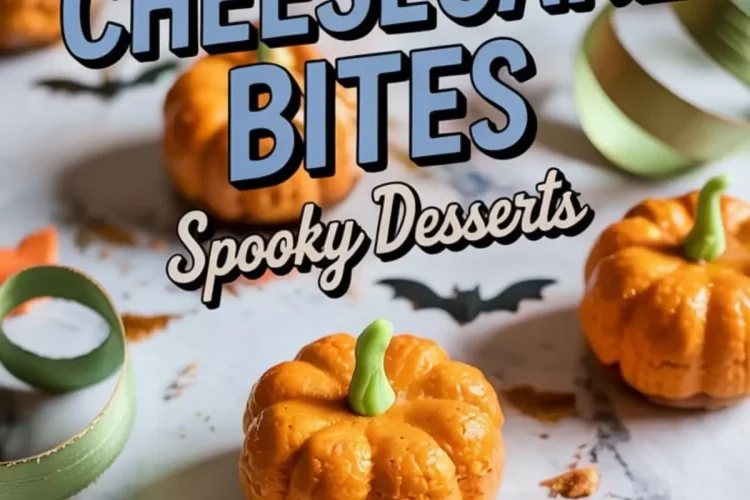
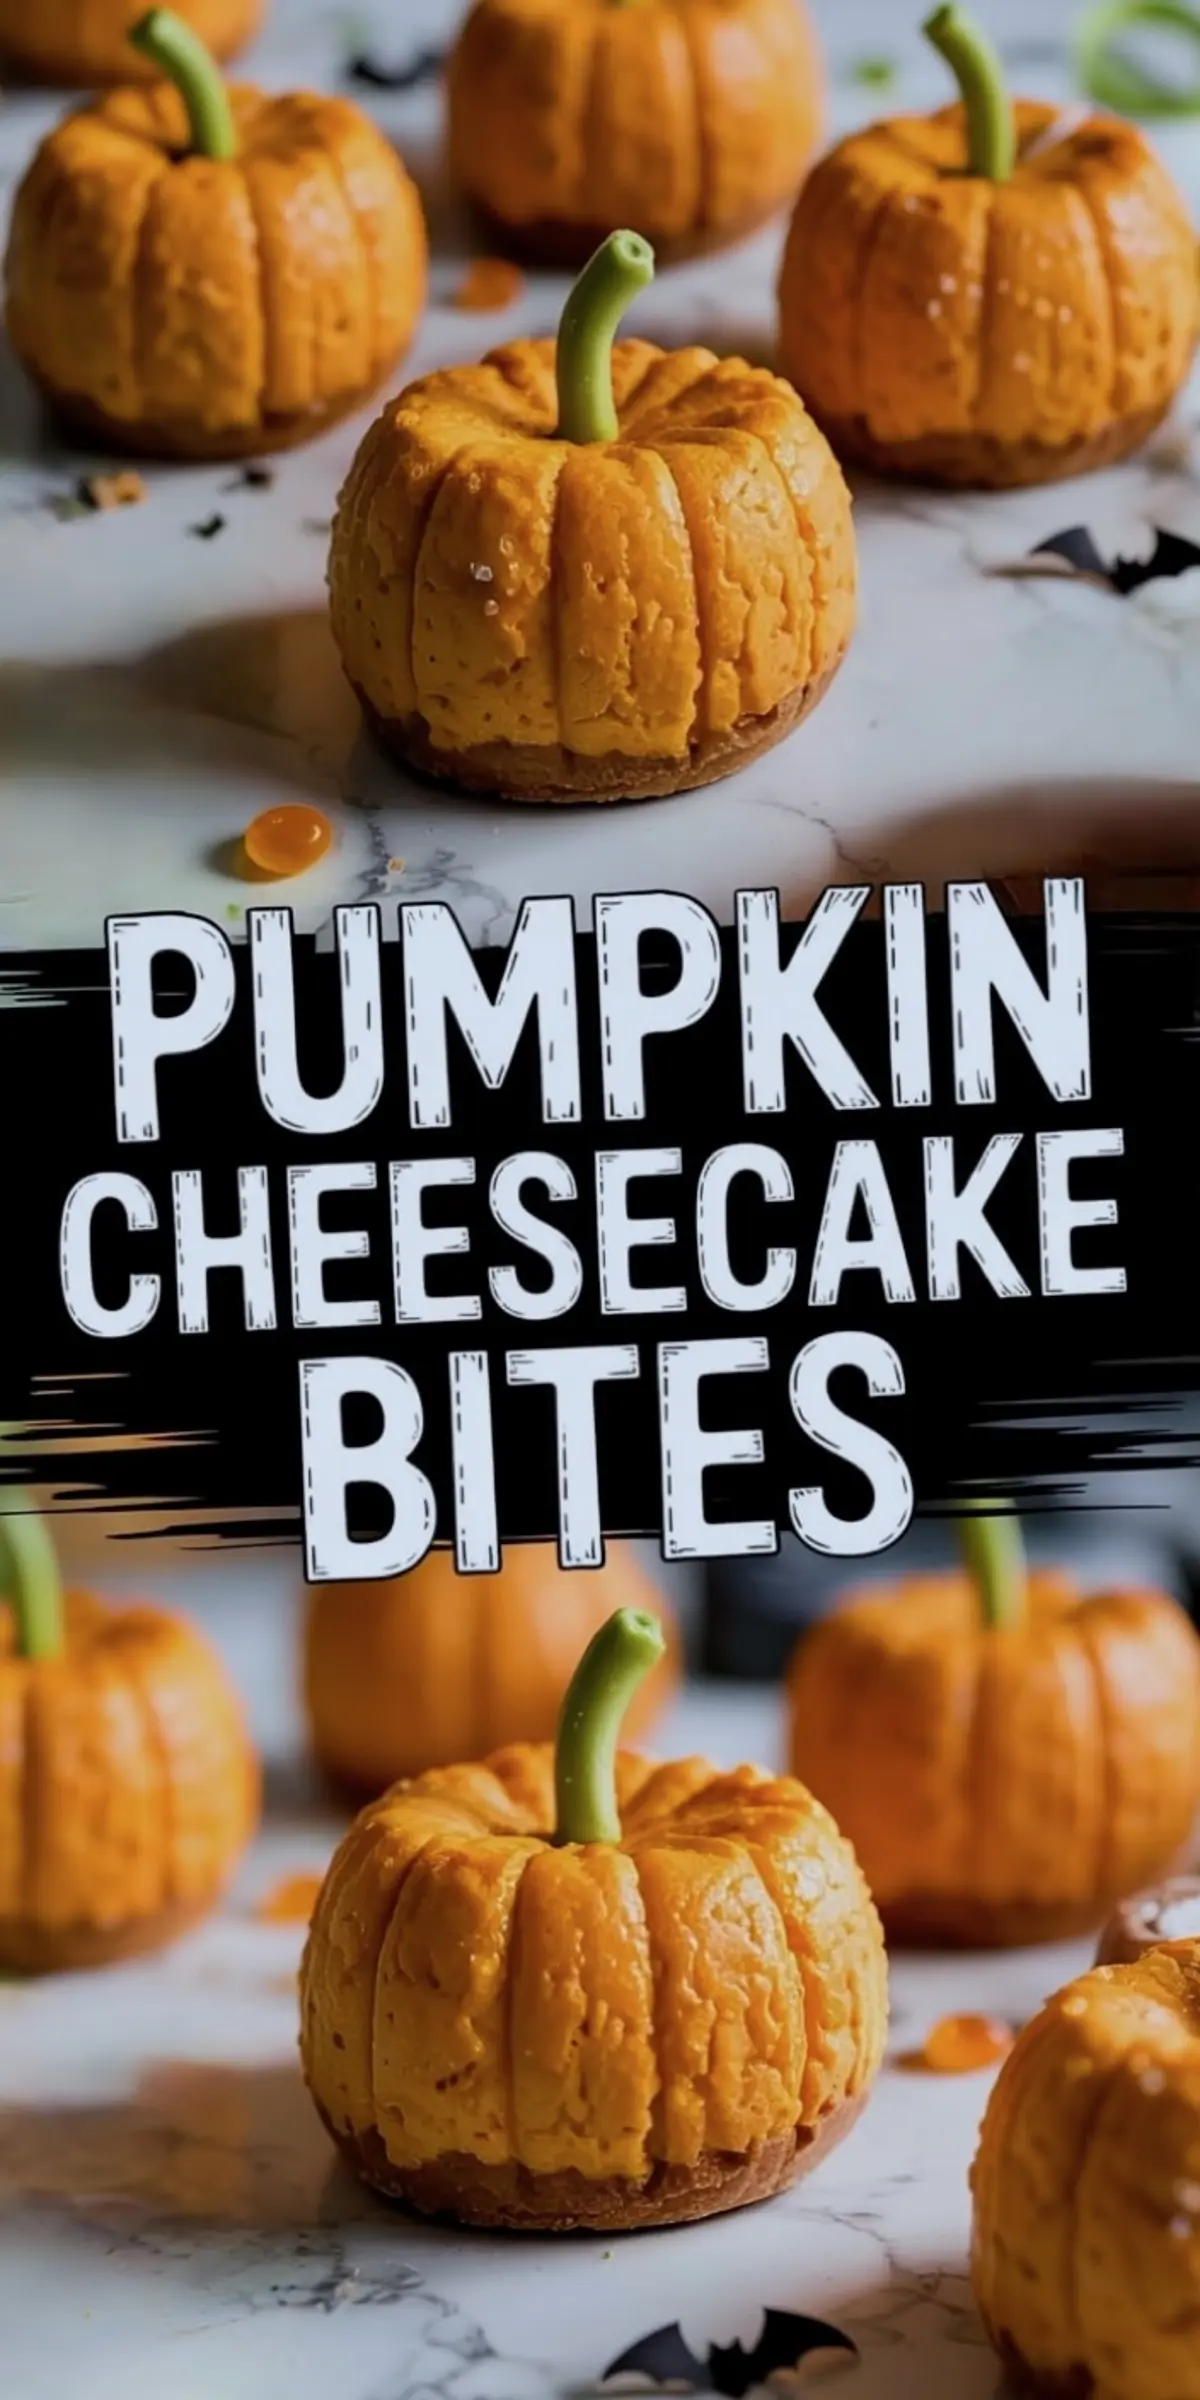
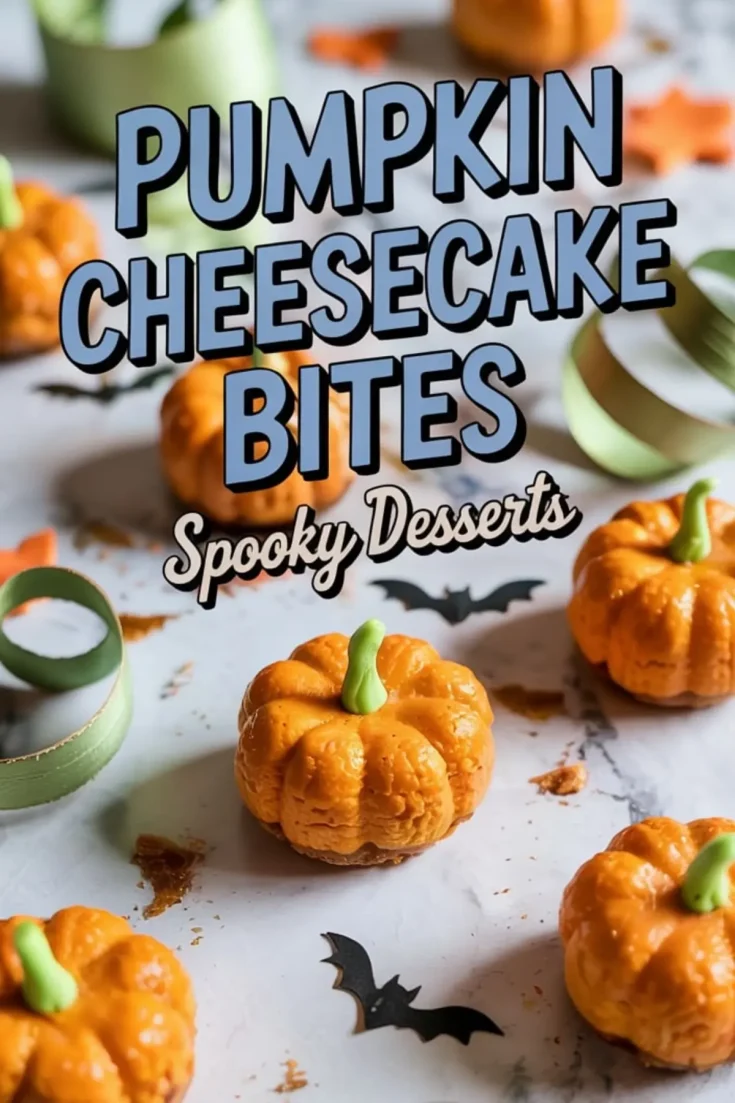
Pumpkin Cheesecake Bites combine the creamy flavor of classic pumpkin spice cheesecake with the convenience of bite size desserts. These are baked in silicone molds that shape them into little pumpkins, then chilled and topped with a pretzel stem for a fun finish. They’re festive, but still rich and satisfying, with the tang of cream cheese balanced by warm fall spices.
This recipe teaches you how to bake the filling inside the mold, not just roll cheesecake balls like many no-bake versions. That alone makes them hold together better for serving. You’ll learn how to build a simple spiced graham crust, whip a creamy pumpkin filling, and decorate each mini pumpkin cheesecake for Halloween or any fall treat tray.
Following a special diet?
Every recipe on this site can be converted to gluten-free, vegan, dairy-free, keto, nut-free or egg-free with adjusted ratios so nothing falls flat.
Try the Recipe Converter →You’ll Want to Make These Instead of Pumpkin Pie
This isn’t just a shortcut or a gimmick. Pumpkin Cheesecake Bites offer a better ratio of crust to filling. And because each bite has its own crust, the texture stays consistent and satisfying.
They’re especially helpful if you’re planning spooky treats for a Halloween party. Kids love the shape. Adults love the flavor. I’ve brought these alongside Pumpkin Patch Strawberries and Halloween Cake Pops to gatherings and watched them vanish first.
How to Make the Graham Cracker Crust for Cheesecake Balls
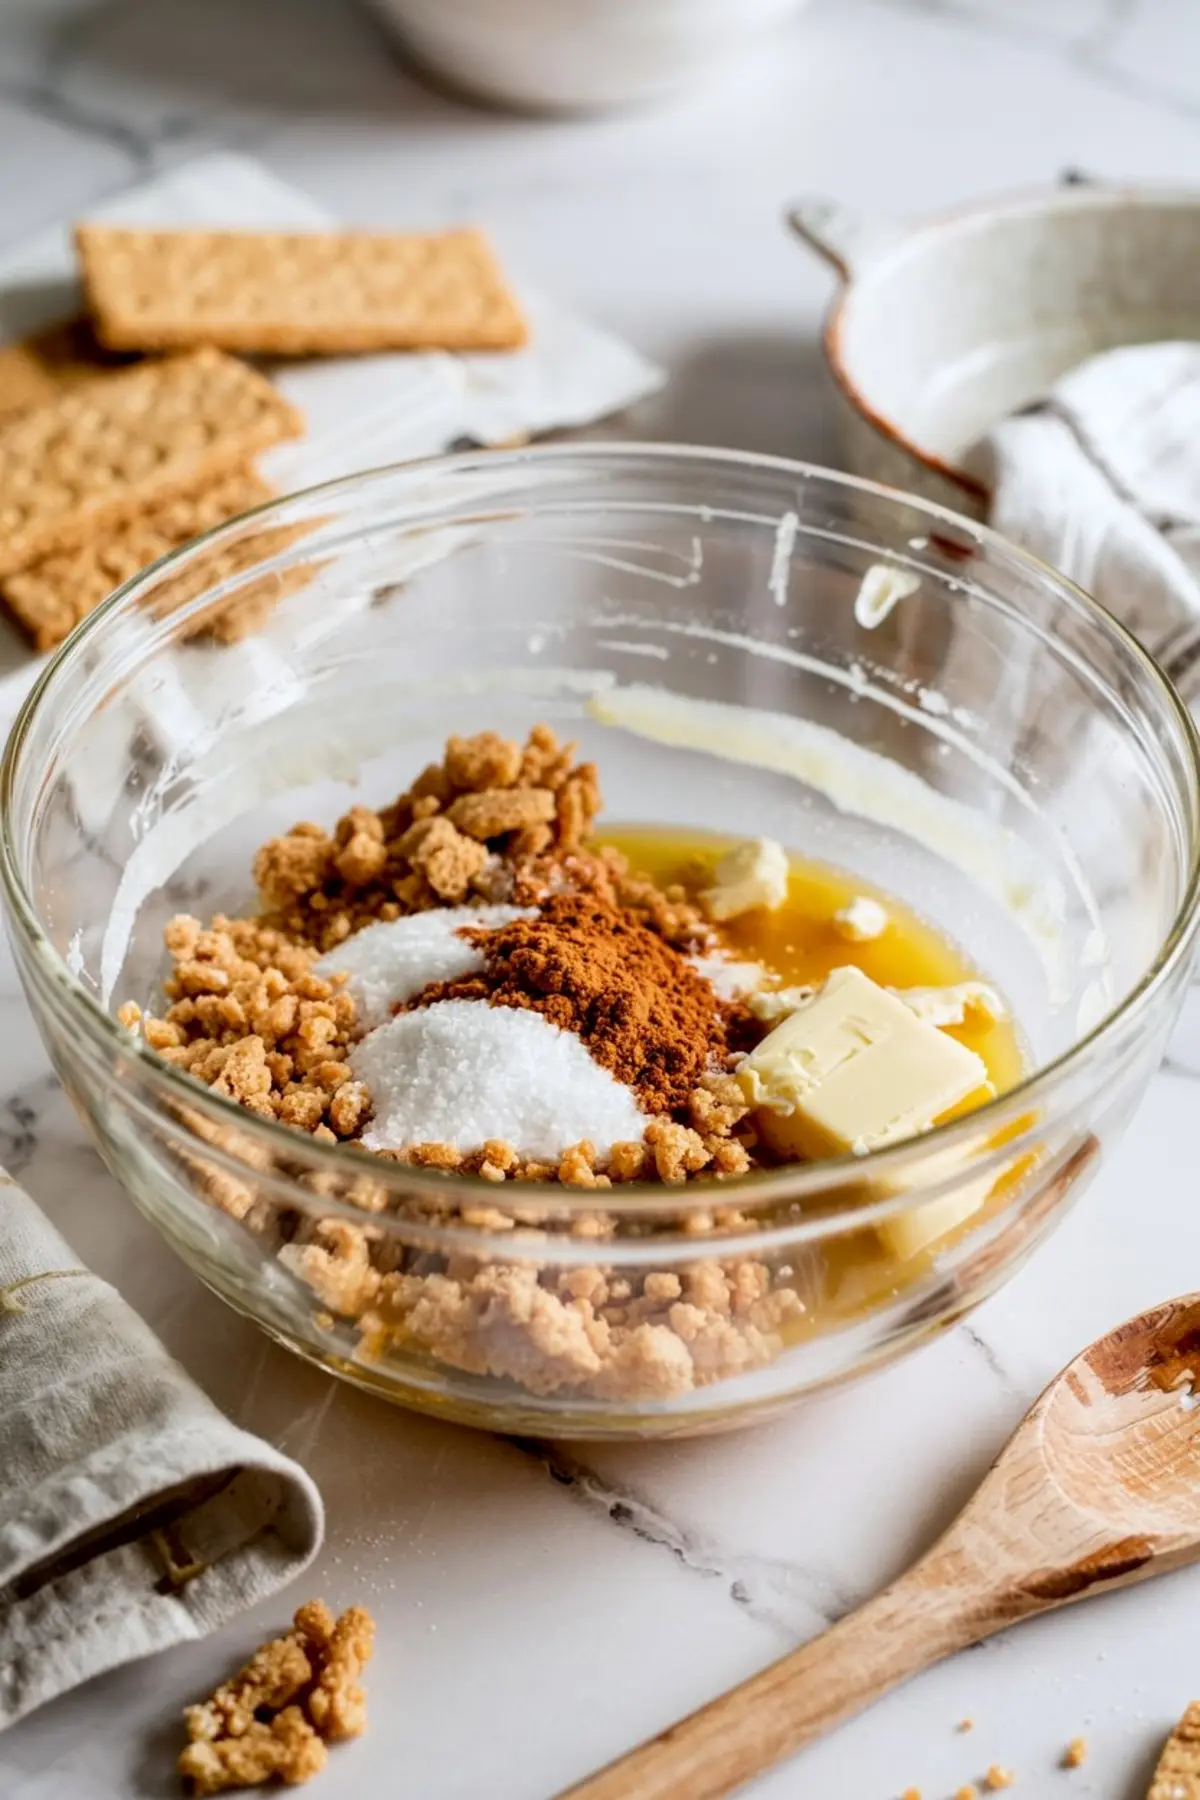
Start with fine graham cracker crumbs and mix them with brown sugar and melted butter. I sometimes add cinnamon here too, especially for fall treats when the spices echo the filling. Press the mixture into a mini bundt or silicone pumpkin mold, just like you would for a larger cheesecake base.
Once baked briefly, this crust firms up enough to hold the cheesecake in place. It also deepens the flavor in the oven. Let it cool before you add the filling—this helps prevent sinking and cracking.
In my notes, I’ve found that crusts made with gingersnaps can offer a spicier, crispier contrast. But graham crackers give a more balanced base if you’re already using bold spices in the filling. I’ve tried both. Graham is my go-to for these.
Creamy Pumpkin Cheesecake Filling with Just the Right Spice
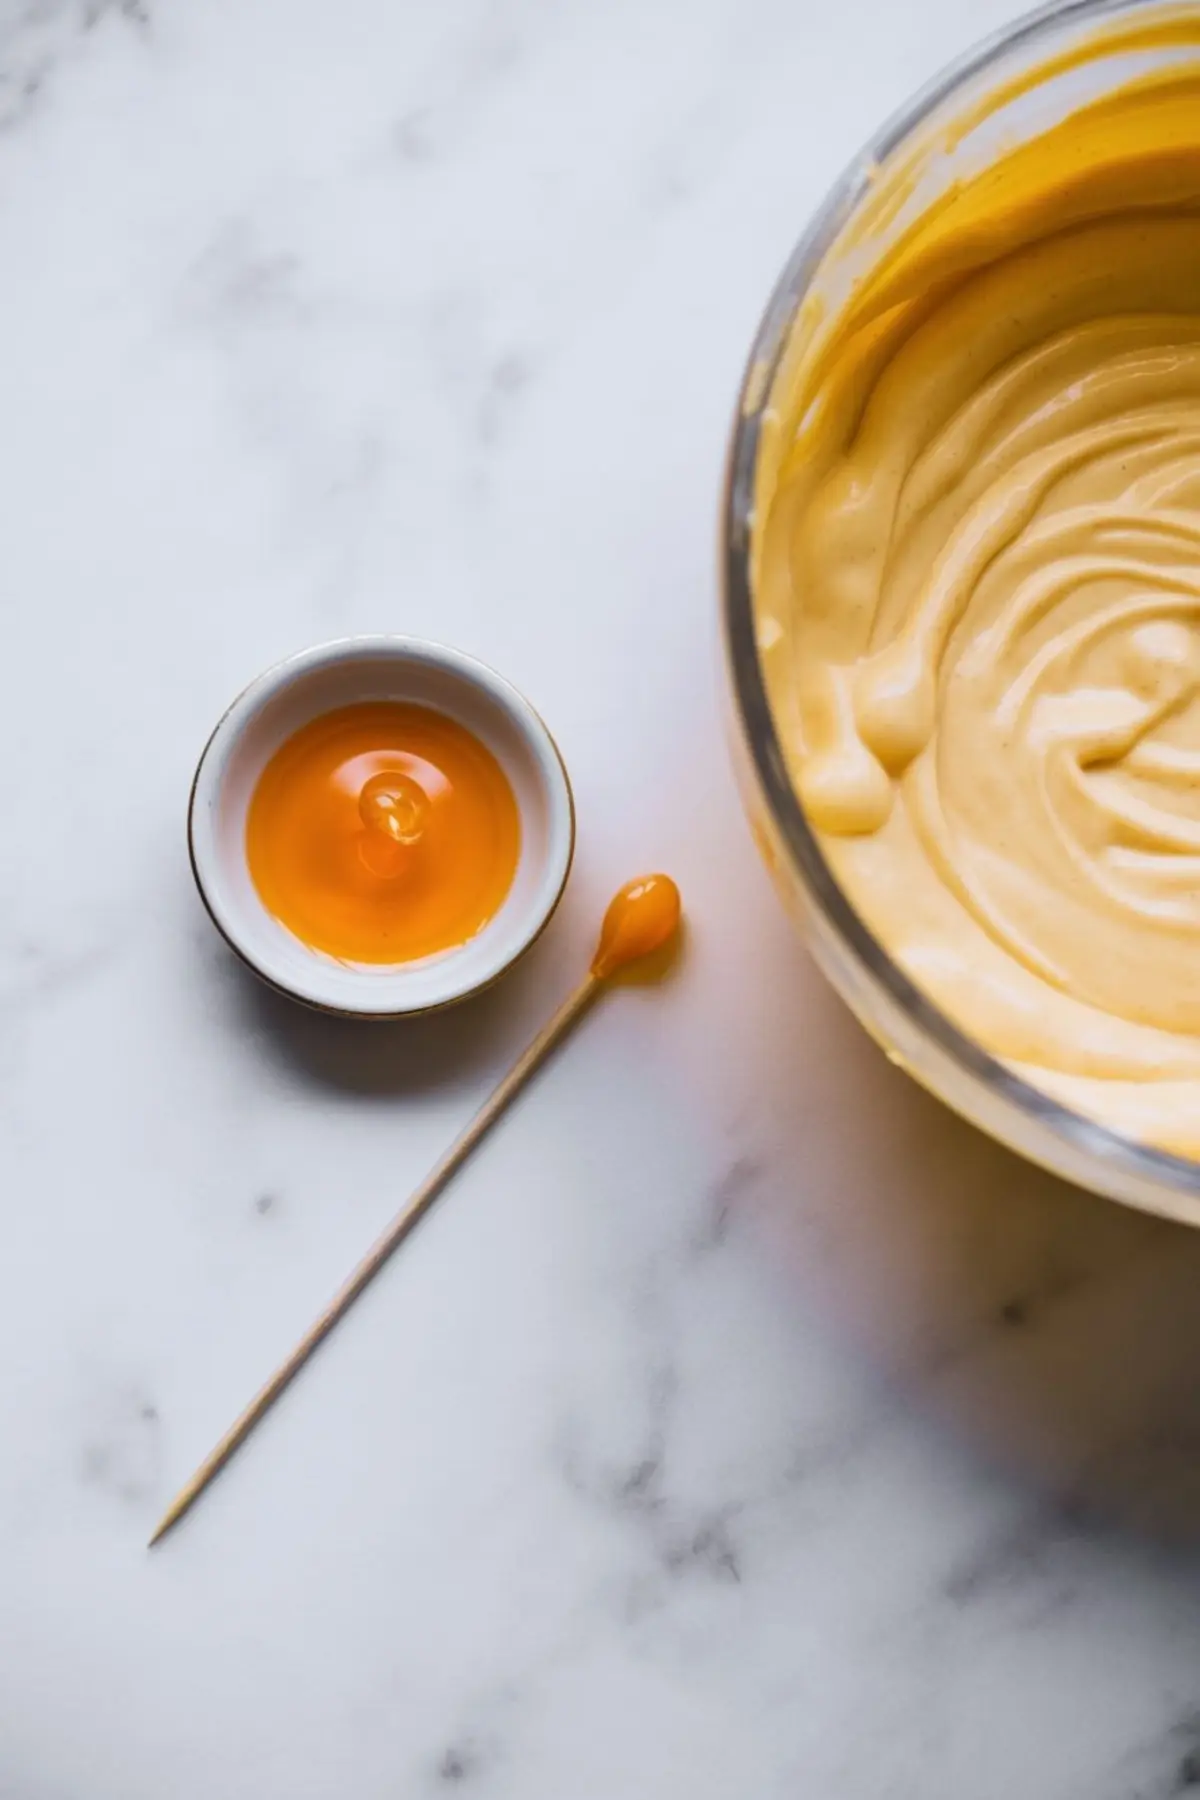
Use softened cream cheese and beat it well before adding sugar. This step ensures your filling is smooth from the start. Add in pumpkin purée, egg, and vanilla, followed by cinnamon, nutmeg, and cloves. A little flour helps the structure without toughening the texture.
You can use a touch of orange gel food coloring here if you want a brighter, more playful look. It’s optional, but for party platters, the color makes them pop.
Each mold should be filled nearly to the top. Tap the pan gently to remove any air bubbles this small detail helps them bake evenly. I always double-check the corners in my silicone mold to make sure there’s no trapped air. It makes the pumpkins look smoother once set.
Baking and Chilling: The Key to the Right Texture
Bake until the centers are set but slightly soft in the middle. You’ll know they’re ready when the surface no longer looks wet. Let them cool at room temperature for at least 30 minutes. Then chill for four hours or more. This step is non-negotiable. It gives the cheesecake time to firm up and take shape.
Once fully cold, they’ll lift out of the silicone mold easily. That’s one reason I prefer a silicone pan for these. Traditional metal pans can grip too tightly and ruin the shape.
You’ll find the texture smooth and dense, but not heavy. That’s the effect of balancing the cream cheese with pumpkin purée. It doesn’t taste overly spiced or overly sweet. Just balanced, soft, and creamy.
Fun Halloween Cheesecake Decoration Ideas
Once they’re chilled and unmolded, it’s time to add the details that make them look like mini pumpkins. A pretzel stick goes into the top of each one for the stem. Green candy sticks also work and hold better in warm rooms.
You can stop there, or go further and add candy melt leaves or a bit of fondant. I’ve done both. The fondant looks more polished, but candy melts are faster if you’re making these in bulk for a party.
If you want more themed ideas for spooky treats, these Halloween Strawberries are easy to match to your pumpkin cheesecake bites.
How to Serve and Store Mini Pumpkin Cheesecakes
These cheesecake balls are easy to serve straight from the fridge. I like placing them on a tray with crushed graham crackers underneath to look like a pumpkin patch. They hold well for several hours at room temperature, especially with the pretzel stem in place.
You can make them up to two days ahead and store them in an airtight container in the fridge. I don’t recommend freezing. It changes the texture and makes the stems soggy.
If you’re serving these at a party alongside drinks, they pair beautifully with something light like the Pumpkin Glow Cocktail. Together, they feel playful without being overdone.
A Quick Comparison for Better Results
I’ve tested this recipe with both canned pumpkin purée and homemade. Canned gives you a smoother consistency and predictable moisture level. Homemade has more flavor, but the water content varies and can make the filling loose. For these cheesecake bites, I stick with canned pumpkin. It sets better and saves time.
More Fall Recipes You Can Make This Halloween
If you’re in a pumpkin dessert mood, you might also like these:
Each of these complements the Pumpkin Cheesecake Bites on a fall dessert table, and none of them require complicated prep.
Save This for Later and Tell Me How It Turned Out

If these Mini Pumpkin Cheesecake Bites make it onto your Halloween table or your cozy fall weekend, I’d love to hear how they worked for you.
Save this post to your Pumpkin Desserts or Spooky Treats board for later.
Drop a comment if you tried them, or if you added your own spin—I read every one.
Pumpkin Cheesecake Bites Recipe
Pumpkin cheesecake bites taste like a full pumpkin spice cheesecake, but in soft, bite size desserts you can pick up with your fingers. I blend cream cheese, pumpkin puree, spices, and crushed cookies, then roll them into cheesecake balls and chill until firm. You can dip them in chocolate or roll them in crushed graham crackers. These mini pumpkin cheesecake treats work for fall gatherings, spooky treats for Halloween, or as a quick pumpkin dessert on a weeknight. I’ve tested other pumpkin cheesecake recipes, but these win for flavor and ease. If you’re browsing pumpkin recipes and want something no bake and fast, this is it. I keep a batch chilled all season, and they vanish faster than pie.
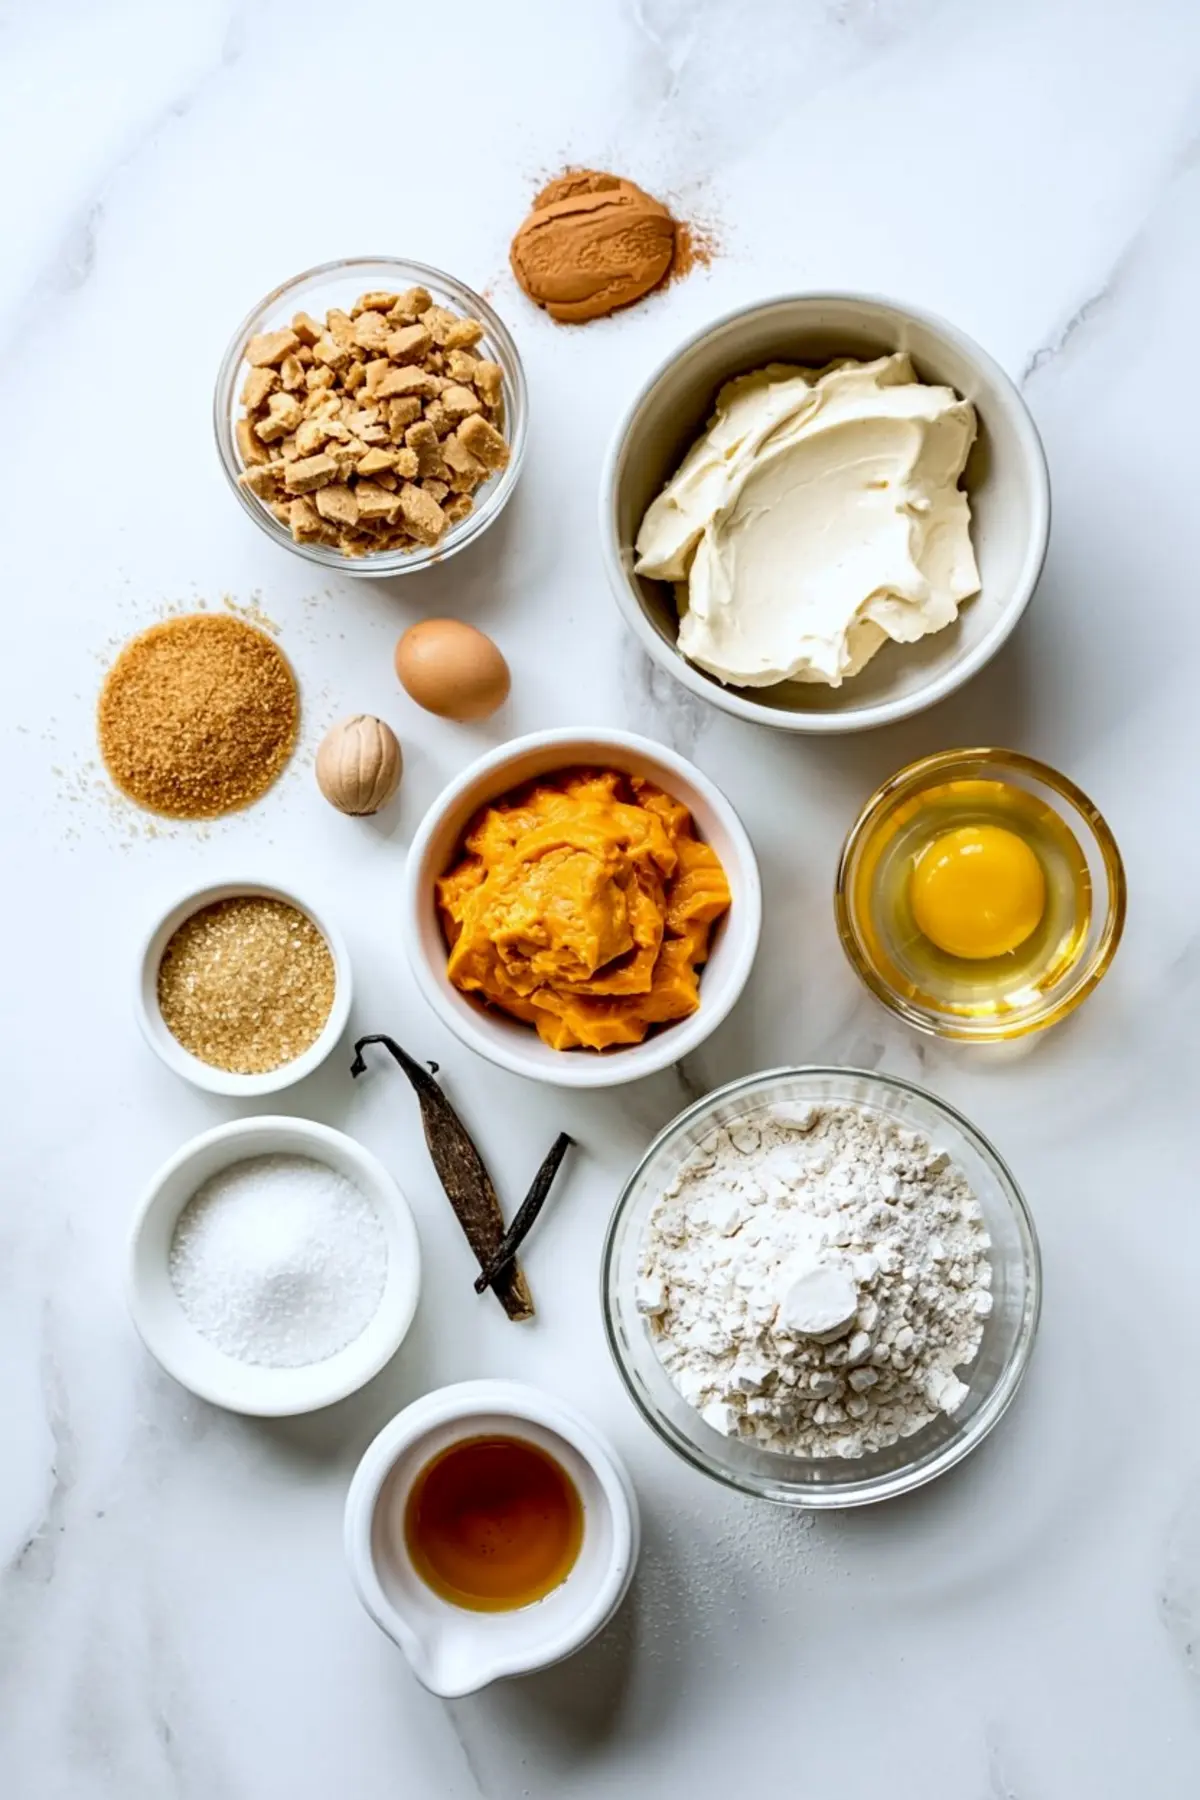
Ingredients
- FOR THE CRUST
- 1 cup graham cracker crumbs
- 2 tablespoons brown sugar
- 4 tablespoons unsalted butter, melted
- 1/2 teaspoon cinnamon (optional)
- FOR THE FILLING
- 16 ounces cream cheese, softened
- 1/2 cup granulated sugar
- 1/2 cup pumpkin purée (not pumpkin pie filling)
- 1 large egg
- 1 teaspoon vanilla extract
- 1 teaspoon ground cinnamon
- 1/4 teaspoon ground nutmeg
- 1/8 teaspoon ground cloves
- 2 tablespoons all-purpose flour
- Orange gel food coloring (optional)
- FOR DECORATION
- Pretzel sticks or green candy sticks (for stems)
- Optional: green candy melts or fondant leaves
Instructions
- PREHEAT THE OVEN AND PREP MOLDS: Preheat the oven to 325°F (165°C). Lightly grease a mini bundt pan or silicone pumpkin mold to ensure easy release after baking.
- MAKE THE CRUST: In a mixing bowl, combine graham cracker crumbs, brown sugar, cinnamon, and melted butter. Stir until the texture resembles wet sand. Add about 1 tablespoon of the crust mixture to each cavity and press down firmly to form an even layer. Bake for 5 minutes, then remove from oven and let cool.
- PREPARE THE CHEESECAKE FILLING: In a large bowl, beat the softened cream cheese until smooth. Add the granulated sugar and beat again until light and fluffy. Mix in the pumpkin purée, egg, and vanilla extract. Add cinnamon, nutmeg, cloves, and flour, and beat just until everything is combined. If using orange gel food coloring, add a few drops and mix until evenly colored.
- FILL AND BAKE: Spoon the filling over the cooled crusts, filling each mold almost to the top. Tap the pan gently on the counter to release air bubbles. Bake for 18 to 22 minutes, or until the centers are set but still slightly jiggly. Remove from oven and cool at room temperature for 30 minutes. Then refrigerate for at least 4 hours or overnight.
- DECORATE THE CHEESECAKE BITES: Once fully chilled, carefully remove the cheesecakes from the molds. Insert a pretzel stick or green candy stick into the center of each to resemble a pumpkin stem. Optionally, add a small fondant or candy melt leaf for decoration.
Notes
Notes:
Use a silicone mold for easiest release. Avoid overmixing the batter to maintain a smooth texture. Cheesecakes can be made 1–2 days in advance and stored chilled.
Nutrition Information
Yield
12Serving Size
1Amount Per Serving Calories 279Total Fat 18gSaturated Fat 10gTrans Fat 0gUnsaturated Fat 6gCholesterol 64mgSodium 189mgCarbohydrates 26gFiber 1gSugar 17gProtein 4g