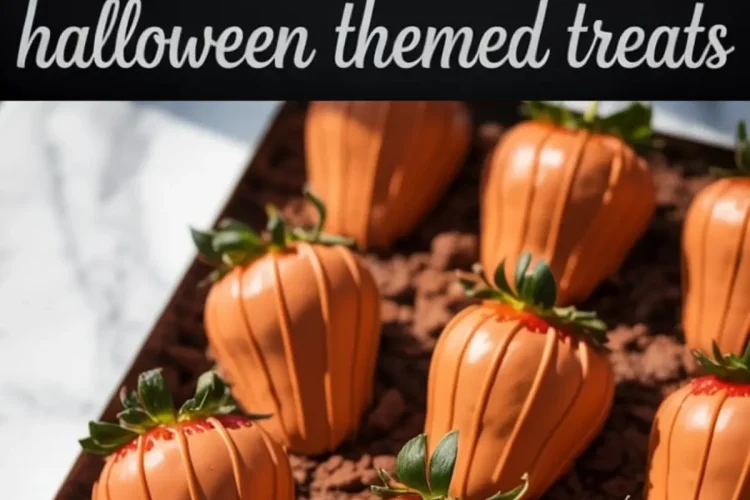
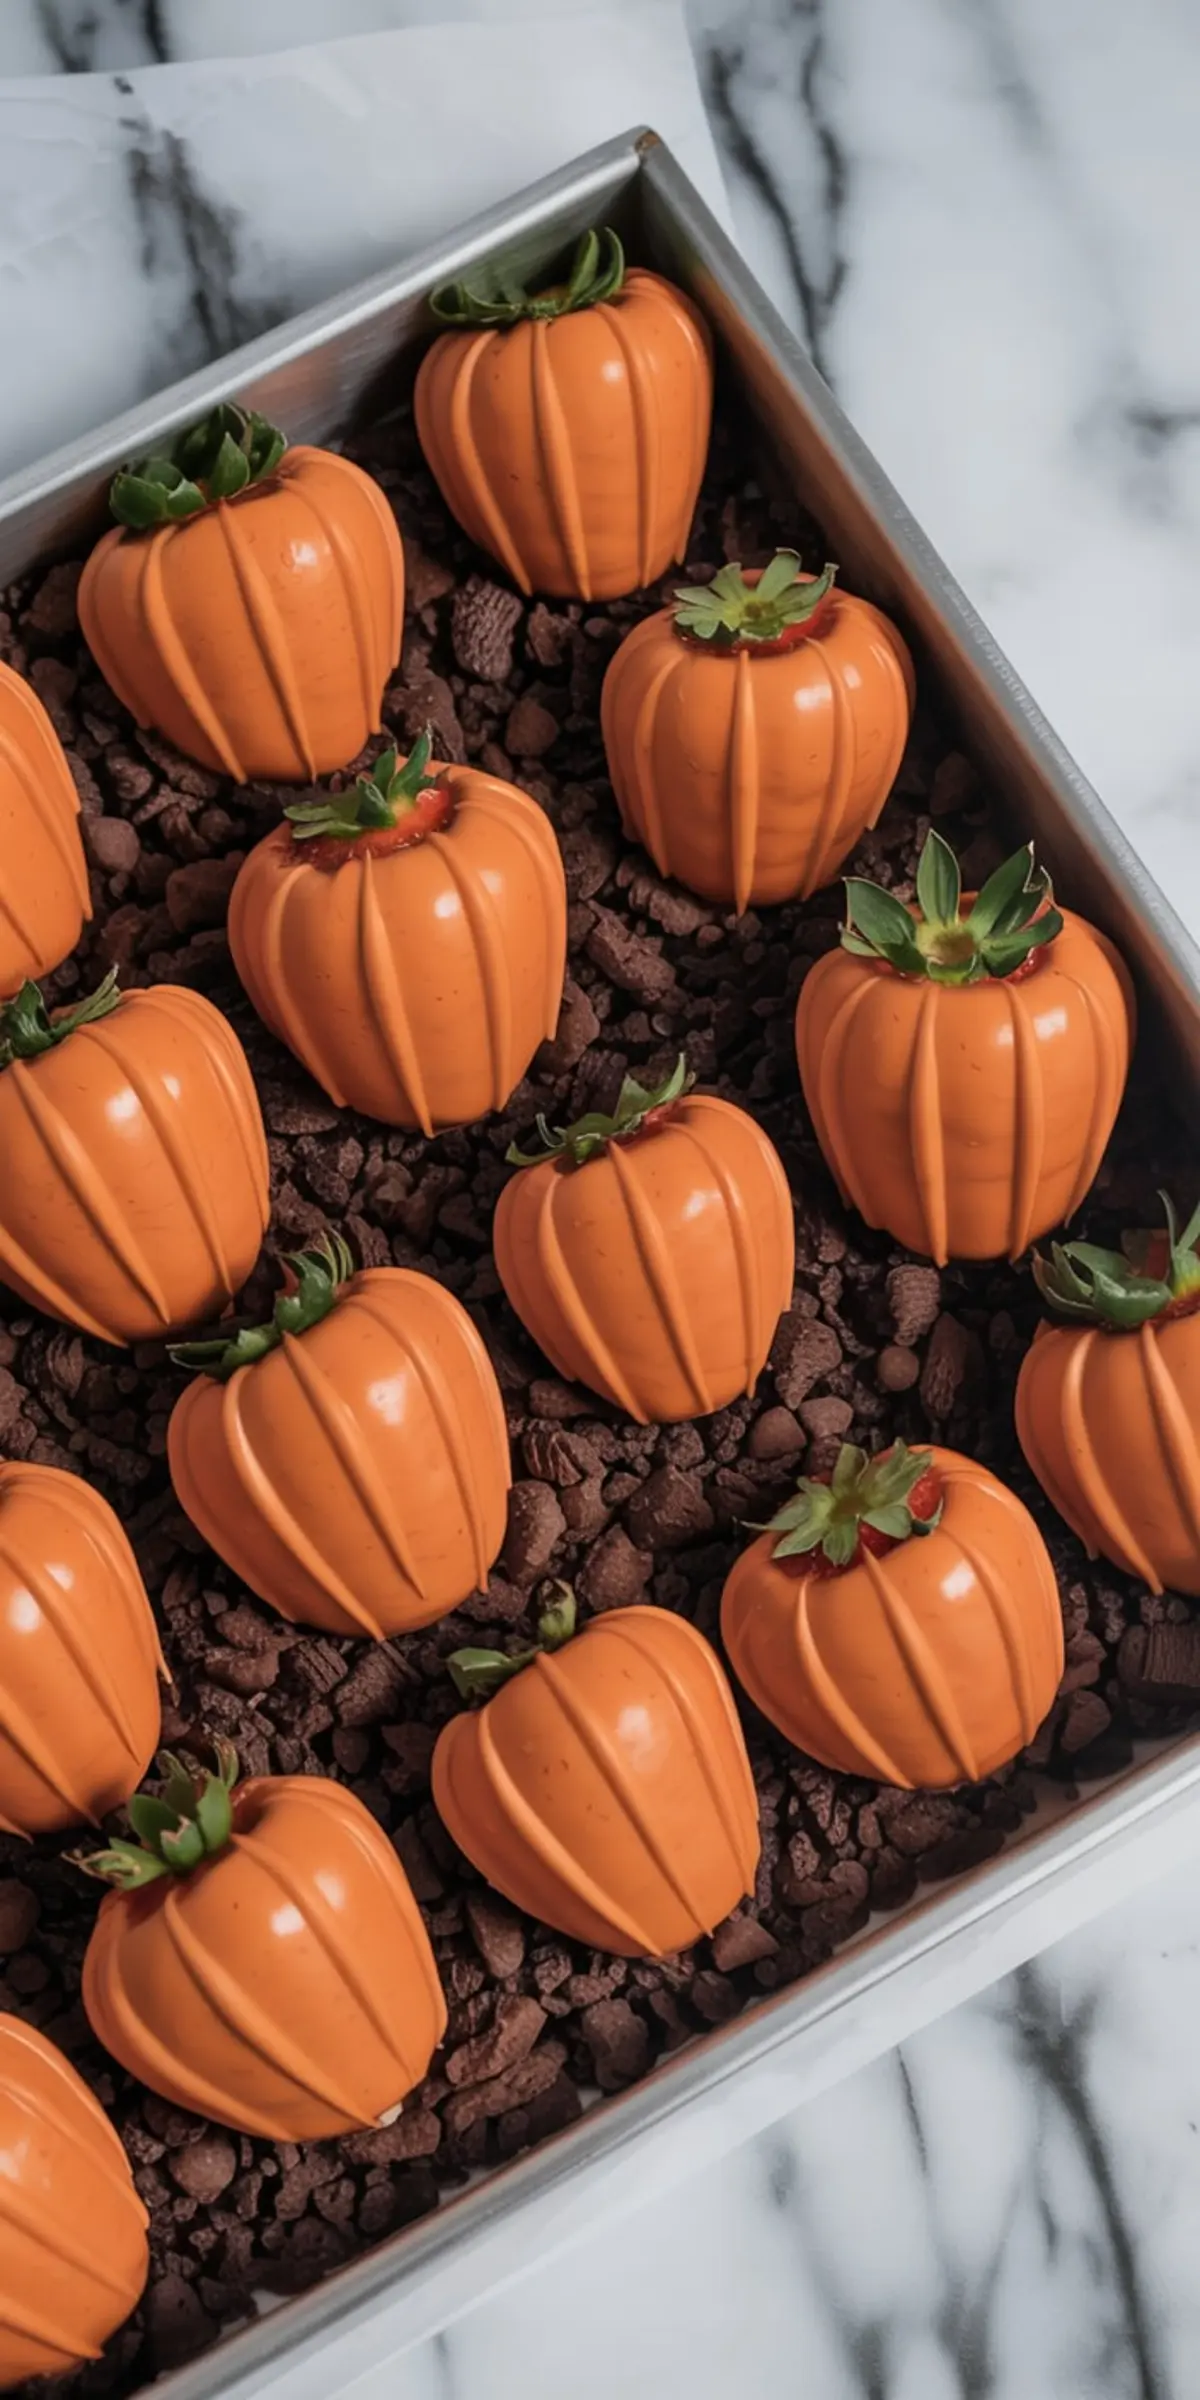
Pumpkin Patch Strawberries are more than decoration. They’re crisp, orange-coated strawberries styled to resemble pumpkins, sitting upright on a crushed cookie base. They’re neat, charming, and built to last through a full party tray. This article will guide you through how to make them, how to serve them, and what details matter most when you want your fall theme chocolate strawberries to look intentional instead of last-minute.
You’ll learn exactly how to get smooth chocolate, how to pipe the pumpkin ridges without smearing, and why the base is more than just crushed cookies. These are Halloween party snacks that hold shape, sit upright, and look like you planned ahead.
I’ve made these for dessert boards, classroom trays, and early fall potlucks. They’re easy to customize, but they work best when kept simple.
Following a special diet?
Every recipe on this site can be converted to gluten-free, vegan, dairy-free, keto, nut-free or egg-free with adjusted ratios so nothing falls flat.
Try the Recipe Converter →Pumpkin Strawberries on Your Halloween Dessert Table
Most chocolate covered strawberry recipes lean sweet or romantic. These don’t. These lean playful. The design is clean, not messy. No faces, no fake eyes. Just bright orange berries with green tops and subtle piped lines that suggest pumpkins without overstating it.
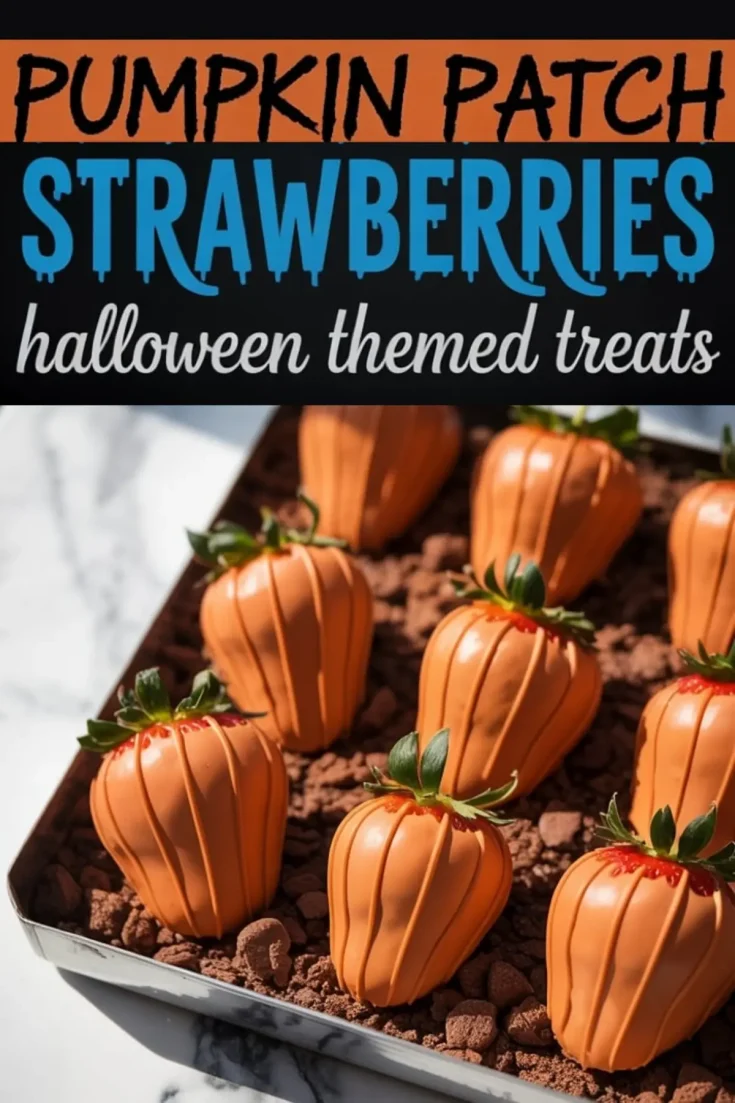
What sets them apart from other Halloween desserts is how structured they are. They don’t slump. The ridges hold. The color stays sharp. If you’ve tried dipping strawberries before and ended up with patchy or dull finishes, this method gives you more control.
I like placing them next to this Halloween Charcuterie Board for a visual contrast. The soft orange and dark cookie base makes them pop, even in dim lighting.
They always draw a few comments. People pick them up carefully, unsure if they’re edible. Then they take a second one.
Choosing the Right Strawberries and Coating
Start with large, firm strawberries. Smaller ones disappear under the coating. You want height. You want those green tops to stand tall. That contrast between the bright orange shell and leafy top is what signals pumpkin.
Candy melts are straightforward. They melt evenly and stay fluid long enough for dipping. White chocolate with oil-based food coloring works too, but I’ve found it thickens faster. You’ll need to adjust with coconut oil or shortening.
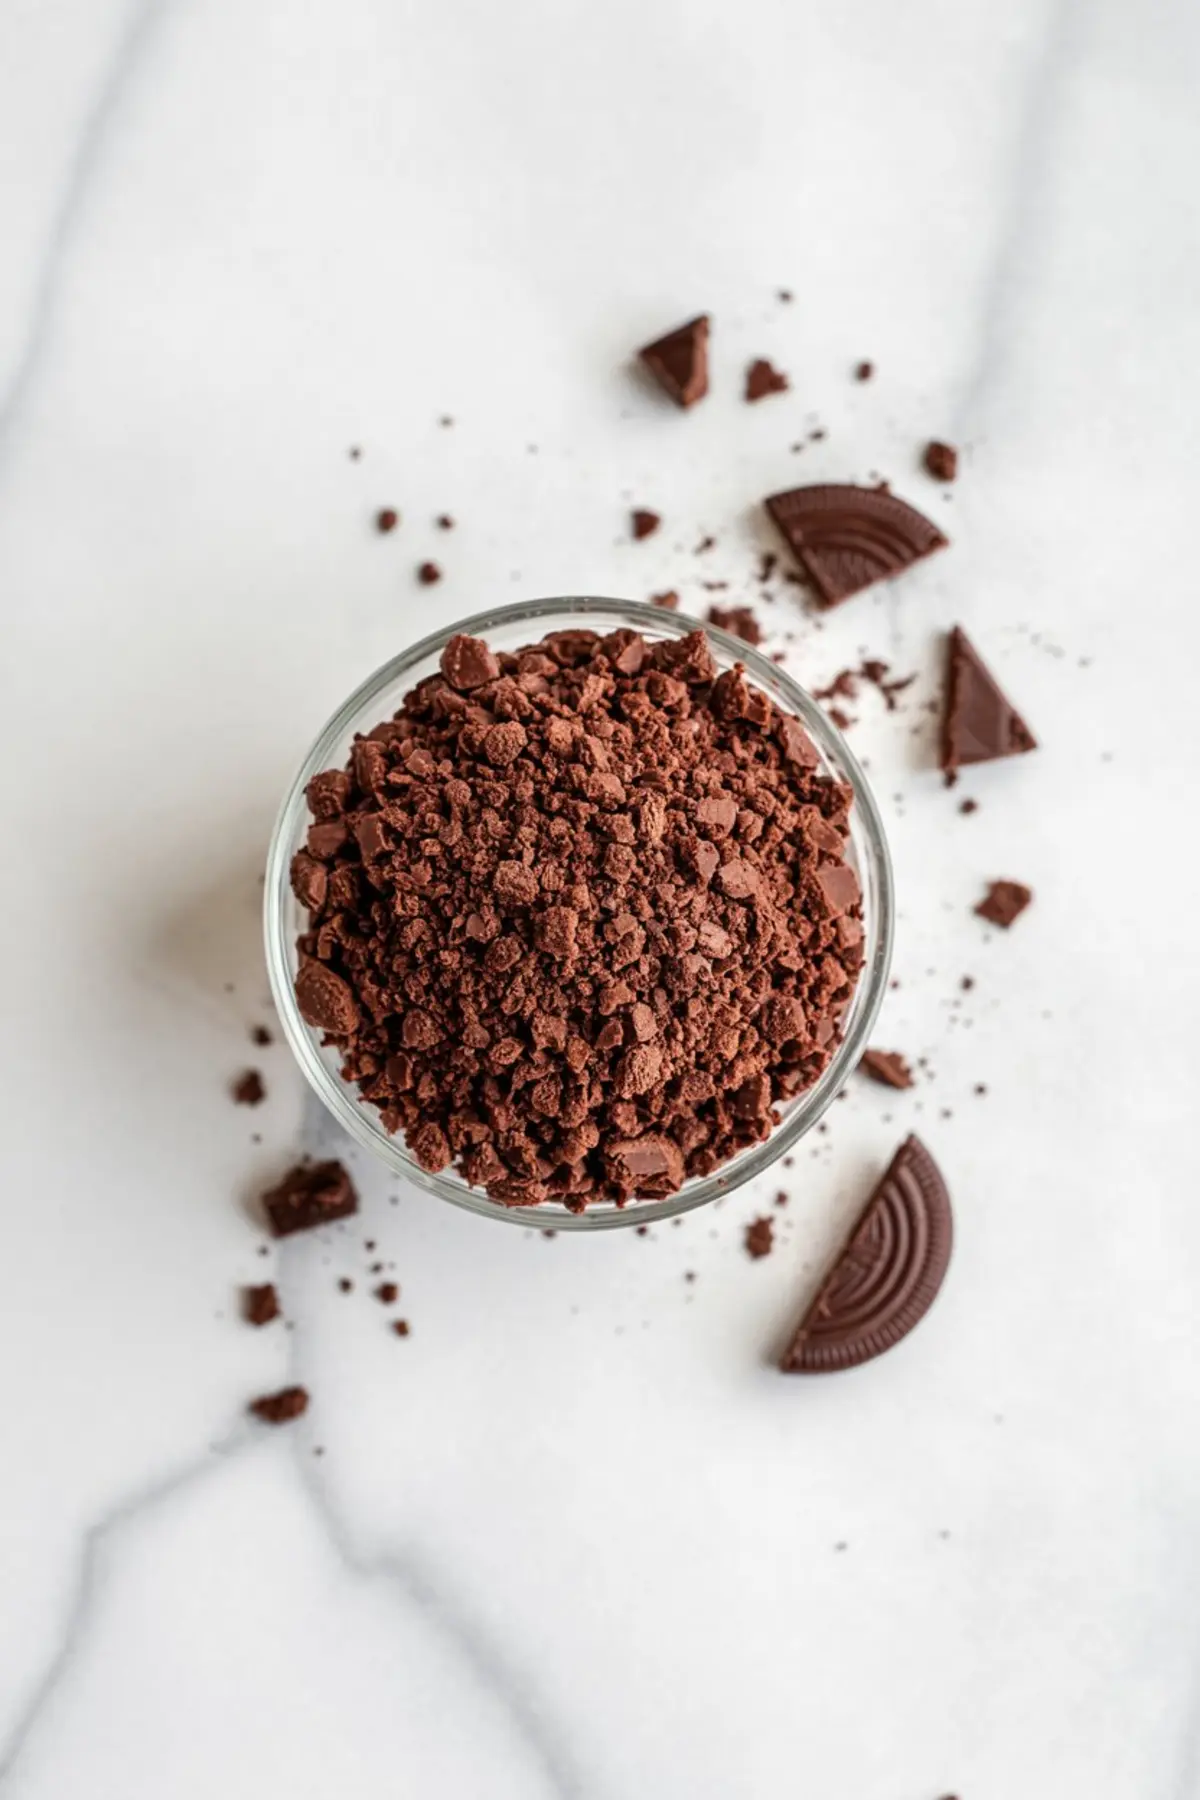
The cookie crumb base isn’t just for show. It stabilizes the strawberries and adds textural contrast. I usually crush chocolate sandwich cookies and scatter a few chopped peanut butter cups over the tray. It looks layered without feeling overdone.
You can see how well that works by pairing them with this Halloween Dip for a sweet-salty balance.
Melting and Dipping Without Clumps or Cracks

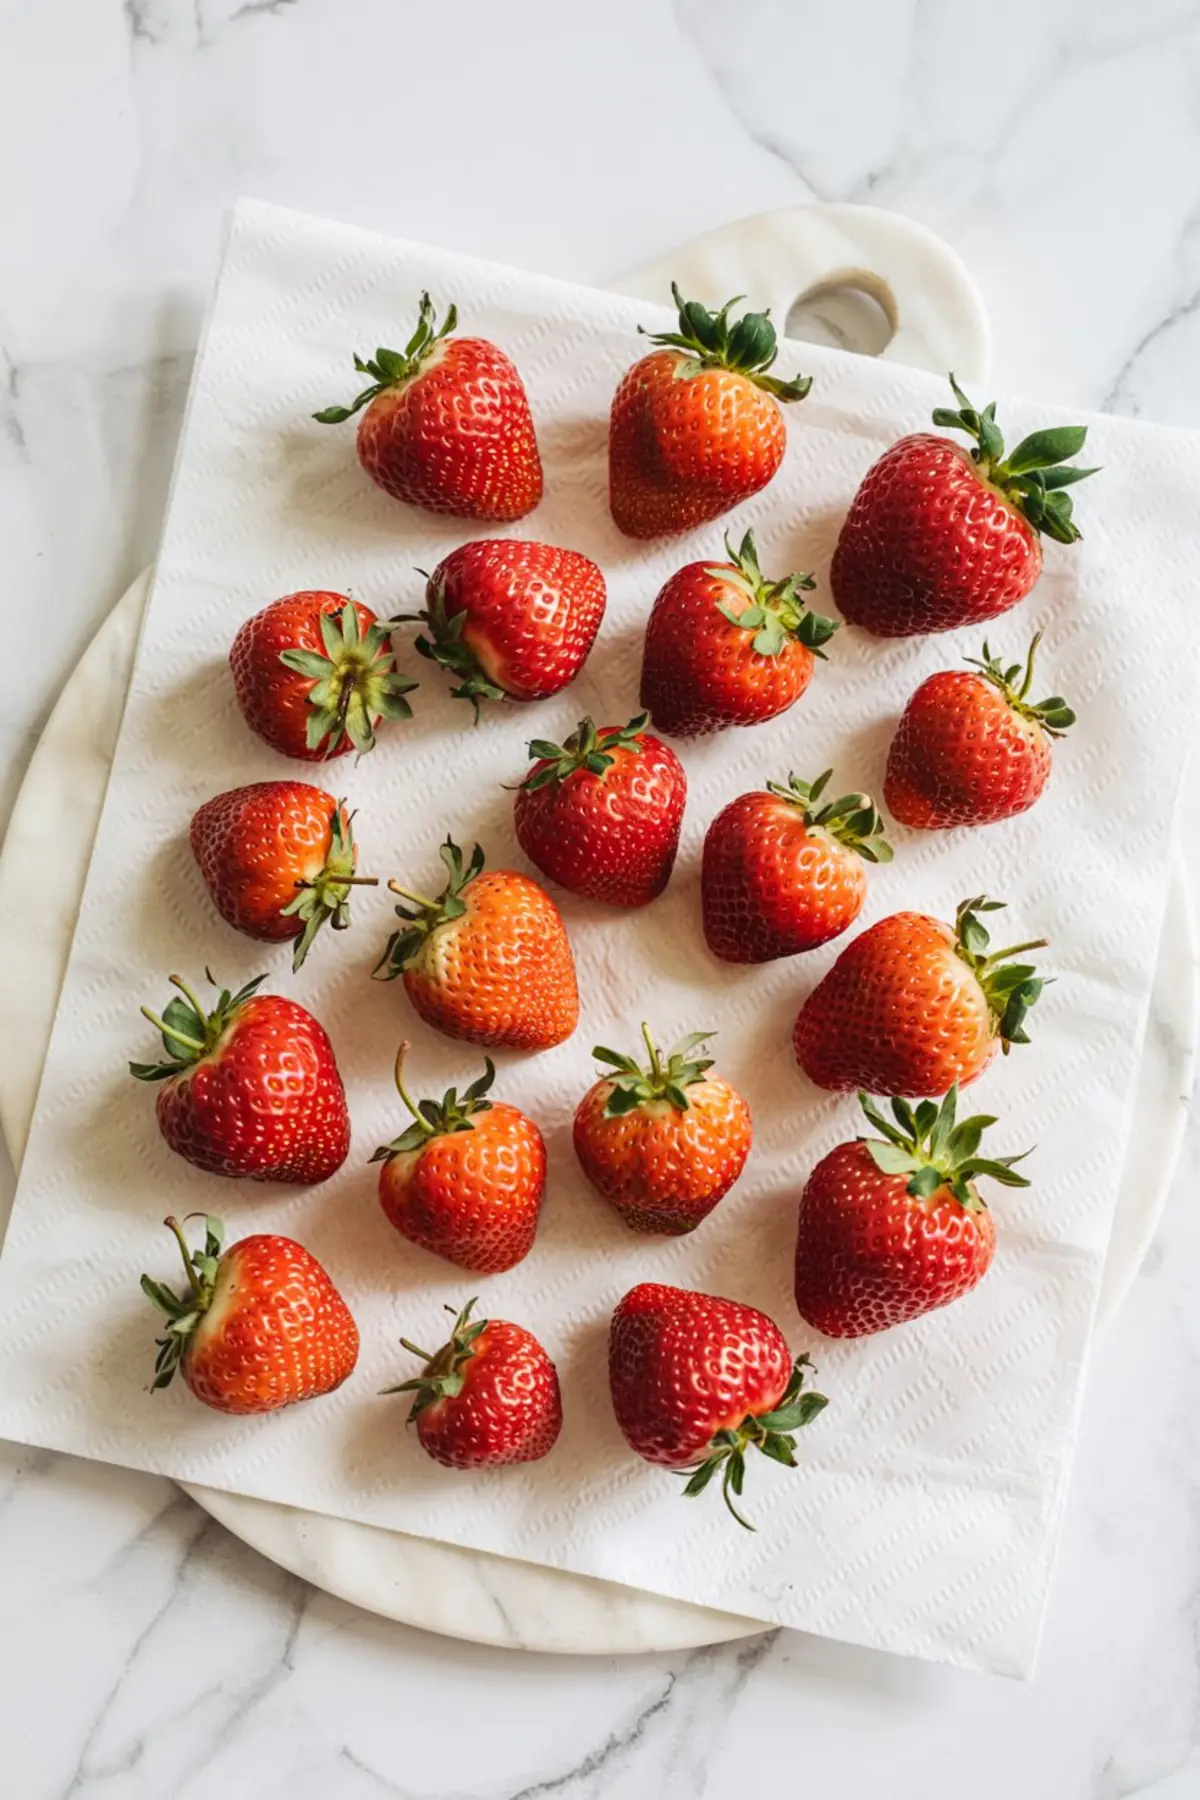
Always dry the strawberries completely. If even a trace of water touches your chocolate, it can seize. I pat them dry with paper towels and let them rest on a dish towel before starting.
Melt the candy in a clean, dry microwave-safe bowl. Use short bursts and stir after each round. If it feels too thick, add a bit of coconut oil. Just a teaspoon can make it smoother. Don’t add too much. You want it to coat, not run.
I melt in two stages. The first batch covers the strawberries. The second is set aside for piping once the berries are dipped and semi-set. The color stays brighter this way.
If using white chocolate and dye, make sure it’s oil-based. Water-based coloring causes clumping. I learned that one year the hard way. Halloween morning, a bowl of seized chocolate and no backups.
Creating the Pumpkin Ridges and Building the Patch
Once dipped, let the strawberries rest on parchment paper for five to ten minutes. Not longer. They need to be set, but still soft enough to hold the drizzle.
Spoon the reserved melted chocolate into a zip-top bag. Snip a tiny corner. Pipe vertical ridges from the base of the green stem down to the tip. Keep it light. One pass at a time. Let gravity do part of the work.
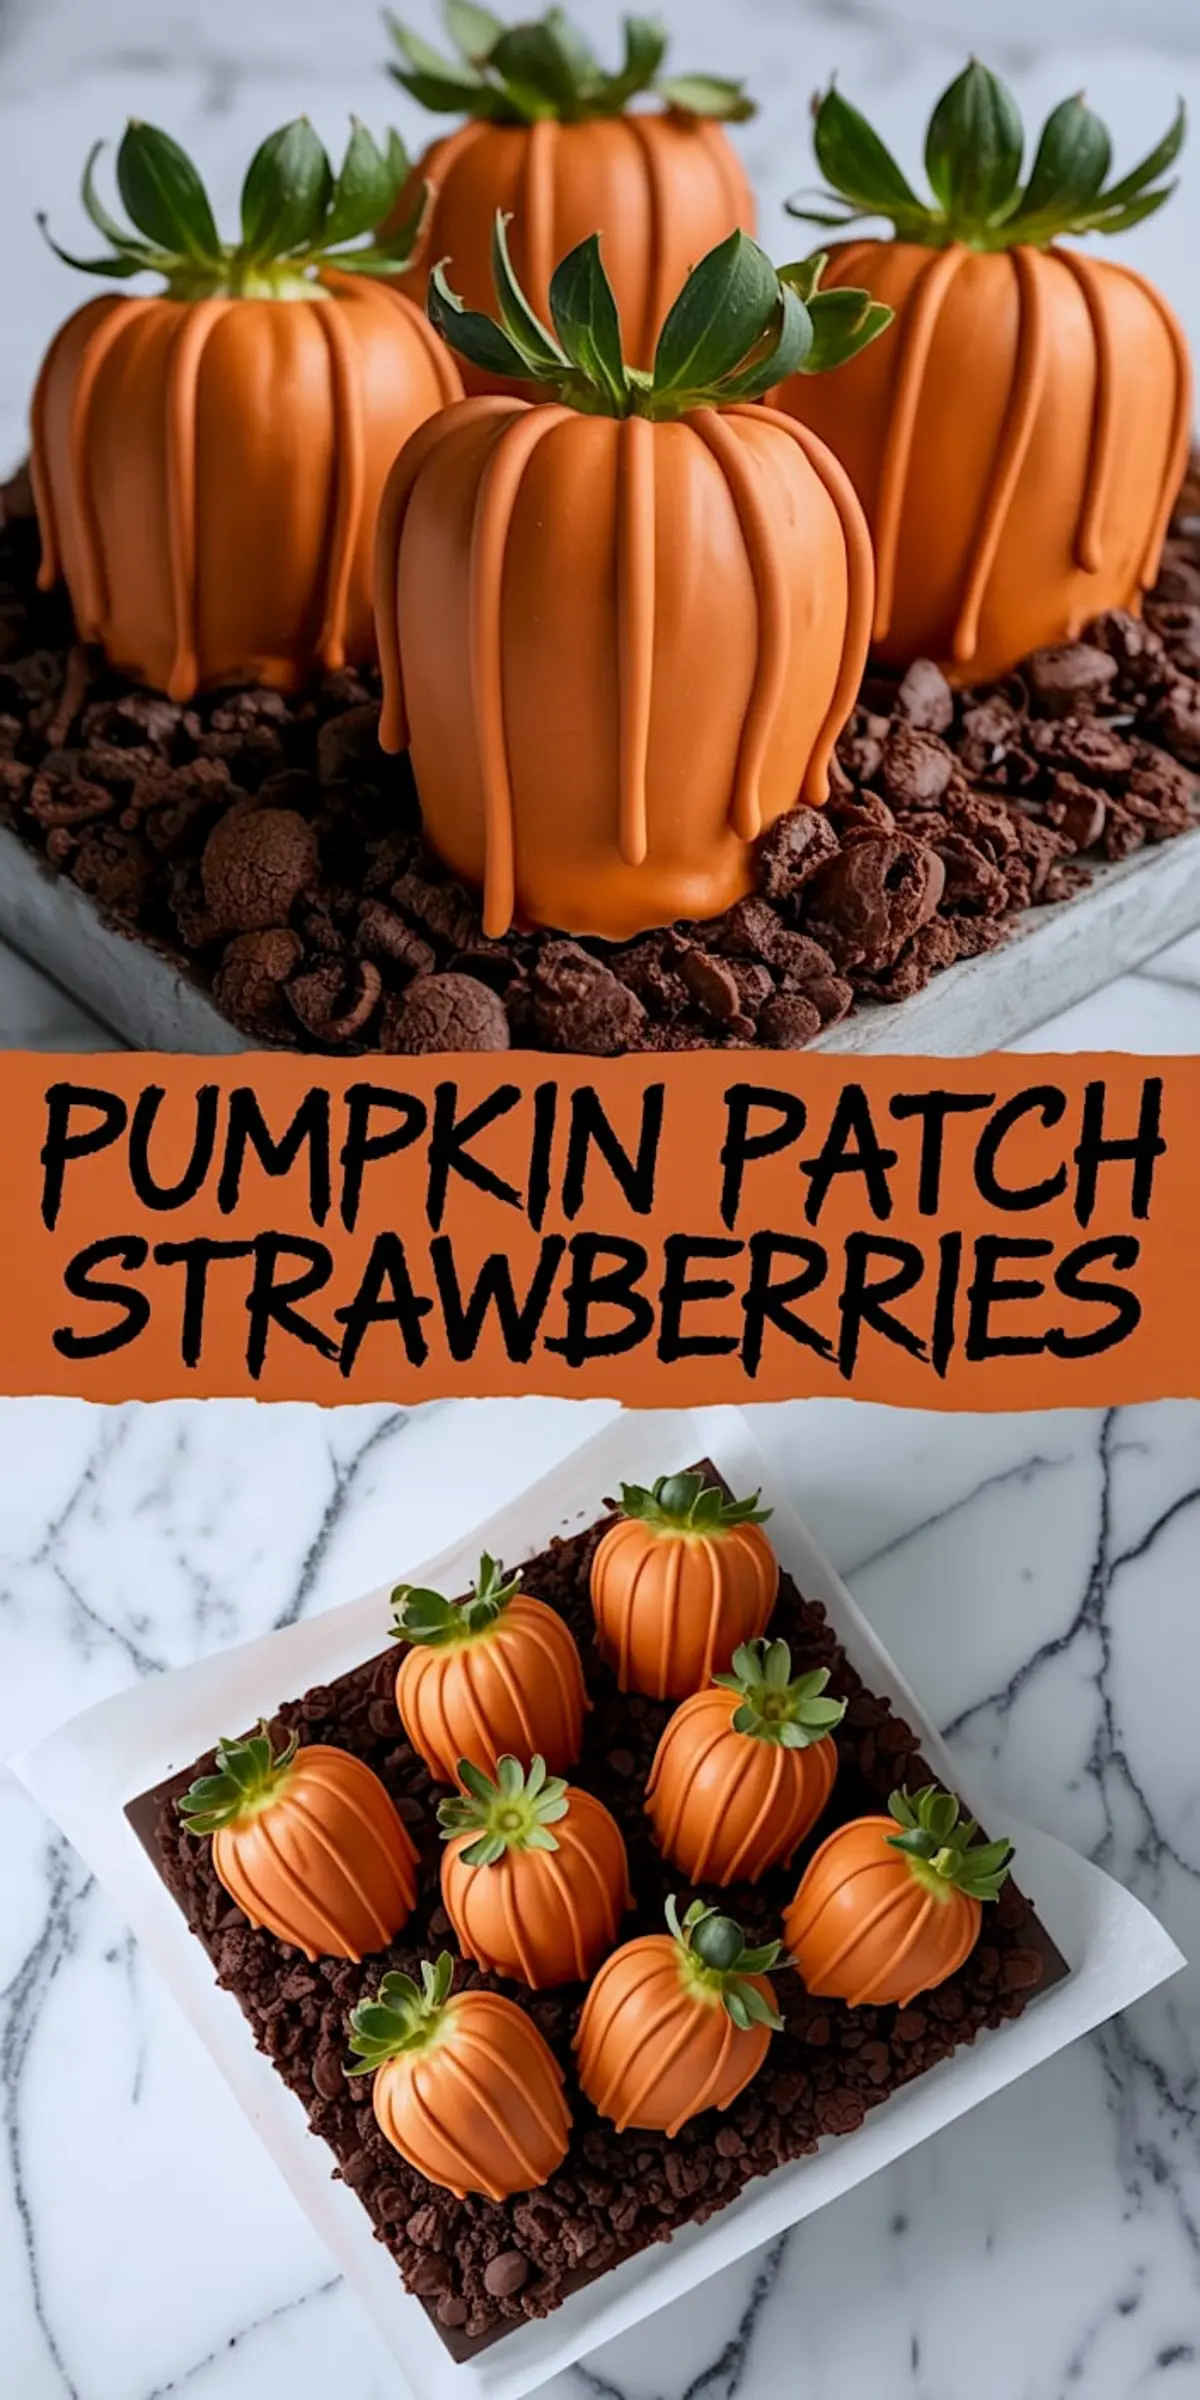
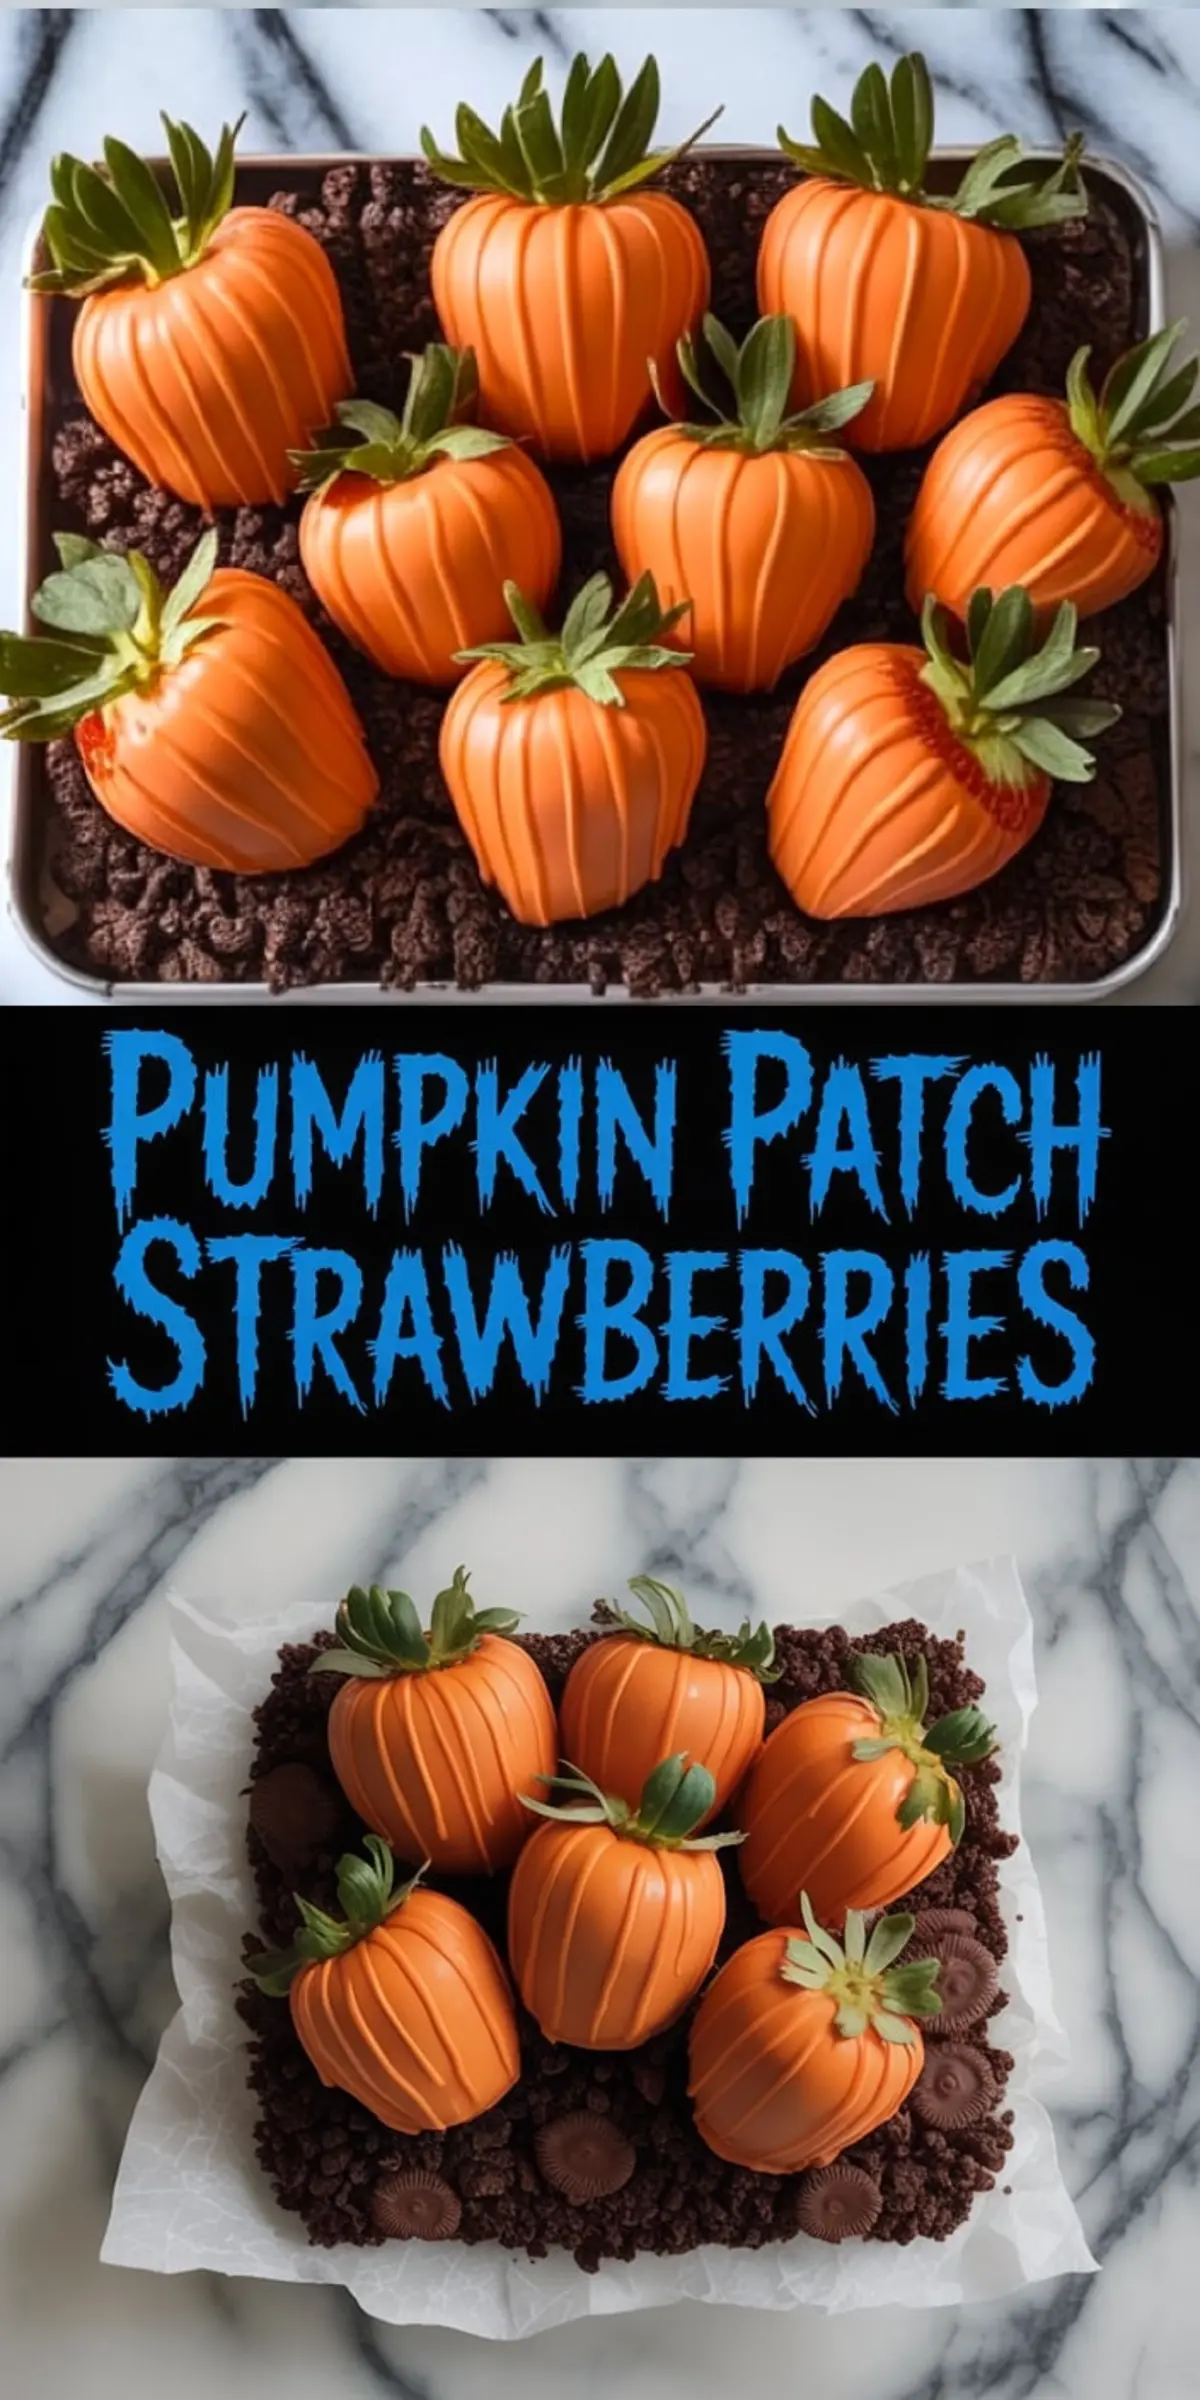
Arrange the crushed cookie crumbs across a shallow tray. Press each strawberry gently into the base so it stands upright. I tuck in a few peanut butter cups or flat chocolates as visual anchors. They give weight and variation.
Now it looks like a garden bed. That’s the goal. These aren’t just dipped strawberries. These are pumpkin chocolate covered strawberries arranged as a seasonal dessert display.
I’ve seen people try a grass base, but it distracts. The cookie dirt reads clearer, especially when set beside other Halloween snacks for party treats.
Emma’s Note: Candy Melts vs White Chocolate
I’ve tried both. Candy melts are efficient, especially for batches. They’re easy to melt, coat well, and harden with a clean finish. White chocolate, on the other hand, tastes better but behaves unpredictably. If you’re new to dipping, stick with candy melts. If you’ve worked with chocolate before and want flavor over convenience, white chocolate with oil-based dye is worth it.
Just don’t mix the two in one batch. That’s a mess. Keep your method consistent.
Serving and Storing Fall Chocolate Strawberries
Serve within a few hours. The chocolate keeps its snap and shine for about six hours at room temperature. I never store them overnight fully assembled. The cookie base softens, and the strawberries start to release moisture.
If you need to prep ahead, dip and decorate the strawberries, then store them flat in a single layer in a sealed container in the fridge. Add the cookie base just before serving. Don’t freeze. The texture breaks down and the finish turns dull.
Presentation counts. I serve mine on a slate board or black tray with clean edges. It makes the orange coating stand out. You can also set them next to themed items like Halloween Strawberries for variation on the same idea.
Related Recipes That Pair Well
If you’re building a fall dessert table, these coordinate well with items that balance color or shape. Try these if you want matching tone or flavor contrast:
Each of these adds a complementary texture or visual point to the table without overpowering the main design.
Save This Recipe and Share How Yours Turned Out
If these Pumpkin Patch Strawberries made it to your fall table, I’d love to hear. Did you go with cookie base or add something new? Did your pumpkin ridges hold?
Share in the comments below and help others see how yours turned out.
And if you want to remember this for next season, save it to your Halloween board on Pinterest. It’s one of those recipes that comes in handy each October.
Pumpkin Patch Strawberries Recipe
Pumpkin patch strawberries are a playful twist on chocolate covered strawberry recipes, dipped and decorated to look like little pumpkins in a patch. I love serving them at fall gatherings since they double as pumpkin chocolate covered strawberries and fall theme chocolate strawberries that fit right in with the season. Some bakers call them pumpkin strawberries or fall chocolate strawberries, and they’re just as fun to set out at parties as they are to make. I’ve used them on dessert trays for Halloween party snacks and even tucked them into fall themed strawberries displays, and they always stand out. Among Halloween desserts, pumpkin patch strawberries bring both charm and flavor in every bite.
Ingredients
- FOR THE STRAWBERRIES
- 1 lb fresh strawberries (choose large, firm ones with bright green tops)
- 12 oz orange candy melts (or white chocolate + orange food coloring)
- 1 tsp coconut oil or shortening (optional, for smoother melting)
- FOR THE “DIRT” BASE (OPTIONAL)
- 12 chocolate sandwich cookies (like Oreos), crushed
- 6 chocolate peanut butter cups or chocolate disks (optional, for added texture)
- FOR DECORATION
- 2–3 tbsp of the melted orange chocolate (set aside for drizzling)
- Piping bag or zip-top bag with a tiny corner snipped off
Instructions
- PREPARE THE STRAWBERRIES: Wash and thoroughly dry the strawberries. Pat them dry with paper towels and let them sit on a clean towel while you prepare the chocolate. Make sure no moisture remains, as this can cause the chocolate to seize or slip off the fruit.
- MELT THE CHOCOLATE: Place the orange candy melts (or white chocolate with orange food coloring) into a microwave-safe bowl. Microwave in 30-second intervals, stirring thoroughly after each session, until completely smooth. If the chocolate is too thick, stir in the coconut oil or shortening to thin it slightly.
- DIP THE STRAWBERRIES: Hold each strawberry by its leafy top and dip it into the melted chocolate, gently swirling to coat all sides evenly. Allow any excess chocolate to drip off, then place the strawberry on a parchment-lined baking sheet. Continue dipping until all strawberries are coated.
- ADD THE PUMPKIN RIDGES: Let the dipped strawberries set for 5 to 10 minutes. Fill a piping bag or a zip-top bag (with a tiny corner snipped) with the reserved melted chocolate. Pipe vertical lines from the top to the bottom of each strawberry to mimic the ridges of a pumpkin.
- CREATE THE PATCH: Crush the chocolate sandwich cookies into fine crumbs to make a “dirt” layer. Spread the crumbs over a serving tray or platter. Arrange the decorated strawberries on top, spacing them like they’re growing in a garden. Add chocolate peanut butter cups as stepping stones for extra texture and presentation.
Notes
If you're using white chocolate and food coloring, be sure to use oil-based food coloring to avoid seizing. Strawberries must be completely dry for the chocolate to adhere properly. The cookie crumb “dirt” and candy additions are optional but make a fun and thematic presentation.
Nutrition Information
Yield
20Serving Size
1Amount Per Serving Calories 171Total Fat 9gSaturated Fat 4gTrans Fat 0gUnsaturated Fat 4gCholesterol 3mgSodium 65mgCarbohydrates 20gFiber 2gSugar 14gProtein 4g