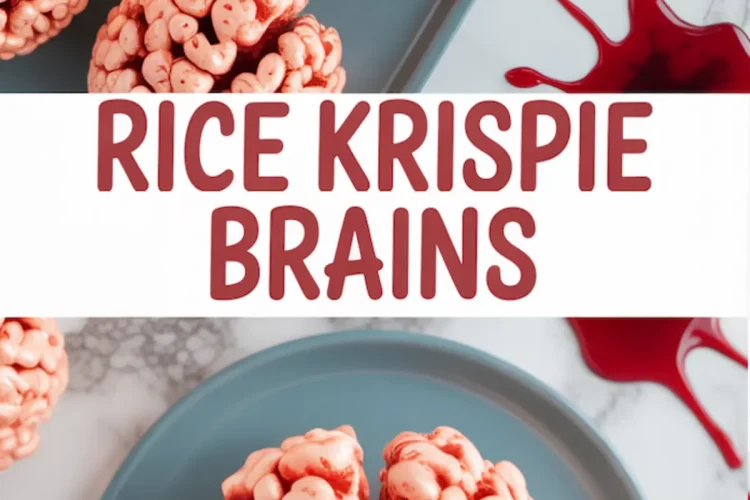
You’ve likely made your fair share of marshmallow cereal bars. Maybe even added peanut butter, or dipped them in chocolate. But these Rice Krispie Brains? They go a step further.
They’re eerie, clever, and striking on a Halloween table. You’ll be shaping sticky pink mounds into disturbingly realistic brains, then adding just the right amount of syrupy detail to make them the star of your spooky spread.
This recipe builds confidence. It keeps the familiar ease of classic Rice Krispie treats but brings in creativity through color and shape. You don’t need a mold, although it helps. What you do need is a clear plan, warm hands, and a willingness to get just a little sticky.
These fall treats land somewhere between craft project and dessert. But the flavor? Still that same sweet crunch that’s kept cereal rice crispy treats a staple since childhood.
Following a special diet?
Every recipe on this site can be converted to gluten-free, vegan, dairy-free, keto, nut-free or egg-free with adjusted ratios so nothing falls flat.
Try the Recipe Converter →What You’ll Need to Make Rice Krispie Brains
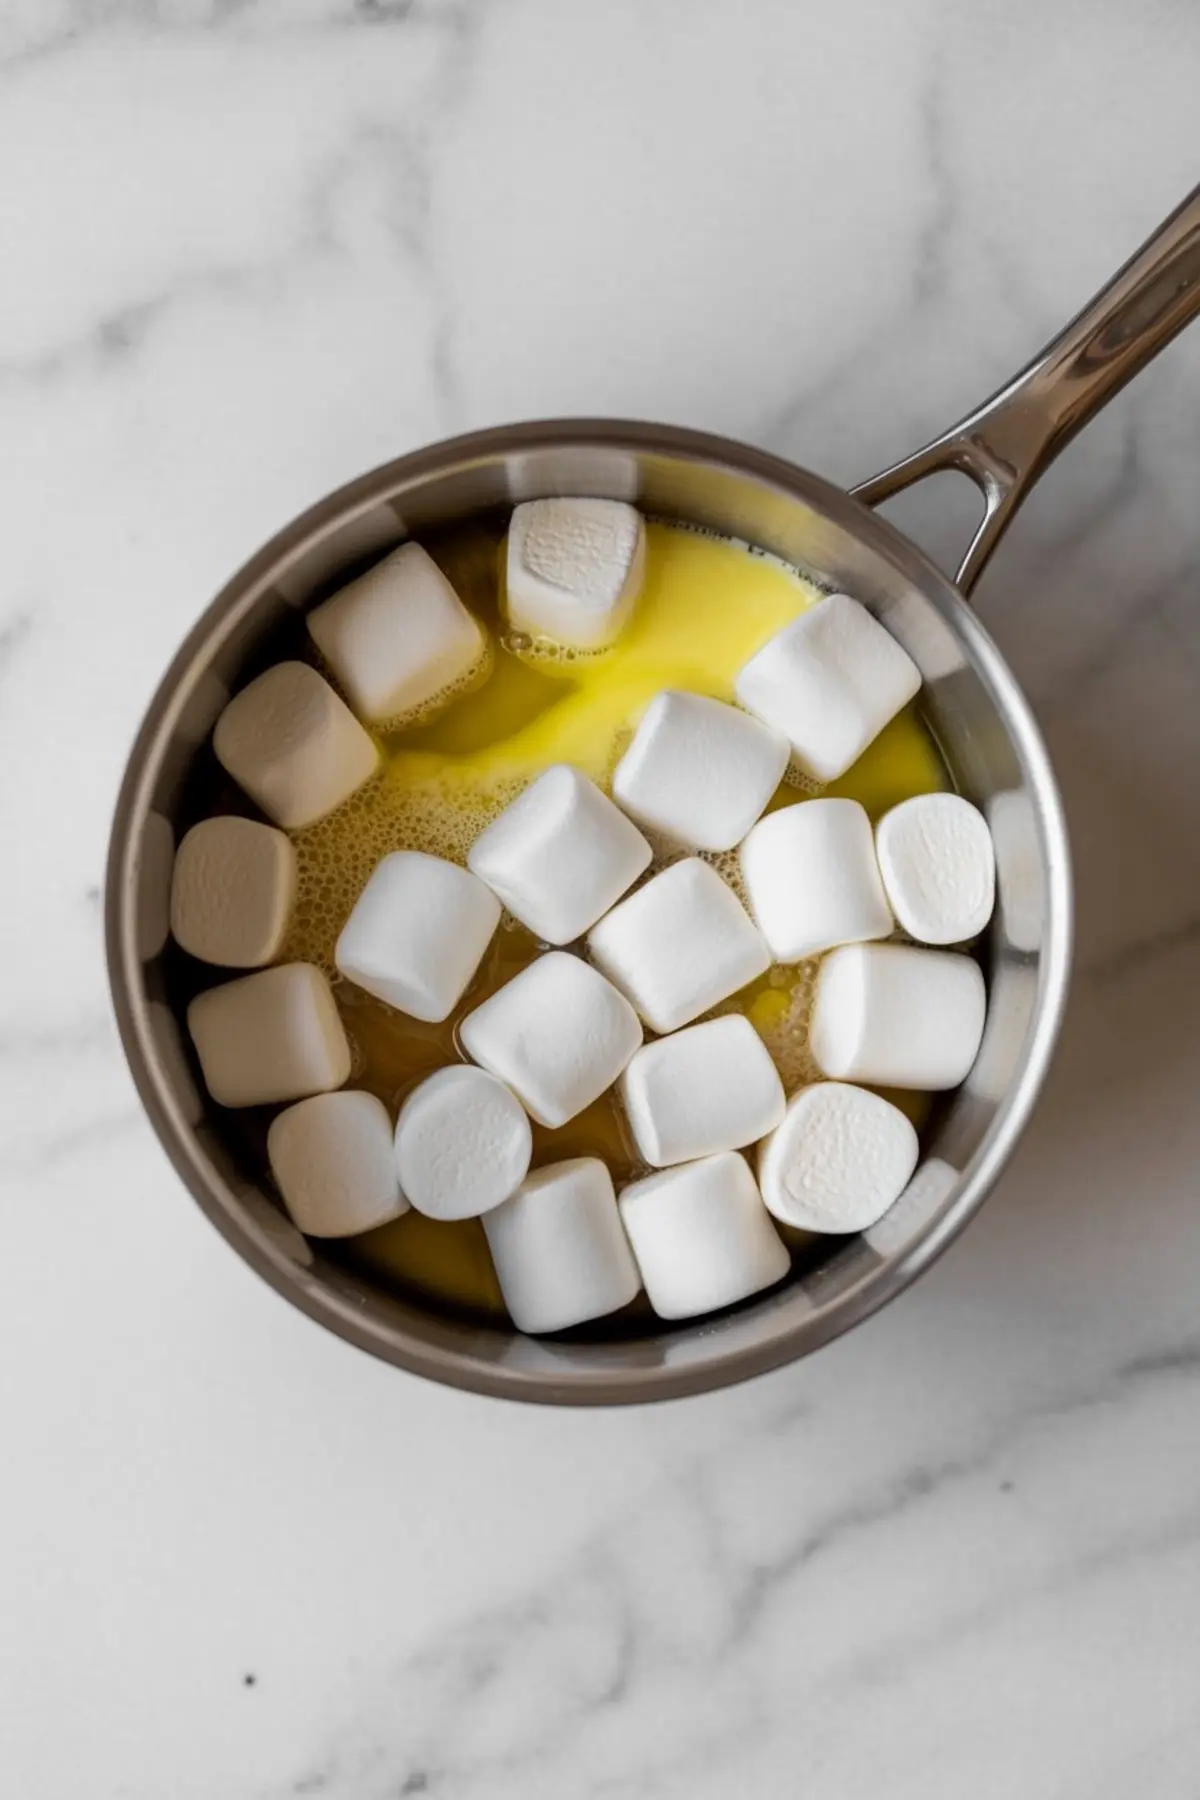
Start with the standard trio: mini marshmallows, butter, and crisped rice cereal. The amounts stay true to a traditional batch—six cups of cereal to one ten-ounce bag of marshmallows.
I melt the butter first, then stir in the marshmallows until everything looks smooth and pourable.
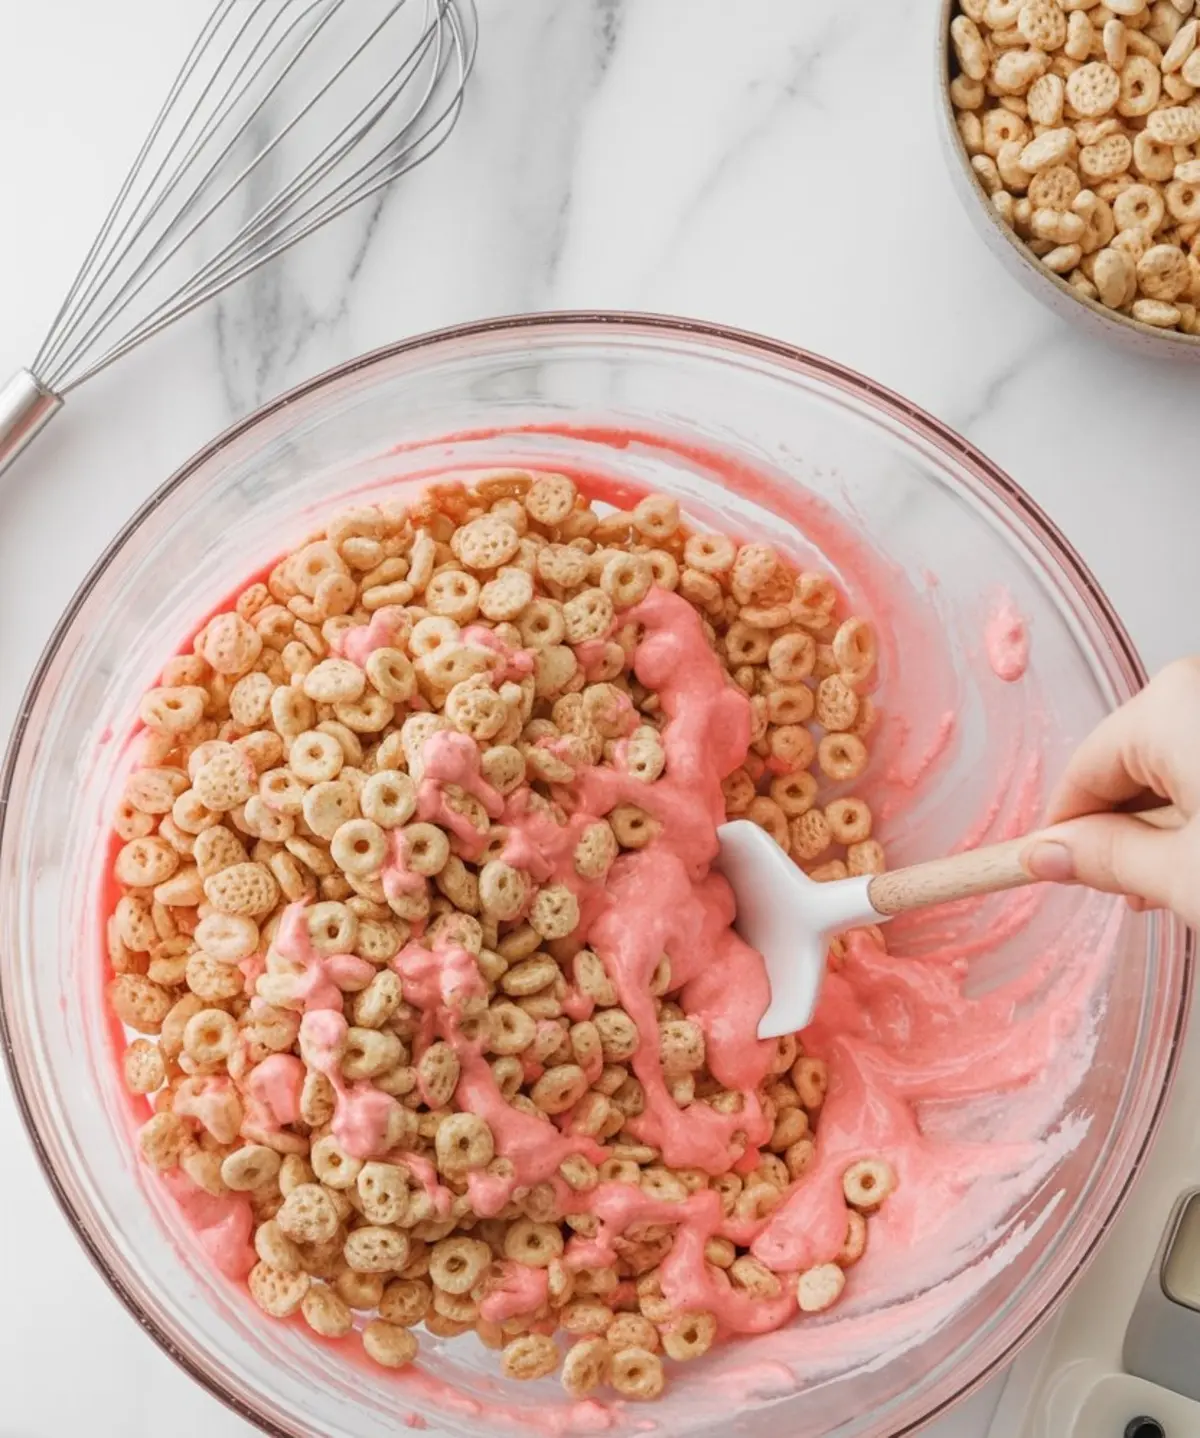
This is where things shift. Before adding the cereal, I tint the mixture a fleshy pink. A little red and white food coloring does the trick, or use a pink gel if you have it. The color should look soft but creepy, like something from a biology textbook.
Use a large silicone spatula and a wide pot so you can stir the cereal through quickly. Once added, the mixture begins to firm. You need to move fast. Coat your hands with spray oil or butter so you can shape without sticking.
Tips for Shaping These Brains by Hand

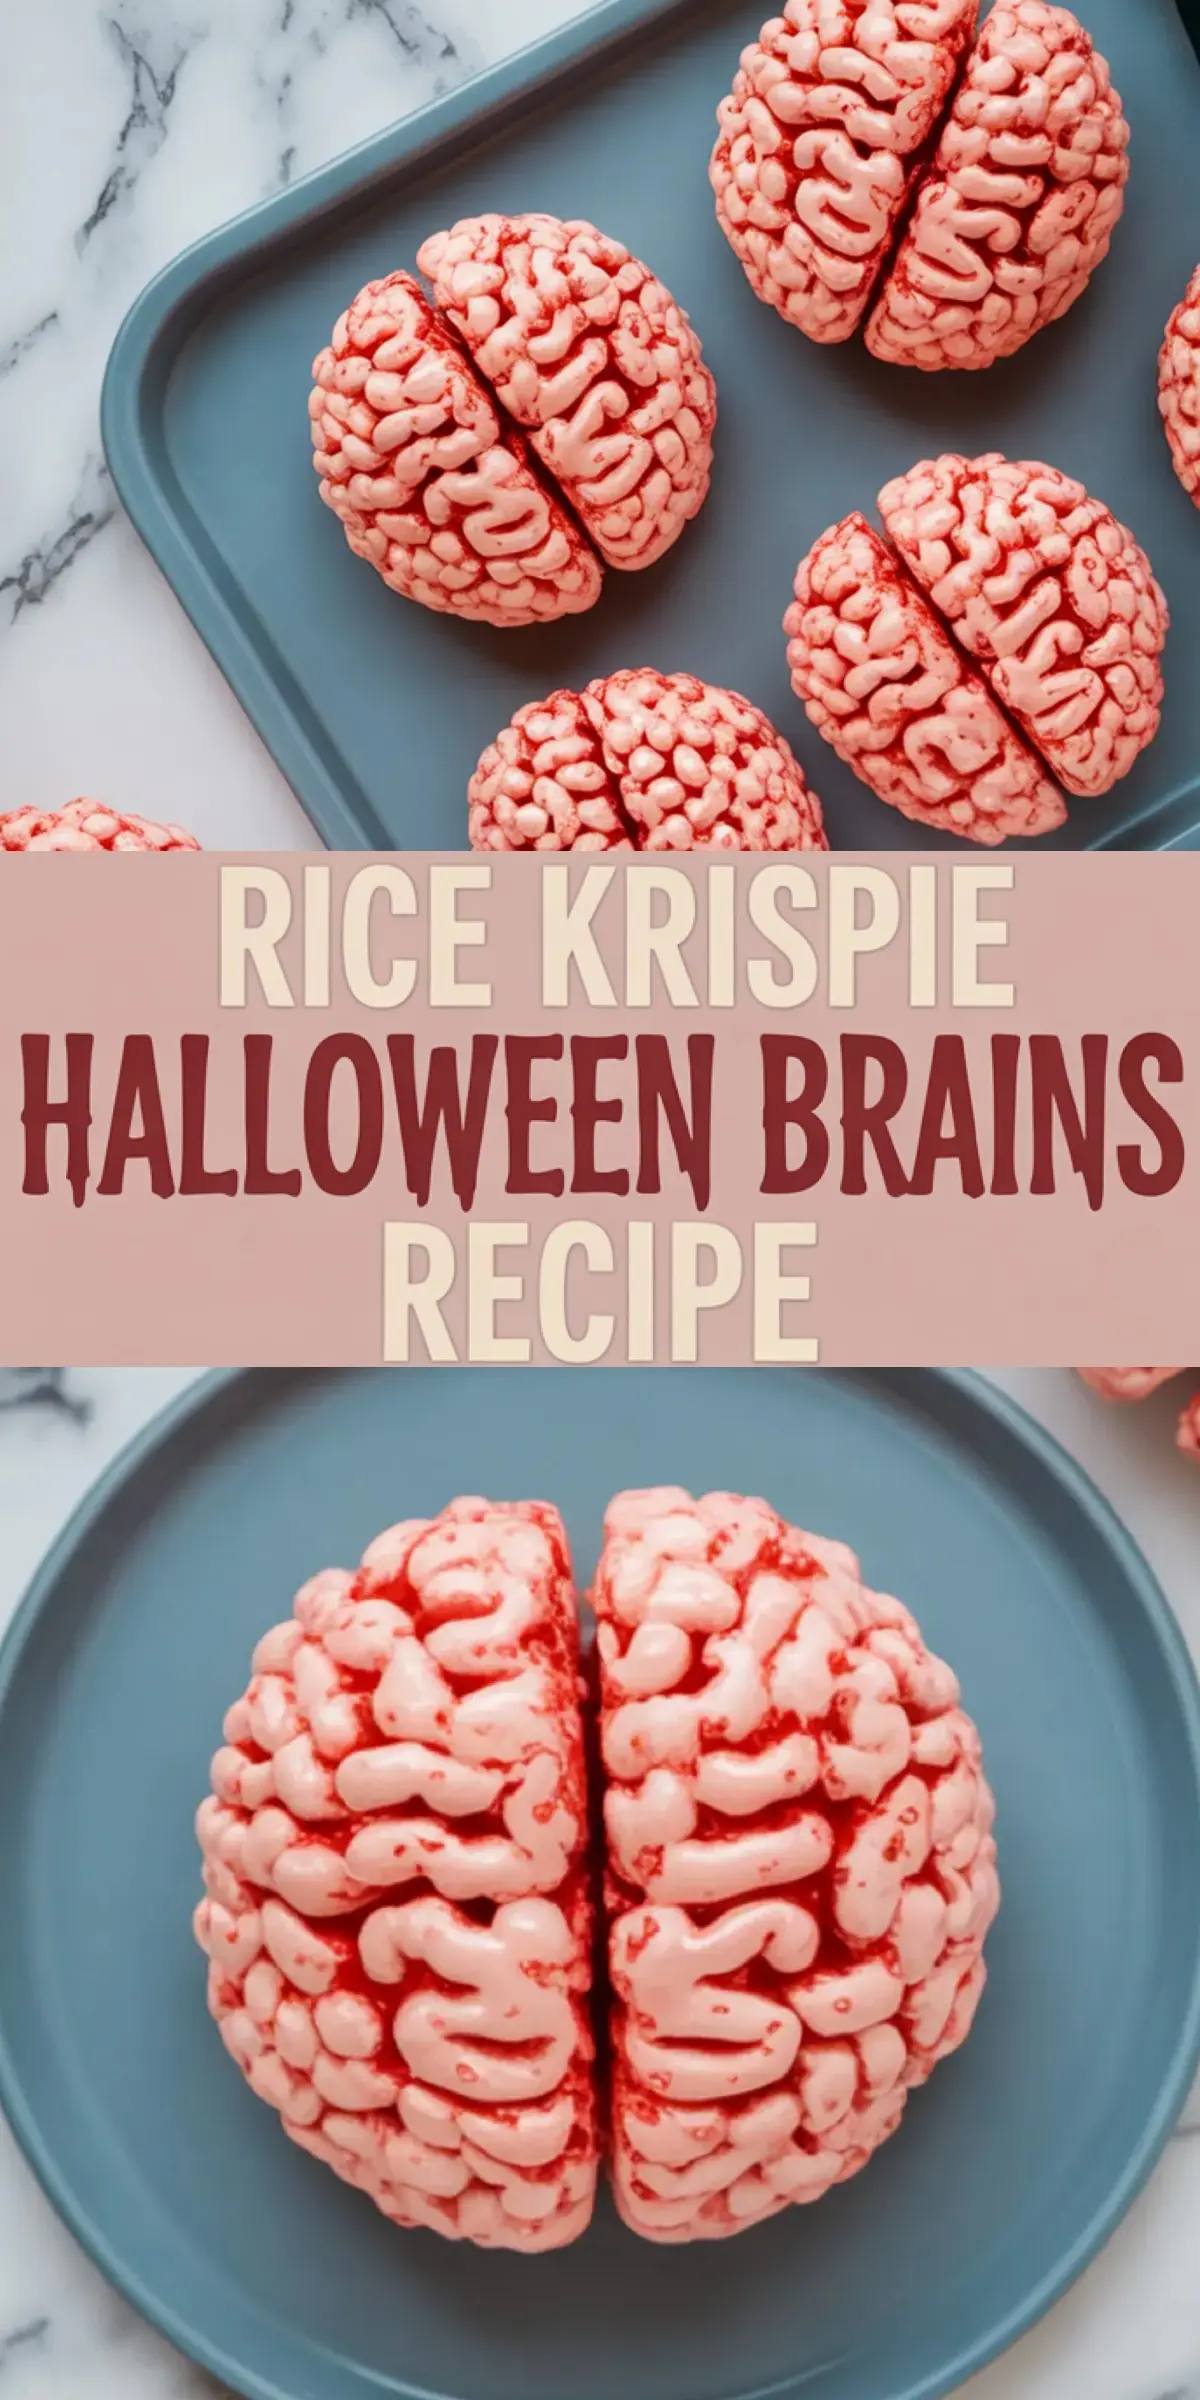
Molds aren’t required. I’ve made dozens of these freeform. Scoop out about a cup of the mixture, then shape it into a dome. Flatten the bottom slightly, and press two halves together.
Use your pinky or the back of a spoon to create a center groove. Add a few shallow wrinkles and indentations.
If you’re using a silicone mold, spray it lightly and press the warm mixture in firmly. Let it rest before removing so it holds shape. Either way, the goal is to keep the base flat so the brains sit upright.
They don’t have to be symmetrical. In fact, the more organic they look, the better.
Here’s where creativity meets dessert. Drizzle the brains with strawberry jam or red corn syrup, letting it collect in the creases. It adds flavor, but more importantly, it looks wonderfully gory. If you want to go darker, mix a bit of black gel into the red for a deeper blood tone.
Cereal Choices: Classic vs Protein-Boosted
In my notes, I’ve tested both regular Rice Krispies and a few protein cereal brands. The classic version gives the best crunch and holds its shape with less moisture.
Some protein Rice Krispie treats tend to set more firmly and don’t always bind well with the marshmallow base. If you’re making these for kids or a party crowd, stick with the original.
If you’re experimenting with high-protein recipes using Rice Krispies for personal snacks, reduce the cereal by half a cup to help with binding.
How to Store and Serve These Creepy Halloween Snacks
Once shaped and decorated, these treats keep well at room temperature. Use parchment to separate layers if you’re stacking them. Avoid airtight containers if your house is humid the syrup can make them weep a little.
For a party, I like to set them on black platters with a drizzle of extra “blood” around the base. If you’re planning a larger dessert spread, these fit beautifully next to Halloween brownies or Halloween cake pops. The contrast in color and texture really works.
These also hold up well on a Halloween charcuterie board. Use them as the anchor treat, then build around them with mini candies, cookies, or chocolate-covered pretzels.
Add These to Your Fall Treats List
Among the fun Rice Krispie treats I’ve made, these get the biggest reaction. They’re sweet but dramatic. Simple yet striking. If you enjoy gooey Rice Krispie treats with a twist, or you’re looking for Rice Krispie treats decorated for Halloween, these brains will stand out.
Try them once, and they’ll likely become a new Halloween tradition messy, playful, and oddly satisfying to assemble. Every brain ends up a little different. Some come out slightly lopsided. Others gleam just right under the kitchen light. That’s the charm.
Let’s Swap Ideas and Make It Fun

If you’ve shaped these with a twist maybe added chocolate chips inside, or used raspberry instead of strawberry—let me know in the comments. I’m always curious what variations people create.
And don’t forget to save this idea to your Halloween board on Pinterest. It’s a crowd-pleaser worth revisiting every spooky season.
Rice Krispie Brains
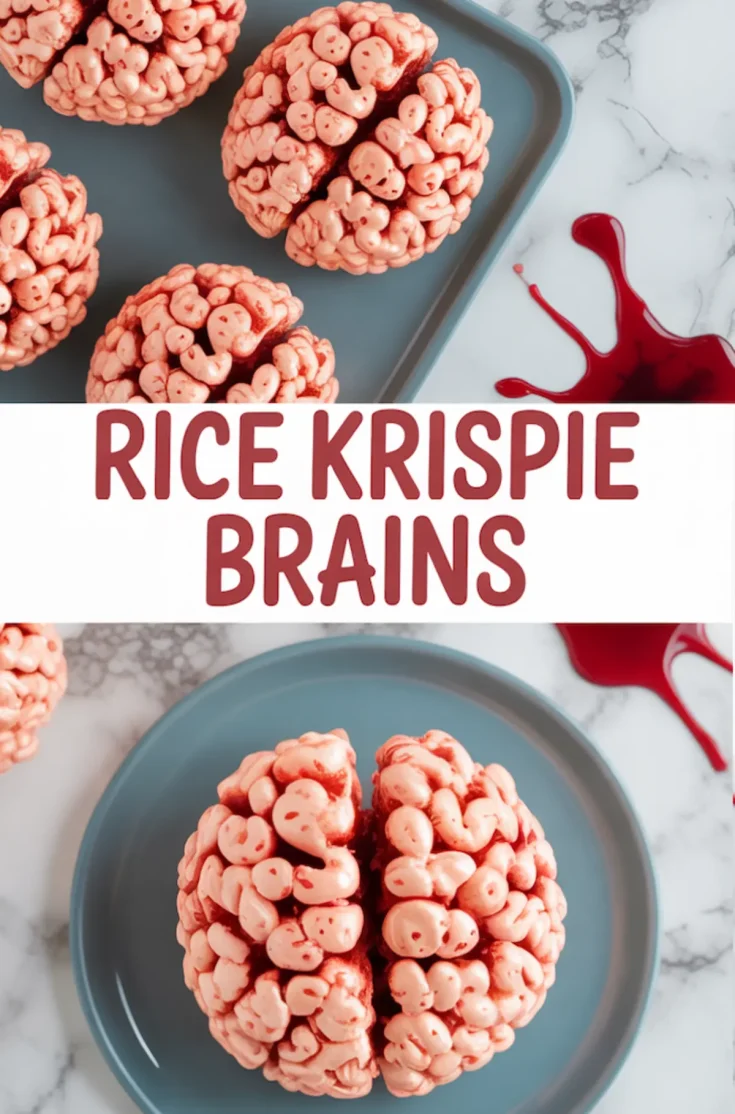
These creepy Rice Krispie brains are sweet, spooky, and easy to make using a basic marshmallow-cereal mixture. With a bit of food coloring and some creative shaping, you can transform a classic treat into a Halloween showstopper. The “bloody” detail from syrup or jam adds a chilling final touch that’s sure to impress kids and adults alike.
Ingredients
- 6 cups Rice Krispies cereal
- 1 package (10 oz) mini marshmallows
- 3 tablespoons unsalted butter
- Red food coloring (gel or liquid)
- Pink food coloring (or a mix of red and white)
- Cooking spray (for hands and mold shaping)
- 1/4 cup corn syrup or strawberry jam (for the “bloody” effect)
- Optional: silicone brain molds (or shape by hand)
Instructions
- MELT THE MARSHMALLOWS: In a large saucepan over medium heat, melt the butter. Once melted, add the mini marshmallows and stir constantly until the mixture is smooth and fully melted.
- COLOR THE MARSHMALLOW MIX: Remove the pot from heat. Add a few drops of pink food coloring and stir until the color is evenly distributed. Adjust the color as needed to create a fleshy pink tone. If pink isn’t available, mix red with a small amount of white or yellow food coloring.
- ADD THE CEREAL: Quickly stir the Rice Krispies into the marshmallow mixture until evenly coated. Work efficiently to prevent the mixture from setting too early.
- SHAPE THE BRAINS: Lightly coat your hands or silicone brain molds with cooking spray. Scoop about 1 cup of the mixture and shape it into two domes. Flatten the base of each dome slightly so they can sit together. Press the two halves together gently and add a shallow groove along the middle to resemble a brain's split if shaping by hand.
- ADD THE BLOODY DETAILS: Use a toothpick, small brush, or fingertip to apply red corn syrup or strawberry jam into the grooves and creases. Allow some of the syrup to drip naturally for a more realistic effect.
- CHILL AND SET: Let the shaped brains rest at room temperature for at least 30 minutes until firm. Refrigeration can be used to speed up the setting process if needed.
Notes
If you don’t have a brain mold, shaping by hand works well—just keep your hands lightly greased and focus on forming two rounded halves with a center line. For a darker or more dramatic look, add a touch of black food coloring to the red syrup.
Nutrition Information
Yield
12Serving Size
1Amount Per Serving Calories 80Total Fat 3gSaturated Fat 2gTrans Fat 0gUnsaturated Fat 1gCholesterol 8mgSodium 6mgCarbohydrates 13gFiber 0gSugar 7gProtein 0g