Halloween has always been one of my favorite times of the year. There’s a feeling, a magic in the crispness of the autumn air with the flicker of jack-o’-lanterns decorating almost every stoop in the neighbourhood.
And with all of the sweet treats that keep on coming, October seems anything but less magical and special. I look forward every year to making such fun, exciting creations in the dessert world, which brings the spirit into our home — anything that gives it life and makes it really feel like the season. And this year, well, I’m super proud to say I outdid myself with these adorably eerie Skeleton Cupcakes.
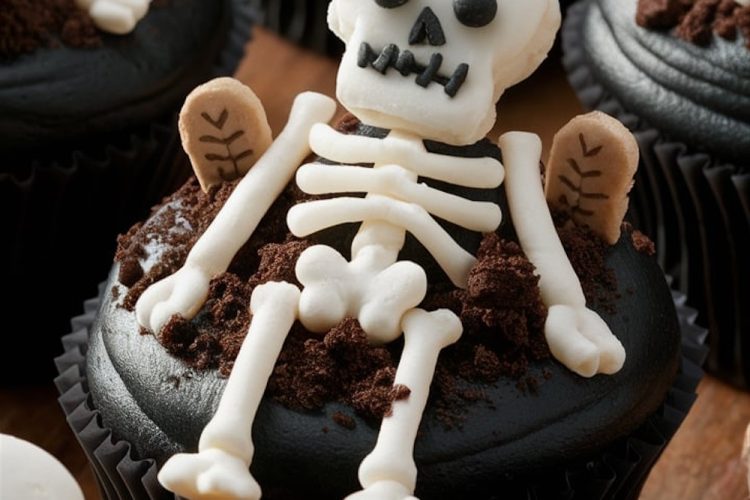
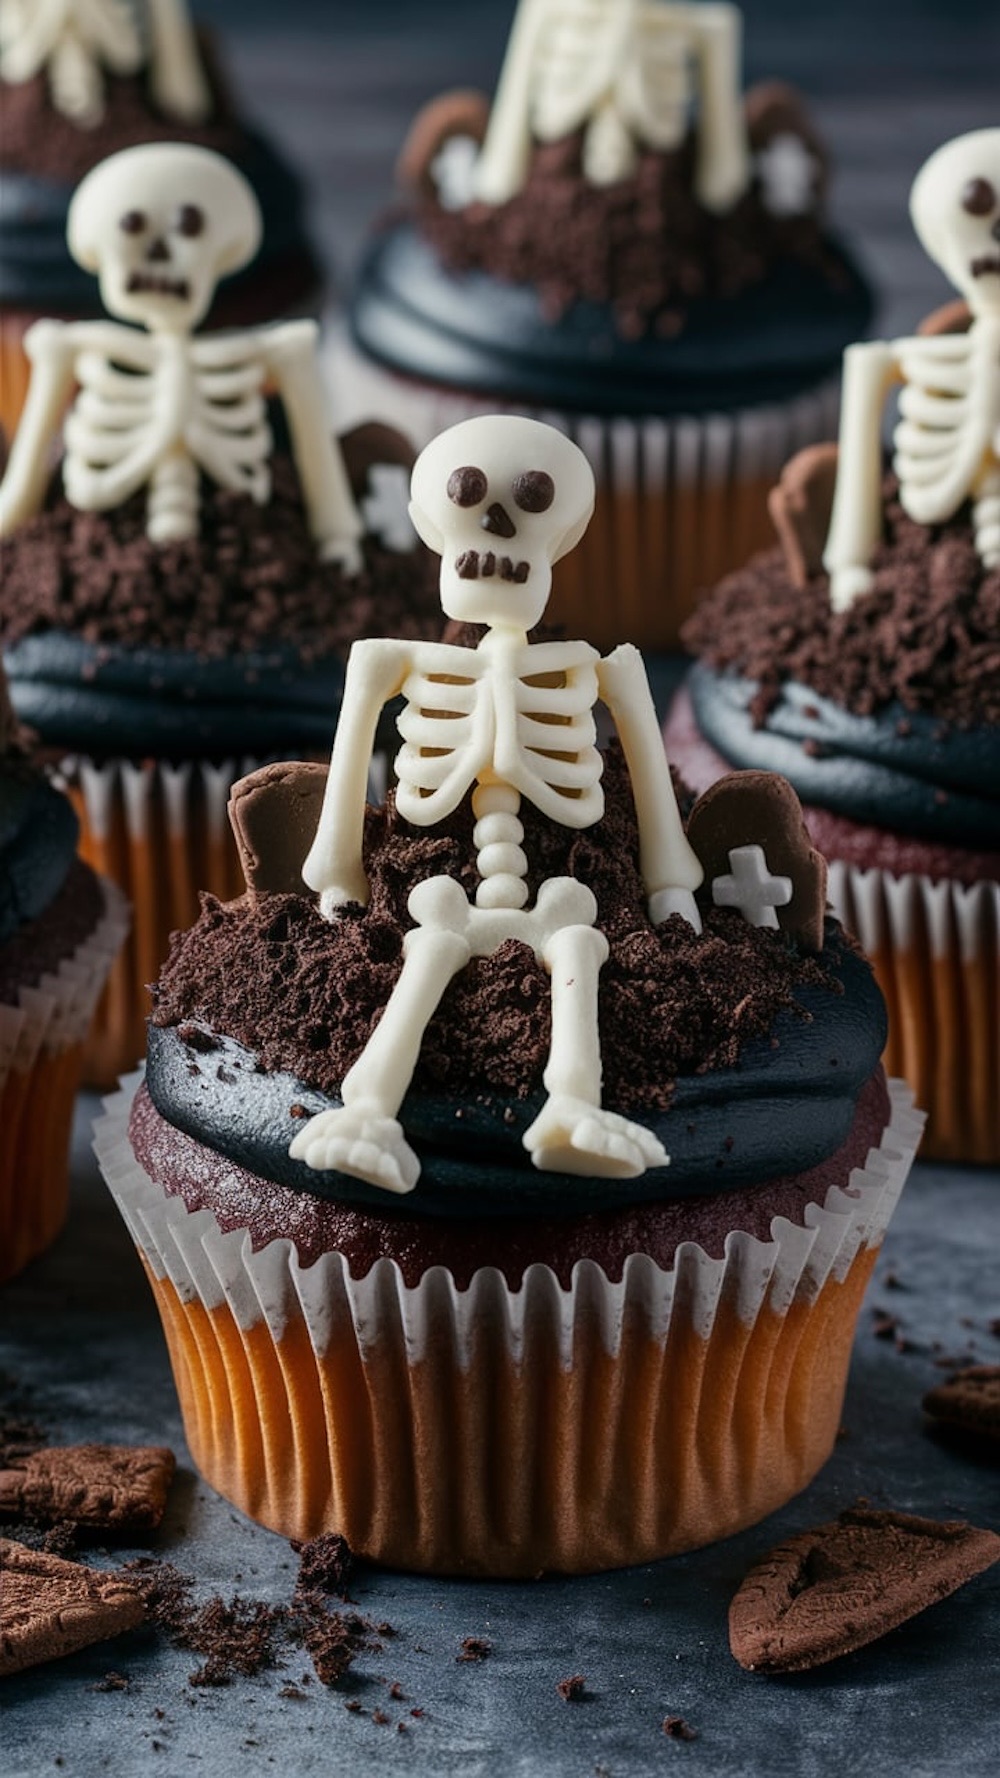
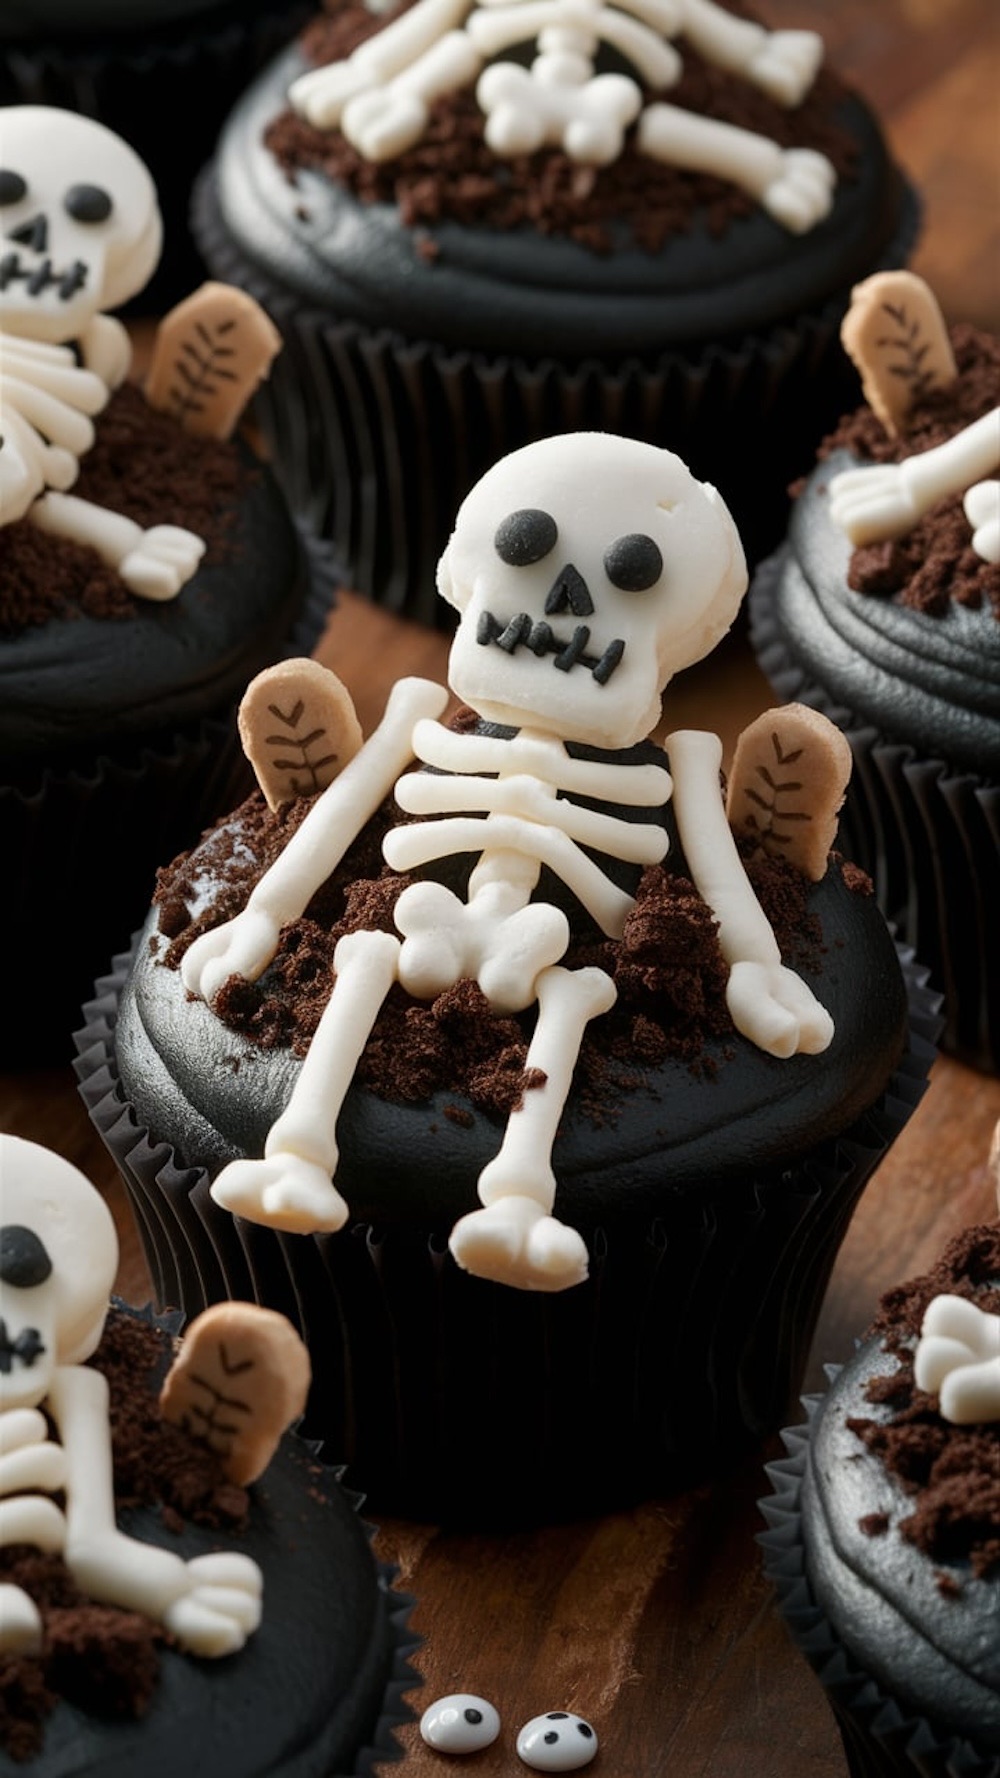
Though they are not some tasty pleasures, and rather little quirky eating art projects, perfectly fitting in the Halloween atmosphere of your party. Believe me, their preparation is much easier than it would seem from the very first sight; all your work will be paid off handsomely when the time comes to see those cute little skeletons sitting delicately on top, smothered in a thick layer of chocolatey “dirt”.
Following a special diet?
Every recipe on this site can be converted to gluten-free, vegan, dairy-free, keto, nut-free or egg-free with adjusted ratios so nothing falls flat.
Try the Recipe Converter →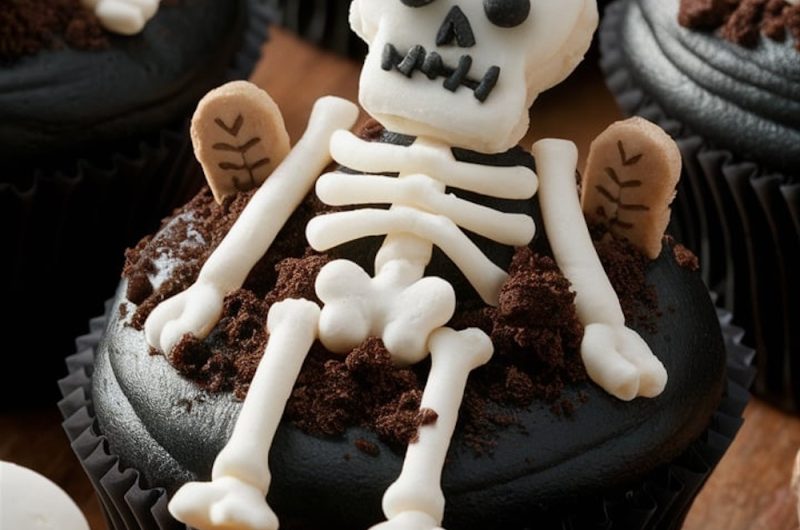
Skeleton Cupcakes: Spooky Halloween Treat
Course: Cupcakes, Halloween12
servings40
minutes20
minutes350
kcalIngredients
- For the Cupcakes:
1 1/2 cups all-purpose flour
1 cup granulated sugar
1/2 cup unsalted butter, softened
Tip: For a dairy-free option, swap butter for margarine.2 large eggs
1/2 cup buttermilk
Substitution: Use 1/2 cup milk + 1/2 tsp vinegar if you don’t have buttermilk.2 tbsp cocoa powder (optional for chocolate cupcakes)
1 tsp vanilla extract
1 1/2 tsp baking powder
1/4 tsp salt
- For the Black Frosting:
1 cup unsalted butter, softened
3-4 cups powdered sugar, sifted
Tip: Adjust the sugar based on your preferred sweetness.2-3 tbsp milk or heavy cream
1 tsp vanilla extract
Black food coloring
Note: Start with a few drops and add more to deepen the color.- For the Fondant Skeleton:
8 oz white fondant
Black food coloring gel or edible black marker
Small rolling pin
Fondant tools (optional for shaping)
Cornstarch (for dusting)
- For Decoration:
Crushed chocolate cookies (for dirt effect)
Small candy eyes
Tiny fondant gravestones (optional)
Steps
- Step 1: Preheat and Prepare the Cupcake Batter
Preheat your oven to 350°F (175°C) and line a 12-cup muffin tin with cupcake liners.
In a medium bowl, whisk together the flour, baking powder, cocoa powder (if using), and salt. Set aside.
Tip: Sift the cocoa powder to avoid lumps.
In a large bowl, cream together the softened butter and sugar with an electric mixer on high speed until light and fluffy, about 2-3 minutes.
Add the eggs, one at a time, beating well after each addition. Stir in the vanilla extract.
Tip: Ensure eggs are at room temperature for a smoother batter. - Step 2: Mix and Bake 5. Gradually add the dry ingredients to the wet mixture, alternating with the buttermilk, mixing on low speed until just combined. 6. Divide the batter evenly among the cupcake liners, filling each about two-thirds full.
Tip: Use an ice cream scoop for even portions. 7. Bake for 18-20 minutes, or until a toothpick inserted into the center comes out clean. 8. Let the cupcakes cool in the pan for 10 minutes, then transfer to a wire rack to cool completely. - Step 3: Prepare the Black Frosting 9. In a large bowl, beat the softened butter until creamy. Gradually add the powdered sugar, one cup at a time, mixing well after each addition. 10. Add the vanilla extract and 2 tablespoons of milk or cream. Continue beating until the frosting is smooth and fluffy. Add black food coloring a little at a time until you reach the desired color.
- Step 4: Decorate with Fondant Skeletons 11. Roll out the white fondant on a cornstarch-dusted surface. Use fondant tools or your hands to shape tiny skeleton parts—heads, arms, legs, and rib cages. Assemble the skeletons on top of the cupcakes, arranging them as if they’re rising from the grave. 12. Use black food coloring gel or an edible marker to add facial features like eyes and a stitched mouth. 13. Sprinkle crushed chocolate cookies around the skeletons to create a “dirt” effect, and place candy eyes or tiny fondant gravestones for an extra spooky touch.
Emma’s Expert Tips
- Black Frosting: If you’re having trouble achieving a deep black color, let the frosting sit for a few hours. The color will darken as it rests.
- Fondant Work: If you’re new to working with fondant, practice shaping the skeleton parts on a separate surface first. Don’t worry if they’re not perfect—Halloween is all about quirky, imperfect fun!
- Storage: Store these cupcakes in an airtight container at room temperature for up to three days. Avoid refrigerating as it may cause the fondant to sweat.
Serving Suggestions
Serve these cute Skeleton Cupcakes at your next Halloween party, or do like I did, and have them with a steamy, warm cup of hot chocolate as you camped out to watch the scary movie marathon. Both the young and not-quite-so-young will love these treats—a beautiful cupcake with a skeleton strewn across the very top is irresistible.
FAQs
Can I make the cupcakes in advance?
Yes, you can bake the cupcakes a day ahead. Just store them in an airtight container at room temperature and frost them the day you plan to serve.
What if I don’t have fondant tools?
No problem! You can use a small knife or even your fingers to shape the skeleton pieces. The imperfections add to the charm.
How do I achieve the perfect black frosting?
Patience is key. Start with a small amount of black food coloring and gradually add more. Let the frosting sit for a while to deepen the color.
Join the Halloween Fun!
I hope you enjoy making these fabulous Skeleton Cupcakes just as much as I did in this tiny baking adventure of mine when you do them. In case you try, then do not be shy and share those wonderful creations with me. I’d absolutely love to see the way your skeletons turned out and what little twists you may have made. That’s right! Let’s make this Halloween utterly unforgettable. Let’s celebrate it cupcake by cupcake, but let all the treats be packed chock-full of fun and creativity.