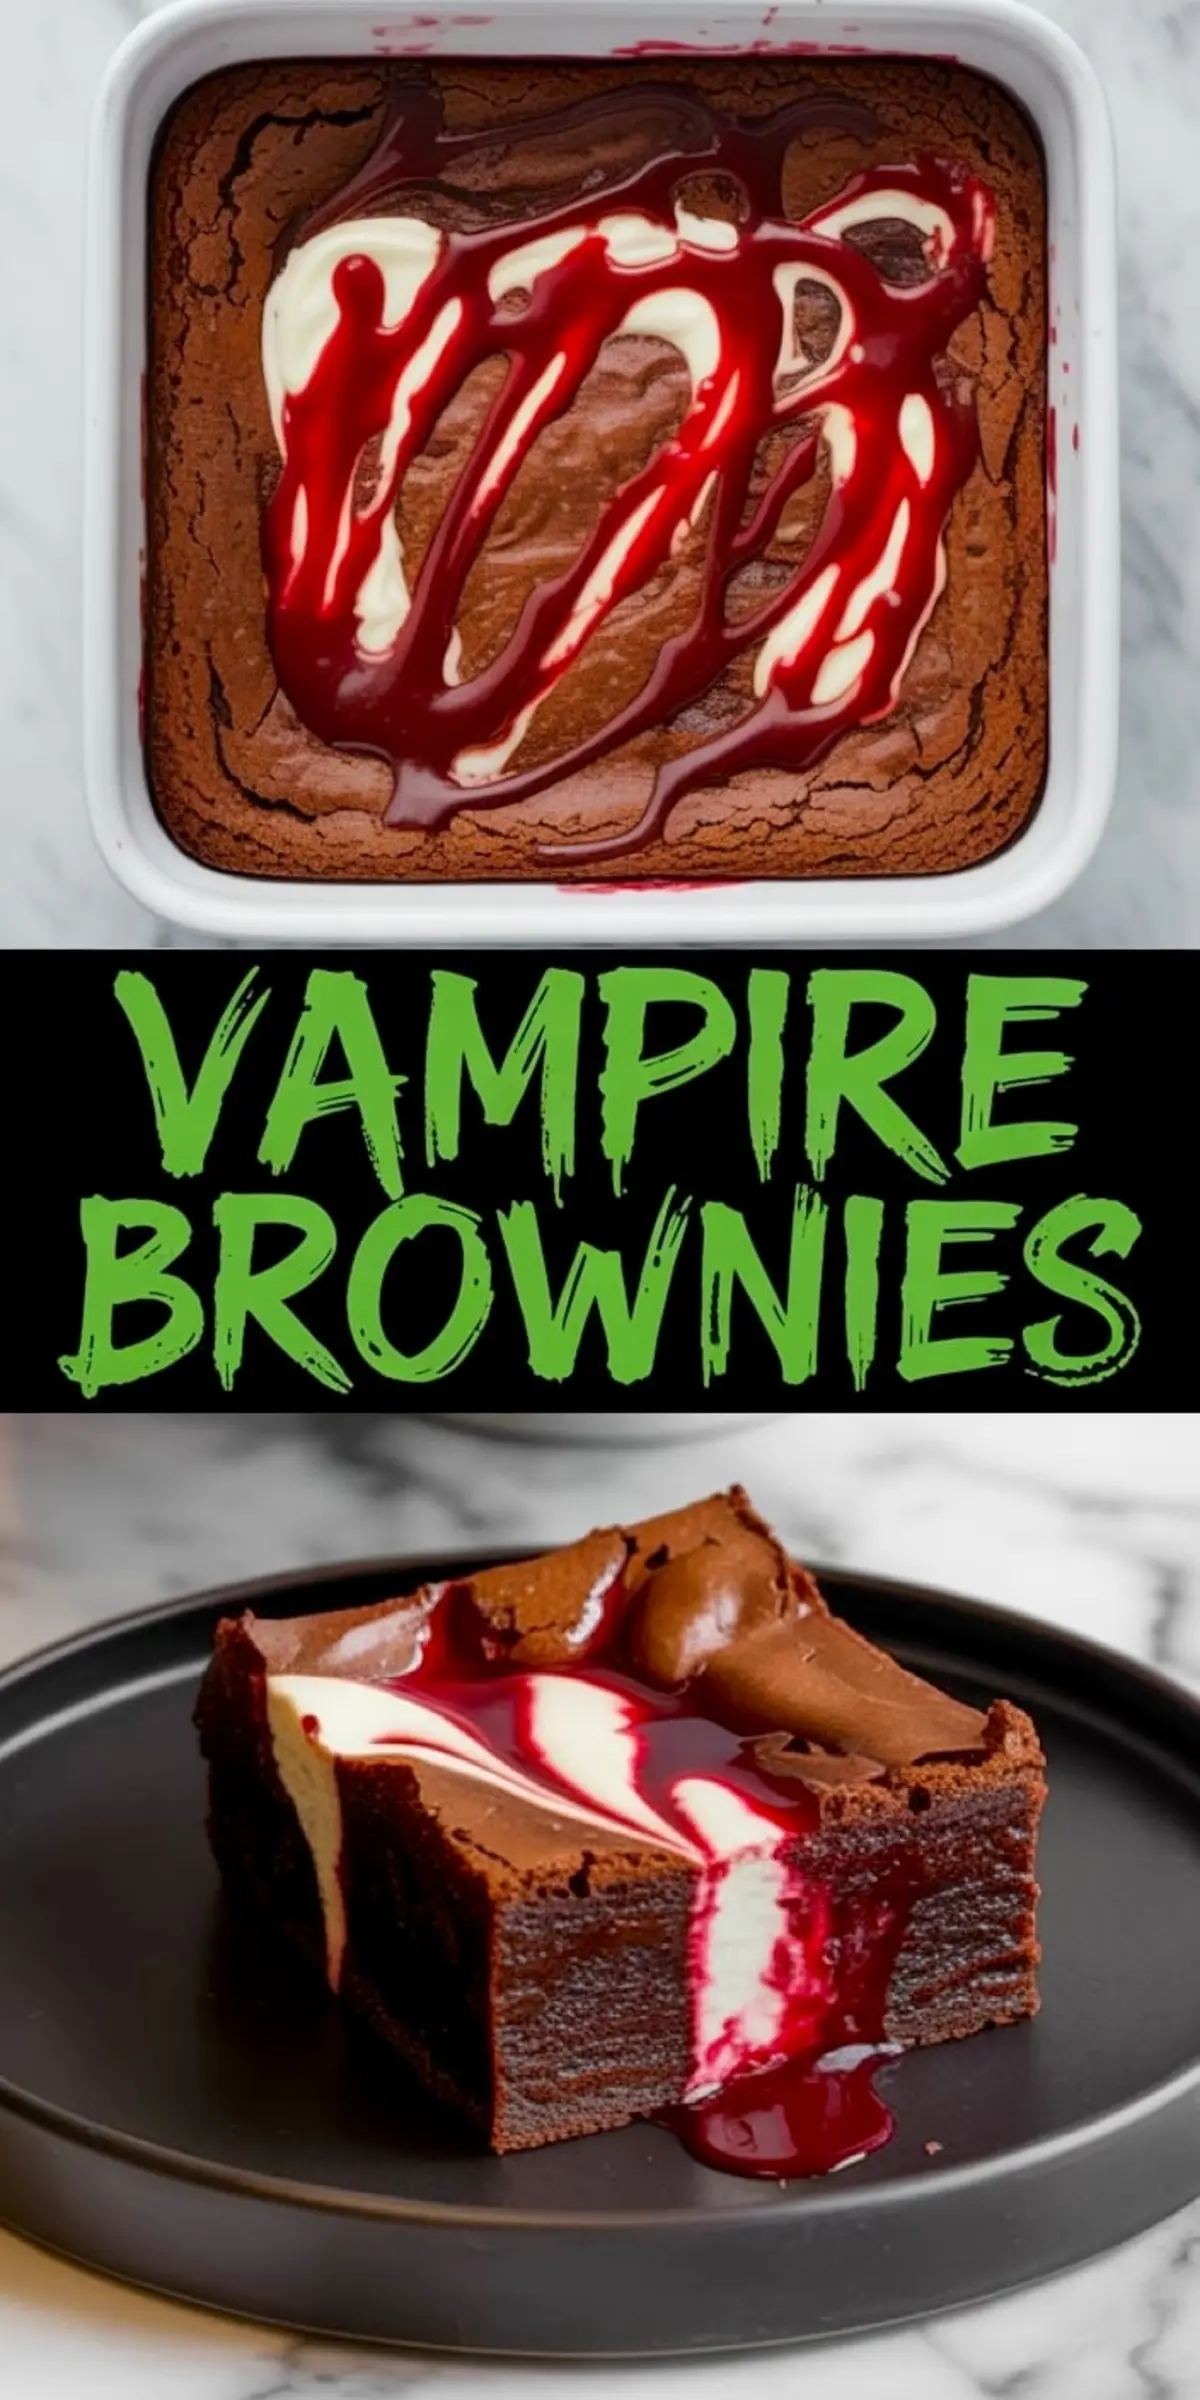
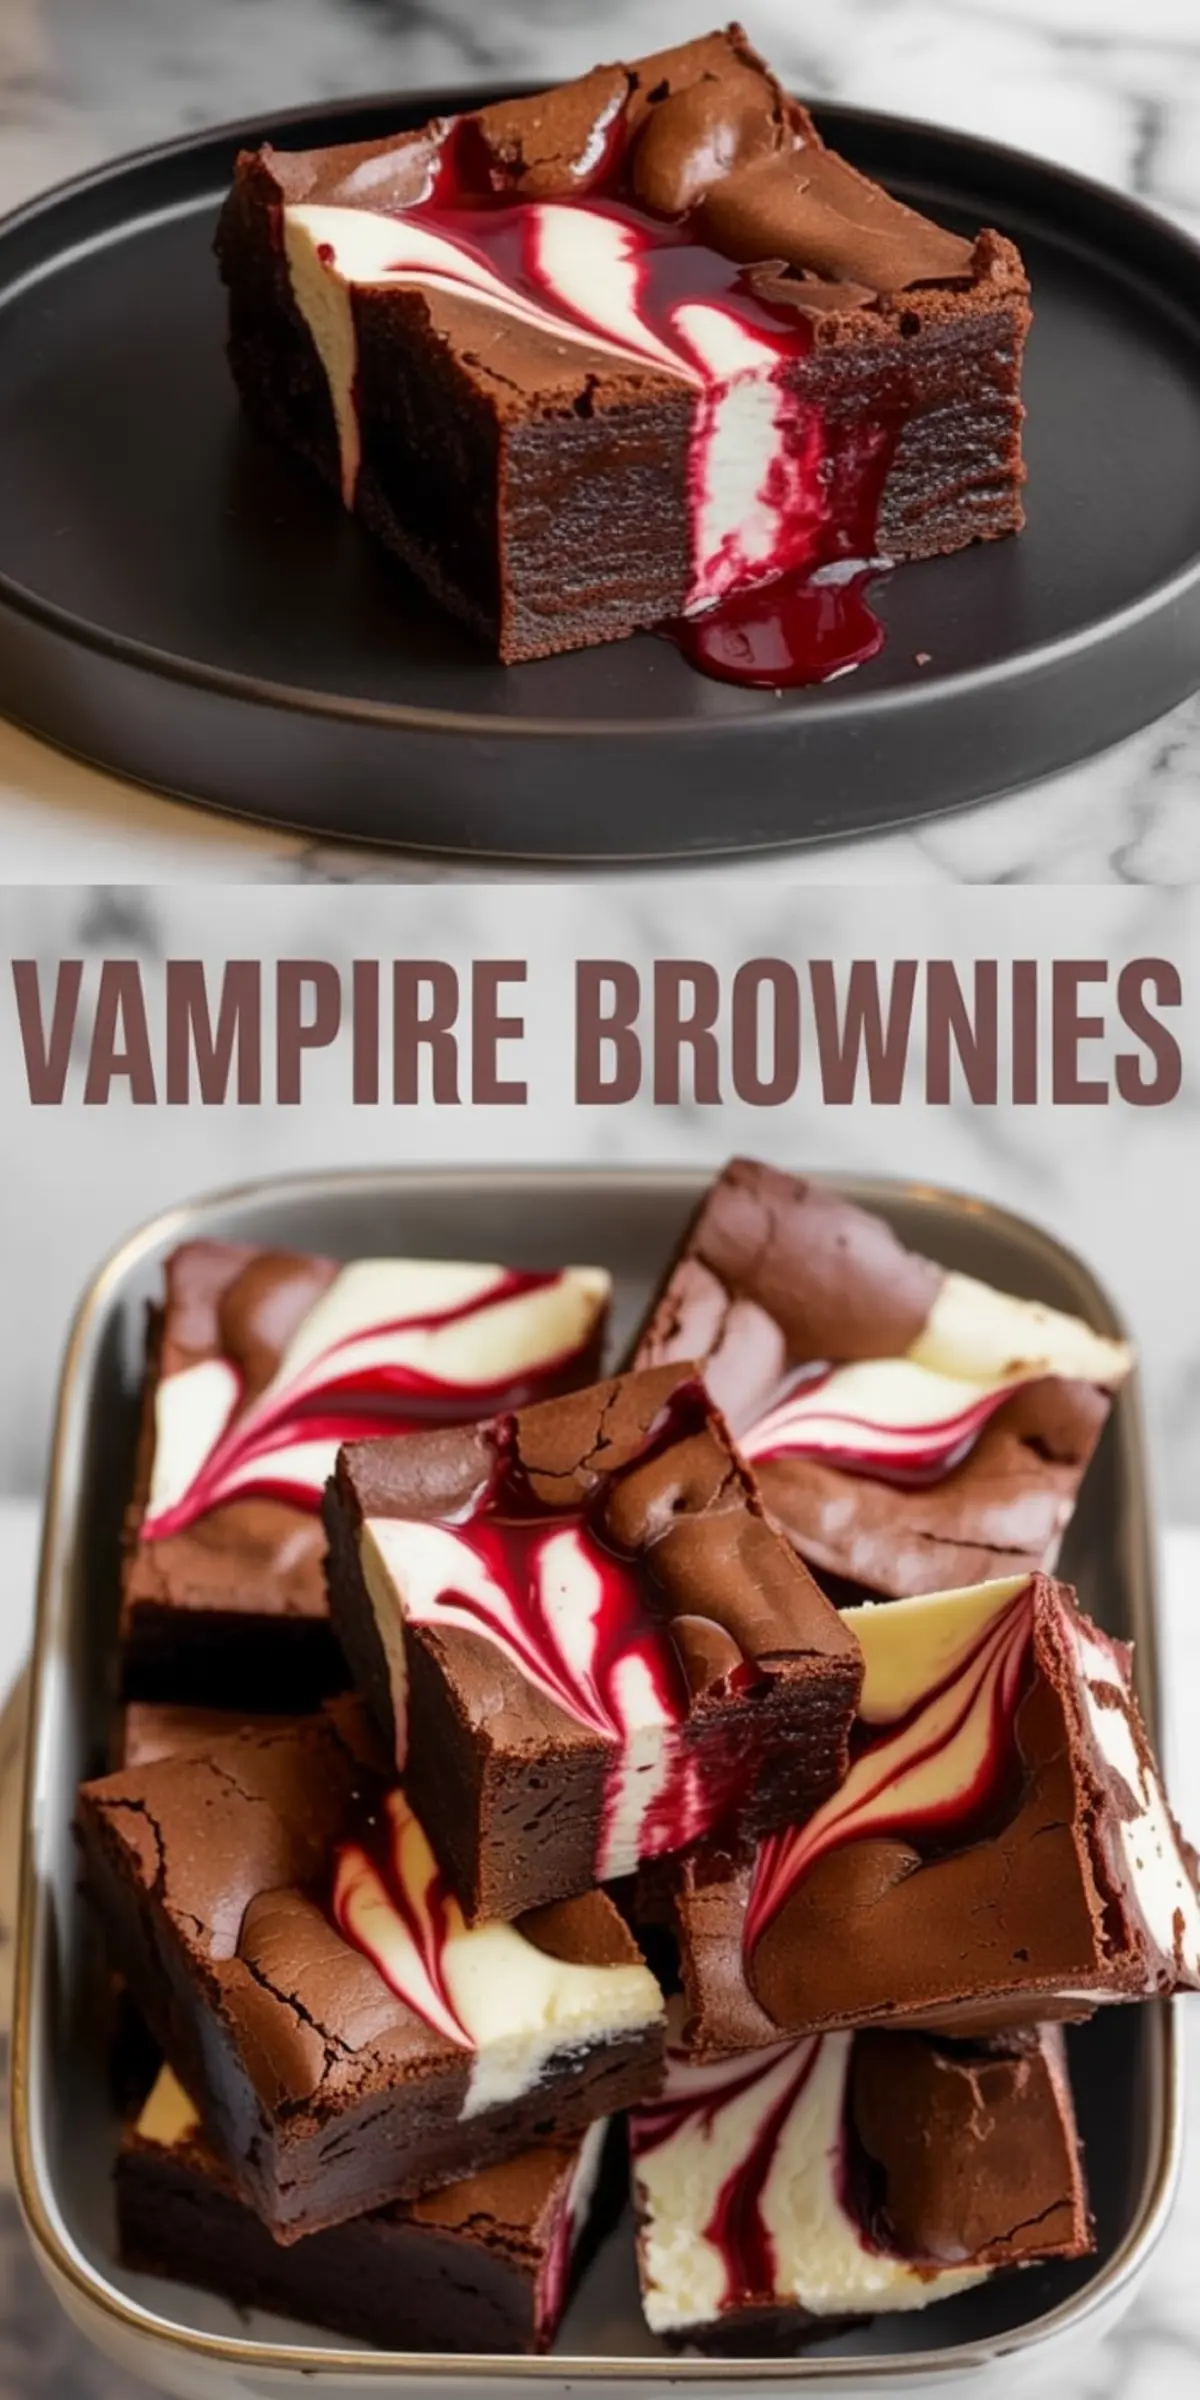
You don’t need a haunted house or a fog machine to create a dramatic Halloween dessert. Sometimes, a simple pan of vampire brownies does the job with more flair. These chocolate fudge brownies, marbled with cream cheese and blood-red raspberry sauce, cut like a horror film still. Sharp knife. Clean lines. Gooey red filling oozing through every slice.
What you’ll find here is more than a Halloween brownies idea. This recipe gives you a practical, eye-catching dessert for your vampire party food table. Think vampire fudge recipe meets red velvet brownies with a creamy swirl and eerie surprise. This article walks you through how to build that look, and how to get the balance right between rich chocolate and tart fruit.
Following a special diet?
Every recipe on this site can be converted to gluten-free, vegan, dairy-free, keto, nut-free or egg-free with adjusted ratios so nothing falls flat.
Try the Recipe Converter →Why This Recipe Works for Halloween and Beyond
These brownies bake with structure and flavor. The cocoa-based base holds its own, never sinking under the weight of cream cheese or fruit. The raspberry sauce mimics blood in color but offers sharp, natural acidity to offset the sugar.
They hold up well on a dessert board next to spider web brownies, vampire cookies, or Halloween sugar cookies. You can even pipe a little extra sauce over the top after cutting for a true vampire snack effect. I’ve made these for both Friday the 13th dessert ideas and Halloween movie nights. They always disappear faster than you’d expect.
How to Build the Brownie Batter
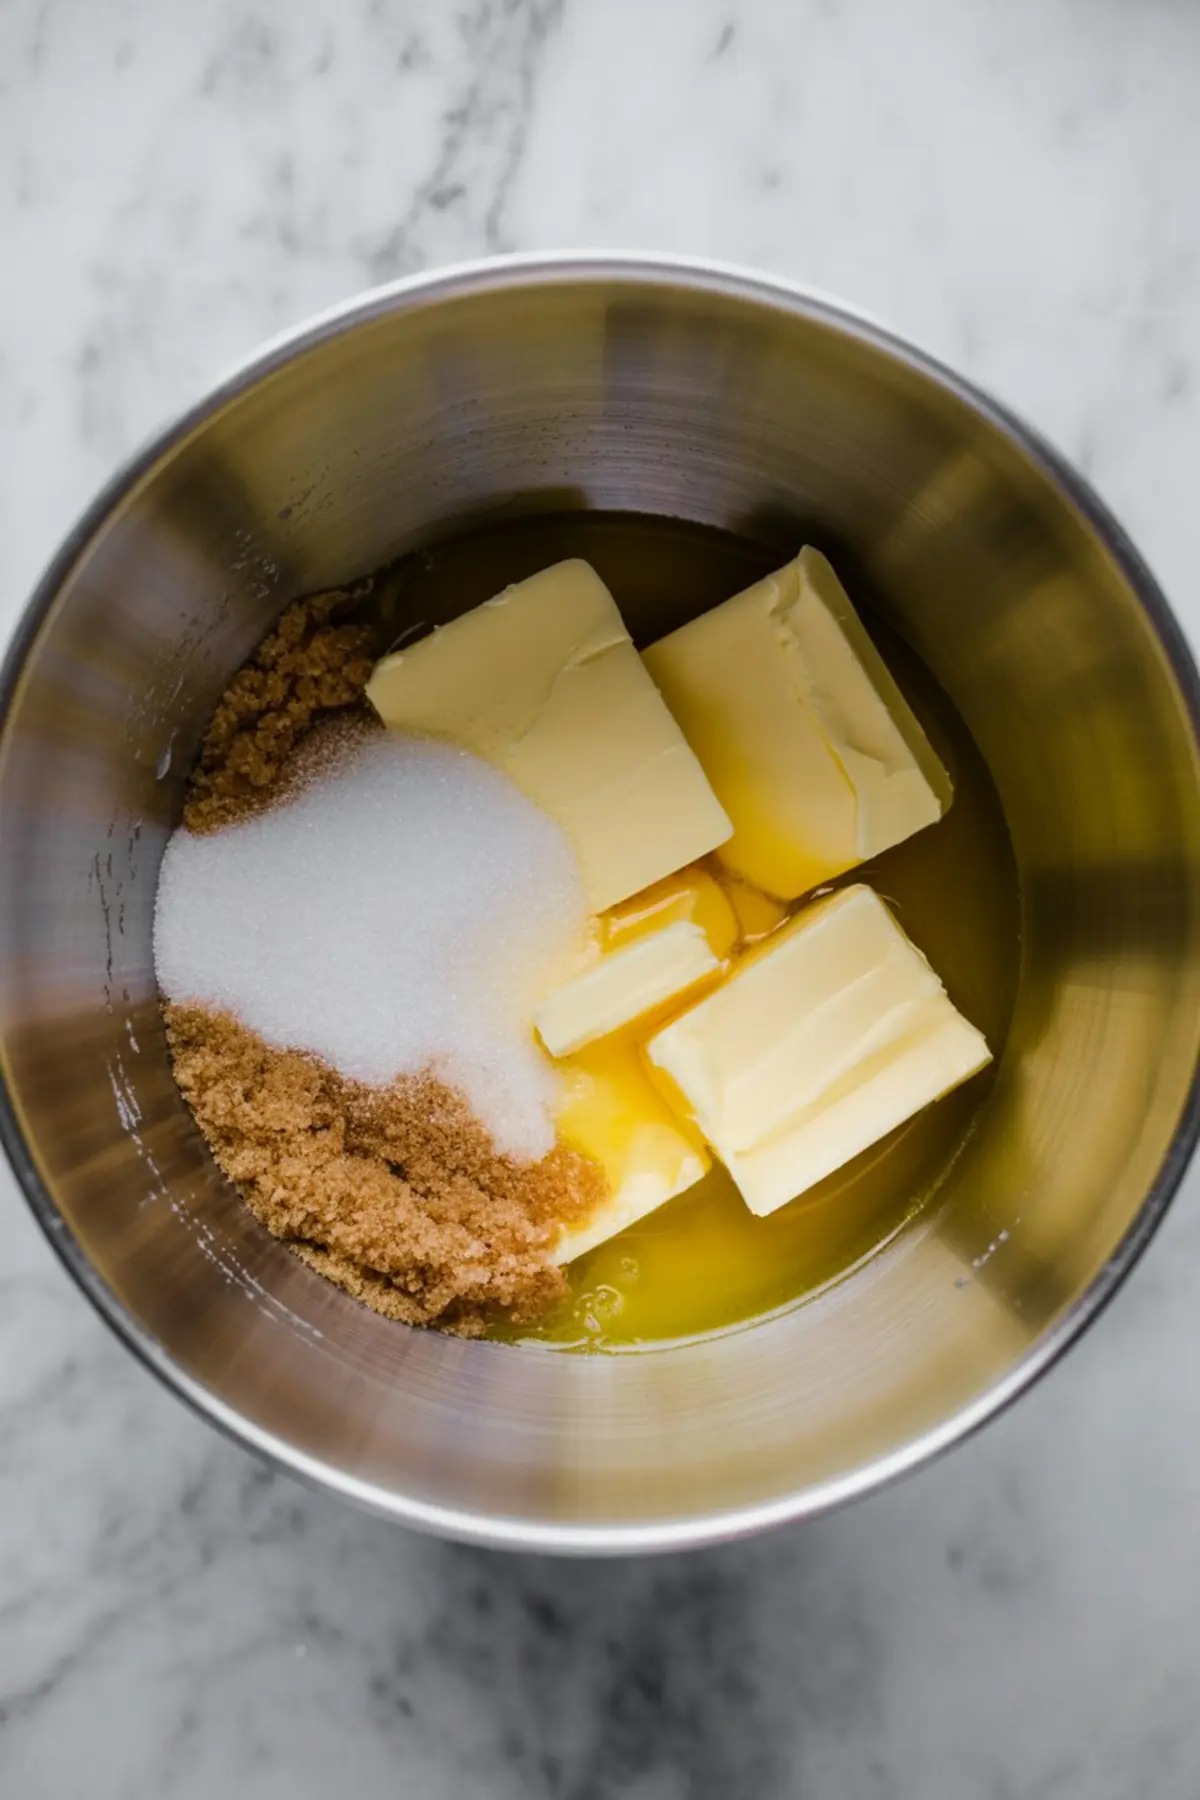
I use both granulated and brown sugar for moisture and depth. Melted butter starts the mix, bringing richness and a denser texture. The eggs and vanilla give the batter its glossy body. Sifted cocoa powder and flour ensure it stays smooth and lump-free.
Avoid overmixing. Stir just until the flour disappears into the chocolate. That’s the point when the batter sets up for a good chew, not cake, not fudge, but something in between.
If you’re deciding between natural and Dutch-process cocoa, here’s what I’ve learned. Dutch-process gives a darker color and smoother taste. Natural cocoa leans sharper. For this recipe, I’ve found Dutch-process matches the raspberry swirl better.
Making the Raspberry Sauce Look Like Blood
This sauce does the theatrical work. Fresh or frozen raspberries work equally well. Cook them gently with sugar and lemon juice until they break down. Then strain out the seeds. If you want the sauce thicker, mix cornstarch and water, then cook it again until glossy.
Let the sauce cool fully before swirling. Warm sauce will thin the batter and blur the pattern. Cool sauce stays where you put it.
Use a spoon to add it in ribbons between the cream cheese drops. Then swirl both together with a skewer. Don’t overdo the swirling. Too much and it turns to pink sludge. Think veins. Think marbling. Stop when it looks like something you’d see in a vampire movie.
Swirl the Cream Cheese for a Marbled Look
Cream cheese sets these brownies apart from red velvet brownies or dirt cups. It bakes up creamy and slightly tangy. That contrast is essential here. Beat it with sugar, a yolk, and vanilla. Then dollop it on.
I usually do this part by instinct. No measuring where each drop goes. Just trust your spoon. The swirl happens when you drag your knife through slowly. Once in one direction. Then again across. That’s all.
Baking and Slicing for Best Results
Bake in a parchment-lined square pan at 350°F. You want the top set and a few moist crumbs clinging to a toothpick. Not wet, not dry. Cool completely before slicing.
The swirl firms as it cools, and rushing the process smears the design. I leave the pan alone for a full hour, sometimes longer. Then I use a hot knife and wipe between cuts.
They stay neat and layered, even after a night in the fridge. And the flavor deepens by the second day.
Serving Tips and Storage Advice
These look best cut into squares. I like to add a little extra raspberry sauce on the serving plate. Some people press gummy fangs into the center. That’s fun for a vampire birthday cake twist.
For a Halloween fruit platter, these add richness and color contrast. The dark cocoa base sets off the reds beautifully. Serve them chilled if you want a firmer texture, or room temperature if you like them softer and gooier.
Store in an airtight container for up to three days at room temperature. If you’re serving over a few days, keep them in the fridge and let them rest at room temperature before serving. That brings back the soft swirl.
You can freeze them too. Wrap well and thaw in the fridge overnight. The swirl won’t smudge.
Try These Halloween Recipes Next
Set up a full spooky spread with Halloween brownies and themed Halloween sugar cookies.
Pair them with an easy Halloween cocktail or place on a Halloween fruit platter with dry ice mist.
For something creamy and layered, check out my Halloween dip. Or finish with Halloween dirt cups for the kids.
Save This Recipe and Share Your Slice
These vampire brownies draw attention on any table. Rich, dramatic, and easy to serve. Save this recipe to your Halloween board so you can find it when the spooky season rolls in.
Tried it? Let me know in the comments how it turned out, or what other vampire themed food you love making. I always enjoy seeing your versions.
Vampire Brownies Recipe
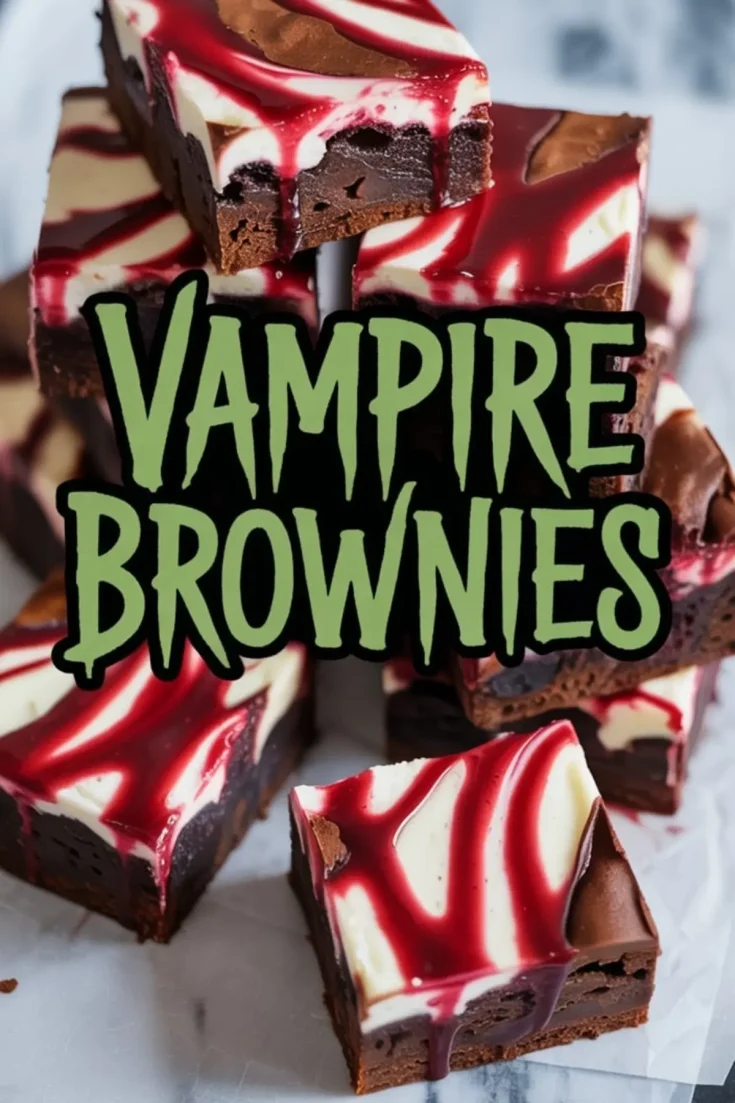
Vampire brownies are a spooky Halloween dessert that always get attention on the party table. I bake rich chocolate brownies, then add a sweet edible blood filling that oozes when you slice them. Some decorate the tops like spiderweb brownies, others keep them simple with just a drizzle, but either way they fit perfectly with Halloween brownies ideas. They’re fun to serve alongside vampire cookies, vampire snacks, or other vampire themed food for gatherings. I’ve even seen versions tied to vampire fudge recipe inspiration, but brownies are my favorite because they’re quick, dramatic, and delicious. Among Halloween desserts, vampire brownies are creepy, chocolatey, and the ultimate vampire party food.
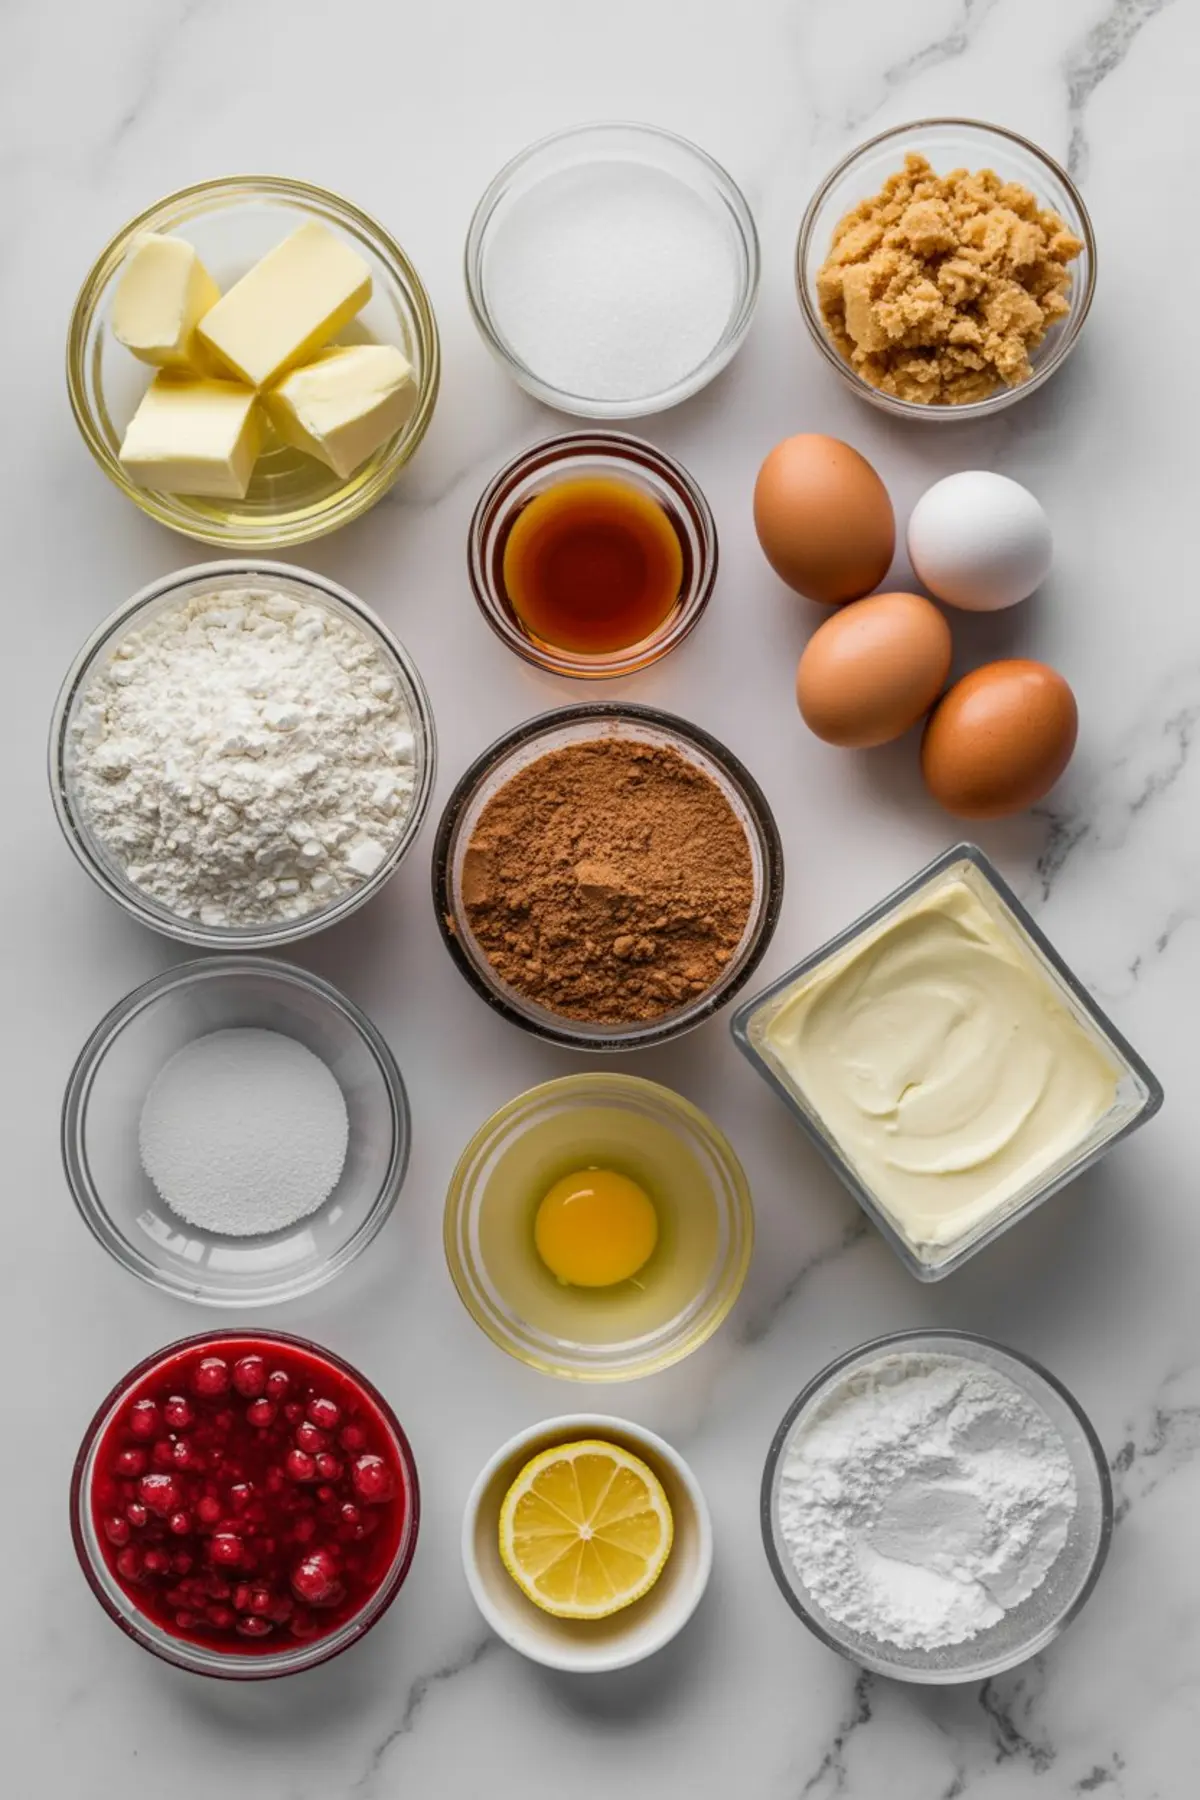
Ingredients
- For the Brownie Base:
- 1 cup (2 sticks) unsalted butter
- 1 1/4 cups granulated sugar
- 3/4 cup brown sugar (light or dark)
- 4 large eggs
- 1 tbsp vanilla extract
- 1 cup all-purpose flour
- 1 cup unsweetened cocoa powder
- 1/2 tsp salt
- For the Cream Cheese Swirl:
- 8 oz cream cheese, softened
- 1/4 cup granulated sugar
- 1 egg yolk
- 1/2 tsp vanilla extract
- For the “Blood” Raspberry Sauce:
- 1 cup fresh or frozen raspberries
- 2 tbsp granulated sugar
- 1 tsp lemon juice
- Optional: 1 tsp cornstarch + 1 tsp water (for thickening)
Instructions
- MAKE THE RASPBERRY SAUCE: Combine raspberries, sugar, and lemon juice in a small saucepan over medium heat. Stir frequently and cook for 7 to 8 minutes, or until the berries break down and the mixture thickens slightly. Strain through a fine mesh sieve to remove seeds. If a thicker sauce is desired, return the strained liquid to the pan and stir in a slurry made from cornstarch and water. Cook for 1 to 2 minutes more until glossy and slightly thickened. Set aside to cool completely.
- PREPARE THE BROWNIE BATTER: Preheat the oven to 350°F (175°C). Line a 9x9-inch baking pan with parchment paper. Melt the butter in a saucepan or microwave and allow it to cool slightly. In a large mixing bowl, whisk together the melted butter, granulated sugar, and brown sugar until smooth. Add eggs and vanilla extract, then whisk until the mixture appears glossy. Sift in the flour, cocoa powder, and salt. Stir just until the dry ingredients are fully incorporated. Do not overmix. Pour the batter into the prepared pan and smooth the surface evenly.
- MAKE THE CREAM CHEESE SWIRL: In a medium bowl, beat the softened cream cheese with sugar, egg yolk, and vanilla extract until completely smooth. Drop spoonfuls of the cream cheese mixture over the brownie batter in a random pattern.
- ADD THE RASPBERRY SWIRL: Spoon the cooled raspberry sauce between the cream cheese dollops. Using a skewer or butter knife, gently swirl the cream cheese and raspberry sauce into the brownie batter. Create a marbled pattern by swirling slowly in different directions, being careful not to overmix.
- BAKE AND COOL: Bake the brownies for 35 to 40 minutes, or until a toothpick inserted into the center comes out with a few moist crumbs but no wet batter. Allow the brownies to cool completely in the pan before slicing. The swirl pattern will firm up as the brownies cool, so avoid cutting too soon to preserve the design.
Notes
Store cooled brownies in an airtight container at room temperature for up to 3 days, or refrigerate for longer shelf life. For clean slices, wipe the knife clean between each cut.
Nutrition Information
Yield
16Serving Size
1Amount Per Serving Calories 415Total Fat 34gSaturated Fat 19gTrans Fat 1gUnsaturated Fat 12gCholesterol 110mgSodium 379mgCarbohydrates 26gFiber 2gSugar 7gProtein 4g