These Cream Cheese Keto Fat Bombs come together in minutes and deliver a rich, creamy texture with just enough sweetness to satisfy a craving. They’re made with full-fat cream cheese, butter, coconut oil, and low carb chocolate, making them ideal for keto dessert prep, fat bomb snacks keto style, or low carb treats throughout the week. Each bite offers a smooth melt backed by satisfying fat, perfect for those tracking carbs or looking for high-fat keto snacks without added fuss.

Following a special diet?
Every recipe on this site can be converted to gluten-free, vegan, dairy-free, keto, nut-free or egg-free with adjusted ratios so nothing falls flat.
Try the Recipe Converter →Cream cheese gives the structure, while butter softens it. Together, they create a base that firms beautifully once chilled but still melts on the tongue. Coconut oil steps in to stabilize the texture and provide that slight glossy sheen you notice when they’re set right. The right balance between fat and chill time makes or breaks a fat bomb recipe like this.
I’ve tried ratios that were too coconut-heavy or too cream cheese-heavy. This one holds. At 8 oz of cream cheese to ½ cup butter and ¼ cup coconut oil, the texture scoops clean and smooths into shape. You’ll notice it firms quickly without turning crumbly or greasy.
This is one of those make-once-and-repeat kind of ratios. Once you test it, you’ll likely return to it often.
Ingredient Breakdown and Why They Matter
Full-fat cream cheese brings the dense body and slight tang that cuts the sweetness. Don’t use light cream cheese here. It will break apart and won’t hold its shape after chilling.
Unsalted butter adds richness and rounds out the flavor. Salted butter overpowers this mix. If you only have salted, reduce or skip the added salt.
Coconut oil helps the fat bombs set cold. I use unrefined unless the flavor clashes with other ingredients. If you don’t love coconut, refined is neutral.
Powdered erythritol or allulose keeps the texture smooth. Granular sweeteners leave it gritty. Always taste and adjust—some prefer more sweetness. I usually use just ⅓ cup.
Vanilla extract ties everything together. Lemon juice isn’t essential, but adds a bright backdrop. It lifts the cream cheese and balances the richness.
Sea salt? Just a pinch. Enough to cut the flatness without making them taste salty.
You’ll find a similar sweet-salty balance in my Keto Brownies. It’s a principle I always come back to.
Spotlight: Texture and Shaping
Texture makes the difference here. You want the base smooth but firm enough to hold shape. Creaming the butter and cream cheese until light is step one. The trick is using them fully softened—no cold lumps, no shortcuts.
The coconut oil must be melted, then slightly cooled. If it’s too hot, it will melt the butter back down and ruin the whipped texture. I’ve made that mistake once or twice on rushed days.
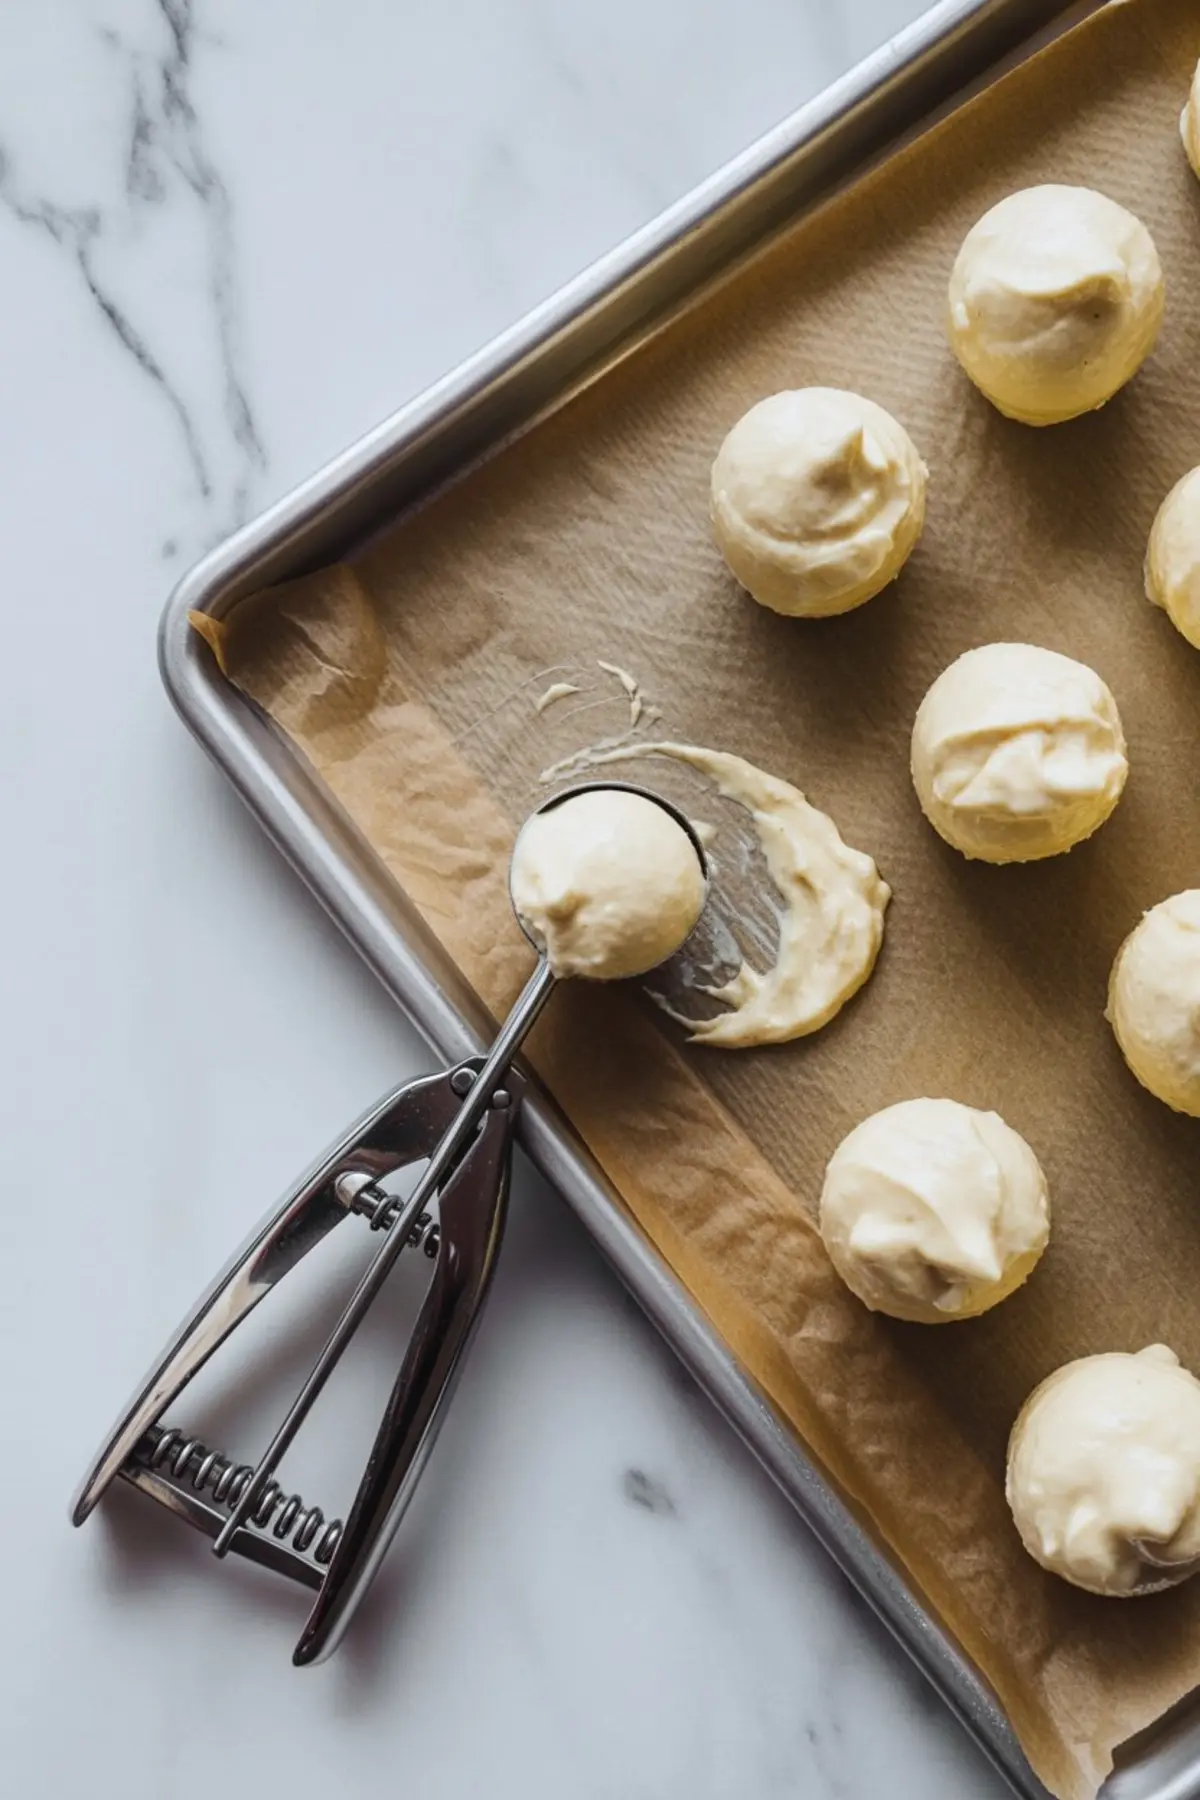
Once chilled, the mixture should feel scoopable, like a firm mousse. Not rock-hard. Use a small cookie scoop for uniform size, then smooth each ball by rolling gently between your palms.
I get the same clean shape feeling I look for in my Protein Cottage Cheese Brownies. When it scoops clean, it’s ready.
How to Get the Process Right
After creaming the butter and cream cheese, take the time to scrape the bowl well. This prevents uneven blending when you add the oil. Add the coconut oil slowly, with the mixer on low.
Don’t skip the chill before shaping. If it’s too soft, shaping becomes messy. After shaping, a second chill locks the shape in.
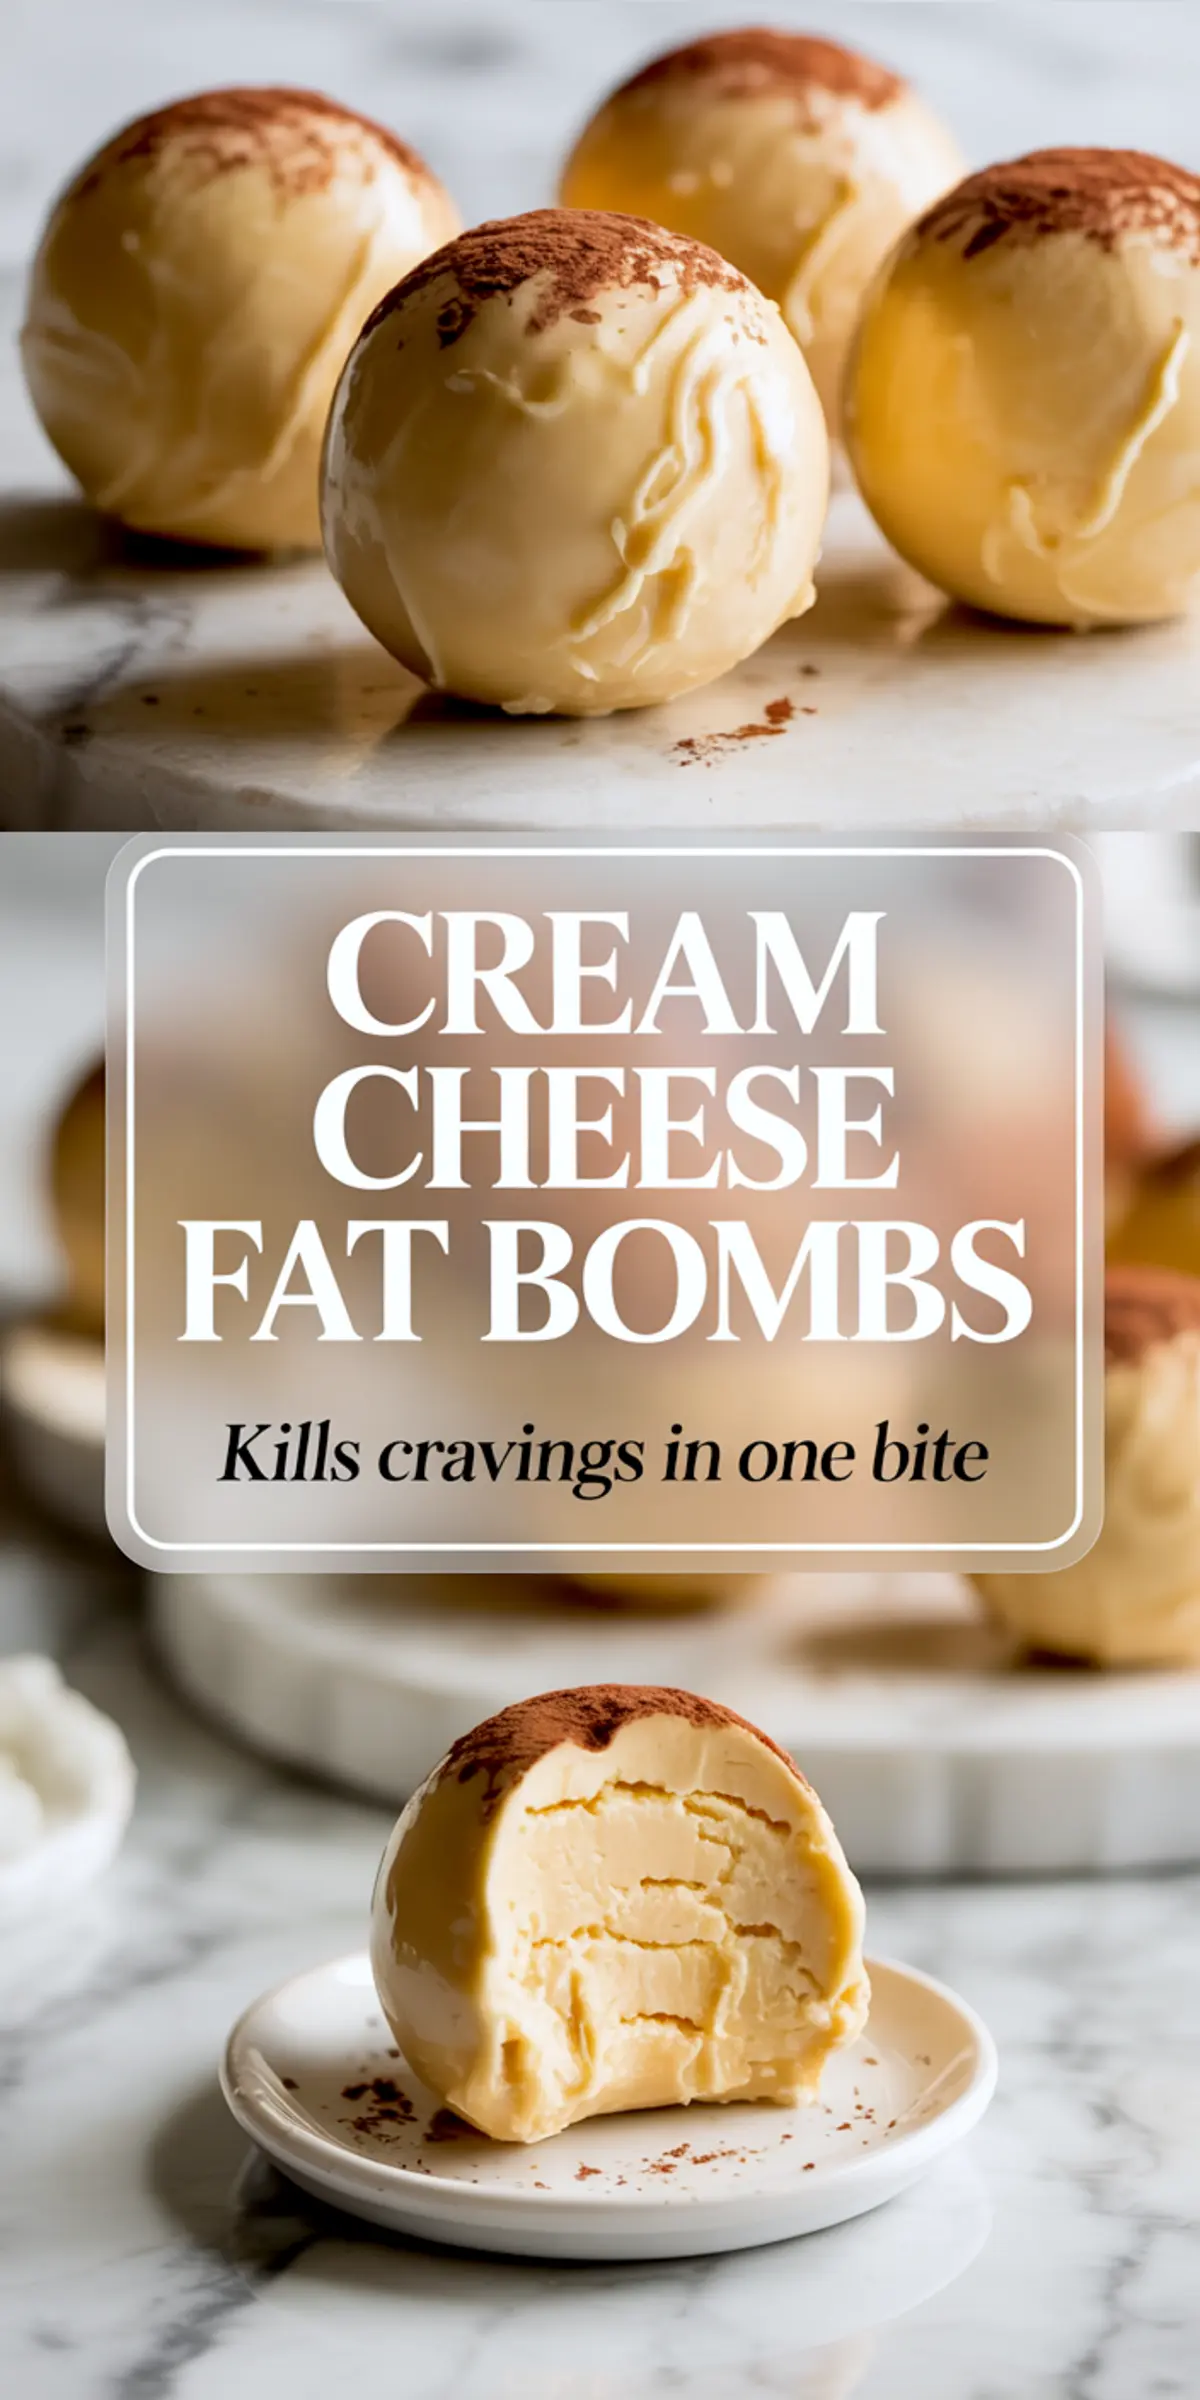
Dusting with cocoa powder is optional but adds a nice visual contrast. I use it lightly, like I would on a tiramisu or the top of a mousse dome. You’ll find it gives a similar contrast seen in my Chocolate Protein Mug Cake.
When It’s Done Right
Properly chilled fat bombs hold their shape when picked up. They don’t stick to fingers and don’t crumble. If they look wet or oily on top, they need more time. If they’re crumbly, the butter may have been too cold during mixing.
Trust the feel. If they shape clean and stay firm after the second chill, they’re ready.
Fixing What Goes Wrong
Lumpy texture? Likely from cold ingredients. Always bring everything to room temperature first.
Too soft to shape? Chill longer.
Oily surface? That’s overheated coconut oil. Let it cool before adding.
Gritty texture? Use powdered sweetener only.
I’ve had readers run into these on their first try. Once you know the signs, you can fix it before it sets.
Flavor and Add-In Variations
Add 1 tsp almond extract for a cherry cheesecake twist.
Use orange zest instead of lemon juice for a fresh citrus note.
Mix in 2 tbsp unsweetened cocoa powder for a chocolate fat bomb version.
Fold in a few sugar-free chocolate chips or crushed freeze-dried berries for texture.
Each variation changes the outcome slightly, but the base ratio still holds. I test similar swaps in my Quinoa Protein Muffins, especially when adjusting for flavor.
How to Store Them
Store in an airtight container in the fridge for up to a week.
For longer storage, freeze in a single layer, then transfer to a freezer-safe bag or box. Keeps well for 1 month.
Let them sit out for 2 to 3 minutes after freezing. The texture softens enough for a bite but stays firm.
Tested Tips for Better Results
Always use a hand mixer. Whisking by hand won’t get the same air into the base.
Soften cream cheese and butter at room temperature, not in the microwave. Chill twice once before shaping, once after.
Use a cookie scoop for even size. It makes portioning fast. Don’t skip the sea salt. It changes the balance completely. Avoid silicone molds they don’t release well without freezing.
Save This Creamy Keto Snack
Save this to your keto dessert or fat free desserts board so you’ll always have a no-bake option ready.
Have you made your own version of these fat bombs? Let me know in the comments—flavor swaps, sweeteners, or tips that worked for you.
Keto Fat Bomb Snacks
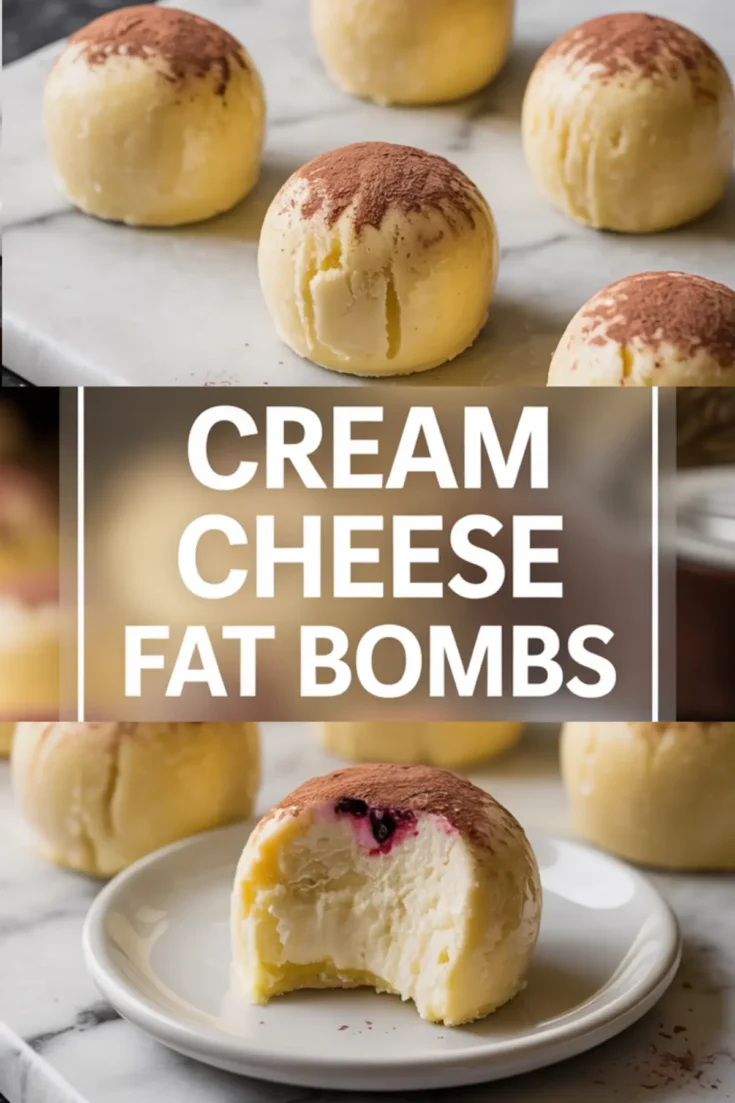
These Cream Cheese Keto Fat Bombs are rich, smooth, and perfect for a quick keto dessert or afternoon energy boost. Made with a handful of simple ingredients like cream cheese, butter, and low carb chocolate, each bite delivers satisfying flavor with minimal carbs. Ideal for keeping cravings in check, these fat bomb snacks keto are freezer-friendly and quick to prep. Add this to your list of go-to low carb treats and enjoy an easy fat bomb recipe any time. Great for meal prep, keto snacks, or a fast no-bake bite.
Ingredients
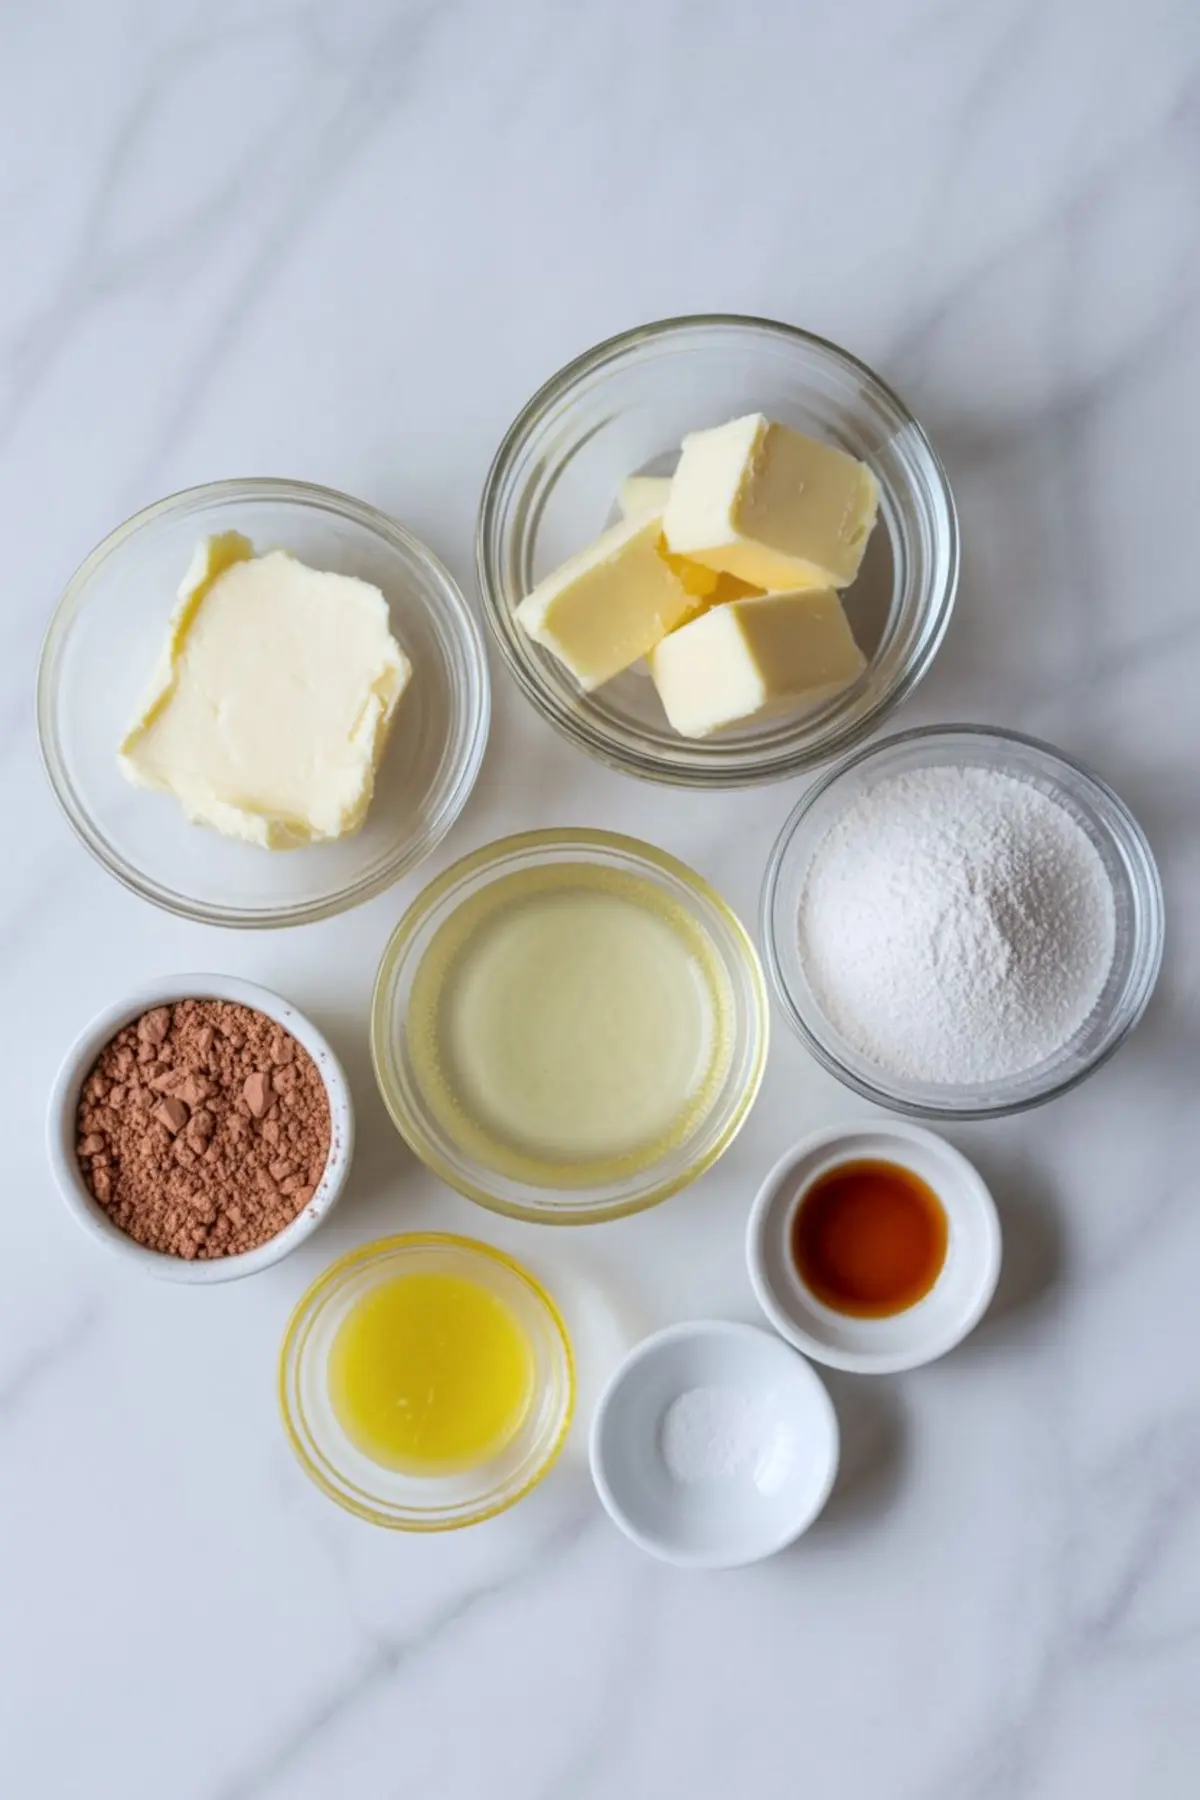
- 8 oz full-fat cream cheese, softened
- 1/2 cup unsalted butter, softened
- 1/4 cup coconut oil, melted and slightly cooled
- 1/3 cup powdered erythritol or allulose (adjust to taste)
- 1 tsp vanilla extract
- 1 tbsp lemon juice (optional)
- Pinch of sea salt
- Unsweetened cocoa powder, for dusting (optional)
Instructions
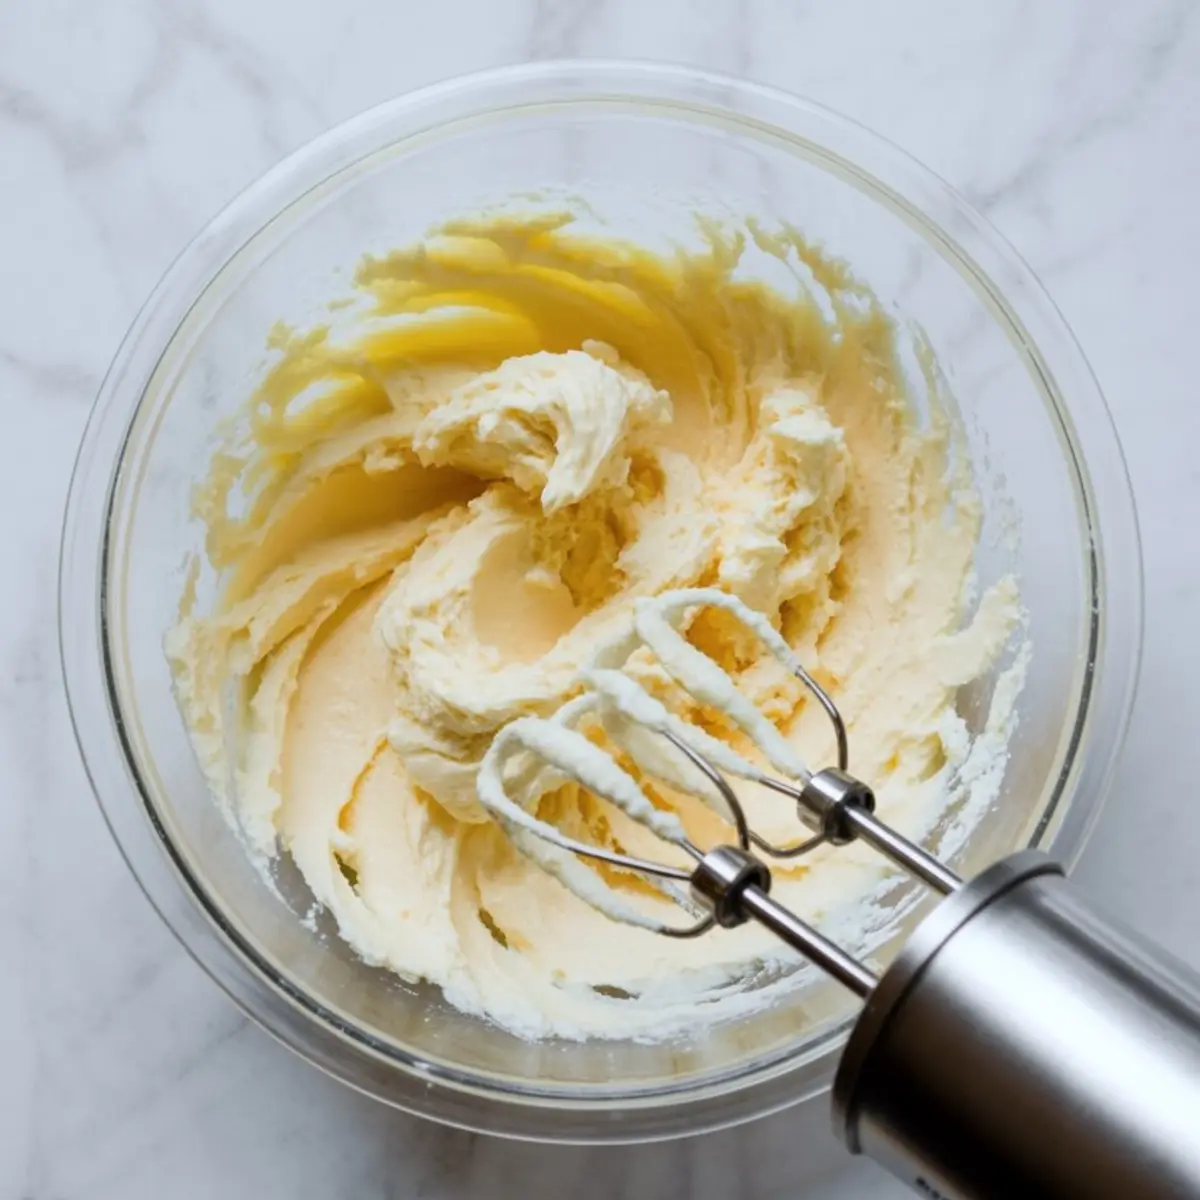
- CREAM THE BASE: In a large mixing bowl, beat the softened cream cheese and butter together using an electric mixer until the mixture is smooth, fluffy, and free of lumps. This step should take 2 to 3 minutes.
- ADD THE COCONUT OIL: While mixing on low speed, slowly drizzle in the melted and slightly cooled coconut oil. Stop and scrape down the sides of the bowl as needed to ensure everything is evenly blended.
- SWEETEN AND FLAVOR: Add the powdered erythritol or allulose, vanilla extract, lemon juice if using, and a pinch of sea salt. Beat the mixture again until fully combined and light in texture.
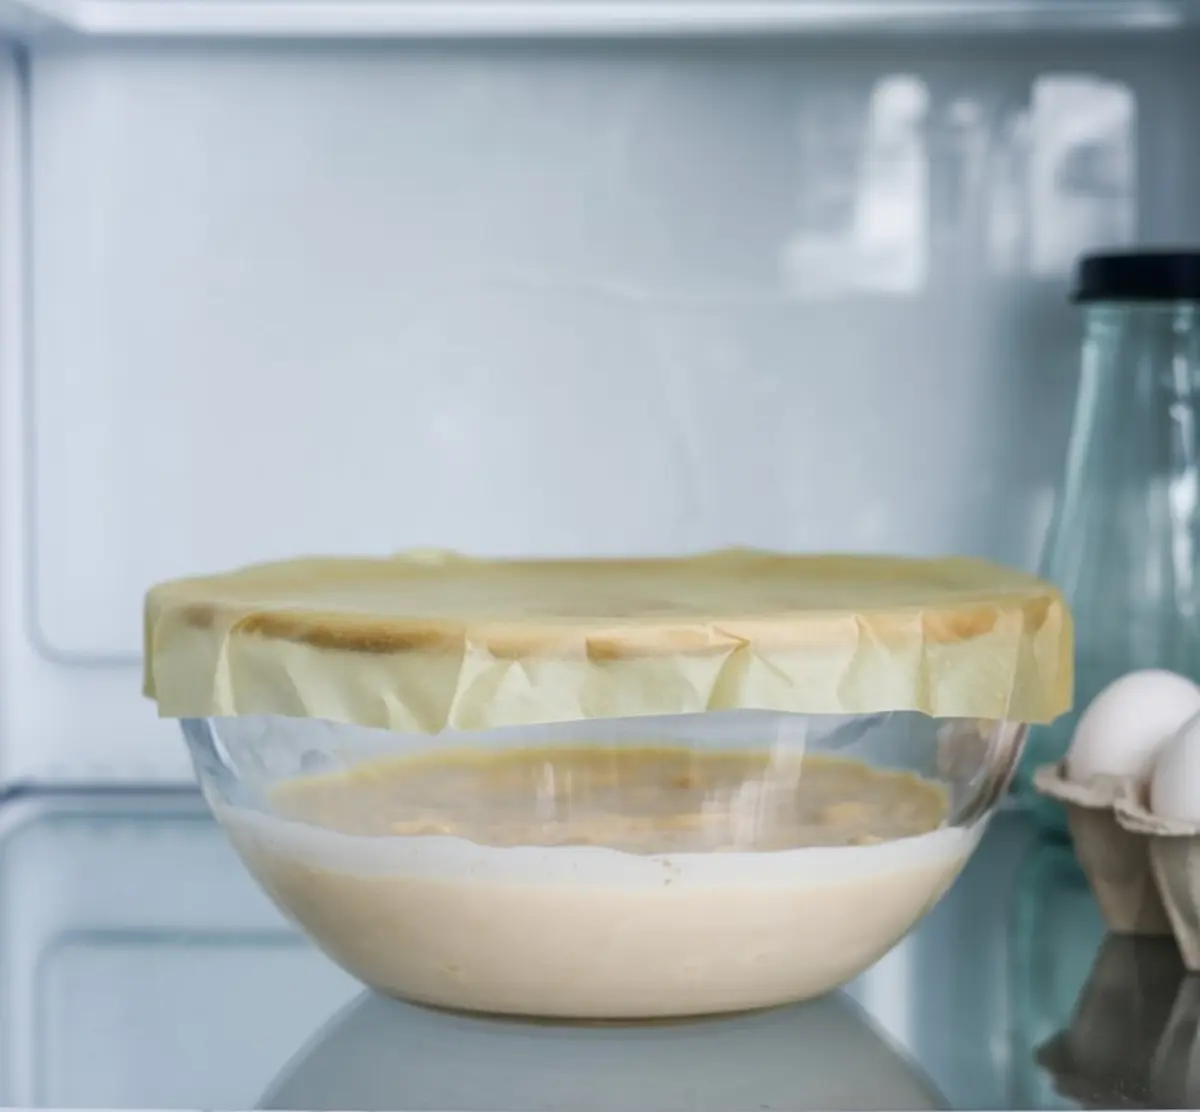
- CHILL THE MIXTURE: Transfer the bowl to the refrigerator and chill for 20 to 30 minutes, just until the mixture firms up enough to hold its shape when scooped. This step helps with clean shaping.
- SCOOP AND SHAPE: Use a small cookie scoop or spoon to portion the mixture into bite-sized balls. Roll each ball between your palms to create a smooth surface and uniform shape.
- DUST WITH COCOA: Arrange the shaped fat bombs on a tray lined with parchment paper. Lightly dust the tops with unsweetened cocoa powder, if using, for a classic cheesecake-tiramisu look.
- CHILL TO SET: Place the tray in the refrigerator or freezer and let the fat bombs firm up completely, about 1 hour, before serving or storing.
Notes
Make sure all ingredients are at room temperature before starting. Cold cream cheese or butter can create a lumpy texture that’s hard to smooth out. Store the fat bombs in an airtight container in the fridge for up to 1 week or in the freezer for up to 1 month. Let them sit at room temperature for a few minutes before eating if frozen.
Nutrition Information
Yield
20Serving Size
1Amount Per Serving Calories 125Total Fat 10gSaturated Fat 5gUnsaturated Fat 5gCholesterol 25mgSodium 154mgCarbohydrates 5gFiber 0gSugar 0gProtein 3g