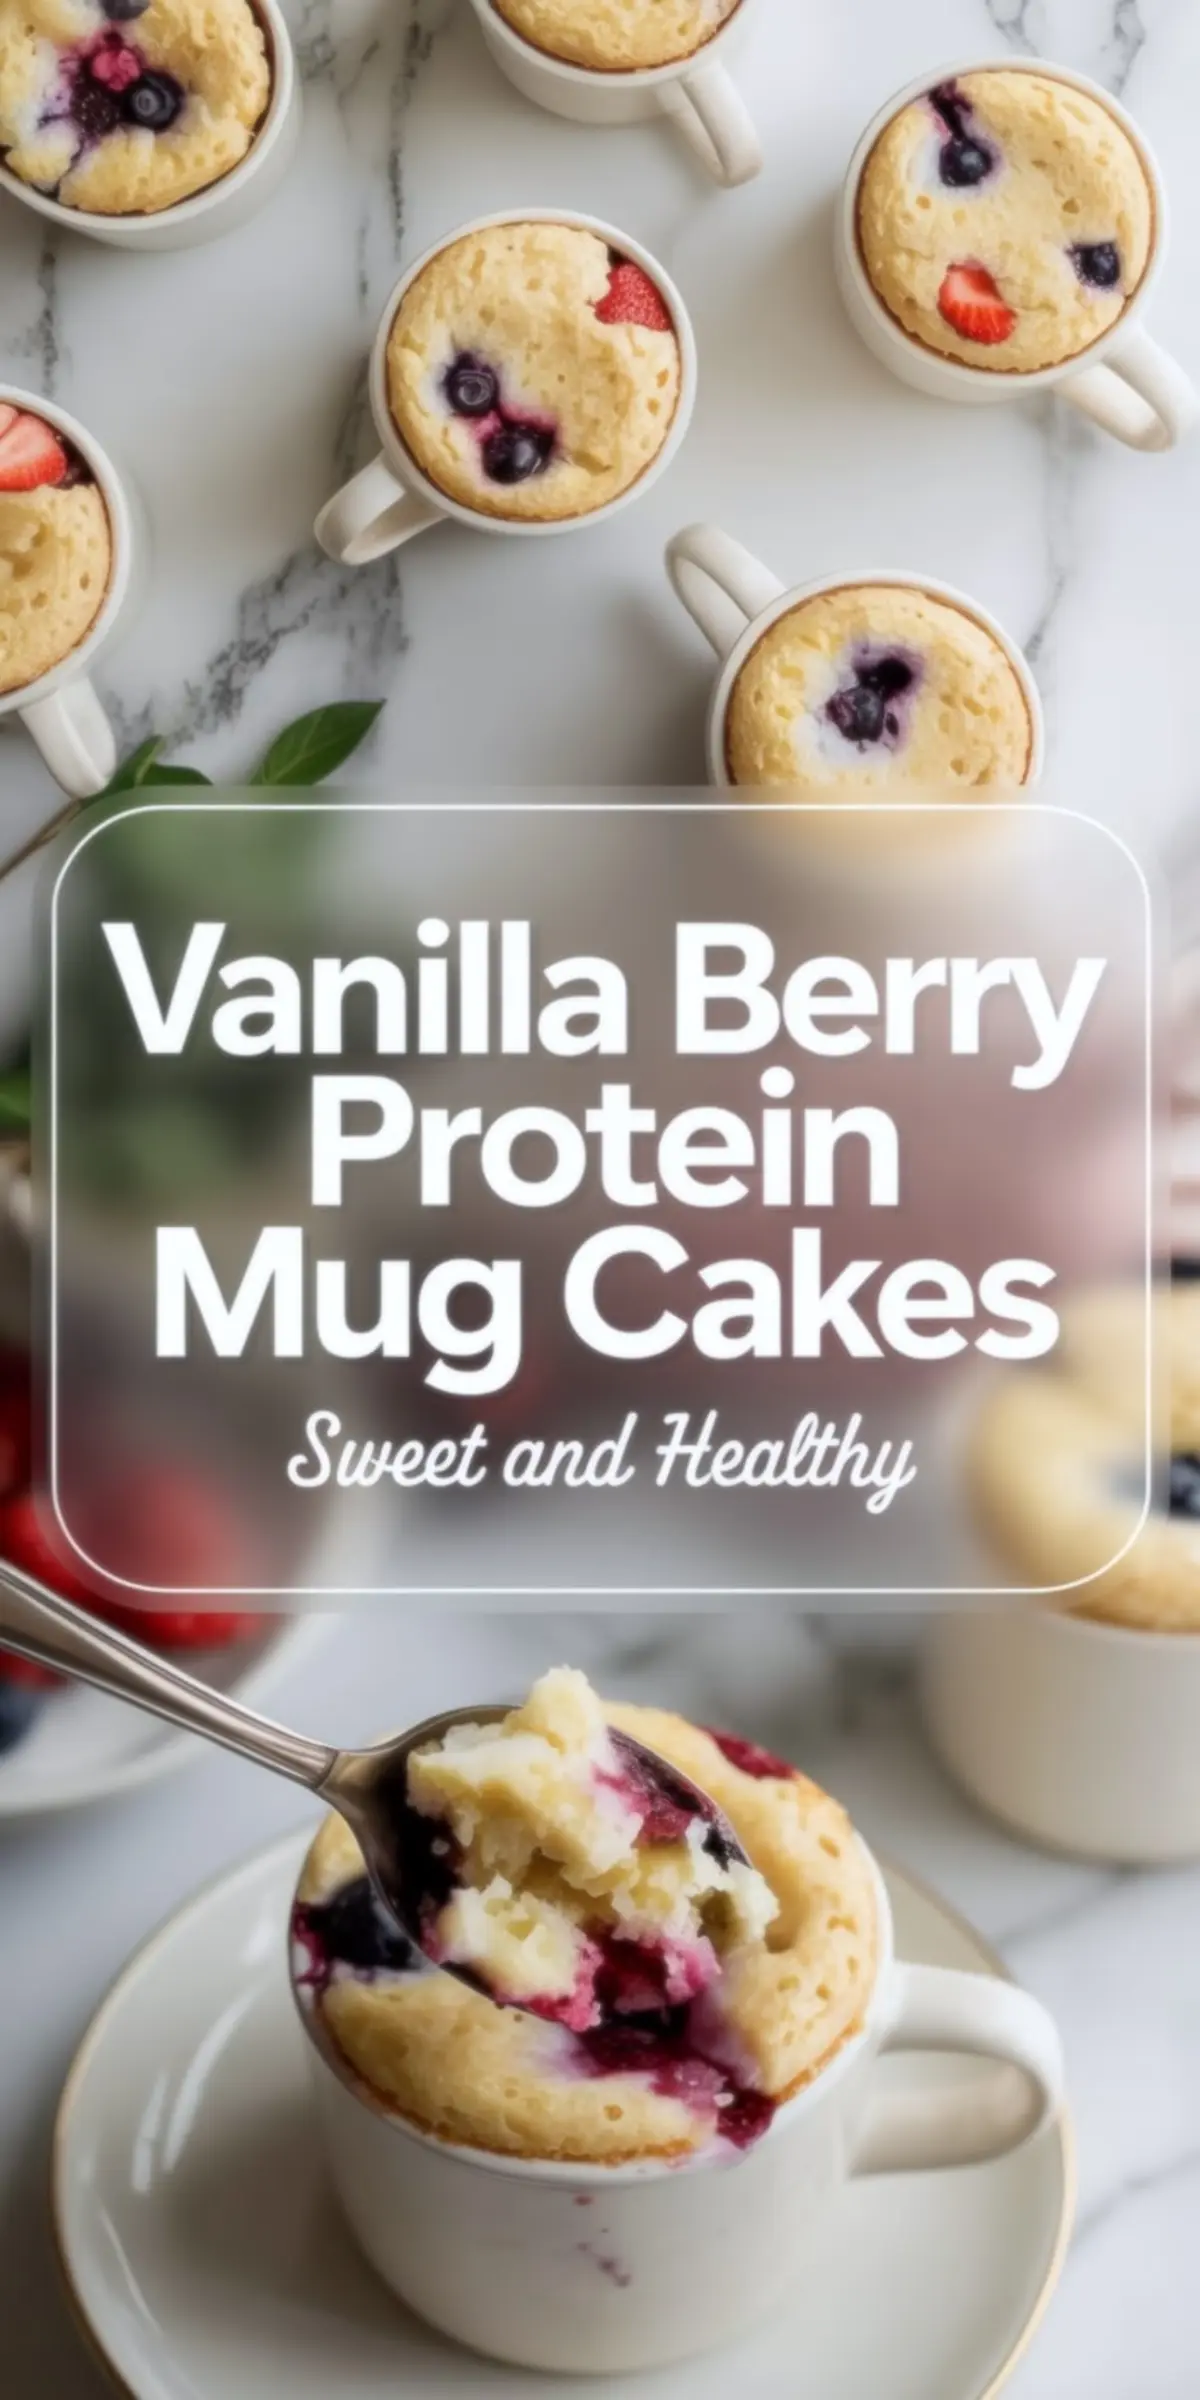
Vanilla protein mug cake comes together in under two minutes and includes oat flour, vanilla protein powder, Greek yogurt, and berries for a soft, fluffy high protein treat. It’s a go-to option for busy mornings, a quick breakfast, or a post-workout snack.
This easy mug cake works with most protein powders and doesn’t require eggs or an oven. It fits well into low-calorie meal plans, with natural variations for low-carb or dairy-free diets. It’s part of my protein dessert recipes for a reason.
This recipe uses a ratio that balances moisture with protein. Too much liquid and it turns gummy. Too little and the protein powder dries out the cake. I use three tablespoons of liquid plus yogurt per scoop of powder. That’s the base ratio.
Following a special diet?
Every recipe on this site can be converted to gluten-free, vegan, dairy-free, keto, nut-free or egg-free with adjusted ratios so nothing falls flat.
Try the Recipe Converter →The oat flour provides structure without making the texture heavy. If you use almond flour instead, it turns out softer and more buttery. The choice depends on what you’re after. I usually go with oat flour for breakfast and almond flour when I want a lighter dessert texture.
That scoop of vanilla protein powder adds flavor and binds the structure. I’ve tested it with whey, pea, and collagen blends. Whey or whey-casein blends give the fluffiest results. Collagen made it rubbery. Pea protein worked but needed extra milk.
If you want to try something chocolatey next, this protein mug cake with cocoa is worth saving too.
The Berries Are More Than Decoration

The berries change the moisture level slightly but in a good way. They add natural sweetness and soften the crumb just enough. I’ve used frozen raspberries, chopped strawberries, and wild blueberries. Each works differently.
Blueberries are low-moisture and stay whole. Strawberries make it jammy. Raspberries fall apart and create a ripple effect. That last one’s my favorite.
Use them frozen straight from the freezer. If you thaw them first, the cake turns slightly mushy at the bottom. The heat softens them during the cook time and keeps the juices inside the batter.
For another fruit-filled option with deeper flavor, my dark chocolate oatmeal cups work beautifully with frozen cherries or blueberries too.
Ingredient Breakdown and Swaps
I use oat flour because it thickens quickly without needing much fat. You can grind your own oats, but I usually just grab a pre-ground bag. Almond flour works just as well, though it gives a denser texture and a nuttier taste.
Greek yogurt adds moisture and richness. I’ve also used plain skyr, but the flavor shifts slightly. For dairy-free swaps, coconut yogurt works best.
Any milk works here. I’ve tried almond, oat, and regular dairy milk. Use what fits your day. The vanilla extract ties the sweetness together, especially if your protein powder is lightly flavored.
Need a solid protein-packed dessert for batch prep? These protein cottage cheese brownies are dense, chewy, and great from the fridge.
What the Process Looks Like
The batter should be smooth and pourable but not runny. If it feels thick like cookie dough, add another half tablespoon of milk. If it’s too thin, mix in a pinch more flour. It should fall slowly off a spoon.
Microwave it in a large mug. I’ve had overflow disasters in anything smaller than 10 ounces. Start with 60 seconds. If it looks wet in the center, go another 15 to 30 seconds.
You want a gently domed top with a springy texture when tapped. Let it sit for a minute before eating. That rest time sets the crumb.
Looking for a full breakfast that still packs protein? Try these healthy quinoa protein muffins with a side of fruit.
How to Tell When It’s Cooked
The center should look matte and slightly puffed. A glossy center usually means it’s still undercooked. If you microwave it too long, the sides dry out fast. I test doneness with a spoon press in the middle. It should leave a light indent and bounce back.
Too dry? You either used too much flour or microwaved it too long. Too wet? It needed another 15 seconds.
You’ll get better with each batch. I’ve probably made 40 of these by now. Sometimes I even add a pinch of cinnamon or a few white chocolate chips. For a winter option, I like it with a side of this healthy hot chocolate.
Quick Storage Notes
This isn’t one to store overnight. The texture changes too much. If you really need to make ahead, mix the dry and wet ingredients separately, then combine just before microwaving.
You can refrigerate the batter up to 12 hours. I don’t recommend freezing it. Make it fresh, it takes less time than brewing coffee.
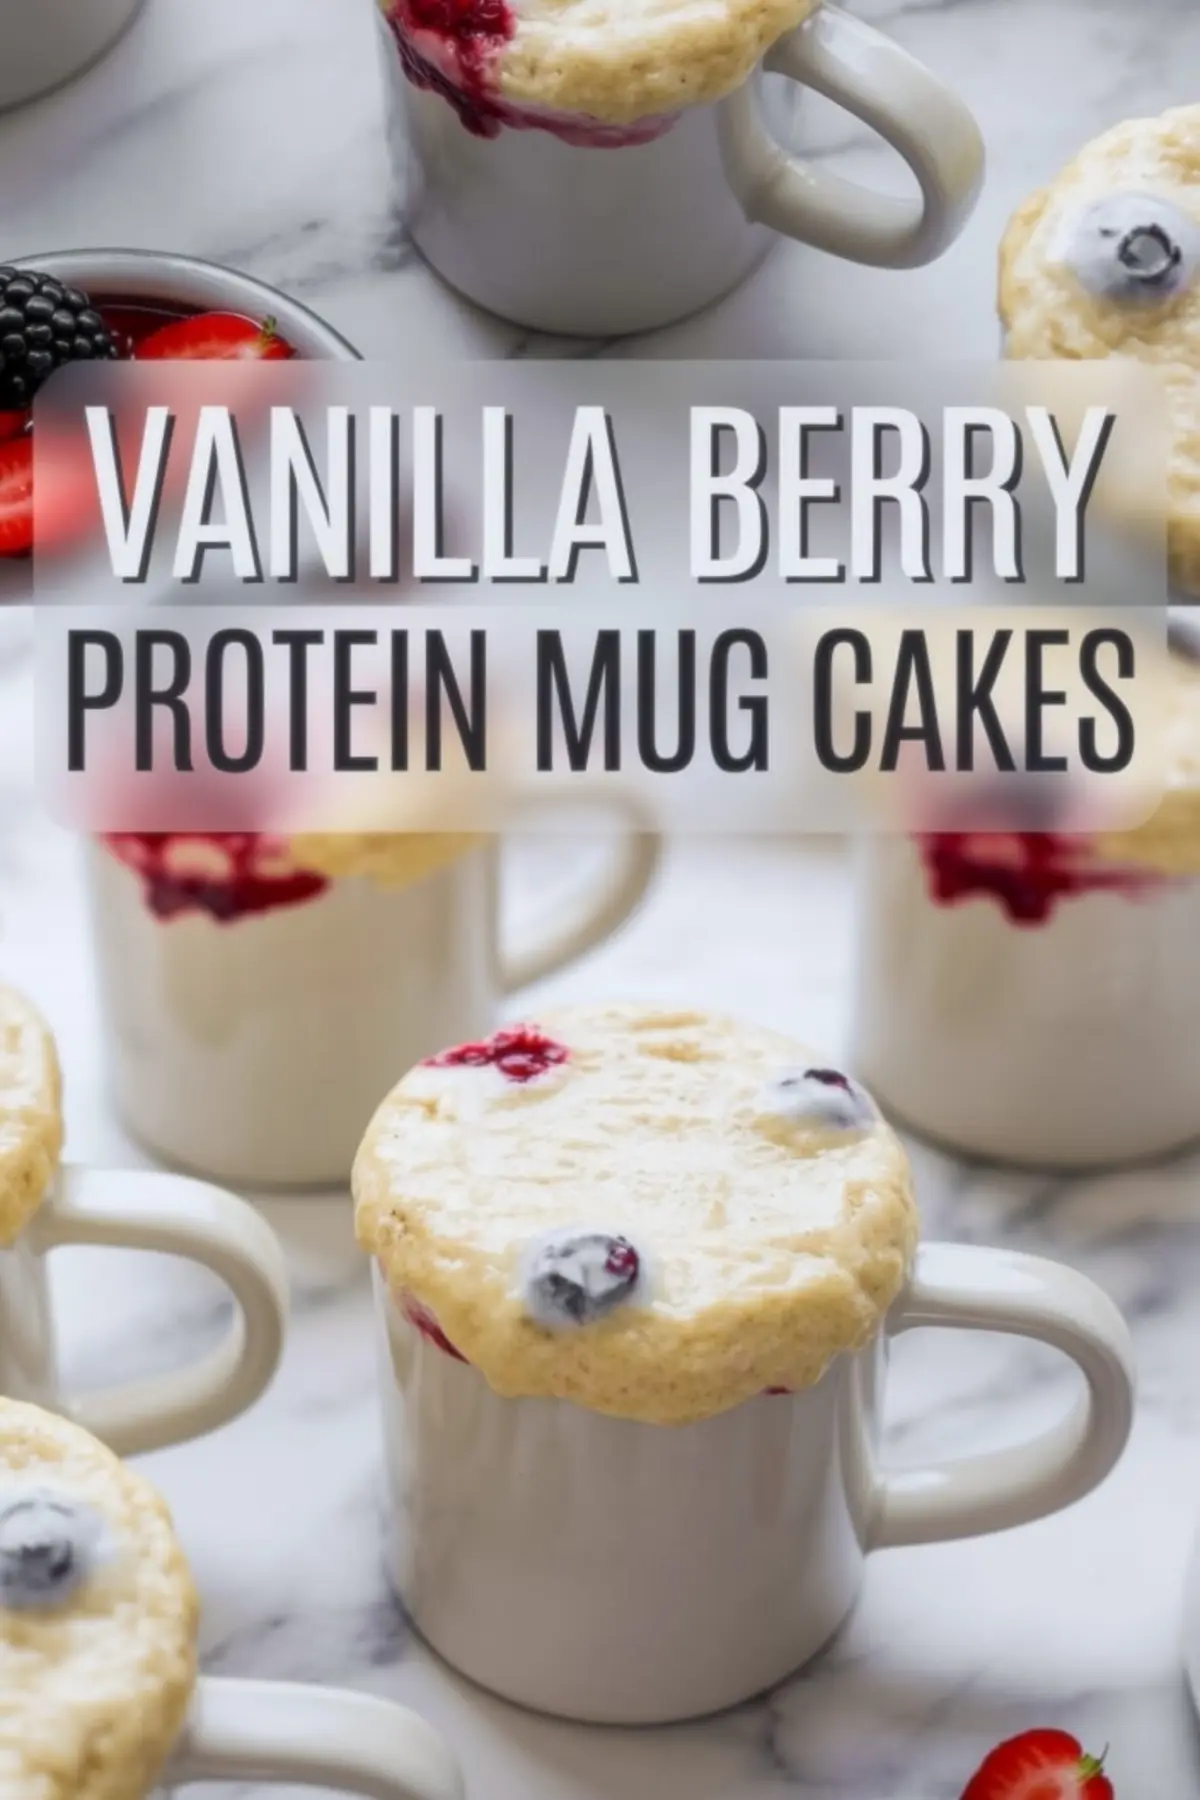
Pin This Vanilla Protein Mug Cake for Later
If this mug cake helped solve your breakfast or snack cravings, save it to your Pinterest board now.
Let me know in the comments what berry combo you tried or if you’ve come up with a new variation I should test next.
Vanilla Berry Protein Mug Cake

Looking for a fast, satisfying treat packed with protein? This Protein Powder Mug Cake delivers a soft and fluffy texture in just minutes. Made with simple ingredients and your favorite vanilla protein powder, it’s one of the easiest high protein mug cake options for busy days. Great as a post-workout snack or high protein dessert, this vanilla mug cake fits into any active lifestyle. Try this protein mug cake recipe for a quick fix that doesn’t sacrifice flavor or nutrition. Save this protein mug cake easy idea for your next sweet craving.
Ingredients
- 3 tbsp oat flour (or almond flour for low-carb)
- 1 scoop vanilla protein powder (about 25g)
- 1/4 tsp baking powder
- Optional: pinch of salt
- 1 tbsp maple syrup or honey
- 3 tbsp milk (dairy or plant-based)
- 1 tbsp Greek yogurt (or any thick yogurt)
- 1/2 tsp vanilla extract
- 2 tbsp mixed berries (fresh or frozen—blueberries, raspberries, or chopped strawberries)
Instructions
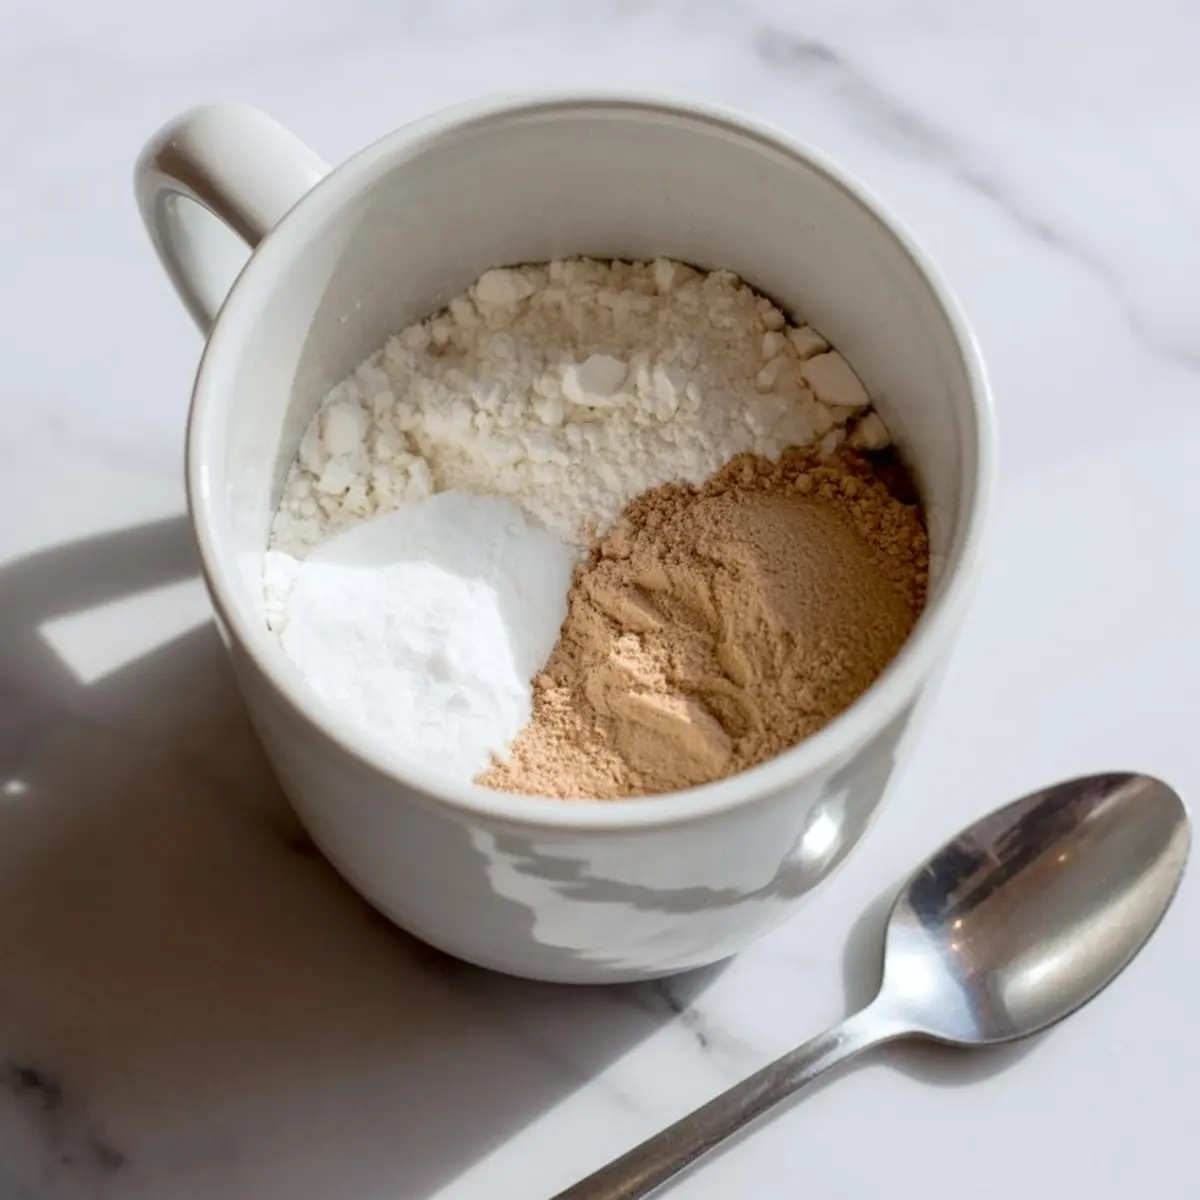
- MIX THE DRY INGREDIENTS: In a microwave-safe mug (at least 10 oz to avoid overflow), stir together the oat flour, protein powder, baking powder, and a pinch of salt if using until evenly combined.
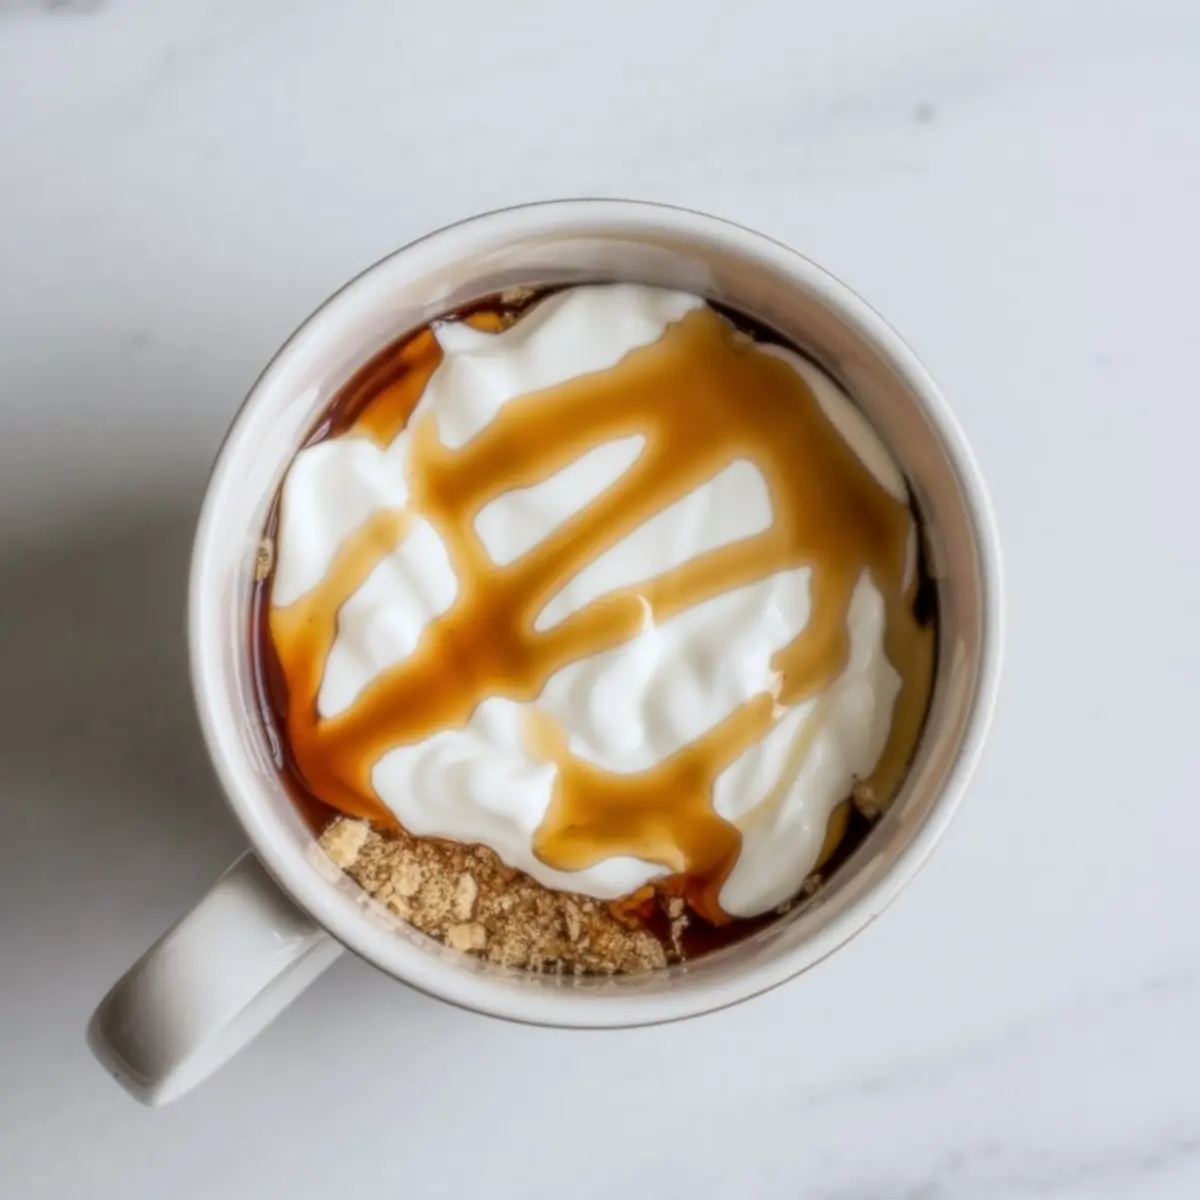
- ADD THE WET INGREDIENTS: Pour in the milk, Greek yogurt, vanilla extract, and maple syrup or honey. Stir thoroughly until the mixture is smooth and no dry pockets remain.
- FOLD IN THE BERRIES: Gently mix in the berries. If using frozen berries, add them straight from the freezer without thawing—they will soften and release juices as they cook.
- MICROWAVE: Microwave the mug on high for 60 to 90 seconds. Start with 60 seconds, then check the top. If the center still appears wet, microwave for an additional 15 to 30 seconds. The cake should look just set but still moist.
- COOL SLIGHTLY AND SERVE: Allow the mug cake to cool for 1 to 2 minutes before eating, as the berries will be hot and the texture improves slightly after resting.
Notes
Use a large enough mug to prevent overflow while cooking. Adjust cook time based on the strength of your microwave. For extra flavor, sprinkle a few berries on top before microwaving.
Nutrition Information
Yield
1Serving Size
1Amount Per Serving Calories 262Total Fat 2gSaturated Fat 1gUnsaturated Fat 1gCholesterol 3mgSodium 182mgCarbohydrates 52gFiber 2gSugar 15gProtein 7g