These fudgy protein brownies combine almond flour, chocolate protein, and cocoa powder to deliver the rich texture of traditional brownies with fewer carbs. This recipe checks all the boxes for keto brownies easy, low carb desserts, and keto dessert easy enough for busy nights. It satisfies chocolate cravings without the sugar crash, making it a go-to choice for anyone searching for low carb sweets or the best keto brownies that don’t taste “healthy.”
Following a special diet?
Every recipe on this site can be converted to gluten-free, vegan, dairy-free, keto, nut-free or egg-free with adjusted ratios so nothing falls flat.
Try the Recipe Converter →Greek yogurt gives these brownies their soft, dense crumb without relying on oil or butter. I’ve used it in other bakes, but here, it acts as a binder and tenderizer in one. Along with applesauce, it helps balance the dryness that protein powder can bring. That’s one of the reasons these don’t fall apart like many keto brownie recipes tend to.
Brewed coffee deepens the chocolate flavor, even if you can’t taste the coffee directly. If you skip it, use milk, but I find the coffee rounds everything out without bitterness. The baking time is short on purpose. Fudgy means slightly underbaked at the center.
I’ve tested these with both whey and plant-based protein. Both work, though whey gives a smoother texture. A friend prefers the version with oat flour and almond butter, so there’s room to adapt.
Ingredient Choices That Matter
Greek yogurt does more than moisten. It keeps the crumb compact but not dense. I always choose full-fat if I have it. It makes a difference in flavor. Unsweetened applesauce lightens the batter, balances bitterness from the cocoa, and gives it that soft chew.
Natural peanut butter adds fat and structure. Almond butter is fine too, but slightly milder. I tend to use whichever I have open. Coconut sugar or brown sugar substitute gives just enough sweetness without the spike. I like the deep, almost caramel note it brings.
The chocolate protein powder gives structure and helps bind without drying things out. I go with a whey isolate that isn’t overly flavored. Almond flour softens the structure and prevents gumminess. I’ve also made these with oat flour, which works if you want a more cake-like crumb.
For cocoa, use unsweetened natural cocoa powder. Dutch-processed can work but may affect the rise. Espresso powder and vanilla aren’t mandatory, but they lift the flavor. Cinnamon adds warmth if you like a touch of spice.
Cocoa and Protein: The Key to Fudgy Texture
The cocoa powder carries the flavor, but too much can dry out the batter. That’s where the protein powder’s structure and the applesauce’s moisture come into play. If you’re using plant-based protein, expect a slightly thicker batter. Add an extra tablespoon of liquid if needed.
Once it’s mixed, the batter should be thick but pourable. It spreads slowly, not like cake batter. If it clumps, the protein powder may have absorbed too much moisture. In that case, a splash more milk or coffee will bring it back.
Making the Brownies Step by Step
After whisking the wet ingredients until smooth, stir in the coconut sugar and cocoa. This mixture should look dark and thick. Then fold in the dry ingredients. Once the protein powder and almond flour are added, stop stirring once fully combined. Overmixing makes them rubbery.
Gently fold in the chocolate chips. I usually hold back a few to sprinkle over the top. Bake until the center is just set. A toothpick should come out with a few moist crumbs. If it’s clean, they’re overbaked.
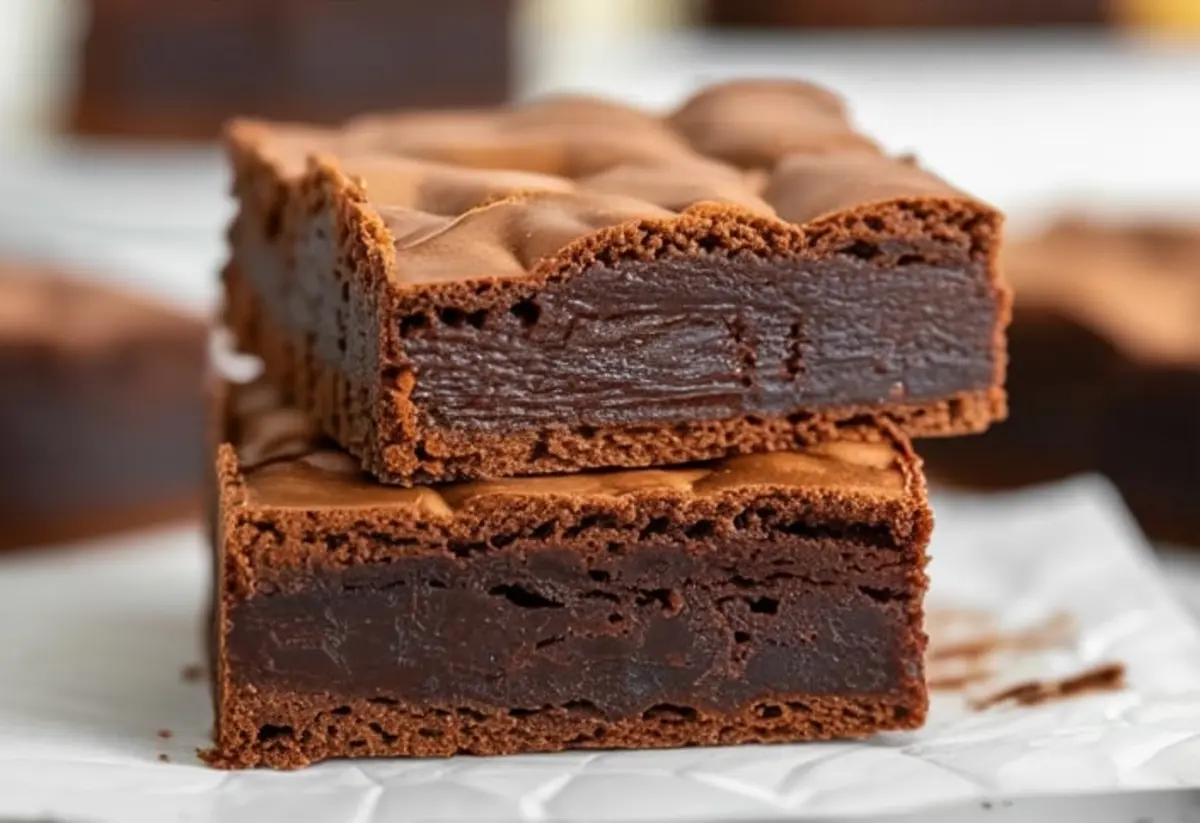
Let them cool in the pan at least 15 minutes. They firm up as they cool. Warm, they’re gooey and soft. Cooled, they’re thick and chewy. Either way, they work.
You can serve them alongside a cup of Healthy Hot Chocolate for a cozy evening.
Signs Your Brownies Are Ready
The edges should look firm and pull slightly from the pan. The top may crack just a little. Don’t rely on time alone. Every oven runs a little different. Touch the center lightly. It should feel set but soft.
If it jiggles, it’s underdone. If the edges are too dark and the center is dry, they’ve gone too far. Trust the look and feel over the clock.
Troubleshooting Tips
Dry texture? Too much protein powder or overbaking. Use a scale if possible. Gummy texture? Batter may be underbaked or overly wet. Crumbly? That’s often from skipping the eggs or using a gritty flour substitute. Sweetness off? Taste the batter before baking and adjust with a pinch more sugar substitute.
Brownie Variations to Try
Use almond butter instead of peanut butter for a more neutral taste. Add 1/4 cup chopped walnuts for crunch. Swap half the chocolate chips for white chocolate or sugar-free chips. Try peppermint extract for a winter spin 1/4 teaspoon is plenty.
You could even add a small swirl of nut butter on top before baking. Use a knife to drag it through for a marbled look.
You can find another version with more protein here: Fudgy Protein Brownies.
Or another option using cottage cheese here: Protein Cottage Cheese Brownies.
How to Store and Reheat
Keep brownies on the counter in an airtight container for up to 3 days. For longer storage, refrigerate up to a week. If freezing, wrap slices individually and store in a freezer bag for up to 2 months.
To reheat, warm in the microwave for 10 to 12 seconds. The texture softens again and the chocolate melts just a little.
Want a sugar-free cookie to pair with them? Try Sugar Free Chocolate Cookies for something light and crunchy.
Serving Ideas
Cut small squares and serve with fresh raspberries. Add a spoonful of Greek yogurt or whipped coconut cream. Dust with cocoa powder for a café-style finish. Warm and serve with peanut butter drizzle. Cool completely and crumble over low carb ice cream.
Save This Recipe and Share Your Version
Save this recipe to your keto desserts board to try later. I’d love to hear how you made it your own. Did you swap the nut butter? Use oat flour? Let me know in the comments.
Keto Brownies Recipe
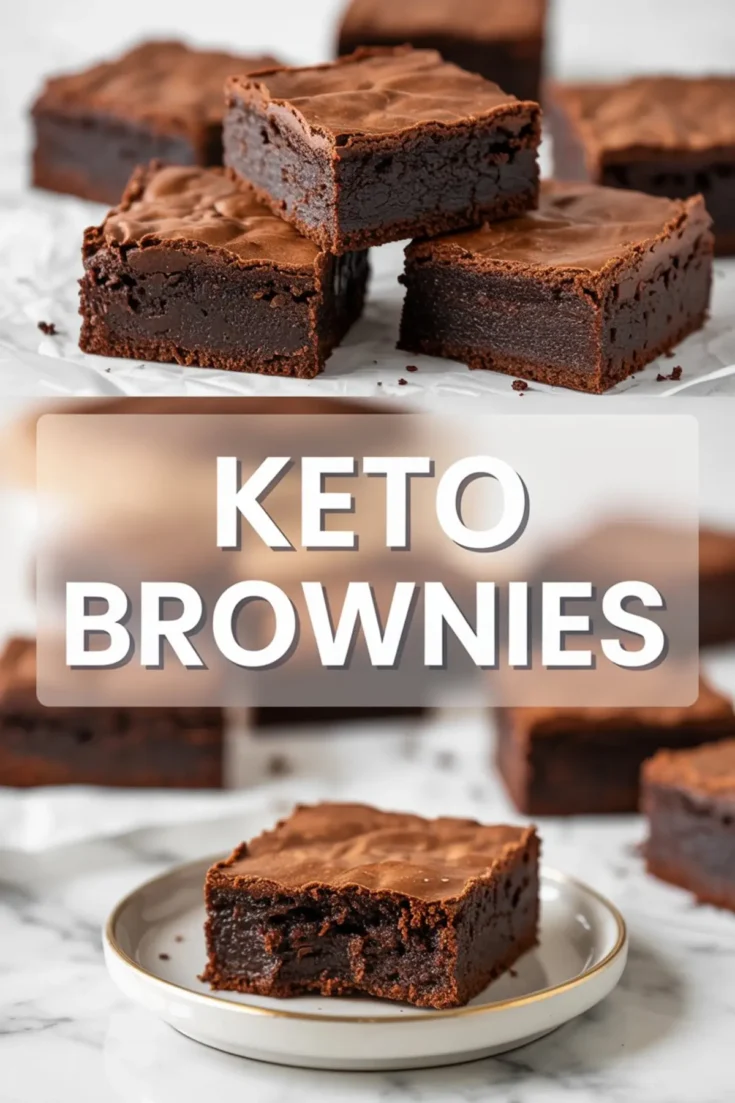
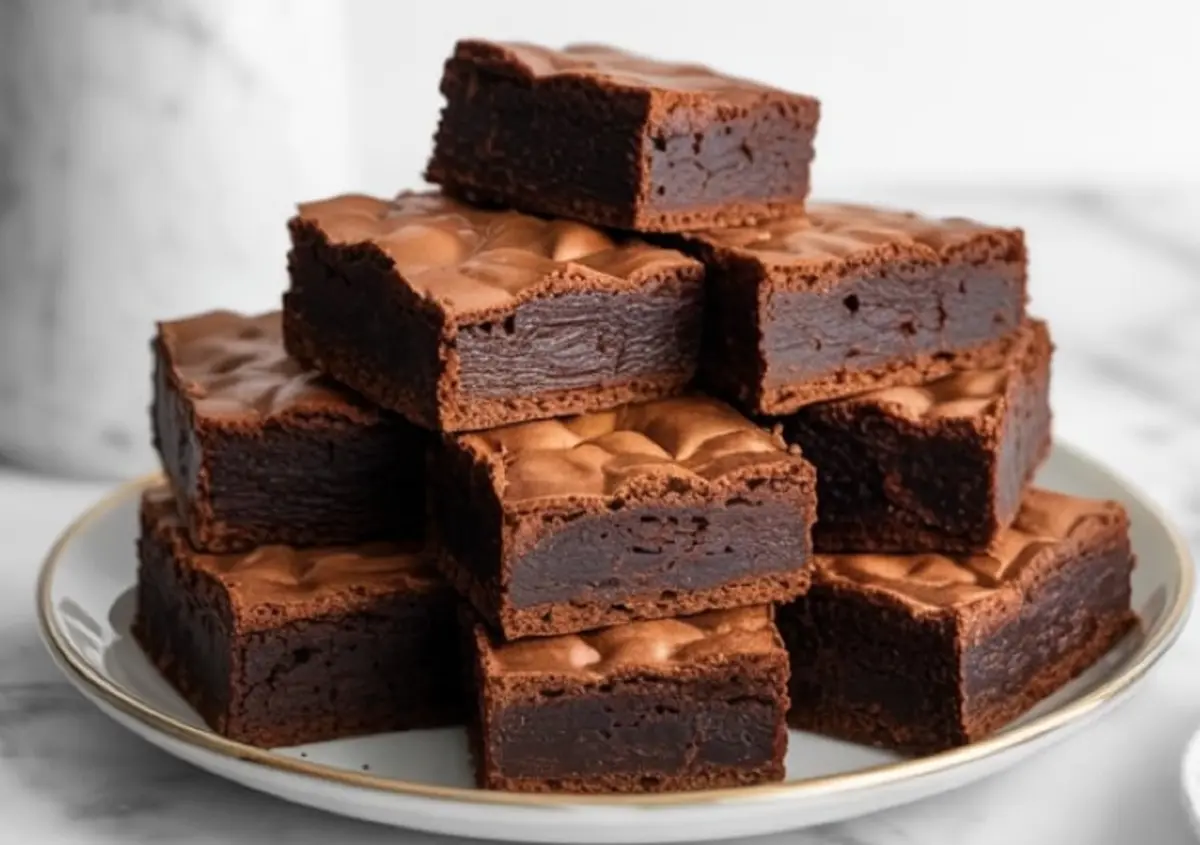
These keto brownies are rich, chewy, and made with simple low-carb ingredients to keep your macros in check. Perfect for satisfying chocolate cravings, this low carb brownie recipe skips the sugar but delivers all the decadence. Made with almond flour and sweetener, they’re gluten-free, grain-free, and ideal for anyone following a keto dessert plan. Whether you’re looking for keto sweets, low carb desserts, or the best keto brownies, this easy recipe deserves a spot in your favorites. A go-to treat for keto baking that tastes just like the real thing.
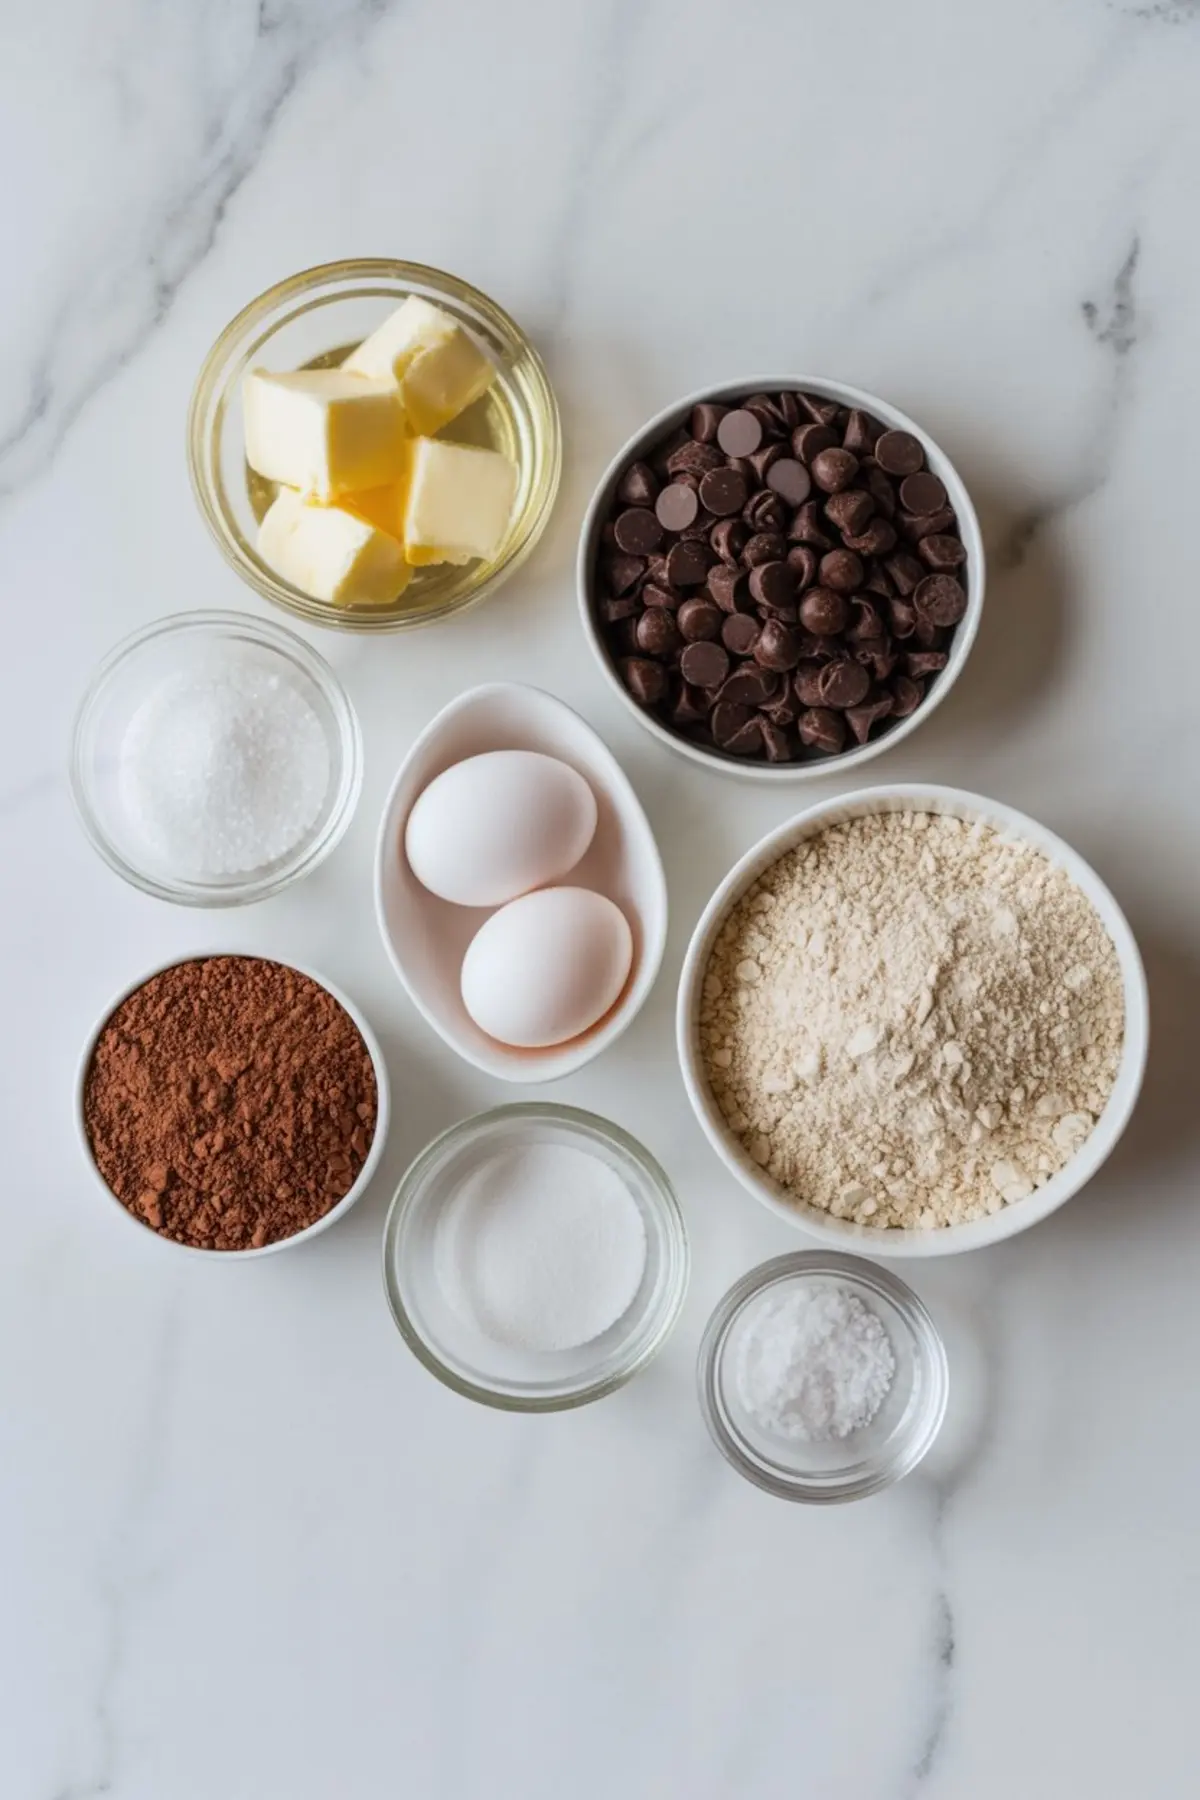
Ingredients
- 1/2 cup unsalted butter
- 1/3 cup sugar-free dark chocolate chips
- 3/4 cup granulated erythritol or monk fruit blend
- 2 large eggs
- 1 teaspoon vanilla extract
- 1/3 cup almond flour
- 2 tablespoons unsweetened cocoa powder (Dutch-process preferred)
- 1/4 teaspoon salt
- 1/2 teaspoon baking powder (optional)
- 1/4 cup chopped walnuts or pecans (optional)
Instructions
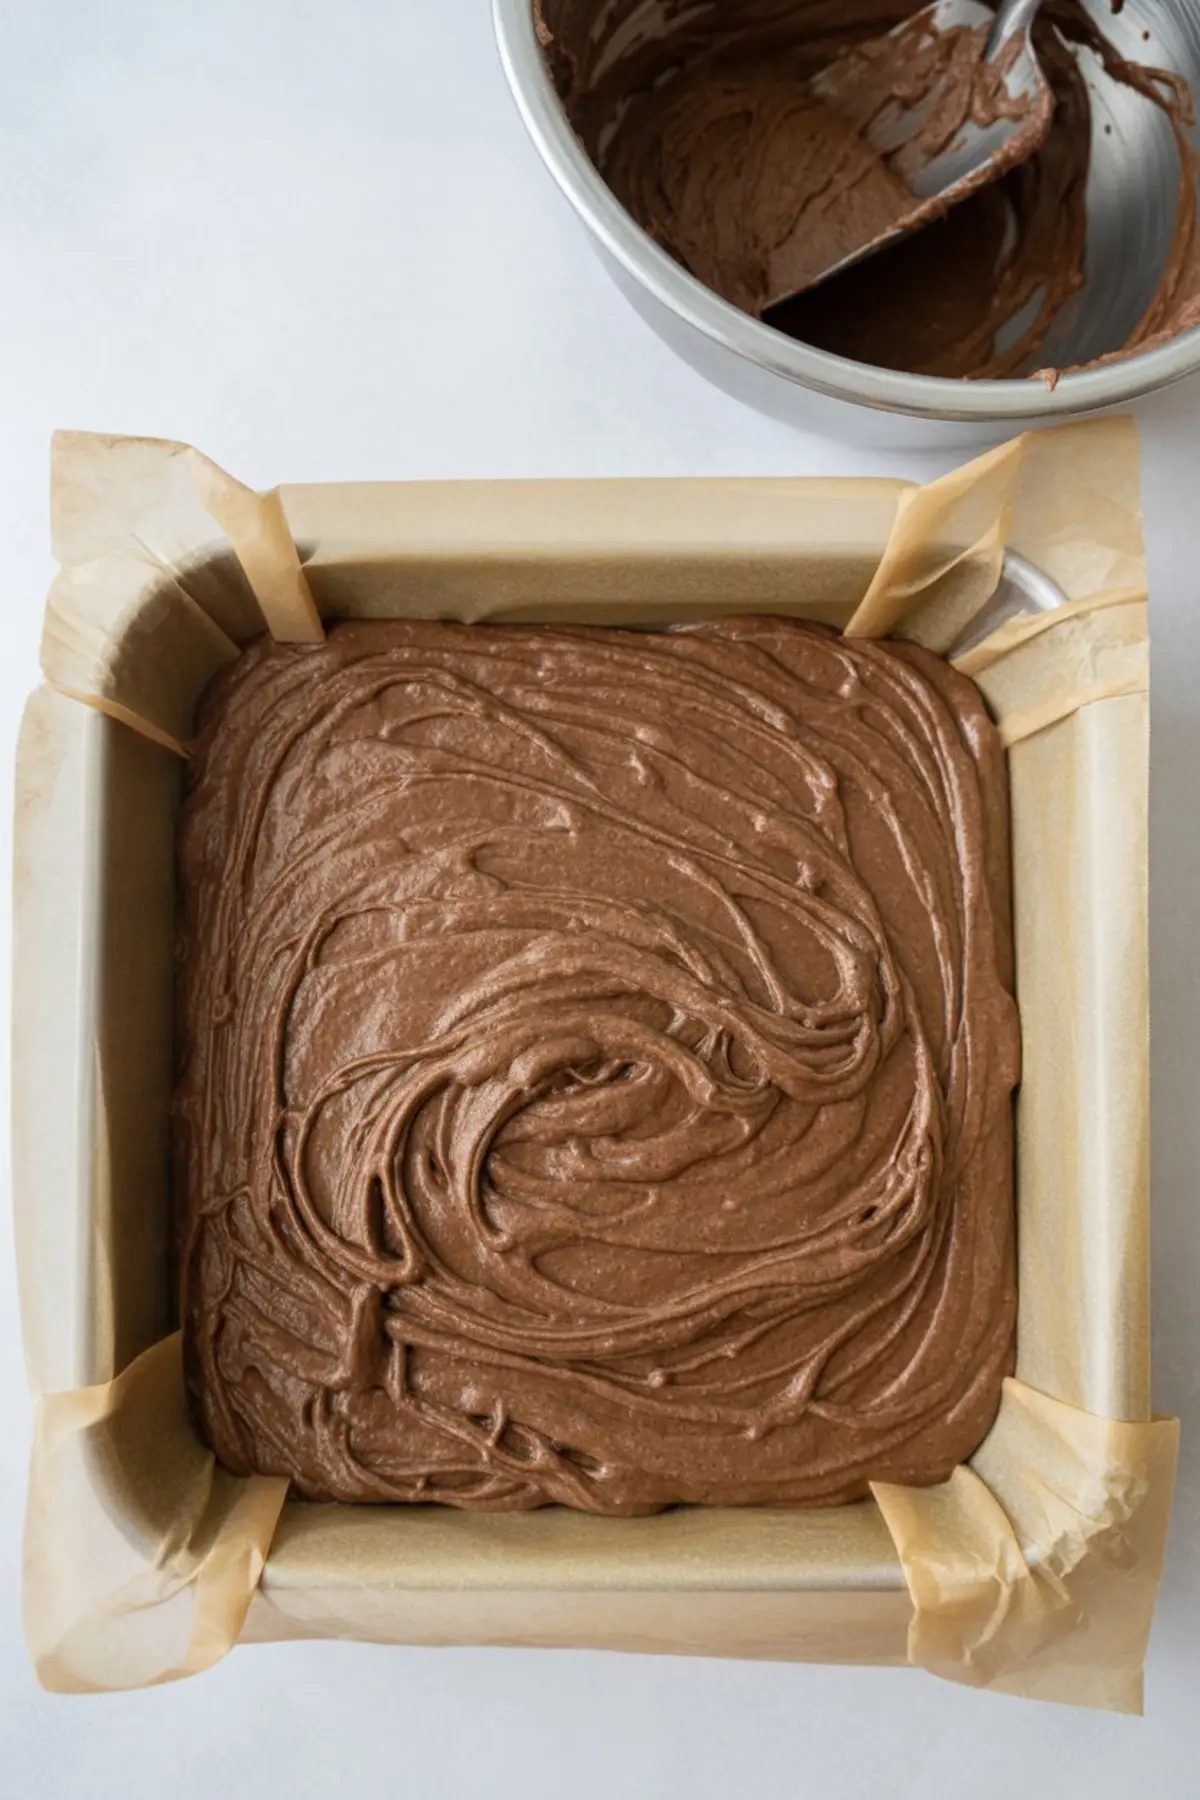
- PREHEAT AND PREP: Preheat the oven to 350°F (175°C). Line an 8x8-inch square baking pan with parchment paper, leaving a slight overhang for easy removal after baking.
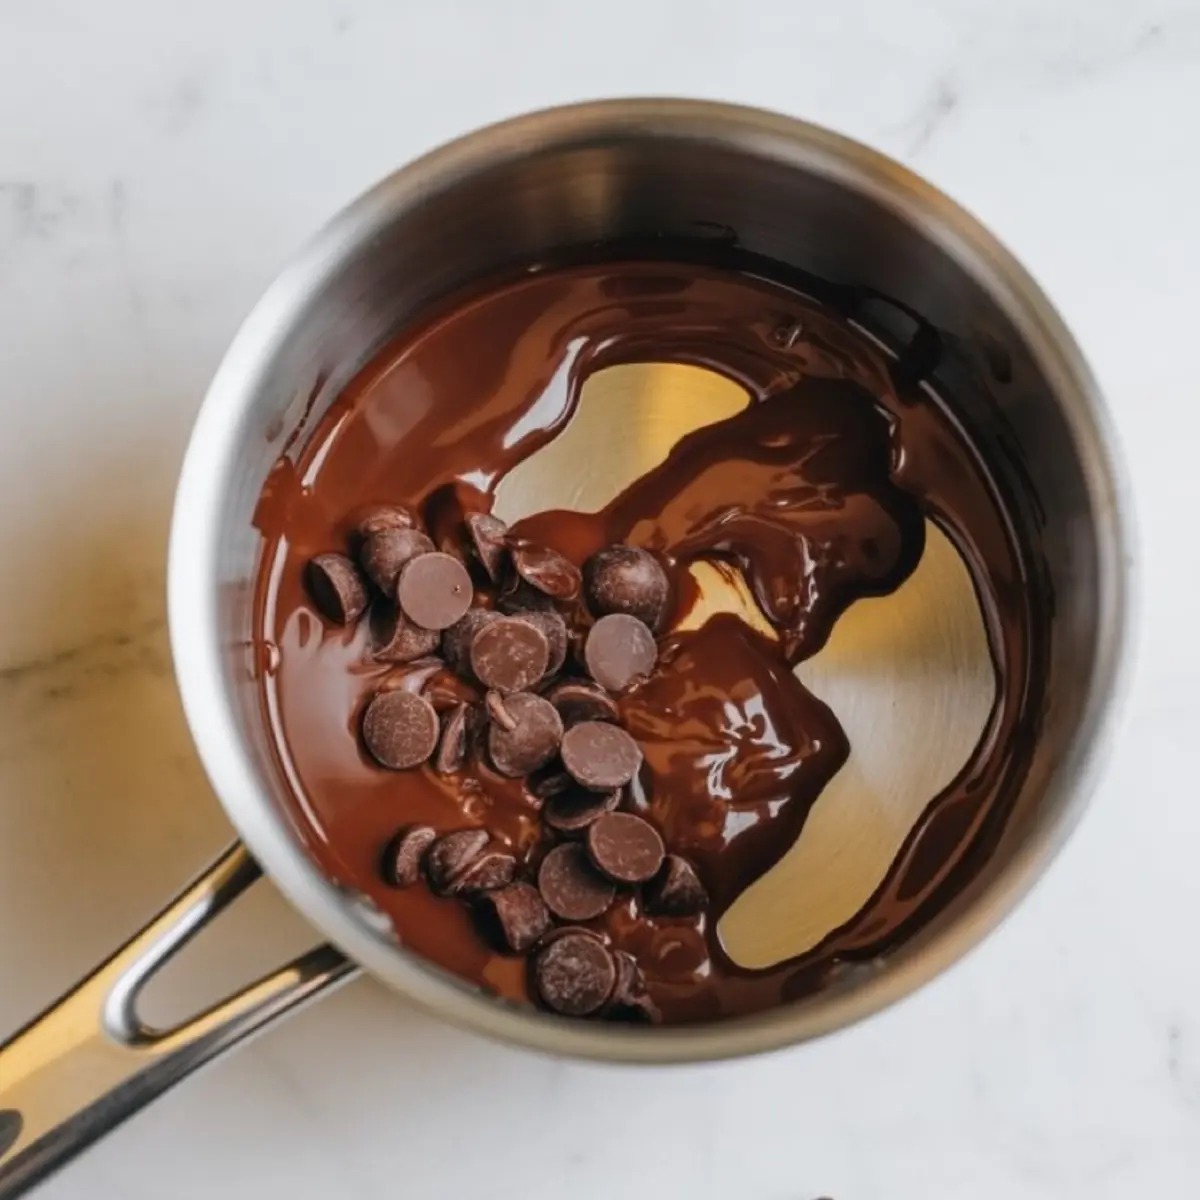
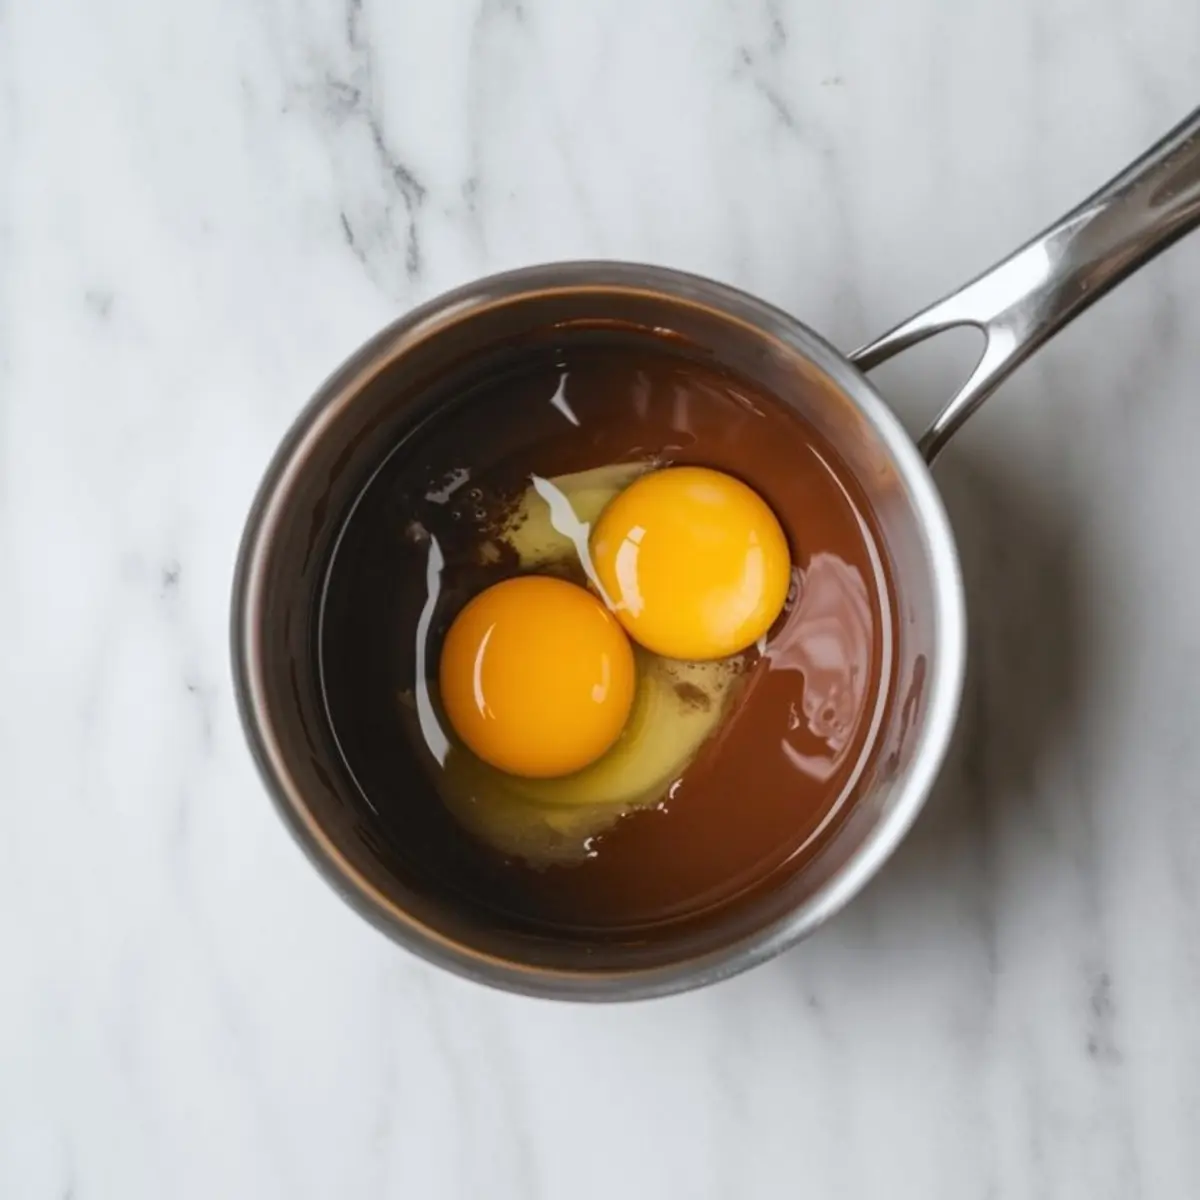
- MELT THE CHOCOLATE AND BUTTER: In a medium saucepan over low heat, melt the butter and chocolate chips together, stirring constantly until completely smooth. Remove the pan from heat and let the mixture cool for 2 to 3 minutes.
- MIX IN SWEETENER AND EGGS: Whisk the erythritol into the slightly cooled chocolate mixture until fully incorporated. Add the eggs one at a time, whisking well after each addition to create a glossy, cohesive batter. Stir in the vanilla extract.
- ADD THE DRY INGREDIENTS: In a separate bowl, whisk together the almond flour, cocoa powder, salt, and baking powder (if using). Gradually stir the dry mixture into the wet ingredients until just combined. Avoid overmixing. If using nuts, fold them in gently at this stage.
- BAKE: Pour the batter into the prepared pan and spread it evenly. Bake for 20 to 25 minutes, or until a toothpick inserted in the center comes out with a few moist crumbs. Do not overbake, as the brownies will continue to set while cooling.
- COOL COMPLETELY: Let the brownies cool in the pan for about 20 minutes, then use the parchment paper to lift them out and transfer to a wire rack. Allow them to cool fully before slicing into squares.
Notes
For the best texture, allow the brownies to rest for several hours after cooling before slicing. Using Dutch-process cocoa deepens the chocolate flavor, but natural cocoa can be substituted. Baking powder adds a slight lift but can be omitted for a denser texture. Store brownies in an airtight container at room temperature for up to 3 days or refrigerate for longer storage.
Nutrition Information
Yield
12Serving Size
1Amount Per Serving Calories 203Total Fat 14gSaturated Fat 7gUnsaturated Fat 7gCholesterol 55mgSodium 180mgCarbohydrates 15gFiber 2gSugar 6gProtein 4g