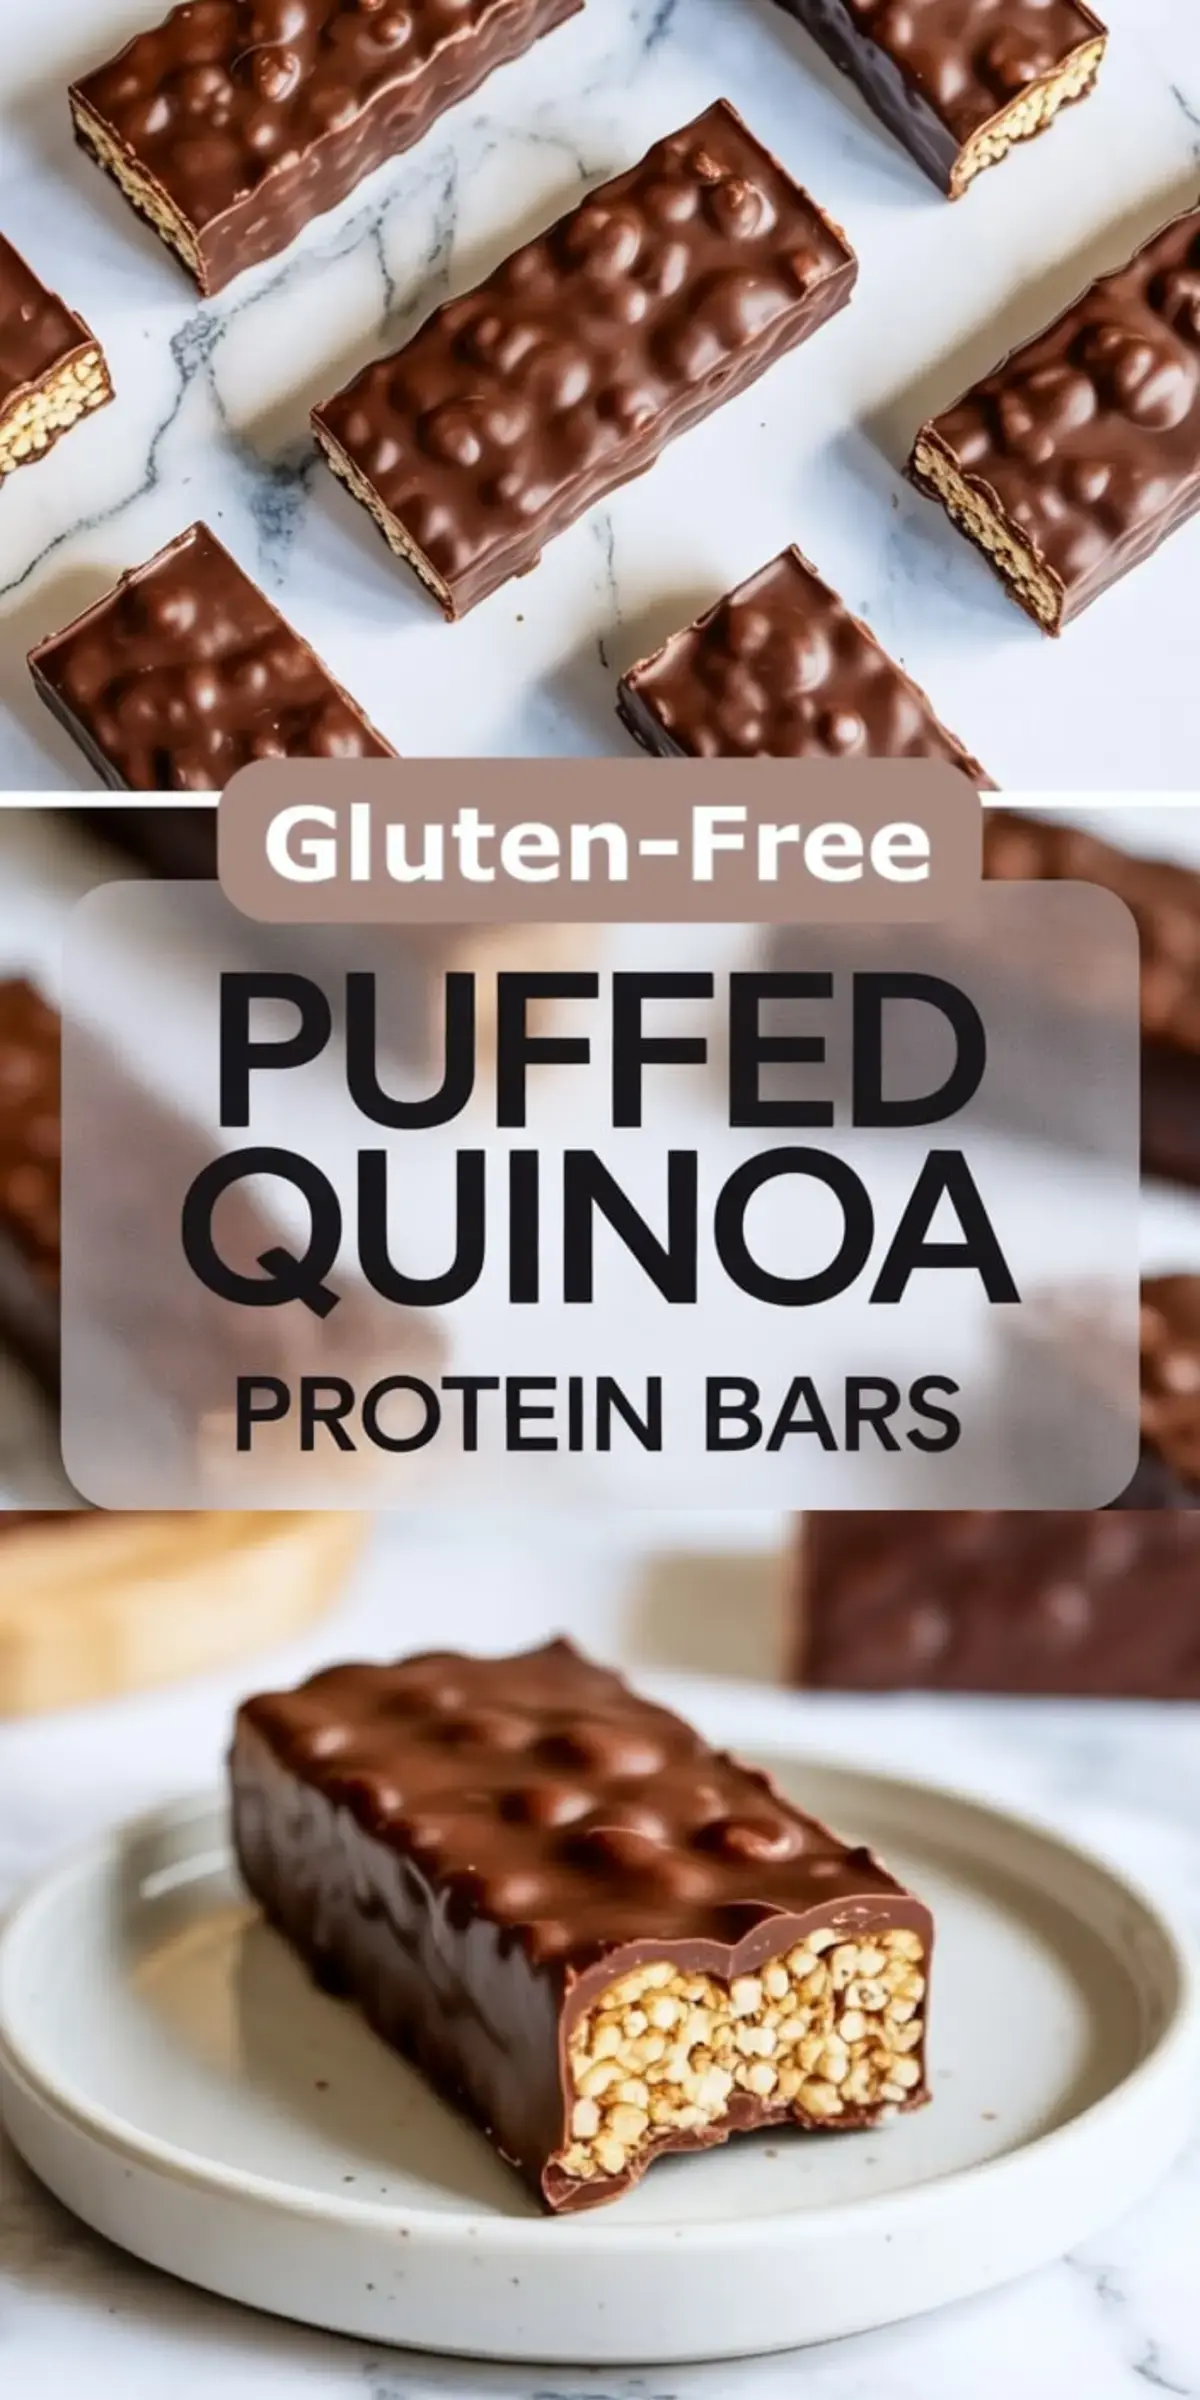
These gluten-free protein bars with quinoa combine puffed grains, plant-based protein, almond butter, and dark chocolate into a clean snack with real structure. The base is pressed, chilled, and topped with melted chocolate, giving each piece that classic snap when you bite into it.
This high protein quinoa bar recipe also covers search intent for quinoa chocolate bars, vegan quinoa bars, quinoa crunch bars, and other healthy homemade protein bars with quinoa, without relying on unnecessary additives or tricky steps.
Following a special diet?
Every recipe on this site can be converted to gluten-free, vegan, dairy-free, keto, nut-free or egg-free with adjusted ratios so nothing falls flat.
Try the Recipe Converter →Structure depends on the right ratio between protein powder and binder. If the base leans too dry, the bars crumble. Too wet, and they don’t hold a clean shape.
I tested several rounds before landing on this: 1½ cups puffed quinoa to ½ cup protein powder, with just over ½ cup wet ingredients. That’s what gives the base a chewy hold, not just a sticky mess.
The chilled base before pouring on the melted chocolate keeps the top layer from sinking or mixing in. That step makes all the difference.
I’ve tried skipping the cooling once, and the chocolate swirled down into the middle. It wasn’t unpleasant, but I missed the contrast of layers.
What You Need and Why It Matters
Puffed quinoa gives the bars crunch, but not the airy kind that disappears. It stays crisp even under a thick coat of chocolate. I use organic puffed quinoa when I can find it.
Vanilla protein powder works here if you’re aiming for neutral sweetness. Chocolate adds more depth, especially paired with dark chocolate chips in the topping. I’ve done both. Plant-based and whey both work, but plant-based powders tend to absorb a bit more moisture, so mix carefully.
Almond butter holds the base together with a nutty finish. Peanut butter works too, but shifts the flavor dramatically. For those looking to recreate something closer to my quinoa peanut butter cups, this might be your variation. Try those here.
Honey gives the bars a more traditional sweetness. Maple syrup works just as well, especially if you want them fully vegan. I’ve used both in testing—maple adds a gentler flavor.
Chia or flax is optional. They bulk the bars slightly and offer extra fiber, but skipping them doesn’t affect structure. Choose based on your preference.
Ingredient Focus: Puffed Quinoa
Quinoa isn’t new, but puffed quinoa changes how we use it. I look for a light, even puff with no burnt edges. It shouldn’t taste toasted.
This form brings crunch without hardness and works better than puffed rice if you want structure that lasts. If your puffed quinoa has sat in the pantry a while, give it a quick taste before using. Stale puffed grains ruin texture instantly.
Don’t rinse it. Don’t toast it again. Just use it as is. The lightness of it balances the dense chocolate topping.
How to Make It Smoothly
The mixture starts with combining the dry base in a wide bowl. Stir it with a spatula or wooden spoon, making sure no pockets of powder remain.
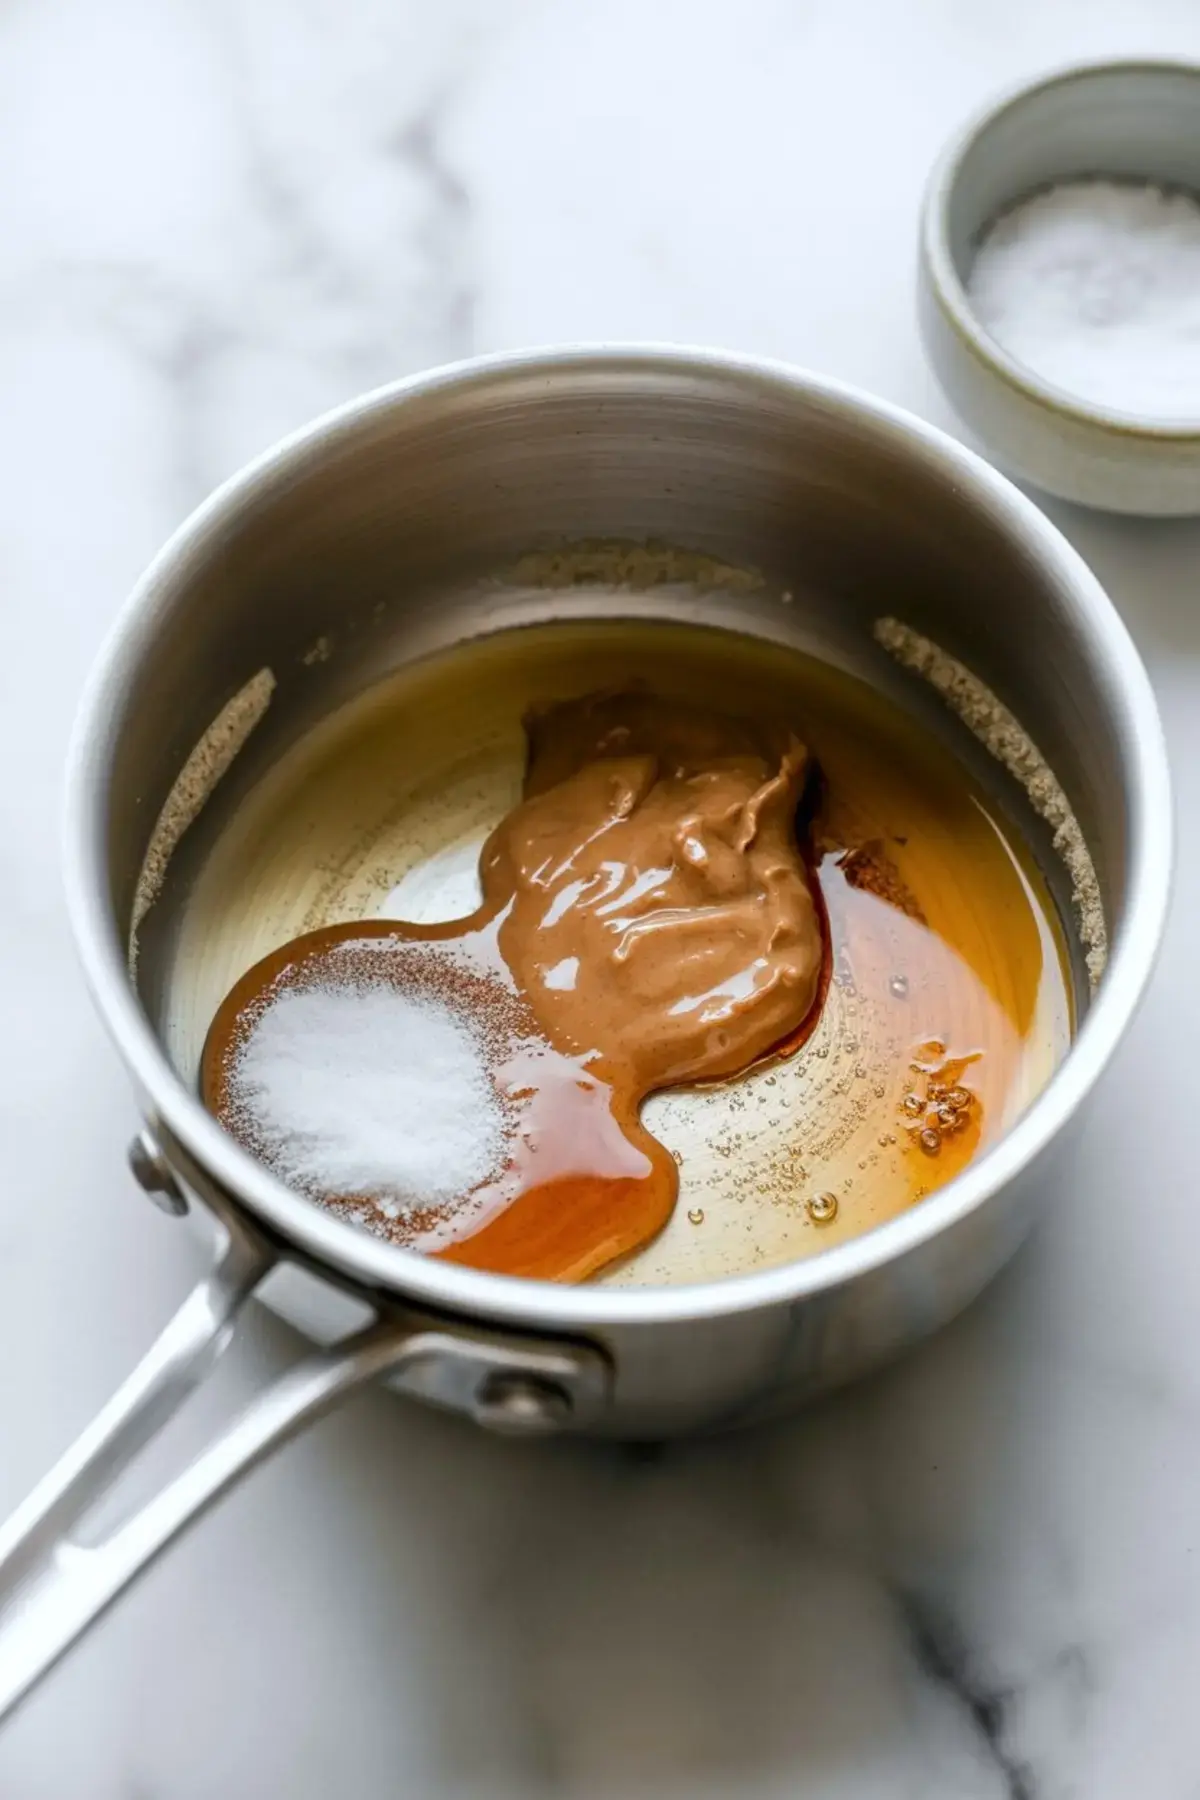
The binder mixture heats gently on the stove. Use low heat. I stir it constantly until just smooth. Overheating causes separation, especially with natural nut butters. Once it’s smooth and loose, it pours easily.
Pour the binder over the dry base and mix until every bit is coated. No dry patches, no powdery lumps. The mix should stick together in clumps and feel a little warm to the touch.
Once pressed into a lined pan, chill the base. A quick 30 minutes helps firm it up before the chocolate topping. This pause keeps the chocolate from sliding or softening the structure.
You’ll find a very similar technique used in my dark chocolate oatmeal cups if you want another prep like this.
Checking for the Right Texture
The base should feel firm after the first chill, with no give when you press a finger gently.
After the chocolate sets, the bars should slice with a clean edge. If the knife drags or smears, chill a little longer.
Don’t cut when warm or soft. That’s where many mistakes happen.
Common Mistakes and Quick Fixes
Too dry? You probably used protein powder with higher absorption. Add 1 to 2 tablespoons more honey next time or use a touch more nut butter.
Too soft? The base wasn’t pressed firmly or the chocolate didn’t set long enough. Give it more time in the fridge.
Chocolate separating? It overheated. Next time, use 20-second microwave bursts or a double boiler and stir between each.
Bars sticking to the pan? Always line it with parchment, and leave overhang to lift them out cleanly.
How to Switch Things Up
Use peanut butter instead of almond for a deeper flavor. I’ve tested it with the same ratio. It holds fine and tastes closer to a chocolate peanut treat.
Add ¼ cup chopped almonds or walnuts for crunch. That shifts the texture slightly, especially in the base.
Swap protein powder for collagen powder if you want a smoother texture. Just note that the bars will be less firm and might need freezing to stay intact.
Stir in 2 tablespoons shredded coconut for a more dessert-style bar. I do this when I want it to lean sweet snack instead of gym prep.
Storage That Works
At room temp, these last a few hours if you’re packing for a hike or drive.
In the fridge, they stay firm for up to one week. I place parchment between layers if stacking.
Frozen, they hold for up to 2 months. I wrap each in wax paper and freeze flat. Thaw in the fridge or 20 minutes on the counter.
Practical Tips from My Testing Notes
Use a straight-edge spatula to press the base firmly. I’ve found it works better than a spoon.
Choose a chocolate that melts evenly. I prefer 70% dark or higher.
Don’t skip the coconut oil in the chocolate. It gives a cleaner break when you slice.
Want more high protein snack ideas? These quinoa protein muffins are a great soft-baked option.
Save This Recipe and Share Yours

Save this to your board so you can make it again when you need a snack that holds its shape and satisfies your chocolate craving.
Let me know in the comments if you try any variations or have a question about substitutions. I read them all.
Chocolate Quinoa Protein Bars
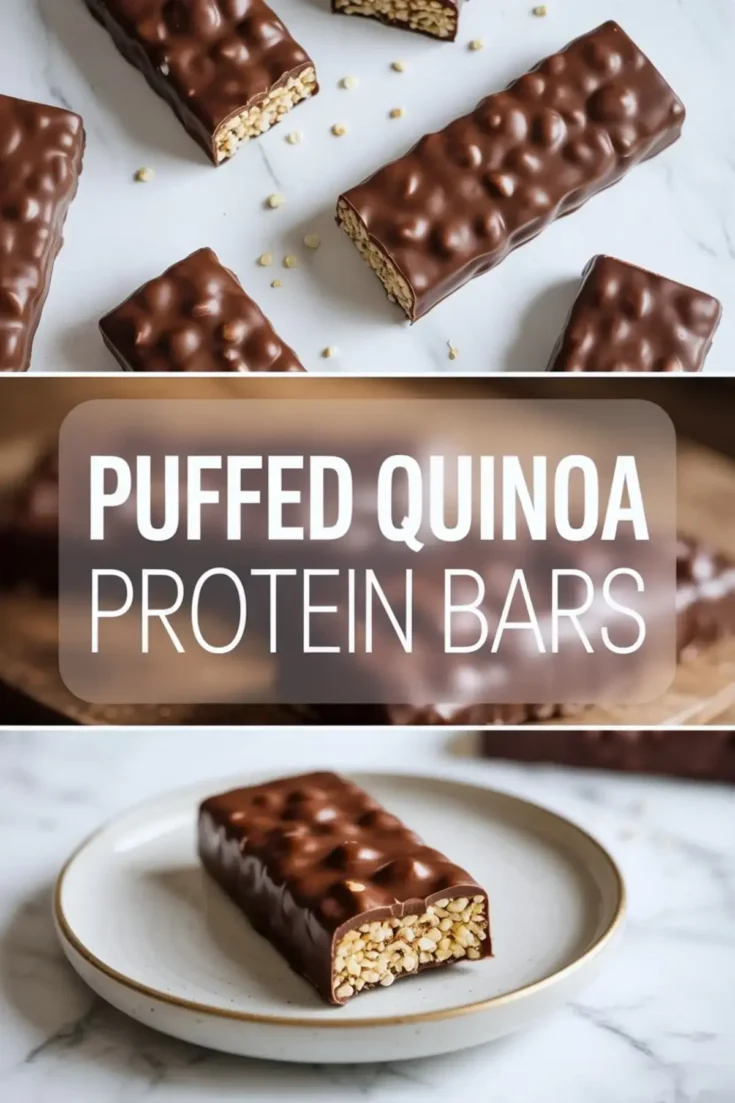
These high protein quinoa bars are the ultimate make-ahead snack for anyone who wants fuel without added junk. Made with puffed quinoa, natural nut butter, and rich dark chocolate, they’re packed with plant-based protein and just the right amount of crunch. Whether you need quinoa crunch bars for your lunchbox or a clean post-gym snack, these quinoa bars healthy deliver both taste and nutrition. This recipe also works if you’re searching for vegan quinoa bars, homemade protein bars with quinoa, or just easy quinoa chocolate bars to keep on hand.
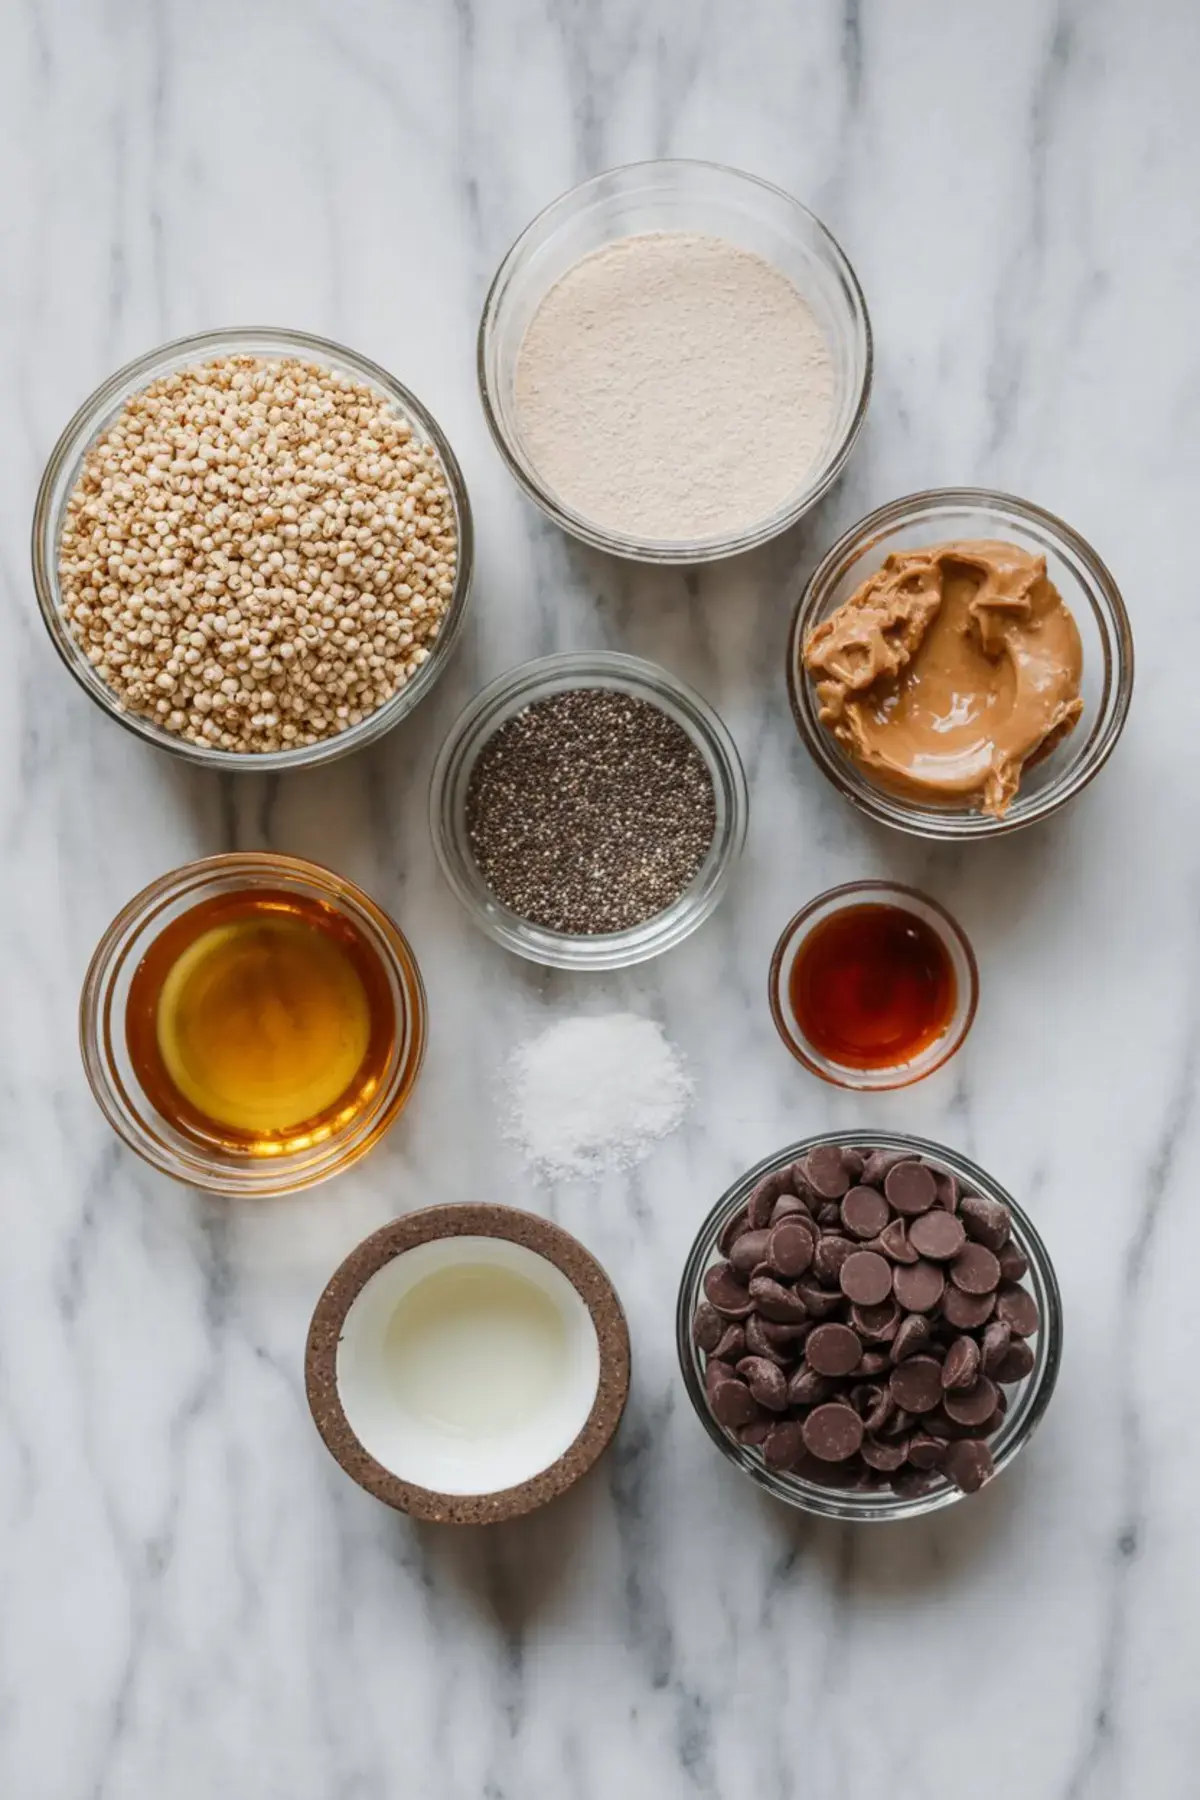
Ingredients
- FOR THE DRY BASE
- 1 ½ cups puffed quinoa
- ½ cup vanilla or chocolate protein powder (plant-based or whey)
- 2 tbsp chia seeds or ground flaxseed (optional for extra fiber)
- FOR THE BINDING MIXTURE
- ½ cup almond butter (or peanut butter)
- ⅓ cup honey or maple syrup
- 1 tsp vanilla extract
- Pinch of sea salt
- FOR THE CHOCOLATE COATING
- 1 ½ cups dark chocolate chips or chopped dark chocolate
- 1 tbsp coconut oil (for smoother melting)
Instructions
- PREP THE PAN: Line an 8x8-inch baking dish with parchment paper, leaving enough overhang on the sides to easily lift out the bars once set. Set the pan aside.
- MIX THE DRY INGREDIENTS: In a large mixing bowl, stir together the puffed quinoa, protein powder, and chia seeds or flaxseed if using. Make sure everything is evenly combined.
- HEAT THE BINDER: In a small saucepan over low heat, combine the almond butter, honey or maple syrup, vanilla extract, and a pinch of sea salt. Stir continuously until the mixture is smooth and warm, but do not let it boil.
- COMBINE WET AND DRY: Pour the warm binder mixture over the dry ingredients in the mixing bowl. Use a spatula to mix thoroughly until all the quinoa and protein powder are coated and a sticky, uniform mixture forms.
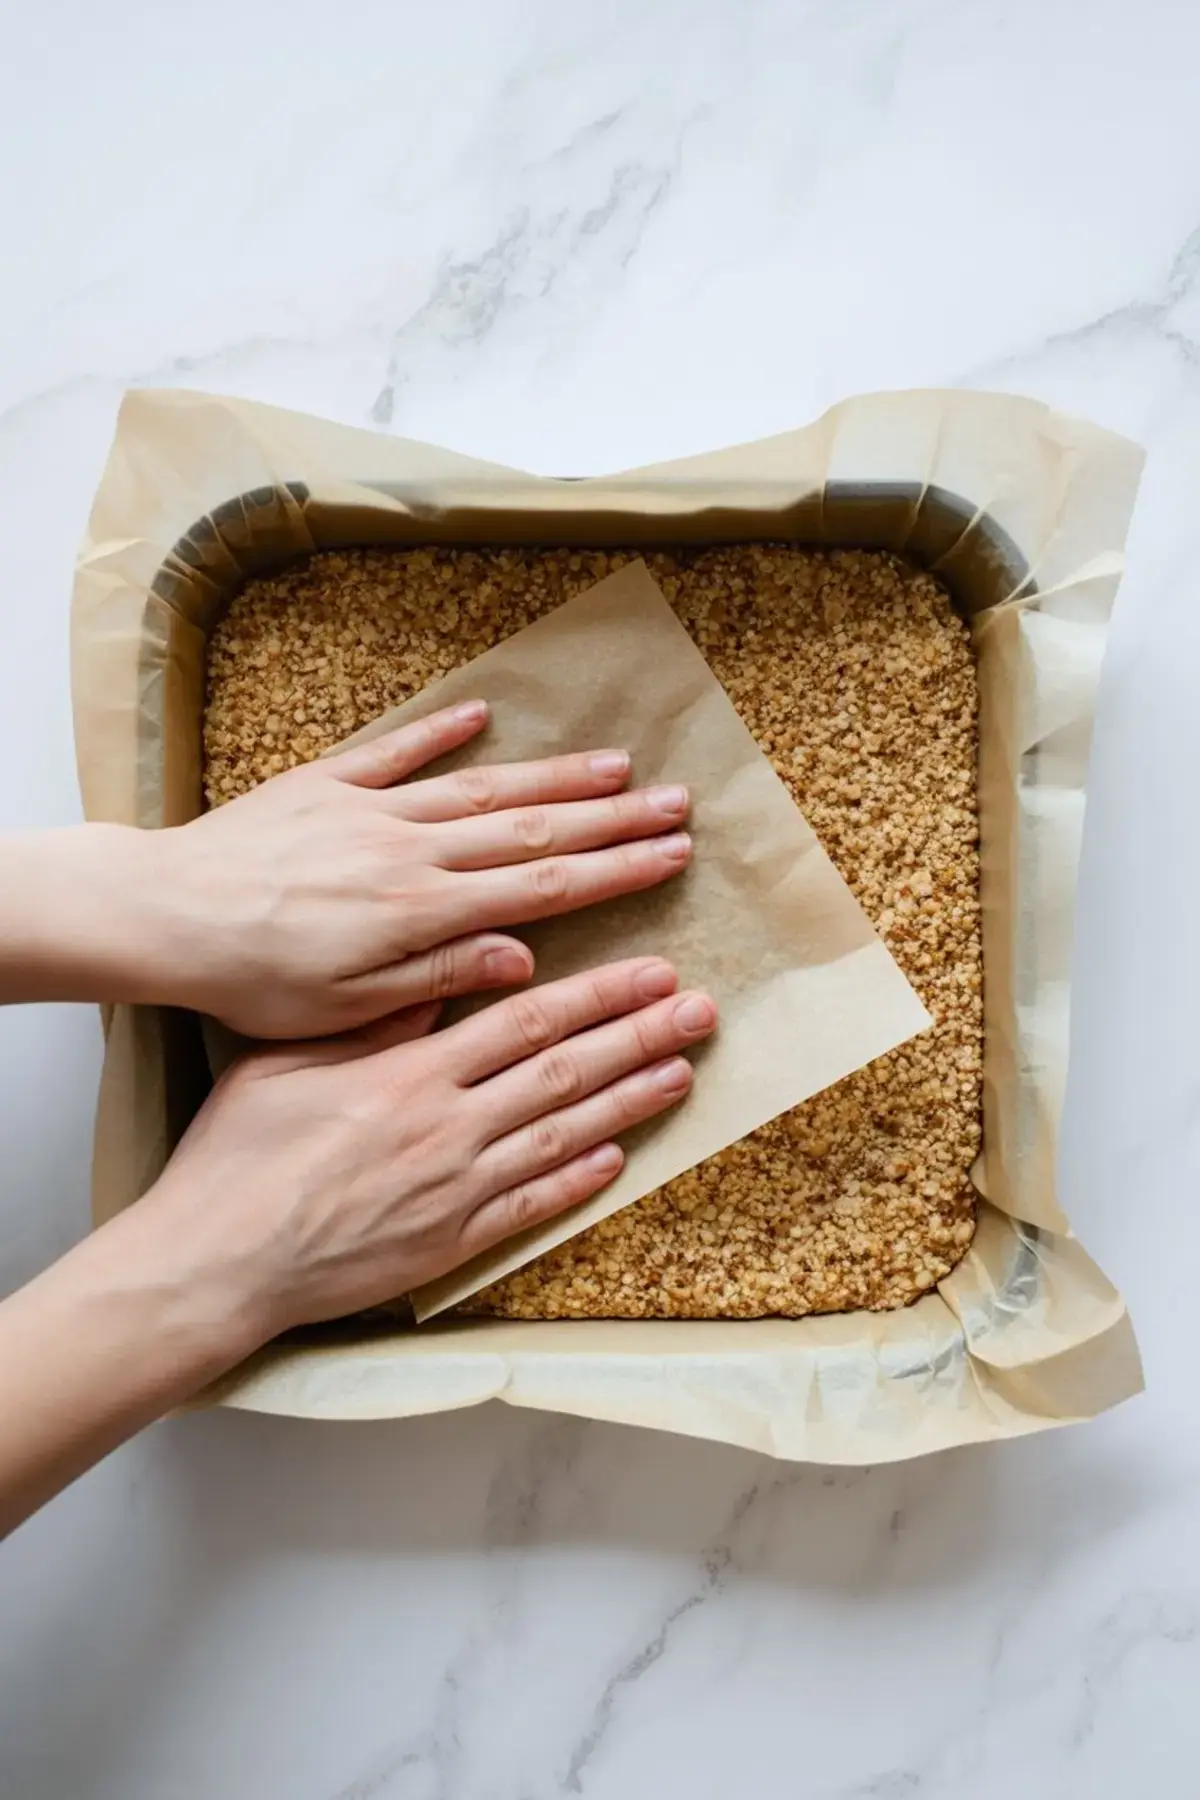
- PRESS INTO PAN: Transfer the mixture to the prepared baking pan. Press it down firmly into an even layer using a spatula, the back of a spoon, or a second sheet of parchment paper.
- CHILL THE BASE: Place the pan in the refrigerator for 20 to 30 minutes to allow the base to firm up before adding the chocolate topping.
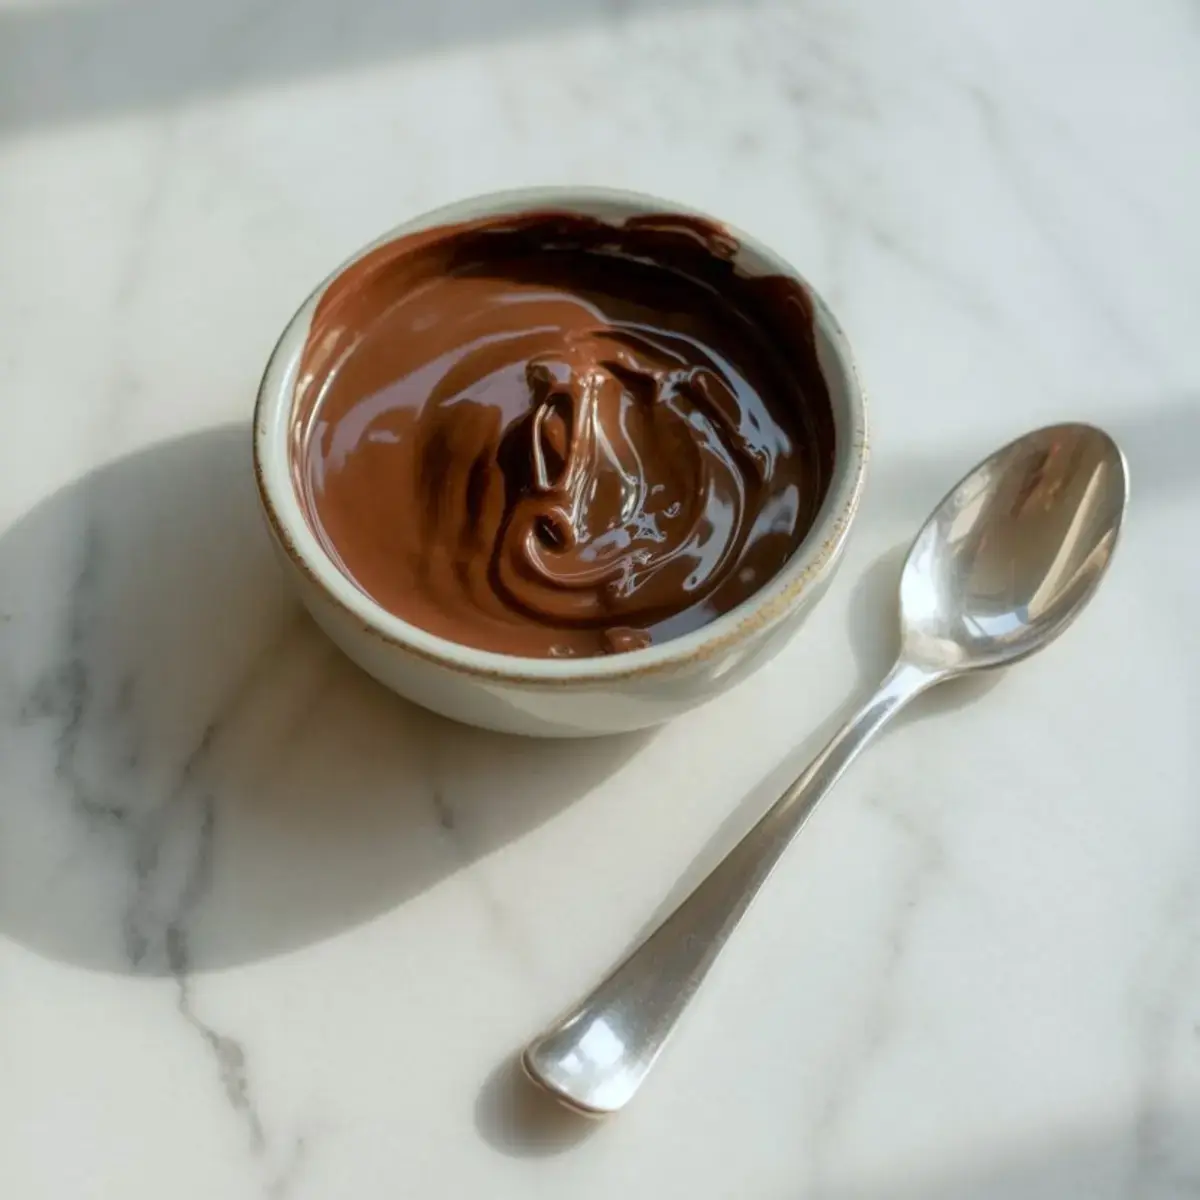
- MAKE THE CHOCOLATE COATING: In a microwave-safe bowl or double boiler, melt the chocolate chips and coconut oil together. Stir every 20 seconds if using a microwave until the mixture is fully melted and glossy.
- TOP WITH CHOCOLATE: Pour the melted chocolate over the chilled quinoa base. Spread it evenly to the edges with an offset spatula or back of a spoon. Gently tap the pan on the counter to eliminate air bubbles.
- CHILL UNTIL SET: Return the pan to the refrigerator and chill for at least 1 hour, or until the chocolate layer is fully hardened and the bars are firm.
- SLICE AND STORE: Once set, lift the entire bar slab out of the pan using the parchment overhang. Use a sharp knife to cut into 10 to 12 bars. Store the bars in an airtight container in the refrigerator for up to 1 week or freeze for longer storage.
Notes
To make the bars nut-free, substitute sunflower seed butter for almond butter. For extra protein, increase the amount of protein powder slightly or add chopped nuts. If puffed quinoa is unavailable, puffed rice cereal can be used, but texture and crispness may vary.