This Keto Chocolate Mousse Recipe blends softened cream cheese, heavy whipping cream, and cocoa into a rich low carb dessert. It’s smooth, chocolatey, and satisfies every craving without sugar. You’ll love how quickly this keto mousse dessert comes together. It’s a simple yet indulgent option for weeknights or entertaining. If you’ve searched for keto dessert recipes easy enough for beginners, this one delivers.
Following a special diet?
Every recipe on this site can be converted to gluten-free, vegan, dairy-free, keto, nut-free or egg-free with adjusted ratios so nothing falls flat.
Try the Recipe Converter →Cream cheese plays a structural role here. It thickens the mousse and gives it body without gelatin, eggs, or extra steps. That’s why this version holds up even after a day or two in the fridge. The whipped cream lightens the texture just enough without taking away richness.
Most mousse recipes rely heavily on sugar for smoothness. But in this case, the fat content from cream cheese and cream compensates. The result is a Keto Chocolate Dessert that feels luxurious and well balanced.
You don’t need a water bath, gelatin, or melting chocolate. Just a hand mixer, a few bowls, and ten minutes. The sweetness level can be adjusted to taste, which helps a lot if you’re used to varying levels of low carb sweeteners.
Try it once and you’ll see. This isn’t just another Keto Mousse. It’s one of the simplest low carb mousse recipes that actually holds up as a chocolate mousse replacement.
Browse more Keto desserts if you need recipes like this one.
What You Need and Why It Matters

I use heavy whipping cream for two reasons. It whips fast and holds structure well. Make sure it’s cold straight from the fridge. Warm cream won’t whip properly.
Cream cheese gives this mousse the right thickness. It’s important to soften it before mixing. If it’s too firm, it won’t blend smoothly, and you’ll get lumps. I leave mine out for about 15 minutes before starting.
For the sweetener, I always choose powdered monk fruit or erythritol. Granular types don’t dissolve easily and leave a gritty texture. Stick with powdered versions labeled confectioner’s style.
Unsweetened cocoa powder brings the chocolate flavor. I like Dutch process cocoa for a smoother taste, but natural cocoa works too. It depends on the kind of chocolate flavor you want—deeper or brighter.
A little vanilla extract adds balance. It rounds out the bitterness of the cocoa. Sometimes I add a drop of almond extract for variation, but that’s optional.
I’ve served this mousse alongside these Keto Fat Bomb Snacks for a party tray that disappears fast.
Cocoa Powder Is the Key Player Here
I’ve tested this recipe with melted chocolate, but cocoa powder gives the cleanest flavor and easiest texture. Melted chocolate can harden when it hits the cream cheese and make the mixture clumpy.
With cocoa powder, everything blends evenly. No clumps. No guesswork.
The flavor also depends on how much you use. I stick to ¼ cup per batch to balance the richness without overpowering the cream base. More than that and the mousse becomes too bitter unless you increase the sweetener.
If you’re out of cocoa powder, you can swap in cacao powder, but reduce the amount slightly. It’s stronger and less processed. Not my first choice, but it can work.
Try serving this mousse after a weekend brunch of Coconut Flour Pancakes for a full low carb menu.
How to Combine the Ingredients Without Deflating the Texture
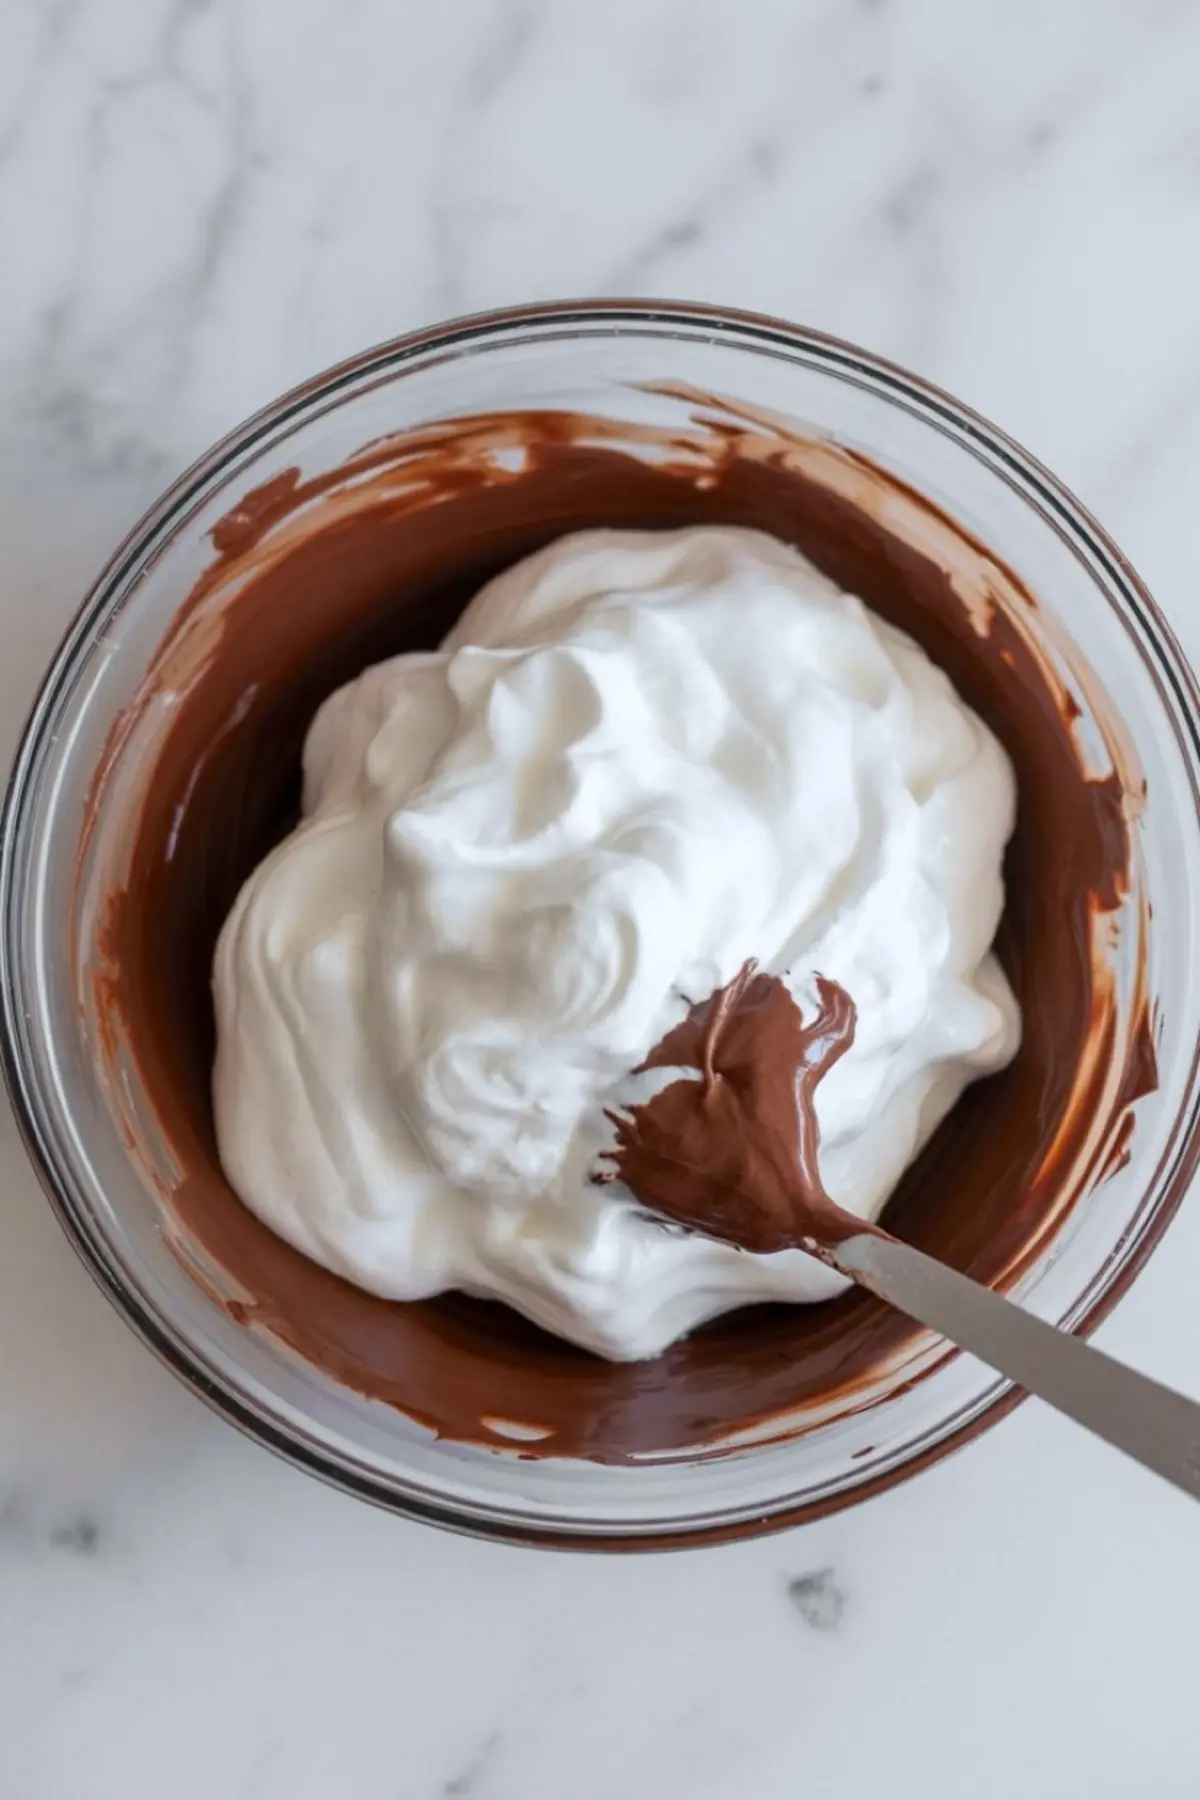
Once the chocolate base is mixed, the whipped cream goes in gradually. I fold in one-third of it to loosen the mixture, then gently add the rest in two stages.
Use a spatula, not a whisk. You want to preserve the air in the whipped cream. Stirring will flatten it and make the mousse dense.
If the mixture looks streaky at first, keep folding. The cocoa will darken as it fully blends. The texture should look like soft peaks, not runny or stiff.
This is also the point where you can taste and adjust sweetness. Just be sure not to overmix once the whipped cream is added.
The first time I made this, I rushed and stirred too hard. Still tasty, but the mousse turned heavy. Learned that the folding step matters more than it seems.
If you’re curious how this stacks up to other keto treats, you might also like these Keto Brownies. Same ingredients, different texture, deeper flavor.
Save This Recipe and Share Your Thoughts
Pin this Keto Chocolate Mousse with Cream Cheese to your Keto Recipes Dessert board so you have it ready next time cravings strike.
Tried it? Leave a comment below and let me know if you added anything different, or ask any questions you’ve got. I’d love to hear what worked for you.
Keto Chocolate Mousse Recipe

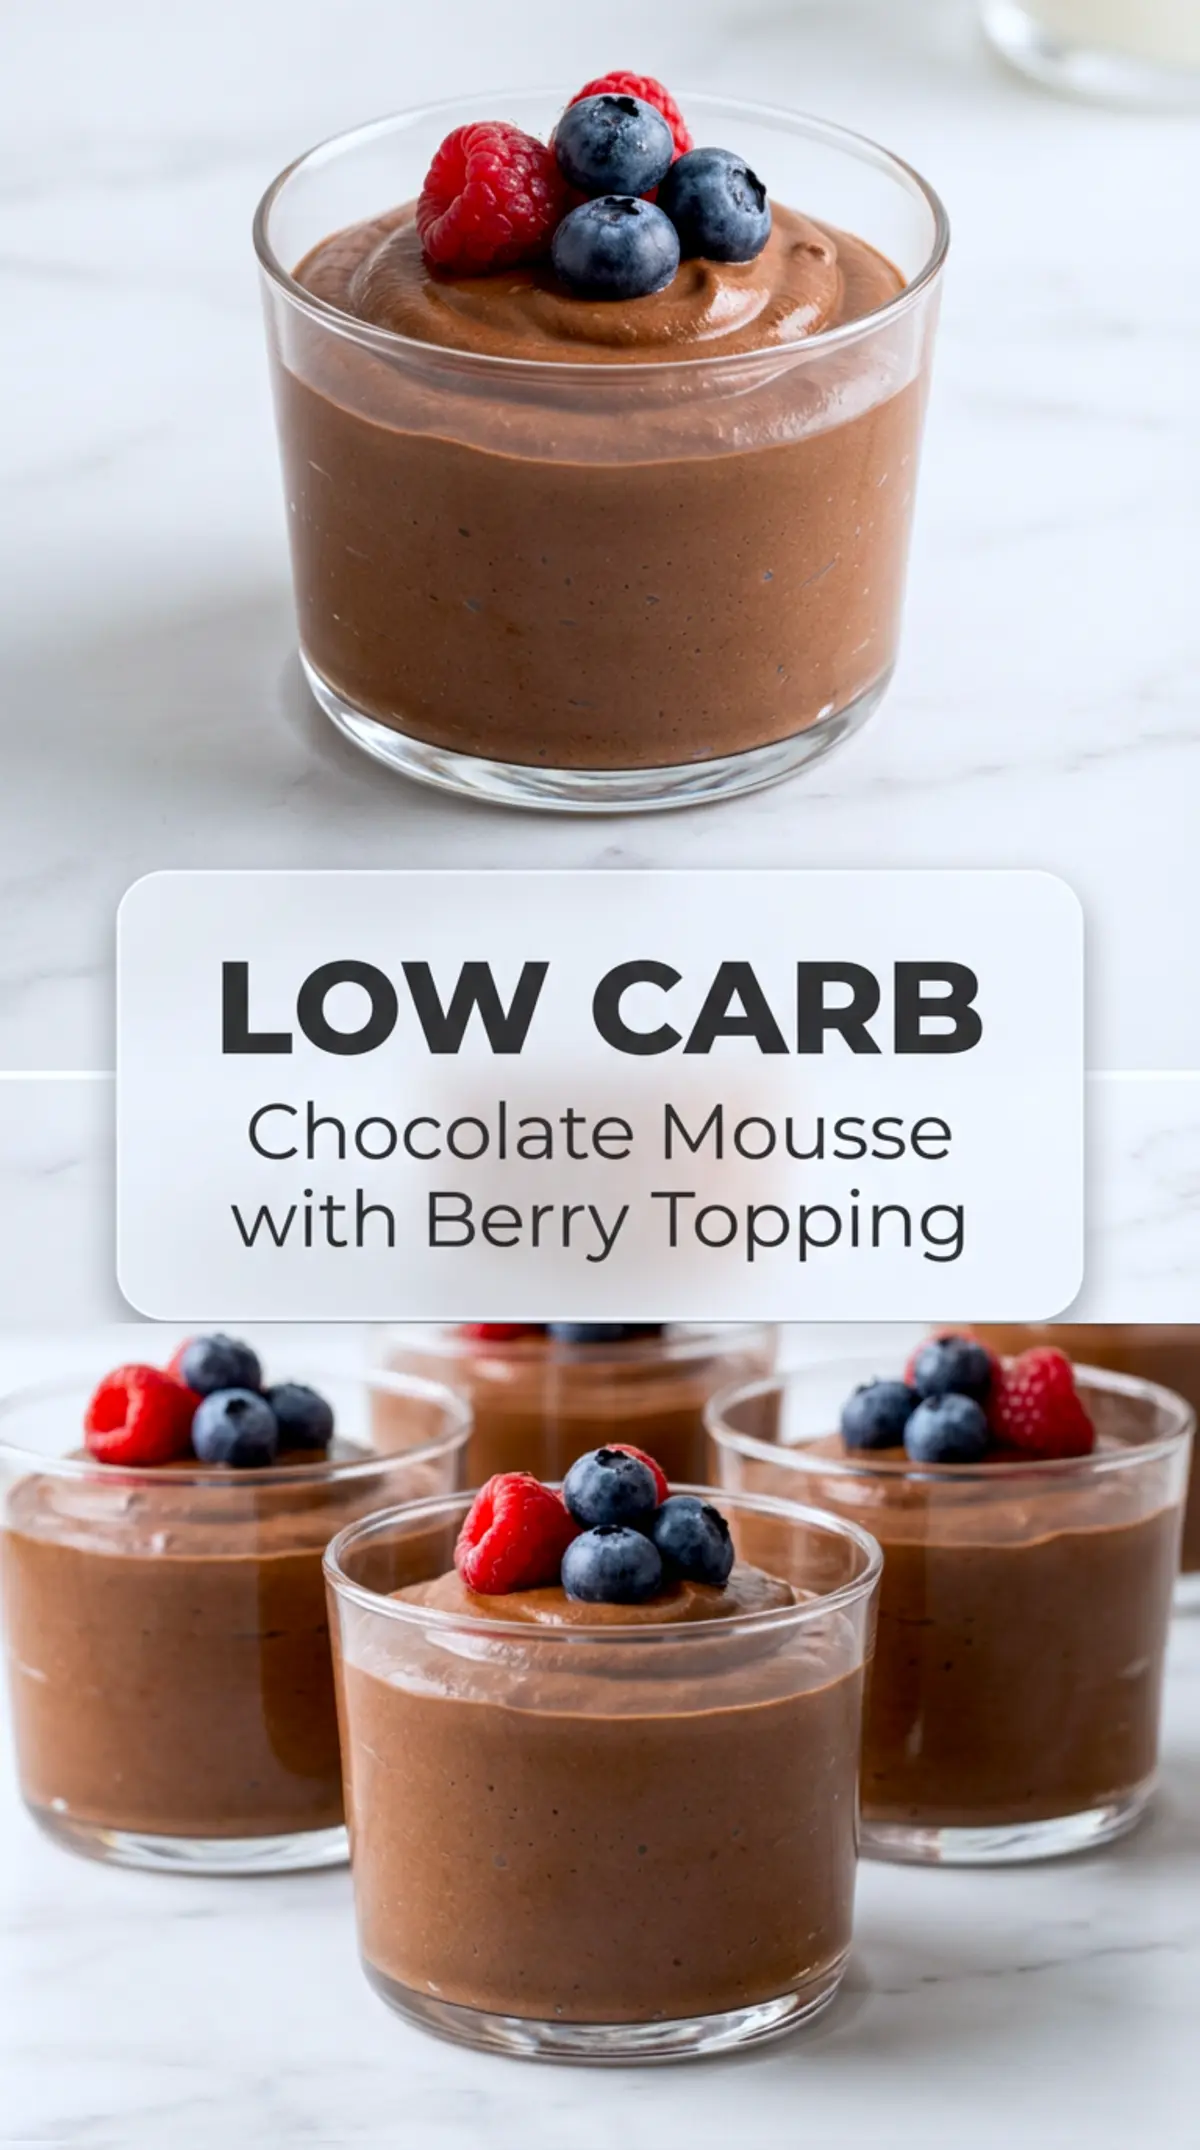
This keto chocolate mousse is rich, smooth, and made with simple ingredients like cream cheese and heavy cream. Perfect for a quick low carb dessert, this keto mousse comes together in minutes and satisfies every chocolate craving. Try this keto chocolate mousse recipe for an easy weeknight treat or impress guests with a no-bake keto dessert mousse. It’s one of the easiest keto dessert recipes you can whip up without added sugar or carbs.
Ingredients
- 1 cup heavy whipping cream, cold
- 4 oz cream cheese, softened
- 1/4 cup unsweetened cocoa powder
- 1/4 cup powdered monk fruit or erythritol sweetener (adjust to taste)
- 1 tsp vanilla extract
- Optional topping: Fresh raspberries, blueberries, or strawberries
Instructions
- SOFTEN THE CREAM CHEESE: Let the cream cheese sit at room temperature for 10–15 minutes to soften. This will help it blend smoothly and prevent lumps.
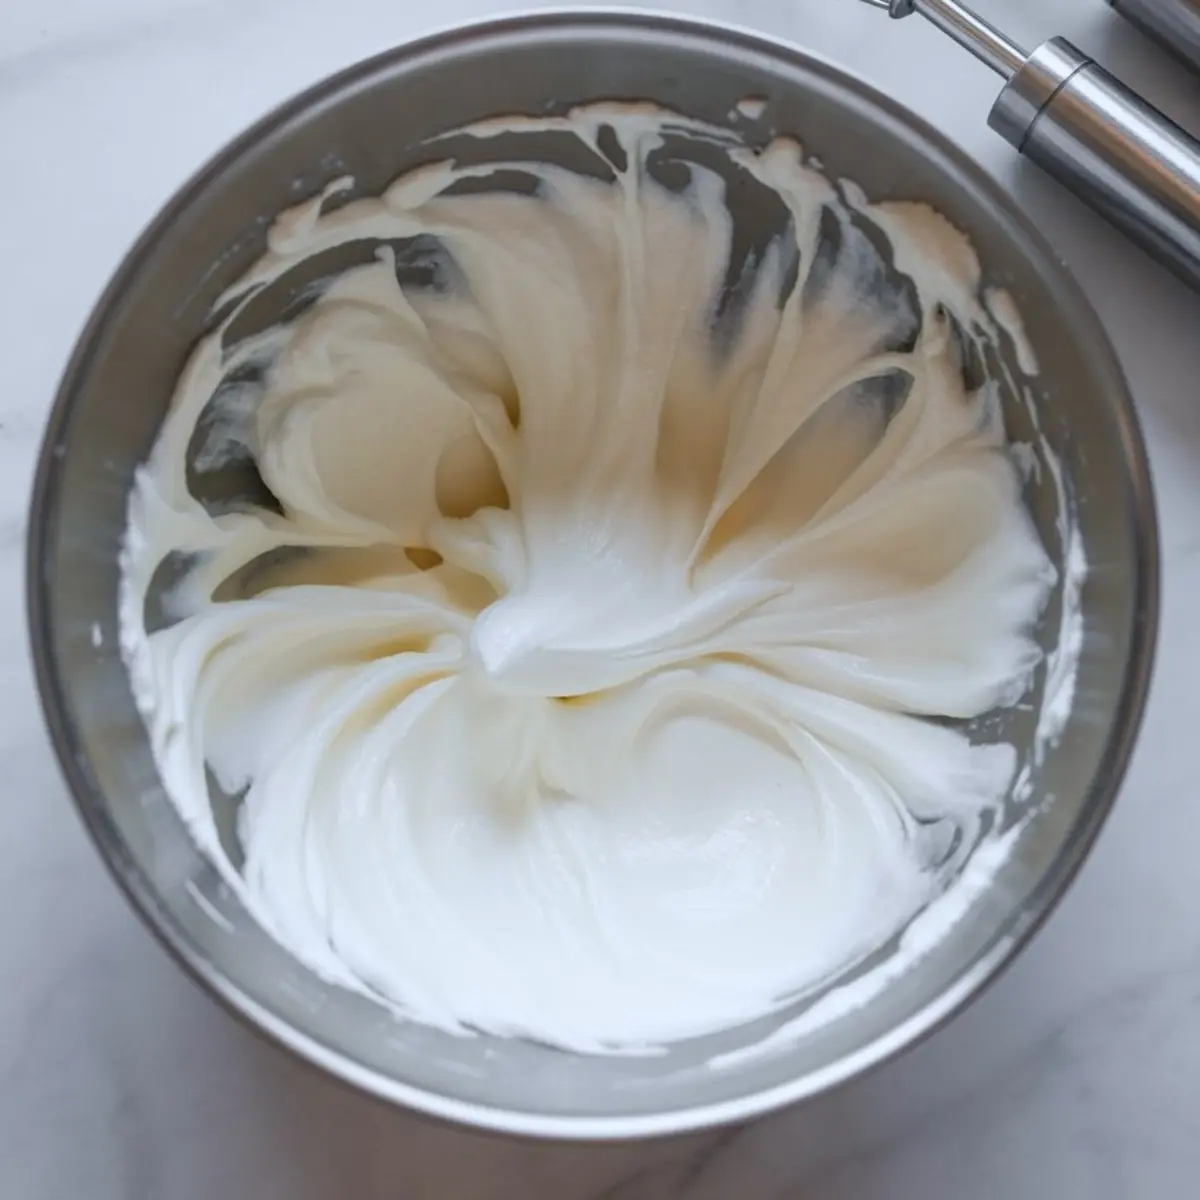
- WHIP THE HEAVY CREAM: In a large mixing bowl, beat the cold heavy whipping cream using a hand mixer or stand mixer on high speed until stiff peaks form, about 2–3 minutes. Set the whipped cream aside.
- MIX THE CHOCOLATE BASE: In a separate bowl, beat the softened cream cheese, unsweetened cocoa powder, powdered sweetener, and vanilla extract until the mixture is smooth and fully combined with no visible lumps.
- FOLD AND COMBINE: Using a spatula, gently fold the whipped cream into the chocolate mixture in batches. Fold carefully to keep the mousse light and airy—do not stir or overmix.
- CHILL (OPTIONAL): You can serve the mousse immediately, but for a firmer texture, cover and refrigerate for 30 minutes to 1 hour before serving.
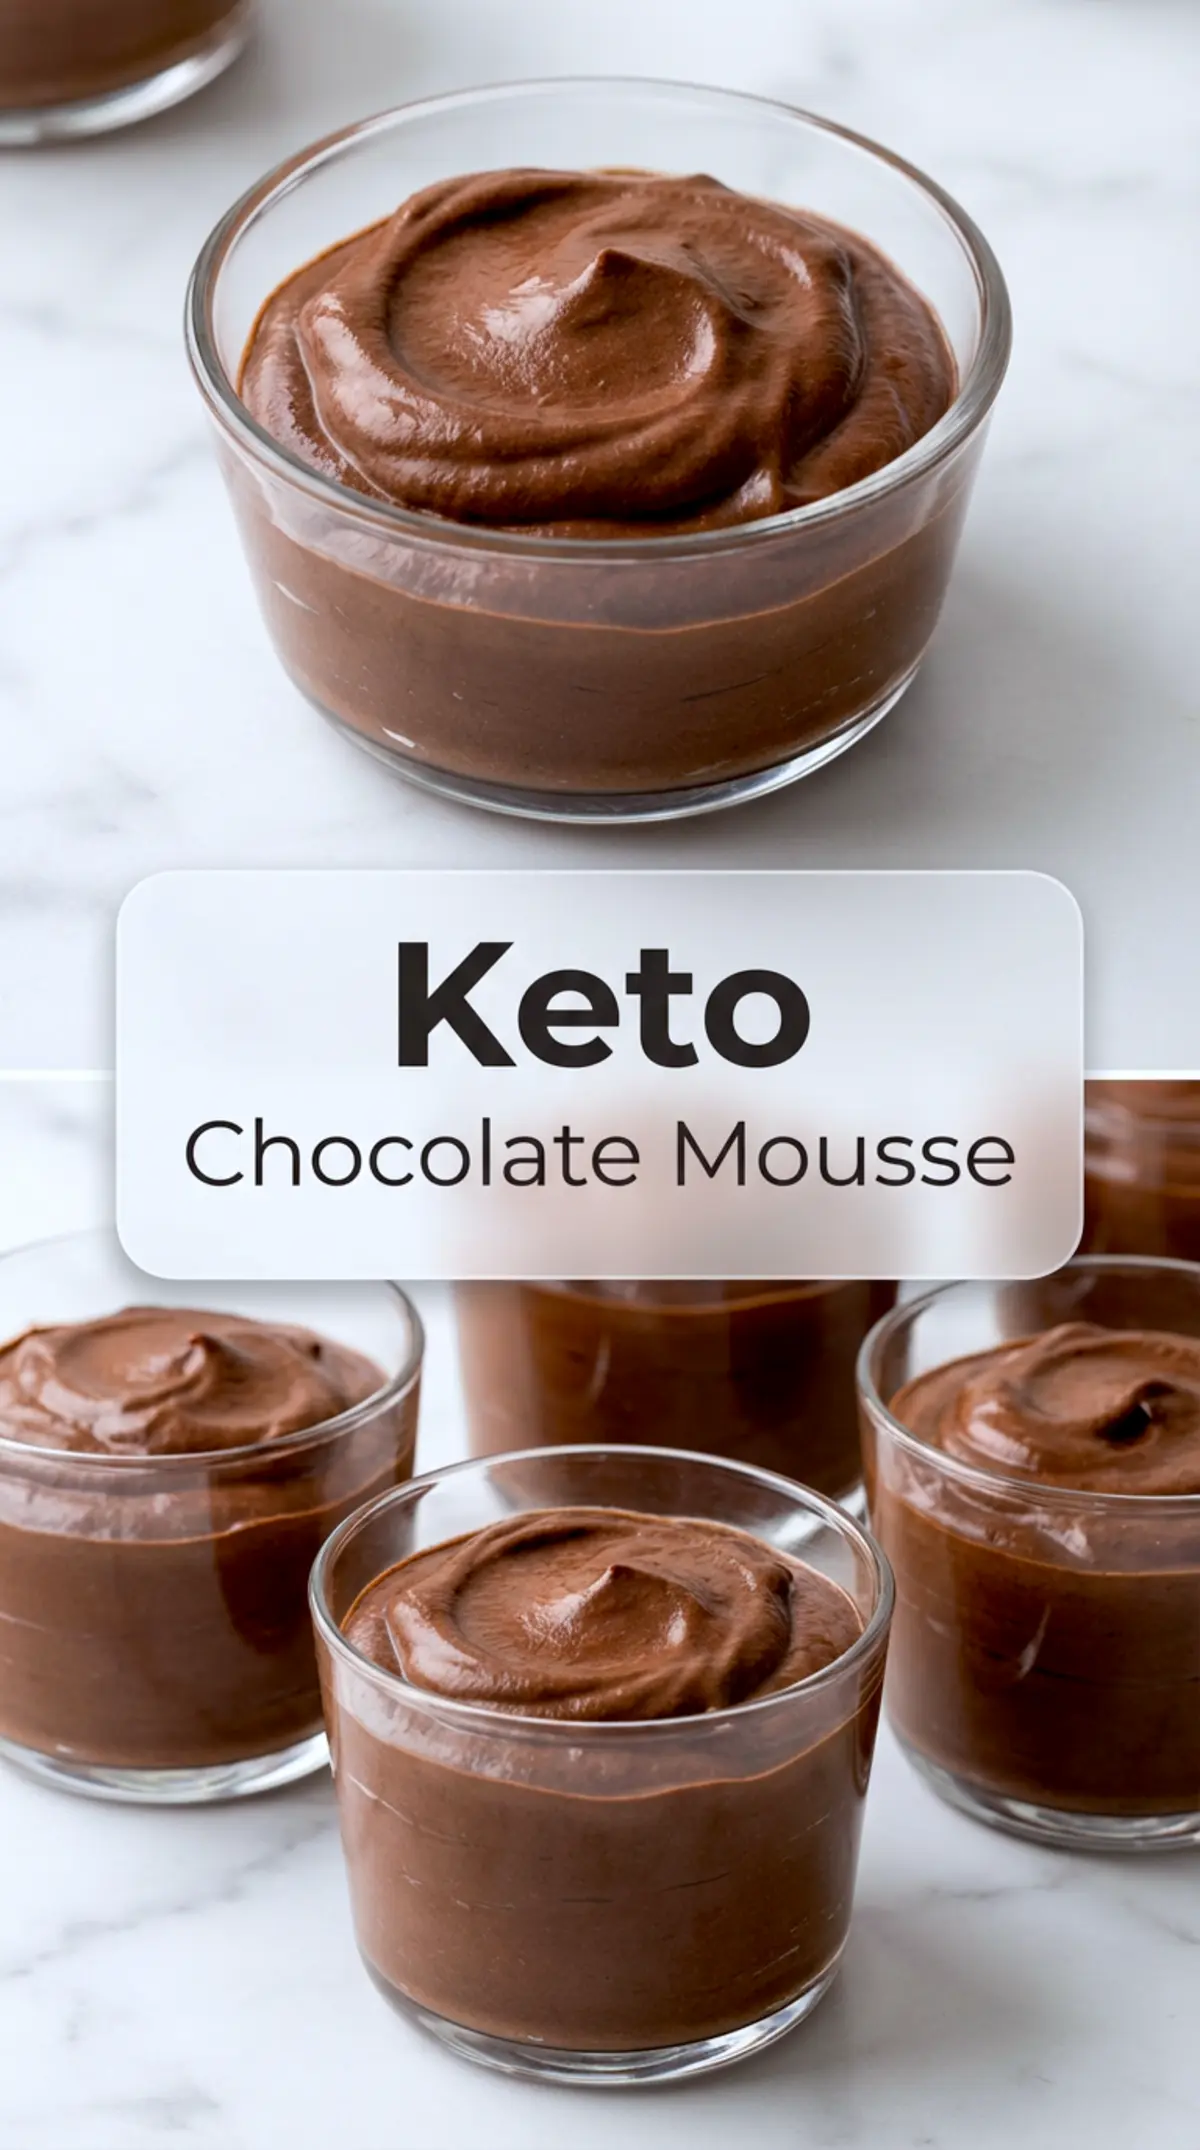
- GARNISH AND SERVE: Spoon the mousse into serving glasses or bowls. Top with fresh berries if using, and serve chilled.
Notes
For best results, use a powdered or confectioners-style keto sweetener to avoid grittiness. Adjust the sweetness to your preference before folding in the whipped cream. You can store leftovers covered in the refrigerator for up to 3 days.
Nutrition Information
Yield
4Serving Size
1Amount Per Serving Calories 436Total Fat 33gSaturated Fat 20gUnsaturated Fat 13gCholesterol 100mgSodium 195mgCarbohydrates 26gFiber 3gSugar 4gProtein 7g