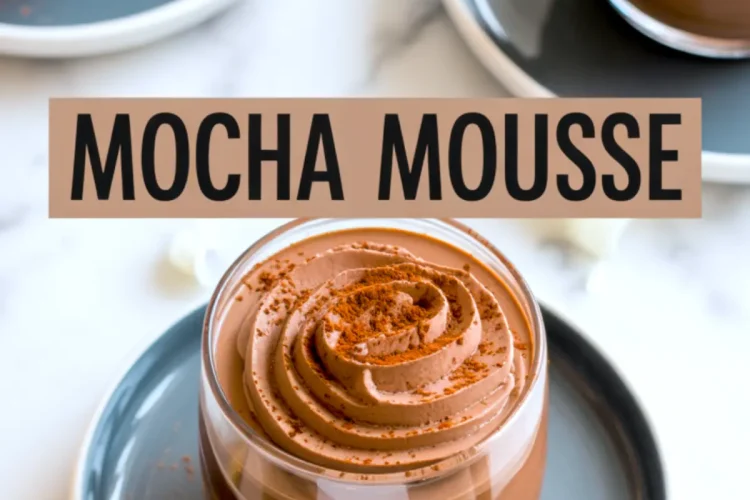
This mocha mousse walks a fine line between indulgence and restraint. You get the deep, bitter edge of good coffee, softened by rich dark chocolate and folded into soft peaks of whipped cream. The result is calm, cold, and smooth on the spoon.
You don’t need eggs, tempering, or gelatin. The structure comes from method, not ingredients. I’ve tested versions with yolks and cornstarch thickeners, but this one—the simplest—is also the most dependable. It’s what I make when I want something elegant without needing ceremony. If you’ve been looking for a mocha mousse recipe that actually holds its shape and carries flavor, this will serve you well.
You’ll learn how to balance chocolate and espresso, get the texture just right, and finish with a few quiet flourishes. Once you’ve made it once, you won’t need to look again.
Essential Ingredients for Deep Flavor and Stable Texture
Mocha mousse recipe ingredients explained
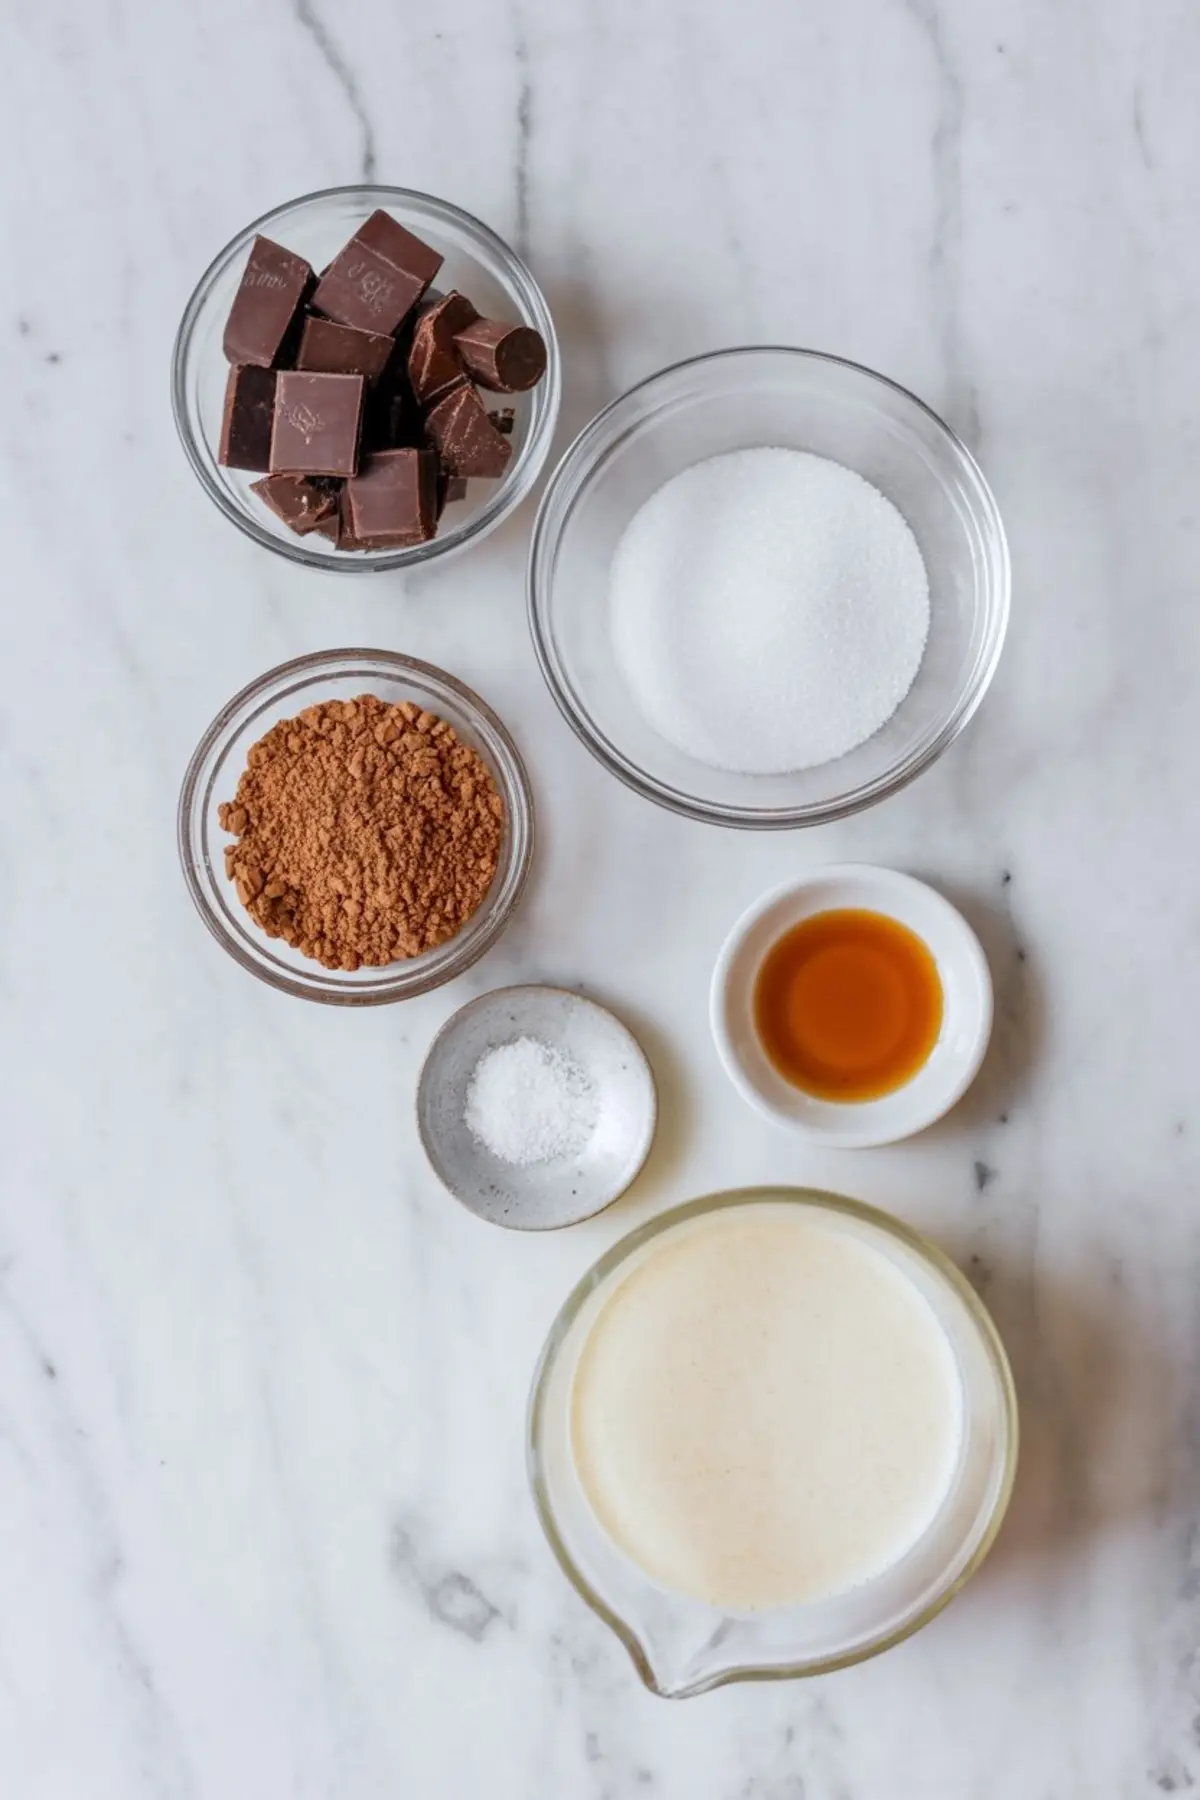
I use 60 to 70 percent dark chocolate, chopped fine for even melting. Chocolate chips coat poorly and melt inconsistently. Blocks or bars give you a clean, glossy base. If I have time, I chop the chocolate in advance and let it sit in the bowl while I prep the cream.
For the espresso element, I’ve tested both instant powder and brewed espresso. Powder gives you control. Brewed espresso adds complexity. If you’re working quickly or want a stronger mocha mousse aesthetic, stick with powder dissolved in hot water.
Cold heavy cream makes all the difference. I keep mine in the back of the fridge until the moment I whip it. Warm cream won’t hold peaks. It needs to be cold from start to finish. I’ve made this with both 33% and 36% cream—both work, but the higher fat version gives you a silkier mousse.
If you’re after a clean, sweet taste with just enough lift, don’t skip the vanilla and salt. They pull the flavors forward and round out the chocolate without competing.
For another smooth, no-bake dessert, try this Triple Chocolate Trifle Mousse. It takes a layered approach to chocolate textures and works beautifully for parties.
How to Melt, Whip, and Fold Without Losing Volume
Step-by-step mocha mousse method advice
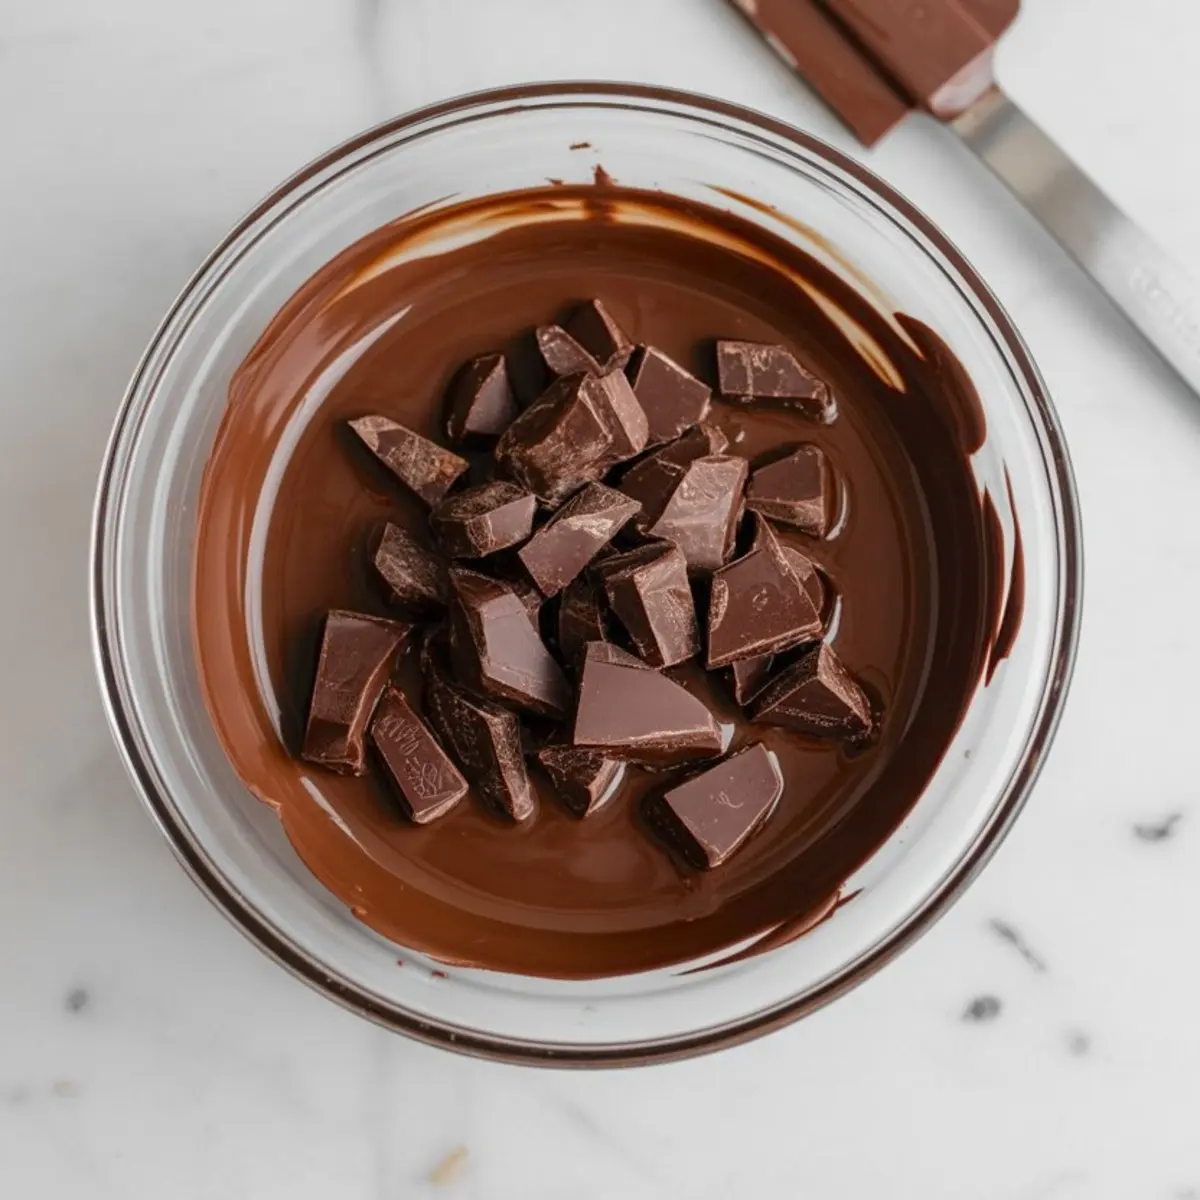
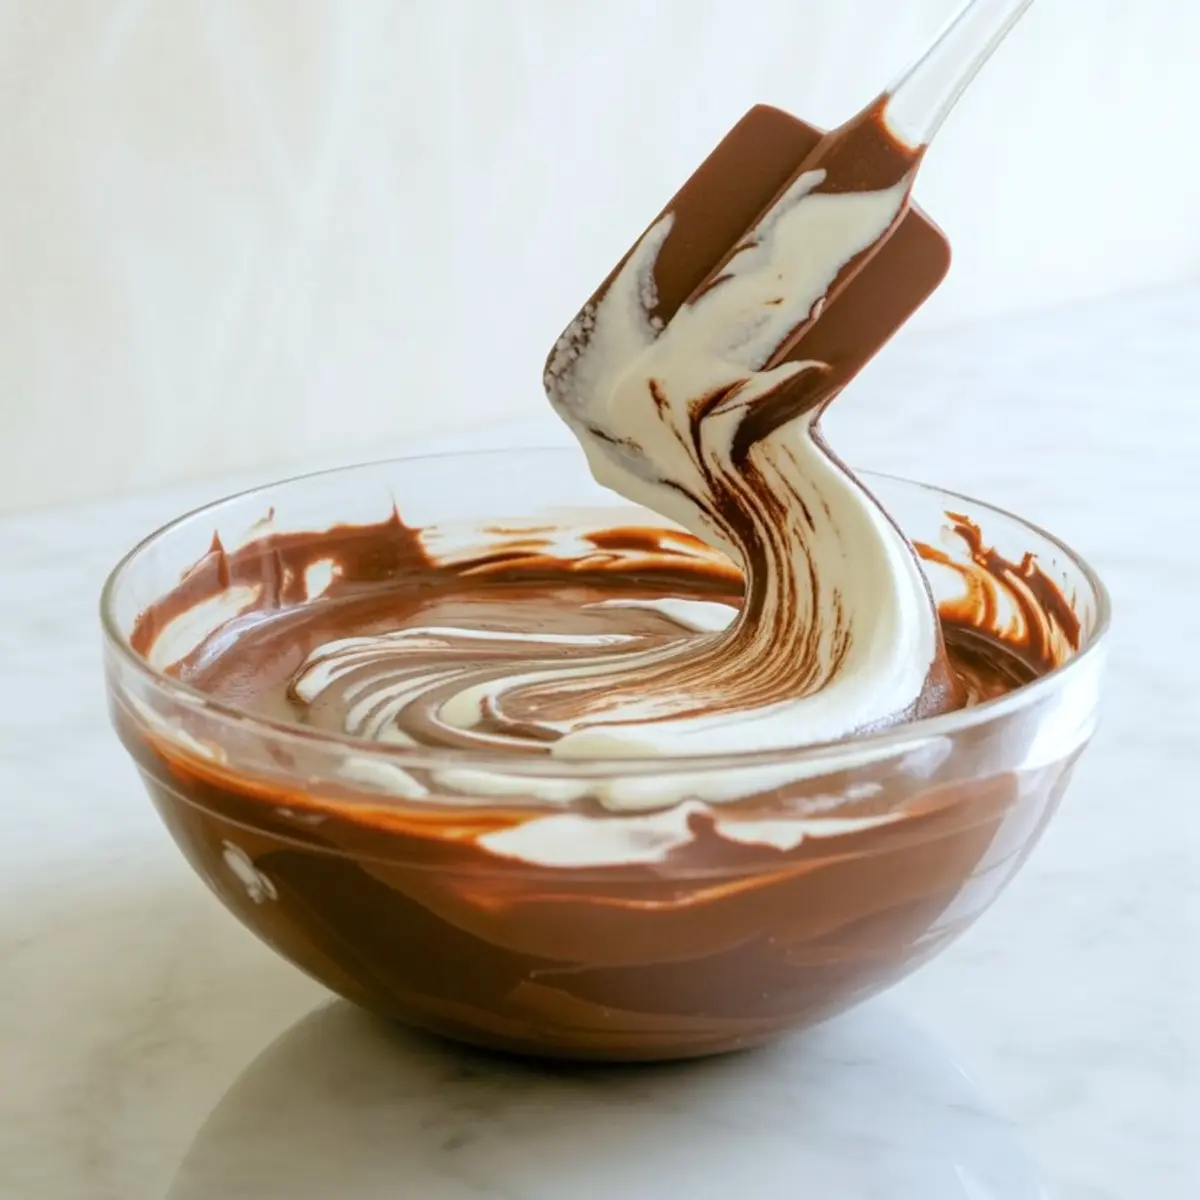
The chocolate should melt gently. I microwave it in short bursts, never more than 20 seconds, and stir thoroughly in between. This prevents scorching and keeps the chocolate pourable without needing cream or butter to thin it.
After stirring in the espresso and vanilla, I let the mixture cool slightly so it doesn’t deflate the whipped cream. This single step makes or breaks the texture.
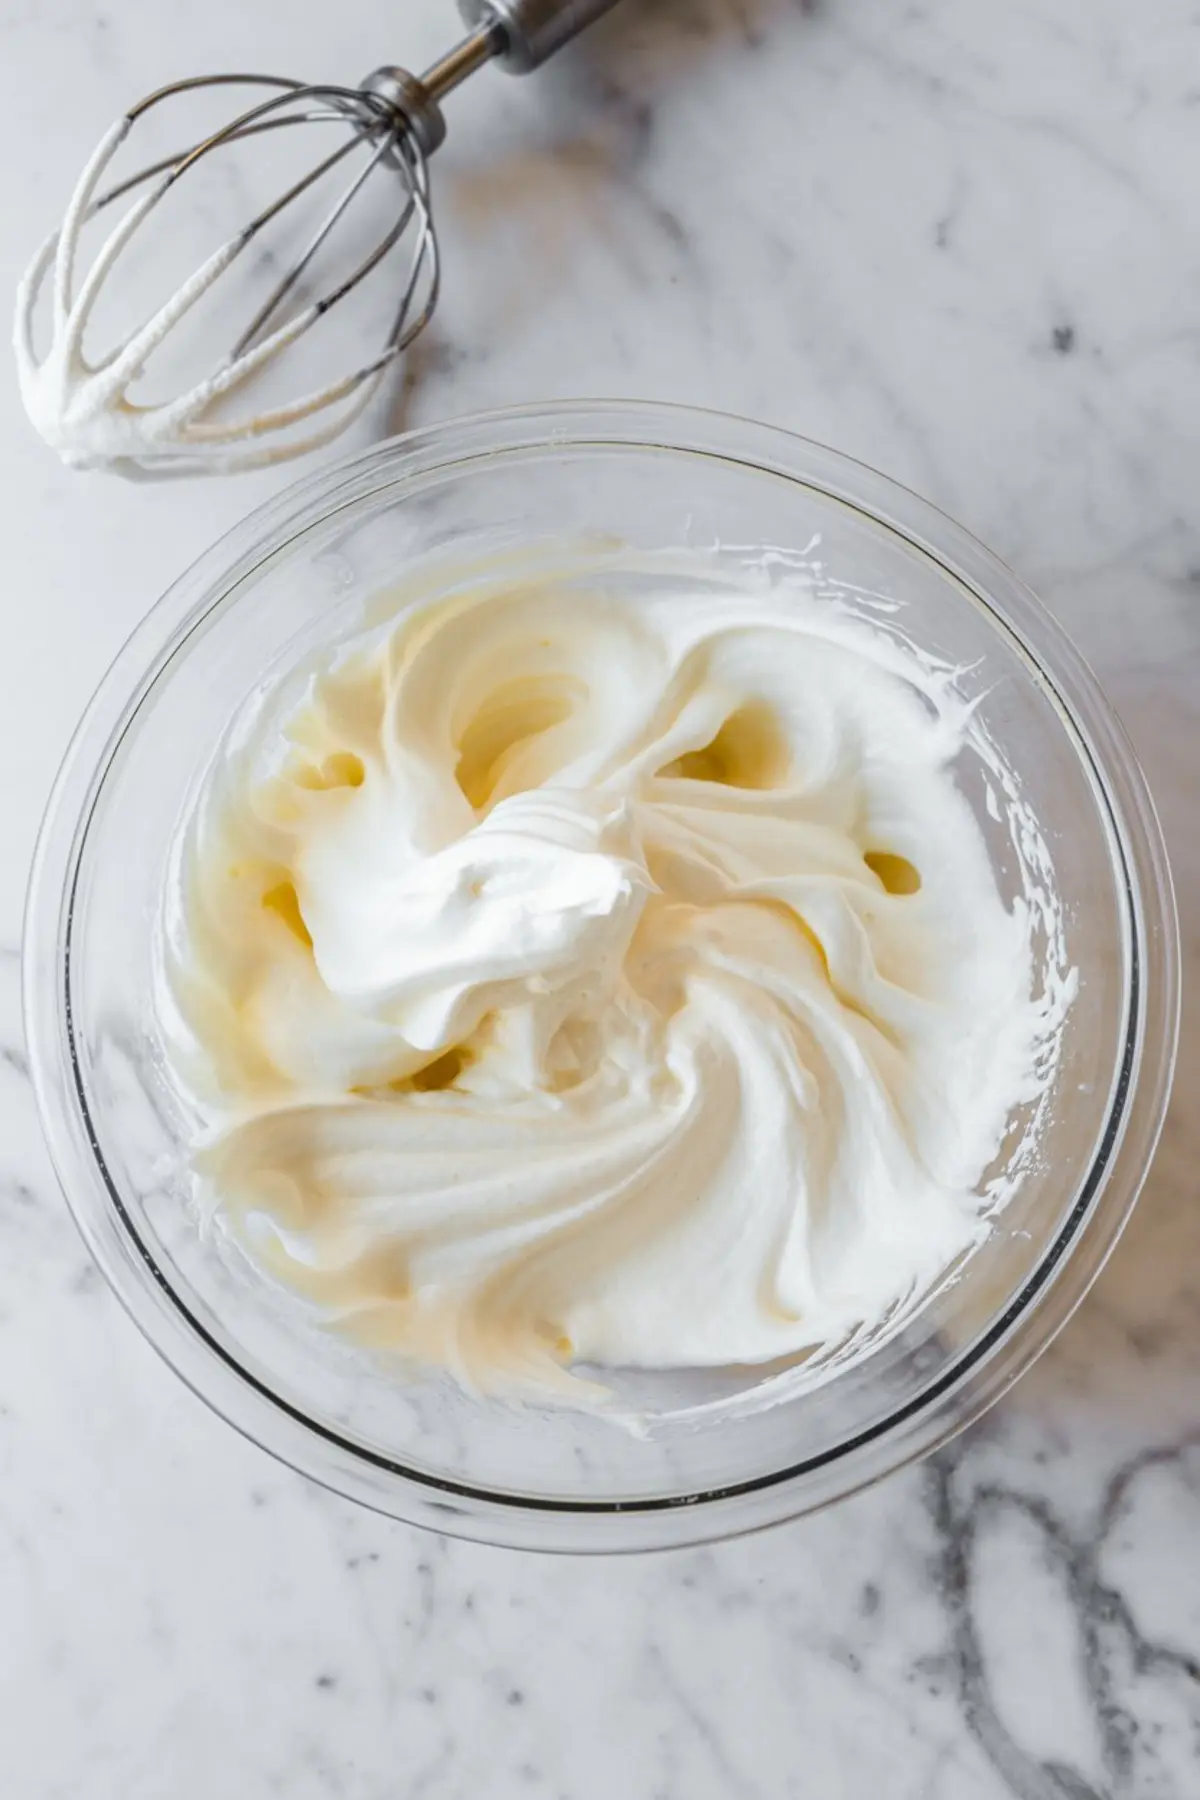
For the cream, beat it until it just holds shape. It should look smooth, not dry or stiff. In my notes, I’ve found that medium-stiff peaks give the most reliable results. Overwhipping leads to grainy mousse. Underwhipping makes it runny.
I fold in a third of the cream to loosen the chocolate, then gently incorporate the rest. A wide spatula and patience go a long way here. Stirring too fast will knock the air out, so I rotate the bowl slowly and work from the bottom.
This process reminds me of the quiet care it takes to make my Mocha Chip Banana Bread. Both recipes rely more on timing and texture than flashy ingredients.
Serving, Garnishing, and Storage Notes from My Kitchen
How to serve mocha mousse with confidence
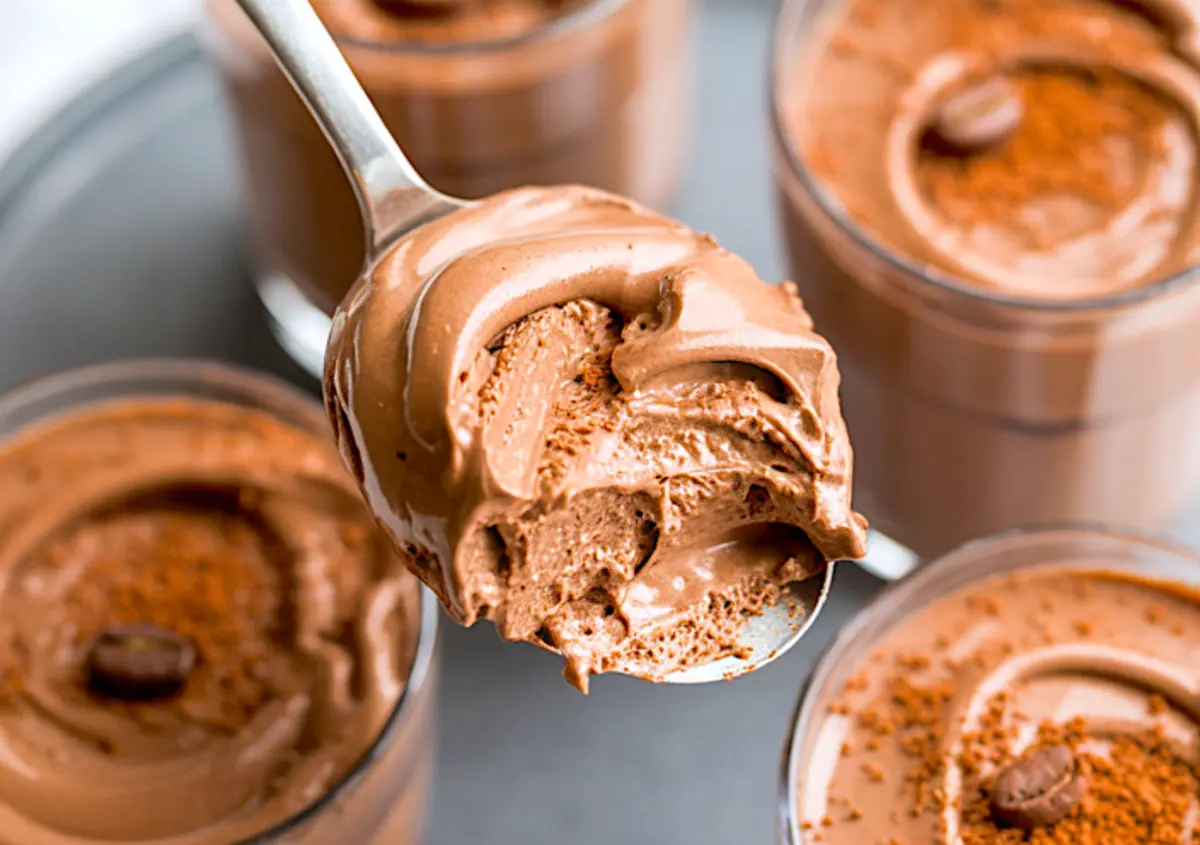
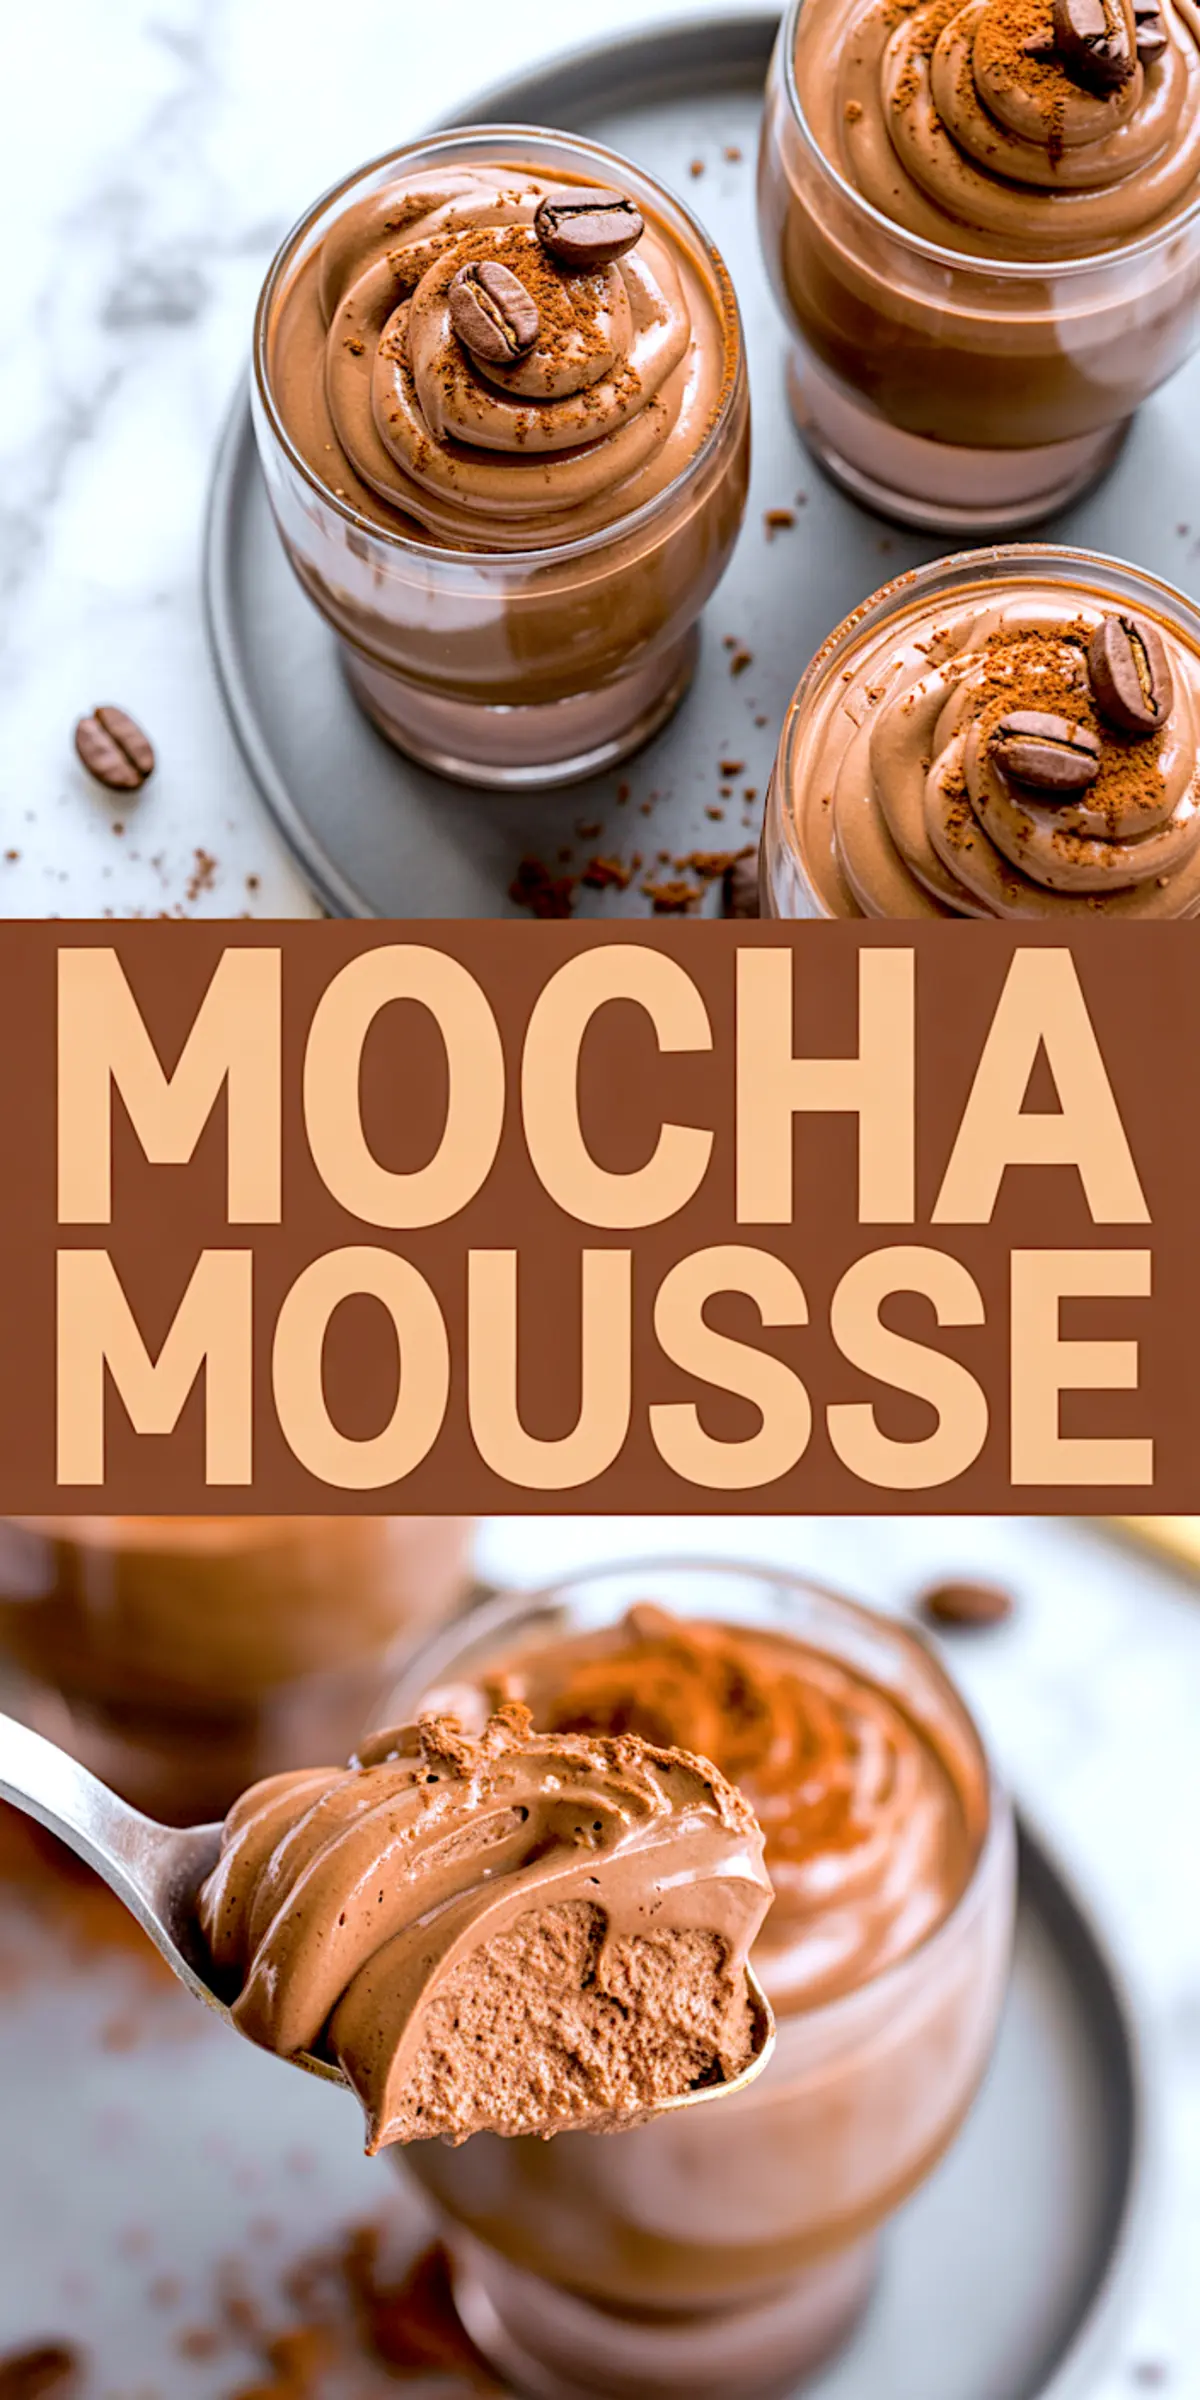
I usually portion the mousse into ramekins or glass jars, then use the back of a spoon to swirl the top. If you want a cleaner finish, pipe it using a large round tip. It’s a subtle presentation, but effective.
Right before serving, I often dust with cocoa powder or add a few chocolate shavings. Whole coffee beans make a striking visual contrast, though I wouldn’t eat them whole. My guests usually remove them with a smile.
This mousse sets beautifully after two hours in the fridge. I prefer to make it the night before, then cover each portion with cling film. The flavor deepens slightly overnight. It holds for up to 24 hours with no change in texture.
If you’re in the mood for something autumnal instead, my Pumpkin Mousse has the same soft chill with spiced warmth instead of espresso.
A Note on Instant Espresso vs Brewed Espresso
How your choice affects the final flavor
I’ve worked with both in side-by-side batches. Instant espresso powder gives a sharper edge, especially when used in smaller quantities. Brewed espresso, on the other hand, adds moisture and a more rounded, earthy finish. If you want clean structure and no extra liquid, go with the powder. But if you enjoy depth, brewed espresso adds more body.
Personally, I use instant for precision and consistency, especially if I’m serving guests. For myself, I lean toward a splash of espresso from the morning pot.
You can explore a similar chocolate-meets-creamy result in my Avocado Chocolate Mousse, which swaps the cream for avocado but keeps the same firm chill and cocoa hit.
Final Thoughts and Community Invitation
Store, pin, and share your mocha mousse

This mocha mousse holds its shape, balances flavor, and requires only one bowl and a whisk. It’s the kind of dessert that feels like it took much more effort than it did. If you’ve ever wanted to master a mocha cake recipe without turning on the oven, this is a smart starting point.
You can double the batch for gatherings, halve it for two people, or scale precisely for dinner parties. I’ve done all three.
Pin this mocha mousse recipe so it’s easy to find the next time you need something smooth, cool, and quietly confident on the plate. If you make it, share how it turned out in the comments—I’d love to hear how you’ve served it or what you paired it with. And if you have questions, I’ll be right here to help.
Mocha Mousse Recipe

A rich, chocolate-coffee dessert with a smooth, airy texture. This eggless mousse combines dark chocolate and espresso for bold flavor, lightened with whipped cream for a silky finish. Simple to prepare, it makes an elegant dinner party dessert or a midweek treat.
Ingredients
- 170g (6 oz) dark chocolate (60–70% cocoa), chopped
- 1 tsp instant espresso powder or 30ml (1 oz) strong brewed espresso
- 1 tbsp hot water (only if using espresso powder)
- 1 tsp vanilla extract
- 2 tbsp granulated sugar
- 1 ¼ cups (300ml) heavy whipping cream, cold
- Pinch of salt
- Optional for garnish: cocoa powder, chocolate shavings, coffee beans
Instructions
- MELT THE CHOCOLATE: Place the chopped chocolate in a heatproof bowl. Microwave in 20-second bursts, stirring between each, until fully melted and smooth. Set aside to cool slightly, making sure it remains pourable.
- PREPARE THE ESPRESSO: If using instant espresso powder, dissolve it in the hot water. If using brewed espresso, allow it to cool slightly. Stir the espresso and vanilla extract into the melted chocolate until well combined.
- WHIP THE CREAM: In a chilled mixing bowl, beat the cold heavy cream with the granulated sugar and pinch of salt until medium-stiff peaks form. The cream should hold its shape but still appear smooth and not grainy.
- COMBINE: Add one-third of the whipped cream to the chocolate mixture and stir to lighten. Gently fold in the remaining whipped cream using a spatula, working slowly to maintain the mousse’s airy texture.
- PORTION AND CHILL: Spoon or pipe the mousse evenly into serving glasses or ramekins. Smooth the tops or swirl decoratively. Chill for at least 2 hours, or until fully set.
- GARNISH AND SERVE: Just before serving, optionally dust with cocoa powder, sprinkle with chocolate shavings, or top with whole coffee beans for added presentation.
Notes
To make ahead, prepare the mousse up to 24 hours in advance and keep it chilled. For stronger coffee flavor, increase the espresso slightly to taste.
Nutrition Information
Yield
6Serving Size
1Amount Per Serving Calories 96Total Fat 3gSaturated Fat 2gTrans Fat 0gUnsaturated Fat 1gCholesterol 8mgSodium 173mgCarbohydrates 15gFiber 2gSugar 9gProtein 3g