
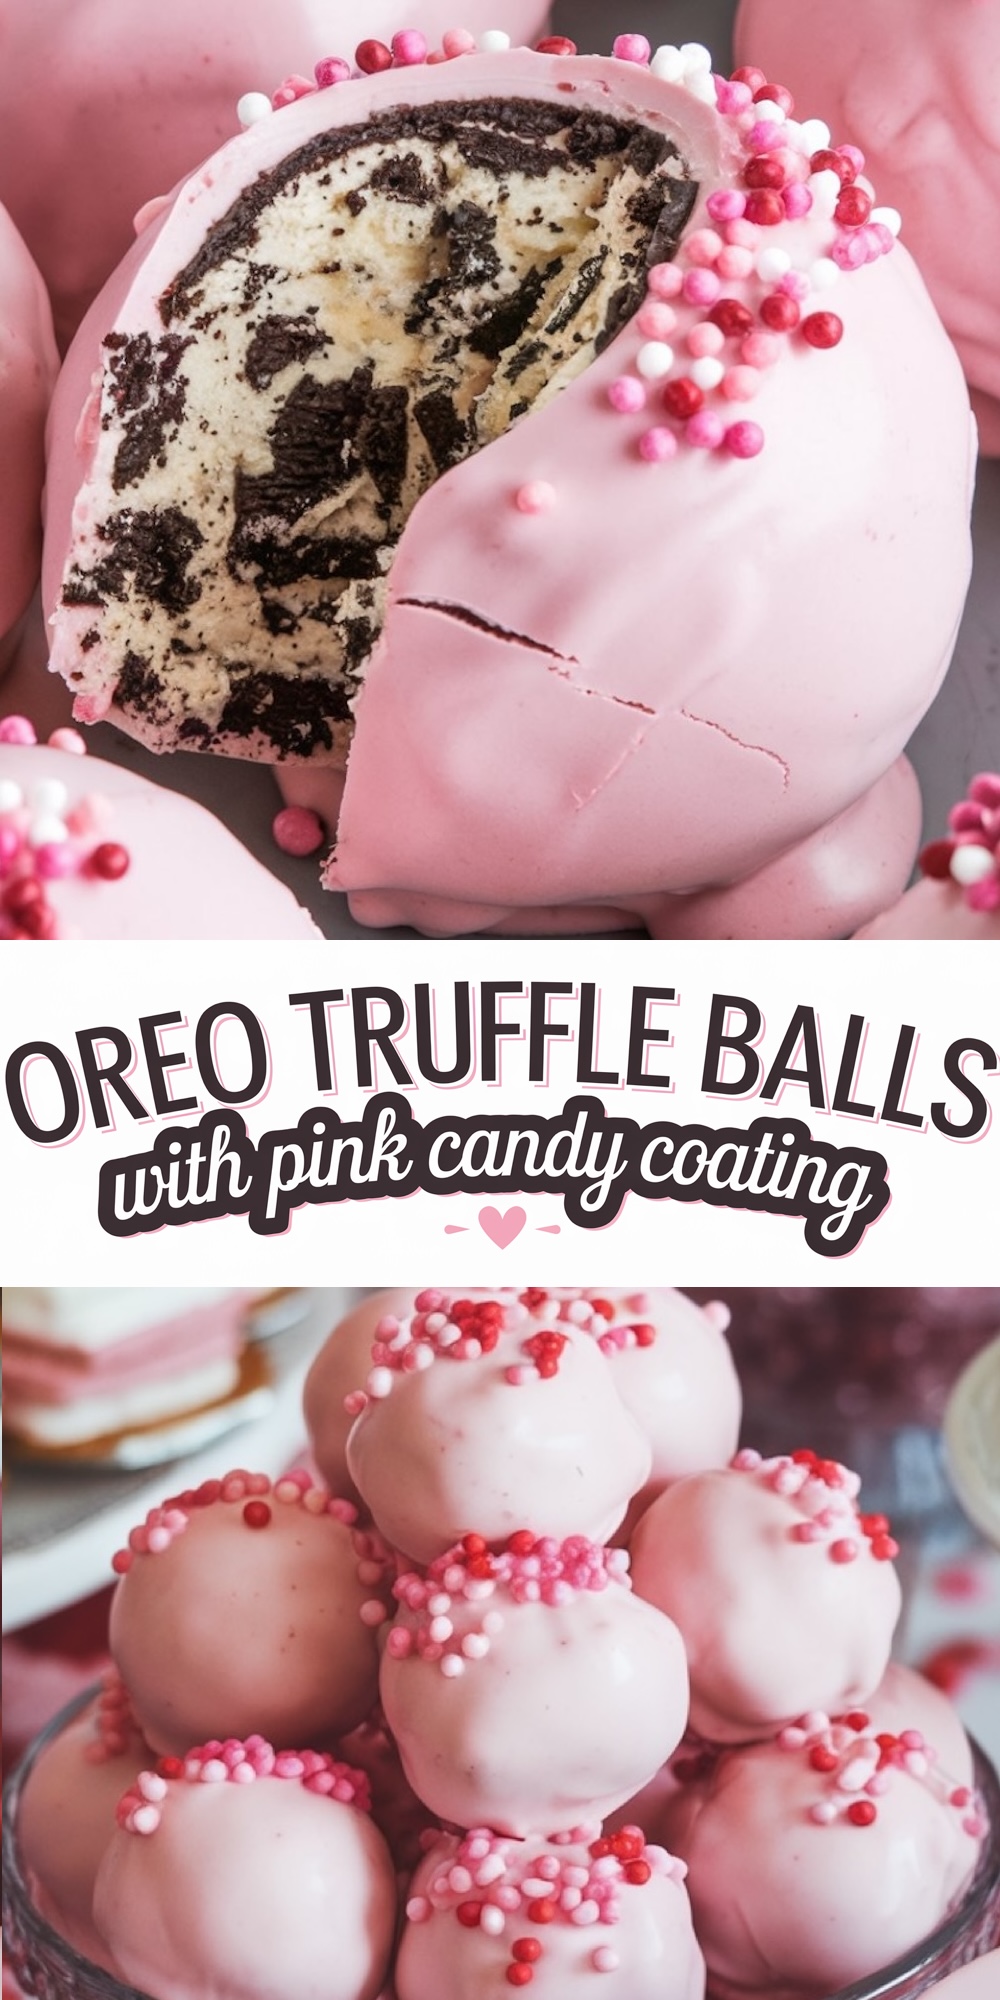
Hey, if you’re looking for something real cute and great to eat, you gotta make these Oreo Truffle Balls with Pink Candy Coating. They are super easy and require no baking at all! They have the normal Oreo taste you’d love in a chocolate, creamy, and smooth inside with that fun pink coating. These will be great for parties, as gifts, or just to indulge in, and this recipe surely wins their hearts and taste buds!
Following a special diet?
Every recipe on this site can be converted to gluten-free, vegan, dairy-free, keto, nut-free or egg-free with adjusted ratios so nothing falls flat.
Try the Recipe Converter →A Funny Incident with Oreo Truffles
The first time I made these Oreo truffle balls was for a friend’s baby shower. In my mind, I’m thinking, “These little, colored bites are gonna add such a fun pop and sweetness to the dessert table!” But I really did not see them stealing the show! People couldn’t stop coming back for “just one more” and turned into a must-have treat for every get-together.
You know, I’ve actually had an amazing time brainstorming all the different color combos and throwing some sprinkles on for just about any occasion. These truffles seriously hold this magic that makes any moment a little more special.
What You’ll Need to Make Oreo Truffle Balls with Pink Candy Coating
To make these Oreo truffle balls, you’ll need just a few simple ingredients:
- Oreos: The base of the truffle filling, providing a classic chocolatey crunch.
- Cream Cheese: Softened cream cheese helps bring the Oreo crumbs together, creating a rich, smooth filling.
- Powdered Sugar: Optional, but it can add a touch more sweetness to balance the cream cheese if you like it sweeter.
- Candy Melts: Pink candy melts give these truffles their playful color. Feel free to customize with other colors if desired.
- Coconut Oil or Vegetable Oil: This thins the candy coating, making it smoother and easier to dip the truffles.
- Sprinkles: Pink, red, and white sprinkles make these truffles festive and fun, though they’re optional.
Step-by-Step Guide to Making Oreo Truffle Balls
These truffles are fairly easy to make and, moreover, require no baking at all. Herein is how you could prepare these truffles:
1. Prepare the Oreo Truffle Mixture
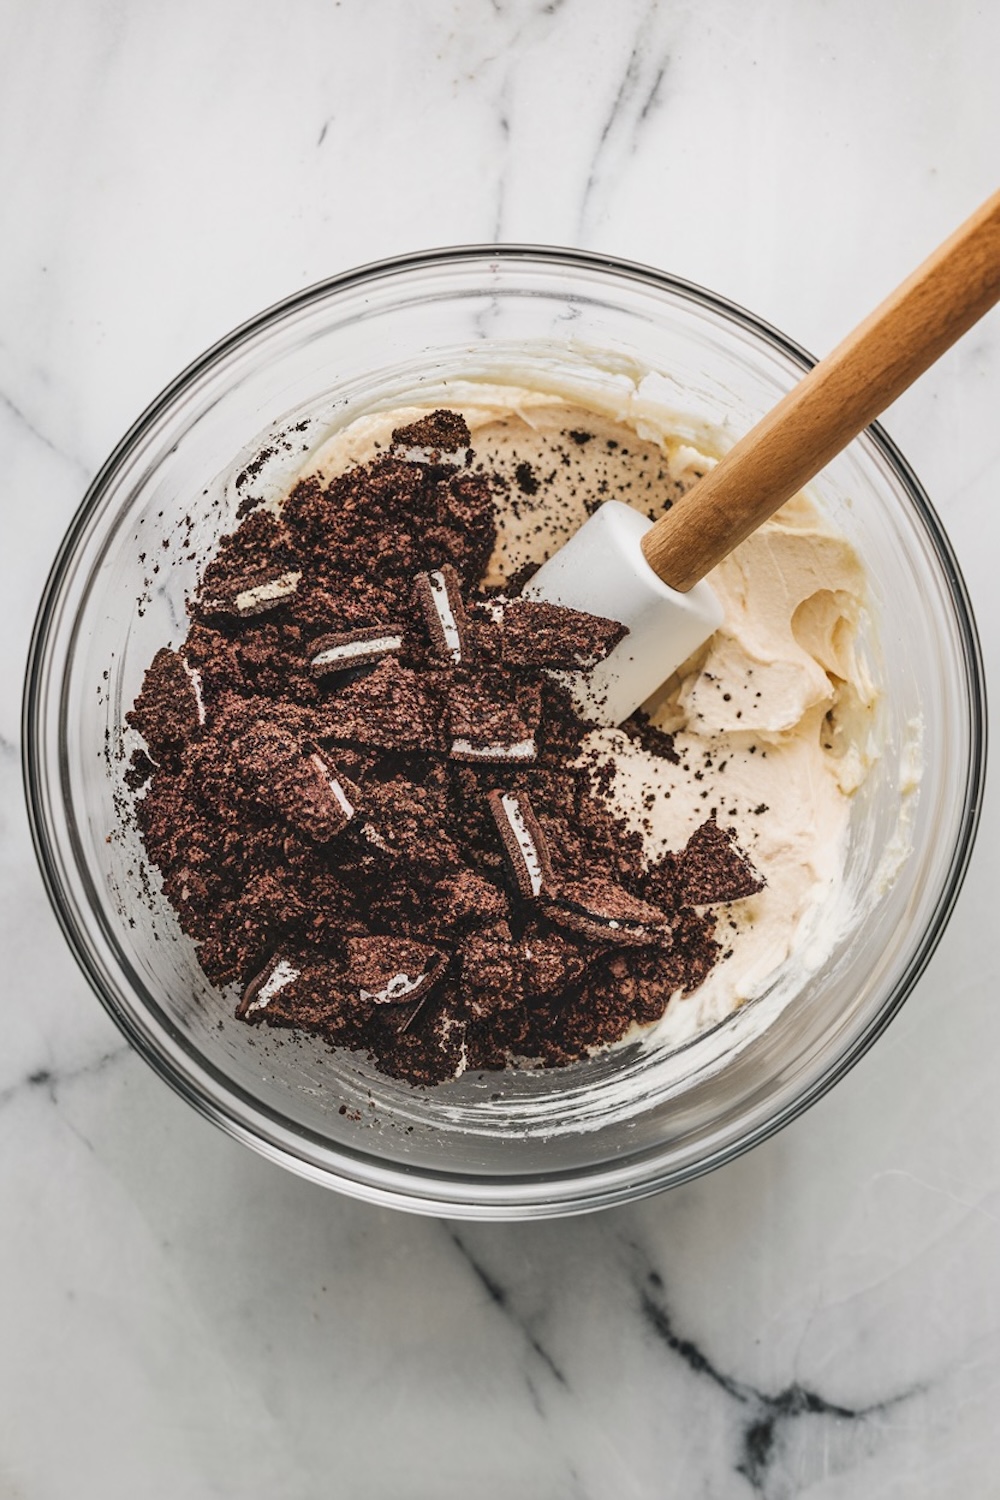
Crush the Oreos-just into fine crumbs. A food processor works best but if you don’t have one, just seal the cookies in a plastic bag and go at it with the rolling pin until finely ground.
OK, first of all: those crushed Oreos in the big bowl with the softened cream cheese. You can mix it with a spatula, but diving on in works just about as well, because your real endgame here is to get it all mixed into this real nice, smooth, sticky dough. Then, you know, if you want it sweet, now is just the perfect time to add the powdered sugar.
Then, with the mixture, make small balls, about 1 inch in diameter, setting them on a parchment-lined baking sheet. Take these and set them in the freezer to firm up for 20–30 minutes, which will make them hold their shape if dipped.
2. Melt the Candy Coating
While those Oreo balls were chilling, let’s do the candy coating. Just mix the candy melts with a little bit of oil in a microwave-safe bowl. Then pop that in the microwave in 30-second intervals until smooth, stirring in between. This way, you will just get the coating right for dipping, not too thick or anything.
Allow the coating to cool somewhat before you begin dipping; it should be warm-never hot-for it to act at its best.
3. Dip the Truffles
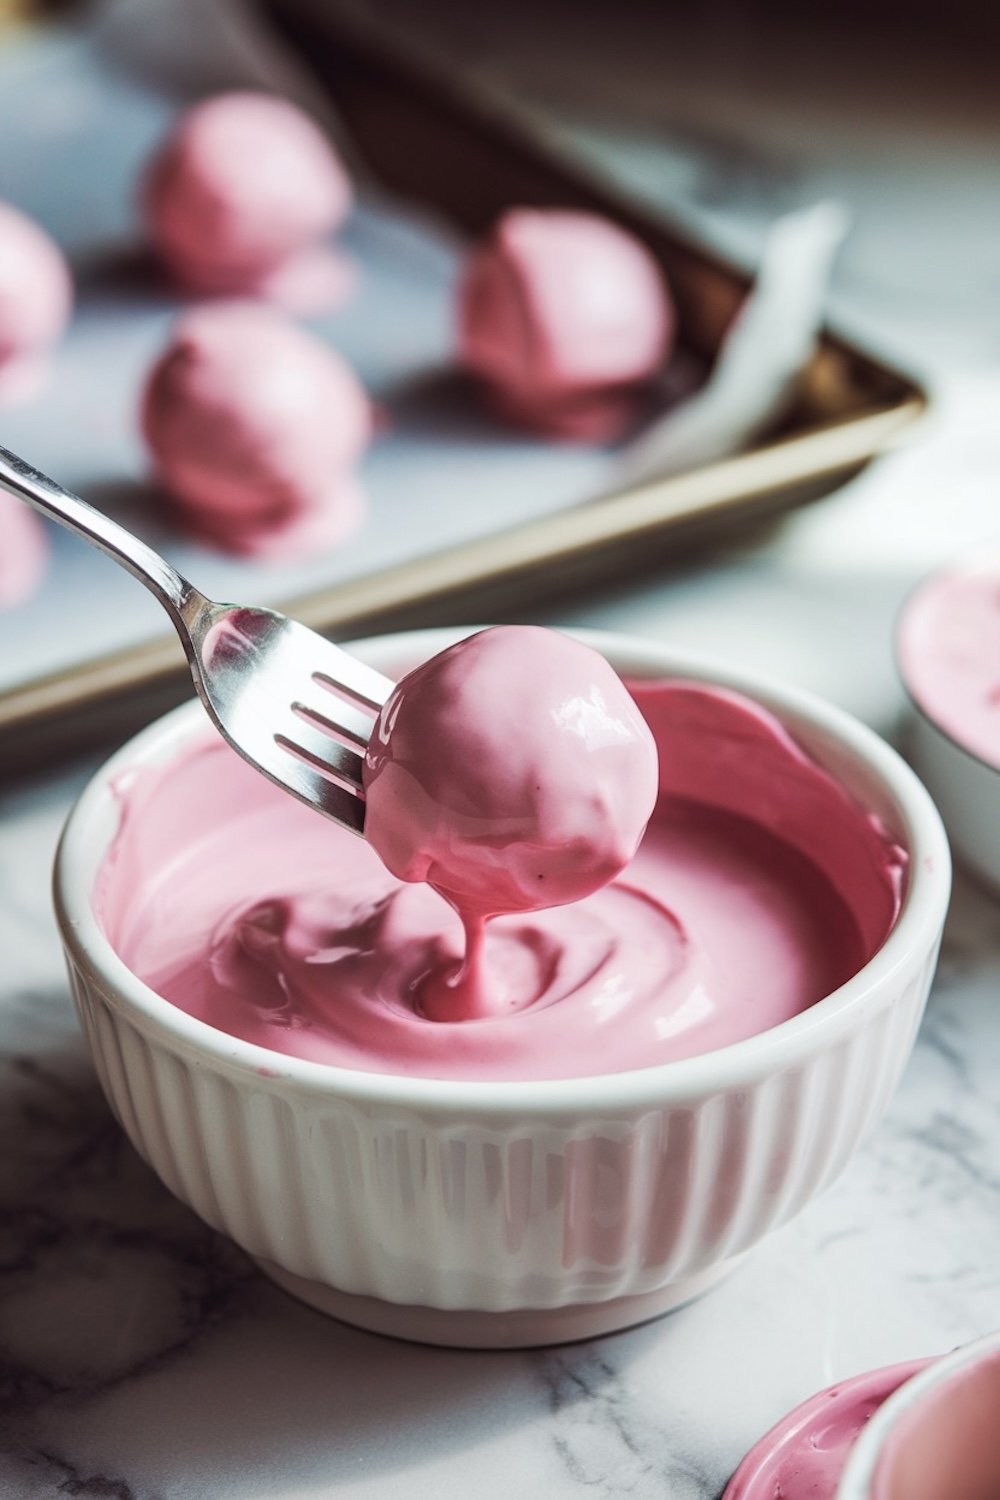
Using a fork or dipping tool, let each Oreo ball fall into that melted candy coating and roll around until it is covered. Pull out and let a little extra coating drip off for just a second before placing coated truffle onto parchment paper. Immediately sprinkle some festive sprinkles onto each truffle when the coating is still wet to make them look even more awesome!
Just continue that with all of the truffles, and you will have a bunch of beautiful pink goodies that look like they should be in some display within a bakery!
4. Let the Coating Set
Place the baking sheet in the refrigerator for about 10–15 minutes to set the candy coating. Once set, the Oreo Truffle Balls are ready to be served or stored. Food Facts This recipe yields approximately 24 Oreo truffle balls, and each one is roughly 120 calories, so you’re in for the right bite-sized indulgence. A total prep time of 30 minutes, plus just a bit of chilling time, and you will have stunning, handmade truffles-everyone will be impressed, without the fuss.

Serving Information
This recipe makes about 24 Oreo truffle balls, and each one is around 120 calories, making it the perfect bite-sized indulgence. With just 30 minutes of prep time and a little chilling time, you’ll have beautiful, handmade truffles that look impressive without the fuss.
Expert Tips for Perfect Oreo Truffle Balls
- Room Temperature Cream Cheese: Make sure your cream cheese is fully softened before mixing. This helps it blend easily with the Oreo crumbs, creating a smoother filling.
- Consistent Size: Aim for uniform sizes when rolling the truffles; it makes for a more polished presentation and helps them set evenly in the freezer.
- Freezing for Shape: Freezing the balls is key to preventing them from melting into the warm candy coating. It’s an important step, so don’t skip it!
- Custom Colors and Decorations: Feel free to switch up the colors for any occasion—think green for St. Patrick’s Day, red for Christmas, or blue for a baby shower!
Serving Suggestions

These Oreo Truffle Balls are a hit at nearly any gathering. Here are a few creative serving ideas:
- Gift Boxes: Arrange them in mini boxes or decorative tins for a sweet homemade gift. These truffles make fantastic Valentine’s treats!
- Dessert Tables: Stack them on a tiered tray or cake stand at a party to create a beautiful visual centerpiece.
- Personalized Decor: Customize the sprinkle colors to match the event theme or add tiny edible glitter for an extra sparkle.
Add This to Your Recipe Collection
Oreo truffle balls in pink candy coating are a delight to make, rewarding in their final stages, and truly delicious on the tongue. They are easy to put together, really festive, and offer endless flavor combinations. Make a bunch for a party, as a present, or for a sweet moment to oneself.
That, for sure, is worth trying. Love this recipe? Save it for your next party, or share it with friends who might need some sweet ideas!

Oreo Truffle Balls with Pink Candy Coating
Course: Cake Ideas24
servings30
minutes1
hour120
kcalIngredients
For the Oreo Truffle Filling:1 package (14.3 oz) Oreo cookies (about 36 cookies)
8 oz cream cheese, softened to room temperature
1/4 cup powdered sugar (optional, for added sweetness)
- For the Coating:
2 cups pink candy melts (or any color of choice)
1 tablespoon coconut oil or vegetable oil (to help thin the candy melts)
- For Decoration:
1/4 cup pink, red, and white sprinkles (optional)
Steps
- Step 1: Prepare the Oreo Truffle Mixture
- Place the Oreo cookies in a food processor and pulse until they form fine crumbs. If you don’t have a food processor, place the cookies in a sealed ziplock bag and crush them with a rolling pin until fine.
- In a large mixing bowl, combine the Oreo crumbs with the softened cream cheese. Use a spatula or your hands to mix until well-blended, creating a thick, sticky dough. If you prefer a sweeter filling, add 1/4 cup powdered sugar at this stage.
- Line a baking sheet with parchment paper. Roll the Oreo mixture into 1-inch balls (about the size of a large marble) and place them on the prepared baking sheet.
- Once all the balls are formed, place the baking sheet in the freezer for 20-30 minutes, or until the balls are firm. This helps them hold their shape when dipping.
- Step 2: Melt the Candy Coating
- In a microwave-safe bowl, combine the pink candy melts and coconut oil. Microwave in 30-second intervals, stirring after each, until the candy melts are completely melted and smooth. The oil helps thin the melts for easier coating.
- Let the melted coating cool slightly, as it should be warm but not hot when you dip the truffles.
- Step 3: Dip the Oreo Truffles
- Remove the Oreo balls from the freezer. Use a fork or dipping tool to lower each ball into the melted candy coating, turning to ensure it’s fully covered.
- Lift the ball out of the coating, allowing any excess to drip off. Place it back on the parchment-lined baking sheet.
- While the coating is still wet, sprinkle the top with pink, red, and white sprinkles to add a festive touch. Repeat this process with each truffle.
- Step 4: Let the Coating Set
- Once all truffles are coated and decorated, place the baking sheet in the fridge for 10-15 minutes to allow the candy coating to set.
- After the coating is firm, your Oreo Truffle Balls are ready to serve!
This looks so good! What a great combination of flavors!
Thanks for sharing! Does it keep long?