
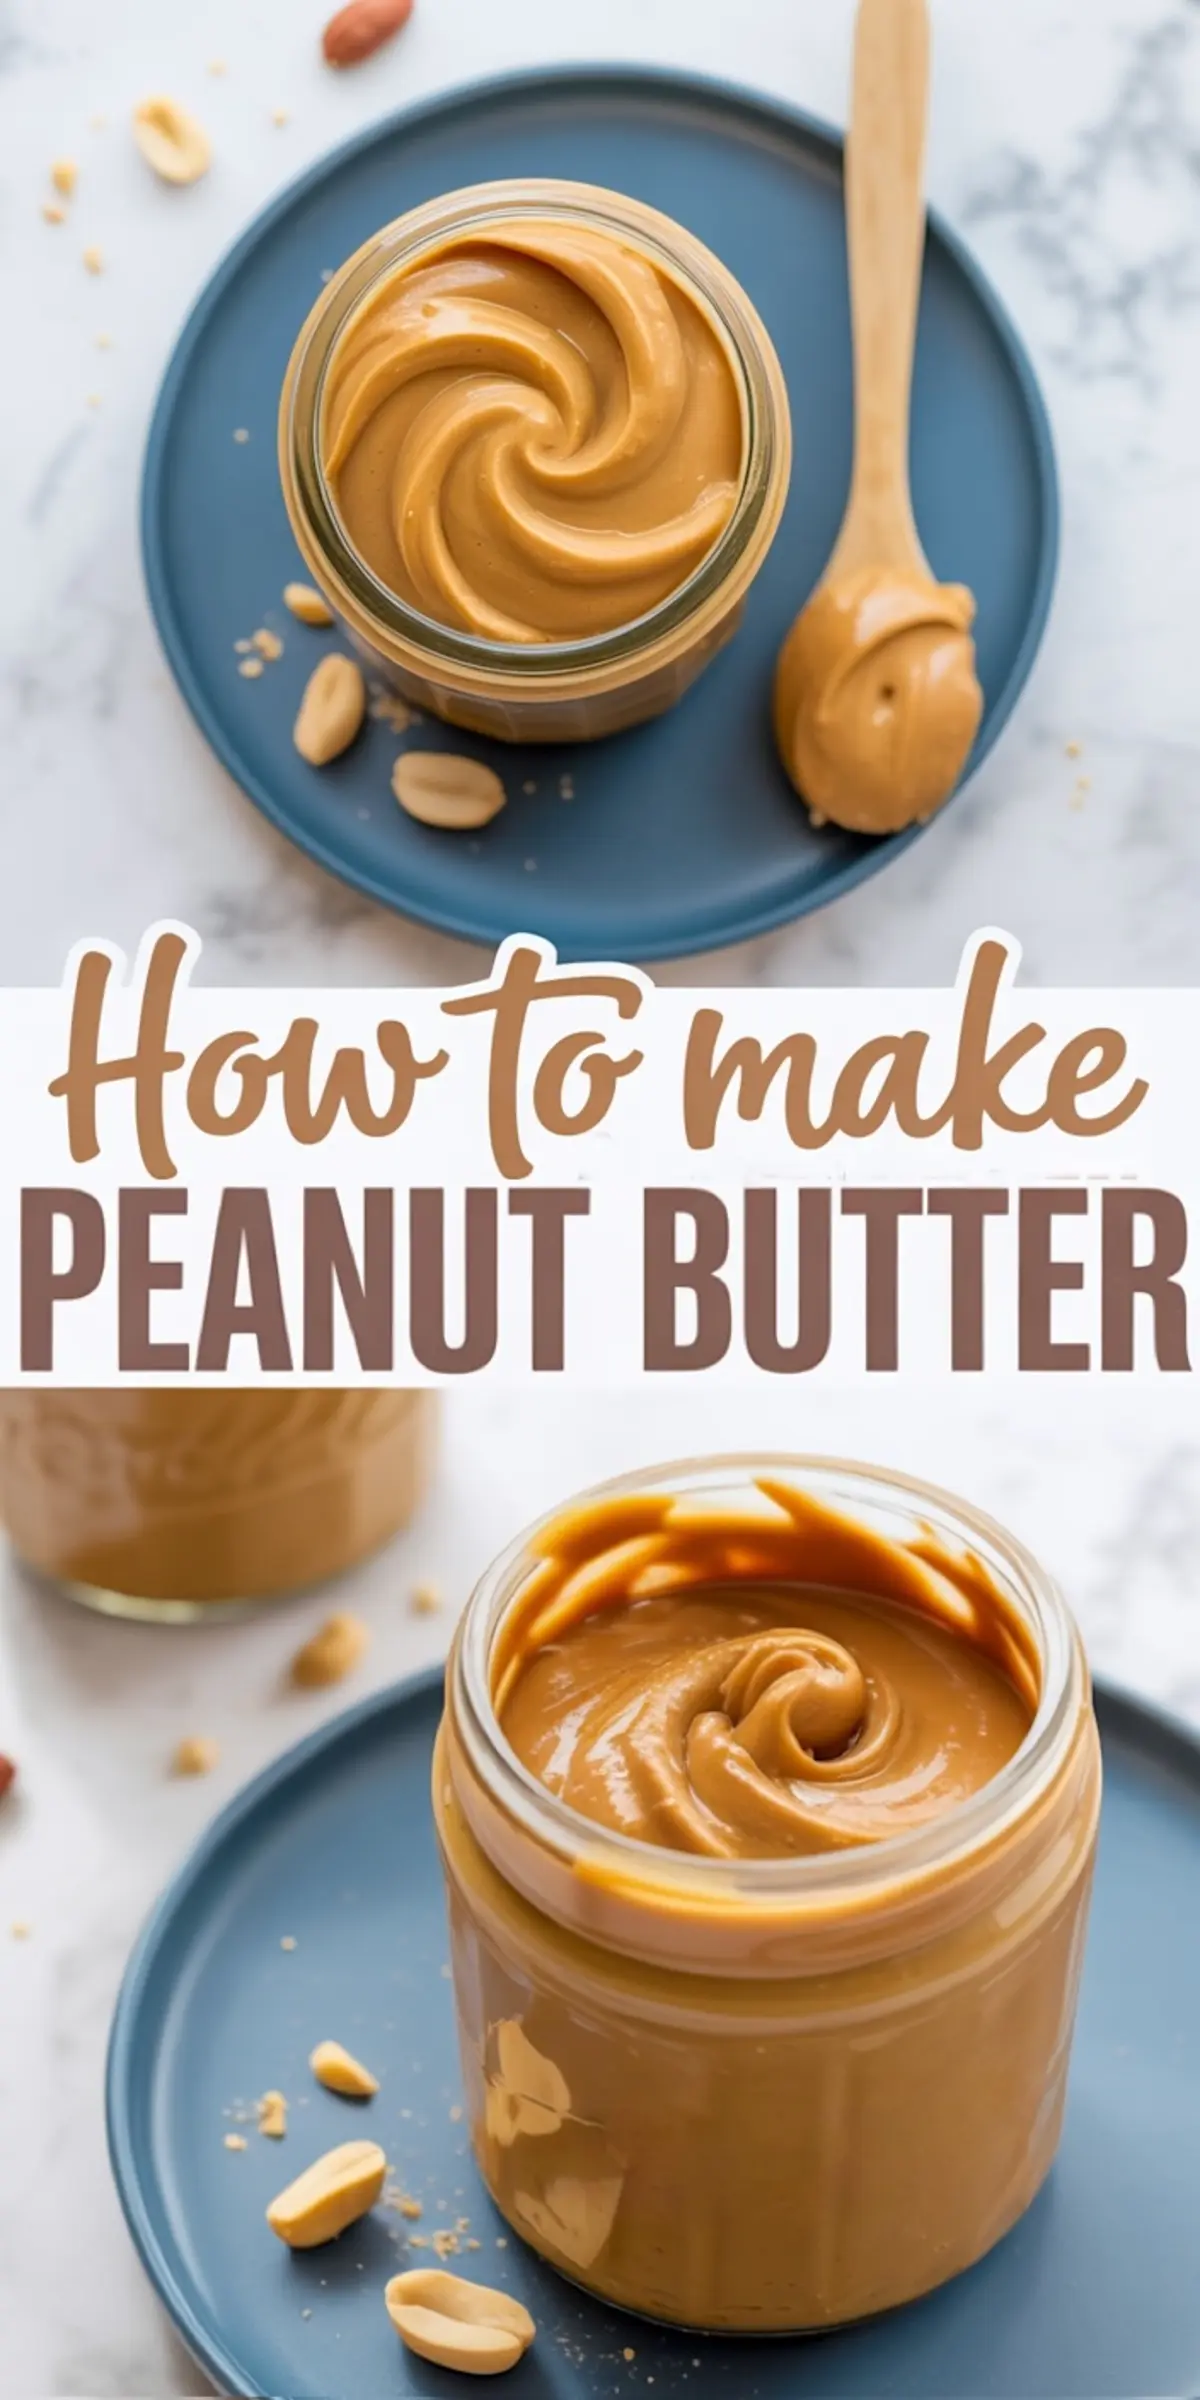
If you’ve ever opened a jar and wondered why store-bought peanut butter feels gritty, overly sweet, or just… off, then it’s time to switch. This isn’t a trendy project or a once-a-year DIY peanut butter moment. This is a pantry staple done right.
You’ll learn how to make peanut butter at home with only peanuts and a few optional tweaks for flavor and texture. You’ll also understand how roasting affects taste, which oils work best, and why the timing matters more than most recipes let on.
This process lets you control the salt, sweetness, and smoothness. Once you try it, you’ll stop reaching for the commercial jars altogether.
Following a special diet?
Every recipe on this site can be converted to gluten-free, vegan, dairy-free, keto, nut-free or egg-free with adjusted ratios so nothing falls flat.
Try the Recipe Converter →Why Homemade Peanut Butter Beats the Jar
Most peanut butter in stores includes stabilizers, sugar syrups, or palm oil. That shifts the texture and dulls the nut’s natural flavor.
I’ve made this recipe at least once a month since my second child started spreading it on everything. And over time, I’ve learned that just a few small decisions—like choosing roasted over raw, or adding honey at the right moment—can change the final taste more than you’d expect.
For a spread that’s bold, creamy, and full of roasted peanut flavor, the method matters.
This approach also fits neatly with other peanut butter recipes easy enough for weeknights, like these no-bake peanut butter bars or your own twist on peanut butter lasagna.
Prepping the Peanuts for the Best Flavor

If you’re starting with raw peanuts, roast them in the oven first. Use a 350°F setting and stir halfway through the 10–12 minutes. This step intensifies the flavor and creates that rich, golden color you recognize in high-quality spreads.
Let them cool just enough to avoid heating the food processor, but not so long that they lose that loosened oil. That warmth helps the nuts break down faster into a smoother paste.
I always use unsalted, dry-roasted peanuts for consistency. Salted ones can work too, but you’ll need to skip any added seasoning later. You can also explore other peanut butter ideas if you’re experimenting with mix-ins or flavor blends.
Blending Time Affects Texture and Taste
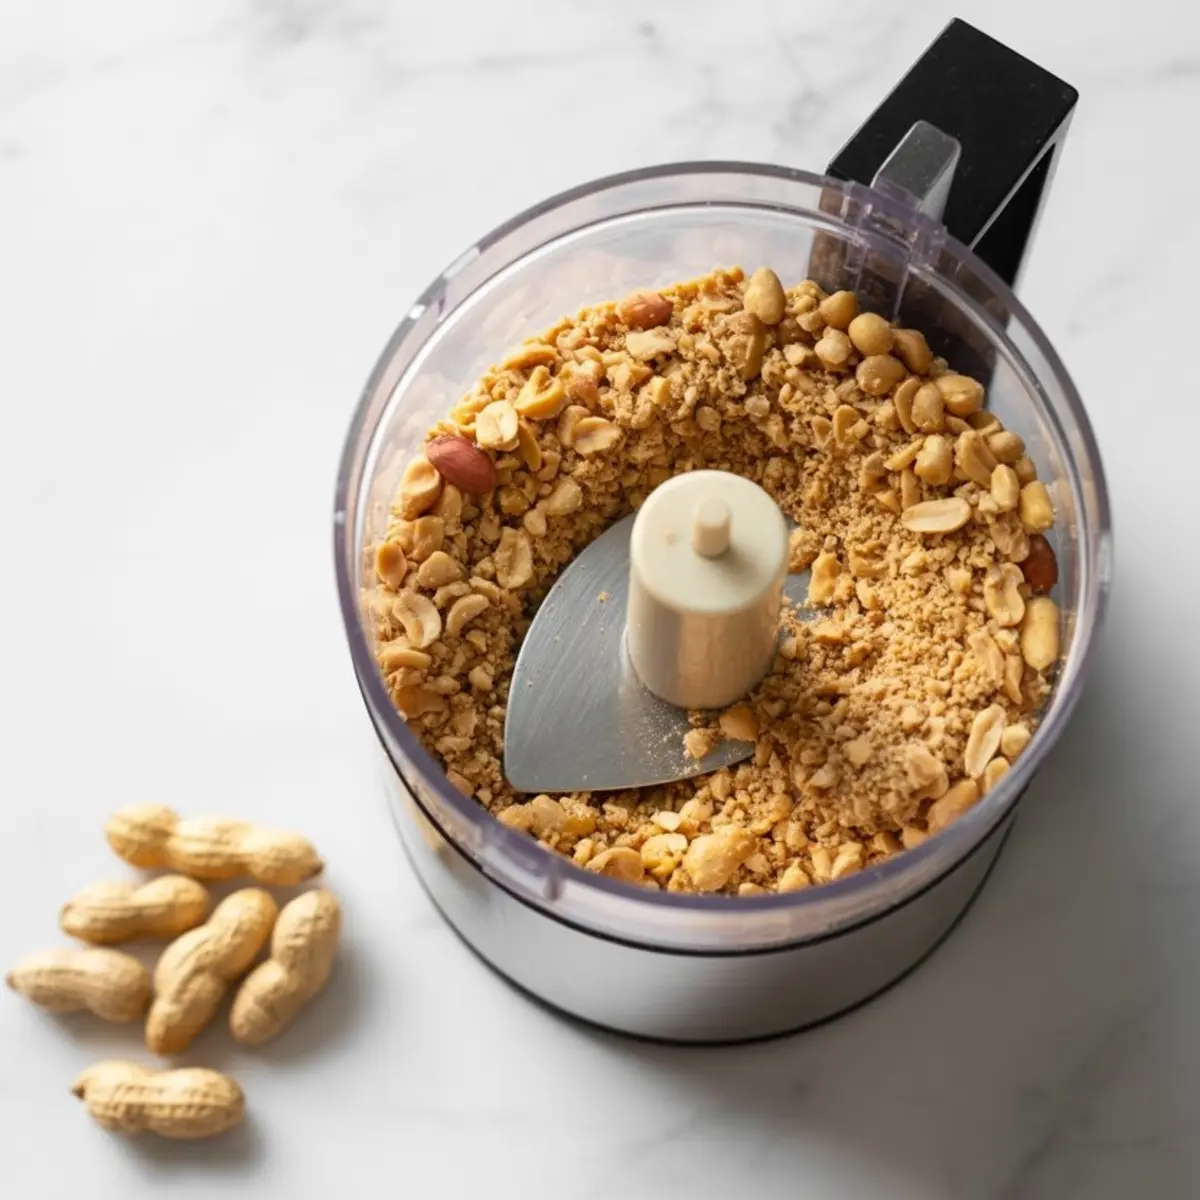
Once in the processor, the peanuts move through three stages: coarse crumbs, a thick clump, then creamy spread. Don’t stop at clump. Let the motor work through the resistance until it smooths out—this takes anywhere from 4 to 10 minutes.
Use a spatula to scrape the sides every couple of minutes. The warmth of the blades helps the oils release naturally, so you may not need any added oil at all.
That said, I’ve tried this in both a high-speed food processor and a basic one. The stronger blade made smoother peanut butter without extra oil. If yours strains or heats up quickly, add a splash of peanut oil or neutral oil to help it along.
This base also works beautifully in easy peanut butter dessert recipes that rely on that smooth, spreadable texture.
Personalizing the Flavor and Consistency
Once the texture reaches the smooth stage, taste it. This is the point where a bit of honey or maple syrup can add a gentle sweetness without overpowering the nut. If you prefer something savory, a pinch of salt can round out the flavor.
For a thinner texture, stir in one tablespoon of peanut oil at a time and blend again. If you want it thick and sticky (for baking or filling thumbprint cookies), keep it dense.
You can also fold in chopped roasted nuts at the very end for a chunky version.
This spread works wonderfully in no-bake peanut butter pie if you like full control over what’s in your filling.
Method Matters: Food Processor vs. Blender
I’ve tested both. A standard food processor gives better texture and heat control than most high-speed blenders. The wider base helps the peanuts move and crush more evenly. Blenders often need more oil to move the mixture, which can dilute flavor.
In my notes, I’ve found that if your goal is pure peanut butter for peanut butter recipes homemade, go with the processor. For powdered peanut butter recipes or smoothies, the blender holds its ground.
Storing and Using Homemade Peanut Butter
Once blended and seasoned to your taste, scoop the peanut butter into a clean glass jar with a tight lid. You can leave it out for a week or two if you plan to use it quickly, but I usually refrigerate mine to extend the shelf life to several weeks.
It may firm up in the fridge, so stir it before using. The oil might separate slightly—just mix it back in. This is a natural sign you’ve made it yourself, without emulsifiers or additives.
It pairs well with baked oats, apple slices, or any quick snacks with peanut butter you love to keep on hand.
Related Recipes to Try Next
Want more ways to use it?
- Try this no-bake peanut butter pie with a chocolate crust.
- These peanut butter bars use the homemade version straight from the jar.
- If you’re planning a layered treat, the peanut butter lasagna holds up beautifully with this spread.
This recipe also supports those looking for peanut butter recipes healthy enough to control the ingredients without losing taste.
Final Notes and Community Tips
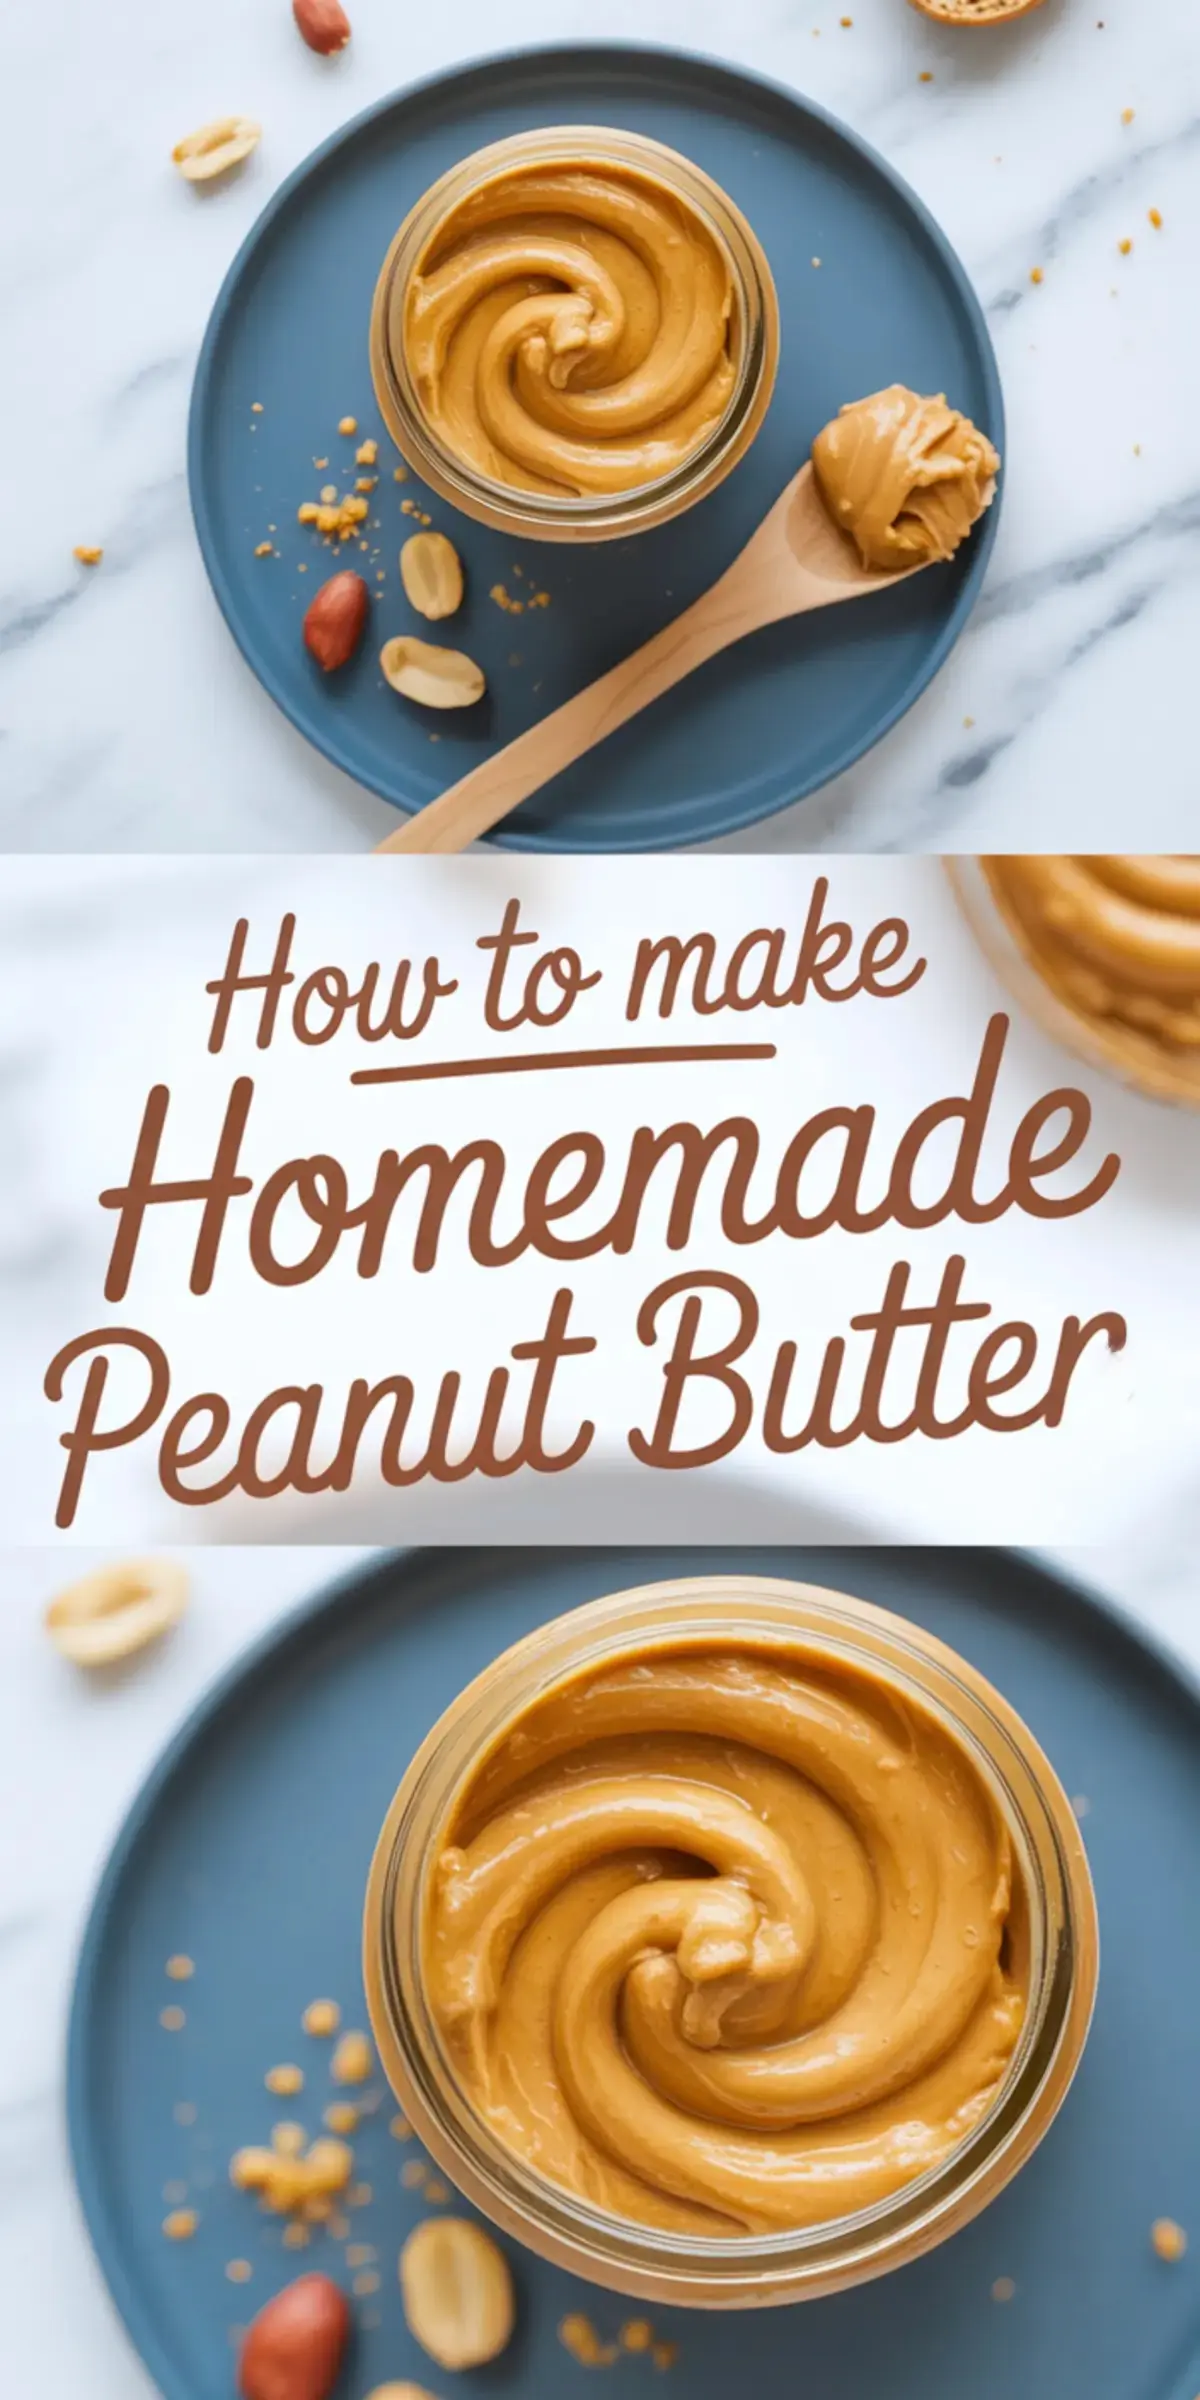
Homemade peanut butter doesn’t need fancy tools or tricky steps. Just patience, good peanuts, and the right blend time. You’ll taste the difference right away, especially in peanut butter dessert recipes or simple breakfasts.
You can make your own peanut butter with fewer ingredients and better flavor than most labels on the shelf. Once you try it, you’ll wonder why you waited.
📌 Save this guide to your Pinterest board so you can find it next time you’re out of peanut butter.
💬 Let me know in the comments how it turned out for you or if you added any fun flavors—I’d love to hear your version.
How to Make Peanut Butter
Homemade peanut butter is smooth, creamy, and made with just a few ingredients. You can adjust the consistency and sweetness to your liking. Use it on toast, in baked goods, or by the spoonful.
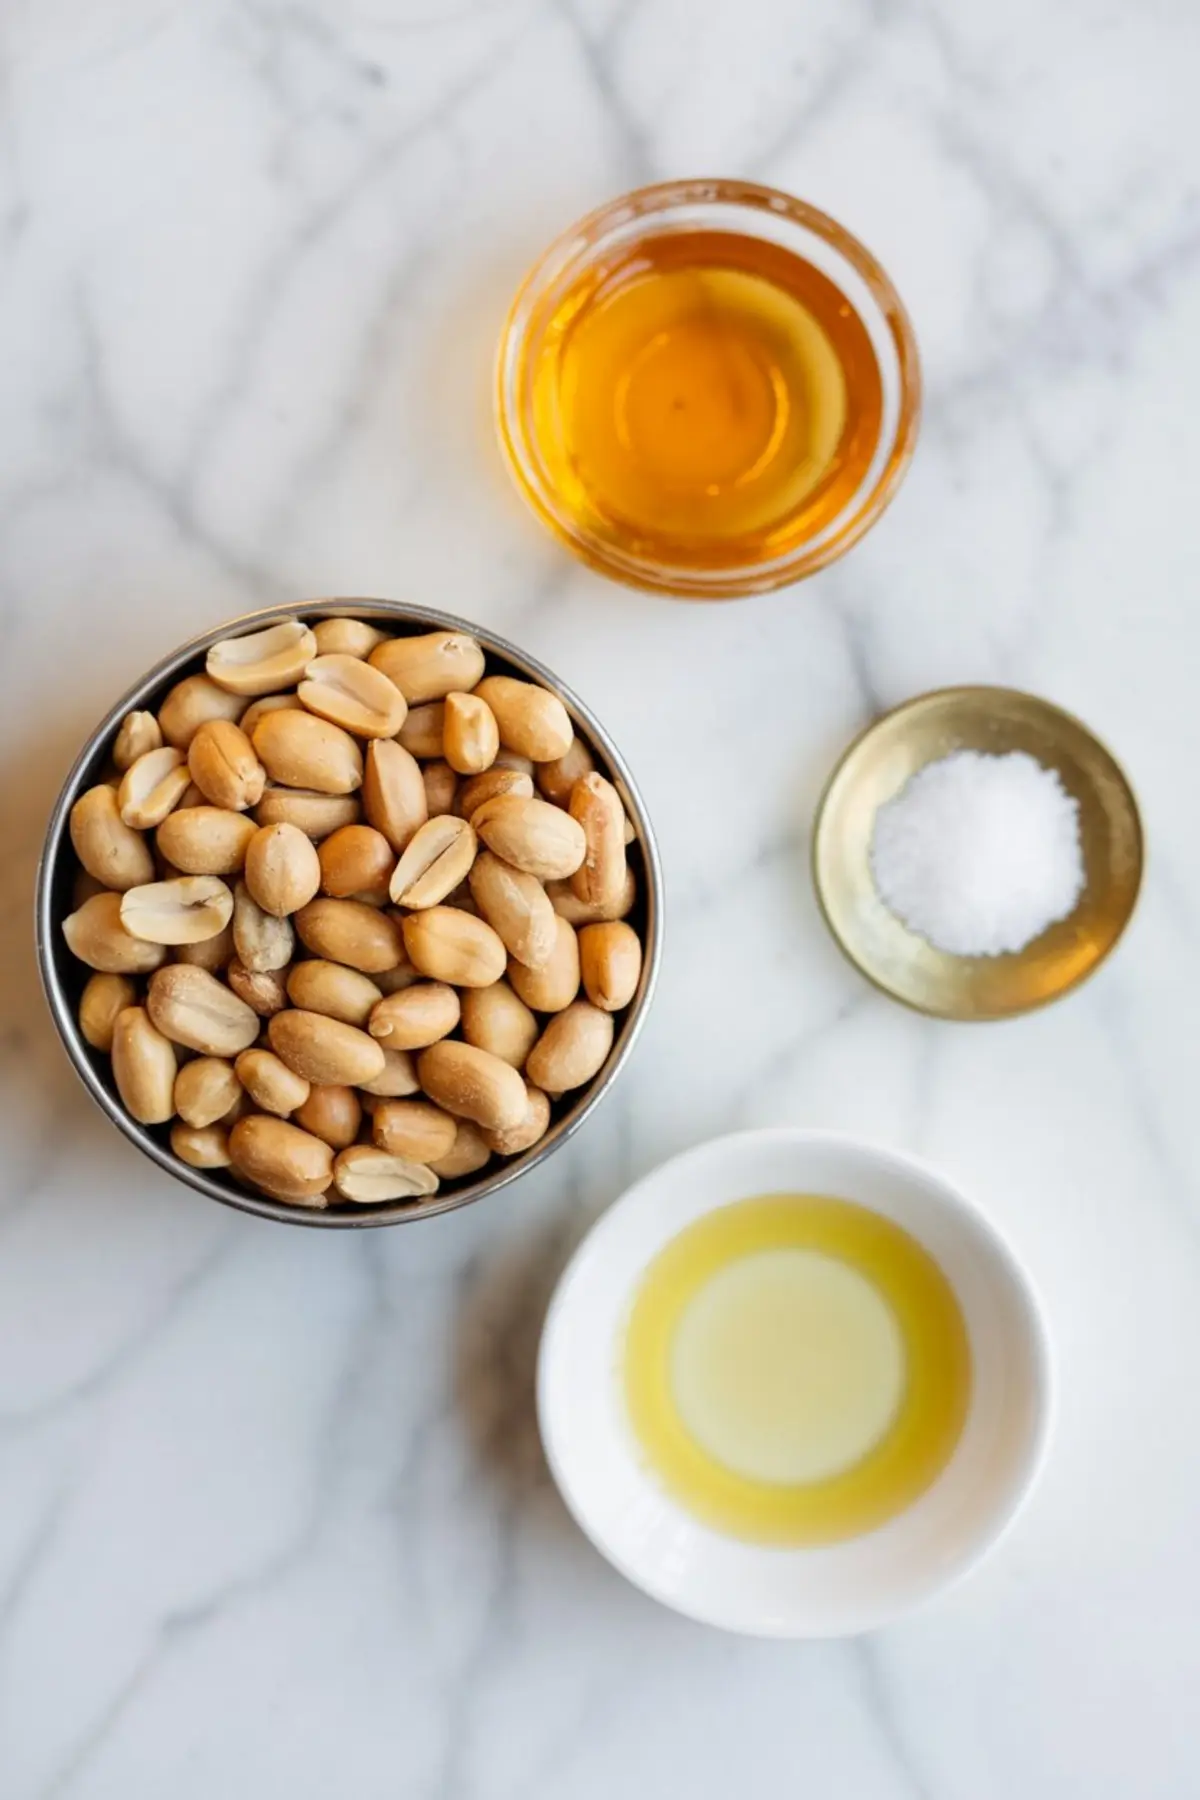
Ingredients
- 2 cups dry roasted peanuts (unsalted)
- ½ teaspoon salt (optional)
- 1–2 teaspoons honey or maple syrup (optional)
- 1–2 tablespoons peanut oil or neutral oil (optional)
Instructions
- PREP THE PEANUTS: If using raw peanuts, spread them on a baking sheet and roast at 350°F (175°C) for 10–12 minutes until golden brown and fragrant. Let cool slightly before blending.
- BLEND THE PEANUTS: Add the peanuts to a food processor and process on high speed. The peanuts will first break down into crumbs, then form a thick paste, and eventually become smooth and creamy. This process takes 4–10 minutes depending on your food processor. Pause and scrape down the sides as needed.
- CUSTOMIZE THE FLAVOR: Once the peanut butter is smooth, add salt, honey, or oil to adjust the taste and texture. Blend again for about 30 seconds to combine thoroughly.
- STORE IT: Transfer the finished peanut butter to a clean, airtight jar. Keep refrigerated for longer shelf life, or store at room temperature if using within a few weeks.
Notes
You can use salted peanuts and omit the added salt if preferred. Add more oil for a thinner consistency or skip it for a thicker spread. For chunky peanut butter, pulse in additional chopped peanuts at the end.
Nutrition Information
Yield
2Serving Size
1Amount Per Serving Calories 1789Total Fat 161gSaturated Fat 25gTrans Fat 0gUnsaturated Fat 122gCholesterol 0mgSodium 540mgCarbohydrates 73gFiber 12gSugar 48gProtein 36g