Making no-bake desserts often feels like chasing convenience at the cost of texture. But these no-bake peanut butter bars deliver both. You get structure, richness, and that proper clean slice which so many similar recipes fail to hold.
You’ll see how a few pantry staples can transform into layers that balance crunch, creaminess, and smooth chocolate without ever turning on the oven.
I’ve tested variations of this recipe across seasons, potlucks, and bake sales. What I share here is the most reliable version that holds up under a knife and disappears quickly from any dessert table.
These bars belong right next to my Peanut Butter Marshmallow Squares and Peanut Butter Rice Krispie Treats as part of my trusted no-bake rotation. And I will walk you through exactly why.
Following a special diet?
Every recipe on this site can be converted to gluten-free, vegan, dairy-free, keto, nut-free or egg-free with adjusted ratios so nothing falls flat.
Try the Recipe Converter →Why These Peanut Butter Bars Work for Easy Peanut Butter Desserts
Peanut butter desserts often struggle to strike the right texture. They either turn dense or crumble apart too soon.
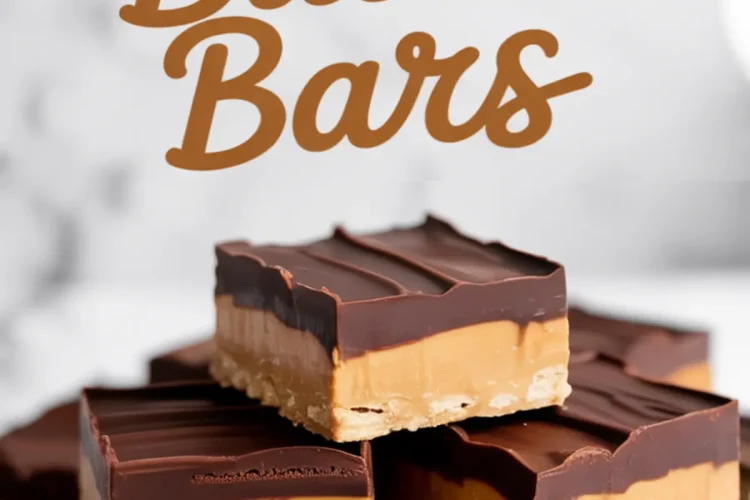
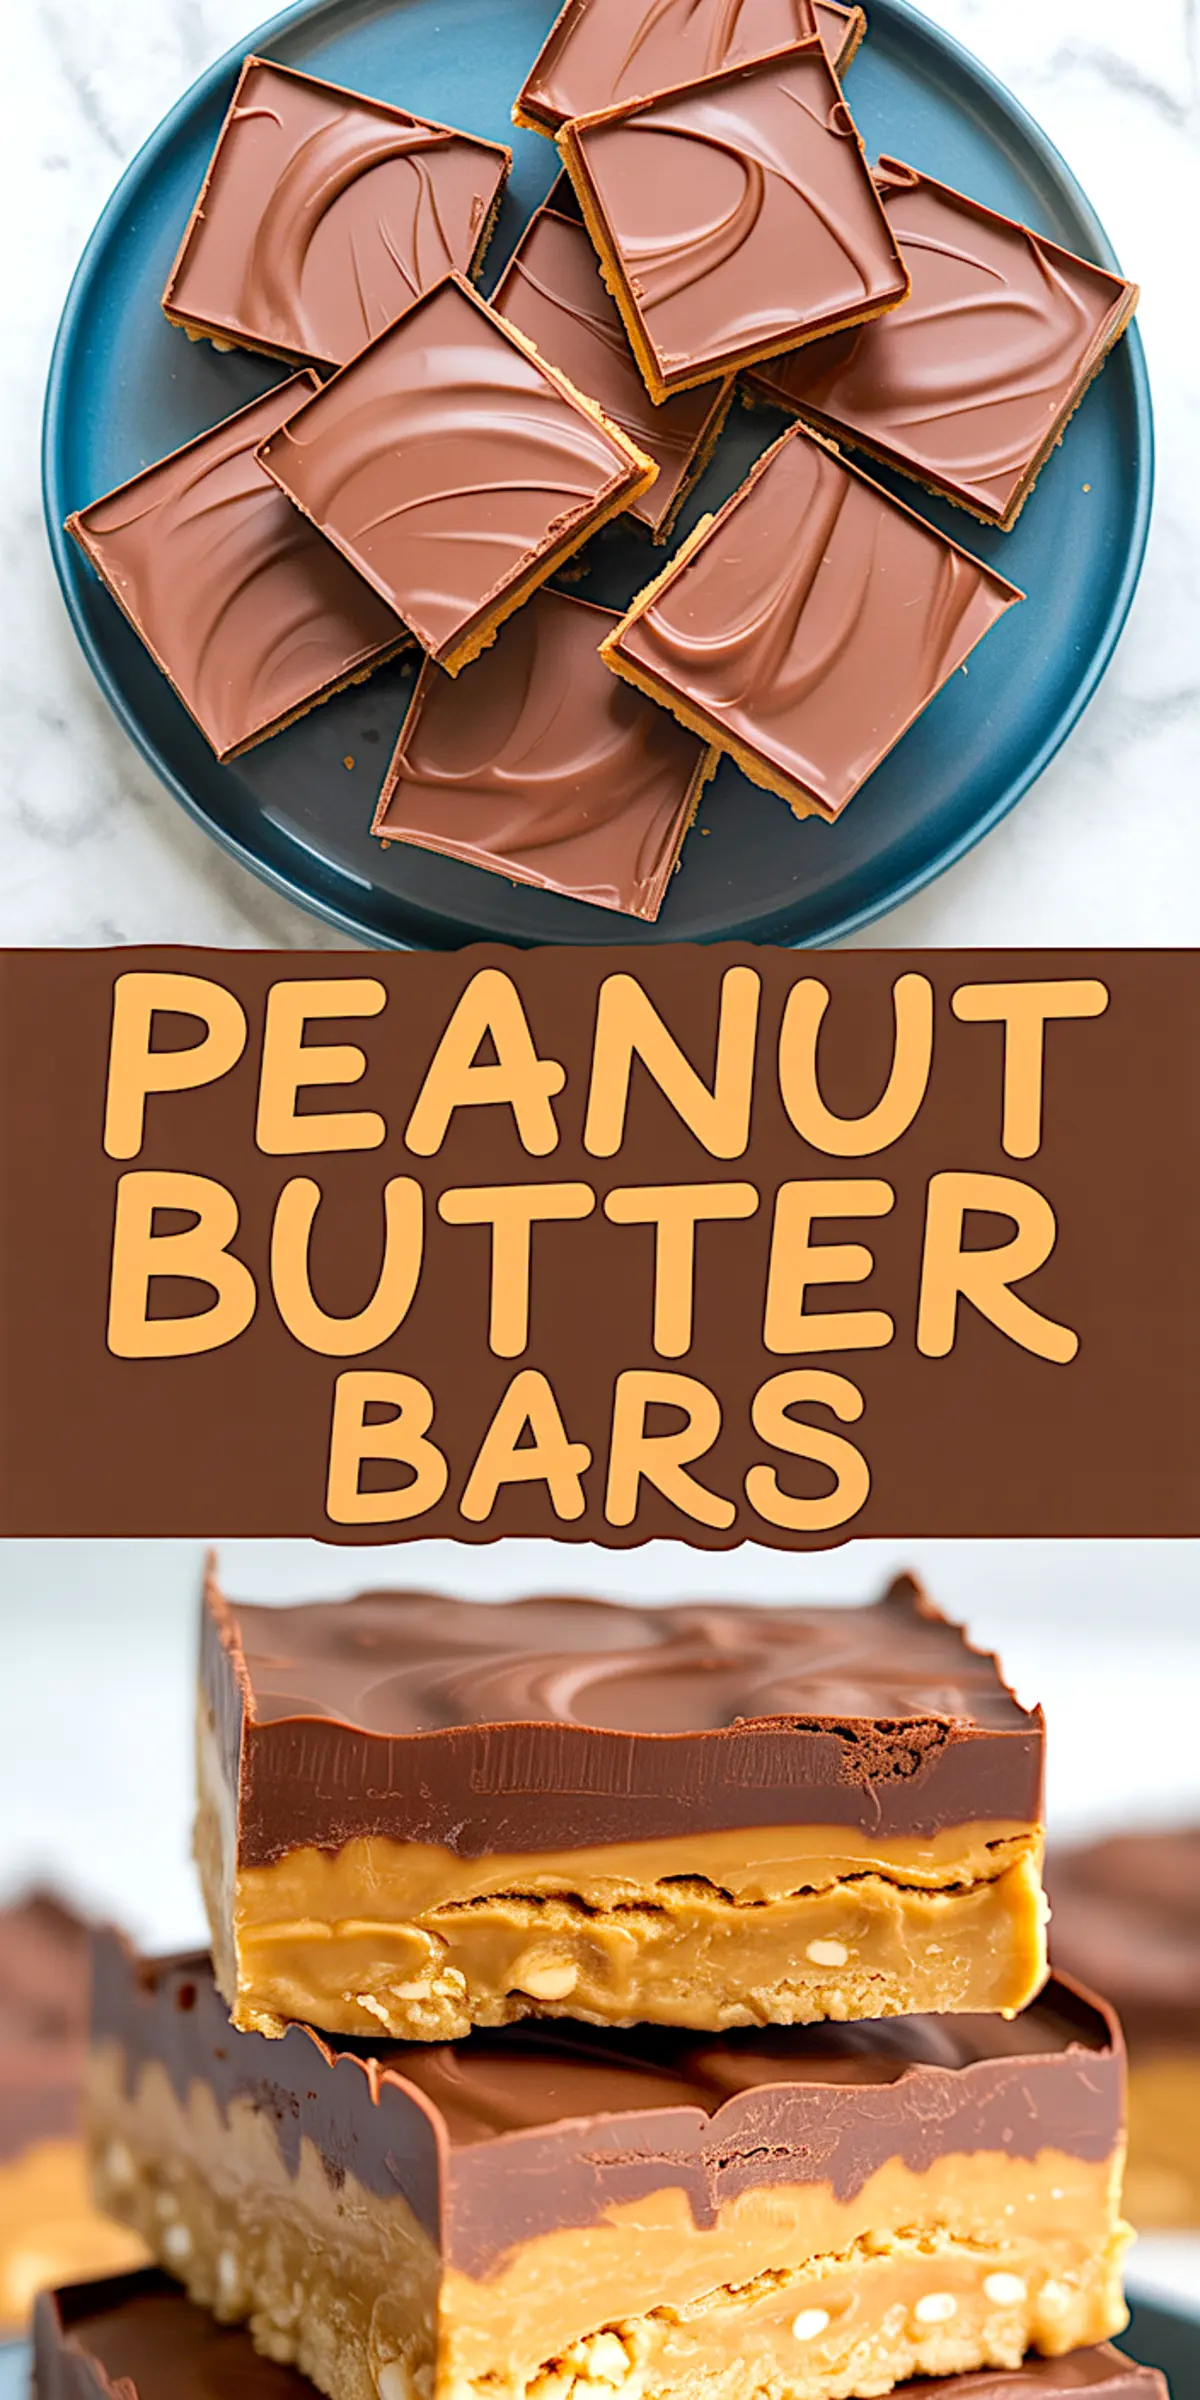
This recipe creates three distinct layers that solve that.
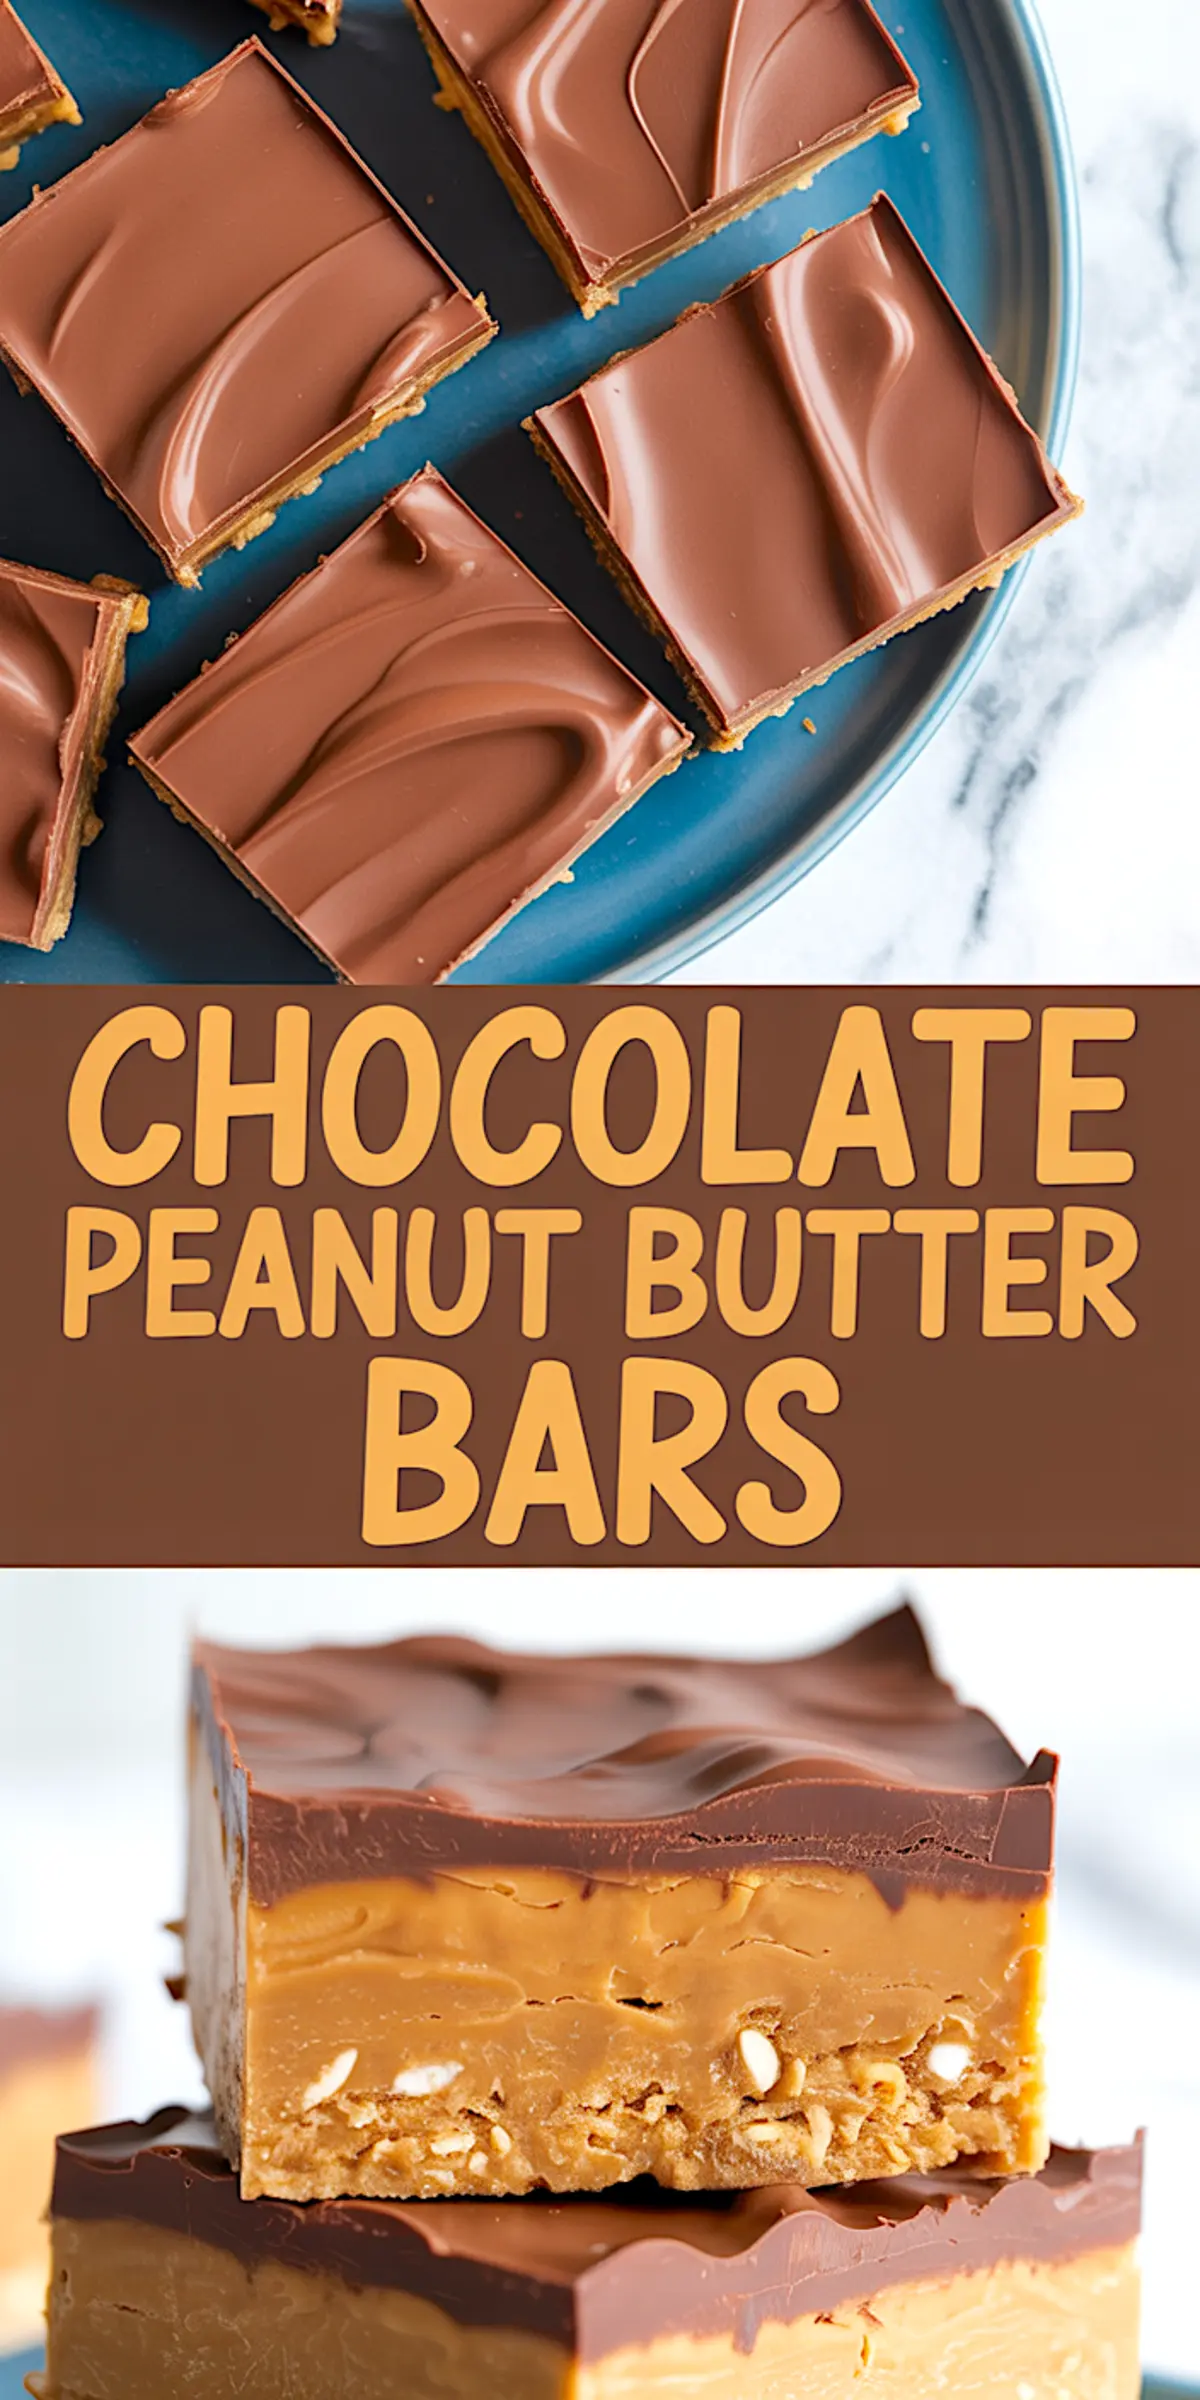
The graham cracker base supports the bars without overwhelming the peanut butter flavor. The middle brings a smooth, creamy contrast. The glossy chocolate layer locks everything together for clean slicing.
You won’t need special equipment. Everything mixes by hand. And you won’t need specialty ingredients. This is true pantry baking.
I’ve served these no-bake peanut butter squares alongside Peanut Butter No Bake Cookies, and guests always reach for both. They work well for anyone looking for easy desserts with few ingredients or reliable peanut butter candyoptions.
Choosing Between Chunky and Creamy Peanut Butter
In my kitchen notes, I’ve tested both creamy and chunky peanut butter for the base.
Chunky peanut butter delivers the best bite here. The small peanut pieces reinforce the structure and bring subtle texture without breaking the smoothness. Creamy versions in the base made the mixture denser, sometimes bordering on too soft after chilling.
For the filling layer, creamy peanut butter remains essential. This keeps the middle silky and uniform, allowing the layers to hold while slicing.
If you’re making other bar cookies recipes, like Chocolate Peanut Butter Brownies, you’ll see how certain recipes benefit from creamy peanut butter throughout. But for these bars, I always keep chunky in the base.
Making the Crunchy Base for Peanut Butter Squares No Bake

Start by melting unsalted butter fully. The melted butter must combine evenly with the finely crushed graham cracker crumbs to form a stable base.
Add the chunky peanut butter and powdered sugar into the mixture. Stir until no dry crumbs remain. You want a cohesive, thick mixture that presses smoothly into the pan.
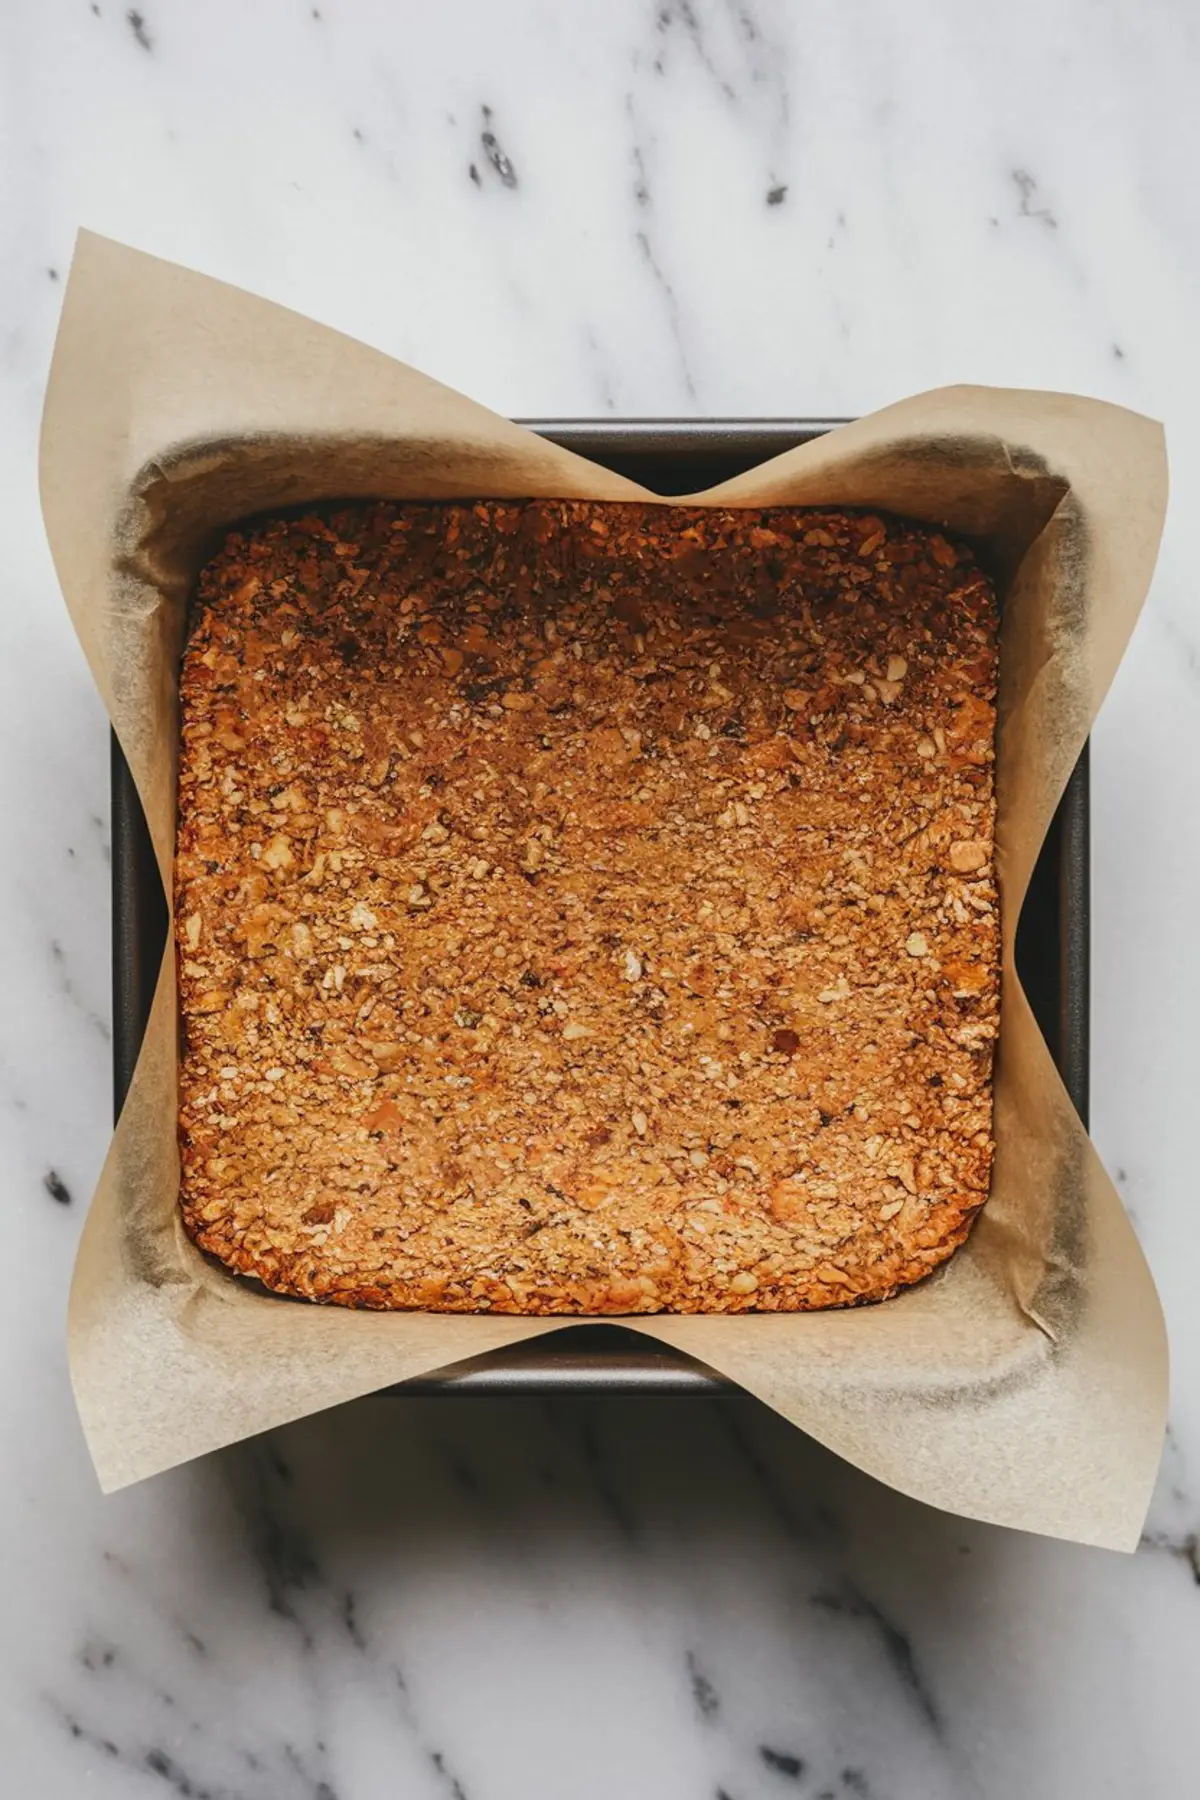
Line your 8×8 or 9×9 inch square pan with parchment, leaving enough overhang. This makes lifting the chilled bars easy and keeps the shape intact while slicing.
Press the mixture into an even layer, using either the back of a spoon or a flat-bottomed glass. Apply firm, even pressure across the entire pan to avoid uneven thickness.
Preparing the Creamy Peanut Butter Filling Layer
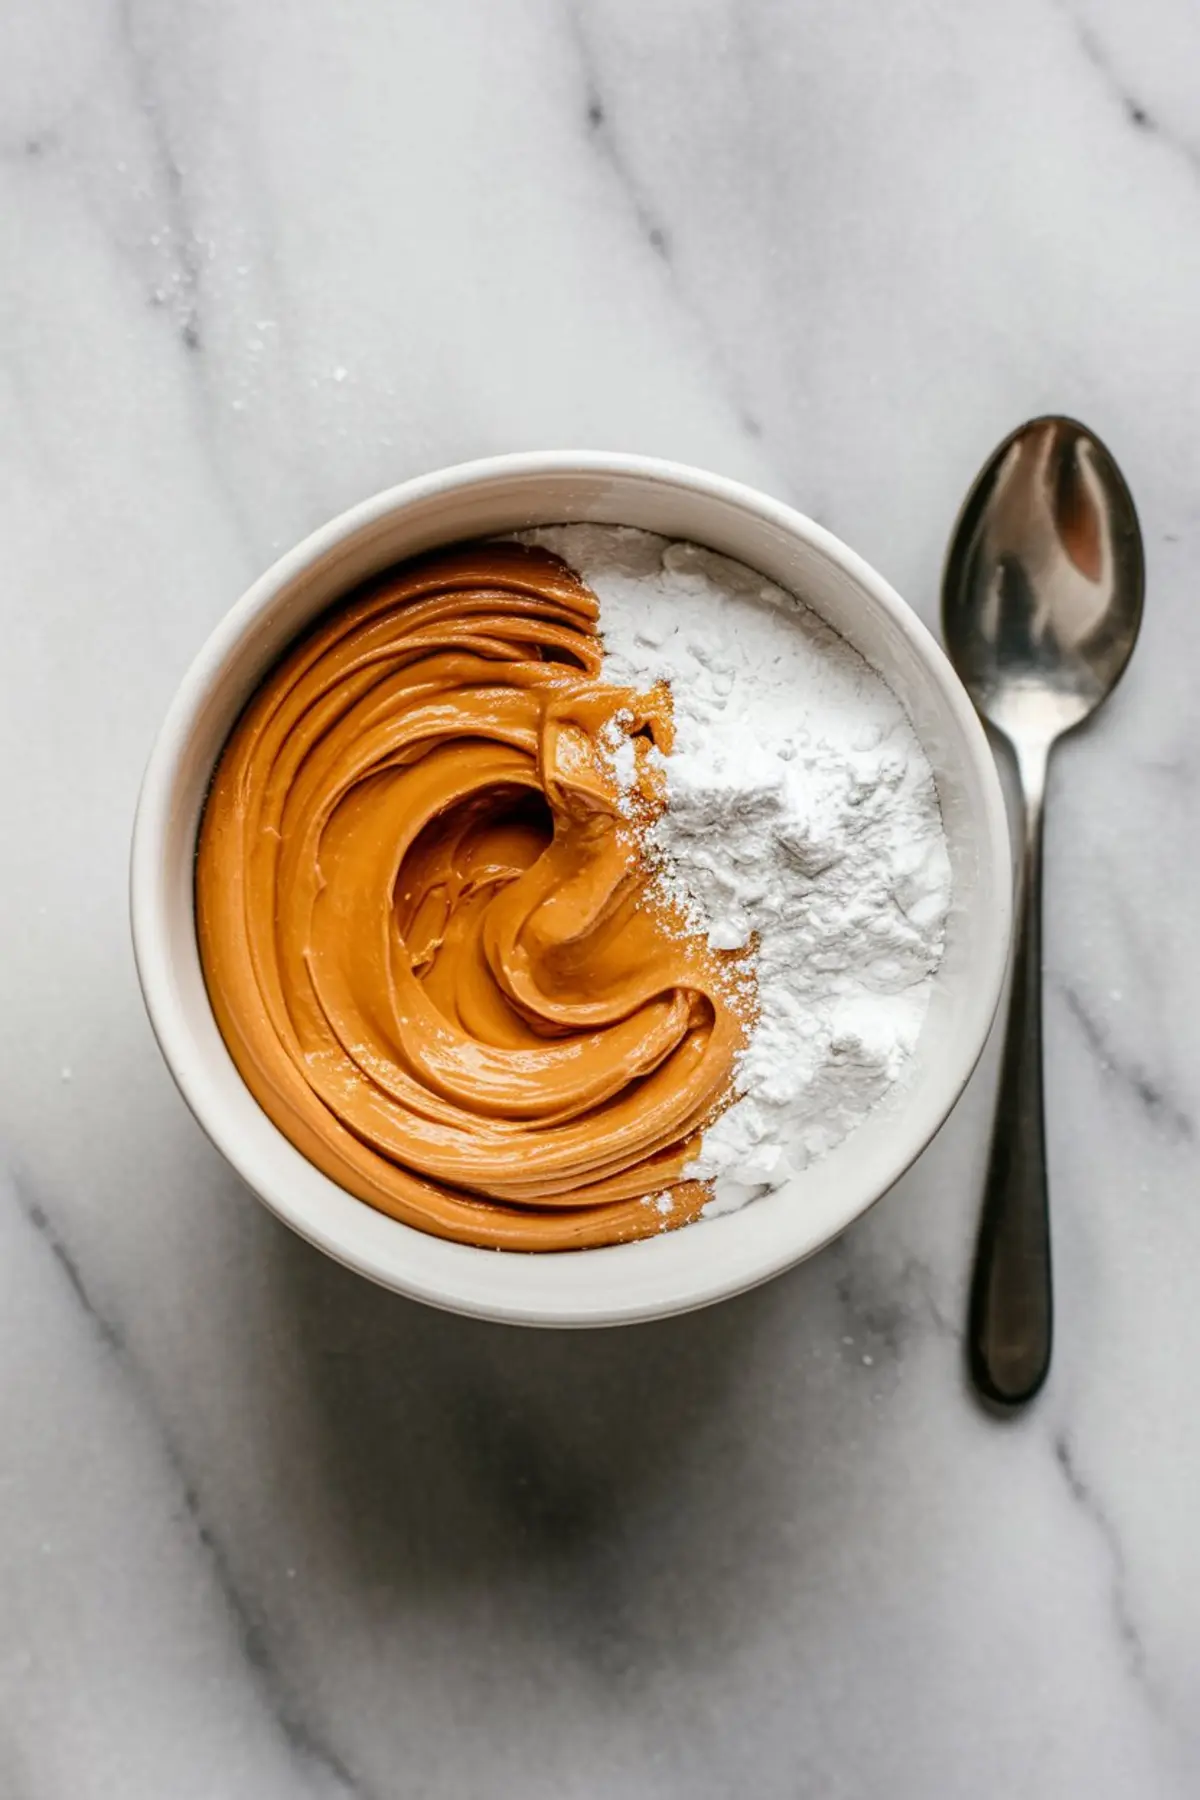
Combine creamy peanut butter with powdered sugar in a bowl. Stir until the mixture turns smooth and uniform.
Spread this filling gently across the crunchy base. Use an offset spatula to avoid pulling up the bottom layer. Work from edge to edge, smoothing the surface to maintain sharp, even layers once sliced.
This step gives the bars that creamy middle that balances the crunchy base and rich chocolate topping. This creamy layer always draws comparison to Peanut Butter Cheesecake when guests take their first bite. That smooth filling echoes the silkiness of a pie without needing any crust baking.
Melting the Chocolate Topping for No Bake Peanut Butter Bars

Measure out semisweet chocolate chips and combine them with either coconut oil or unsalted butter. The added fat ensures a glossy, smooth pour that stays sliceable once chilled.
Microwave the mixture in short 20-second bursts. Stir well after each round. Once fully melted and glossy, pour the chocolate directly over the peanut butter layer.
Tilt the pan or use a spatula to guide the chocolate evenly across the surface. Smoothness here matters. Any uneven thickness will affect slicing later.
That final glossy layer locks in the structure and adds the deep chocolate flavor that balances the sweetness of the peanut butter filling.
Chilling and Slicing Bar Cookies Recipes for Clean Cuts
Refrigerate the pan for at least two hours. The chocolate should feel firm to the touch before slicing.
Before cutting, let the pan sit at room temperature for about 10 to 15 minutes. This softens the chocolate slightly and reduces cracking.
Use a sharp knife. Clean the blade between cuts to maintain clean, even squares.
Stored in an airtight container, these peanut butter dessert recipes hold beautifully for up to a week. For a firmer bite, serve directly from the fridge. If you prefer a softer texture, let the bars rest briefly at room temperature before serving.
Serving and Storing These No Bake Desserts
These bars travel well. I often include them in bake sales and holiday platters alongside my Peanut Butter Bark.
For summer gatherings or quick after-school treats, these make reliable peanut butter brownies alternatives when you want full flavor without the oven heat.
To store, keep them in a sealed container. If layering, place parchment between layers to prevent sticking. You can freeze them for longer storage. Thaw in the fridge overnight for best texture.
Before You Go, Save This Peanut Butter Dessert for Later

You’ve now got a reliable peanut butter desserts easy recipe that delivers the right structure, flavor, and presentation without baking.
Save this pin to your dessert boards so you can return anytime you need a no-fail treat.
And I would love to hear how your bars turned out. Feel free to share your results in the comments or ask any questions if you need adjustments for your batch. Every kitchen brings its own surprises, and that’s what makes baking so rewarding.
No-Bake Peanut Butter Bars Recipe
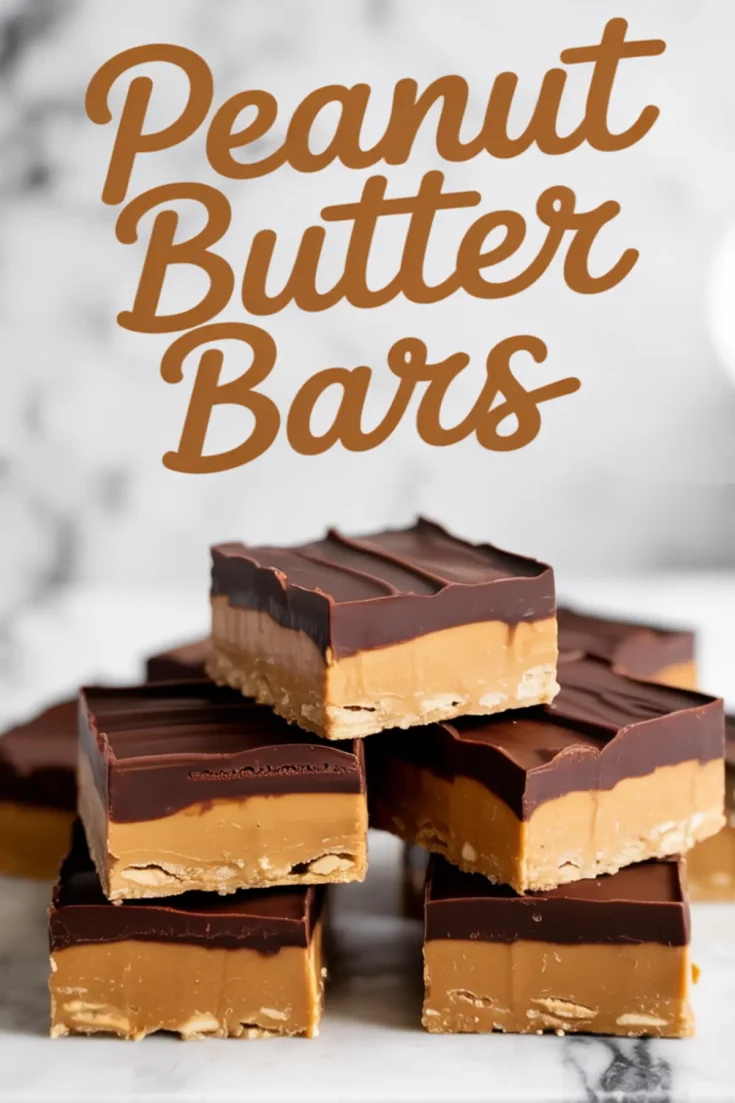
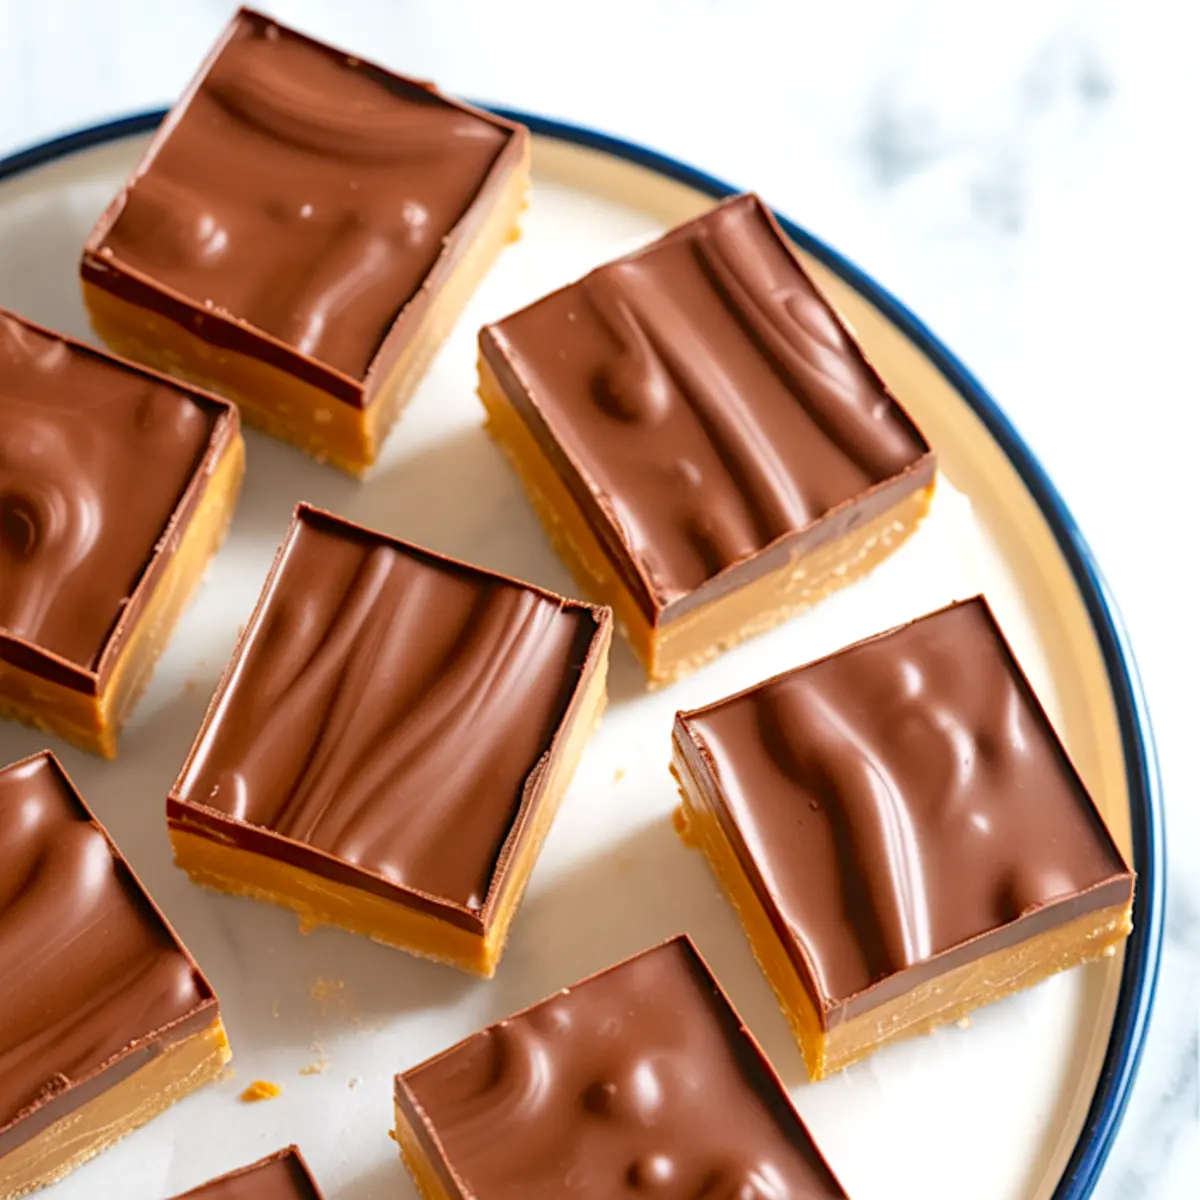
These no-bake peanut butter bars combine three distinct layers for a satisfying contrast of textures. The base is crunchy with a nutty, buttery bite, the middle is creamy and smooth, and the top layer delivers rich chocolate flavor. They require no oven time and come together quickly with just a few pantry staples.
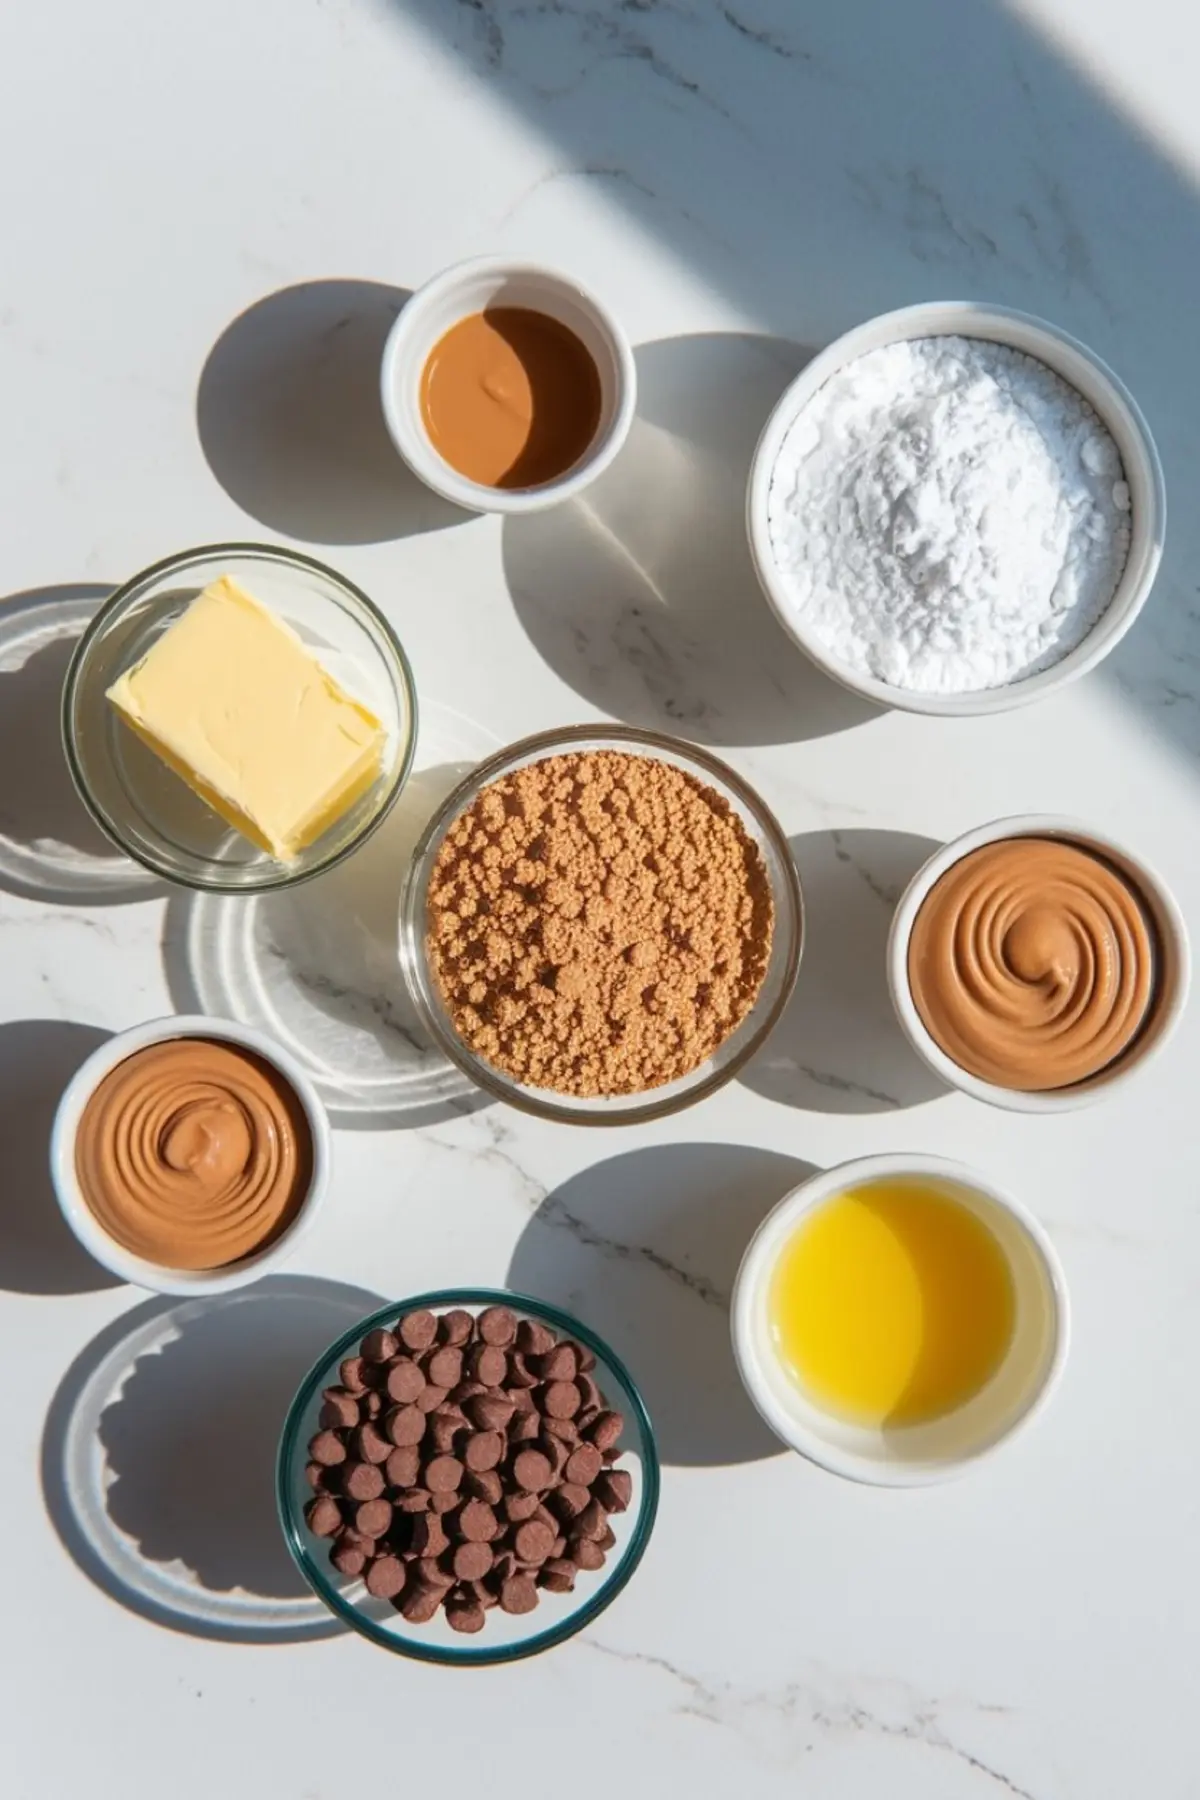
Ingredients
- FOR THE CRUNCHY BASE
- 1 cup unsalted butter, melted
- 2 cups graham cracker crumbs (finely crushed)
- 1 cup chunky peanut butter
- 1 cup powdered sugar
- FOR THE CREAMY FILLING
- ¾ cup creamy peanut butter
- ½ cup powdered sugar
- FOR THE CHOCOLATE TOPPING
- 1 ½ cups semisweet chocolate chips
- 1 tbsp coconut oil or unsalted butter
Instructions
- LINE YOUR PAN: Line an 8x8 or 9x9 inch square pan with parchment paper, leaving extra overhang on the sides to make lifting the bars out easier once set.
- MAKE THE CRUNCHY BASE: In a medium bowl, mix together the melted butter, graham cracker crumbs, chunky peanut butter, and powdered sugar until the mixture is fully combined and thick. Press the mixture evenly into the bottom of the prepared pan. Use the back of a spoon or a flat-bottomed glass to firmly compact and level it.
- ADD THE CREAMY LAYER: In a separate bowl, stir the creamy peanut butter and powdered sugar together until smooth and uniform. Spread this mixture evenly over the crunchy base. Use an offset spatula or the back of a spoon to smooth the surface.
- MAKE THE CHOCOLATE TOPPING: Combine the chocolate chips and coconut oil in a microwave-safe bowl. Heat in 20-second increments, stirring after each, until the chocolate is completely melted and glossy.
- SPREAD THE CHOCOLATE: Pour the melted chocolate over the peanut butter layer. Tilt the pan gently or use a spatula to spread it into an even layer across the surface.
- CHILL THE BARS: Refrigerate the pan for at least 2 hours or until the chocolate is set and firm to the touch.
- SLICE AND SERVE: Lift the bars out of the pan using the parchment overhang. Let them sit at room temperature for 10 to 15 minutes for easier slicing, then use a sharp knife to cut into squares.
Notes
Bars can be stored in an airtight container in the refrigerator for up to 1 week. For a firmer bite, serve chilled. Let sit at room temperature briefly if a softer texture is preferred.
Nutrition Information
Yield
16Serving Size
1Amount Per Serving Calories 448Total Fat 33gSaturated Fat 14gTrans Fat 0gUnsaturated Fat 17gCholesterol 33mgSodium 188mgCarbohydrates 36gFiber 3gSugar 24gProtein 8g