If you’ve got overripe bananas and a jar of peanut butter sitting in your kitchen, you’re already halfway to a homemade ice cream that doesn’t need an ice cream maker or any complicated steps. This Peanut Butter Banana Ice Cream is built on simplicity. It tastes rich and smooth, freezes beautifully, and takes less than ten minutes of active prep.
What you’ll learn here goes beyond just how to make it. You’ll understand what makes this combination work, how to adapt the texture, and when to tweak the ingredients based on what you have. This method uses your freezer and blender, but the results feel like something from a countertop churner.
If you’ve ever made banana “nice cream” and found it lacking body, this version solves that with the creamy weight of peanut butter. No gums, no stabilizers—just pantry staples with real flavor.
Following a special diet?
Every recipe on this site can be converted to gluten-free, vegan, dairy-free, keto, nut-free or egg-free with adjusted ratios so nothing falls flat.
Try the Recipe Converter →Why Peanut Butter and Banana Work So Well
Bananas freeze with a creamy texture that mimics custard when blended. Peanut butter adds fat and richness, turning that creaminess into something smoother and more scoopable. Together, they create structure and depth without needing eggs, dairy, or added thickeners.
In my notes, I’ve compared this method with banana-only versions and peanut butter ice cream made with coconut milk. This combination outperforms both. The banana-only batch melted faster and tasted hollow. The coconut milk one had body, but the banana flavor disappeared. This version gets the balance right.
If you like classic ice cream textures, but want a plant-based shortcut, this hits the mark without extra work.
Ingredients That Matter: Ripe Bananas and Natural Peanut Butter
Start with bananas that are spotted and soft. The sugar content in ripe bananas improves the flavor and helps with the smooth blending.
I prefer natural peanut butter with no added sugar or palm oil. Crunchy or creamy both work—creamy blends smoother, but crunchy adds texture if you’re going for a chunkier scoop. Salted peanut butter works too, but adjust the added sea salt accordingly. The little bit of vanilla extract rounds out the flavor, and the maple syrup is entirely optional. If your bananas are very ripe, you won’t need extra sweetness.
If you’re after more frozen peanut butter treats, this smooth and satisfying Peanut Butter Smoothie makes a fast breakfast or post-workout snack.
Freezing and Blending: Tips That Make a Difference
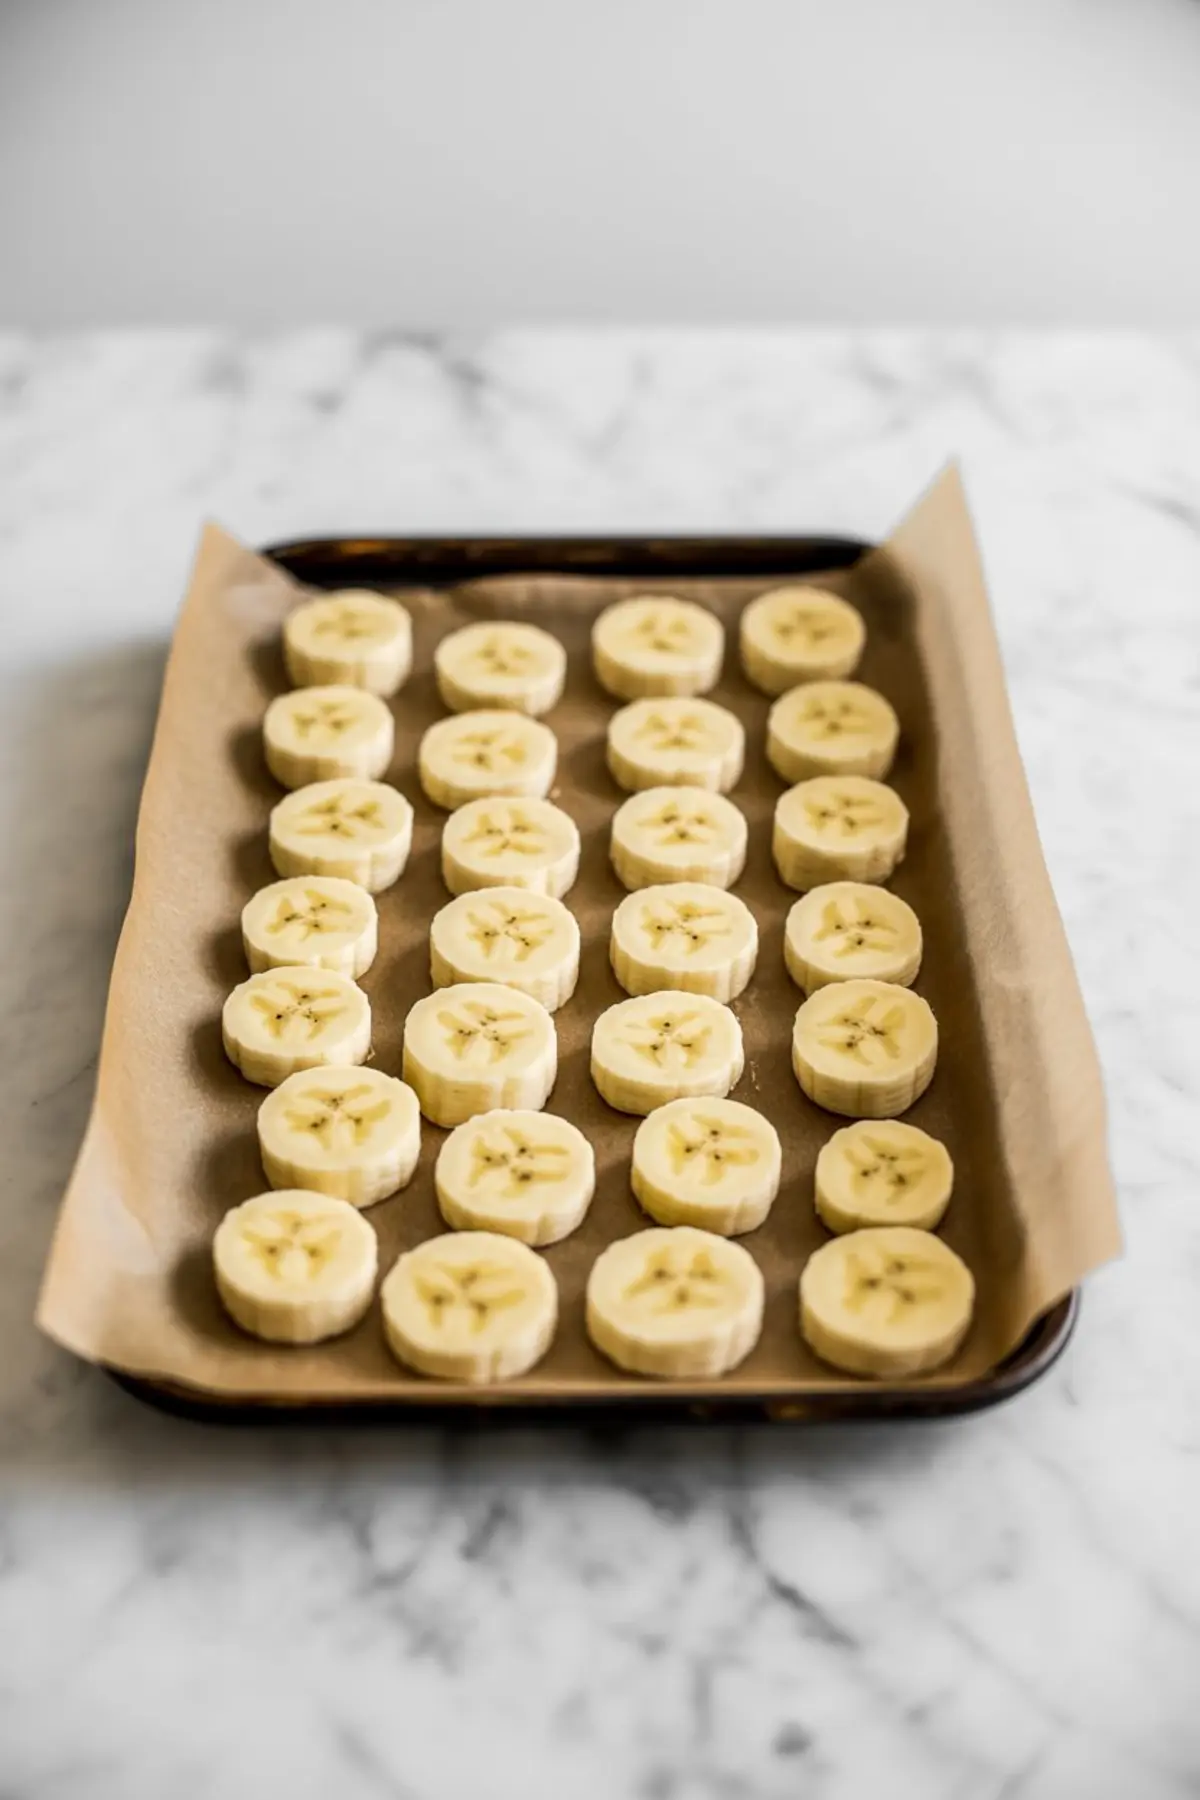
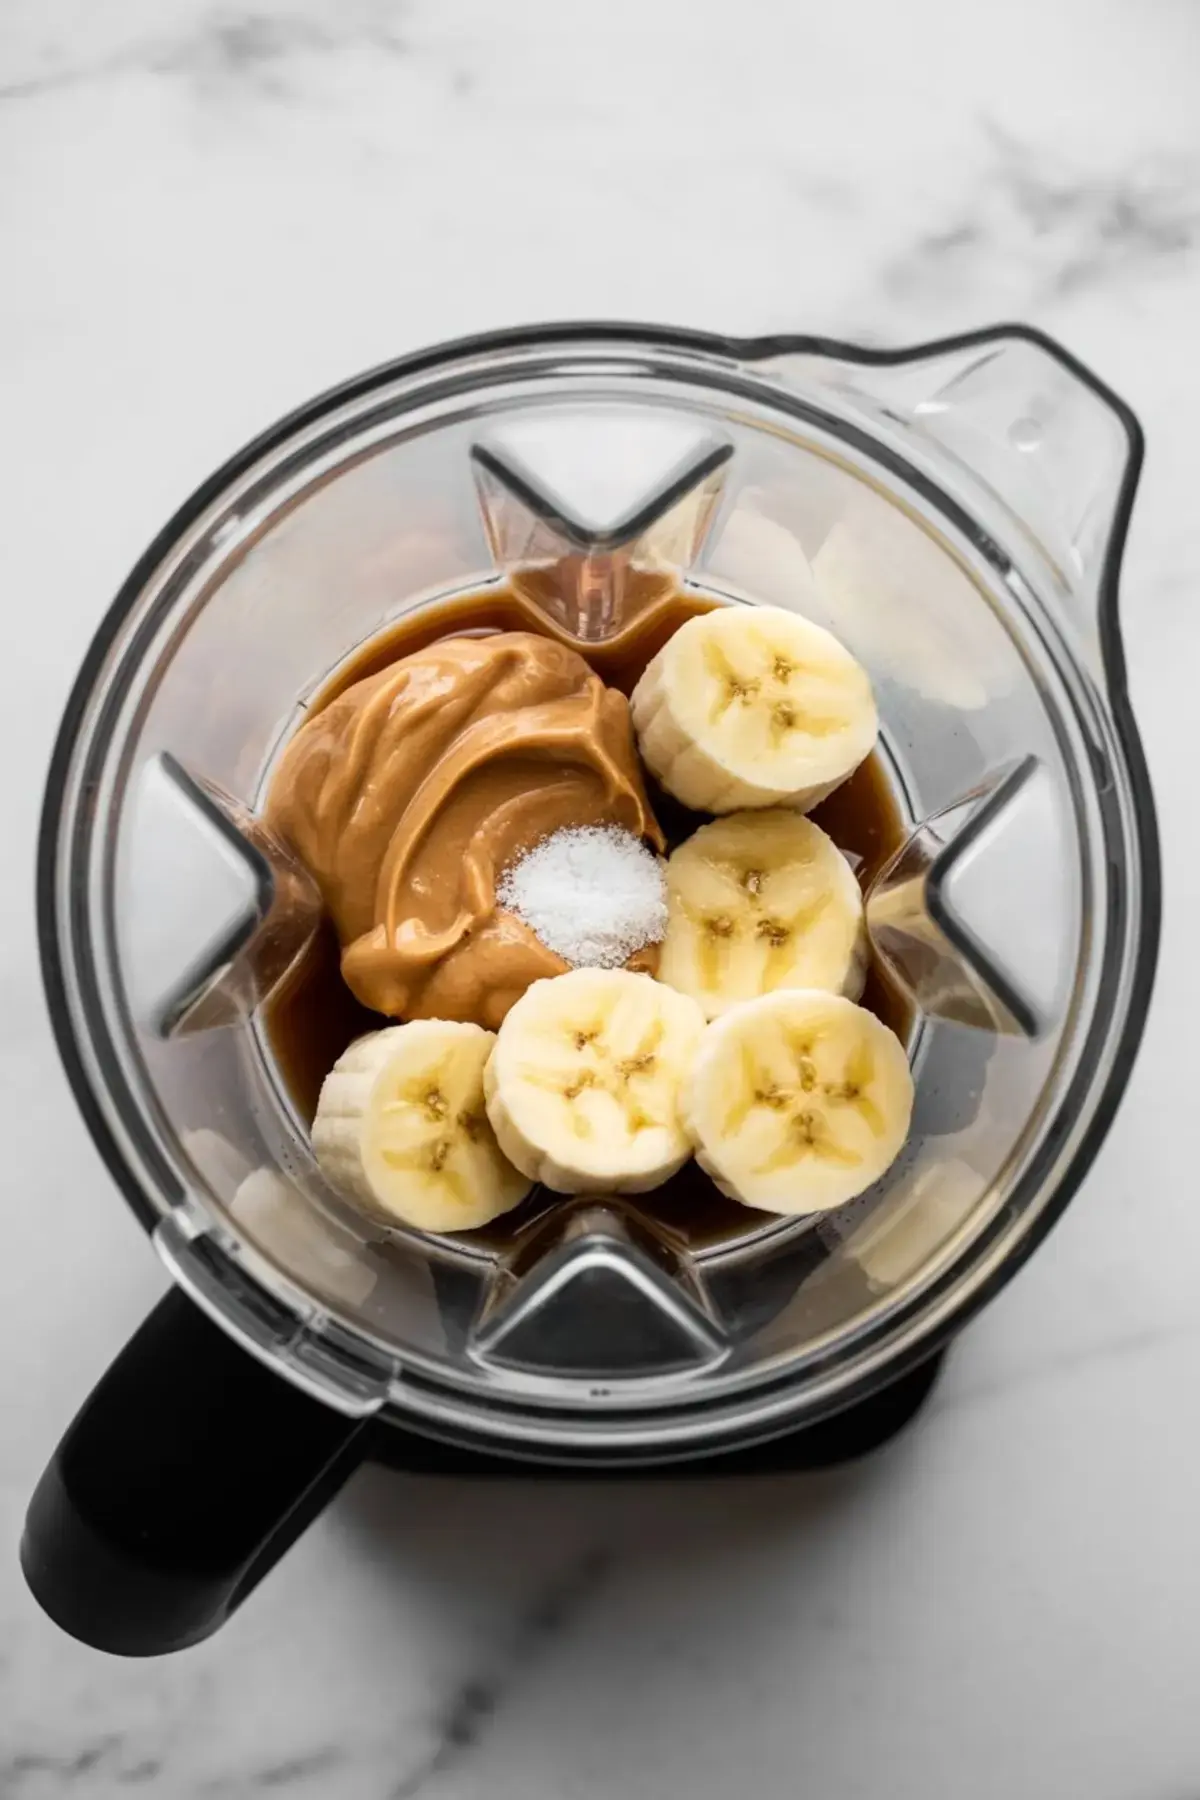
Slice the bananas before freezing. That might sound like a small detail, but whole frozen bananas can overwork your blender and make the process frustrating. Spread the slices on parchment so they freeze individually, not in clumps. Leave them for at least two hours, though I usually freeze them overnight.
When ready to blend, start with just the bananas, peanut butter, vanilla, salt, and optional maple syrup. A high-speed blender or food processor works best. Stop and scrape down the sides if needed. If your blender starts to struggle, add a tablespoon or two of non-dairy milk. Go slow—you want it thick, not soupy.
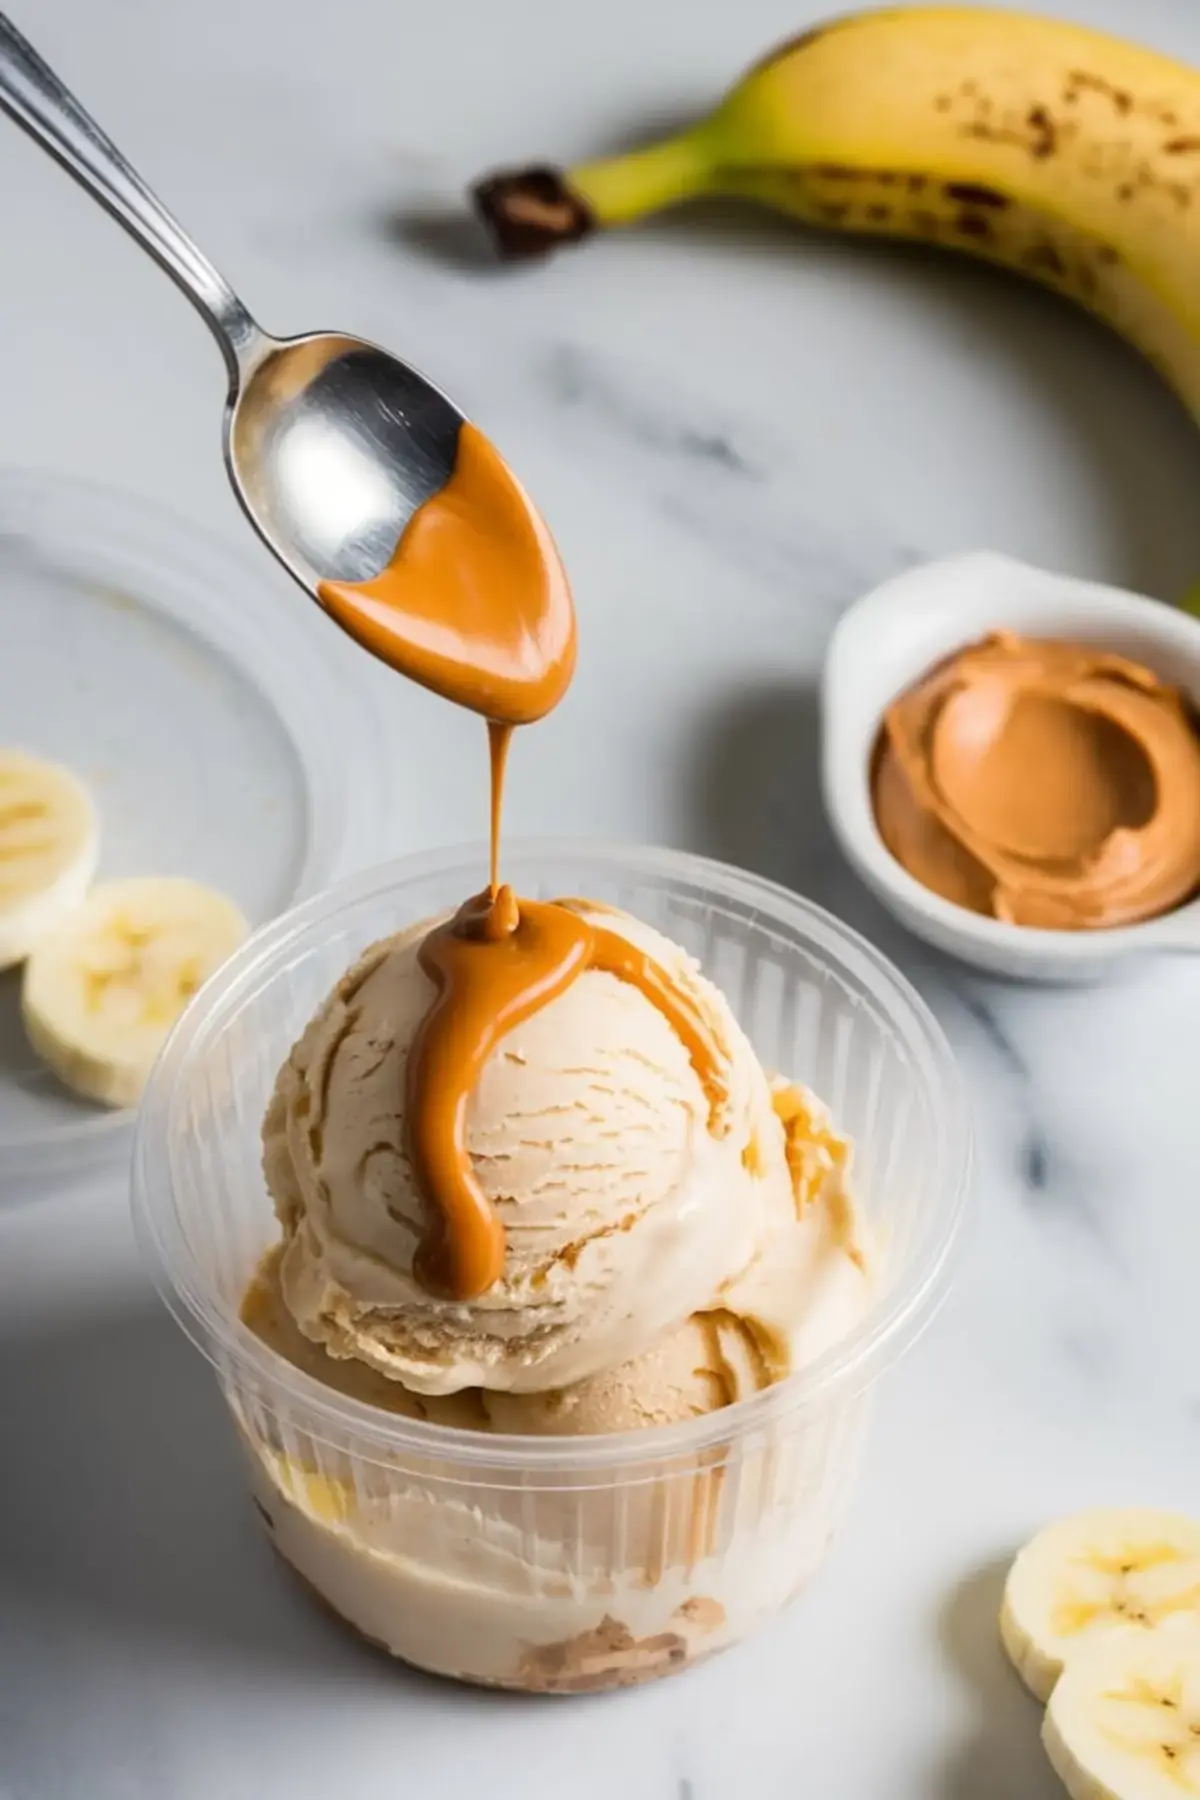
Once blended, taste it. You can stop right there and serve it like soft-serve, or transfer it to a container to firm up in the freezer for a scoopable texture.
Soft-Serve vs. Scoopable: How to Choose Your Texture
Soft-serve has a fresh, mousse-like texture right after blending. I go this route if I’m serving it immediately, especially for kids or a last-minute dessert.
But if you want to make proper scoops or serve it in cones, freeze it again for one to two hours. That short second freeze gives it enough structure to hold shape without turning into a hard block.
For a scoop-friendly texture, let it sit out at room temperature for about ten minutes before serving. The surface will soften just enough to get a clean scoop.
For a fun variation, try using this method as the base and swapping flavors. My Banana Peanut Butter Smoothie follows a similar pairing but with a drinkable twist.
How I Store It and Serve It for Best Results
Store leftovers in a tightly sealed container. Avoid plastic wrap over the top—it forms ice crystals. I’ve had good results using metal loaf pans with a silicone lid or a reusable freezer-safe glass container.
Use within a week for the best taste and texture. Before scooping, give it about ten minutes at room temperature so it softens slightly.
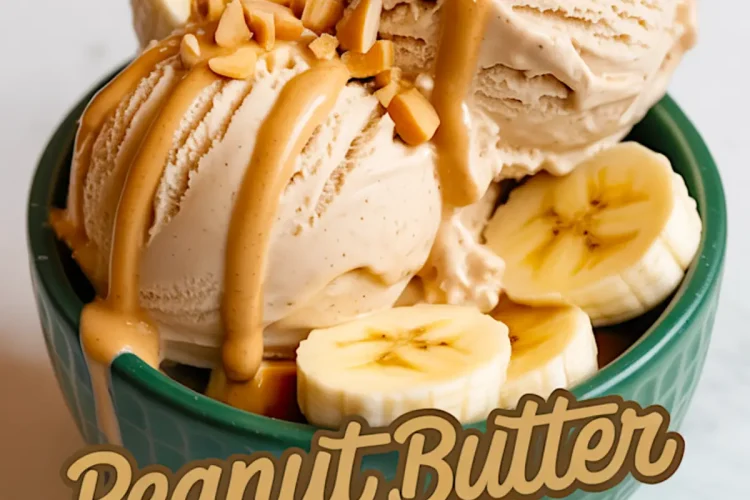
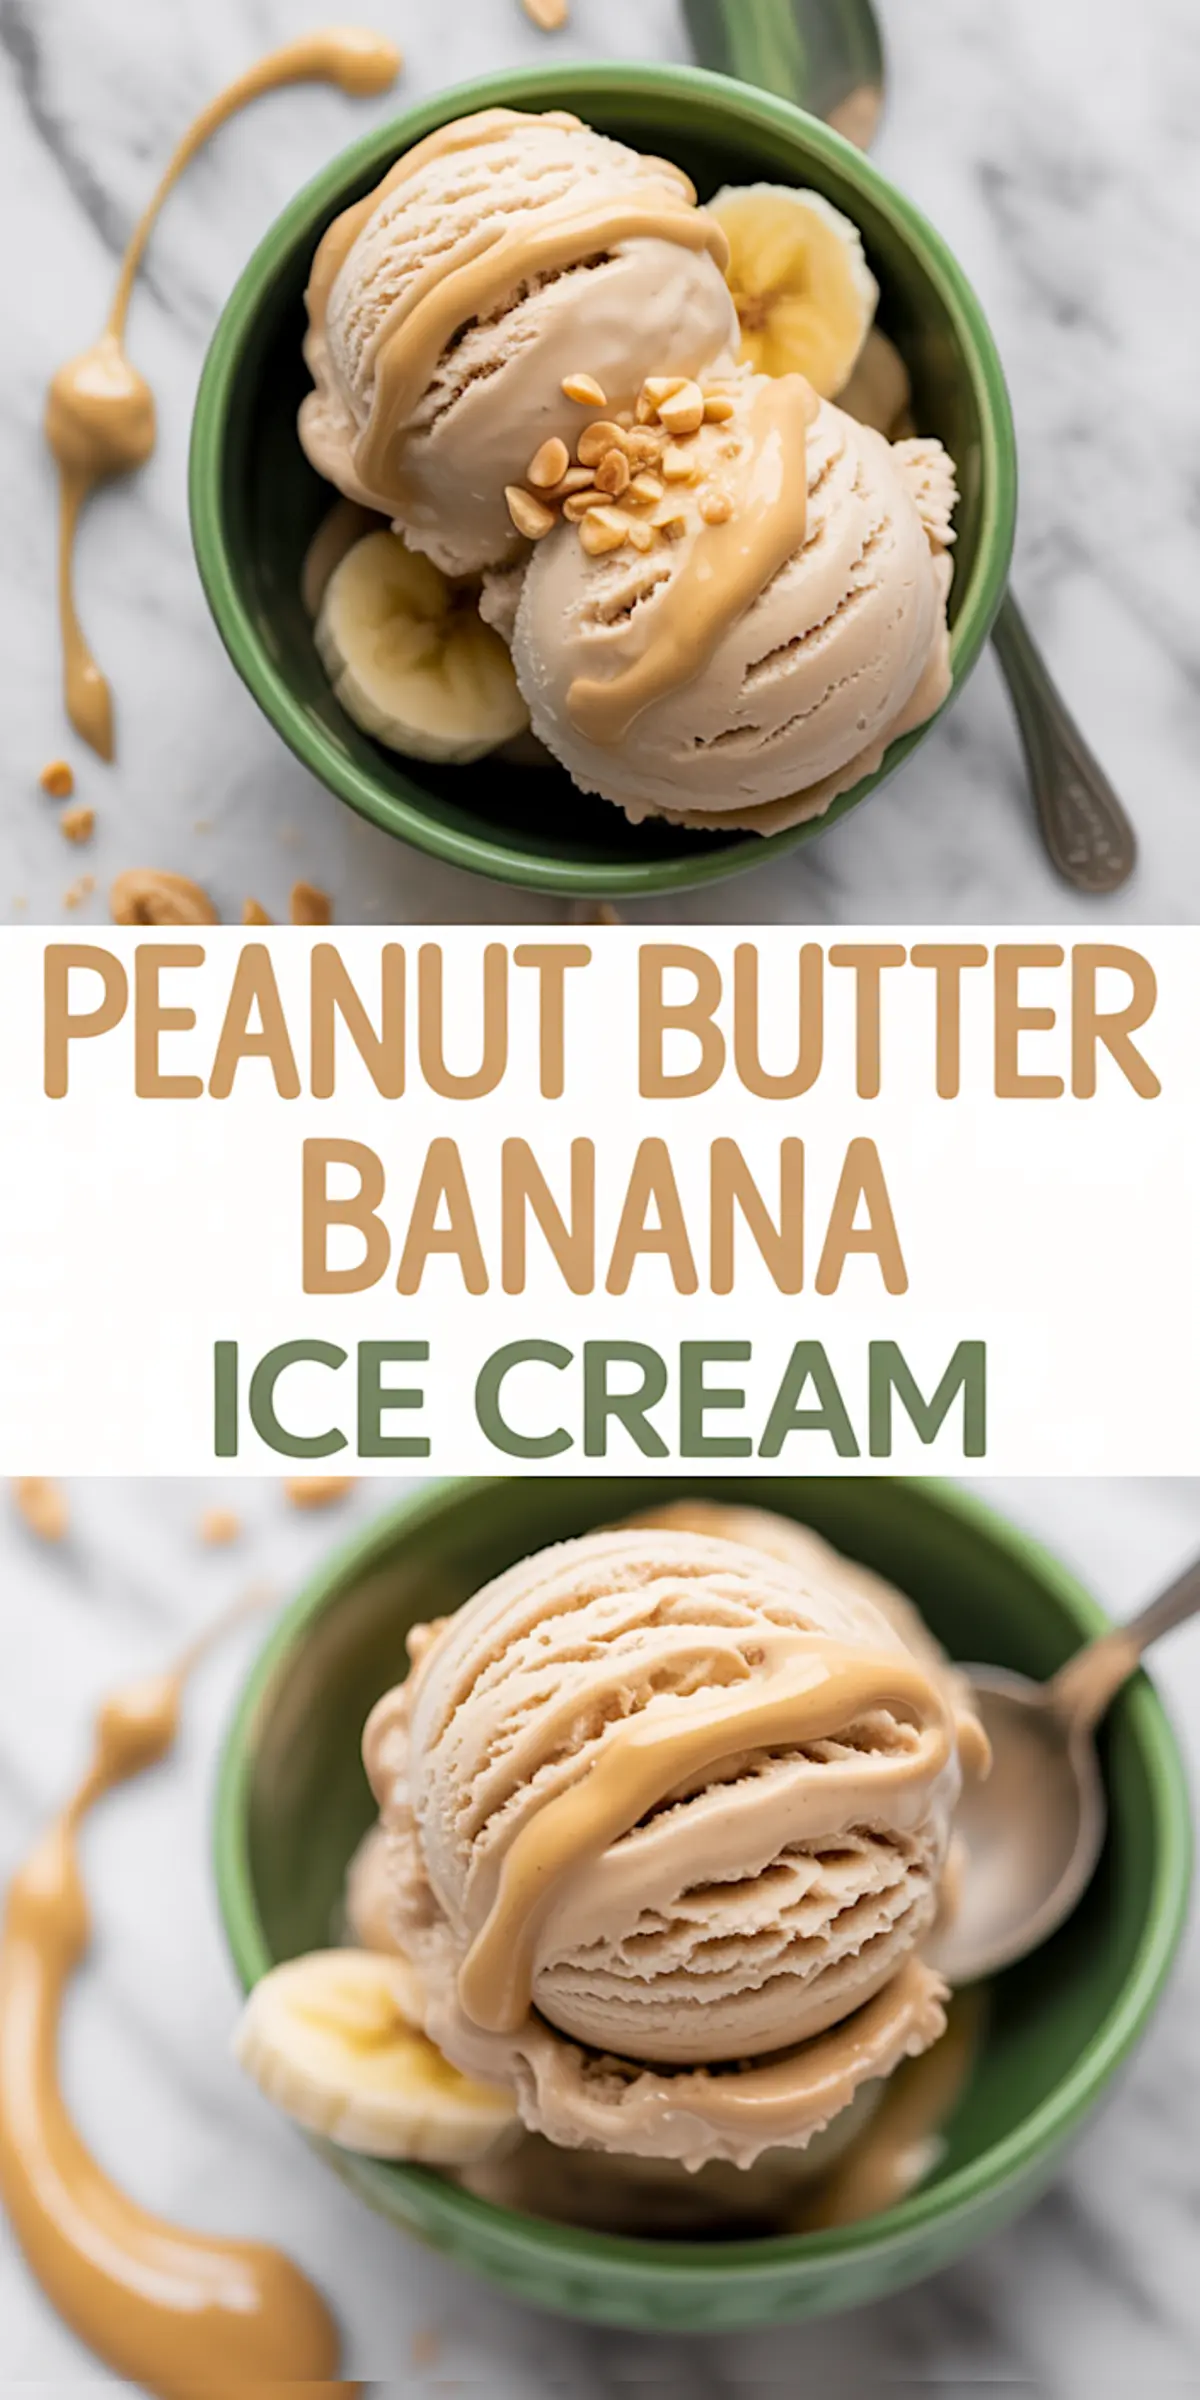
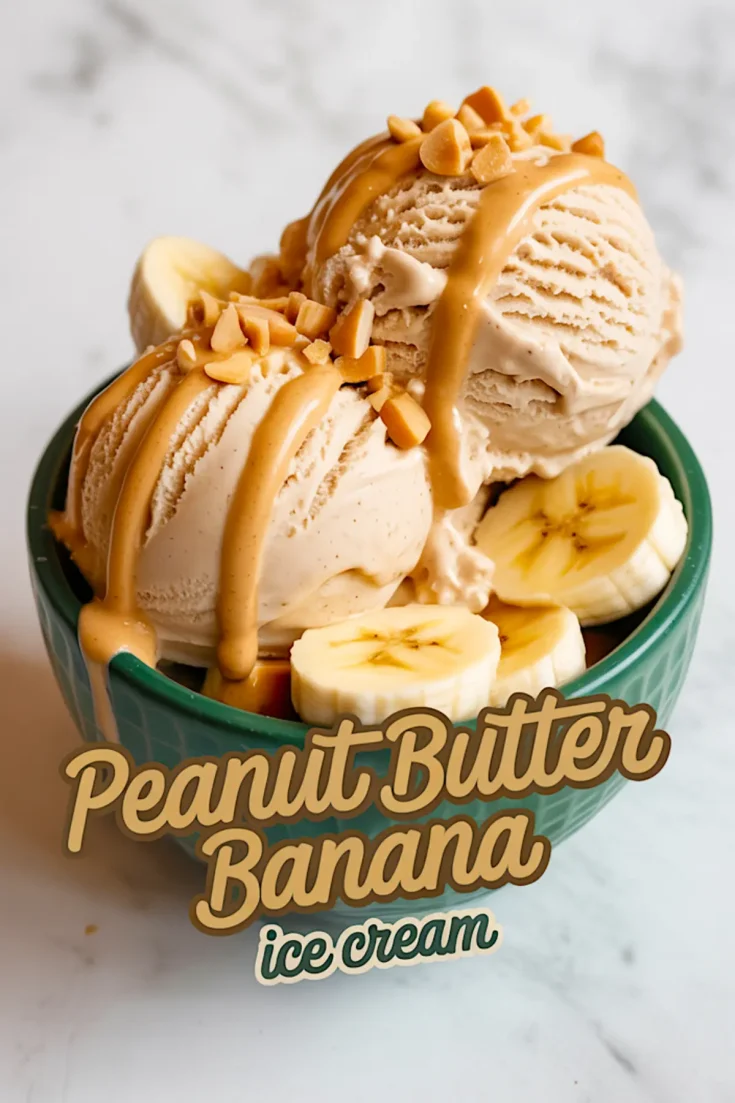
For toppings, a drizzle of warmed peanut butter or a handful of chopped peanuts works beautifully. Sliced banana adds a fresh bite, but crushed pretzels or chocolate chips also work if you want contrast.
If you’re in the mood to mix and match, this Homemade Chocolate Ice Cream offers a deeper flavor that pairs well with this peanut butter version.
Related Recipes to Try Next
- Pistachio Ice Cream for a nutty, delicate alternative
- Peanut Butter Smoothie for a protein-packed drink
- Homemade Chocolate Ice Cream for classic flavor lovers
Final Thoughts: Save and Share Your Scoops
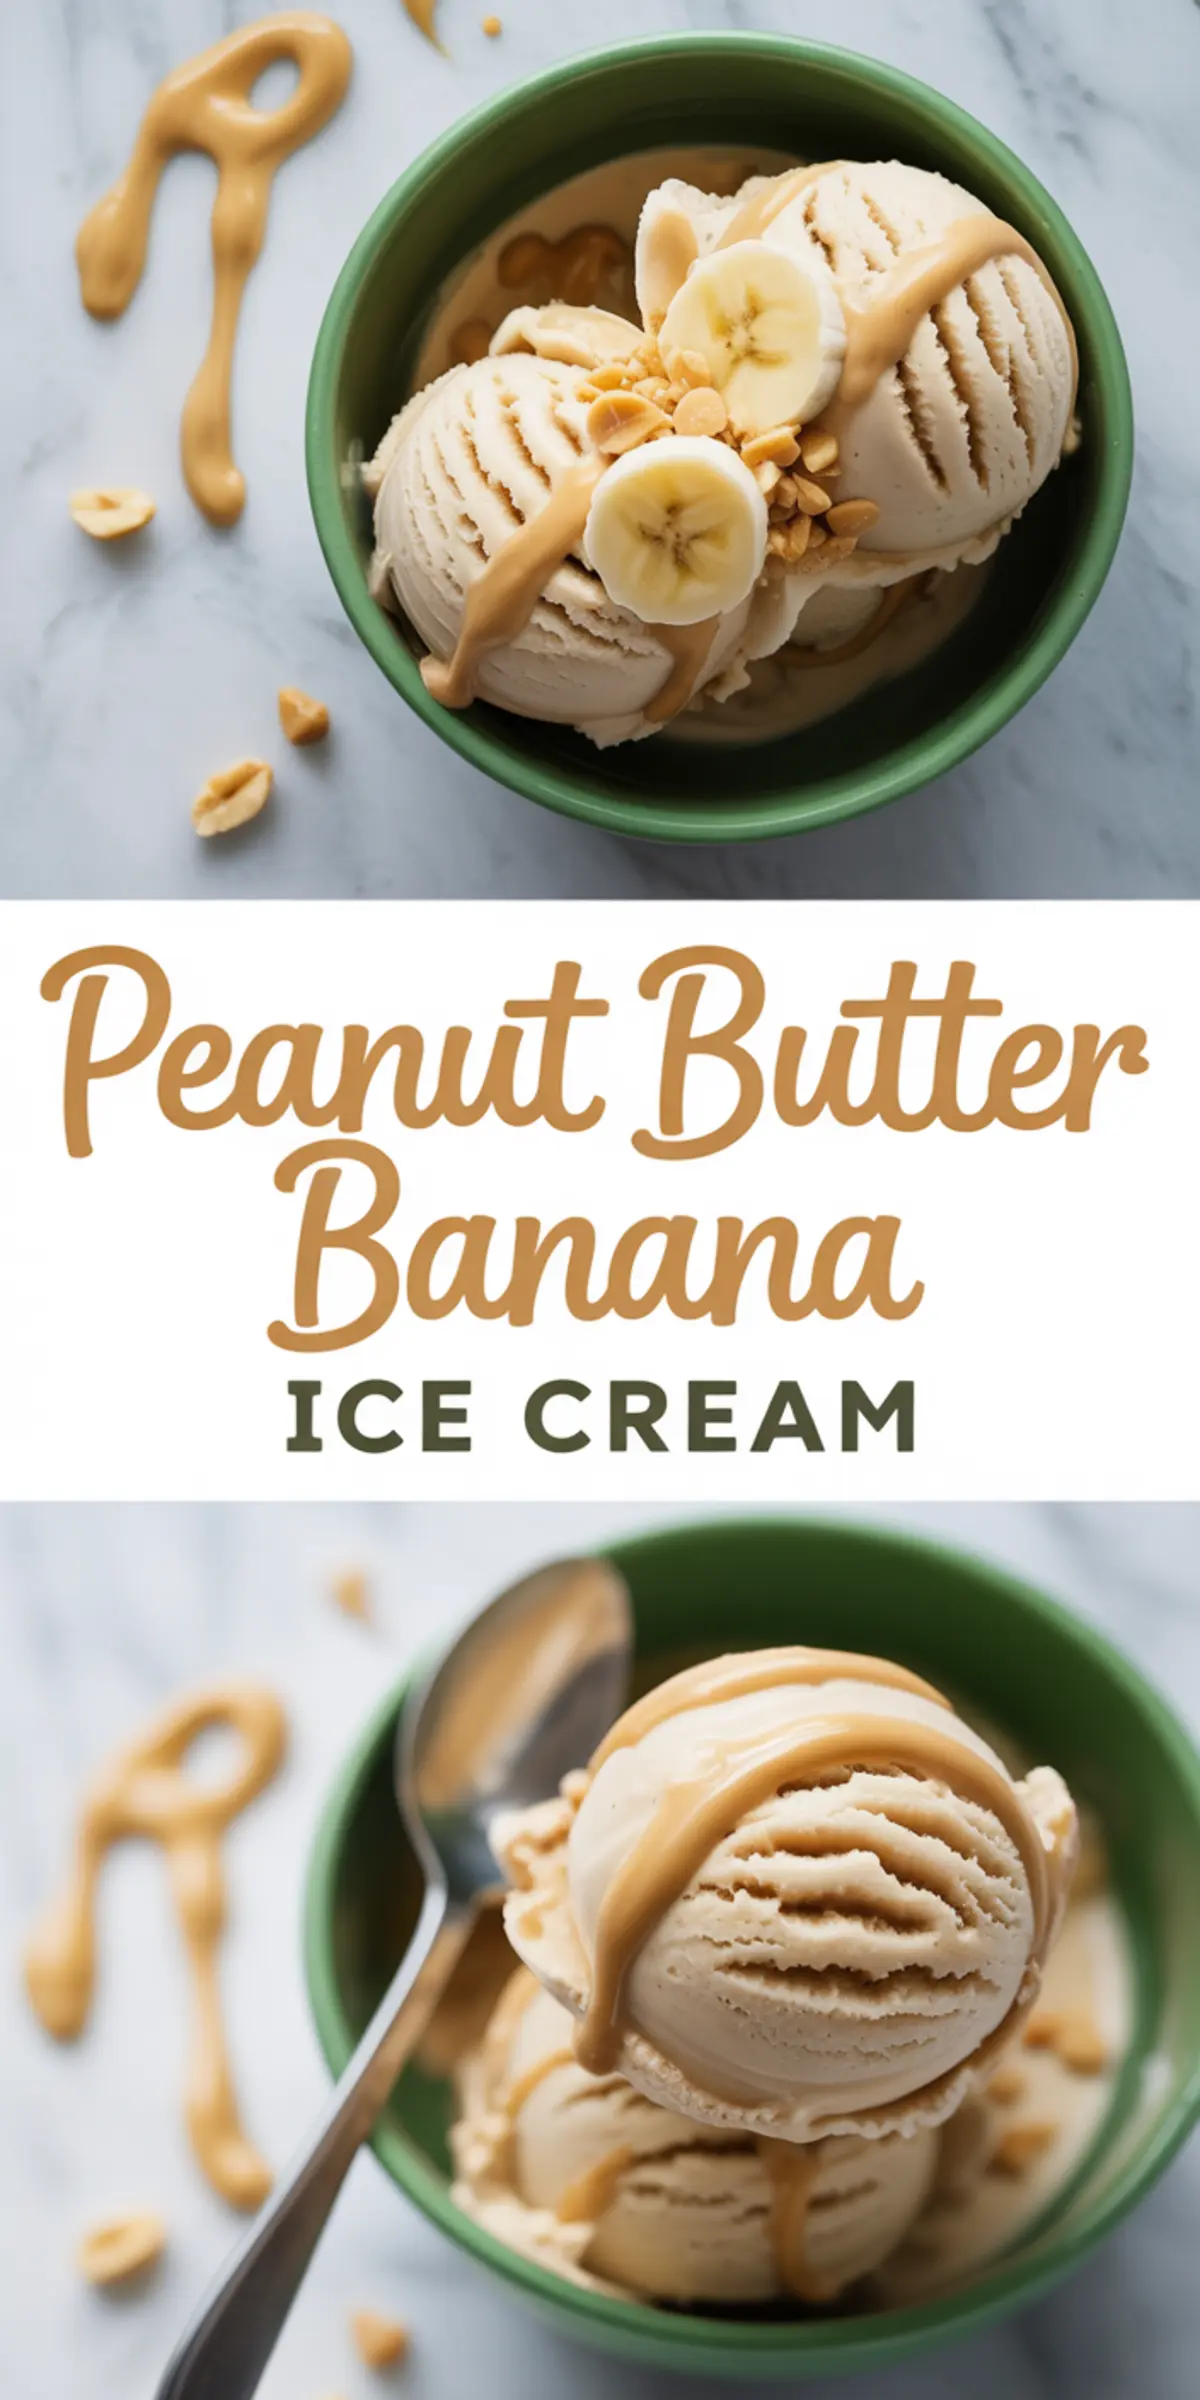
This Peanut Butter Banana Ice Cream has earned a permanent place in my freezer. It’s quick, satisfying, and made with ingredients I usually already have.
Pin this recipe for later so it’s easy to find the next time you have extra bananas.
If you try it, I’d love to hear how it turned out in the comments. Did you stick to the base recipe, or add your own twist? Let’s share some scoops and tips.
Peanut Butter Banana Ice Cream
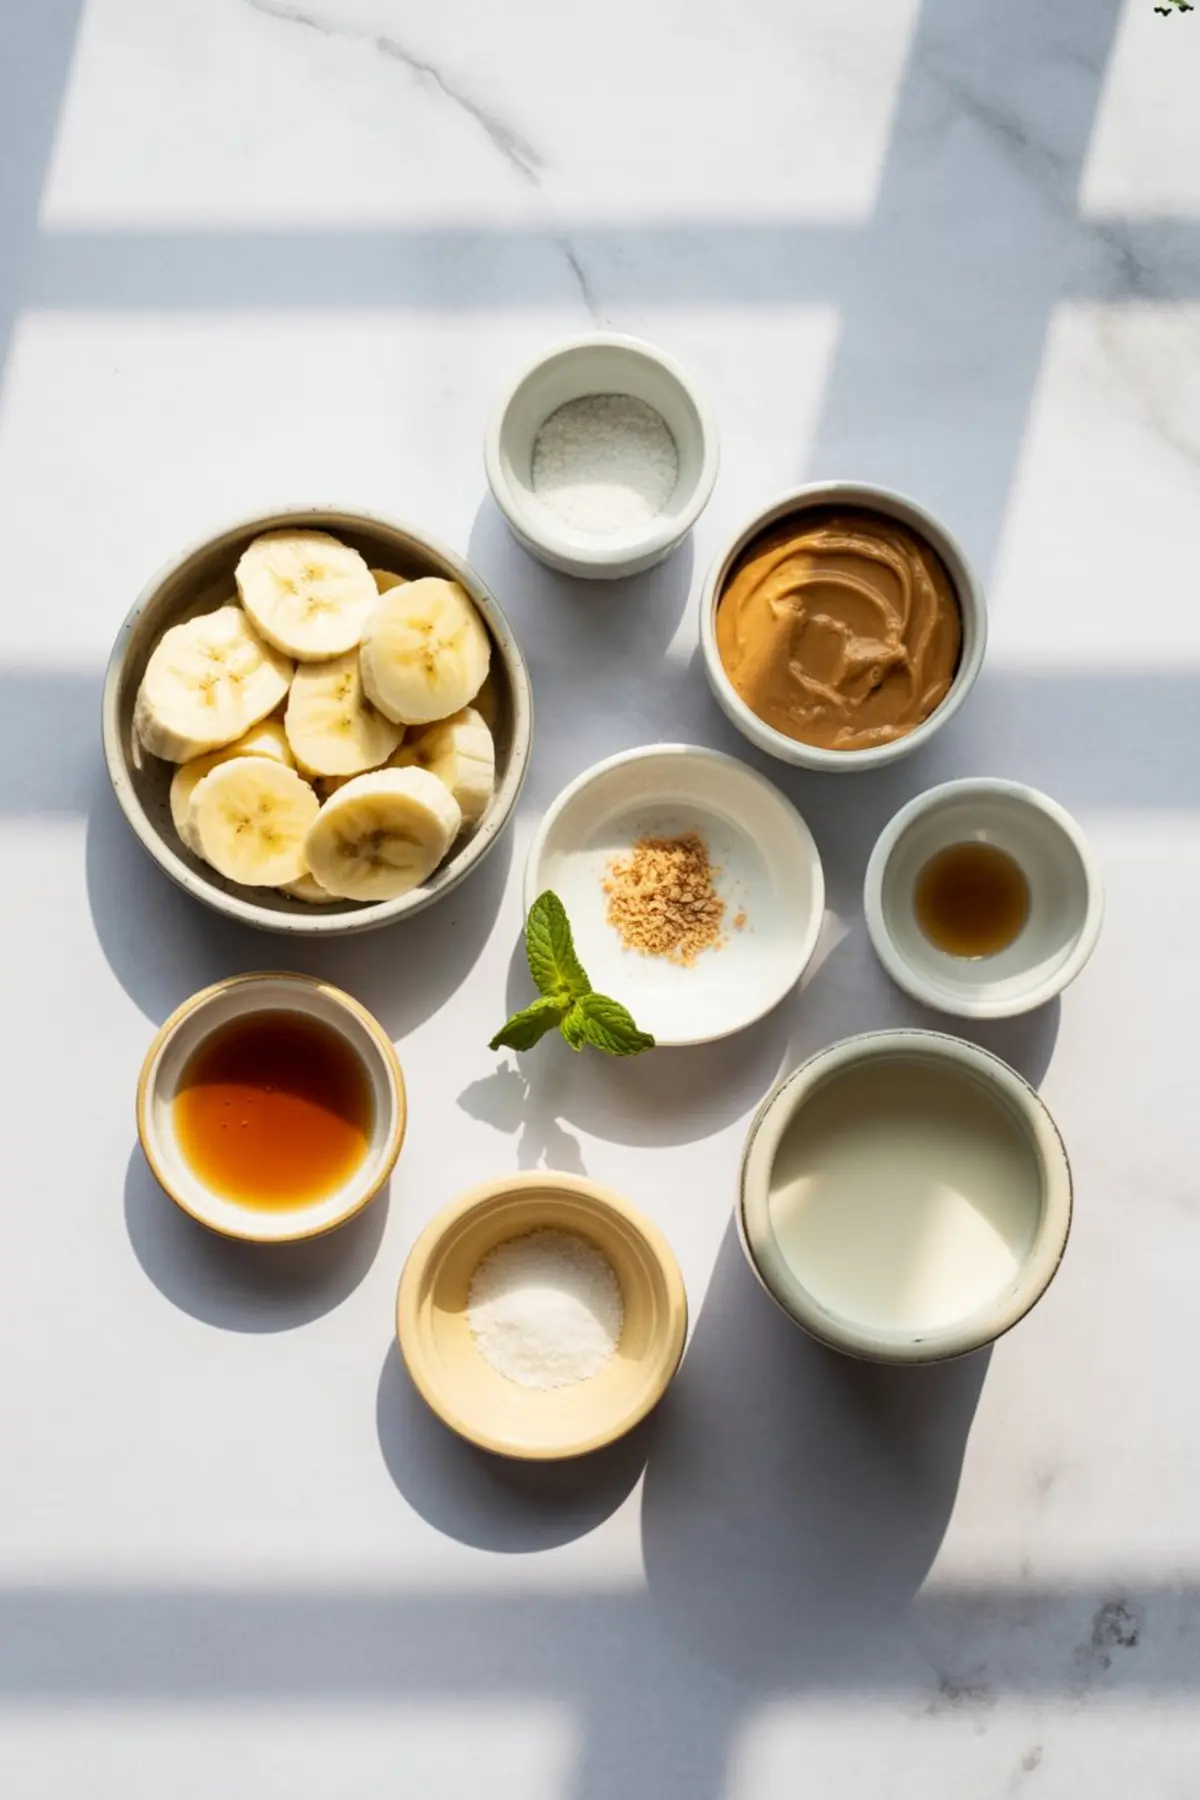
4 ripe bananas, peeled and sliced
1/2 cup natural peanut butter (creamy or crunchy)
1 teaspoon pure vanilla extract
1/4 teaspoon sea salt
2 tablespoons maple syrup (optional, for added sweetness)
2–3 tablespoons non-dairy milk (only if needed to blend)
Ingredients
- 4 ripe bananas, peeled and sliced
- 1/2 cup natural peanut butter (creamy or crunchy)
- 1 teaspoon pure vanilla extract
- 1/4 teaspoon sea salt
- 2 tablespoons maple syrup (optional, for added sweetness)
- 2–3 tablespoons non-dairy milk (only if needed to blend)
Instructions
- FREEZE THE BANANAS: Place the sliced bananas in a single layer on a parchment-lined baking sheet. Freeze for at least 2 hours or until fully solid. For best results, freeze overnight.
- BLEND THE INGREDIENTS: Add the frozen banana slices, peanut butter, vanilla extract, sea salt, and maple syrup (if using) to a high-powered blender or food processor. Blend on high speed until smooth and creamy, pausing to scrape down the sides as needed. If the mixture is too thick to blend, add non-dairy milk 1 tablespoon at a time to help it along.
- ADJUST TEXTURE: For soft-serve consistency, serve immediately. For a firmer, scoopable ice cream, transfer the blended mixture to a freezer-safe container and freeze for 1–2 additional hours.
- SERVE: Scoop into bowls or cones. If desired, top with chopped peanuts, banana slices, or a drizzle of melted peanut butter.
Notes
Use very ripe bananas with brown spots for the sweetest flavor. If using salted peanut butter, reduce the added sea salt to taste. Store leftovers in an airtight container in the freezer for up to 1 week; let sit at room temperature for 10–15 minutes before scooping.
Nutrition Information
Yield
4Serving Size
1Amount Per Serving Calories 378Total Fat 19gSaturated Fat 4gTrans Fat 0gUnsaturated Fat 13gCholesterol 7mgSodium 294mgCarbohydrates 45gFiber 6gSugar 27gProtein 12g