If you’ve ever stood at the crossroads of cake indecision, chocolate or peanut butter, this cake settles it for good.
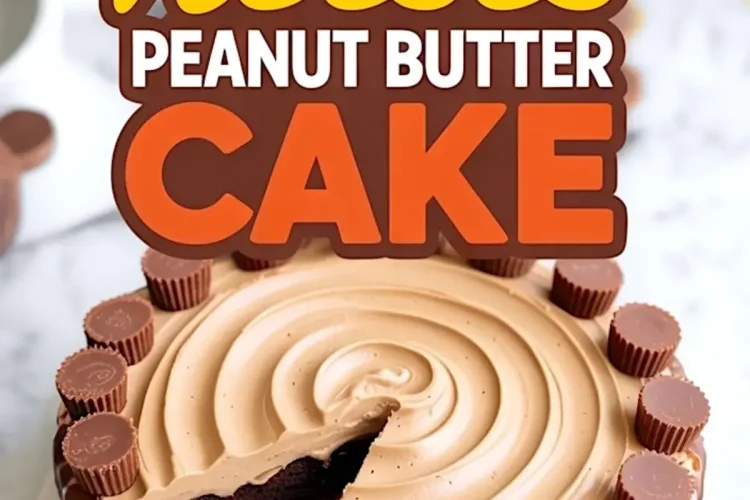
This Reese’s Peanut Butter Cake gets asked for every birthday in my house. And it’s not just the ganache drip or the mini peanut butter cups that win people over. It’s how each bite brings a familiar joy, the kind that only a deep chocolate base and fluffy peanut butter frosting can deliver.
In this post, you’ll learn how to make it with confidence, what I’ve learned from years of baking it, and how to avoid common missteps. You’ll also find helpful tips on ingredient swaps, serving, and storage, plus how this compares to other peanut butter desserts on my site. Whether you’re prepping for a celebration or just craving something bold, this cake brings it home.

How to Make Reese’s Peanut Butter Cake with Confidence
The base starts with a classic chocolate cake, but with one important choice that affects the entire outcome: water or coffee.

In my kitchen, I’ve made this recipe both ways. Hot water makes a solid chocolate cake. But hot brewed coffee brings out the cocoa in a way plain water never does. The final cake doesn’t taste like coffee, it just tastes deeper, more grown up.

If you’ve got a pot brewed, use it. You won’t regret it.
What Makes the Frosting Work So Well

The frosting is all about balance. Creamy peanut butter and butter come together first. You’ll need to beat them long enough to turn them smooth, not greasy.
I’ve learned not to rush this. If your butter is too cold or you don’t mix long enough, the frosting stays dense and heavy.
Once the powdered sugar goes in, add your cream slowly. If you’re piping designs, go with less cream. If you’re spreading and swirling, a looser texture works better. The goal is light but rich, and not sticky.
The Ganache Drip Doesn’t Need You to Be a Pro
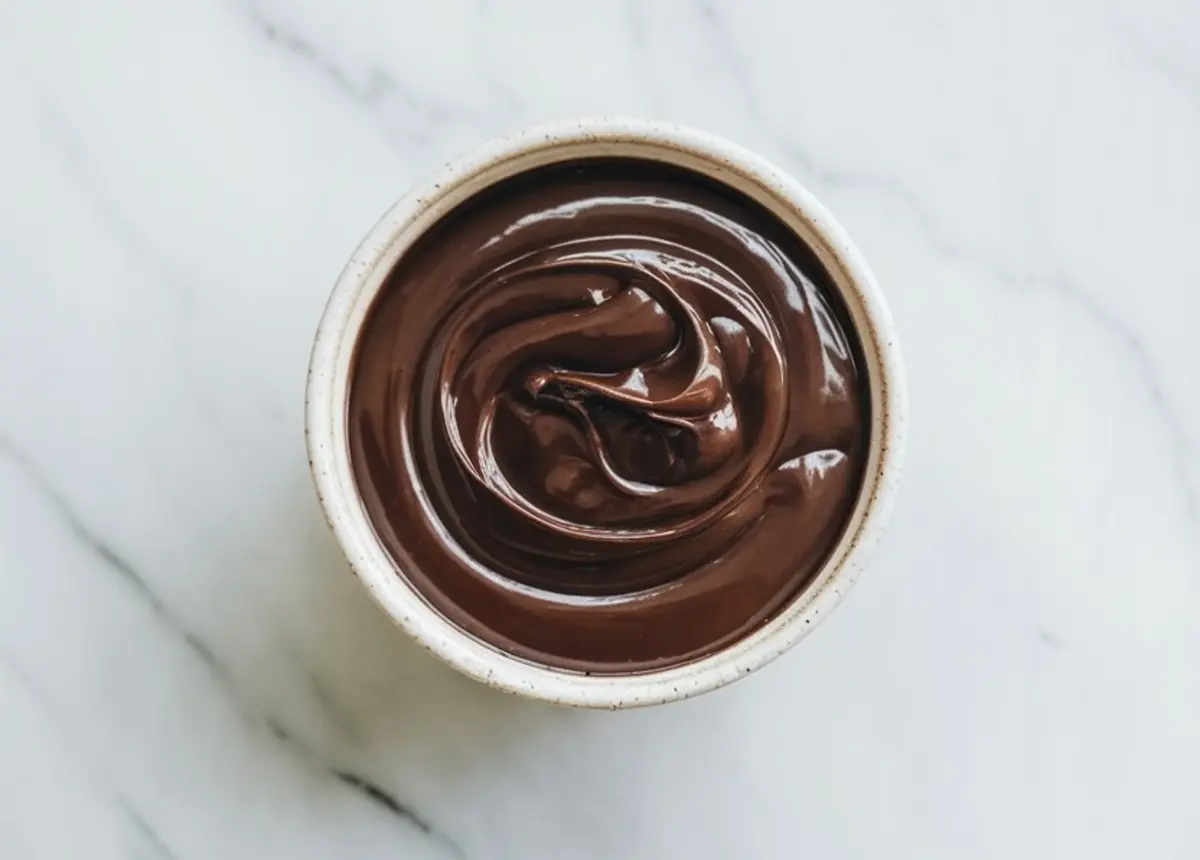
You don’t need a cake degree to pull off the chocolate ganache. It’s just warm cream over chocolate chips, stirred until glossy. The only trick is to wait a few minutes before applying it.
Straight from the pot, the ganache melts the frosting. But give it five minutes to cool, and it thickens just enough to stay where you place it.
Use a spoon or a bottle, depending on what you have. I’ve done both. What matters is how gently you let it roll down the sides, just enough to say “celebration,” not “mess.”
Decorating and Serving the Cake (My Notes from Past Birthdays)

The mini Reese’s cups on top always get picked first. That’s not a flaw, it’s part of the charm. I usually add a few whole ones, then cut some in half and tuck them at angles for contrast.
For birthdays, I refrigerate the finished cake for 30 to 60 minutes so the frosting sets. Then I leave it out for about 20 minutes before slicing, which keeps the texture creamy but not too soft.
For smaller gatherings, you can scale this down and make a single layer. But the double-layer version keeps better and slices cleaner the next day.
How This Cake Compares to Other Peanut Butter Desserts
I get asked often: why not just make Peanut Butter Blossom Cookies? Or my Easy Peanut Butter Protein Balls?
Both are quicker. Both hit that peanut butter craving. But this cake builds something more substantial. It satisfies the same way Peanut Butter Chocolate Chip Cookies do, just with more presence. More layers. More to bite into.
It’s a true centerpiece. And every part of it—from frosting to crumb—earns that title.
Storing Leftovers and Keeping It Fresh
Once sliced, the cake keeps best in the fridge. I store it in a cake dome or gently cover it with plastic wrap. It holds up for 4 to 5 days.
For freezer storage, I wrap individual slices tightly in plastic, then foil. They thaw nicely in the fridge overnight. Just don’t freeze the whole cake decorated—the ganache and cups don’t love the temperature change.
I’ve even repurposed leftover slices into trifles layered with whipped cream and more peanut butter cups. If your crowd is smaller, this works beautifully.
Related Recipes to Try if You Love Reese’s Desserts
If this cake speaks your language, you might also enjoy:
- 3-Ingredient Peanut Butter Fudge: simple, rich, and ready fast.
- Peanut Butter Chocolate Chip Cookies: soft, chewy, and a great weekday bake.
- Peanut Butter Protein Balls: for snackable energy that still satisfies a sweet tooth.
Each recipe brings peanut butter into focus but handles it differently. This cake remains the most decadent of the group—and it holds that title with pride.
Let’s Talk: Did You Make the Cake? Save + Share
If this cake made it to your table, I’d love to know. Save this to your “birthday cakes” or “peanut butter desserts” board so you can find it again.
Drop a comment below if you baked it—or if you ran into a snag. I read every one. Baking is personal, and we all learn more together.
See you in the next recipe.
Reese’s Peanut Butter Cake
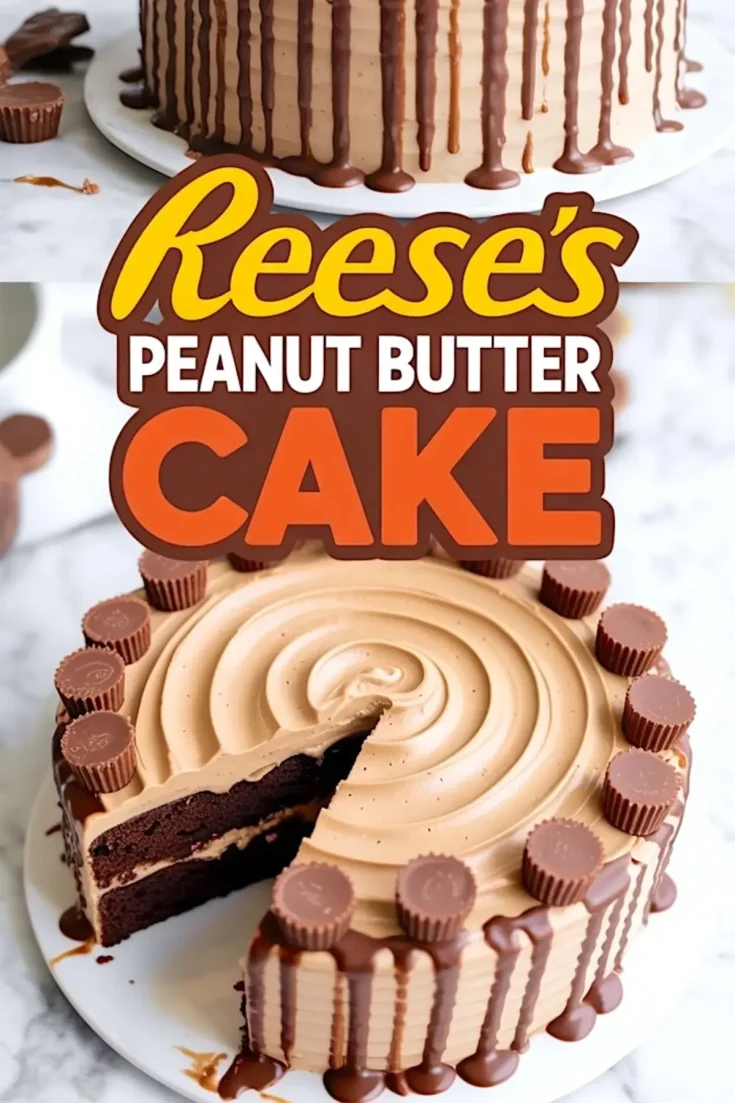
Reese’s Peanut Butter Cake combines rich chocolate cake layers with creamy peanut butter frosting, a smooth chocolate ganache drip, and a topping of mini Reese’s cups. The balance of chocolate and peanut butter makes this a standout dessert for birthdays, holidays, or any celebration. The cake layers are moist and deeply flavored, the frosting is fluffy and rich, and the ganache adds a polished finish without requiring professional-level skills.
Ingredients
- FOR THE CHOCOLATE CAKE
- 2 cups all-purpose flour
- 2 cups granulated sugar
- ¾ cup unsweetened cocoa powder
- 2 teaspoons baking soda
- 1 teaspoon baking powder
- 1 teaspoon salt
- 1 cup buttermilk, at room temperature
- ½ cup vegetable oil
- 2 large eggs
- 2 teaspoons vanilla extract
- 1 cup hot water or brewed coffee
- FOR THE PEANUT BUTTER FROSTING
- 1 cup unsalted butter, softened
- 1 cup creamy peanut butter
- 3 to 4 cups powdered sugar, to desired consistency
- ¼ cup heavy cream or milk, as needed
- 1 teaspoon vanilla extract
- Pinch of salt
- FOR THE CHOCOLATE GANACHE DRIP
- ¾ cup semi-sweet chocolate chips
- ½ cup heavy cream
- FOR GARNISH
- Approximately 20 mini Reese’s Peanut Butter Cups
Instructions
- PREPARE THE CAKE PANS: Preheat the oven to 350°F (175°C). Grease and line two 8-inch round cake pans with parchment paper.
- MIX THE DRY INGREDIENTS: In a large mixing bowl, whisk together the flour, sugar, cocoa powder, baking soda, baking powder, and salt until fully combined.
- ADD THE WET INGREDIENTS: Add the buttermilk, vegetable oil, eggs, and vanilla extract to the bowl. Mix until just incorporated.
- ADD HOT LIQUID: Slowly pour in the hot water or coffee and whisk until the batter is smooth. The batter will be thin, which is expected.
- BAKE THE CAKE: Divide the batter evenly between the prepared pans. Bake for 30 to 35 minutes, or until a toothpick inserted into the center comes out clean. Let cakes cool in the pans for 10 minutes, then transfer to wire racks to cool completely.
- MAKE THE FROSTING: In a large bowl, beat the softened butter and peanut butter together until smooth and creamy, about 2 minutes.
- ADD SUGAR AND LIQUID: Gradually add powdered sugar, one cup at a time. Add vanilla and salt. Adjust consistency with cream or milk as needed. Beat on high speed for 2 to 3 minutes until the frosting is light and fluffy.
- ASSEMBLE THE CAKE: Place one cooled cake layer on a serving plate or cake stand. Spread a thick layer of peanut butter frosting on top. Add the second cake layer and apply a thin crumb coat of frosting over the entire cake. Chill for 15 minutes to set the crumb coat.
- FROST THE CAKE: Spread the remaining frosting over the entire cake, smoothing the sides and swirling the top as desired.
- MAKE THE GANACHE: Heat the heavy cream in a small saucepan or microwave until hot but not boiling. Pour over the chocolate chips in a bowl. Let sit for 2 minutes, then stir until smooth and glossy. Allow it to cool slightly.
- ADD THE GANACHE DRIP: Use a spoon or squeeze bottle to gently drip ganache along the edges of the cake. Spread a small amount in the center of the top if desired.
- DECORATE THE CAKE: Arrange mini Reese’s Peanut Butter Cups evenly around the top edge of the cake. Chill the cake until ready to serve.
Notes
Using brewed coffee instead of water in the cake batter enhances the chocolate flavor without adding noticeable coffee taste. The frosting consistency can be adjusted with more or less cream based on your preference for spreading or piping. The ganache should be slightly cooled to avoid melting the frosting when applied.
Nutrition Information
Yield
12Serving Size
1Amount Per Serving Calories 1328Total Fat 56gSaturated Fat 23gTrans Fat 1gUnsaturated Fat 28gCholesterol 103mgSodium 720mgCarbohydrates 201gFiber 4gSugar 172gProtein 14g
Can this cake be made a few days ahead? Then when needed, frost the cake
Hi Kim 😊
Yes, the chocolate layers behave nicely when made ahead. I often bake them two days early, let them cool completely, then wrap each one in plastic wrap and slip them into a zip-top bag. Keep them in the fridge for up to 48 hours or freeze for longer storage. Bring the layers back to room temperature (still wrapped) before frosting. Slightly chilled cake is easier to handle, so feel free to leave a touch of chill while you spread the peanut butter frosting and finish with the ganache drip. 👍
Can this be made as cupcakes?
Hi Kari 😊
Yes, this batter turns into cupcakes without any trouble. A full recipe will give you about 24 standard cupcakes. Fill each liner two-thirds full and bake at 350 °F for 18-20 minutes, or until the centers spring back when lightly pressed.
The peanut butter frosting from the cake works well as a swirl on top, and a quick drip of ganache plus a mini Reese’s cup finishes them off neatly.
If you prefer a step-by-step cupcake version, I have a detailed post here:
Chocolate Peanut Butter Cupcakes .
Let me know how they turn out 🧁
To make this a 4 layered cake, just double the recipe?
Yes, exactly! Doubling the recipe will give you enough batter and frosting for 4 full layers. Just divide the batter evenly across four pans (or bake in batches), and reduce the bake time slightly if the layers are thinner.