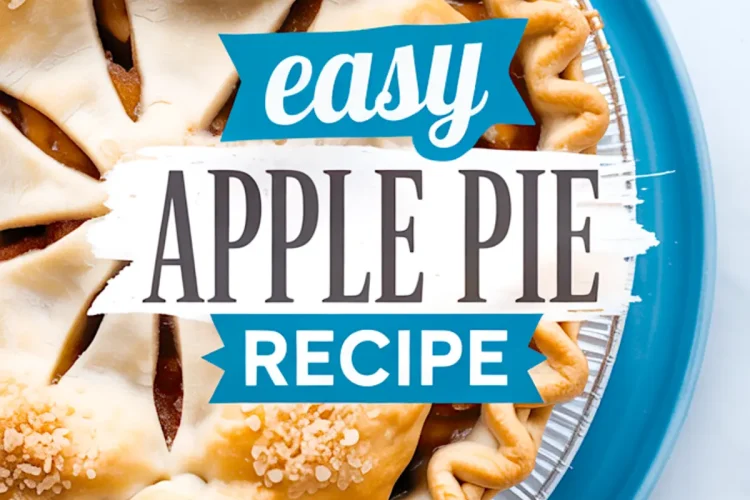
A Recipe That Lives in the Hands
Apple pie has never needed convincing. It stands on its own, with a scent that can stop conversation and a texture that pulls memories from your chest. You already know what this is. But making it yourself—flour on your apron, juice from the apples running across your cutting board—that’s where your hands find rhythm.
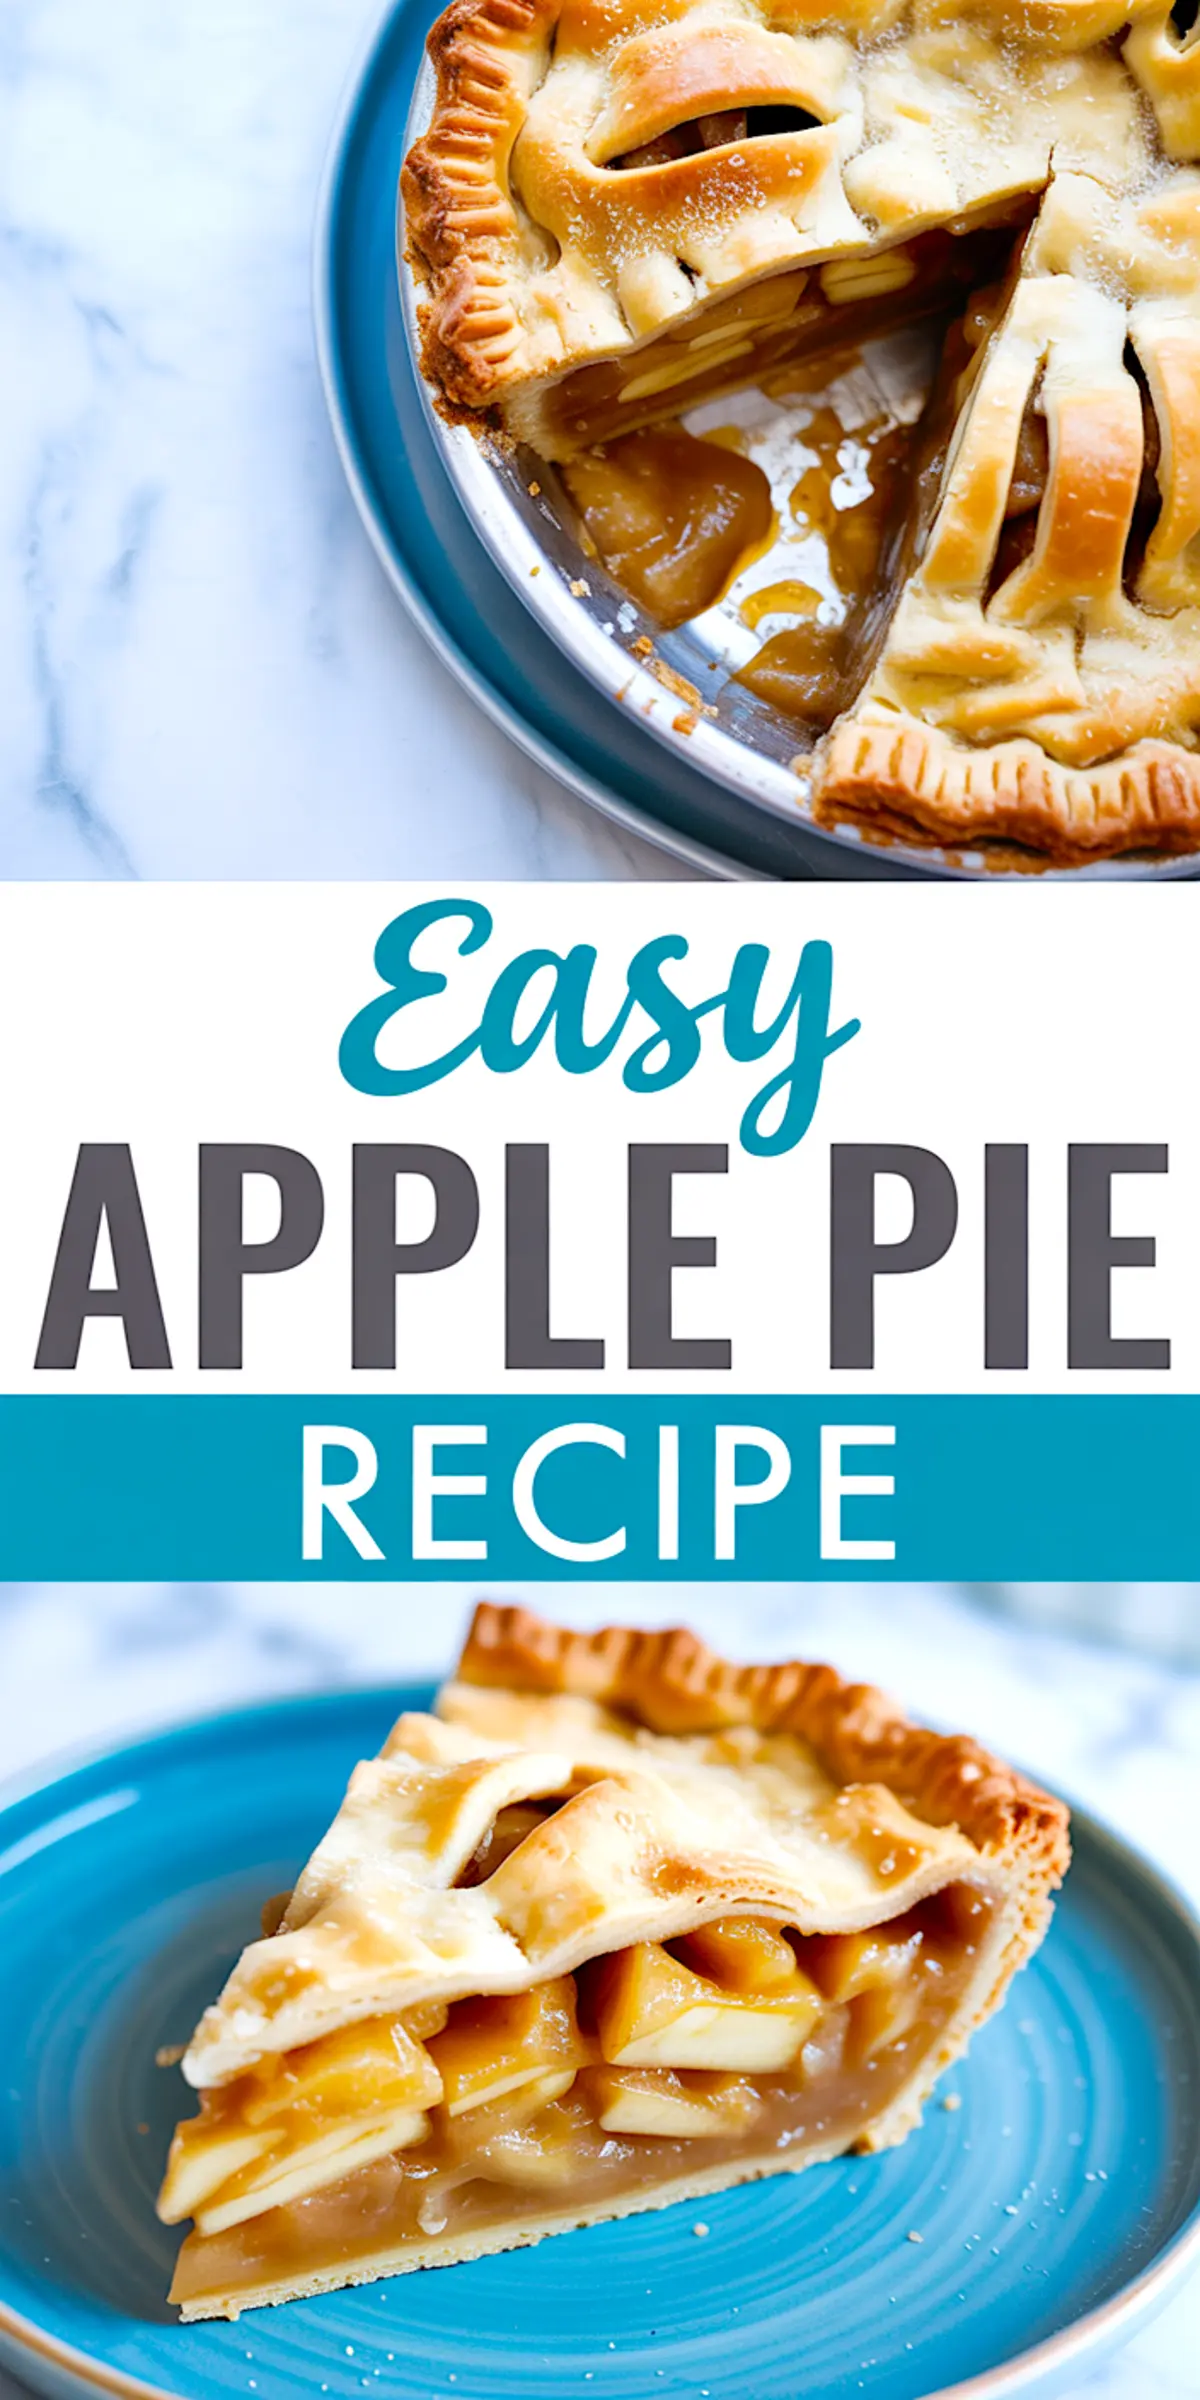
This recipe gives you a shortcut where you need it and structure where it counts. You’ll learn how to make an apple pie with a flaky double crust, a warm cinnamon filling, and just enough lemon to lift the fruit without overshadowing it. I’ve baked this pie during rushed mornings, holiday chaos, and the occasional midweek craving. It holds up.
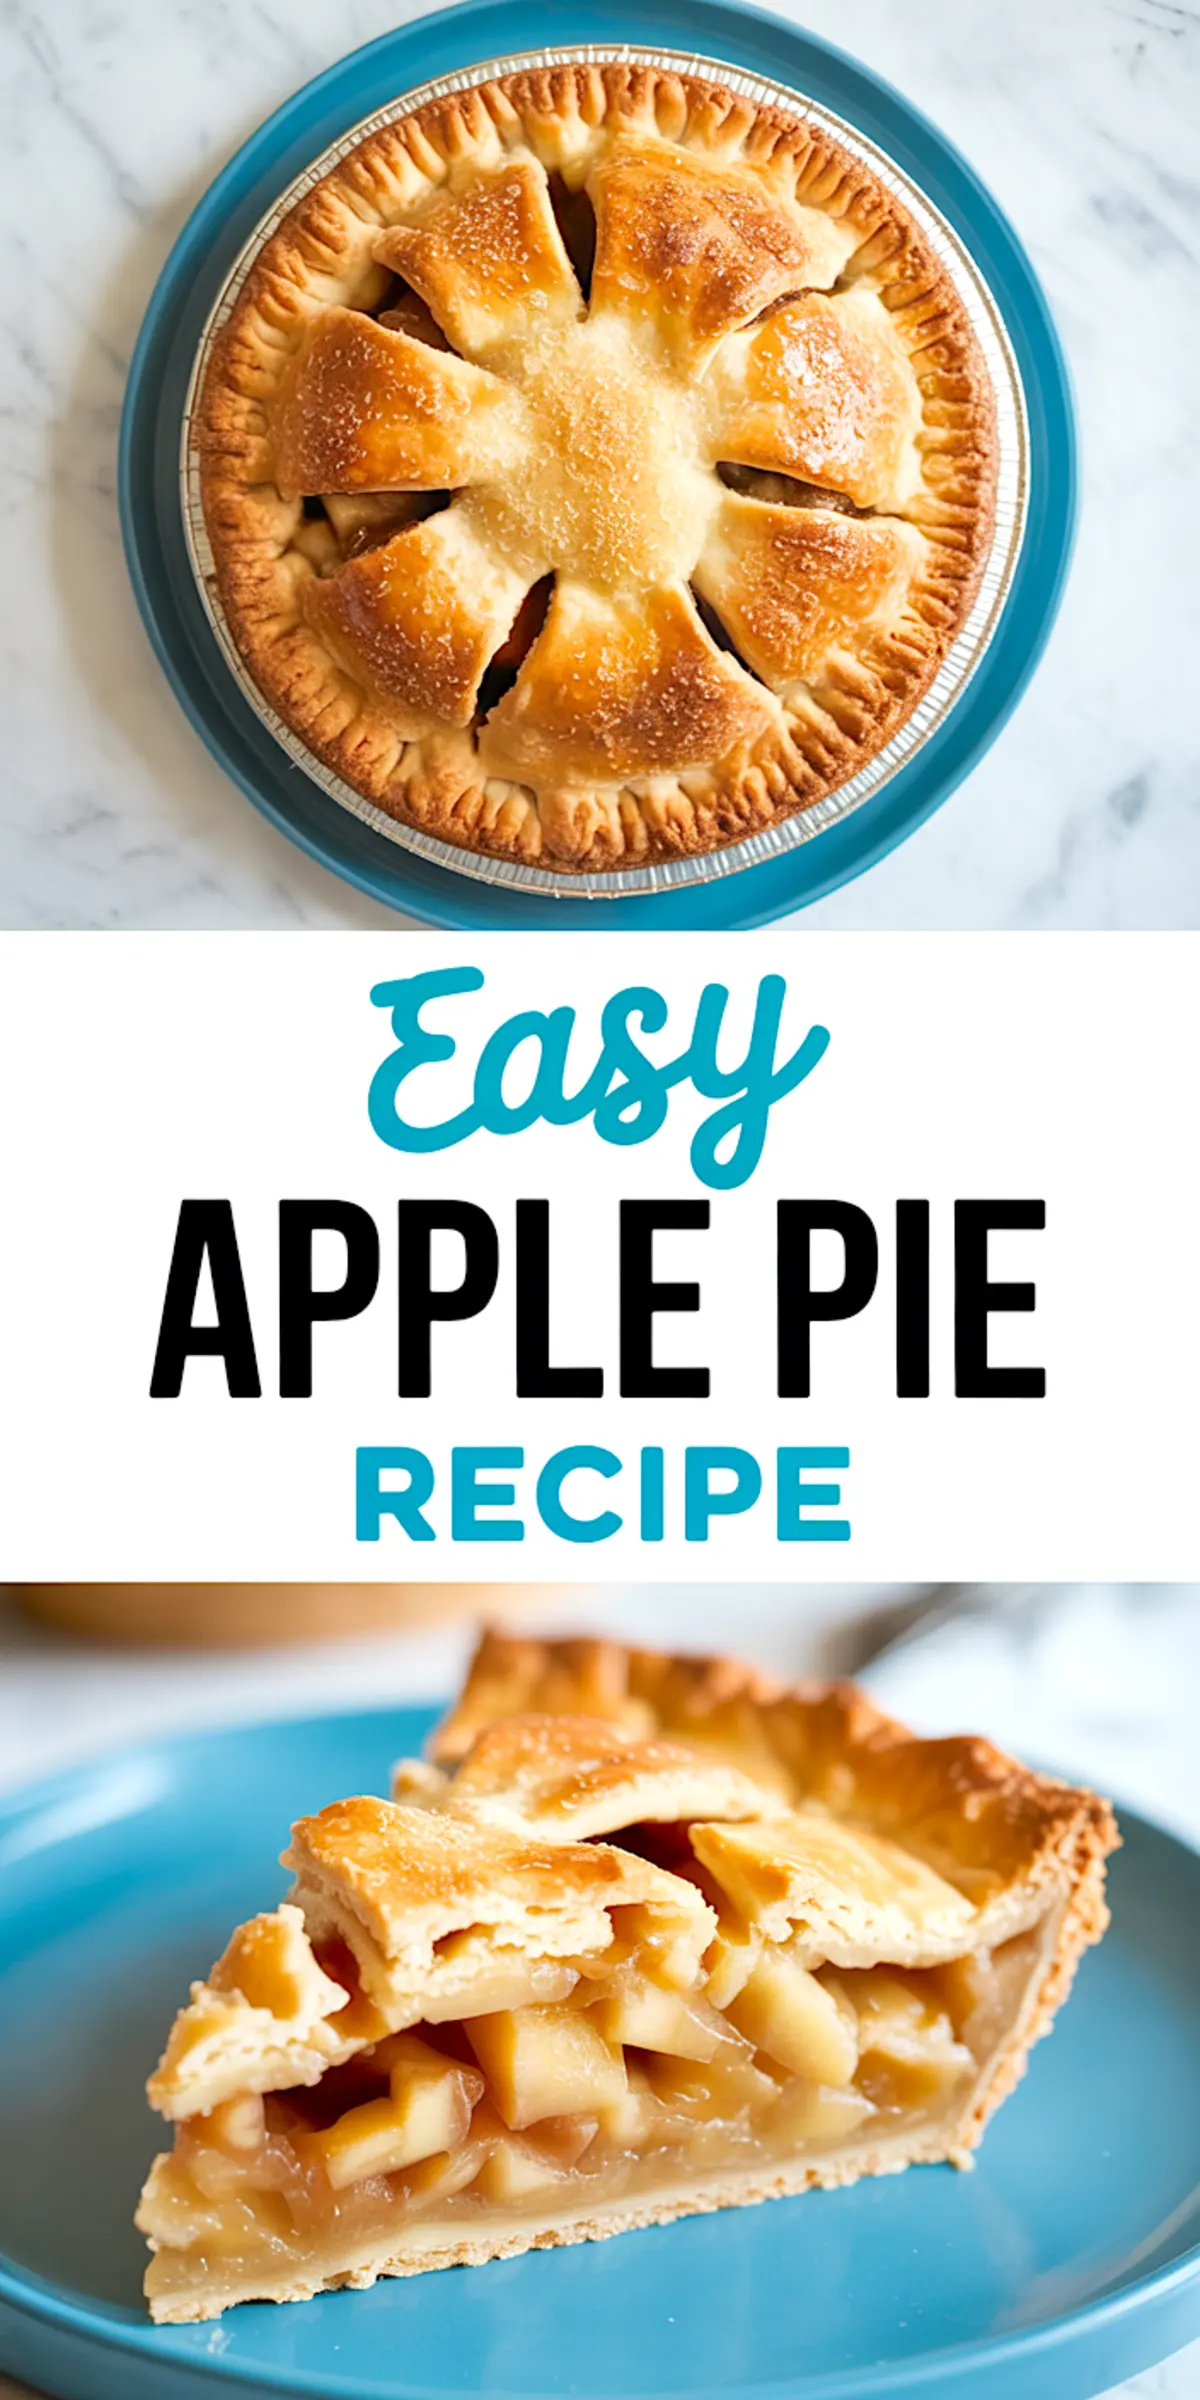
This isn’t a bakery pie. This is the kind of apple pie you take warm from the oven and carry straight to the table, edges crackled from the heat, filling settled and fragrant. It’s the kind that disappears before it fully cools.
Following a special diet?
Every recipe on this site can be converted to gluten-free, vegan, dairy-free, keto, nut-free or egg-free with adjusted ratios so nothing falls flat.
Try the Recipe Converter →Choosing Apples That Hold Their Shape and Flavor
Start with apples that stay firm under heat. Granny Smith offers tartness and structure. Honeycrisp brings sweetness and juiciness without turning soft. I’ve tested Fuji and Pink Lady, too, but I return to that mix of Granny Smith and Honeycrisp because it gives the pie clarity and balance.
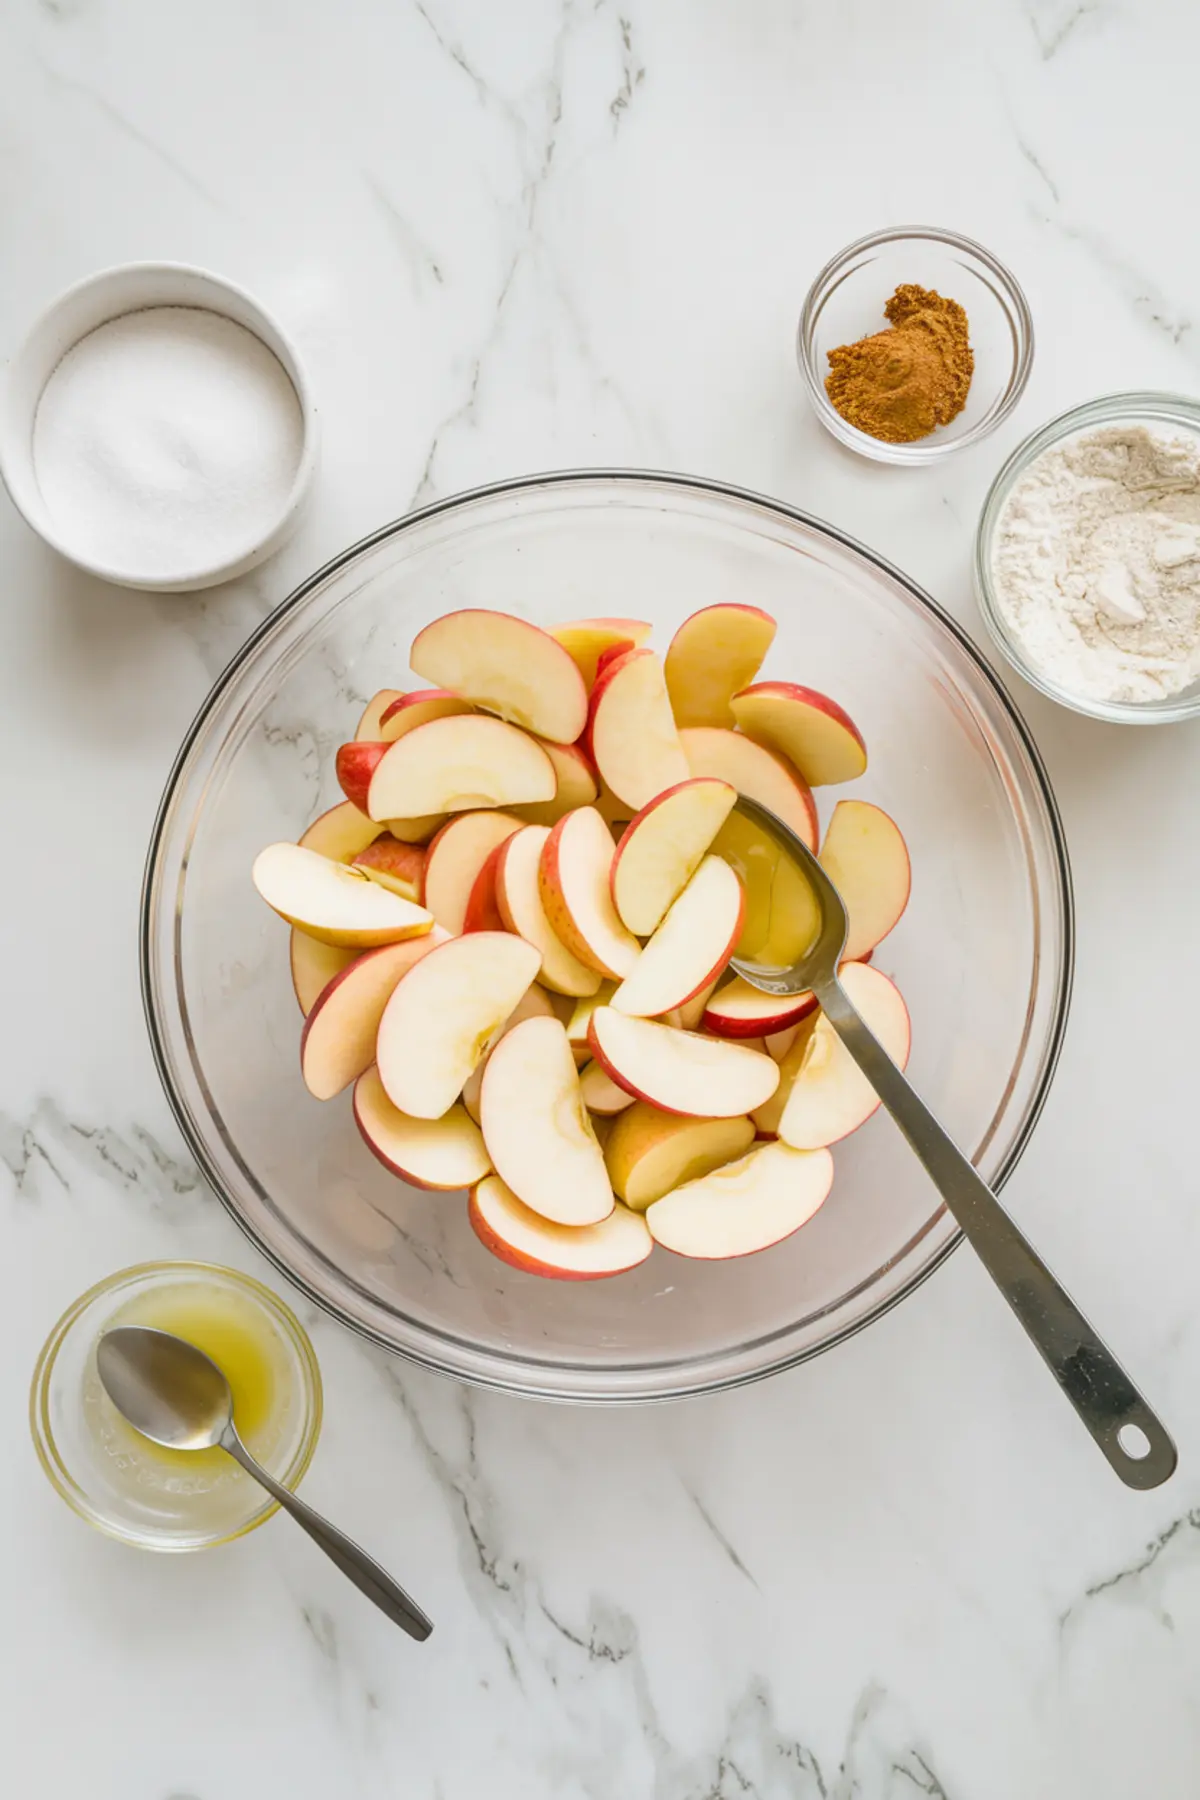
Peel the apples fully. The texture of the skin interferes with the smooth cut of each bite. Slice into thin, even pieces—about a quarter inch thick. This thickness allows the apples to soften without becoming mush.
Coat them in fresh lemon juice before anything else. It prevents browning, yes, but it also sharpens the fruit. Without it, the filling leans flat.
Blending Sugar and Spice for Depth
Once the apples are ready, combine the sugars, flour, spices, and salt in a separate bowl. I use both white and brown sugar. White for clean sweetness. Brown for the molasses note that backs up the cinnamon. Flour thickens the juices as they bubble. Cinnamon gives the pie its backbone. Nutmeg plays in the background—you don’t need much. Salt keeps it grounded.
Toss the dry mixture with the apples gently. Every slice should wear a coat of sugar and spice. If the mixture looks dry, let it sit for five minutes. The apples will start to release juice and soak in the seasoning.
If you enjoy caramel apple flavor, try my Maple Glazed Apple Pie Bars for a quicker option with that same sweet-spice intensity.
Comparing Store-Bought vs. Homemade Pie Crust
If you’d rather make the dough from scratch, my pie crust recipe walks you through each step with clear, reliable guidance.
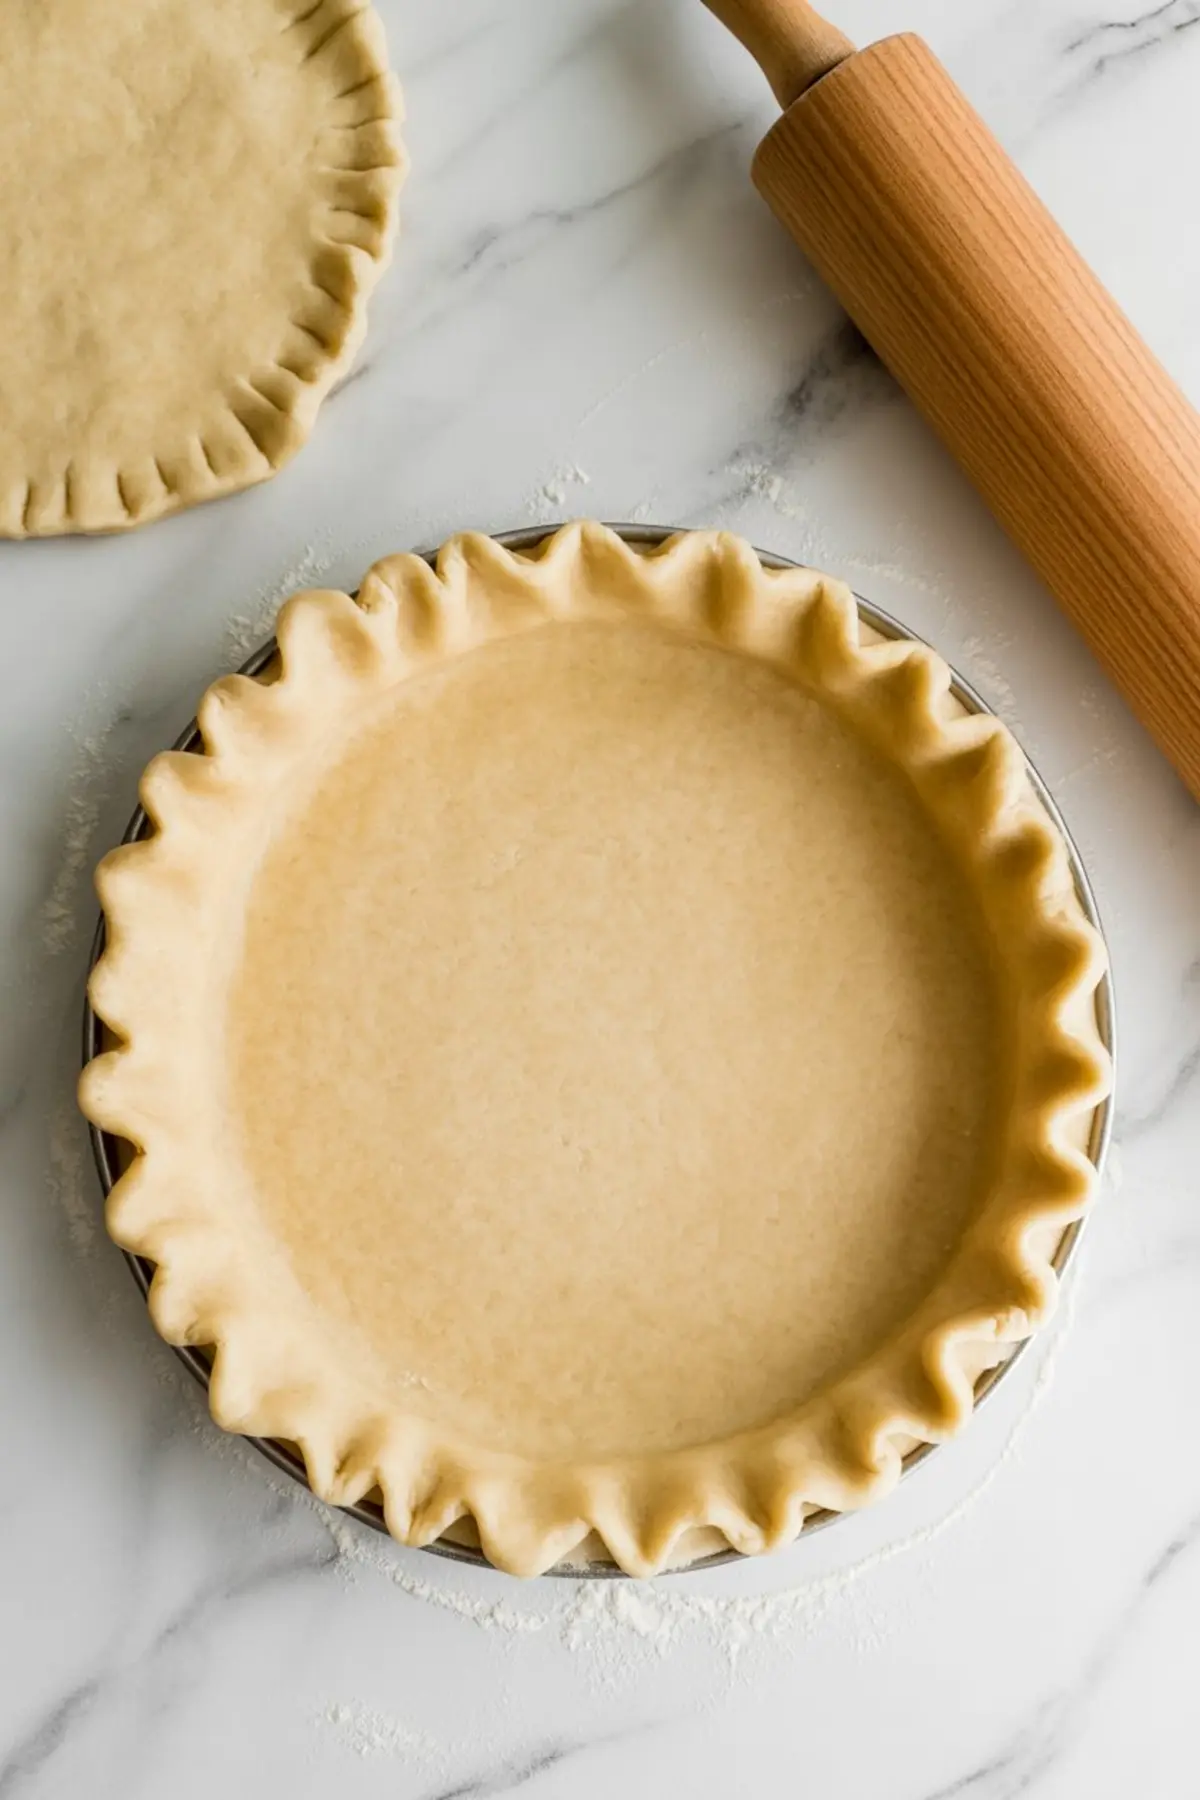
I’ve made this pie both ways—with my own butter crust and with refrigerated pie dough from the store. Here’s the truth. When you have the time and focus, homemade crust wins. The flavor is deeper, and the texture cracks in layers. But I’ve used store-bought crust many times, and when handled well, it bakes up golden and holds the filling like it should.
If you go with pre-made rounds, unroll them gently and let them soften for a few minutes. Press one round into a 9-inch pie dish. Make sure there are no air pockets under the base. Add the filling. Then dot the top with cold butter before covering it with the second crust. You can leave it whole with vents or weave a lattice. Either works.
For a rustic dessert that skips the top crust, my Caramel Apple Skillet Brownies give the same warm flavors in half the time.
Brushing the Crust and Baking with Precision
Before the pie hits the oven, brush the top crust with an egg wash. I mix one egg with a splash of milk. This helps the crust brown and gives it a glossy finish. Sprinkle coarse sugar on top if you like a crisp sparkle. It also adds a bit of texture contrast to the tender crust.
Bake at 425°F, and don’t skip the baking sheet underneath. Fruit pies like to bubble over, and the sugar can stick to the oven floor if you aren’t careful. I check the edges at the 30-minute mark. If they darken too fast, cover them with foil strips. The filling should bubble through the vents, and the crust should be fully golden.
Let the pie cool for two hours before slicing. That time allows the filling to set so the slices hold clean edges. Warm pie cuts beautifully when it rests.
If you’re looking for something smaller but still wrapped in that flaky crust, these Apple Turnovers With Puff Pastrydeliver fast apple pie flavor with a lighter bite.
Serving Tips and Storing Leftovers the Right Way
This pie works well served warm, room temperature, or chilled. I’ve served it plain, with whipped cream, or with a scoop of vanilla ice cream melting on the side. For gatherings, cut it in advance and place the slices back into the dish slightly spaced apart. It saves time and makes serving neater.
Store the pie on the counter if you’ll eat it within two days. Any longer, and I recommend the fridge. The crust softens slightly in cold storage but still holds together. I’ve wrapped slices individually in parchment before refrigerating for easy grab-and-eat dessert later.
If you like a layered twist, the Apple Pie Cheesecake Bars give you the same filling over a creamy base.
Save This Classic Apple Pie Recipe for Later
Pin this recipe to your Apple Dessert Recipes board so you always have a go-to when guests are on their way or apples are crowding your counter. Share how it turned out for you in the comments—I’d love to hear what apples you used or how you shaped your crust. If you have any questions, ask away.
And if you’re in the mood for something smaller, don’t miss my Apple Pie Cookies, which take the same spiced filling and turn it into a hand-held dessert.
Apple Pie Recipe

A flaky double-crust apple pie with a warm, spiced filling made from fresh apples, cinnamon, and a touch of lemon juice. This simple recipe balances classic flavor with convenient shortcuts.
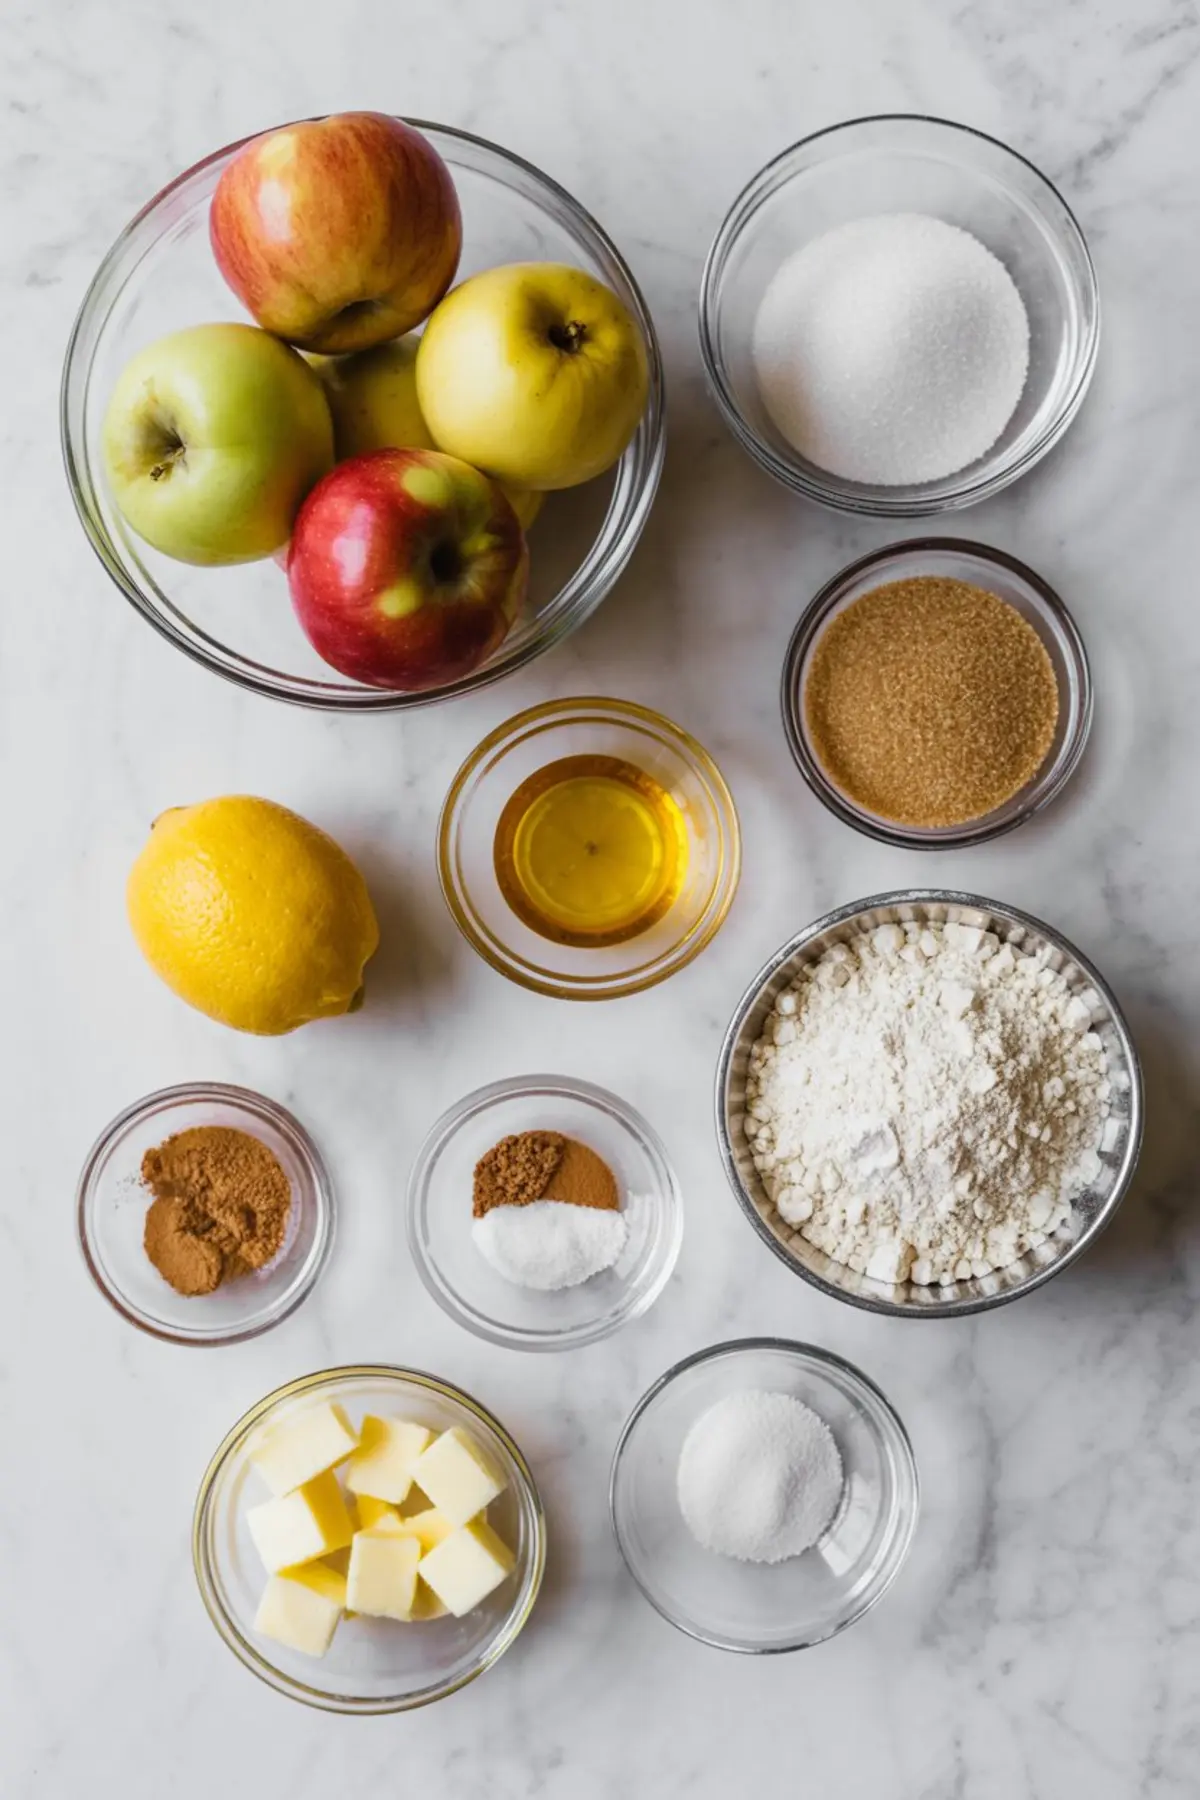
Ingredients
- FOR THE FILLING
- 6–7 medium apples (Granny Smith or Honeycrisp recommended)
- 3/4 cup granulated sugar
- 1/4 cup brown sugar
- 2 tablespoons all-purpose flour
- 1 tablespoon lemon juice
- 1 teaspoon ground cinnamon
- 1/4 teaspoon ground nutmeg
- 1/4 teaspoon salt
- 1 tablespoon unsalted butter, cut into small pieces
- FOR THE CRUST
- 1 package (2 rounds) refrigerated pie crusts, or homemade equivalent
- OPTIONAL TOPPINGS
- 1 egg
- 1 tablespoon milk or water
- Coarse sugar, for sprinkling
Instructions
- PREPARE THE APPLES: Peel, core, and slice the apples into 1/4-inch thick slices. Place them in a large mixing bowl, add the lemon juice, and toss to coat evenly to prevent browning and brighten the flavor.
- MIX THE FILLING: In a separate bowl, stir together the granulated sugar, brown sugar, flour, cinnamon, nutmeg, and salt. Sprinkle this dry mixture over the apples and toss until all slices are evenly coated.
- ASSEMBLE THE PIE: Preheat the oven to 425°F (220°C). Fit one pie crust into a 9-inch pie dish and press it gently into the bottom and sides. Pour the apple filling into the crust and spread it out evenly. Dot the top with pieces of butter. Cover with the second pie crust, either as a full sheet with slits cut in the center or as a lattice. Seal the edges by pinching or crimping them together. In a small bowl, beat the egg with the milk or water, then brush over the top crust. Sprinkle with coarse sugar if using.
- BAKE THE PIE: Place the pie on a baking sheet to catch drips and bake for 45 to 55 minutes, or until the crust is golden brown and the filling is bubbling. If the edges begin to brown too quickly, cover them loosely with foil during the last part of baking.
- COOL BEFORE SERVING: Let the pie cool at room temperature for at least 2 hours. This allows the filling to set fully and makes slicing cleaner and easier.
Notes
Use a mix of tart and sweet apples for balanced flavor. Preheating a baking sheet in the oven before placing the pie on it can help ensure a crisp bottom crust. Pie can be stored at room temperature for up to 2 days or refrigerated for up to 4 days.
Nutrition Information
Yield
8Serving Size
1Amount Per Serving Calories 1018Total Fat 10gSaturated Fat 3gTrans Fat 0gUnsaturated Fat 5gCholesterol 27mgSodium 185mgCarbohydrates 248gFiber 37gSugar 184gProtein 6g