
There’s a reason Banoffee Pie has stood the test of time in British baking. A crisp biscuit crust. A thick, glossy toffee. Fresh bananas. Soft peaks of whipped cream. It’s no-bake, straightforward, and delivers a combination of flavors and textures that people genuinely remember. You don’t need any advanced technique, just a steady hand and a chilled pie tin.
This version leans into balance. The toffee doesn’t stick to your teeth. The crust holds together cleanly. And the bananas? They stay bright and soft instead of turning mushy or dull. If you’ve ever found banoffee pie a bit too sweet or heavy, this recipe fixes that with small, smart choices.

Following a special diet?
Every recipe on this site can be converted to gluten-free, vegan, dairy-free, keto, nut-free or egg-free with adjusted ratios so nothing falls flat.
Try the Recipe Converter →Why You Can Trust This Banoffee Pie Recipe
I’ve made this pie dozens of times—for birthdays, bake sales, and my own midnight fridge raids. The steps are dependable, and the structure holds up even after a night in the fridge. You’ll learn how to make a better toffee layer, how to prep bananas that don’t brown, and how to avoid whipped cream collapse.
More than that, you’ll understand how each layer plays its part.
The Crust: Choosing Digestive Biscuits vs. Graham Crackers
I’ve used both, and the difference shows in texture and taste. Digestives make a more tender, biscuit-style base with a mellow flavor. Graham crackers add a crisp snap and stronger vanilla-honey notes. If I’m making this for a British crowd or keeping it traditional, I always reach for digestives.
But when I’m after a firmer base that travels well in a picnic basket, graham crackers win. Use what you have, but adjust butter if your crumbs feel too dry or loose.
Explore more pie crust ideas in my Dessert Pie collection.
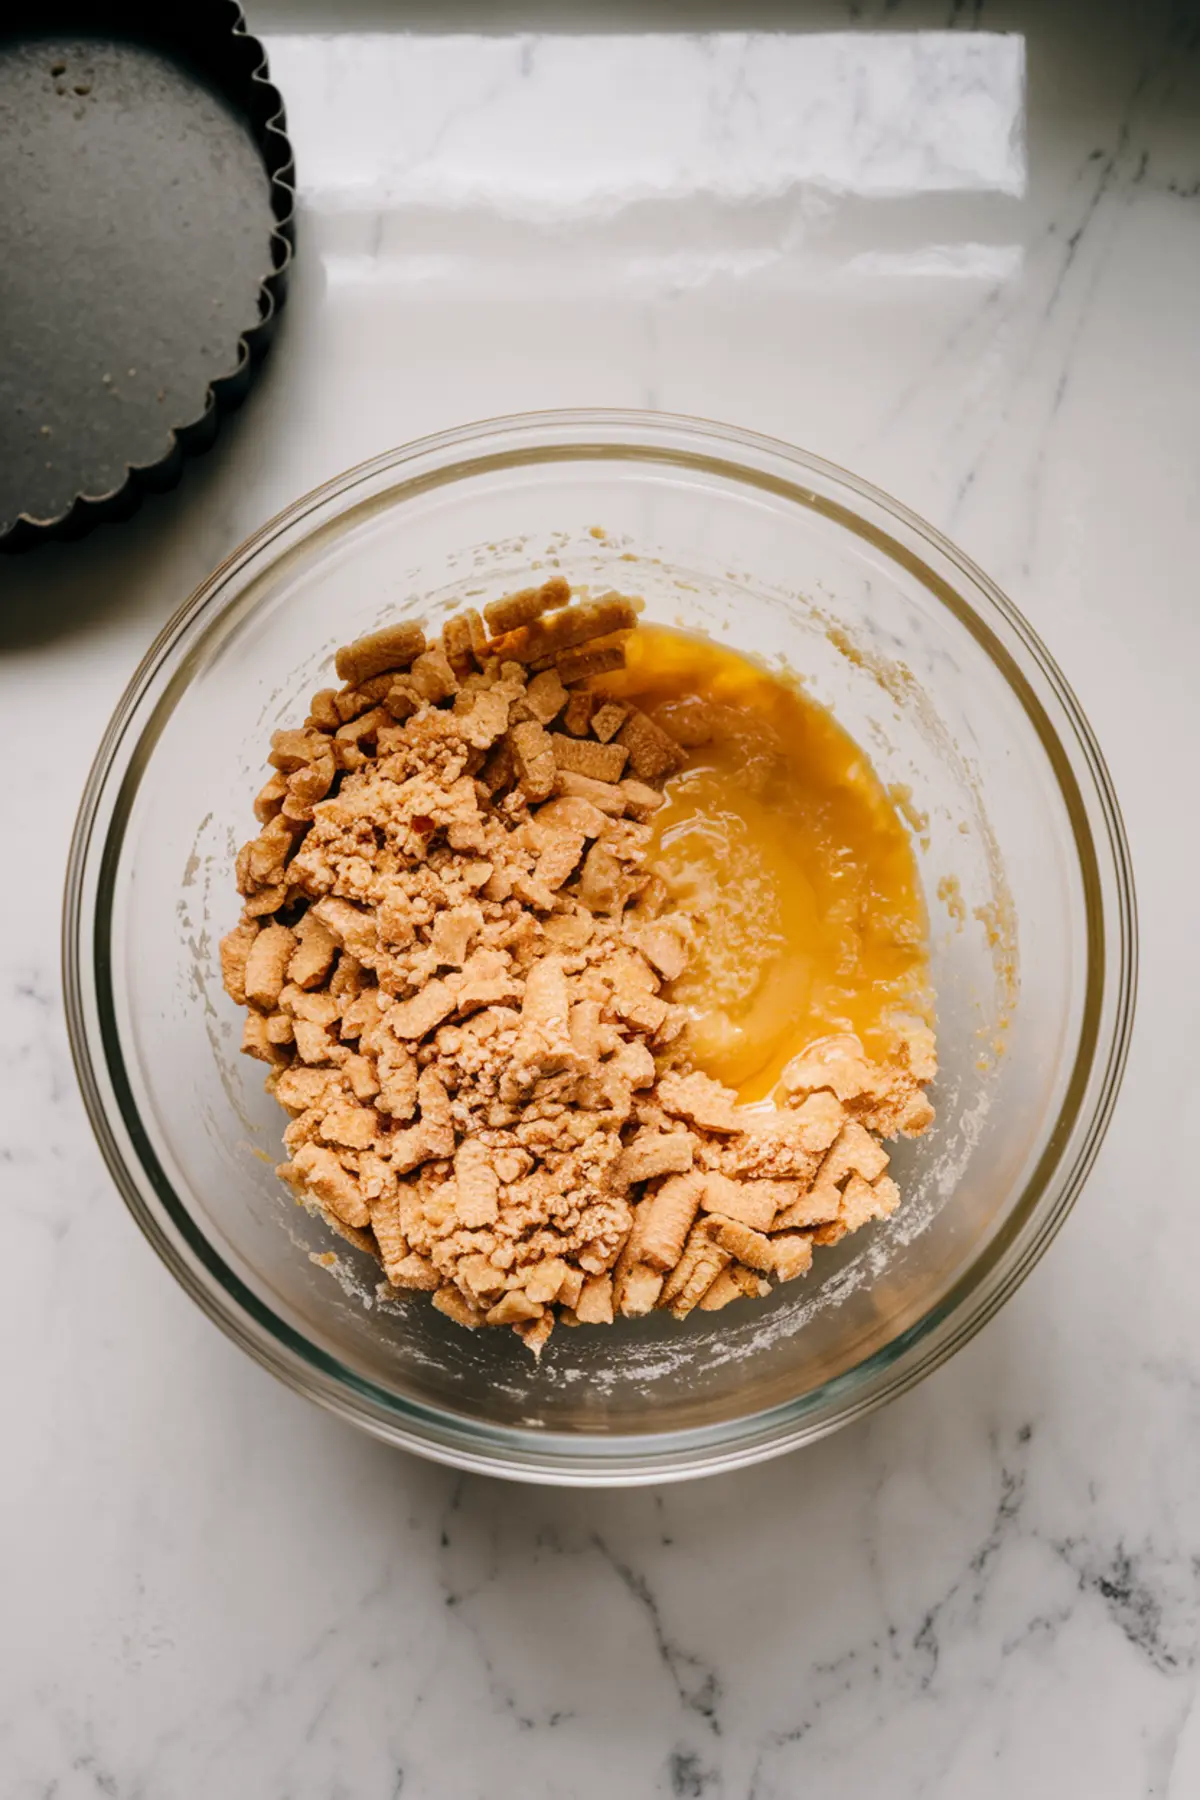
Building the Biscuit Base
Start with fine, even crumbs. I pulse mine in a food processor, but you can roll them in a zip-top bag. Mix with melted butter until the texture feels like damp sand. Press the mixture into a 9-inch pie tin and press up the sides. Use the bottom of a glass for even compression. Chill while you work on the filling.
You might also like my Coconut Cream Pie if you’re in the mood for something cool and creamy.
Making the Toffee Layer Without Burning It
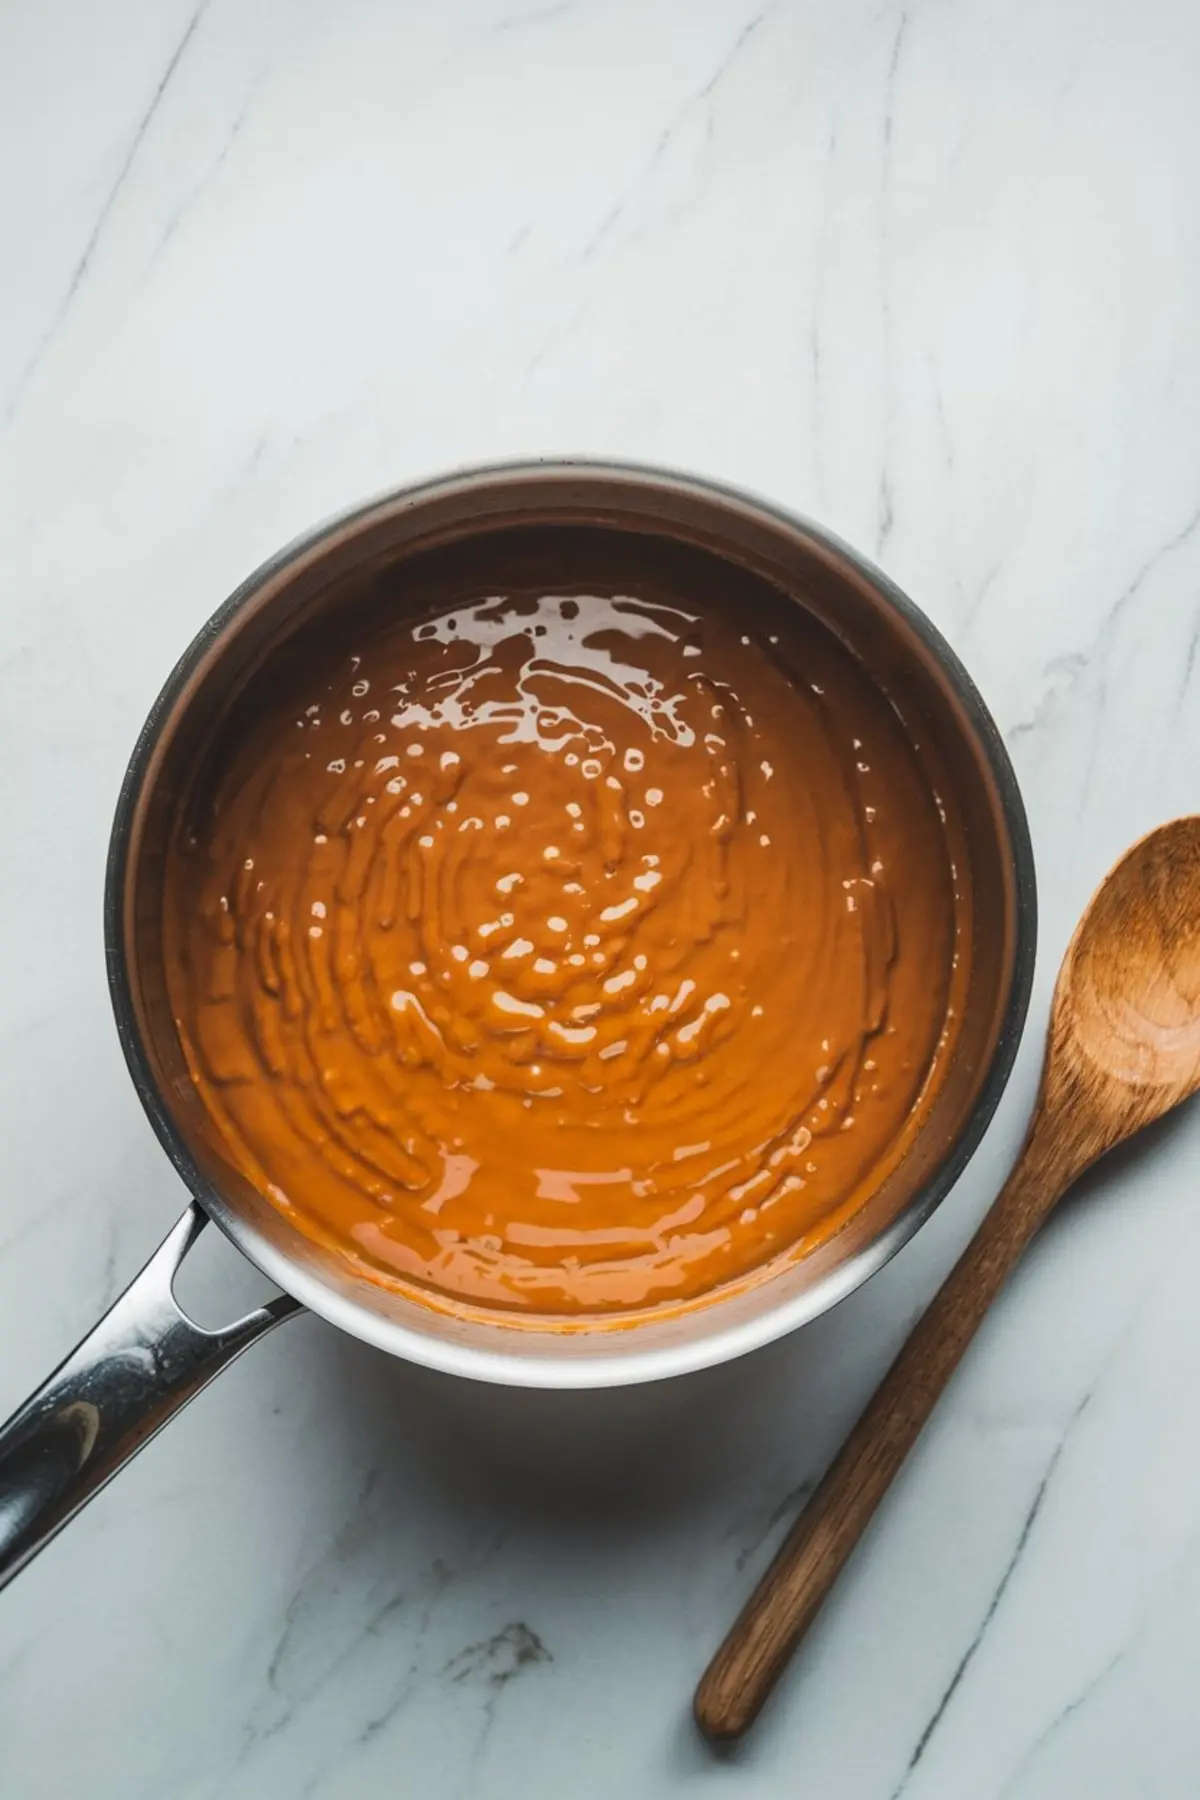
Melt butter and light brown sugar together in a saucepan until fully combined and bubbling. Add sweetened condensed milk and stir constantly as it simmers. The texture will thicken within a few minutes. Keep the heat medium-low and stay with it—don’t let it scorch.
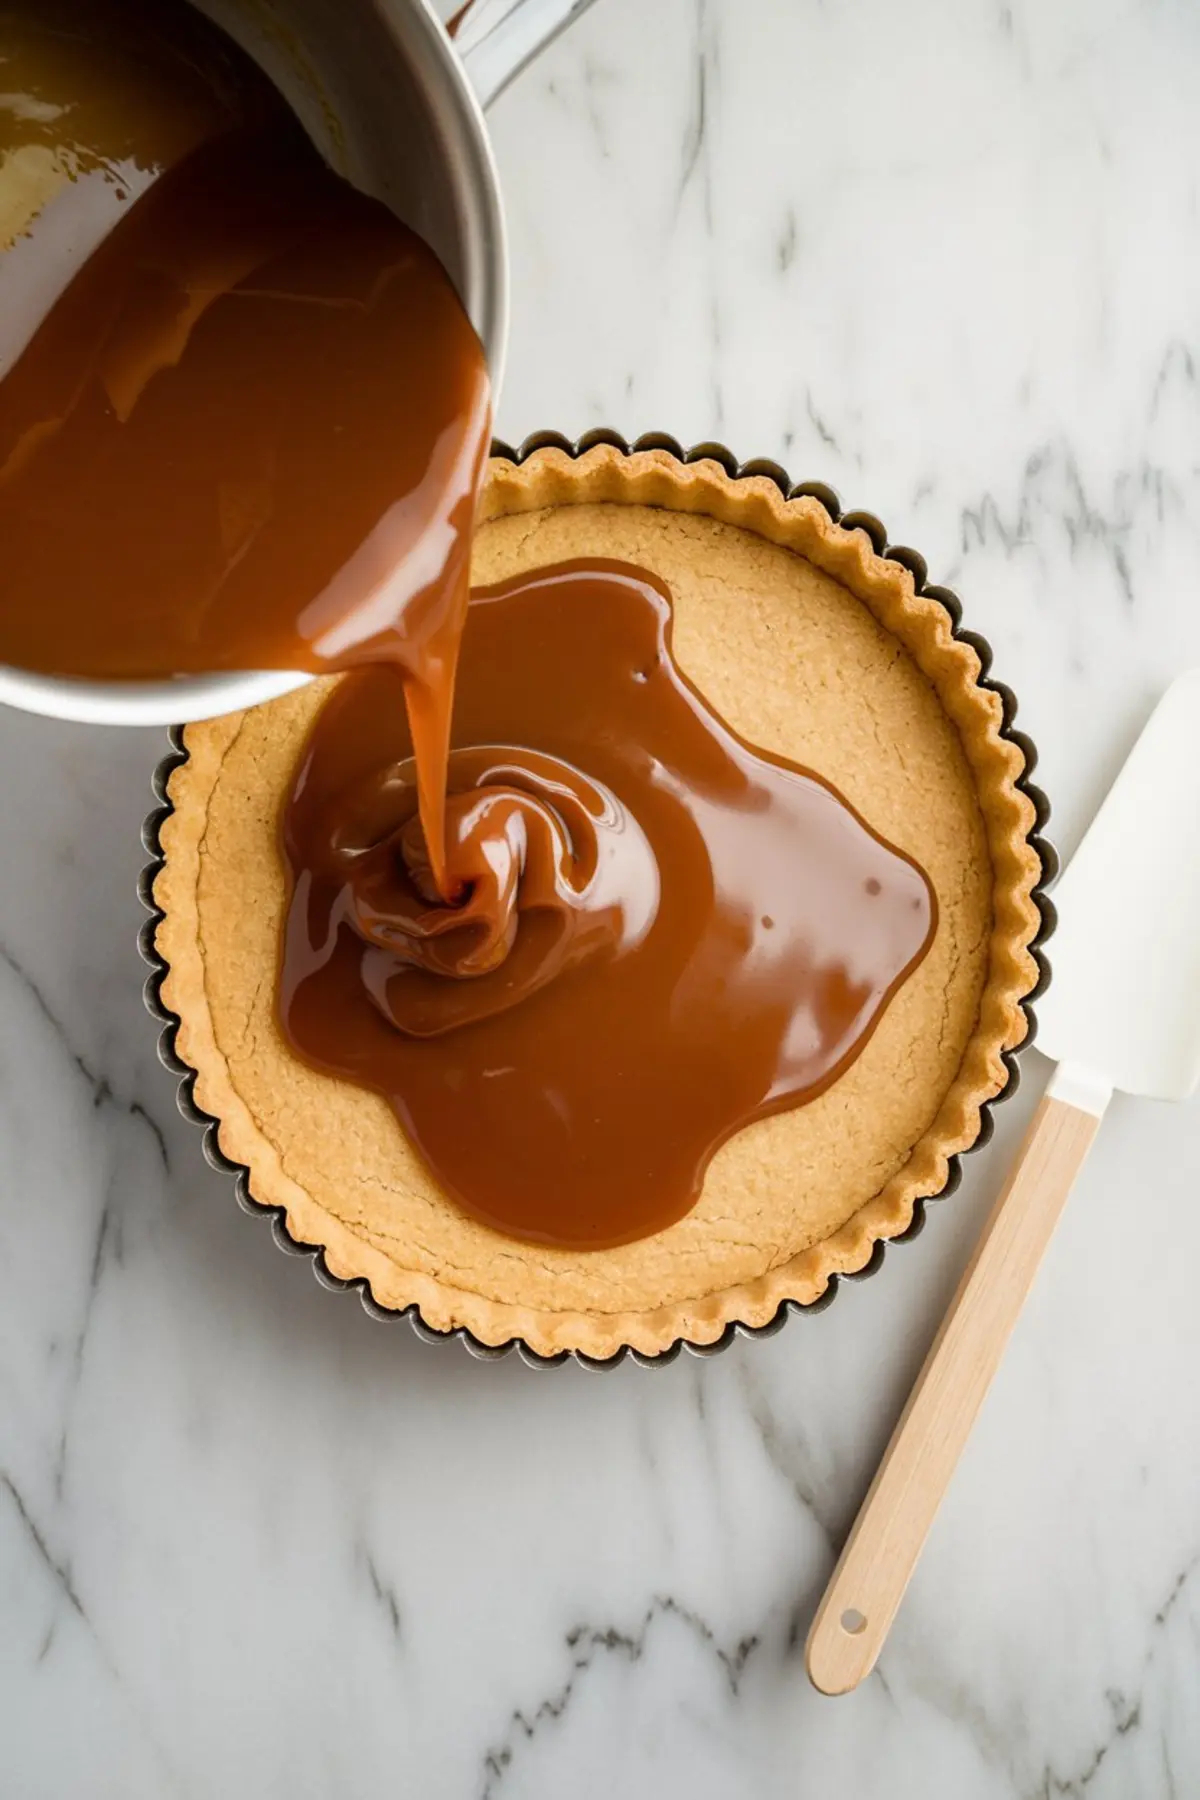
When it’s done, it will look glossy and deep golden, like soft caramel fudge. Pour this over your chilled crust. Let it cool on the counter before refrigerating for an hour.
Want more ideas like this? My Sweet Potato Pie balances richness with spice in a similar way.
Slicing the Bananas Without Browning
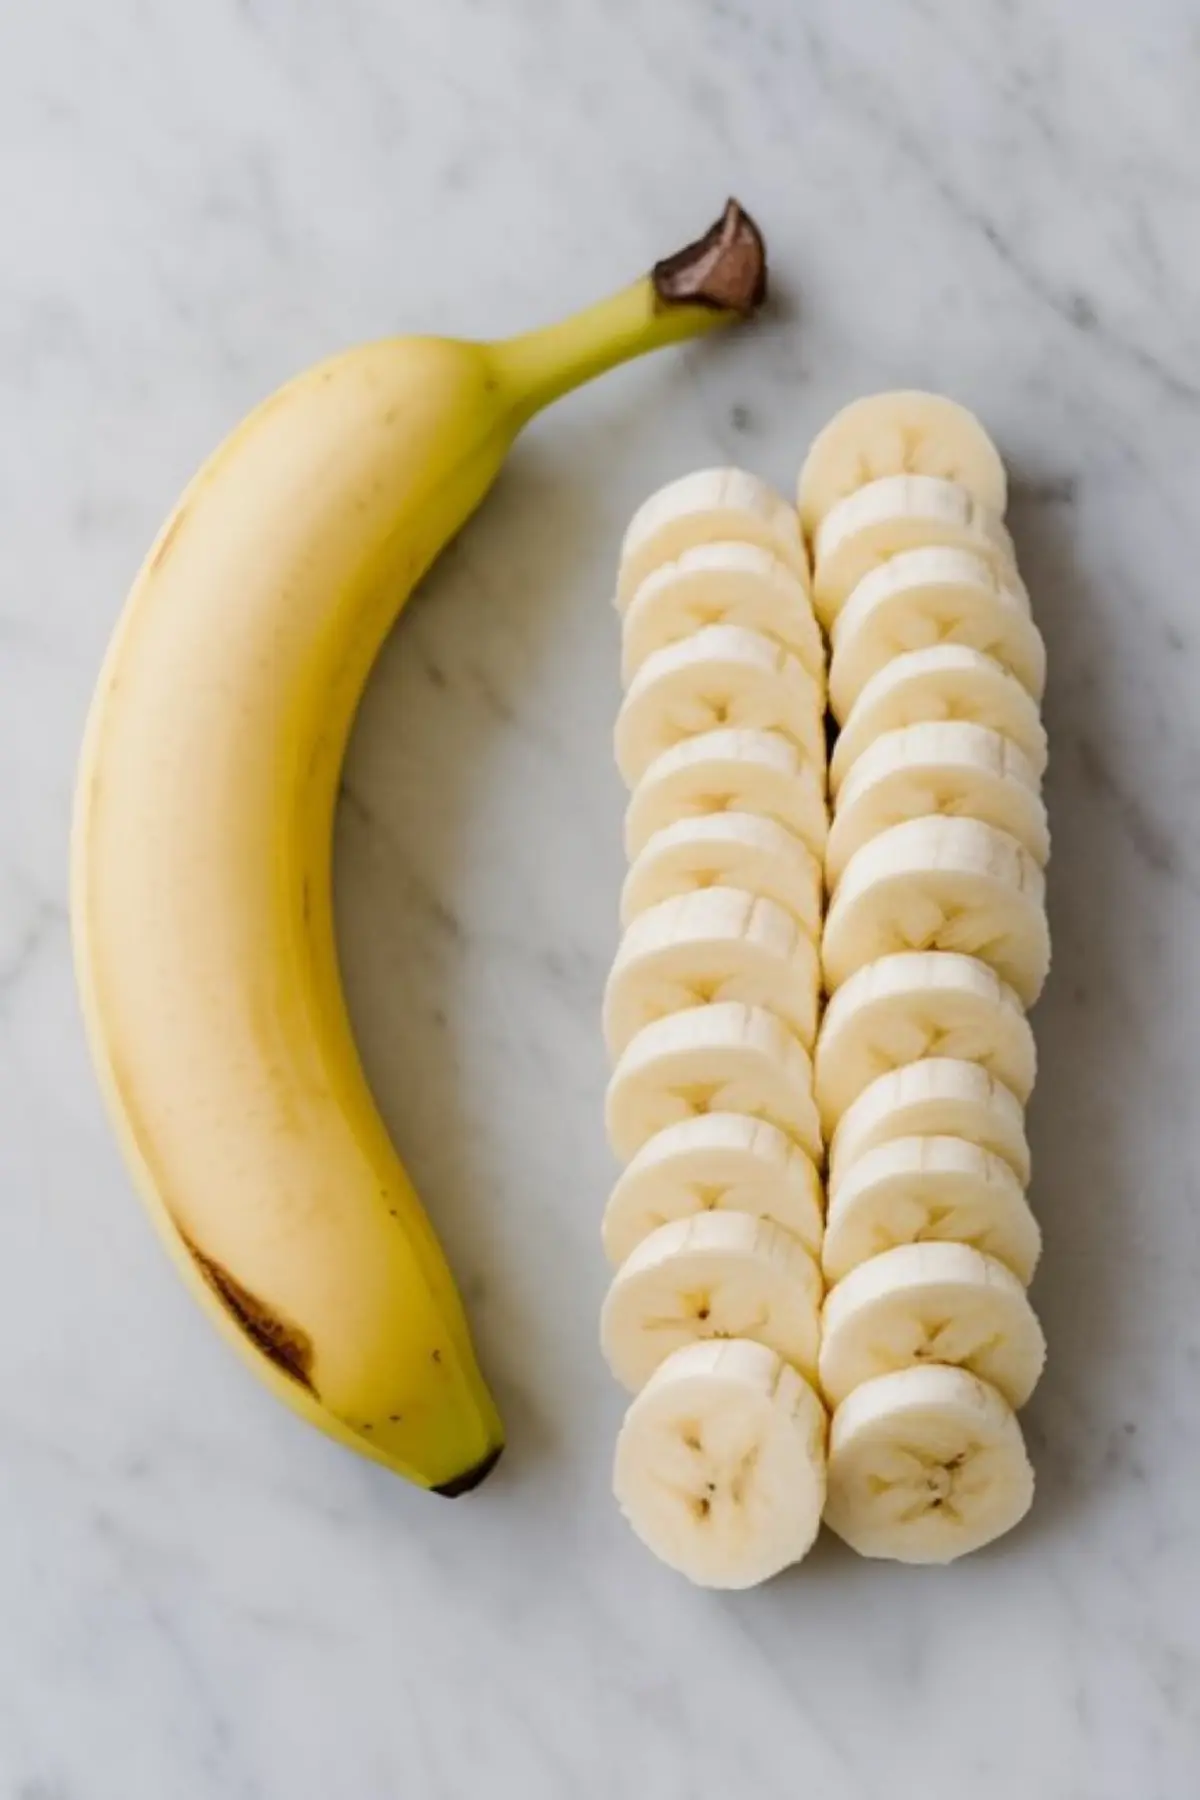
Use ripe but firm bananas. Too soft and they’ll collapse under the cream. Too green and they won’t taste sweet. I slice them just before layering so they stay fresh. A tight layer works best—cover the toffee without stacking too high.
Whipping Cream That Actually Holds
Heavy cream whips best when cold. I use a hand mixer and stop at soft peaks, adding a little powdered sugar and vanilla for stability. Overwhipping leads to a grainy finish, so once the cream thickens and the beaters leave trails, I stop.
Spread the cream gently over the bananas. Use the back of a spoon to make small swoops for a bakery-style finish. A final dusting of cocoa powder or chocolate shavings pulls it all together.
Serving and Storing Banoffee Pie the Right Way
Chill the assembled pie for at least 30 minutes before serving. The longer it rests, the cleaner the slices. I’ve had good results leaving it overnight, covered, with no banana browning. If you’re prepping for guests, layer everything except the bananas, and add them just before serving.
Leftovers stay fresh for two days in the fridge. The crust softens slightly, but the flavor stays balanced. You can freeze the crust and toffee layers in advance, then thaw and assemble with fresh toppings.
If you love this one, the Lemon Pie offers the same ease with a citrus twist.
Final Thoughts: Save and Share Your Banoffee Win
This Banoffee Pie Recipe has become a staple in my kitchen because it works. It’s fast, reliable, and every layer can be made ahead. If you’ve never made a no-bake caramel pie before, this is the one to start with.
Save this to your dessert board on Pinterest so it’s easy to find next time.
I’d love to hear how your banoffee pie turned out. Did you go for chocolate shavings or cocoa powder? Digestives or graham crackers? Drop a comment below, I always read them.
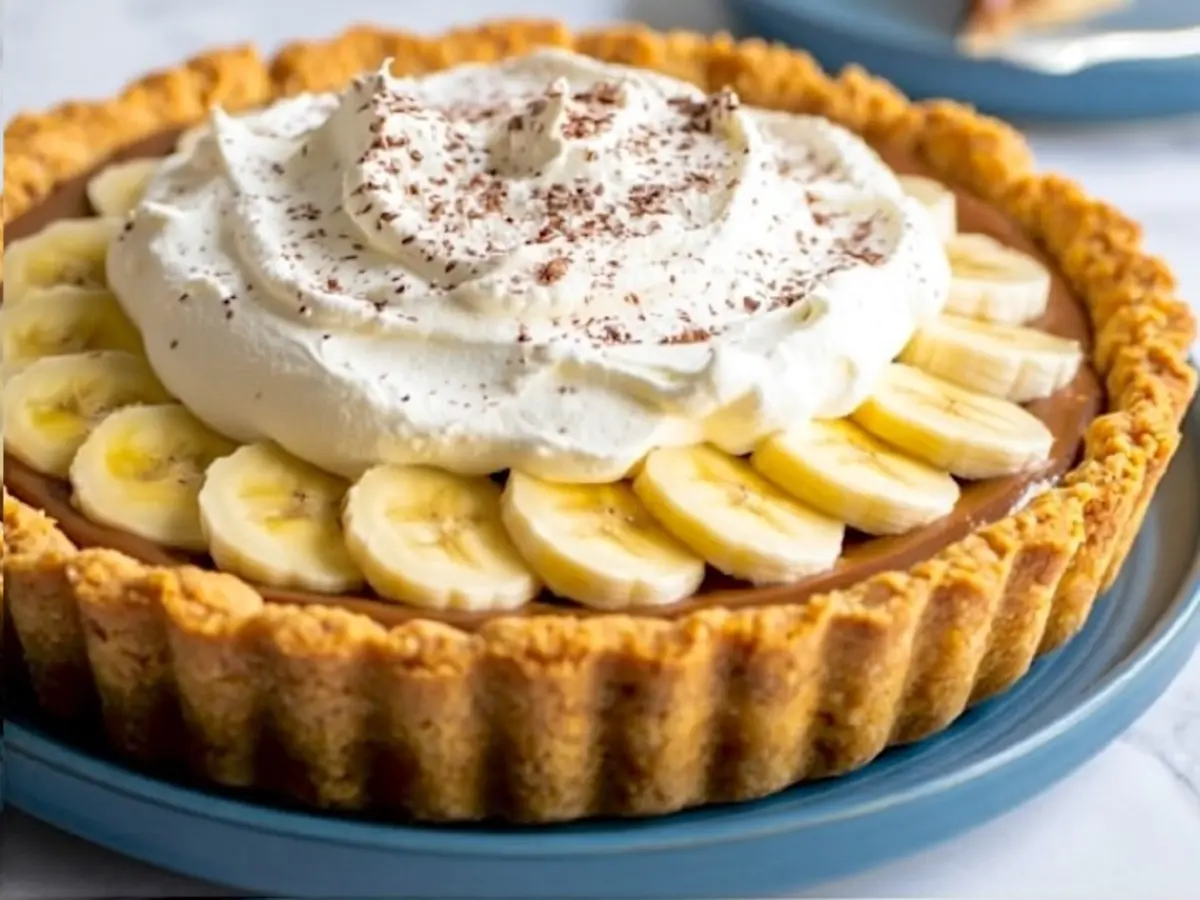
Banoffee Pie Recipe

A classic no-bake British dessert made with a crushed biscuit crust, smooth toffee filling, fresh bananas, and whipped cream. Every layer adds texture and flavor to this simple and crowd-pleasing pie.
Ingredients
- FOR THE CRUST
- 250g (about 2 cups) digestive biscuits or graham crackers, crushed
- 100g (7 tbsp) unsalted butter, melted
- FOR THE TOFFEE LAYER
- 1 can (397g or 14 oz) sweetened condensed milk
- 100g (½ cup) unsalted butter
- 100g (½ cup) light brown sugar
- FOR THE TOPPINGS
- 2–3 ripe bananas, sliced
- 300ml (1¼ cups) heavy cream
- 1 tbsp powdered sugar (optional)
- ½ tsp vanilla extract (optional)
- Dark chocolate shavings or cocoa powder, for garnish
Instructions
- MAKE THE CRUST: Crush the biscuits or graham crackers into fine crumbs using a food processor or by placing them in a zip-top bag and rolling with a pin. Combine with melted butter in a bowl and mix until the texture resembles wet sand. Press the mixture evenly into the base and sides of a 9-inch tart tin or pie dish. Refrigerate for at least 20 minutes to firm up.
- COOK THE TOFFEE: In a medium saucepan over medium heat, melt the butter and brown sugar together, stirring constantly. Add the sweetened condensed milk and bring to a gentle boil. Reduce heat slightly and simmer for 2–3 minutes, stirring the entire time, until the mixture thickens and turns a deep caramel color. Pour the toffee over the chilled crust and spread evenly. Allow to cool slightly, then refrigerate for at least 1 hour until set.
- ADD THE BANANAS: Slice the bananas just before assembling to prevent browning. Layer the slices evenly over the chilled toffee layer.
- WHIP THE CREAM: In a mixing bowl, whip the heavy cream until soft peaks form. Add powdered sugar and vanilla extract if using, and continue whipping just until incorporated. Do not overwhip.
- FINISH THE TOPPING: Spoon the whipped cream over the banana layer and gently swirl the surface with a spatula or spoon to create texture. Sprinkle with dark chocolate shavings or sift a light dusting of cocoa powder on top.
- CHILL AND SERVE: Refrigerate the assembled pie for at least 30 minutes before serving to help the layers set and make slicing easier. Serve chilled and store leftovers covered in the refrigerator.
Notes
Use ripe but firm bananas for the best texture. If preparing in advance, slice and add bananas just before serving to prevent browning. For easier slicing, chill the pie for an extra hour.