There’s something quietly dependable about a dessert bar that holds its shape, travels well, and delivers both flavor and texture in a single bite.
These Cherry Pie Bars do exactly that—and they do it without any fuss.
You’ll learn how to build a reliable shortbread base, smooth on a cream cheese layer that won’t sink or crack, and top it all off with a glossy cherry filling and golden crumble. The entire recipe works from pantry basics and one can of cherry pie filling. That simplicity is the secret to its consistency.
I’ve made these bars for classroom parties, church potlucks, and once even sent them along to a neighbor’s moving day. They slice neatly, store beautifully, and manage to stay tender days after baking.
Following a special diet?
Every recipe on this site can be converted to gluten-free, vegan, dairy-free, keto, nut-free or egg-free with adjusted ratios so nothing falls flat.
Try the Recipe Converter →Why These Cherry Pie Bars Work Every Time
A good cherry bars recipe needs structure and softness without turning soggy.
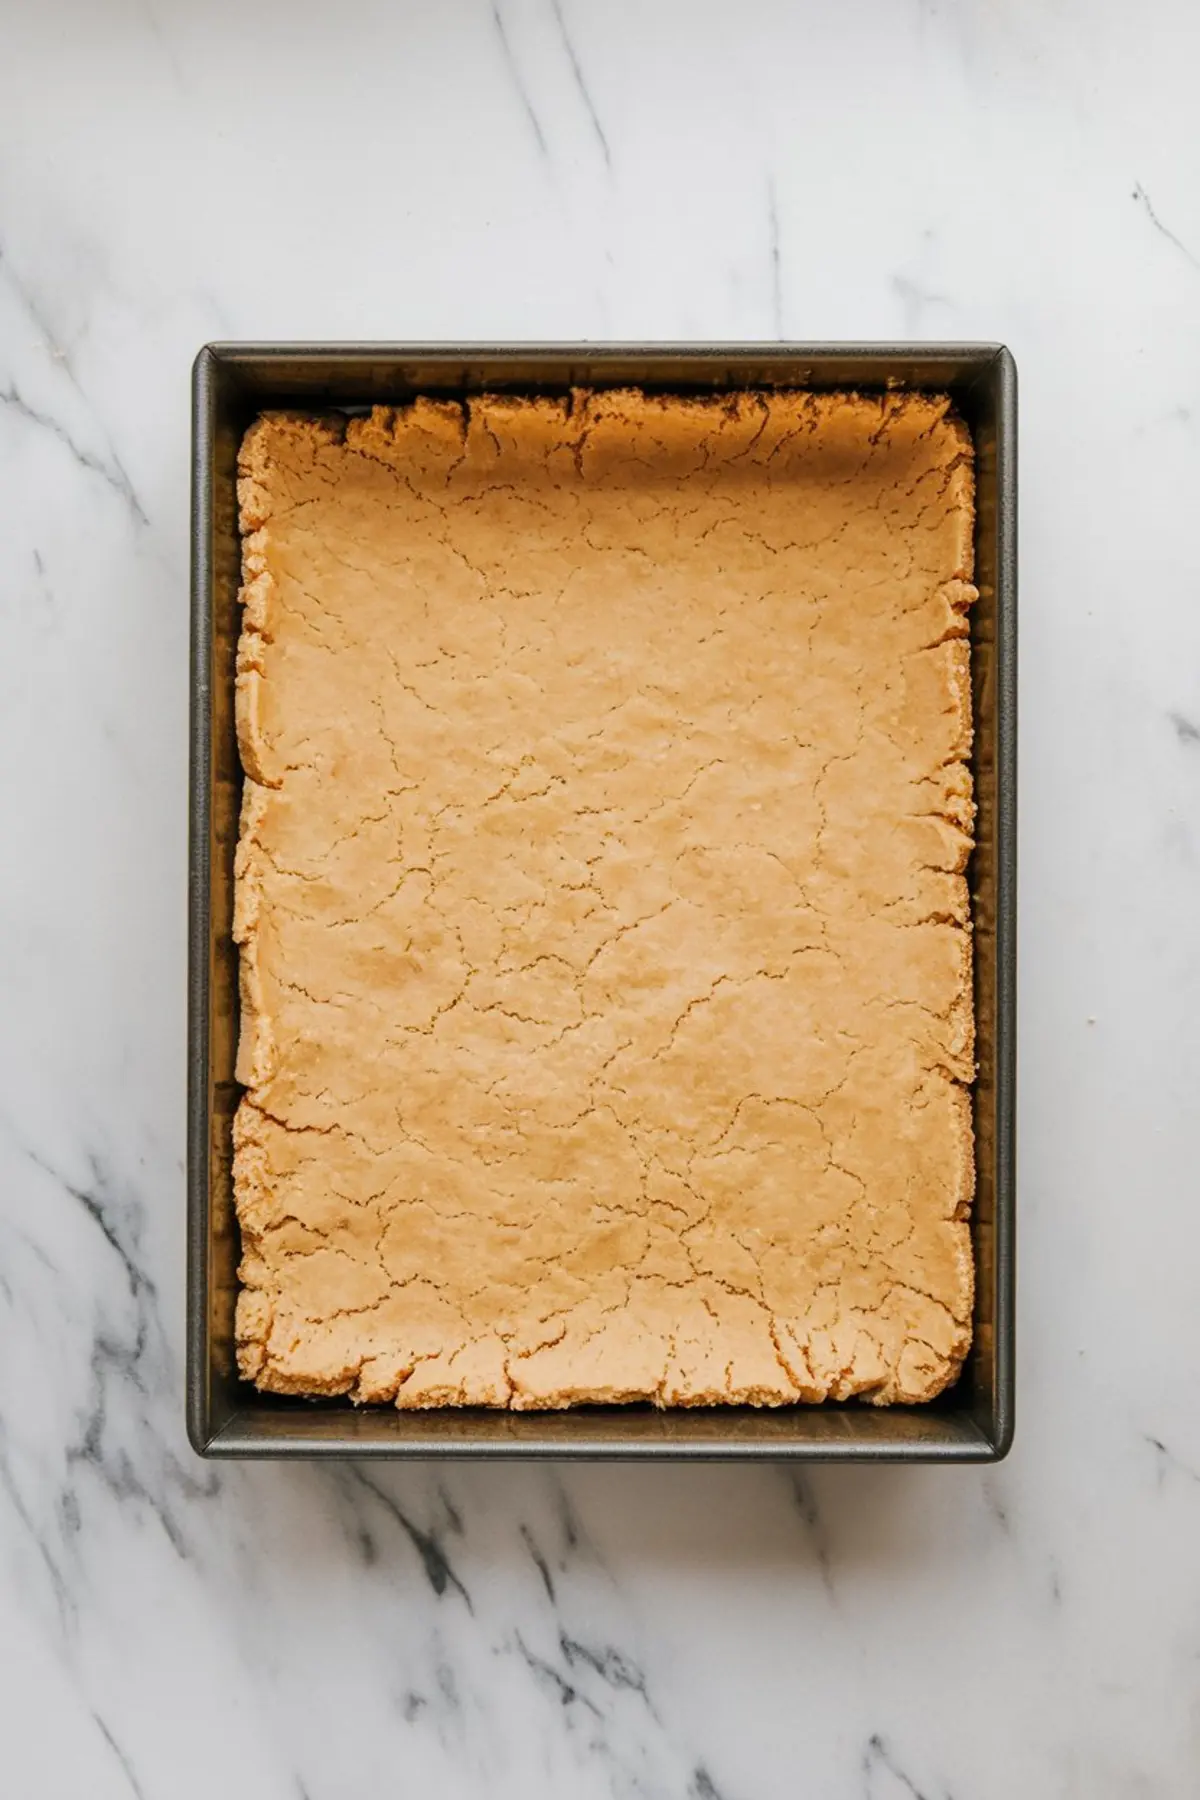
This one starts with a classic shortbread dough that pulls double duty. Half of it presses into a firm base. The rest gets crumbled on top to form a golden, buttery finish. You won’t need to chill the dough or blind bake the crust.
The cream cheese layer sits between the crust and fruit, softening the sharp sweetness of the cherries. This layer also helps the bars keep their shape without drying out.
I’ve seen similar recipes using canned cherry pie filling on a sponge base, but they often sink or brown unevenly. Shortbread gives more control.
You can use this same structure with blueberry, raspberry, or even lemon curd, but cherry pie bars are the ones people ask for every Christmas. I’ve kept this version in my handwritten notes with a red ribbon beside the title.
Try these Cherry Cheesecake Brownies if you want a richer chocolate base with a similar cherry swirl.
A Practical Ingredient Comparison
I’ve tested these with both almond extract and without.
Almond brings out a slightly floral note that pairs naturally with canned cherry pie filling. But if you’re baking for a crowd and unsure about preferences, vanilla alone keeps the flavor more neutral. In my experience, almond gives the bars a holiday feel—especially for those looking for Christmas cherry bars. For summer gatherings or large events, I often skip it to keep the flavor straightforward.
If almond is your thing, this Cherry Almond Dessert Dip gives you that pairing in a creamy, shareable bowl.
Cherry Pie Bars for a Crowd or the Freezer
This recipe yields a full 9×13 pan, enough for 20 to 24 squares depending on how you cut them.
That makes them ideal for events, bake sales, or anytime you need a dessert that stretches. I’ve frozen these after slicing and layered them between parchment sheets in a container. They defrost at room temperature in about 45 minutes, and the crumble topping stays firm.
For an easy sheet-style dessert that’s freezer-friendly, this Chocolate Cherry Dump Cake is another one that keeps well and pleases a crowd.
Ingredient and Technique Notes

Butter should be softened, not melted. That’s how you create the slightly aerated structure of the shortbread base. I usually leave mine out for 30 to 40 minutes before starting.
The cream cheese must be fully softened or it will leave lumps. I take it out with the butter, and if I’m short on time, I warm it gently over a bowl of hot water instead of the microwave.

The canned cherry pie filling should be gently spooned over the cream cheese layer. Spread it carefully without swirling, or the top will bake unevenly.
If you’re after variety, you could swap the cherry with blueberry or peach filling, but cherries hold their shape and color better after baking.
For a fully classic pie-style version, my Homemade Cherry Pie gives the same flavor in a flakier crust format.
Serving and Storing Cherry Bars
Once baked, I let the bars cool in the pan for at least 90 minutes. Then I use the parchment overhang to lift them out. For cleaner slices, chill the slab in the fridge for 30 minutes before cutting.
You can serve these at room temperature or cold. I like them slightly chilled, especially in summer.
They stay fresh at room temperature for about 2 days, or up to 5 days refrigerated. You can also freeze them in an airtight container for up to 2 months.
Pair them with a batch of Cherry Chocolate Chip Cookies if you’re building out a cherry dessert table.
Related Recipes with Cherry Pie Filling
You don’t need to stop at bars.
If you’ve got a second can of cherry filling in the pantry, try one of these:
- Homemade Cherry Pie for a traditional version
- Cherry Cheesecake Brownies for a layered chocolate twist
- Cherry Almond Dip for a no-bake summer option
- Chocolate Cherry Dump Cake if you need something hands-off
These cherry desserts give you plenty of ways to use that shelf-stable pie filling and still serve something worth repeating.
Save and Share This One
If this recipe sounds like something you’ll come back to, save it on your board so it’s ready next time you need a cherry dessert that feeds a group.
And if you give it a try, let me know how it turned out in the comments. I read every single one, and I’m always curious how others slice theirs—clean squares or rustic edges?
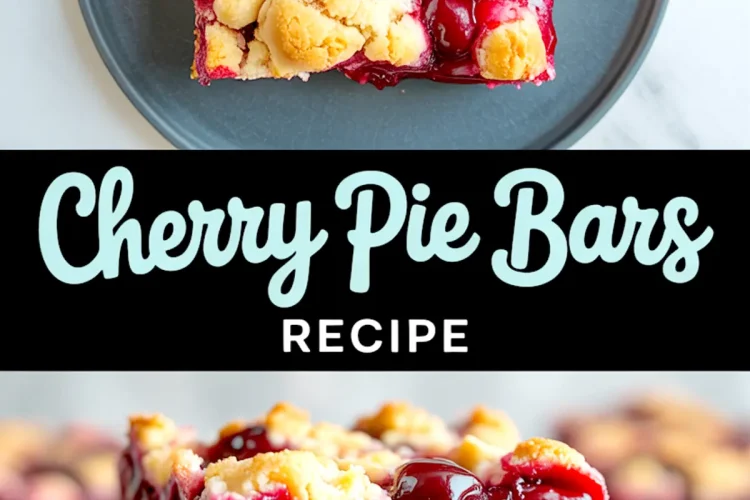
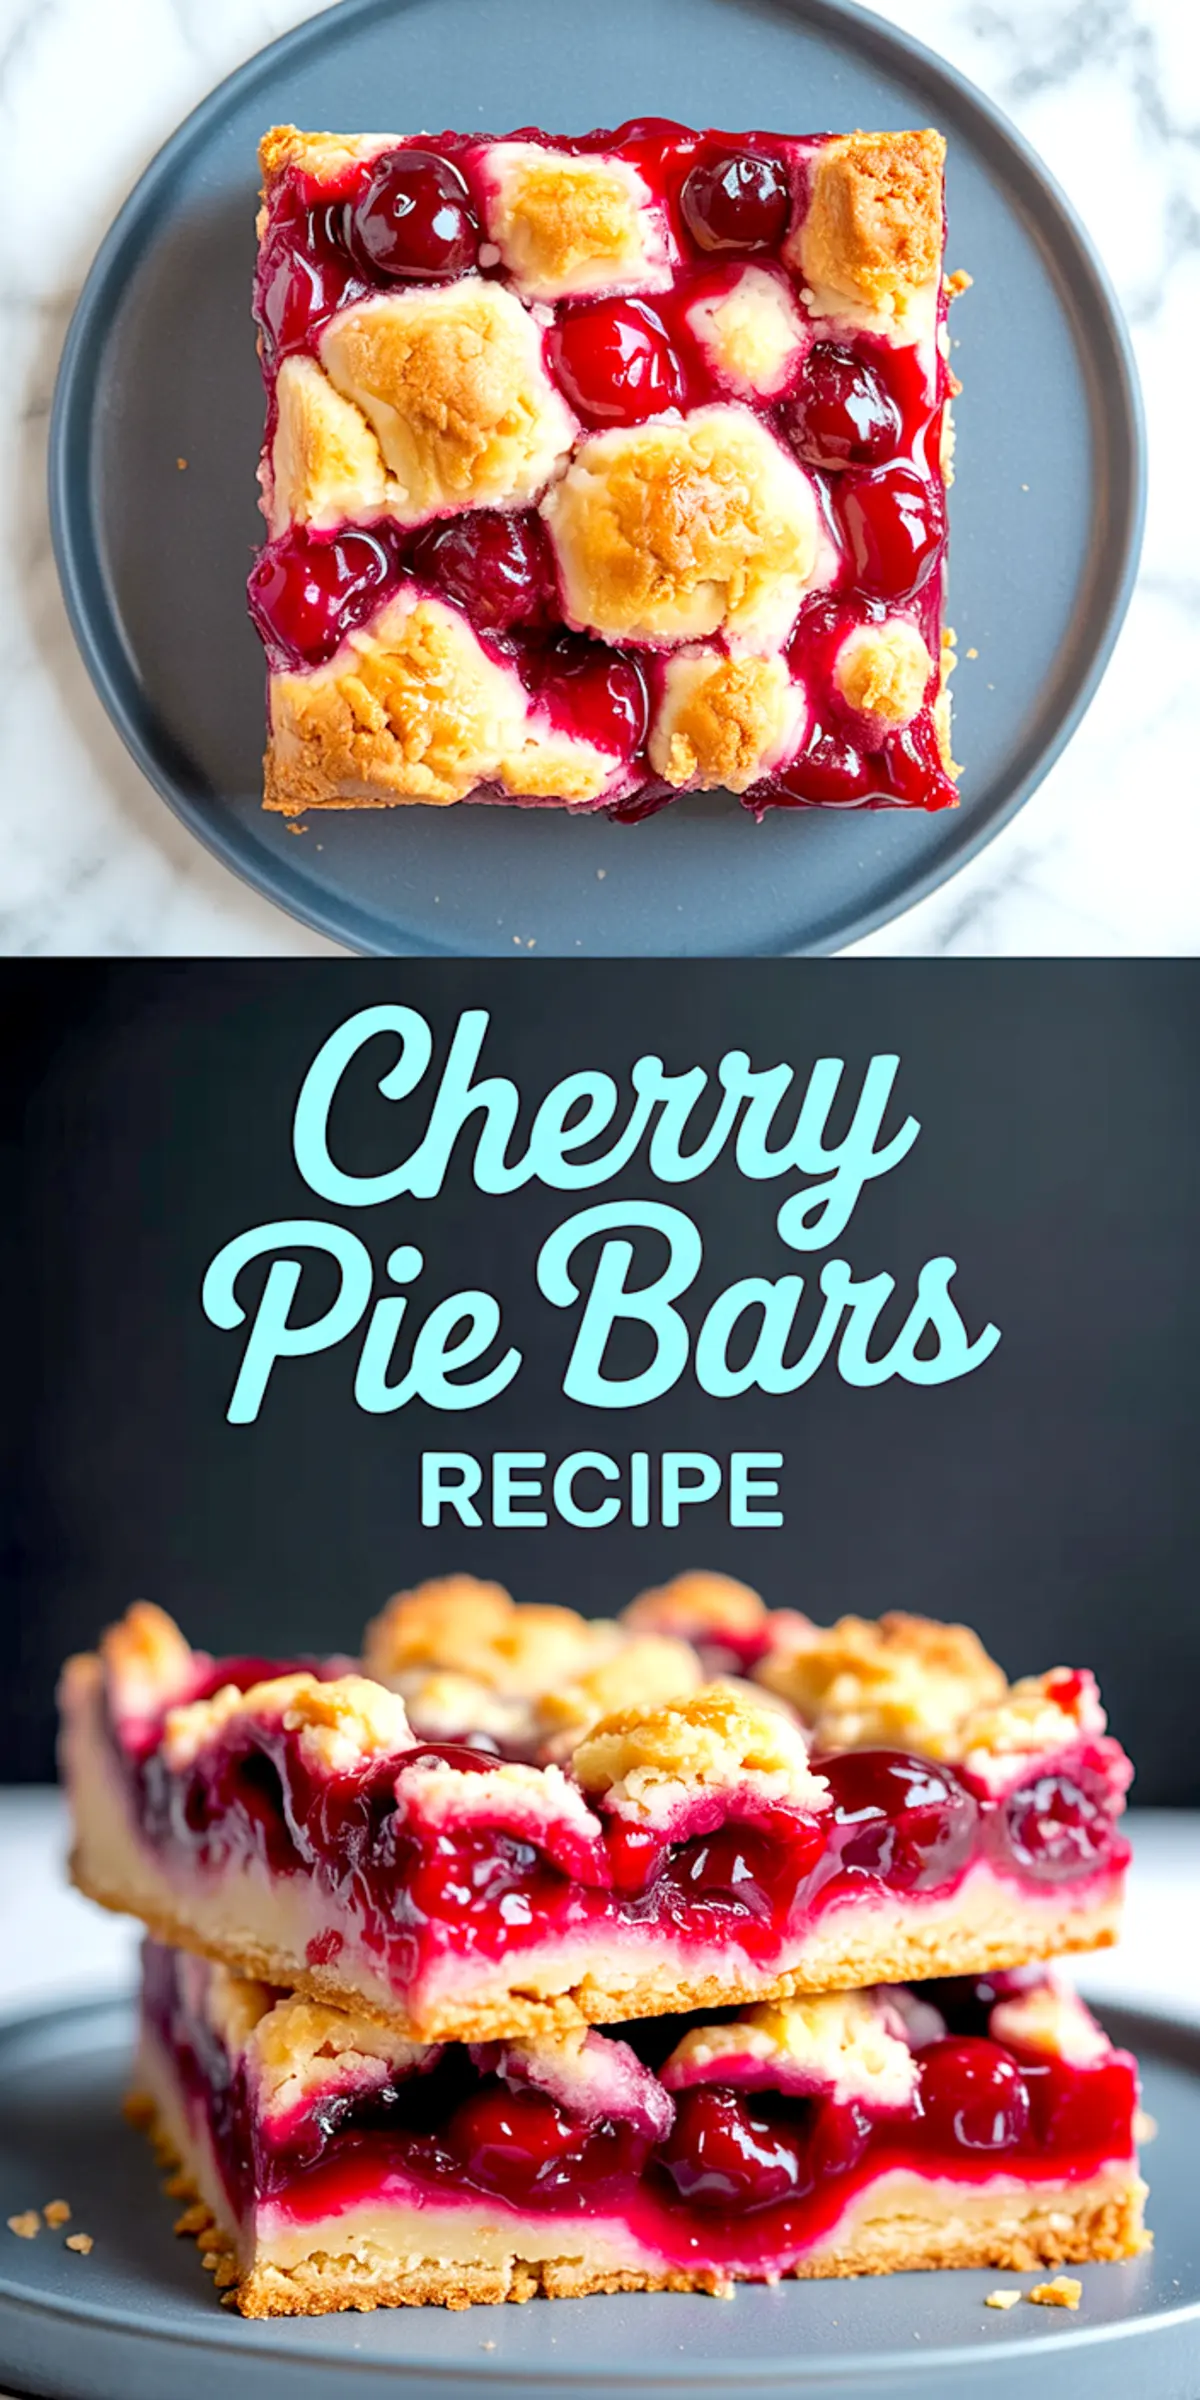
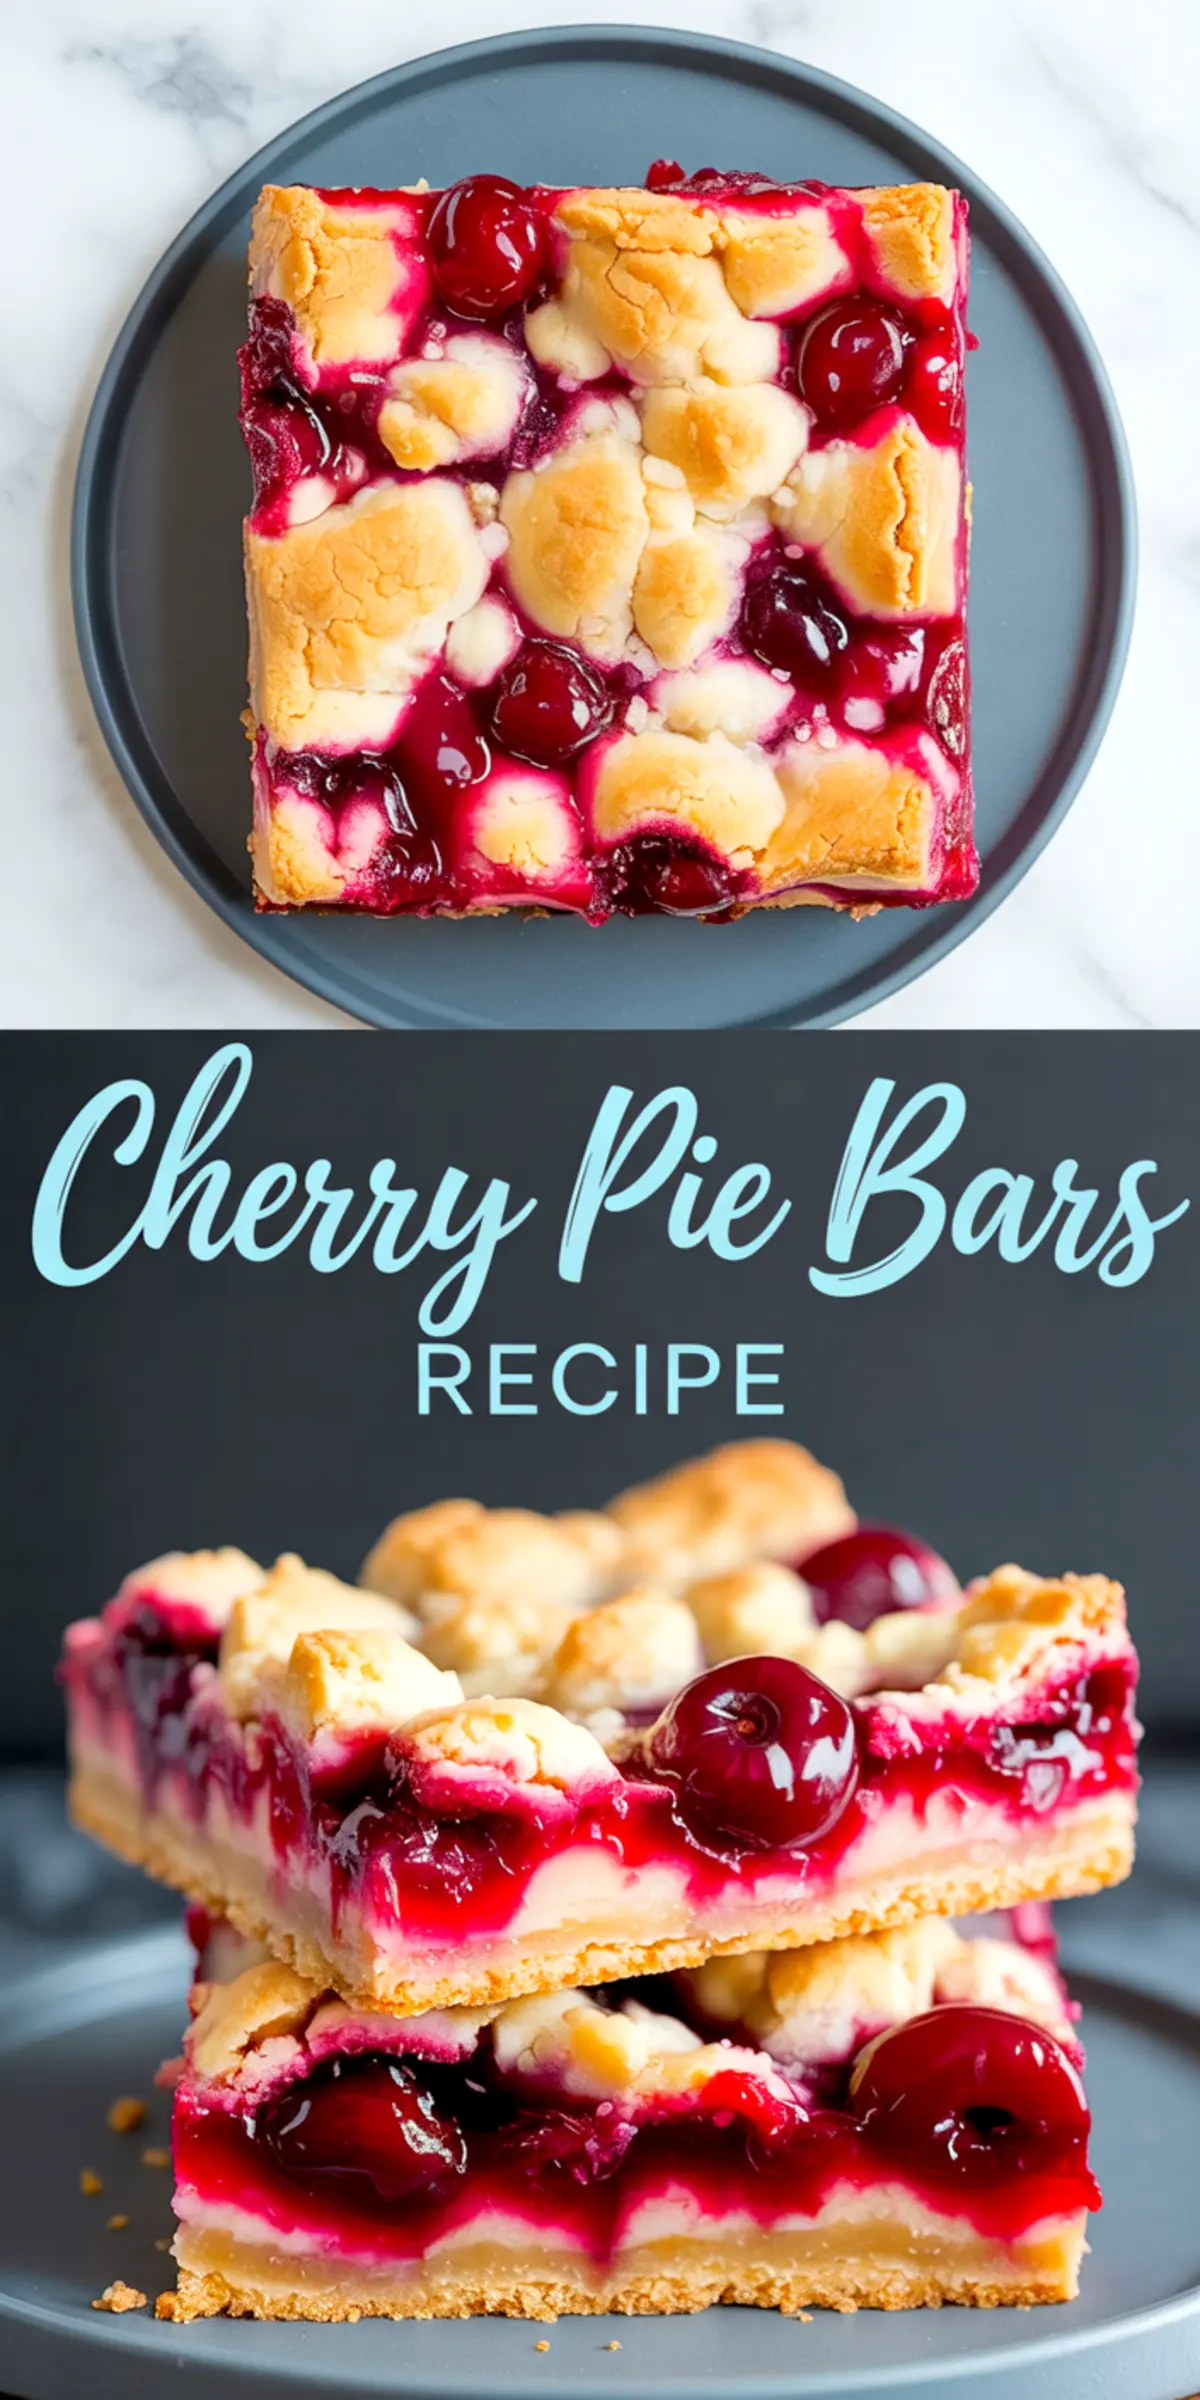
Cherry Pie Bars Recipe
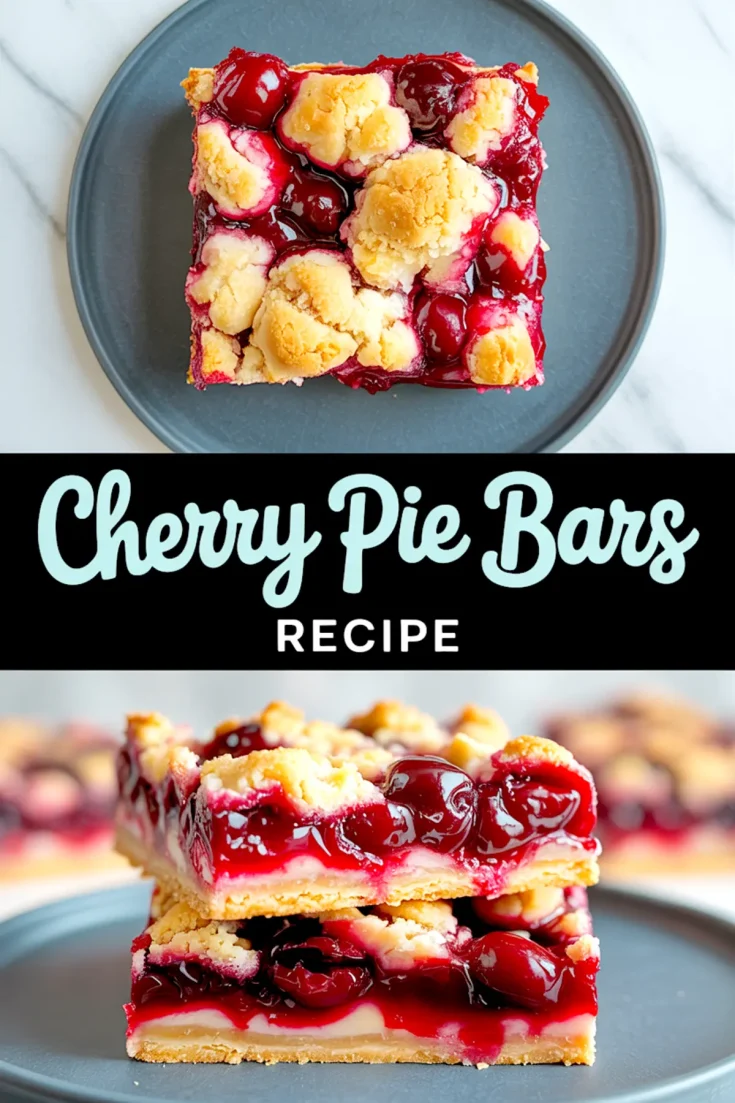
These cherry pie bars combine buttery shortbread dough, a smooth cream cheese layer, and glossy cherry pie filling. The dough is used for both the base and topping, making assembly simple and consistent. The result is a tender, flavorful dessert bar with balanced sweetness and texture.
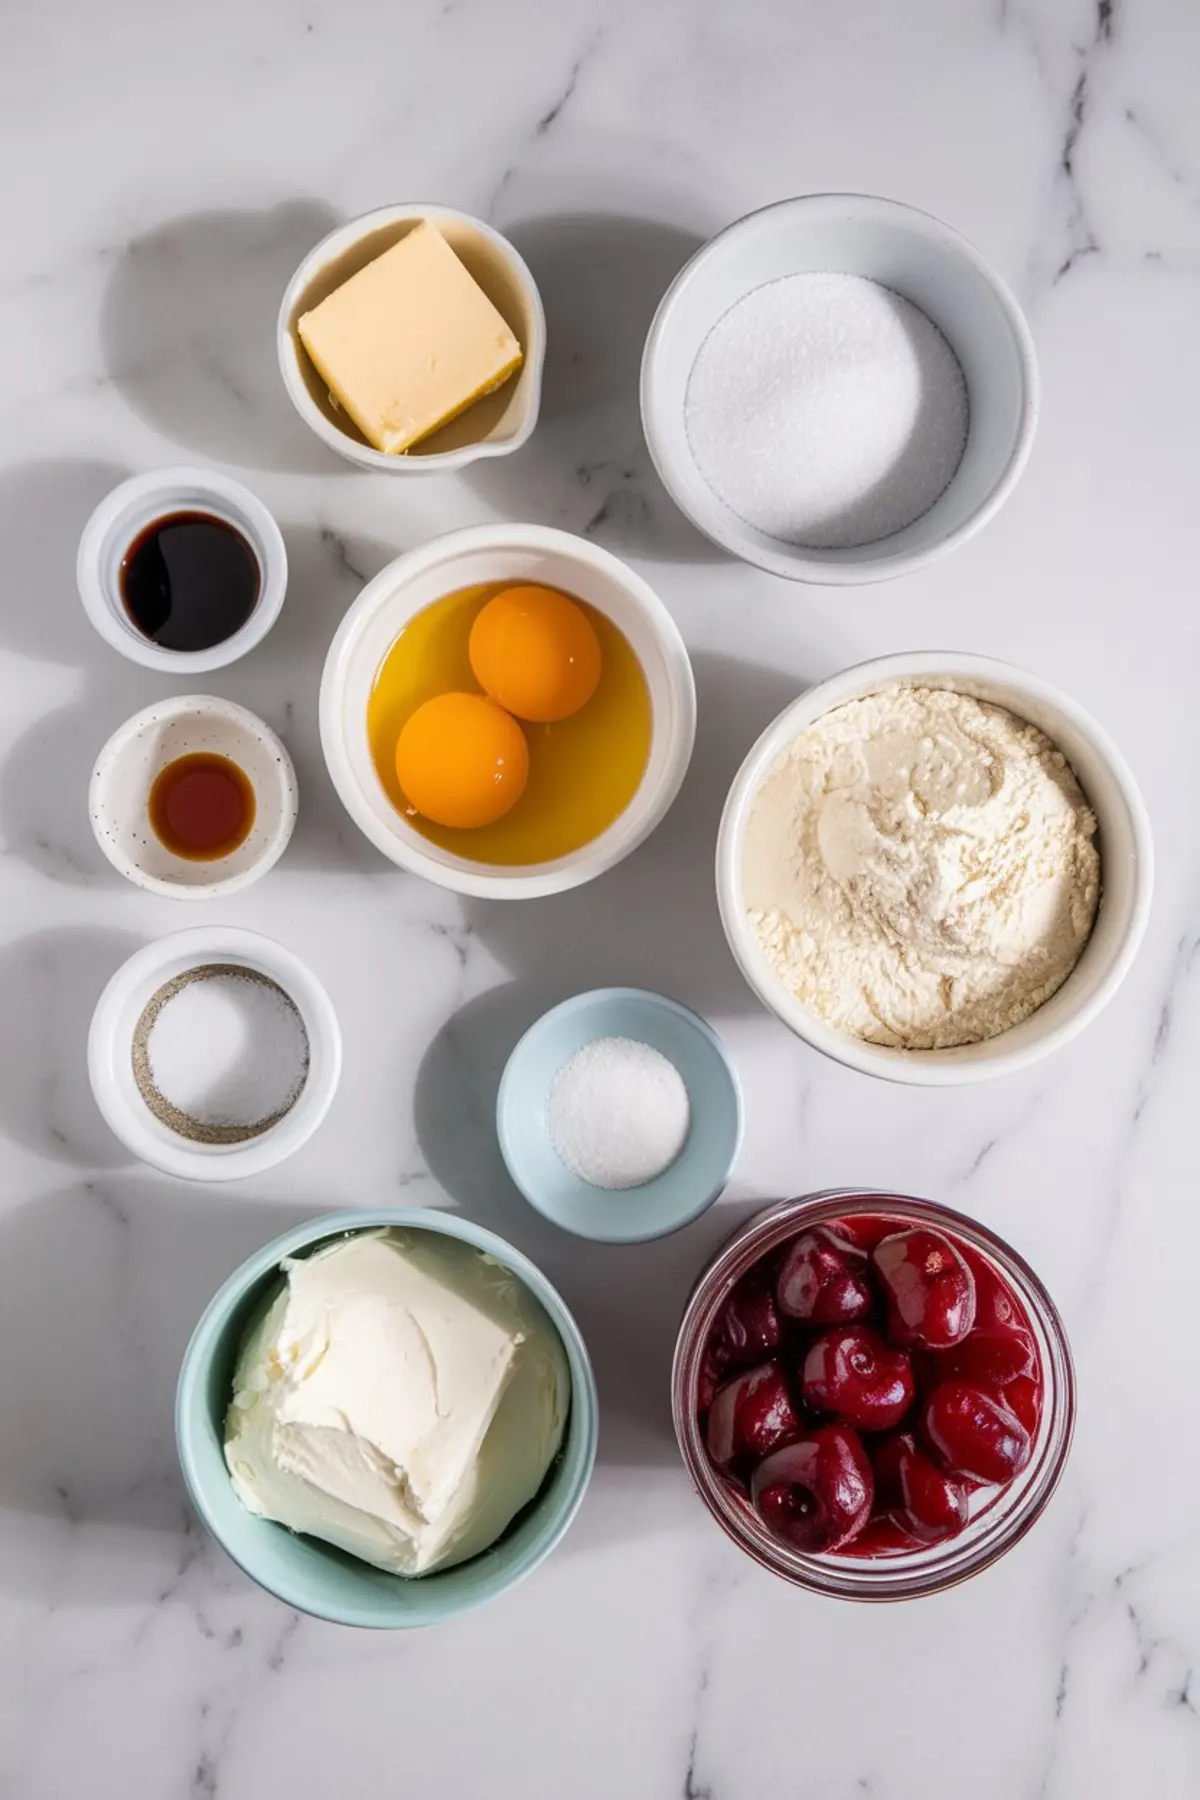
Ingredients
- FOR THE SHORTBREAD CRUST AND CRUMBLE TOPPING
- 1 cup (226g) unsalted butter, softened
- 1 1/2 cups (300g) granulated sugar
- 2 large eggs
- 1 tsp vanilla extract
- 1/4 tsp almond extract (optional)
- 2 1/2 cups (313g) all-purpose flour
- 1/2 tsp salt
- FOR THE CREAM LAYER
- 8 oz (226g) cream cheese, softened
- 1/3 cup (67g) granulated sugar
- 1 tsp vanilla extract
- FOR THE CHERRY FILLING
- 1 can (21 oz / ~600g) cherry pie filling
Instructions
- PREHEAT AND PREP: Preheat the oven to 350°F (175°C) and line a 9x13-inch baking pan with parchment paper, allowing overhang on the sides for easy removal after baking.
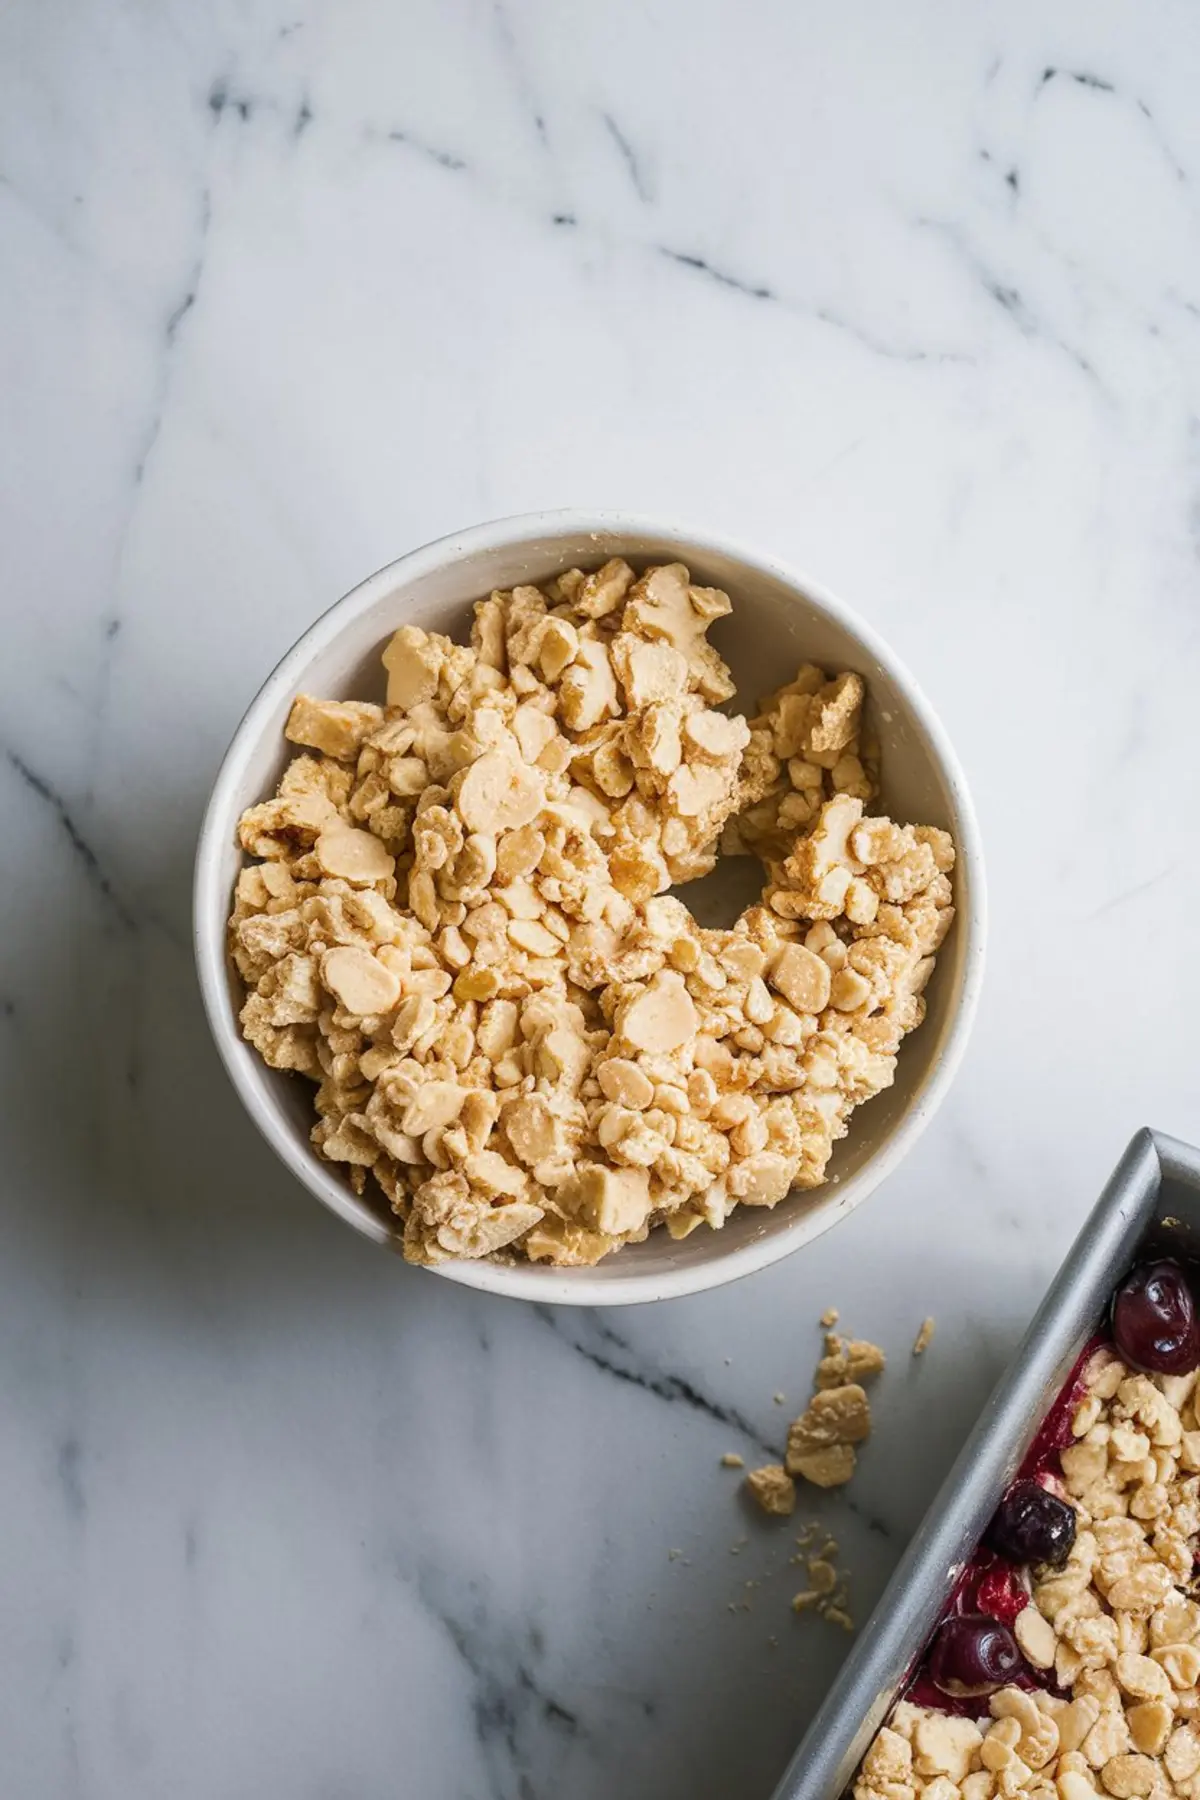
- MAKE THE SHORTBREAD DOUGH: In a large mixing bowl, cream the softened butter and granulated sugar together until light and fluffy, about 2 minutes. Add the eggs, vanilla extract, and almond extract, then mix until smooth. Stir in the flour and salt until a soft and thick dough forms. Reserve about 1 cup of the dough to use later as the crumble topping.
- PRESS THE CRUST: Transfer the remaining dough into the prepared pan. Use a spatula or the back of a spoon to press and spread the dough into an even layer that covers the bottom fully.
- MAKE THE CREAM LAYER: In a separate bowl, beat the softened cream cheese with the granulated sugar and vanilla extract until completely smooth. Spread this cream mixture evenly over the pressed dough layer in the pan.
- ADD CHERRY LAYER: Spoon the cherry pie filling gently over the cream cheese layer, spreading it evenly without mixing the layers together.
- ADD CRUMBLE TOPPING: Take the reserved dough and break it into small pieces with your hands. Scatter these pieces evenly over the top of the cherry layer to create a crumble topping.
- BAKE: Place the pan in the preheated oven and bake for 38 to 42 minutes, or until the topping is lightly golden and the edges show light browning. Remove from the oven and let the bars cool completely in the pan before lifting out and slicing.
Notes
Use parchment overhang to lift the cooled bars from the pan for cleaner slicing. For best results, chill the bars briefly before cutting if a firmer texture is desired.