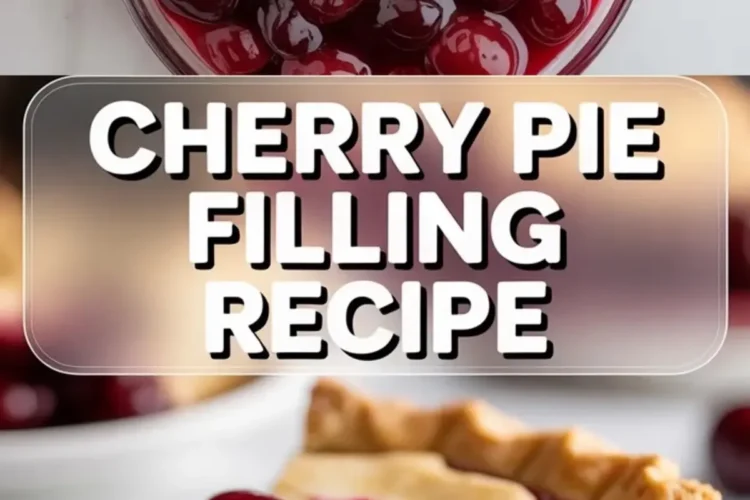
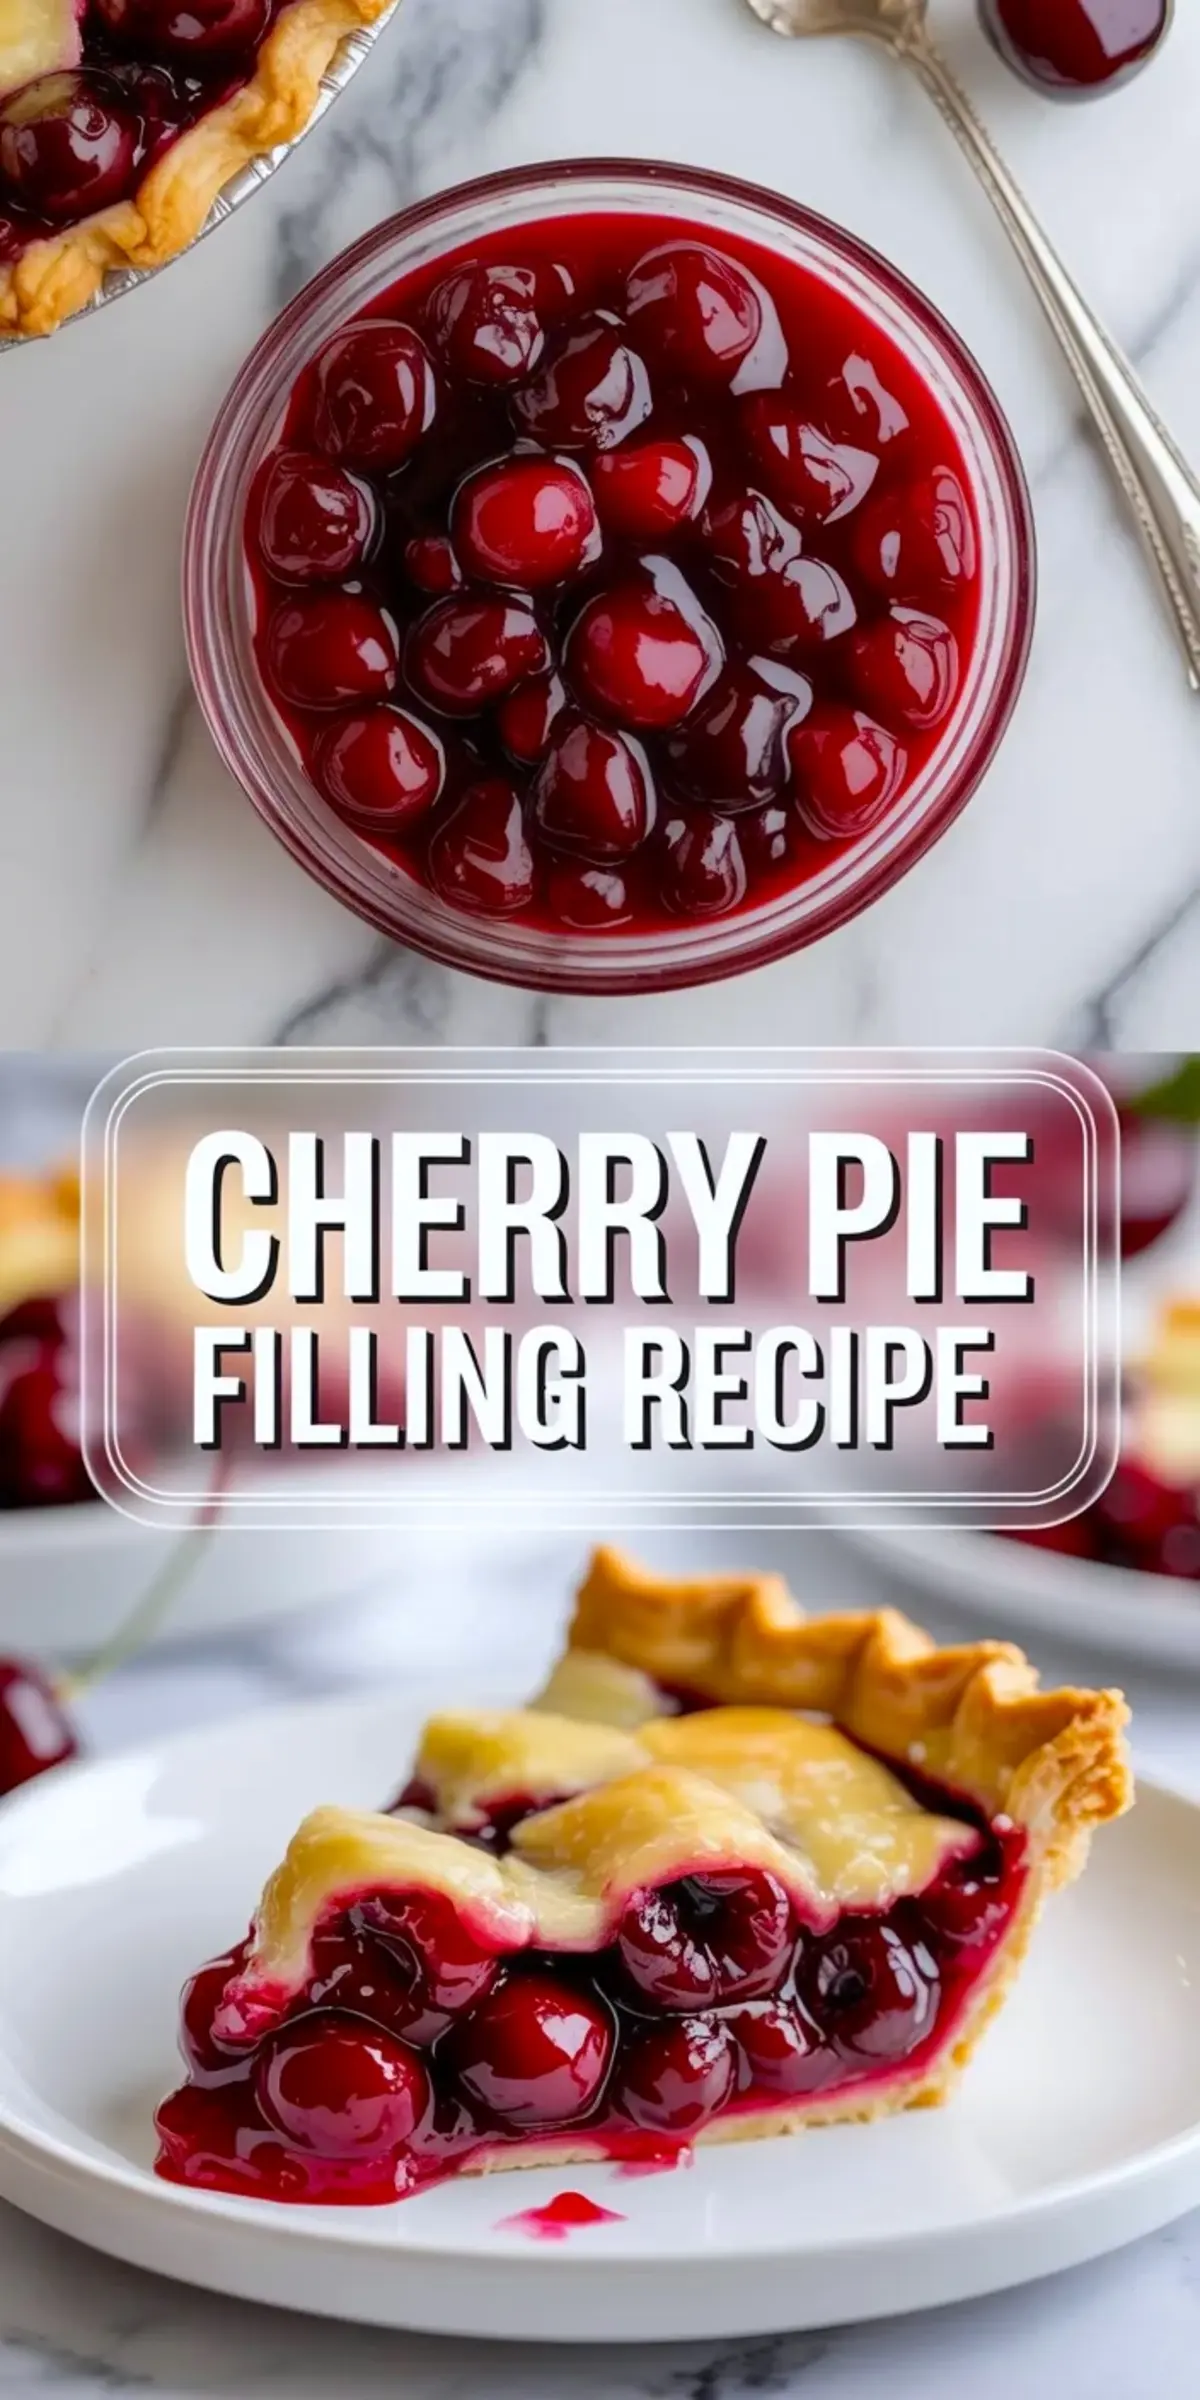
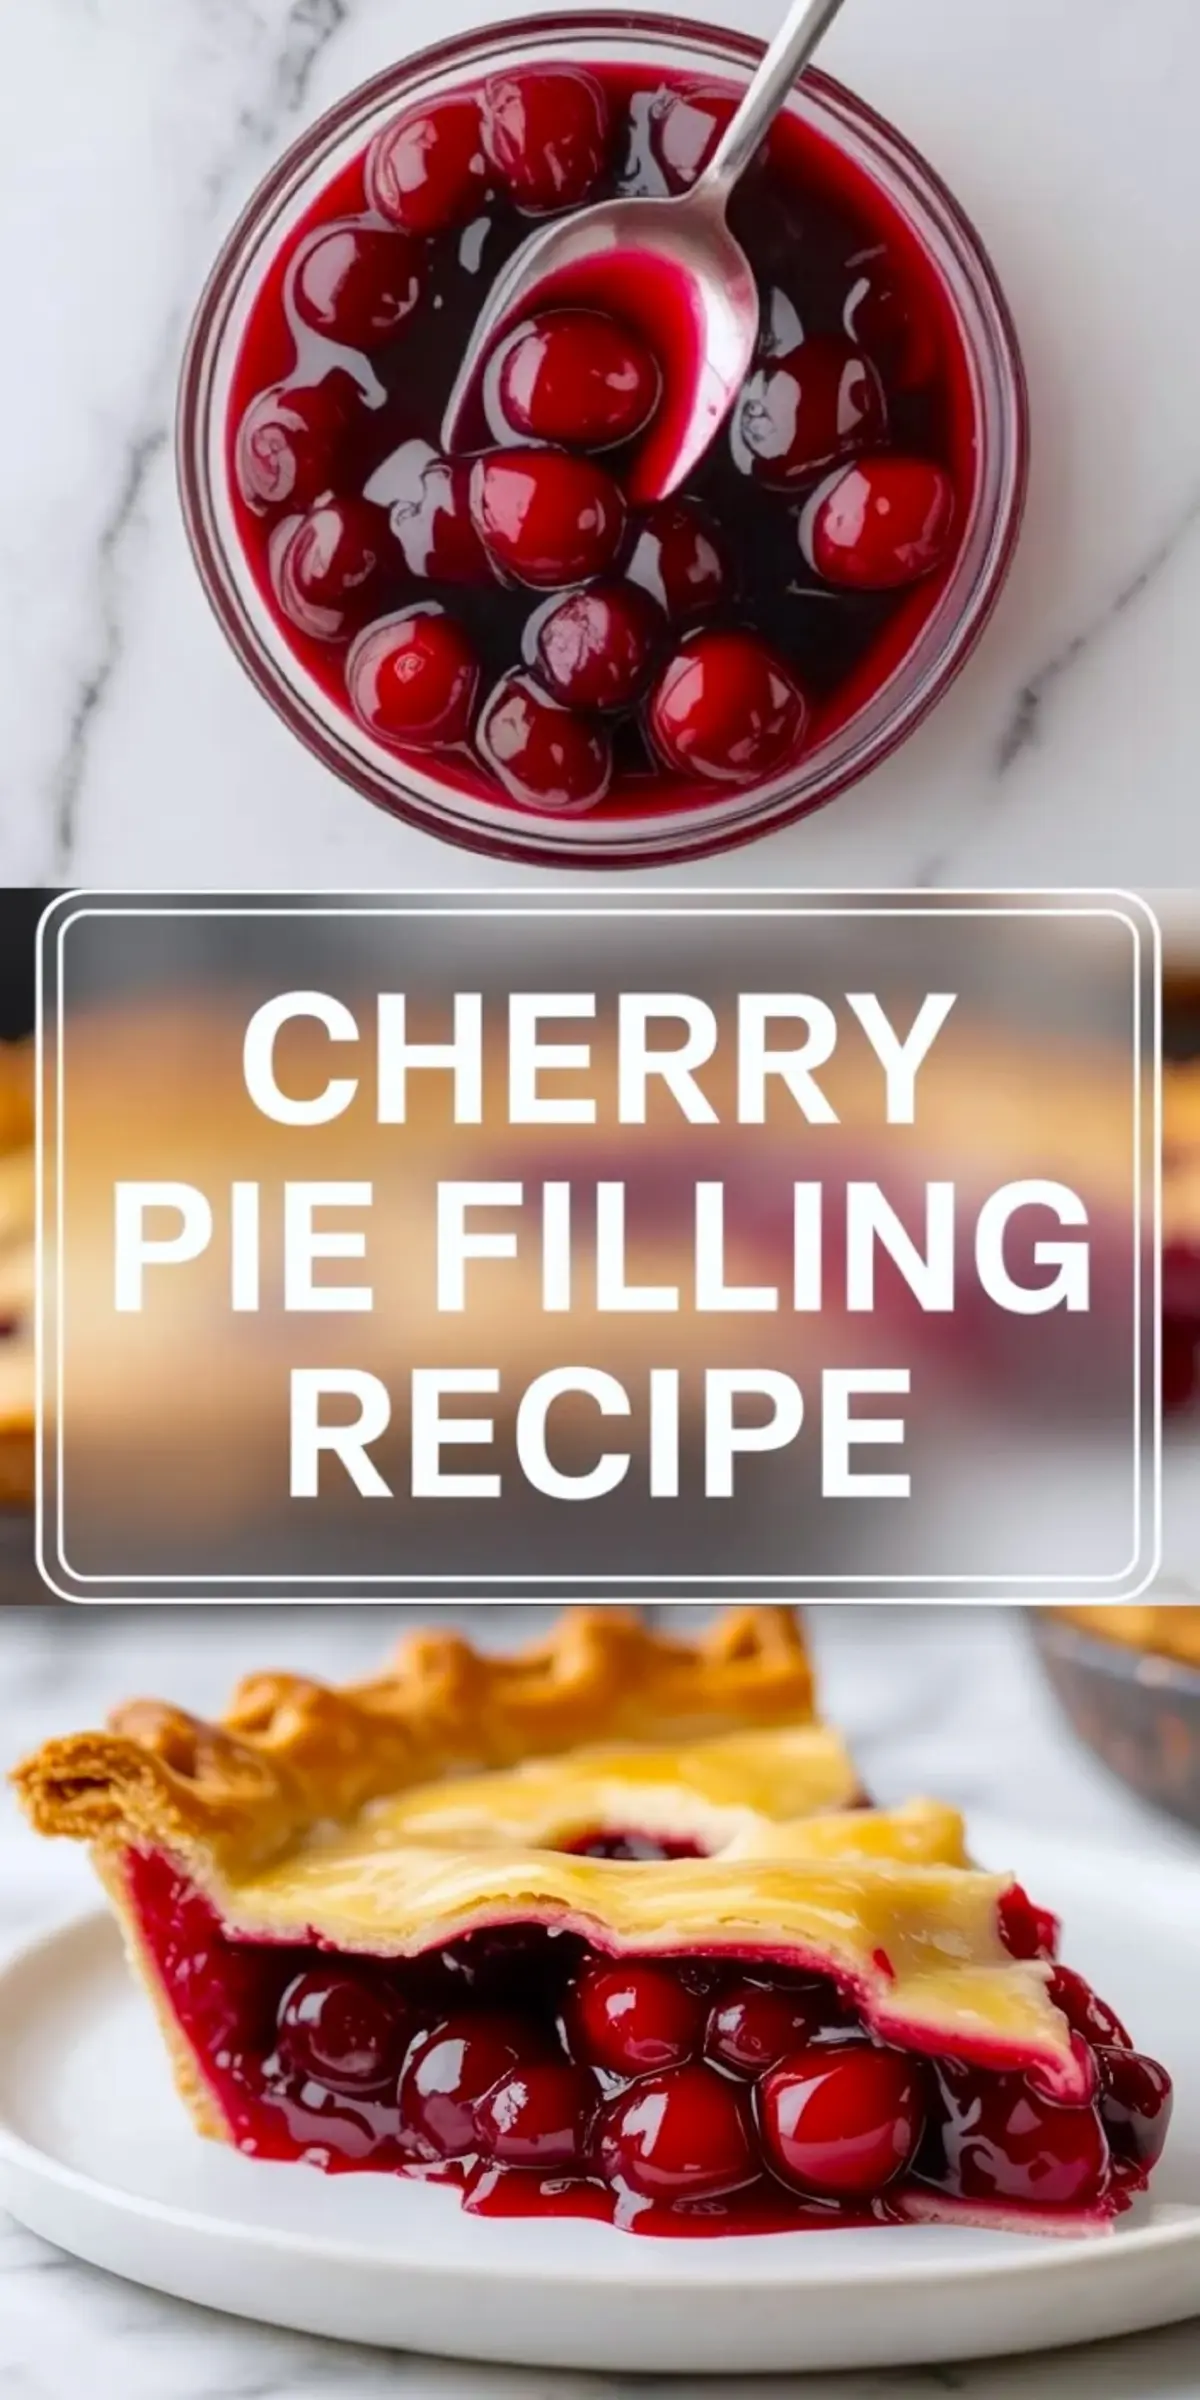
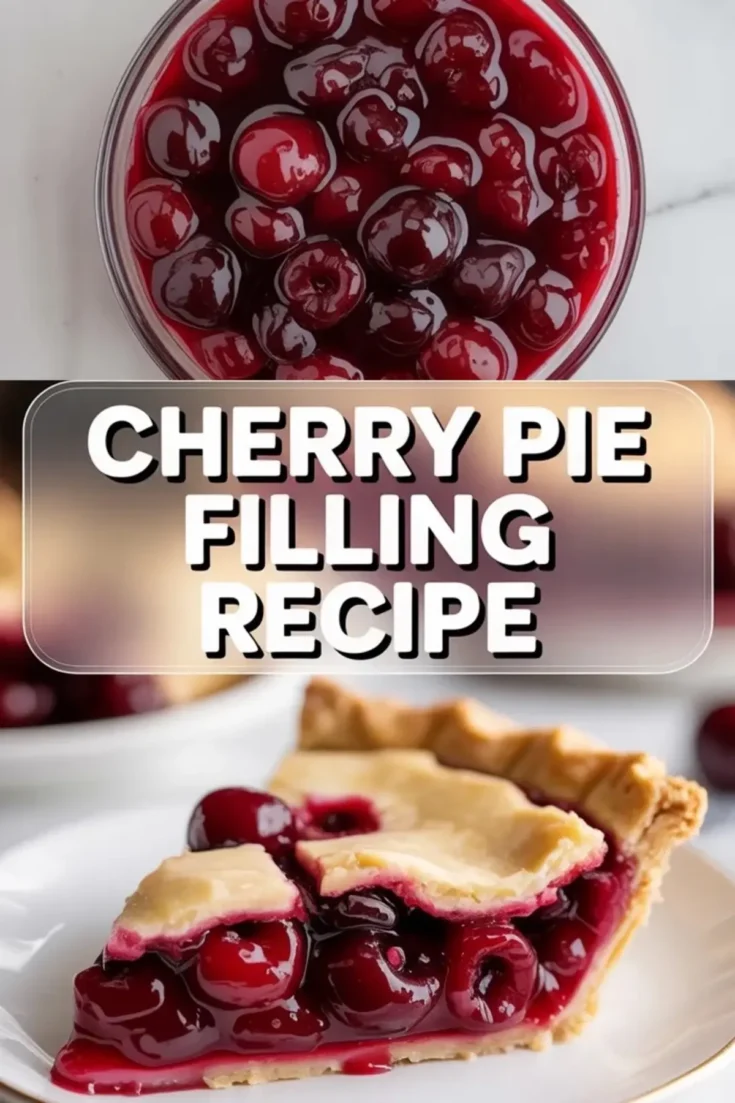
This homemade cherry pie filling recipe uses fresh or frozen cherries, sugar, cornstarch, lemon juice, and almond extract to create a thick, glossy filling in 20 minutes. It gives you homemade cherry pie filling fresh flavor for homemade cherry pies, pie filling recipes, and recipes using cherry pie filling without relying on canned shortcuts. The texture sets beautifully, the color stays vibrant, and the flavor builds the base for the best cherry pie recipe you can make at home.
This filling works because the ratio stays precise and intentional. Four cups cherries to three quarters cup sugar and one quarter cup cornstarch create a structure that holds inside a crust without turning stiff. I tested lighter starch amounts and the filling ran into the bottom crust. I tested more and the fruit lost its softness. Balance matters here.
Steady simmering activates the cornstarch fully. The mixture needs five to seven minutes of gentle bubbling so the sauce turns glossy and thick. I stir and watch the shine develop. That shine tells me the filling will slice cleanly later, especially when I bake it inside my cherry pie recipe.
What You Need
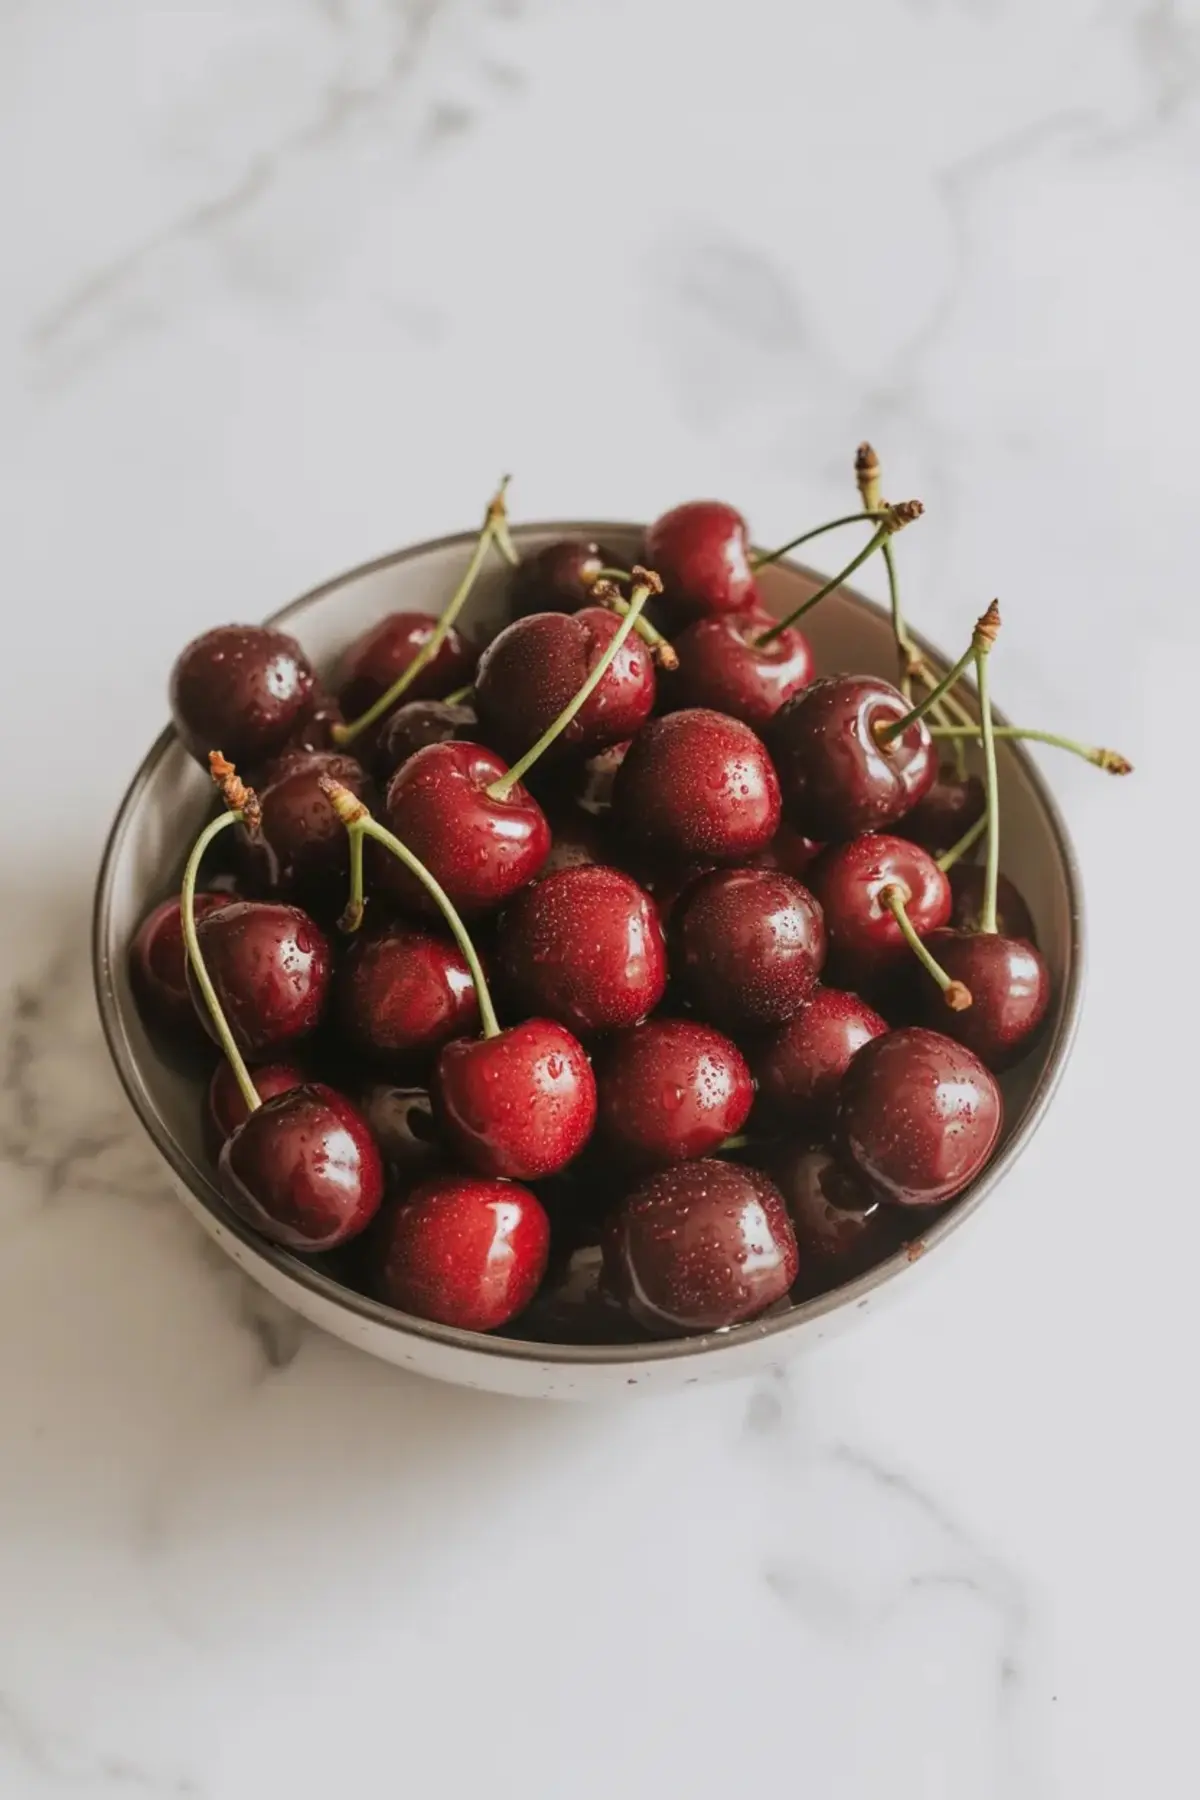
Cherries drive the flavor and texture. Sweet cherries give round depth. Tart cherries create contrast and brightness. Fresh fruit makes homemade cherry pie filling fresh and bold in peak season, but frozen cherries make cherry pie filling recipes easy all year. I keep both on hand because cherry desserts show up often in my kitchen.
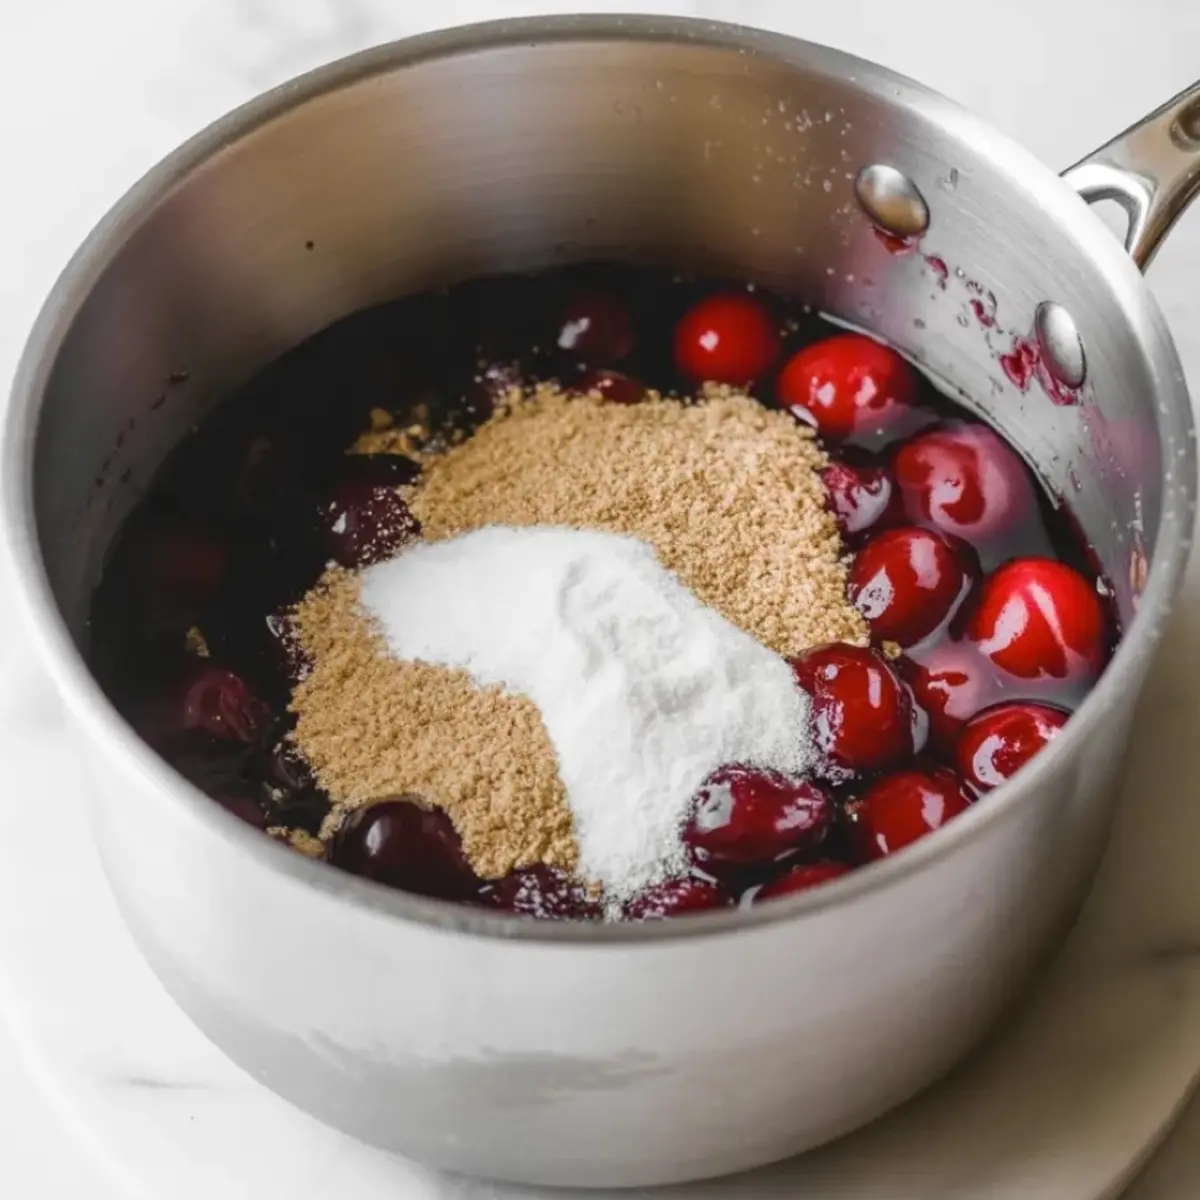
Granulated sugar draws out juice and sweetens evenly. Cornstarch thickens without cloudiness when whisked well with sugar first. Lemon juice sharpens the fruit and keeps the color vivid. Almond extract adds a quiet depth that supports the cherries instead of covering them. A pinch of salt ties it together and keeps the sweetness steady.
Key Technique Spotlight
Whisking sugar and cornstarch before they meet heat prevents lumps. Sugar separates the starch granules and helps them disperse evenly in the pan. I learned this after one batch formed small clumps that refused to smooth out. Since then, I never skip that step.
Stirring from the bottom of the saucepan keeps the thickening even. The mixture thickens first where heat concentrates. I use a silicone spatula so I can feel resistance build. That slight drag tells me the homemade cherry filling has reached the right stage for layering into desserts like Easy Cherry Pie Bars Recipe.
How To Make It
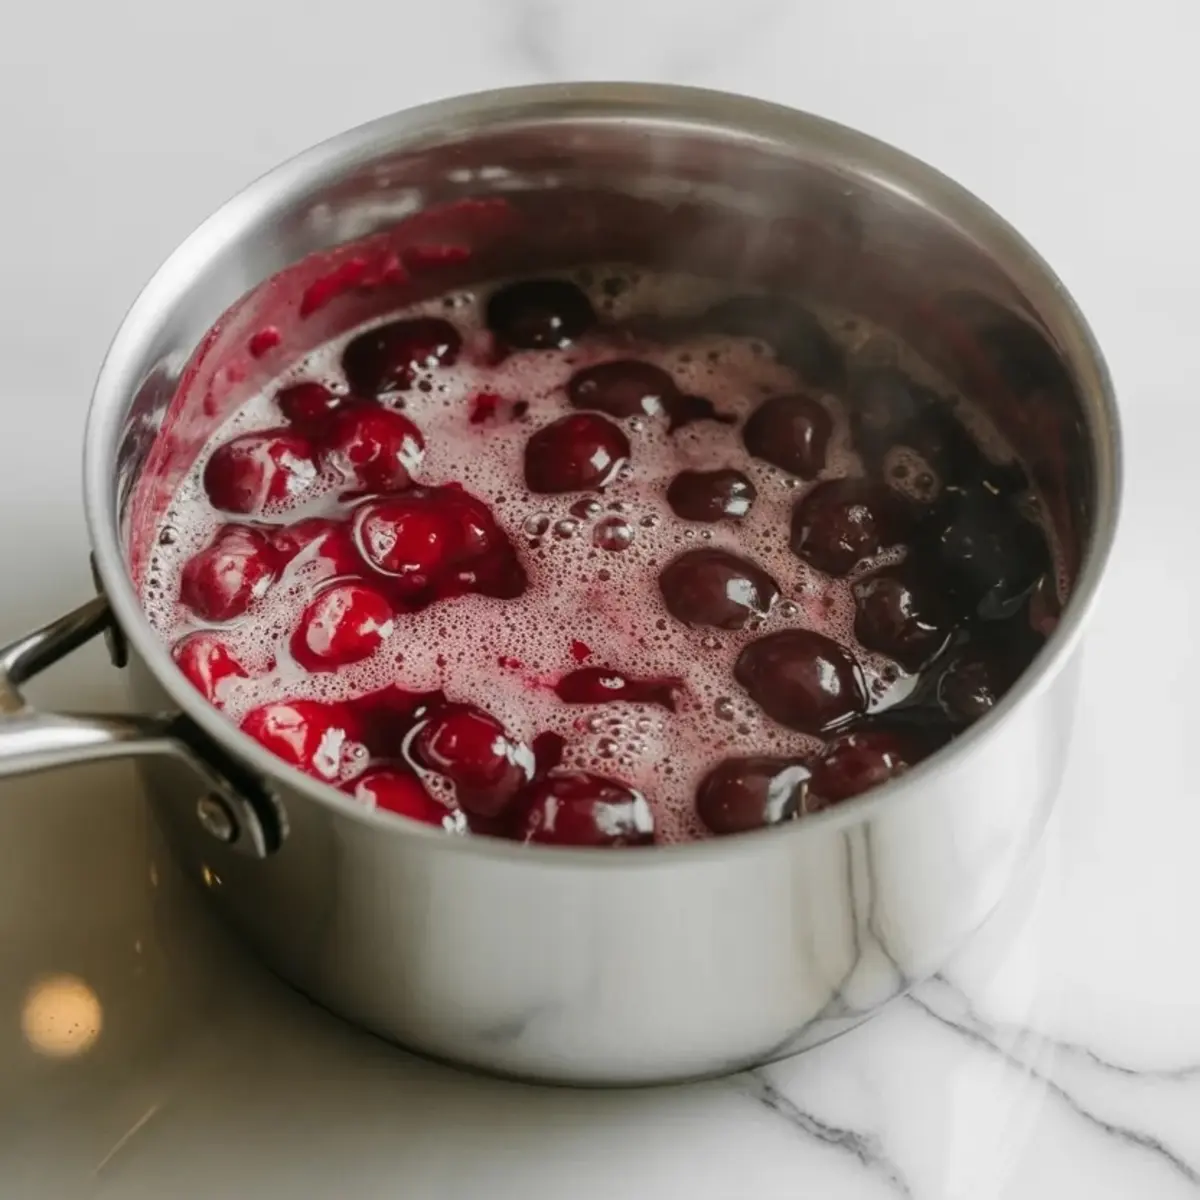
I combine cherries, lemon juice, and water over medium heat and let the fruit release its juices. The cherries soften but keep shape. Then I sprinkle in the sugar and cornstarch mixture slowly and stir until everything looks evenly coated.
The filling bubbles and thickens. The sauce turns glossy and coats the spoon in a smooth layer. I cook it just until a trail from the spoon closes slowly. After removing it from heat, I stir in almond extract. The aroma rises quickly and signals that the filling is ready for cooling or assembling into desserts like Mini Cherry Cheesecake Cake Shooters.
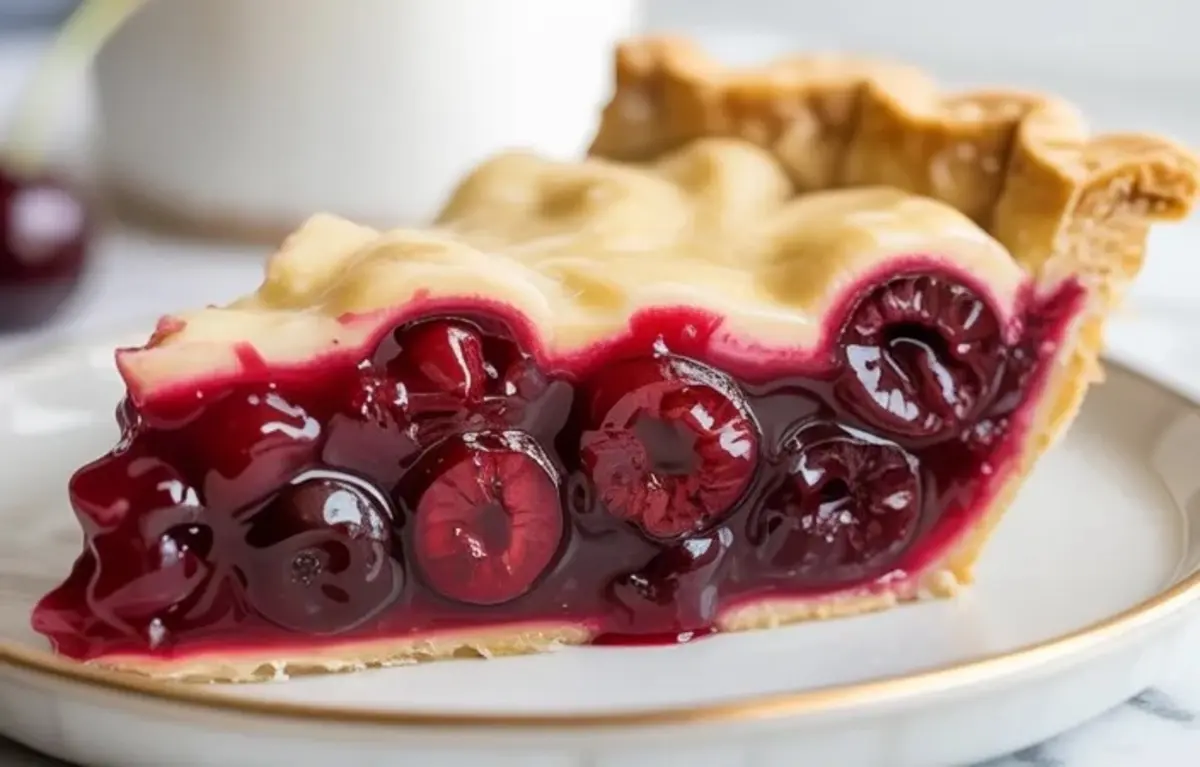
How To Tell It’s Done
The sauce should look clear and shiny, not cloudy. A spoon dragged through the center leaves a visible path for a moment. Undercooked filling looks loose and watery. Overcooked filling feels thick and pasty.
I trust the visual cue of gloss and the way the sauce moves. After ten minutes of cooling, the filling thickens further. That short rest helps it set properly when swirled into bakes like Cherry Cheesecake Brownies with Cherry Pie Swirl.
Troubleshooting
If the filling feels too thin, it likely needed more simmer time. Return it to medium heat and cook until glossy and thick. If it tastes too sweet, add a few drops lemon juice to brighten it. If it tastes too sharp, stir in one tablespoon sugar while warm.
If lumps appear, strain the mixture while hot and whisk smooth. To prevent that issue, always whisk the dry ingredients fully before cooking. I repeat that step to myself each time because it saves the batch.
Ways To Change It
Replace almond extract with one teaspoon vanilla for a softer finish. Stir in one tablespoon butter at the end for extra richness. Swap half the sugar for light brown sugar to add deeper notes to homemade cherry pies.
Reserve one cup cherries and fold them in after thickening for a chunkier texture. Mash some fruit during cooking for a smoother sauce. If you love layered fruit flavor, pair this filling with a spoon of my Cherry Jam Recipe inside a pie crust for extra depth.
Practical Tips & Storage
Store the filling at room temperature for a few hours if using the same day. Refrigerate in an airtight container for up to one week. Freeze for up to three months in a sealed freezer bag with air pressed out.
Thaw overnight in the fridge and reheat gently on the stove if needed. The texture stays thick and glossy. I often double the batch so I always have homemade cherry filling ready for last minute baking.
Measure cherries after pitting for accuracy. Use a heavy saucepan to prevent scorching. Stir constantly once bubbling begins. Let the filling cool before adding it to pastry so the crust stays crisp.
This recipe belongs in your rotation of trusted pie filling recipes because it builds structure and flavor from simple ingredients. It turns basic fruit into the foundation of homemade cherry pie and so many other desserts.
Save This Recipe
Save this homemade cherry pie filling recipe to your dessert board so you always have a fresh base ready. Share in the comments how it turned out for you or how you used it in your own homemade cherry pies. I love reading your variations and answering your questions.
Homemade Cherry Pie Filling Recipe
This rich and glossy Homemade Cherry Pie Filling Fresh delivers bold fruit flavor and the perfect thick texture for classic desserts. Skip canned options and create your own Homemade Cherry Filling with simple ingredients and fresh cherries.
Ideal for Homemade Cherry Pies, this recipe helps you build the Best Cherry Pie Recipe from scratch with vibrant color and balanced sweetness. It belongs in every collection of trusted Pie Filling Recipes and works beautifully in other Recipes Using Cherry Pie Filling like turnovers and hand pies.
Simple steps make it one of the most reliable Cherry Pie Filling Recipes Easy to prepare, giving you everything you need for a bakery style Homemade Cherry Pie.
Ingredients
- 4 cups cherries, pitted (fresh or frozen)
- ¾ cup granulated sugar
- ¼ cup cornstarch
- 1 tablespoon lemon juice
- ½ teaspoon almond extract
- ¼ cup water (or cherry juice)
- Pinch of salt
Instructions
- PREP THE CHERRIES: Wash and pit the cherries if using fresh. If using frozen cherries, measure out 4 cups and set aside without thawing.
- MIX THE THICKENER: In a small bowl, whisk together the sugar, cornstarch, and salt to eliminate lumps before cooking.
- COOK THE FILLING: In a medium saucepan over medium heat, combine cherries, lemon juice, and water. Stir in the cornstarch mixture and continue stirring until evenly distributed.
- SIMMER UNTIL THICKENED: Cook the mixture, stirring often, until it begins to bubble. Continue simmering for 5–7 minutes, or until the sauce thickens and becomes glossy.
- ADD FINAL FLAVORS: Remove the pan from heat and stir in the almond extract. Let the filling cool slightly to allow it to thicken further.
- USE OR STORE: Use immediately for pies or other desserts, or transfer to an airtight container and refrigerate for up to one week.
Notes
If using frozen cherries, extend the cooking time by 1–2 minutes and reduce added water if they release excess liquid during cooking.
Nutrition Information
Yield
1Serving Size
1Amount Per Serving Calories 1630Total Fat 2gUnsaturated Fat 2gSodium 12mgCarbohydrates 404gFiber 22gSugar 316gProtein 11g