Summer evenings linger longer after a bite of warm cherry pie.
My kitchen tests focus on combining sweet cherries with a flaky lattice crust that stands tall against juicy filling.
Readers leave the table satisfied and confident because each step keeps trouble away.
Love for cherries led me to share a dip that brightens picnics, and the same fruit guides this bake—see how the flavors echo in my Cherry Almond Dessert Dip for proof.
Experience ties these recipes together, building trust in every measured cup.
Bright fruit plus crisp pastry creates a balance that earns repeat praise.
Following a special diet?
Every recipe on this site can be converted to gluten-free, vegan, dairy-free, keto, nut-free or egg-free with adjusted ratios so nothing falls flat.
Try the Recipe Converter →Ingredients That Build Cherry Delight Dessert
Fresh sweet cherries supply natural sugar so crust flavors stay clear instead of weighed down by extra granules.
Lemon juice sharpens the fruit without stealing the spotlight, while almond extract adds whisper-light depth that lingers after each forkful.
Cold butter cubes dot the crust mixture, trapping steam and lifting layers for a flaky bite every time.
Weekends find me browsing the full Pie Recipes collection to blend seasonal fruit with sturdy pastry charts.
That guide reminds bakers to chill dough discs for an hour, setting fat and keeping gluten relaxed.
Temperature control remains the cornerstone of a crust that resists sagging.
Steps That Keep Pastry Light and Filling Juicy
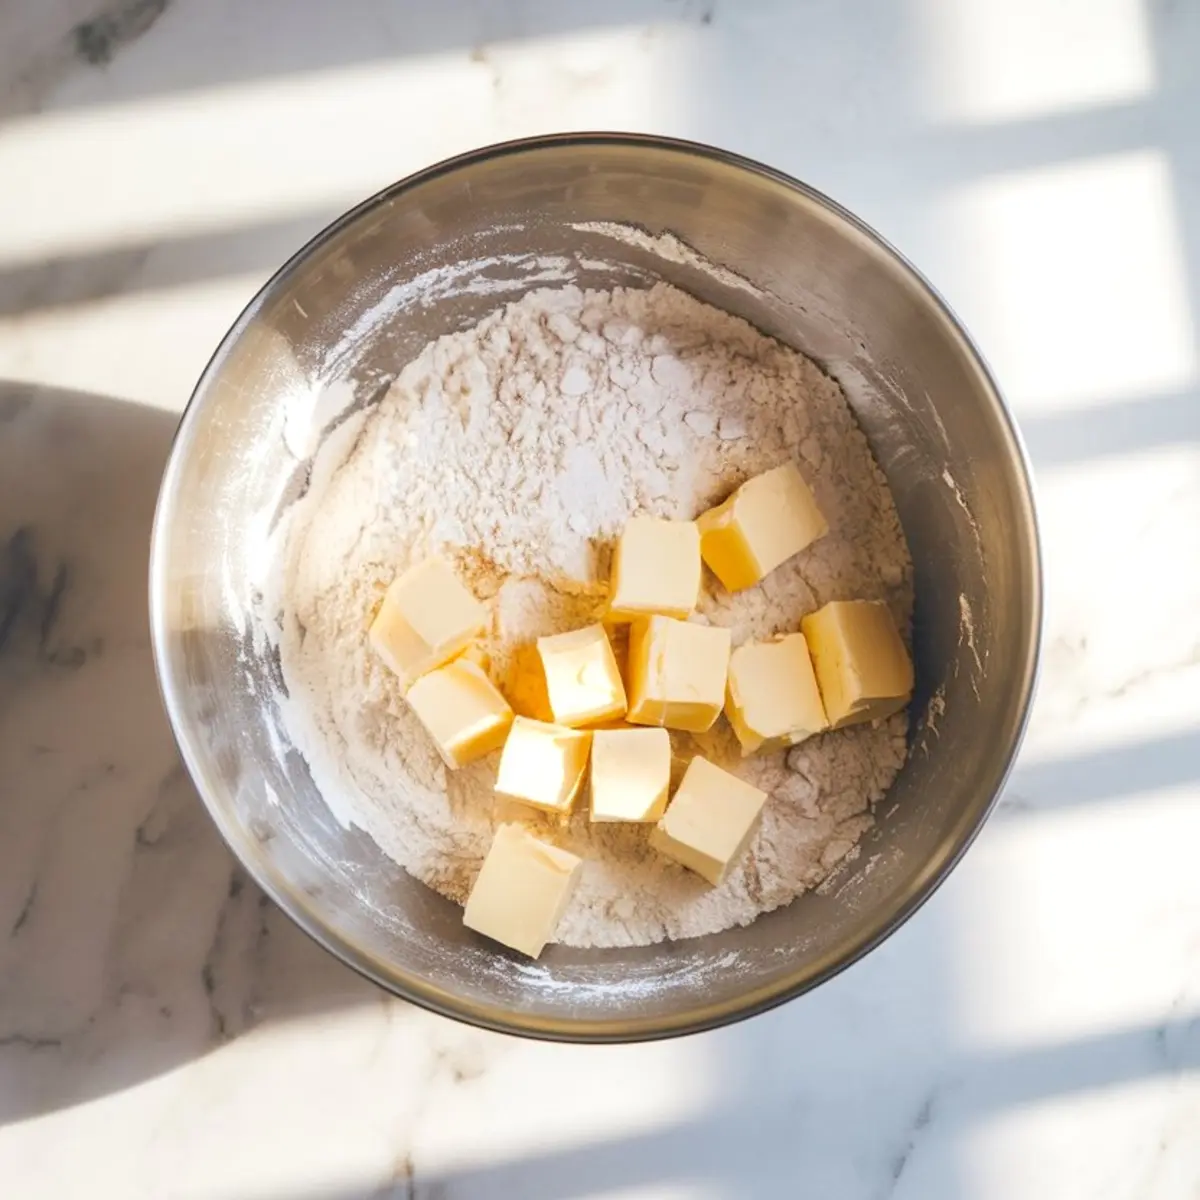
The dough forms in one bowl as flour meets salt, then butter pieces work in by fingertip until coarse crumbs appear.
Ice water streams slowly, one tablespoon at a time, bringing dough together without drenching flour.
Two discs rest wrapped and chilled, ensuring round, crack-free pastry.
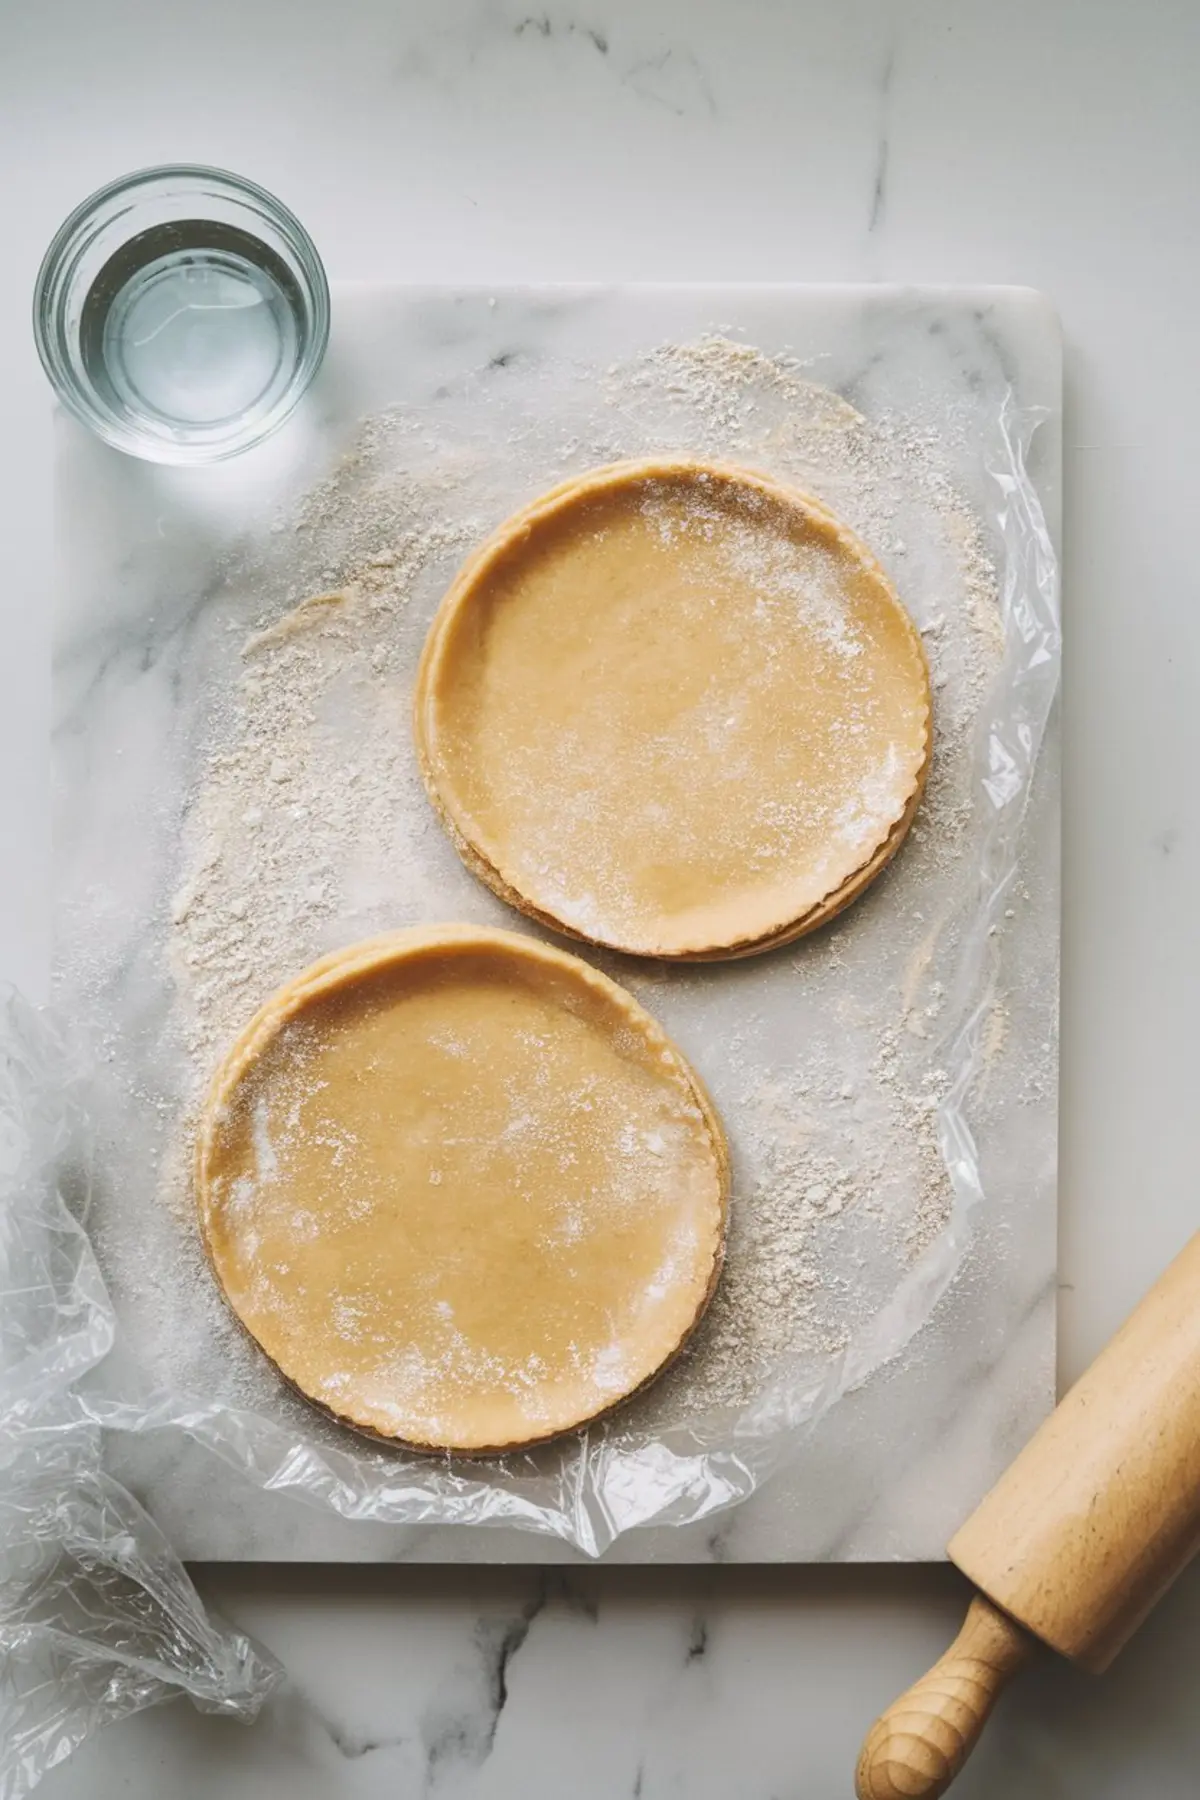
Rolling the bottom crust starts at the center and moves outward, turning the dough a quarter turn after each pass for a neat circle.
The twelve-inch round settles into a nine-inch dish and hugs the sides with soft folds that invite even baking.
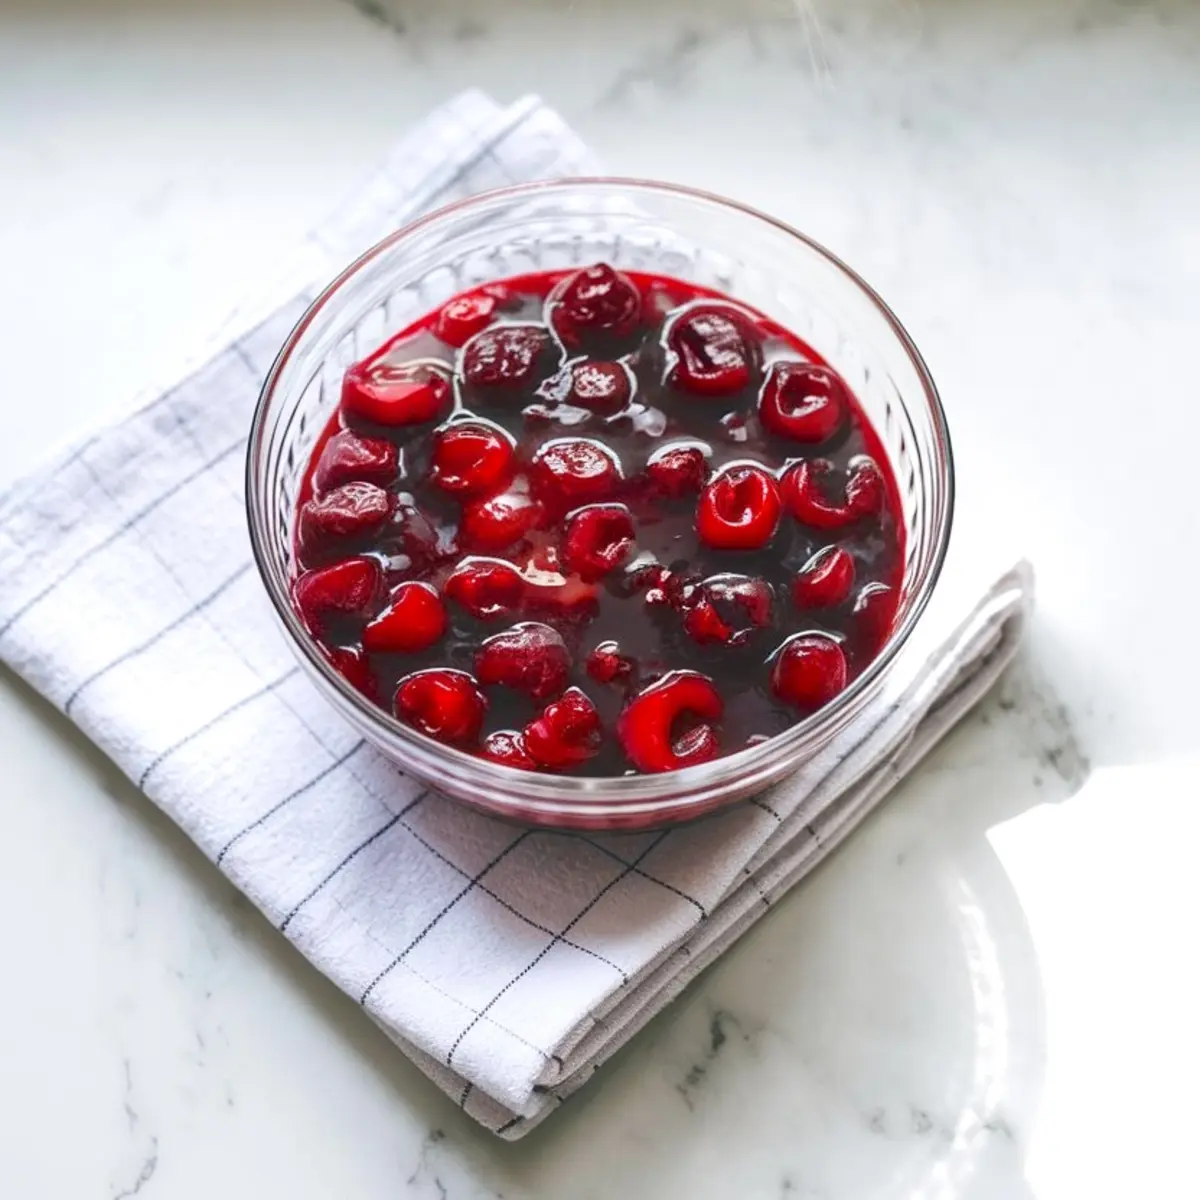
Cooled cherry filling spreads across the base, promising thick slices that hold shape.
A second disc rolls the same size before lines cut into one-inch strips.
Half the strips cross the pie horizontal, then remaining pieces weave vertical, creating vents that let steam escape.
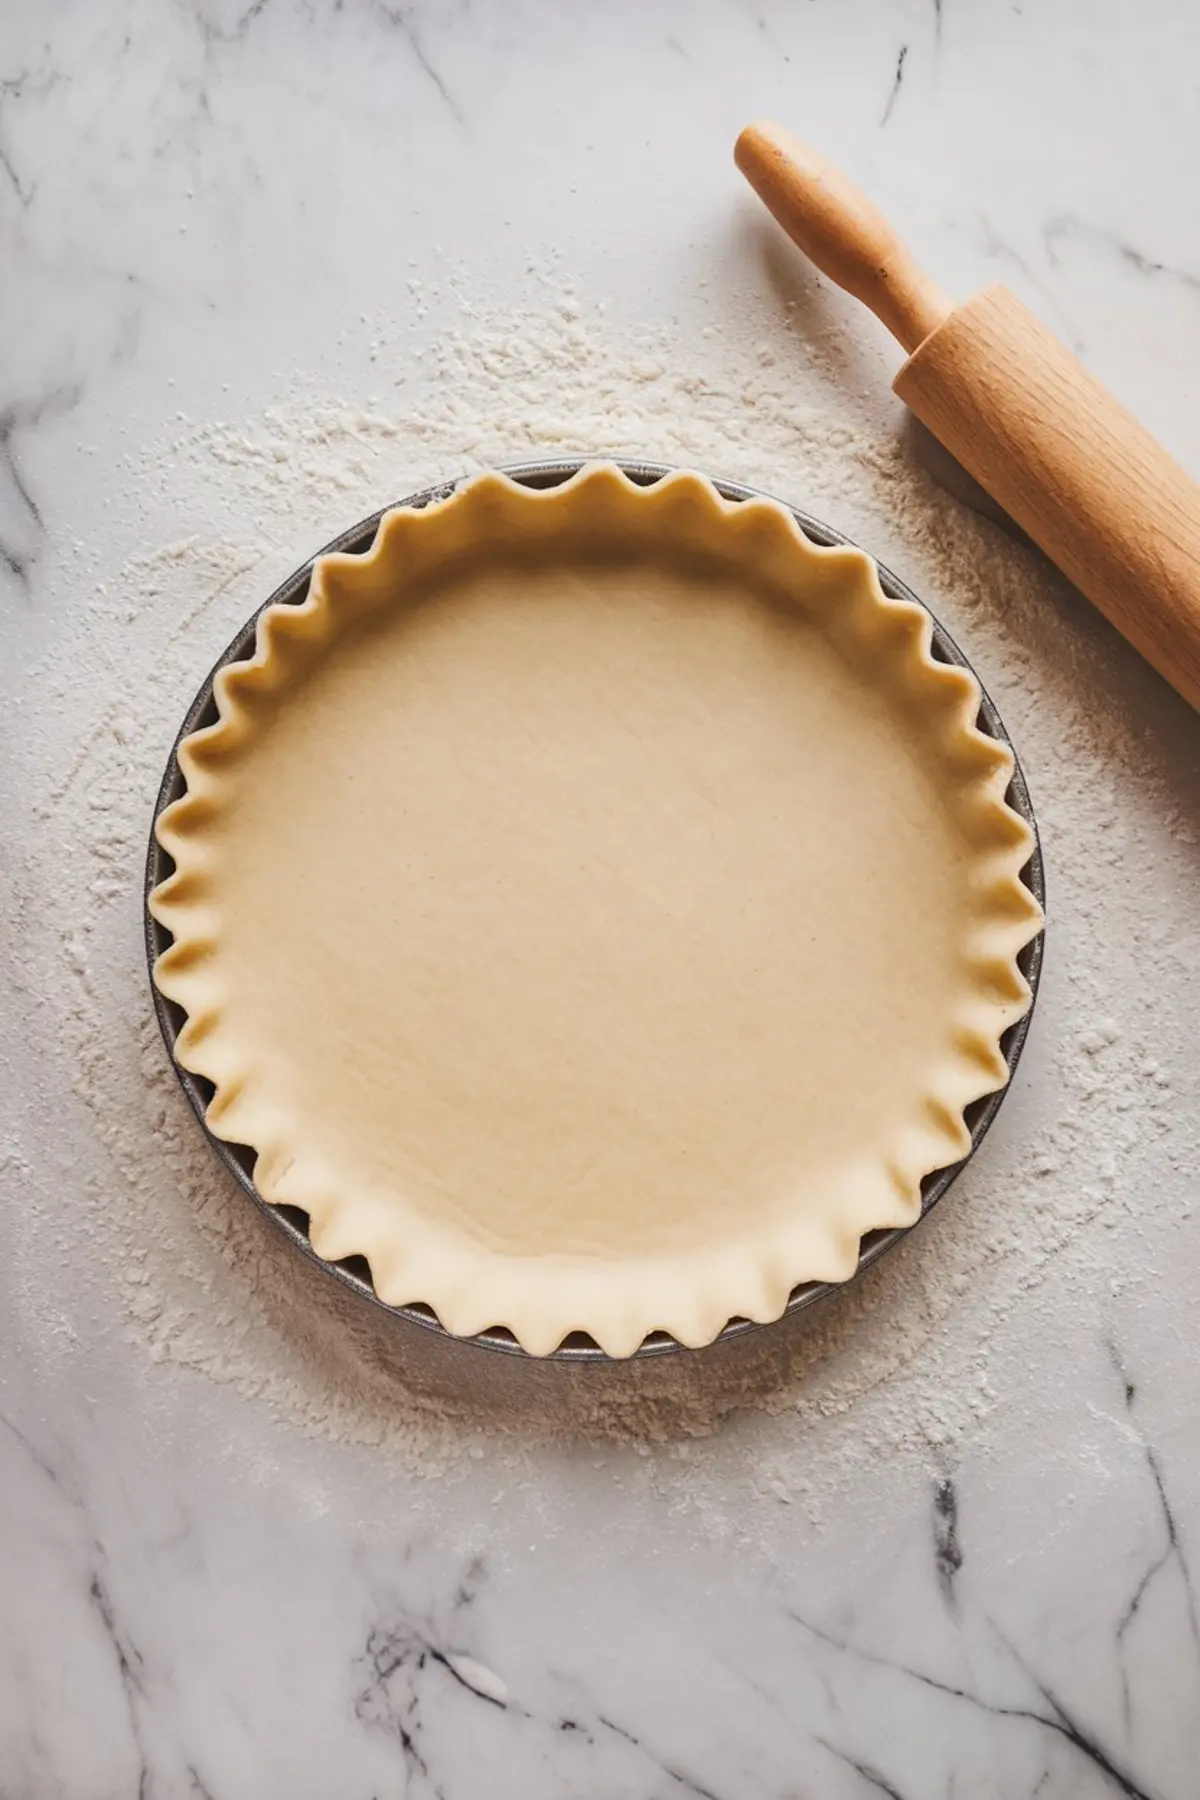
Edges trim cleanly, fingers crimp the rim, and an egg wash brings golden sheen plus coarse sugar sparkle.
A baking sheet catches drips beneath the dish.
Heat begins at 400 °F for twenty minutes, sealing edges fast.
The oven then eases to 350 °F so filling bubbles calmly for thirty-five to forty minutes.
Fragrant pie sits two hours on the counter where gel sets for tidy wedges.
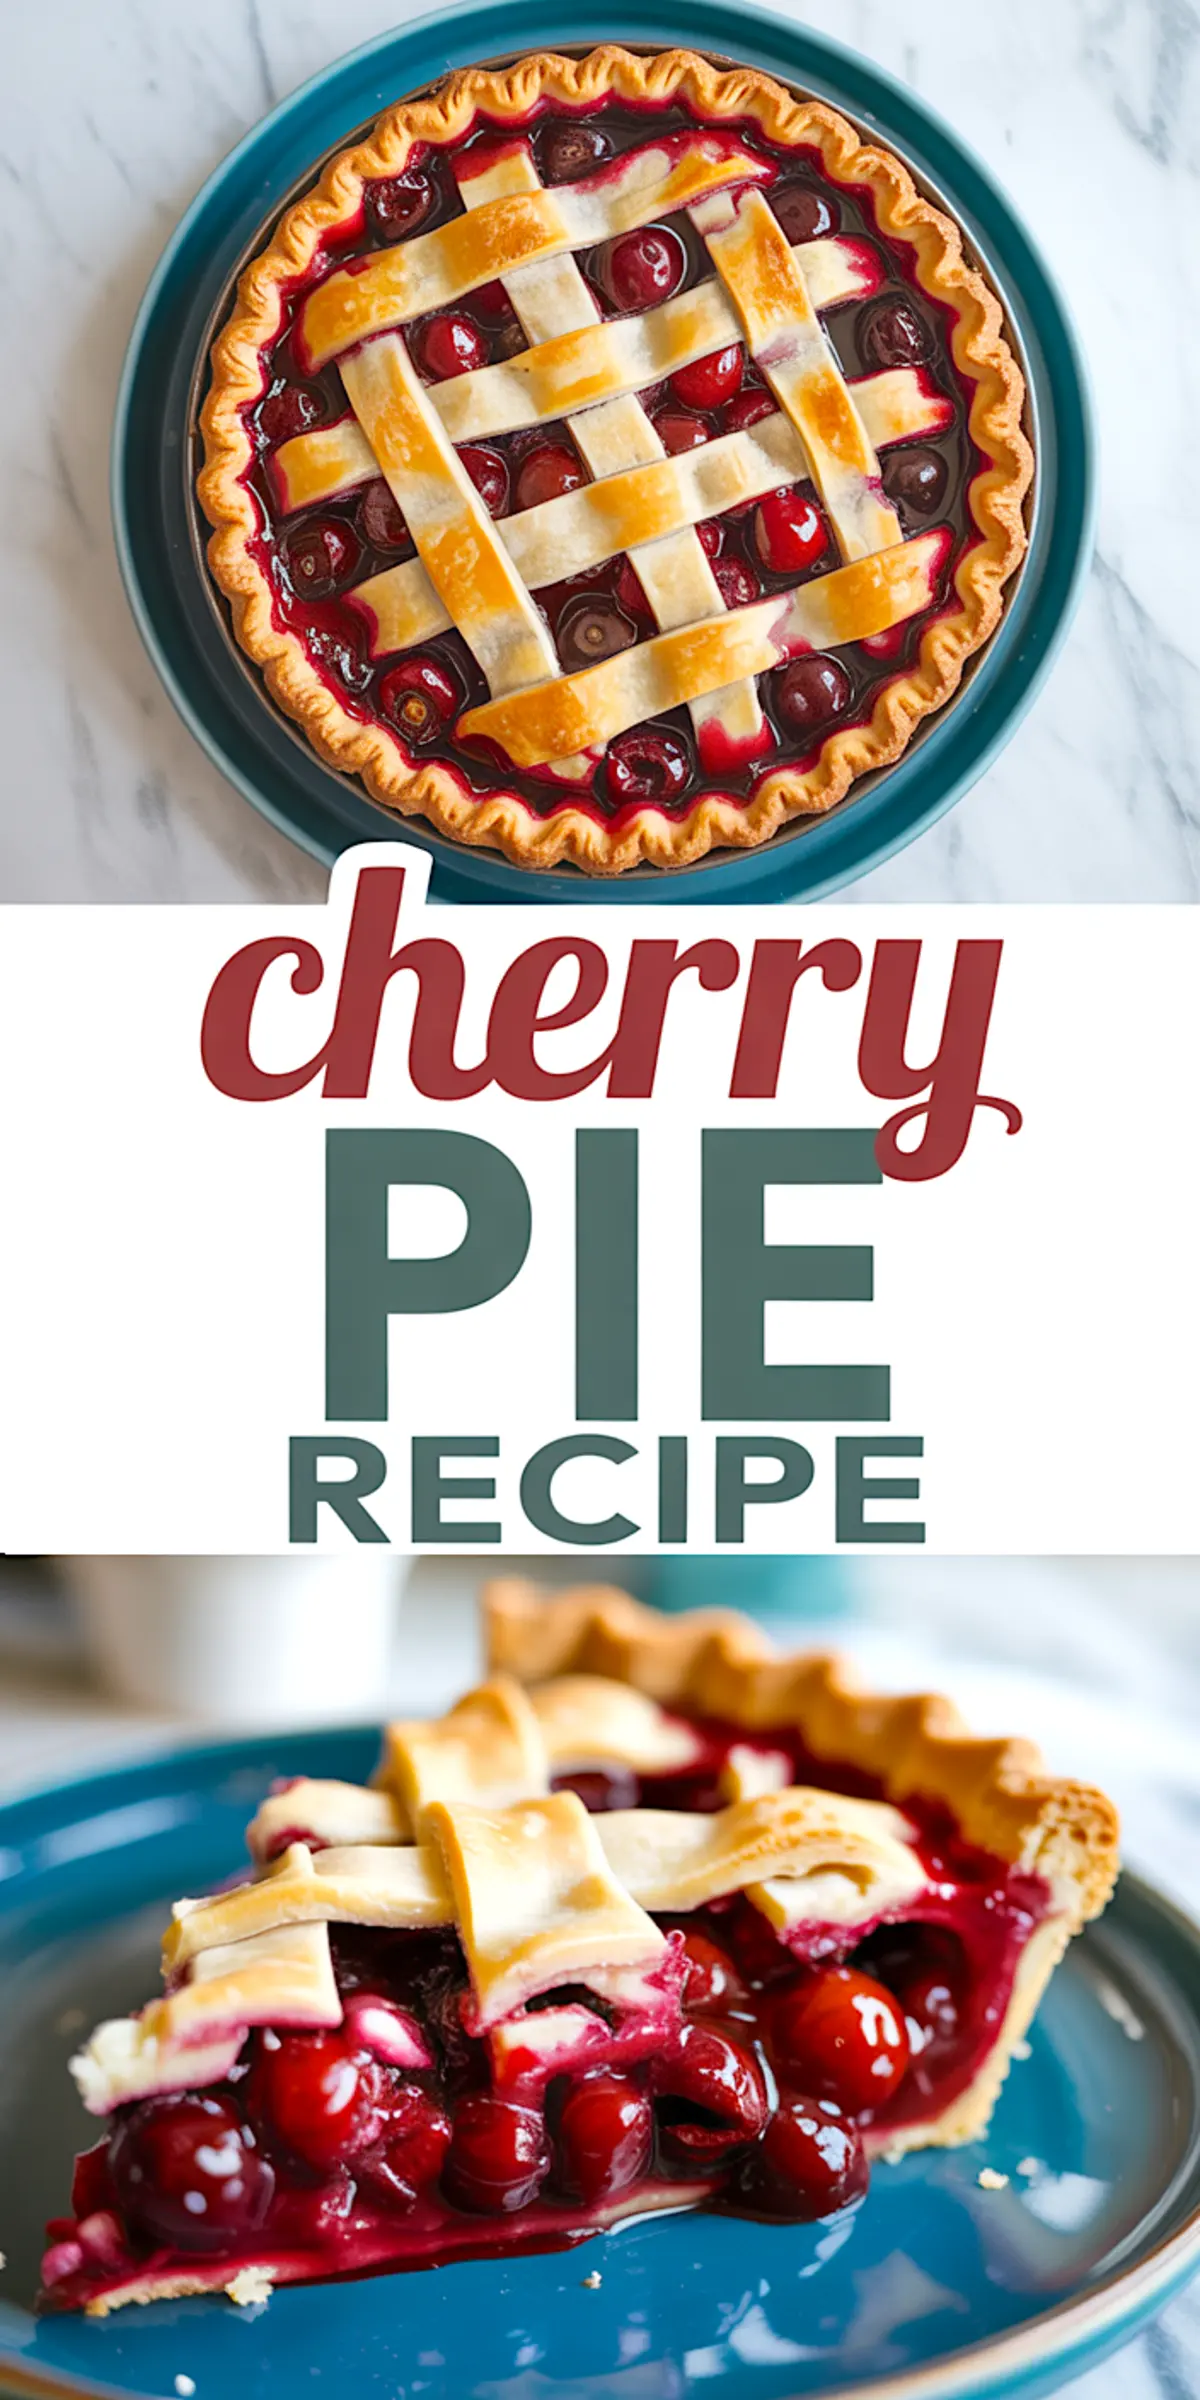
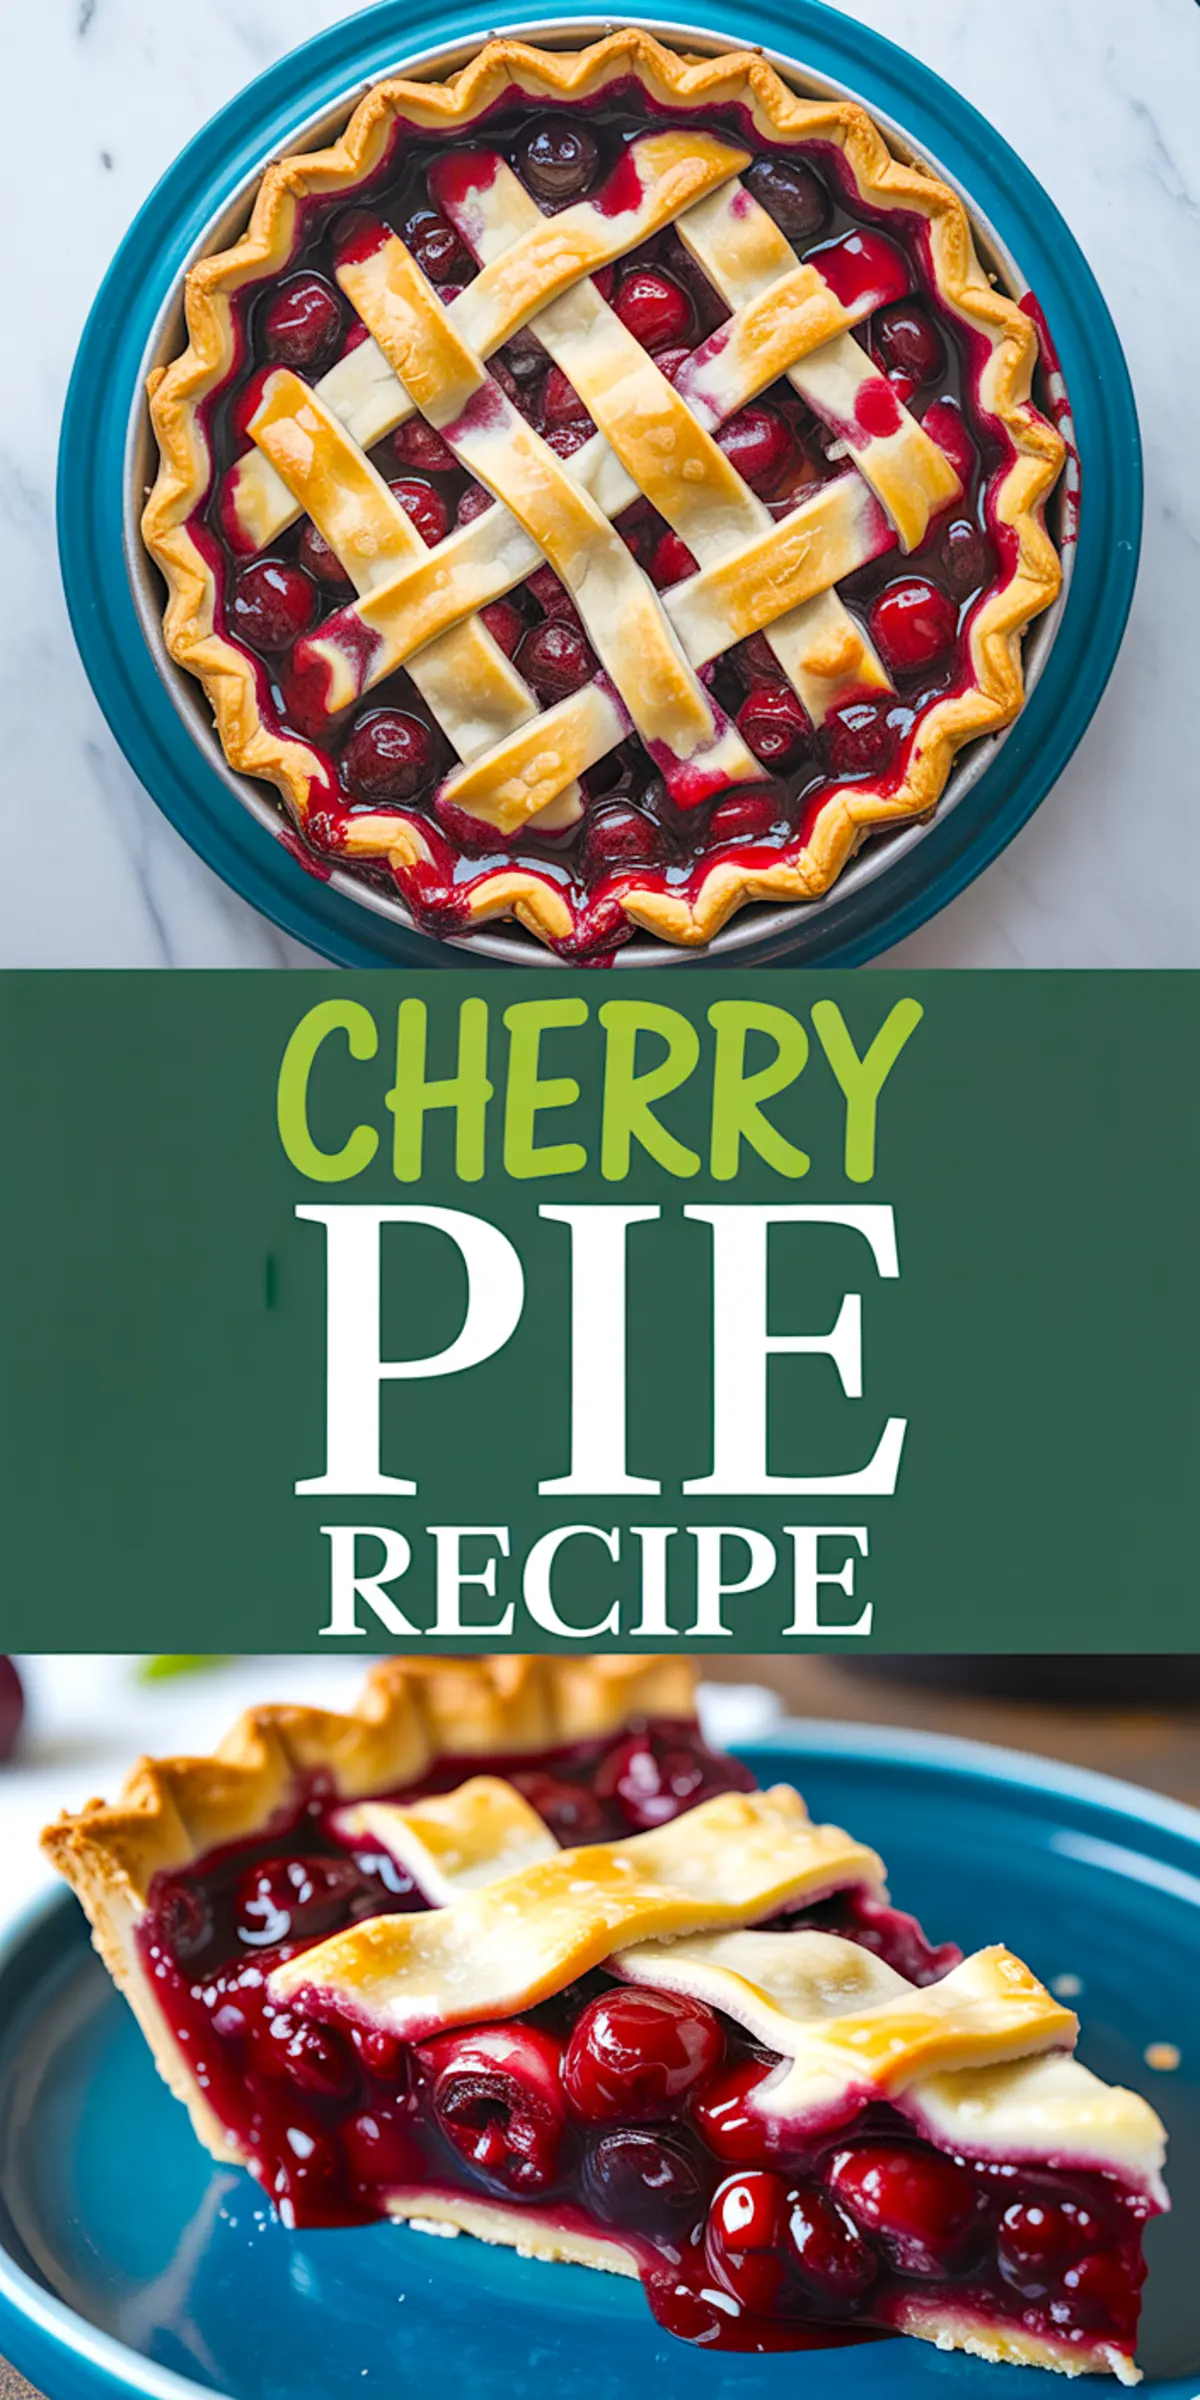
You will admire bright garnet fruit framed by buttery layers as slices lift free.
Leftovers turn morning oatmeal into a sweet cherry reward that beats store-bought spreads.
Fresh vs Frozen Sweet Cherrie, One Practical Comparison
My notebook shows equal success with orchard-picked cherries and supermarket frozen bags.
Fresh fruit keeps shape, so guests notice plump jewels in each slice.
Frozen cherries cost less off-season, yet one extra teaspoon of cornstarch and five extra minutes of simmer thicken the filling the same way.
Flavor stays vivid because lemon juice brightens both versions.
Frozen fruit must thaw and drain first to shed ice crystals that would loosen the filling.
This single adjustment maintains lattice height, avoiding soggy bands that sometimes appear in hurried bakes like shortcut Cherry Cobbler Recipe spins.
Serving Ideas and Smart Storage
Two hours of rest give pie time to firm, so plates remain neat.
Vanilla ice cream melts slowly beside warm crust, showcasing sweet acidity from cherries.
Friends love pairing a chilled scoop of Cherry Rosé Sorbet with each wedge for a temperature duet.
Slices keep three days under a cake dome or five days chilled when humidity rises.
A quick reheat at 325 °F revives the crust without pushing steam into pastry.
Wrapped slices freeze well; thaw overnight for winter comfort that recalls orchard walks.
Chocolate fans should visit my Cherry Pie Swirl Brownies where puréed fruit shines inside fudgy batter.
That recipe proves cherries and cocoa share stage time beautifully.
Pairing cherry notes with chocolate offers a dessert duo that wins at potlucks.
Related Recipes Worth Saving
Many readers explore Cherry Pie Cookies or experiment with Cranberry Pie after mastering this lattice bake.
Those treats apply the same crust principles but adjust filling ratios for handheld sweets.
Confidence grows with each success, and the dessert menu expands without extra stress.
Pin, Bake, and Share Your Success
Your board needs a reliable cherry pie that stands out.
Save this article now so a proven recipe stays within reach whenever fruit ripens in the market.
Tell me in the comments how your pie turned out, and ask any question that comes to mind; community feedback guides future posts.
Cherry Pie Recipe
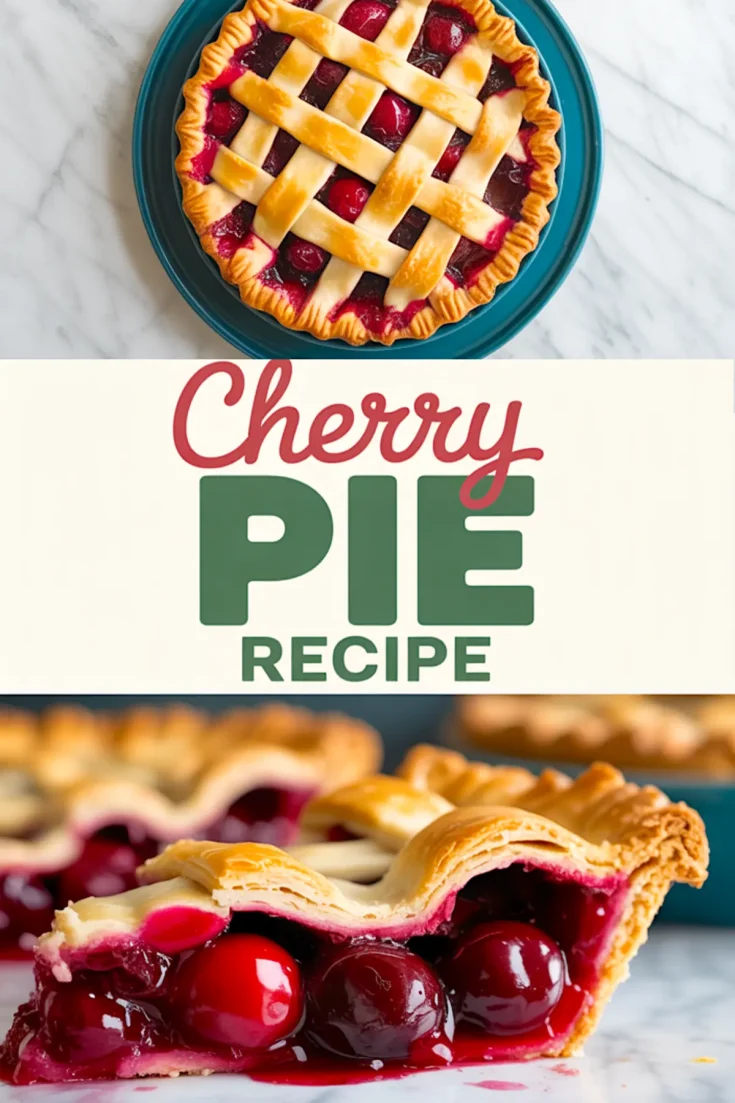
A flaky, buttery crust surrounds a sweet-tart cherry filling made from fresh or frozen cherries. This homemade cherry pie is balanced in flavor, easy to prepare with step-by-step guidance, and baked to a golden finish with a simple lattice top.
Ingredients
- FOR THE CHERRY FILLING
- Five cups fresh or frozen sweet cherries, pitted
- Three-quarters cup granulated sugar
- One-quarter cup cornstarch
- Two tablespoons lemon juice
- Half teaspoon almond extract
- Quarter teaspoon salt
- FOR THE PIE CRUST
- Two and one-half cups all-purpose flour
- One cup unsalted butter, cold and cubed
- Half teaspoon salt
- Six to eight tablespoons ice water
- FOR ASSEMBLY
- One egg, beaten
- One tablespoon milk (optional)
- One tablespoon coarse sugar (optional)
Instructions
- MAKE THE DOUGH: A large bowl holds flour and salt, then cold butter gets cut in with a pastry cutter or fingertips until the mixture resembles coarse crumbs. Ice water joins gradually, one tablespoon at a time, mixed gently until the dough just comes together.
- CHILL THE DOUGH: The dough divides into two equal portions, each shaped into a disc, wrapped in plastic wrap, and refrigerated for at least 1 hour.
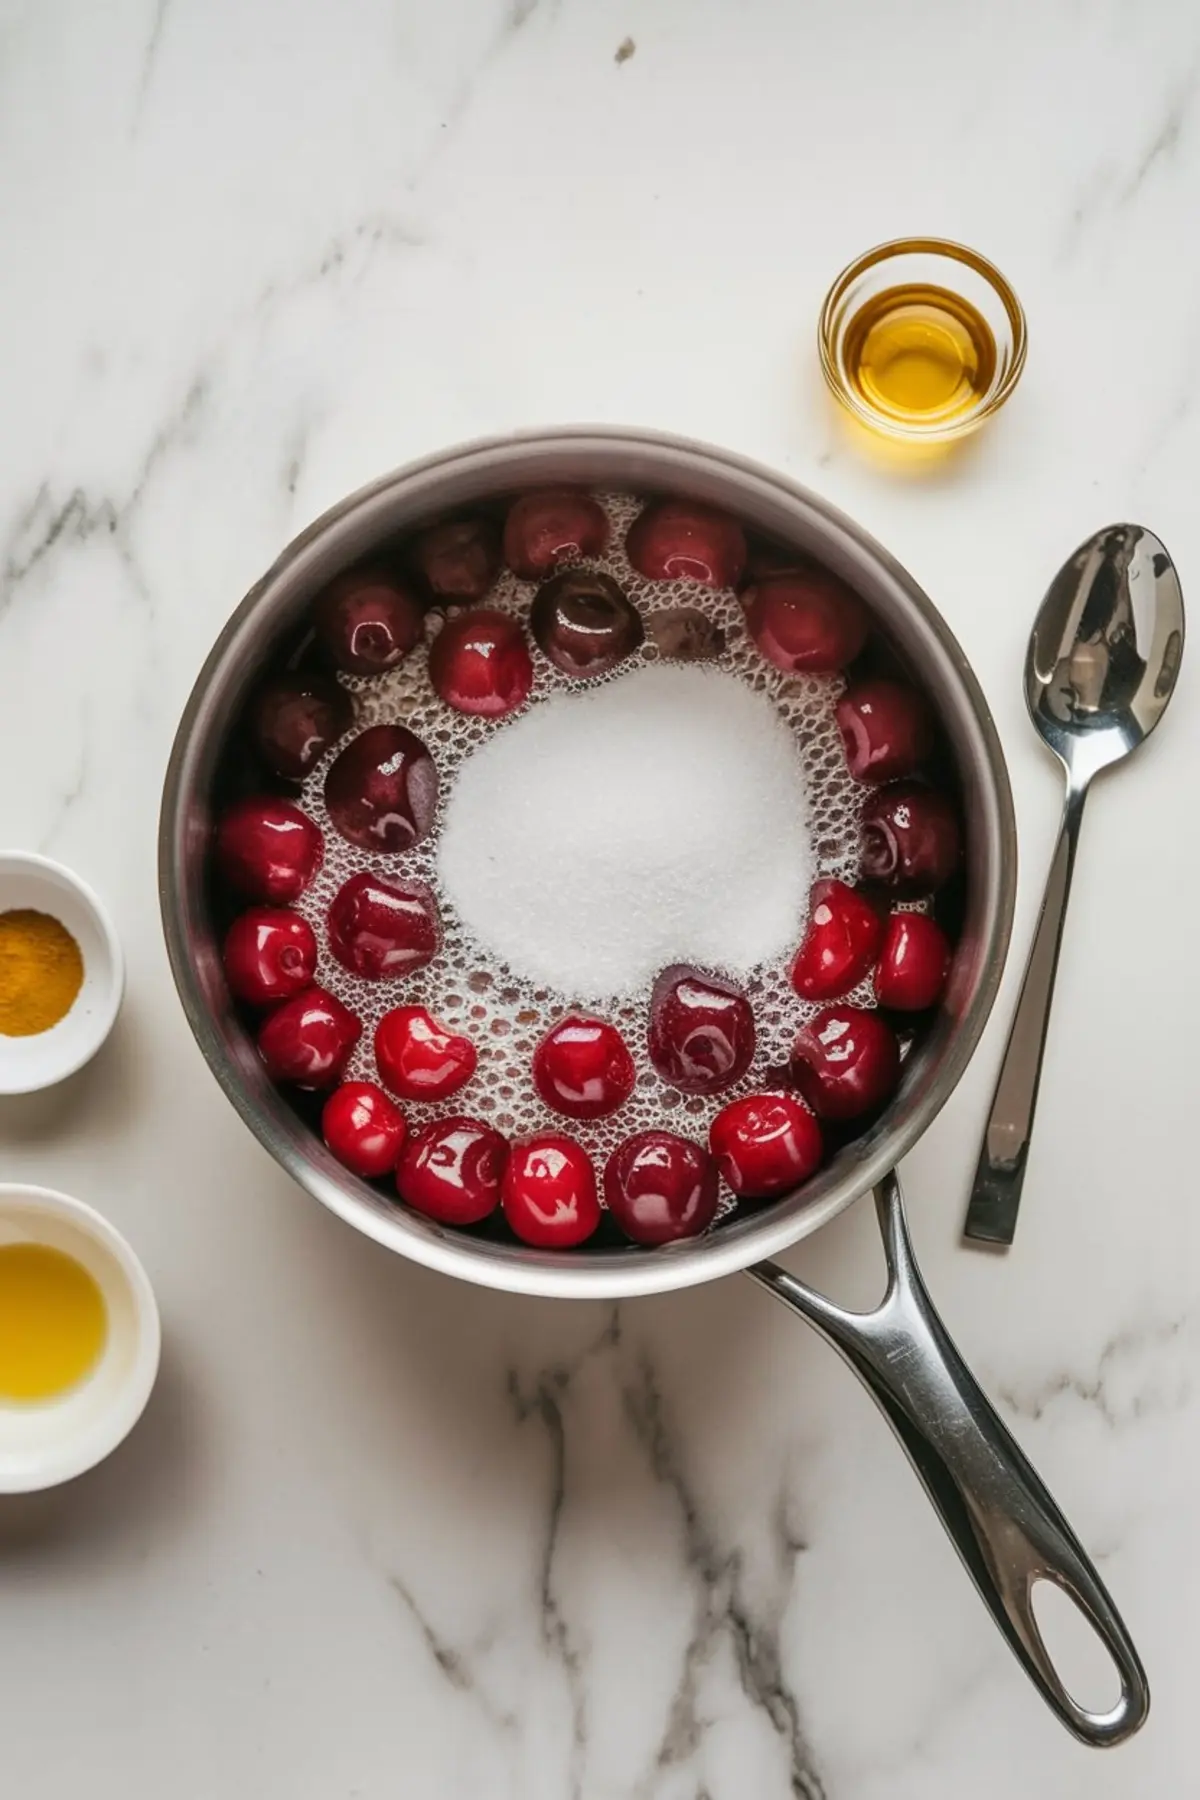
- MAKE THE CHERRY FILLING: A medium saucepan combines five cups pitted sweet cherries, three-quarters cup granulated sugar, one-quarter cup cornstarch, two tablespoons lemon juice, half teaspoon almond extract, and a quarter teaspoon salt. The mixture cooks over medium heat, stirred often, until it thickens and begins to bubble after about 10–15 minutes. The pan then moves off the heat to cool completely.
- ROLL OUT THE BOTTOM CRUST: The oven preheats to 400 °F (200 °C). One chilled dough disc rolls out on a lightly floured surface into a 12-inch circle before settling into a 9-inch pie dish, pressed gently against bottom and sides.
- ADD THE FILLING: The cooled cherry filling spreads evenly into the prepared bottom crust.
- MAKE THE LATTICE TOP: The second dough disc rolls into a 12-inch circle, then slices into one-inch-wide strips. Half of the strips lie horizontally over the pie, while the remaining strips weave vertically to form a lattice.
- TRIM AND CRIMP: Excess dough trims away and edges press together, then fingers or a fork create a decorative crimp.
- APPLY EGG WASH: A small bowl holds the beaten egg and milk, if using. The lattice receives a light brush of egg wash followed by a sprinkle of coarse sugar, if desired.
- BAKE THE PIE: The pie sits on a baking sheet to catch drips, baking at 400 °F (200 °C) for 20 minutes. The oven temperature then lowers to 350 °F (175 °C) for an additional 35–40 minutes until the crust turns golden and the filling bubbles.
- COOL BEFORE SERVING: The pie rests at room temperature for at least 2 hours, allowing the filling to set before slicing and serving.
Notes
Fresh cherries provide the best flavor, but frozen ones work well too—just be sure to thaw and drain them before using. For a cleaner lattice, chill the strips for 10 minutes before assembling.
Nutrition Information
Yield
12Serving Size
1Amount Per Serving Calories 412Total Fat 20gSaturated Fat 11gTrans Fat 0gUnsaturated Fat 8gCholesterol 56mgSodium 203mgCarbohydrates 55gFiber 2gSugar 24gProtein 5g