There’s something about a no-bake pie that feels like a quiet victory. You don’t need to preheat anything. You don’t need to juggle timers or second-guess your oven. Just reliable steps, a cold fridge, and a few good ingredients doing exactly what they should.
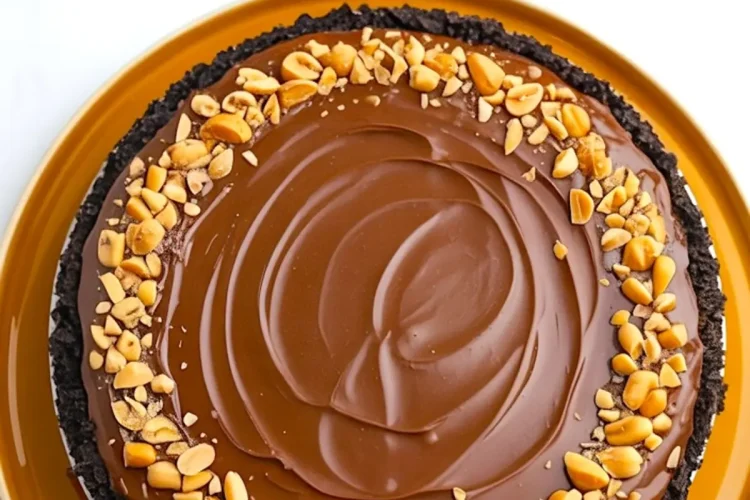
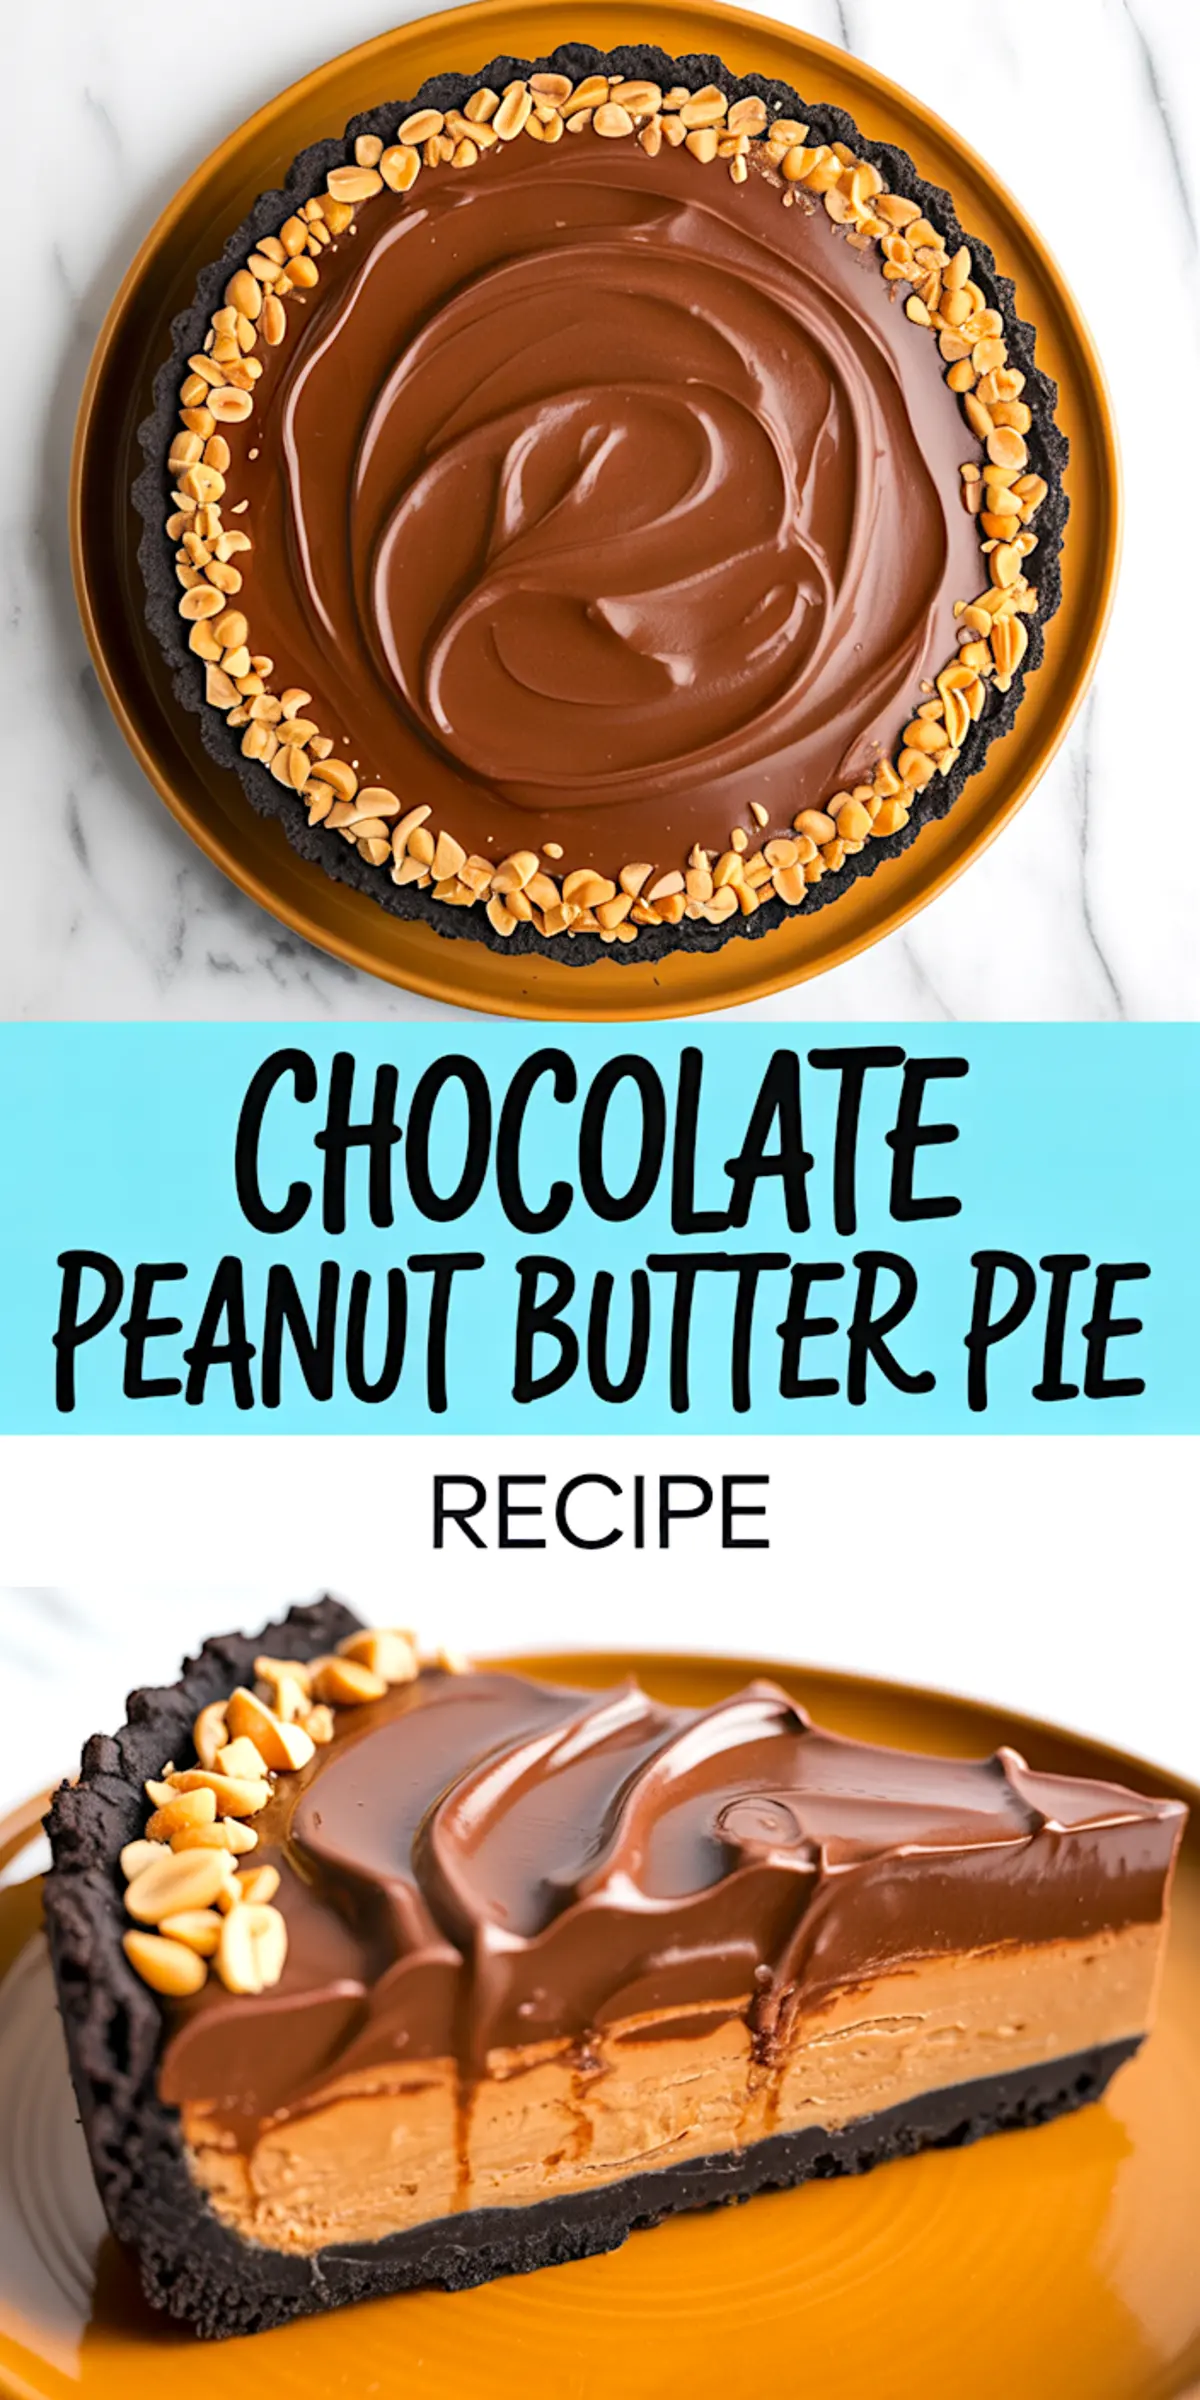
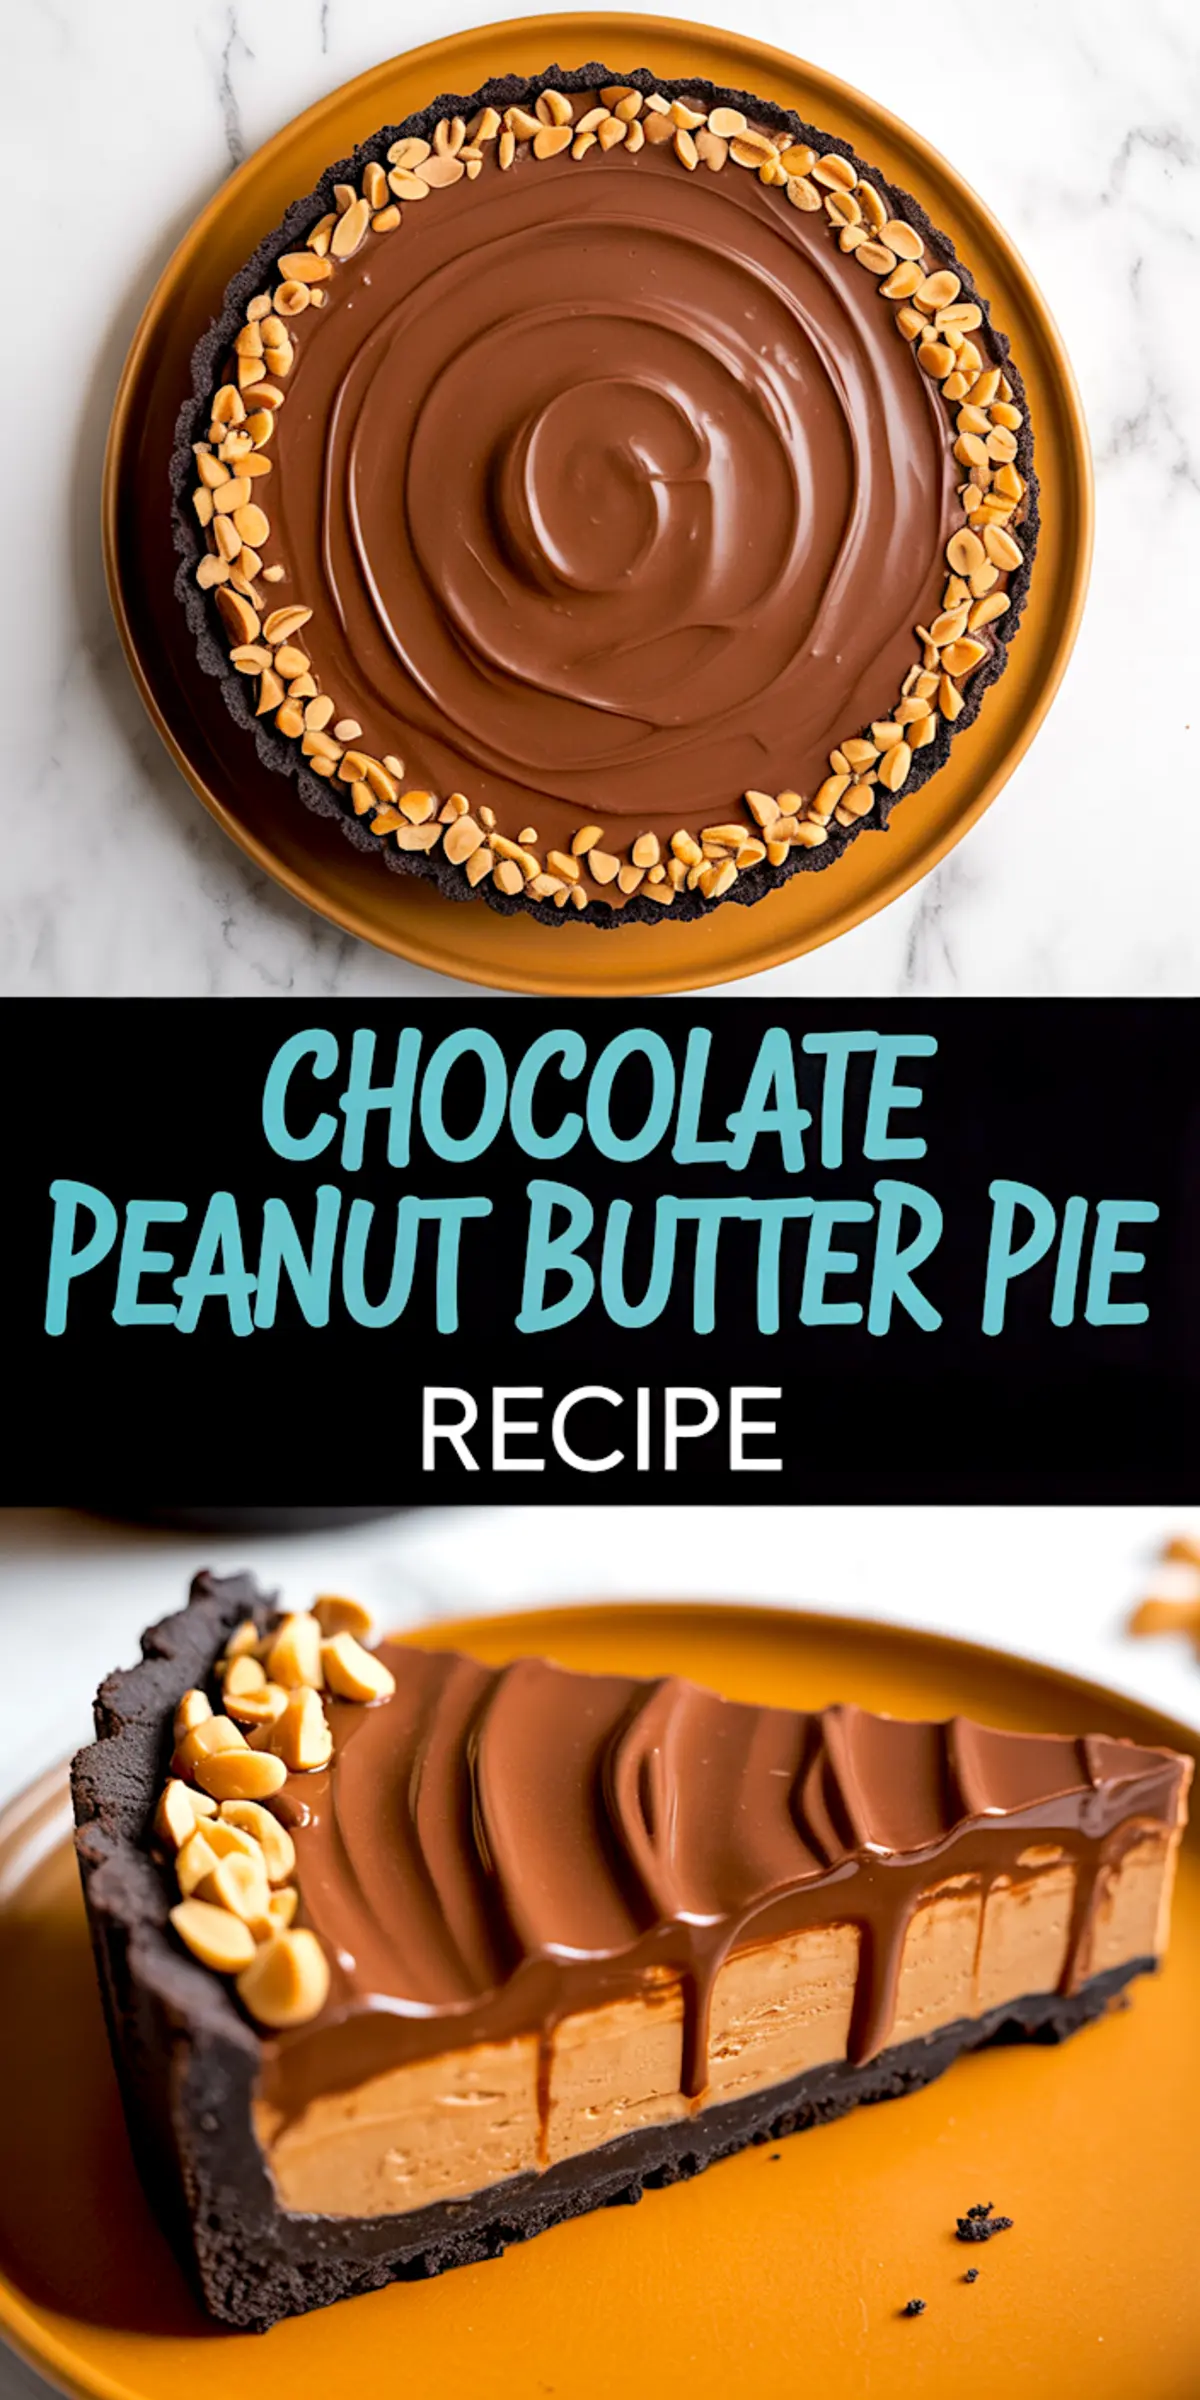
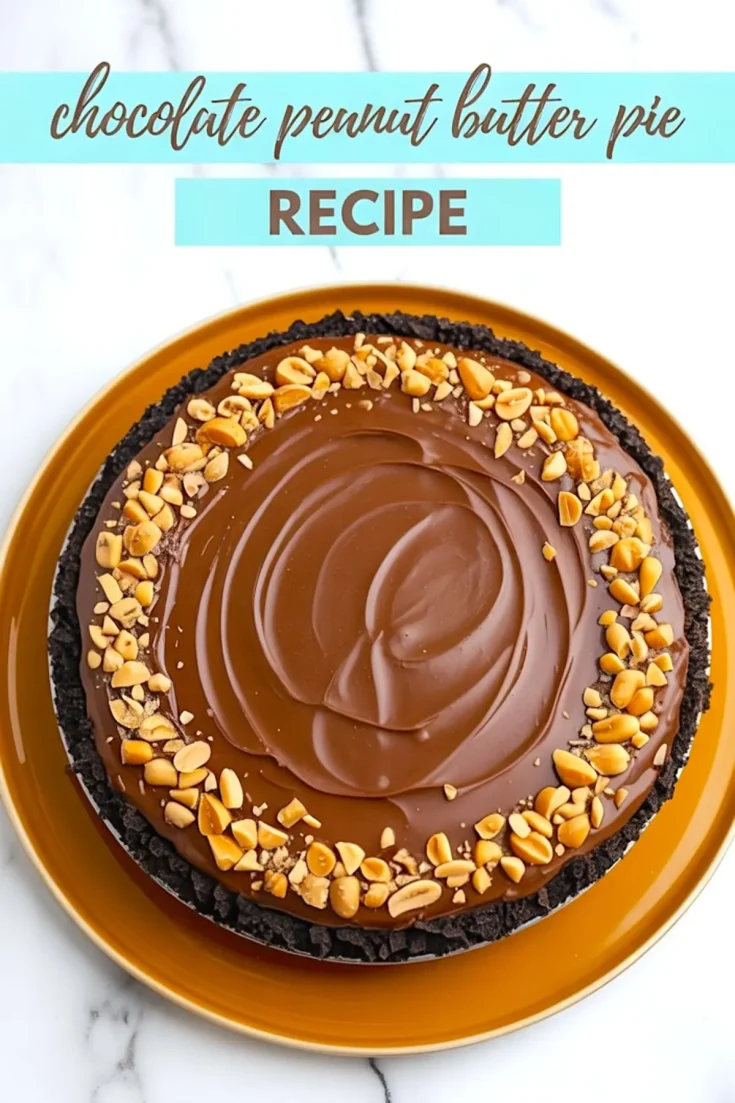
This chocolate peanut butter pie brings together the cool silkiness of whipped peanut butter filling, a sturdy chocolate biscuit crust, and a glossy ganache that slices clean and rich. It keeps well, cuts beautifully, and makes a solid case for why a no-bake pie deserves a permanent spot in your rotation.
You’ll learn how to build a chocolate crust that won’t crumble, fold a whipped filling that stays light, and pour a ganache that gleams. You’ll also get my take on what works best for crusts and fillings if you want to make adjustments.
Let’s start with what matters most: balance. This pie doesn’t lean too sweet. That’s what makes it stand out from many peanut butter pie recipes that end up cloying. The salt from the peanuts and the creaminess of the filling keep it grounded. The ganache doesn’t try to steal the show—it finishes the job cleanly.
Following a special diet?
Every recipe on this site can be converted to gluten-free, vegan, dairy-free, keto, nut-free or egg-free with adjusted ratios so nothing falls flat.
Try the Recipe Converter →Choosing the Right Crust for a No-Bake Pie
A chocolate biscuit crust forms the base of this pie, and it holds up better than most. I’ve used both chocolate graham crackers and chocolate digestive biscuits, and both work well, but the digestives give a smoother, more compact crumb.
If you go with graham crackers, expect a slightly more rustic edge and a lighter chocolate flavor. If you’re after a deep cocoa profile that complements peanut butter without overpowering it, use digestives or chocolate wafer cookies.
You can also explore more crust ideas in my homemade pie crust recipe, although this no-bake crust keeps things quicker and easier.
Mixing the Creamy Peanut Butter Filling Without It Turning Dense
This step depends on sequence and temperature. Softened cream cheese combines smoothly with peanut butter when both are at room temperature. Cold cream cheese will clump. Warm peanut butter will loosen the mixture too much.
I’ve tested this with natural-style peanut butter, and the result was grainy and loose. Stick with creamy, commercial peanut butter for better structure. If you’re curious about making a peanut butter pie without cream cheese, you can adjust the whipped cream ratio, but you’ll lose the slight tang that helps cut through the richness.
For a variation with even more contrast, take a look at my chocolate pie recipe where I lean into bittersweet tones and less creamy textures.
Folding in the Whipped Cream Without Deflating It
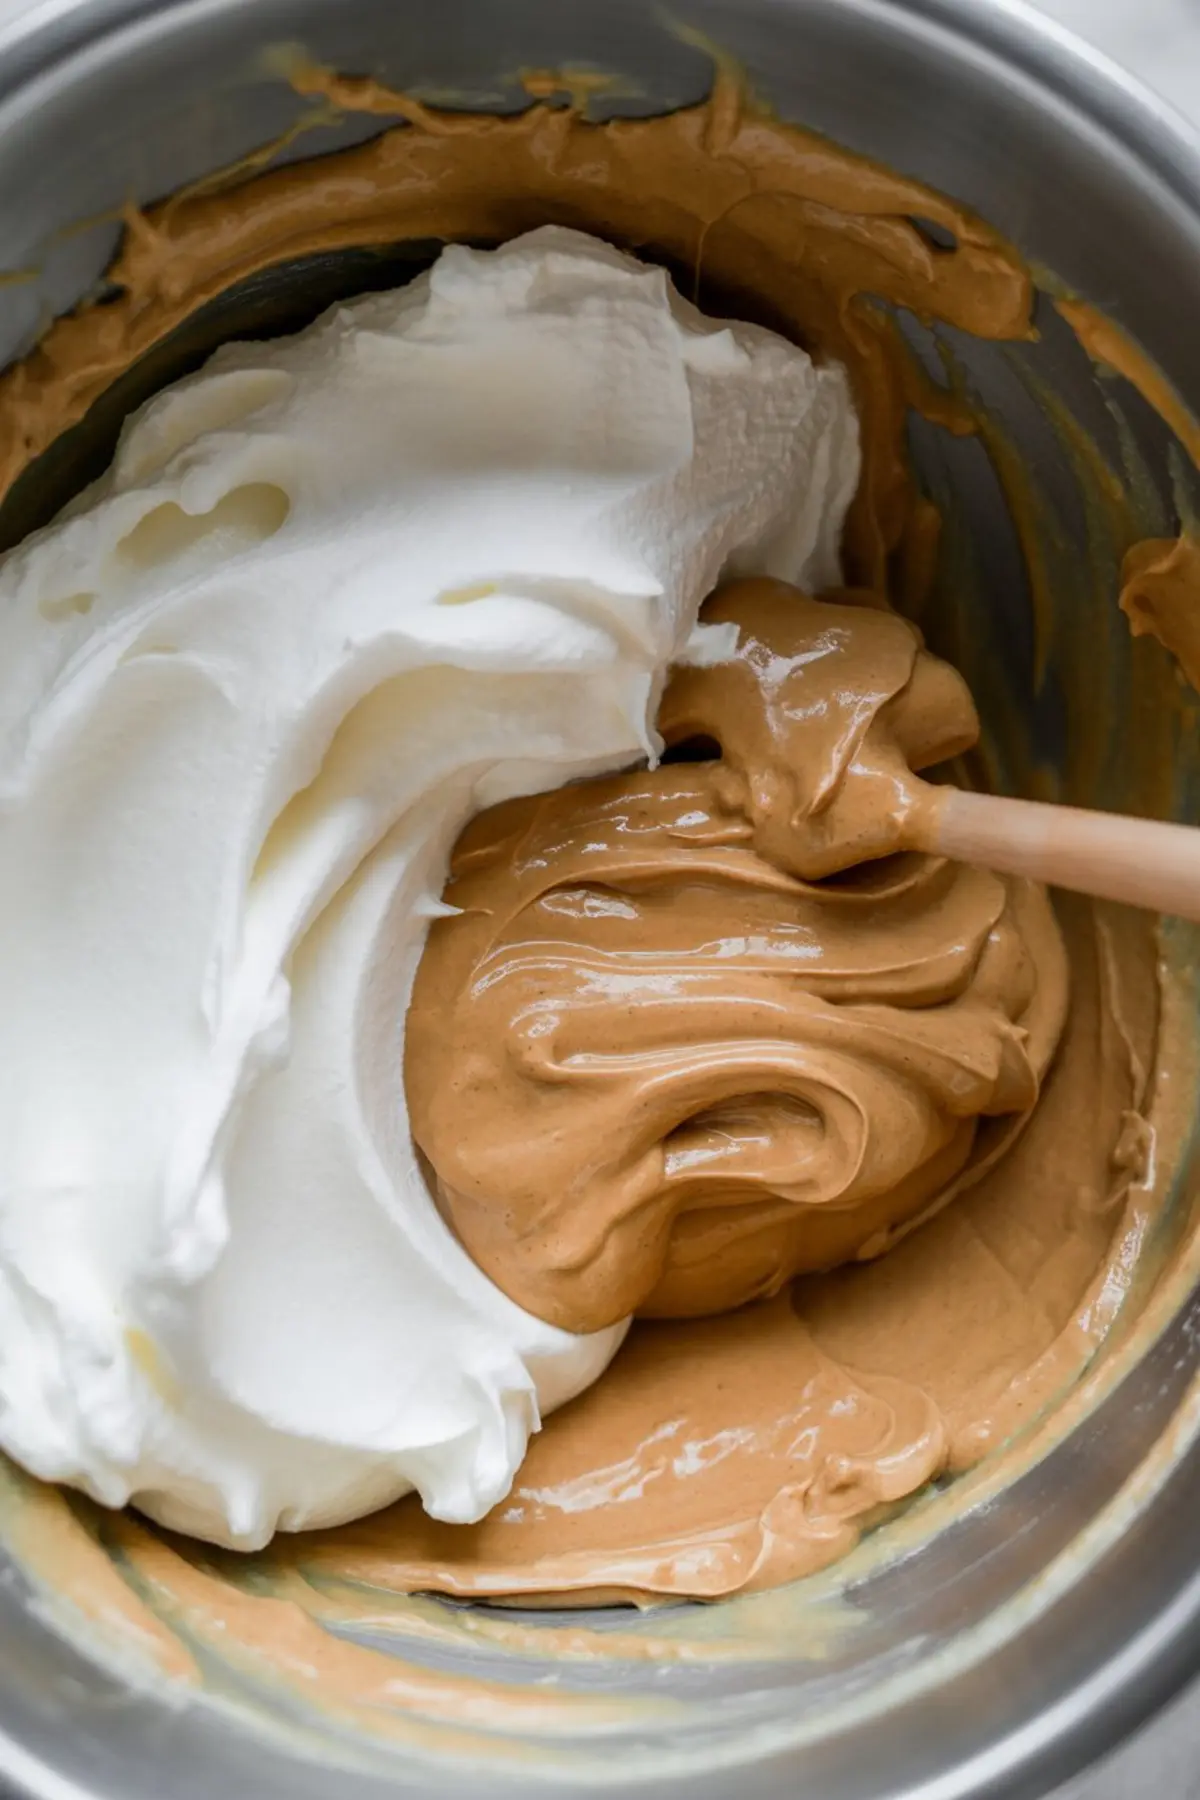
Whipped cream carries this filling. It lightens the texture and softens the intensity of both cream cheese and peanut butter. Fold it in slowly. Use a wide spatula. Don’t rush this step.
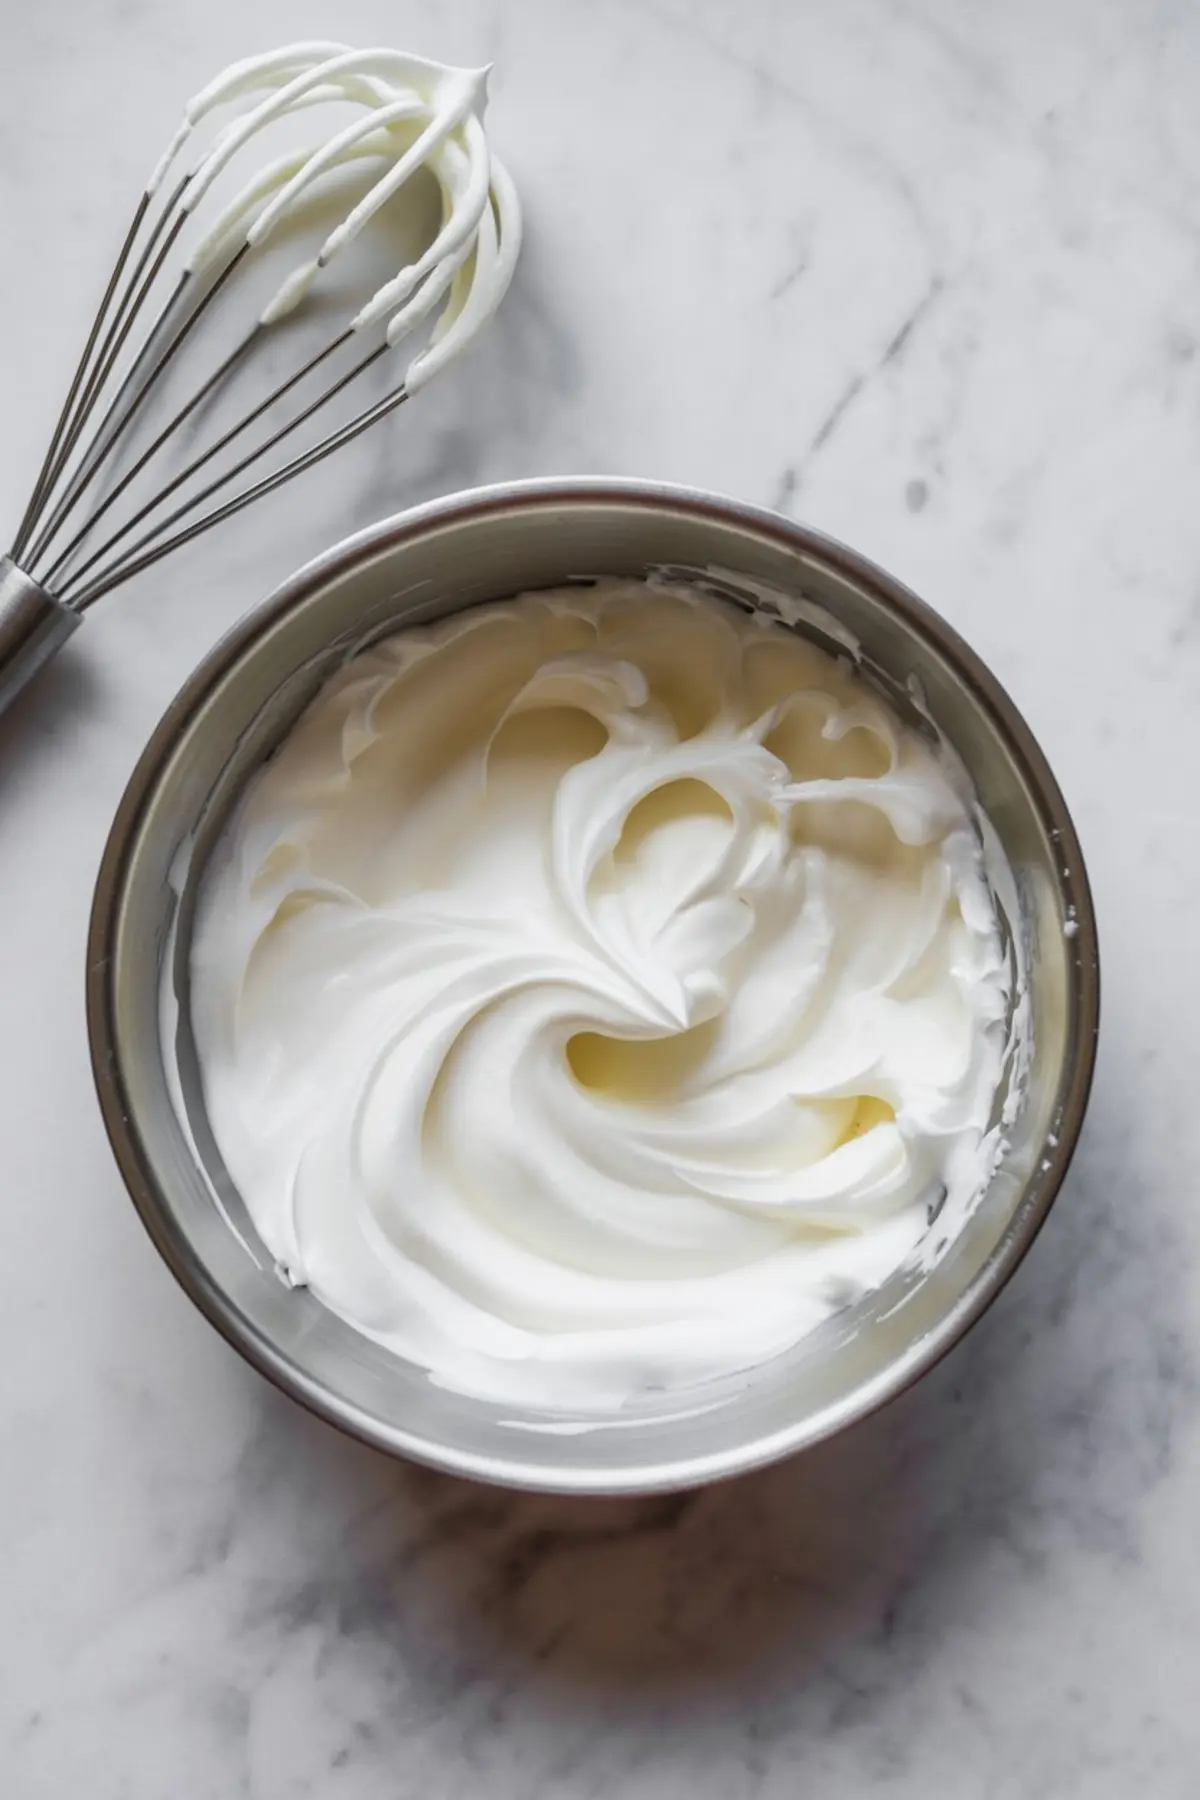
The whipped cream should hold stiff peaks, not dry ones. If you overwhip, it starts to break. If you underwhip, your filling won’t hold shape once sliced. I always do a final whip test by holding the bowl upside down for a second. If it stays put, you’re ready.
This technique is useful in several other no-bake pies I’ve worked on, including the Mississippi Mud Pie which also uses whipped cream to lighten a dense base.
Pouring the Ganache Without It Sinking or Splitting
Once your filling is chilled and firm, the ganache comes in as the final coat. Let it cool before pouring. Hot ganache will melt the top layer and bleed into the filling. Too cool and it won’t spread evenly.
The chocolate-to-cream ratio in this recipe gives you a set finish without cracking. If you like your ganache softer and closer to a sauce, reduce the chocolate slightly, but that’ll affect how it slices.
In this pie, the ganache sets with just enough give, giving it a clean look and a satisfying mouthfeel.
Topping and Chilling: The Final Texture Details
A sprinkle of chopped roasted peanuts at the end makes a difference. It’s not for decoration. It adds a crunch that cuts through the creamy layers. Just a quarter cup changes the eating experience.
Once topped, this pie needs at least 3 hours in the fridge. Four is better. I leave it overnight if I want the cleanest slices.
In my notes, I’ve also compared storing slices uncovered versus covered in the fridge. Covered pies keep the ganache glossier, while uncovered ones firm up faster but can develop a dull top. If presentation matters, use a loose cover or dome.
If you enjoy this kind of make-ahead dessert, browse the full easy pie recipes section, which includes both chilled and baked options.
Comparison: Digestive Biscuits vs Graham Crackers for the Crust
I’ve made this pie dozens of times with both crust styles. Graham crackers give a coarser texture and absorb the butter quickly. The result is slightly crumbly but nutty and nostalgic. Chocolate digestives, on the other hand, produce a more compact and polished crust with a subtle malt tone.
If you want a firmer base that cuts cleanly with minimal crumbs, go with digestives. If you prefer a softer, more rustic bite, graham crackers will serve you well. Both versions work in this chocolate chess pie too, which shares a similar foundation.
Serving Notes and Storage Tips
This pie travels well and keeps better than most cream-based desserts. You can slice it cold and let it sit at room temperature for 10 to 15 minutes before serving to soften the ganache slightly.
I often serve it with a small spoon of whipped cream or even a scoop of ice cream for contrast. If you’re leaning more chocolate-heavy, this pairs beautifully with espresso or strong black tea.
Leftovers last three to four days in the fridge, covered. The crust doesn’t go soggy, and the filling stays intact.
If you’re into similar chill-set pies, you’ll find easy no bake pies like this one satisfying for both flavor and simplicity.
Final Thoughts and Community Notes
This chocolate peanut butter pie delivers deep flavor with low effort. You don’t need to bake anything. You don’t need to temper chocolate or stress over structure. If you follow the method and keep your steps cool and measured, this pie won’t fail you.
I’d love to hear how yours turned out. Did you go with graham crackers or biscuits? Add anything on top? Let me know in the comments.
Save this recipe to your Pinterest board if you’re planning your next no-bake dessert lineup. It holds up beautifully in summer and works year-round when you want something rich without heating the kitchen.
Chocolate Peanut Butter Pie Recipe
This no-bake chocolate peanut butter pie has a crunchy chocolate biscuit crust, a creamy peanut butter filling, and a glossy layer of rich chocolate ganache. The pie sets up beautifully in the fridge, making it a convenient make-ahead dessert with great texture and flavor balance.
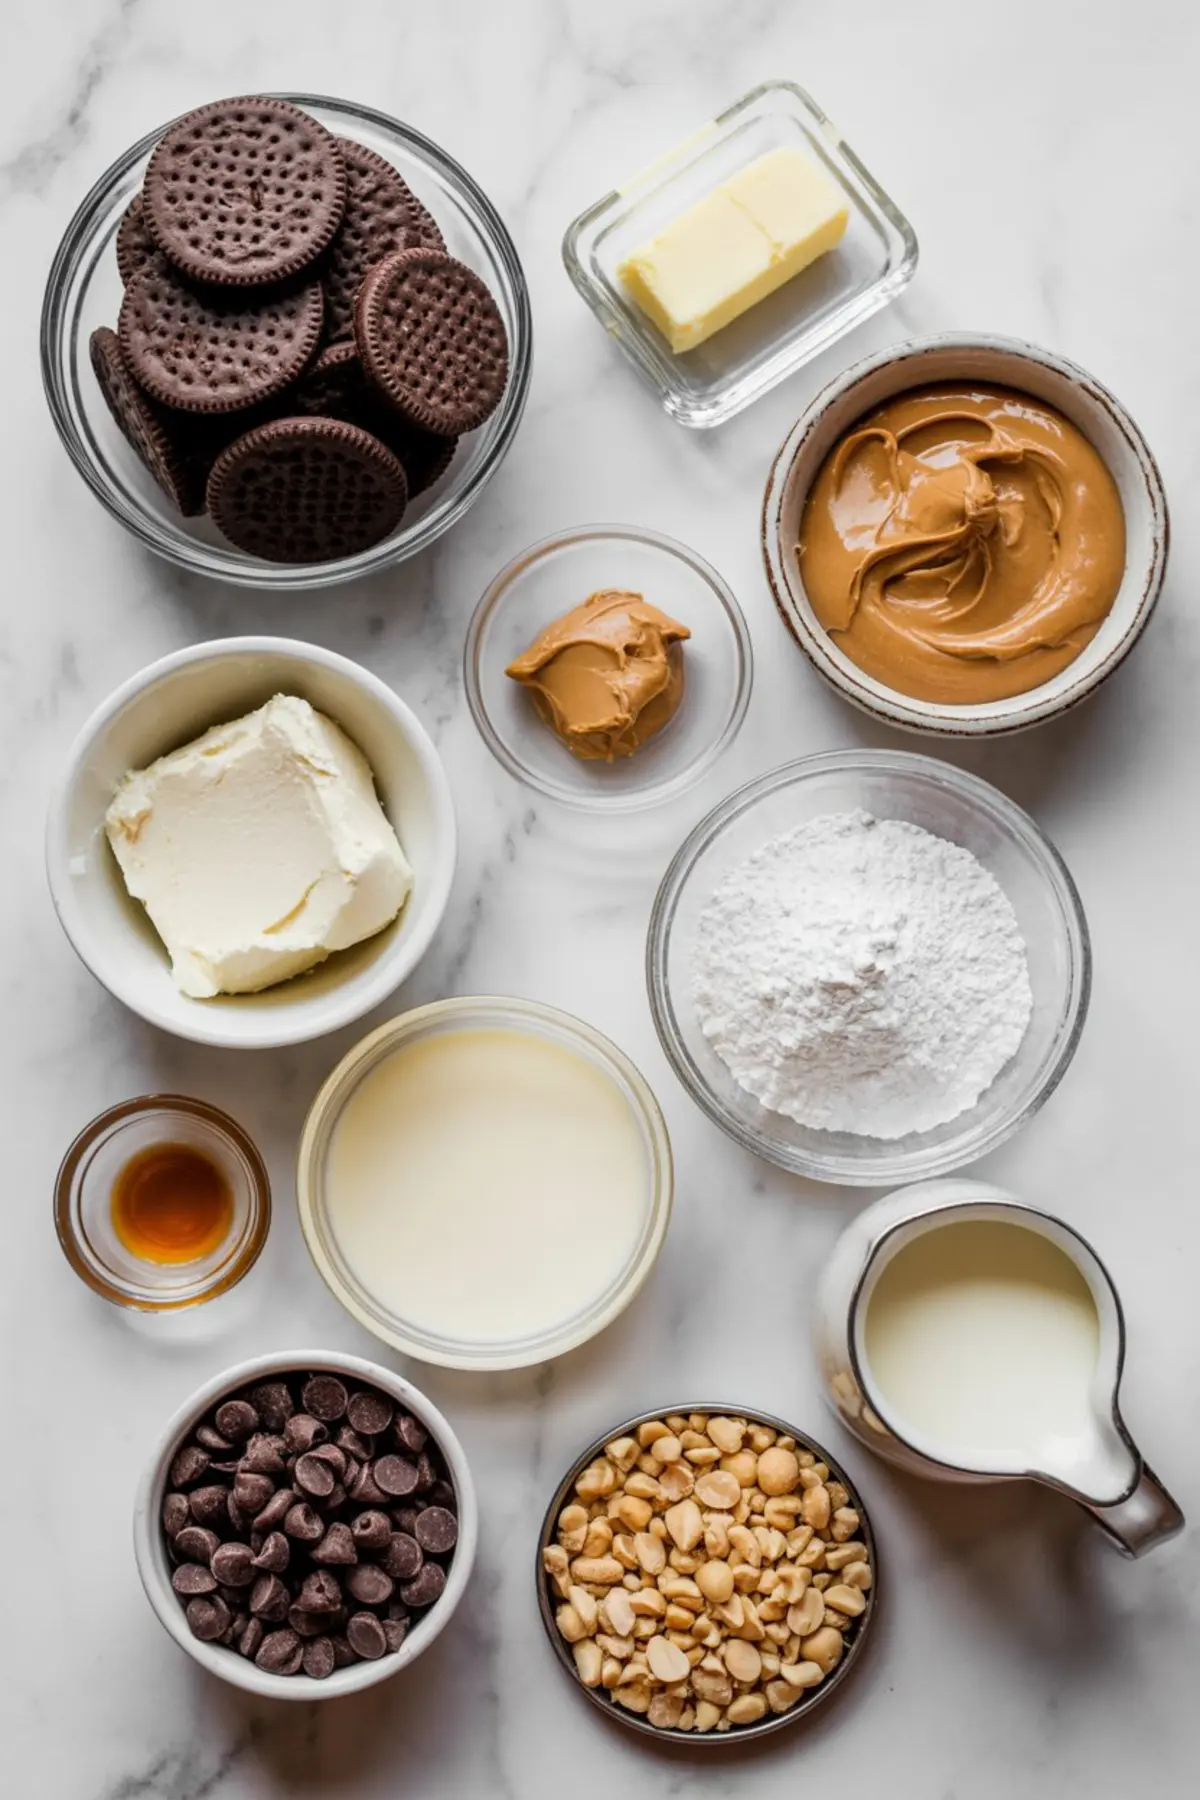
Ingredients
- FOR THE CHOCOLATE BISCUIT CRUST
- 200g (about 2 cups) plain chocolate biscuits (such as chocolate digestives or graham crackers)
- 90g (6 tablespoons) unsalted butter, melted
- FOR THE PEANUT BUTTER FILLING
- 240g (1 cup) creamy peanut butter (not natural-style)
- 225g (8 ounces) cream cheese, softened
- 120g (1 cup) powdered sugar
- 360ml (1½ cups) heavy whipping cream, cold
- 1 teaspoon vanilla extract
- FOR THE CHOCOLATE GANACHE
- 175g (1 cup) semi-sweet chocolate chips or chopped chocolate
- 120ml (½ cup) heavy cream
- TOPPING (OPTIONAL BUT RECOMMENDED)
- 30g (¼ cup) salted roasted peanuts, chopped
Instructions
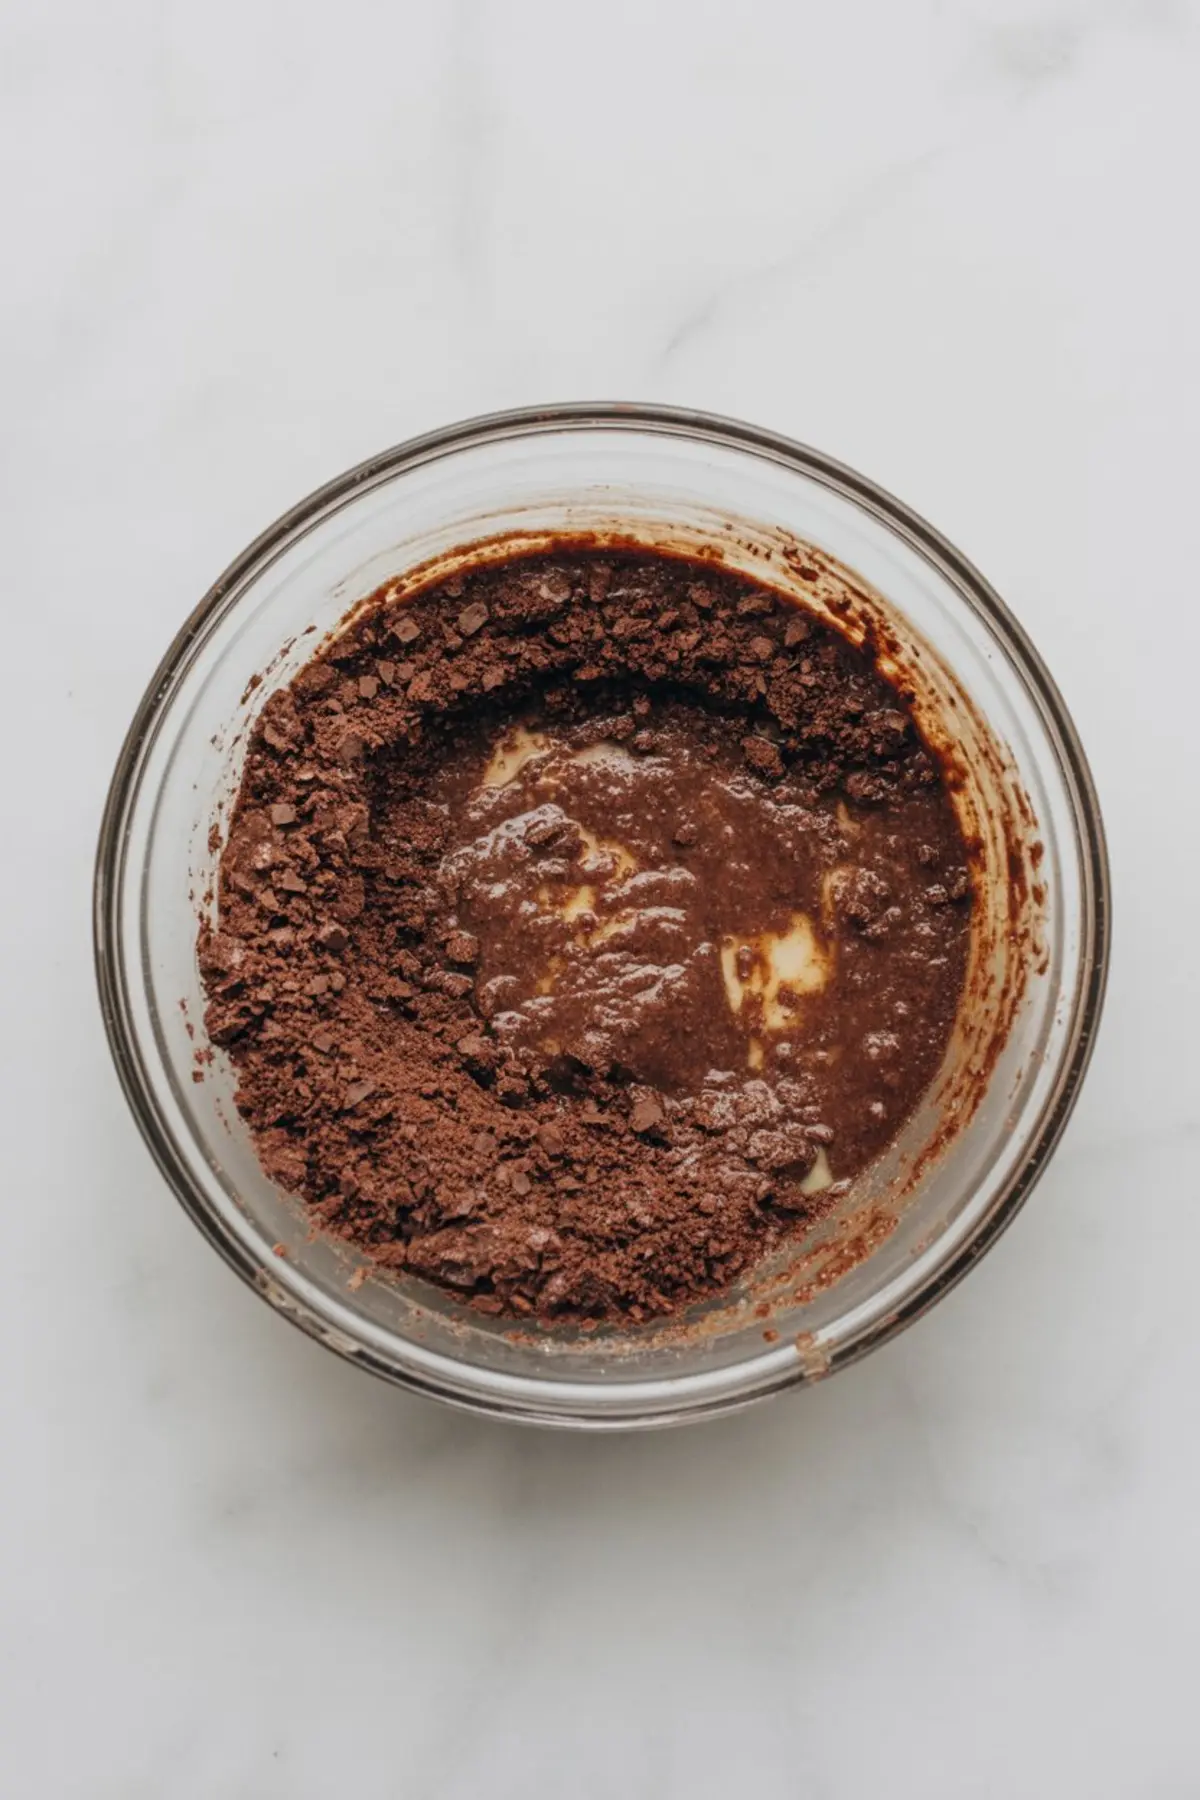
- MAKE THE CRUST: Crush the chocolate biscuits into fine crumbs using a food processor or by placing them in a sealed bag and rolling over them with a rolling pin until evenly ground.
- COMBINE AND PRESS: Mix the crushed biscuits with the melted butter until the mixture is evenly moistened. Press firmly into the bottom and sides of a 9-inch tart pan or pie dish to form an even crust.
- CHILL THE CRUST: Refrigerate the crust for at least 20 minutes to set while you prepare the filling.
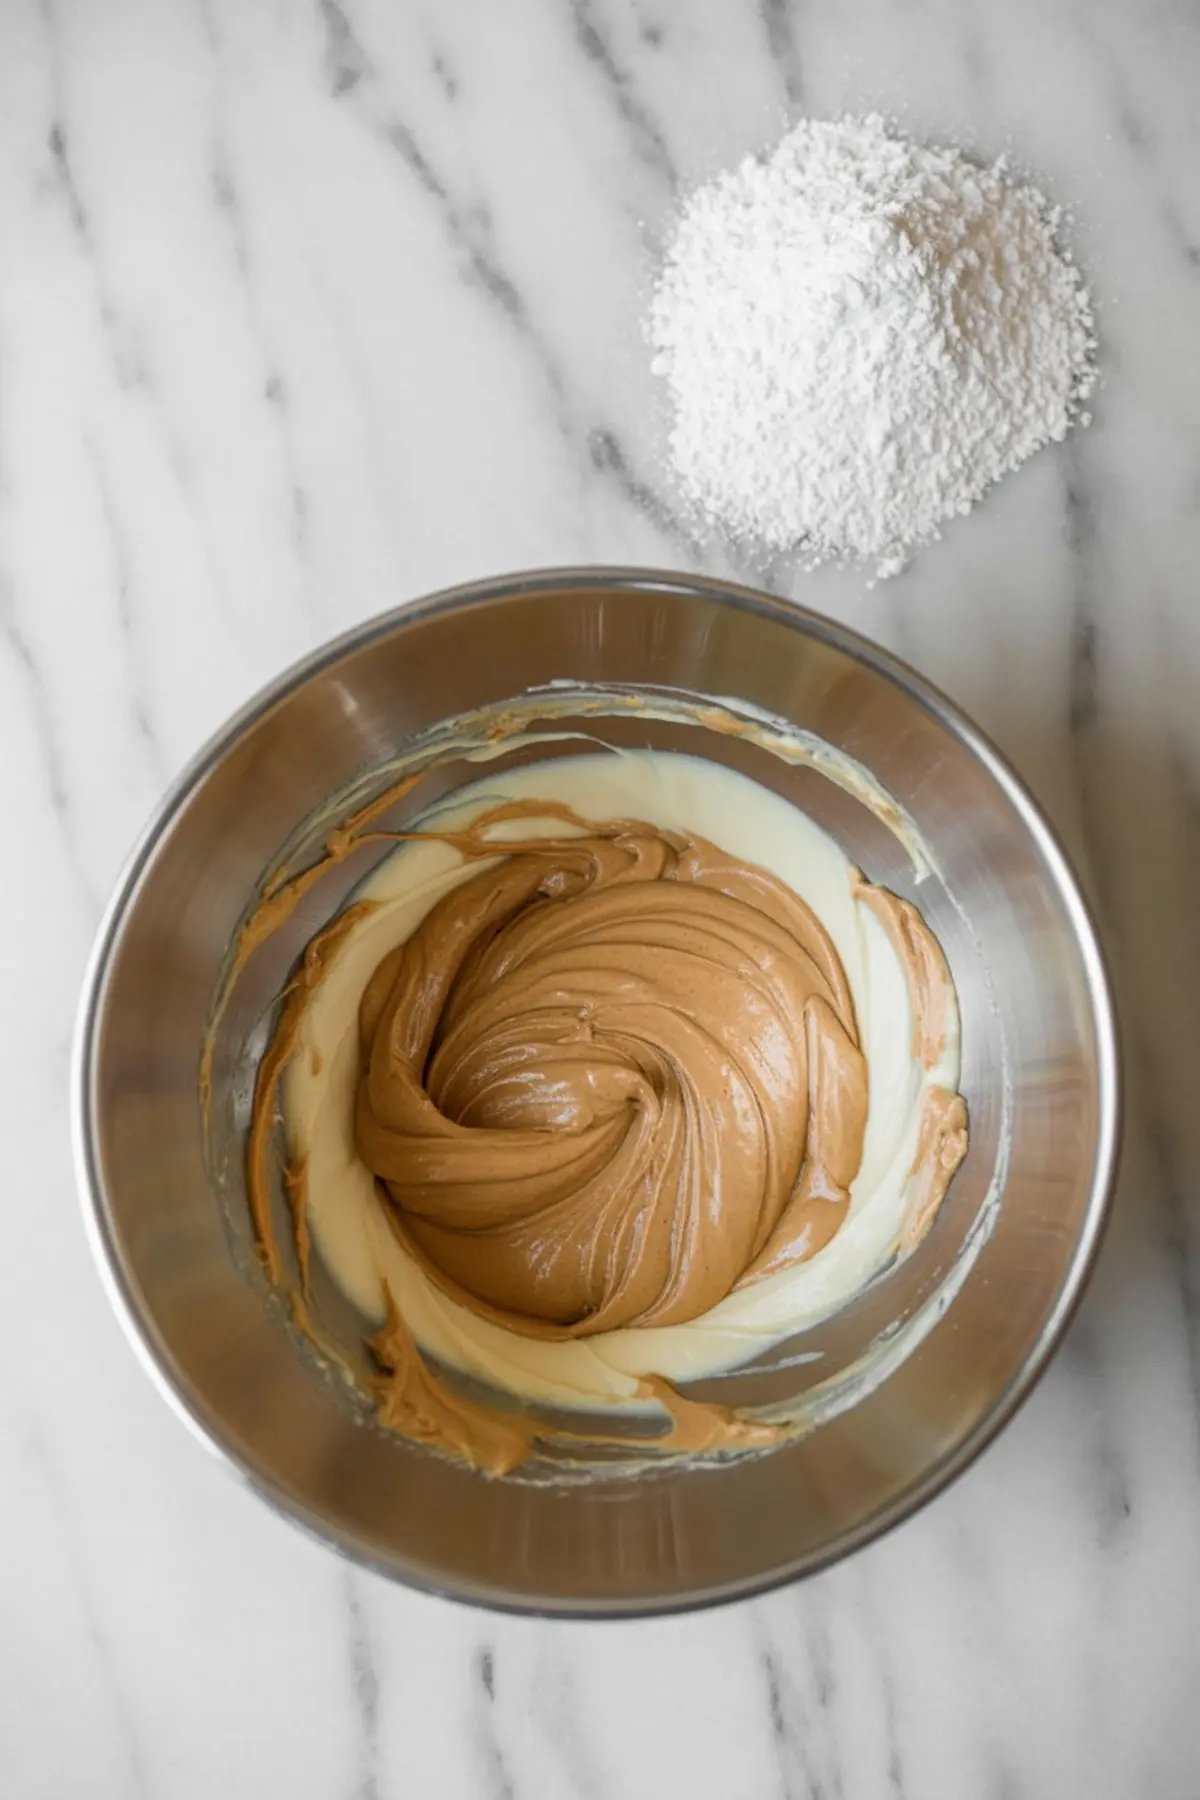
- MAKE THE FILLING BASE: In a large bowl, beat the cream cheese and peanut butter together using a hand mixer or stand mixer until smooth and well blended.
- ADD SUGAR AND VANILLA: Add the powdered sugar and vanilla extract to the peanut butter mixture and mix until completely incorporated.
- WHIP THE CREAM: In a separate bowl, whip the heavy whipping cream with an electric mixer until stiff peaks form, being careful not to overwhip.
- FOLD IN WHIPPED CREAM: Gently fold the whipped cream into the peanut butter mixture using a spatula until the filling is light, smooth, and uniform.
- SPREAD THE FILLING: Spoon the filling into the chilled crust and smooth the surface with an offset spatula or back of a spoon. Refrigerate the pie for at least 1 hour to allow the filling to firm up.
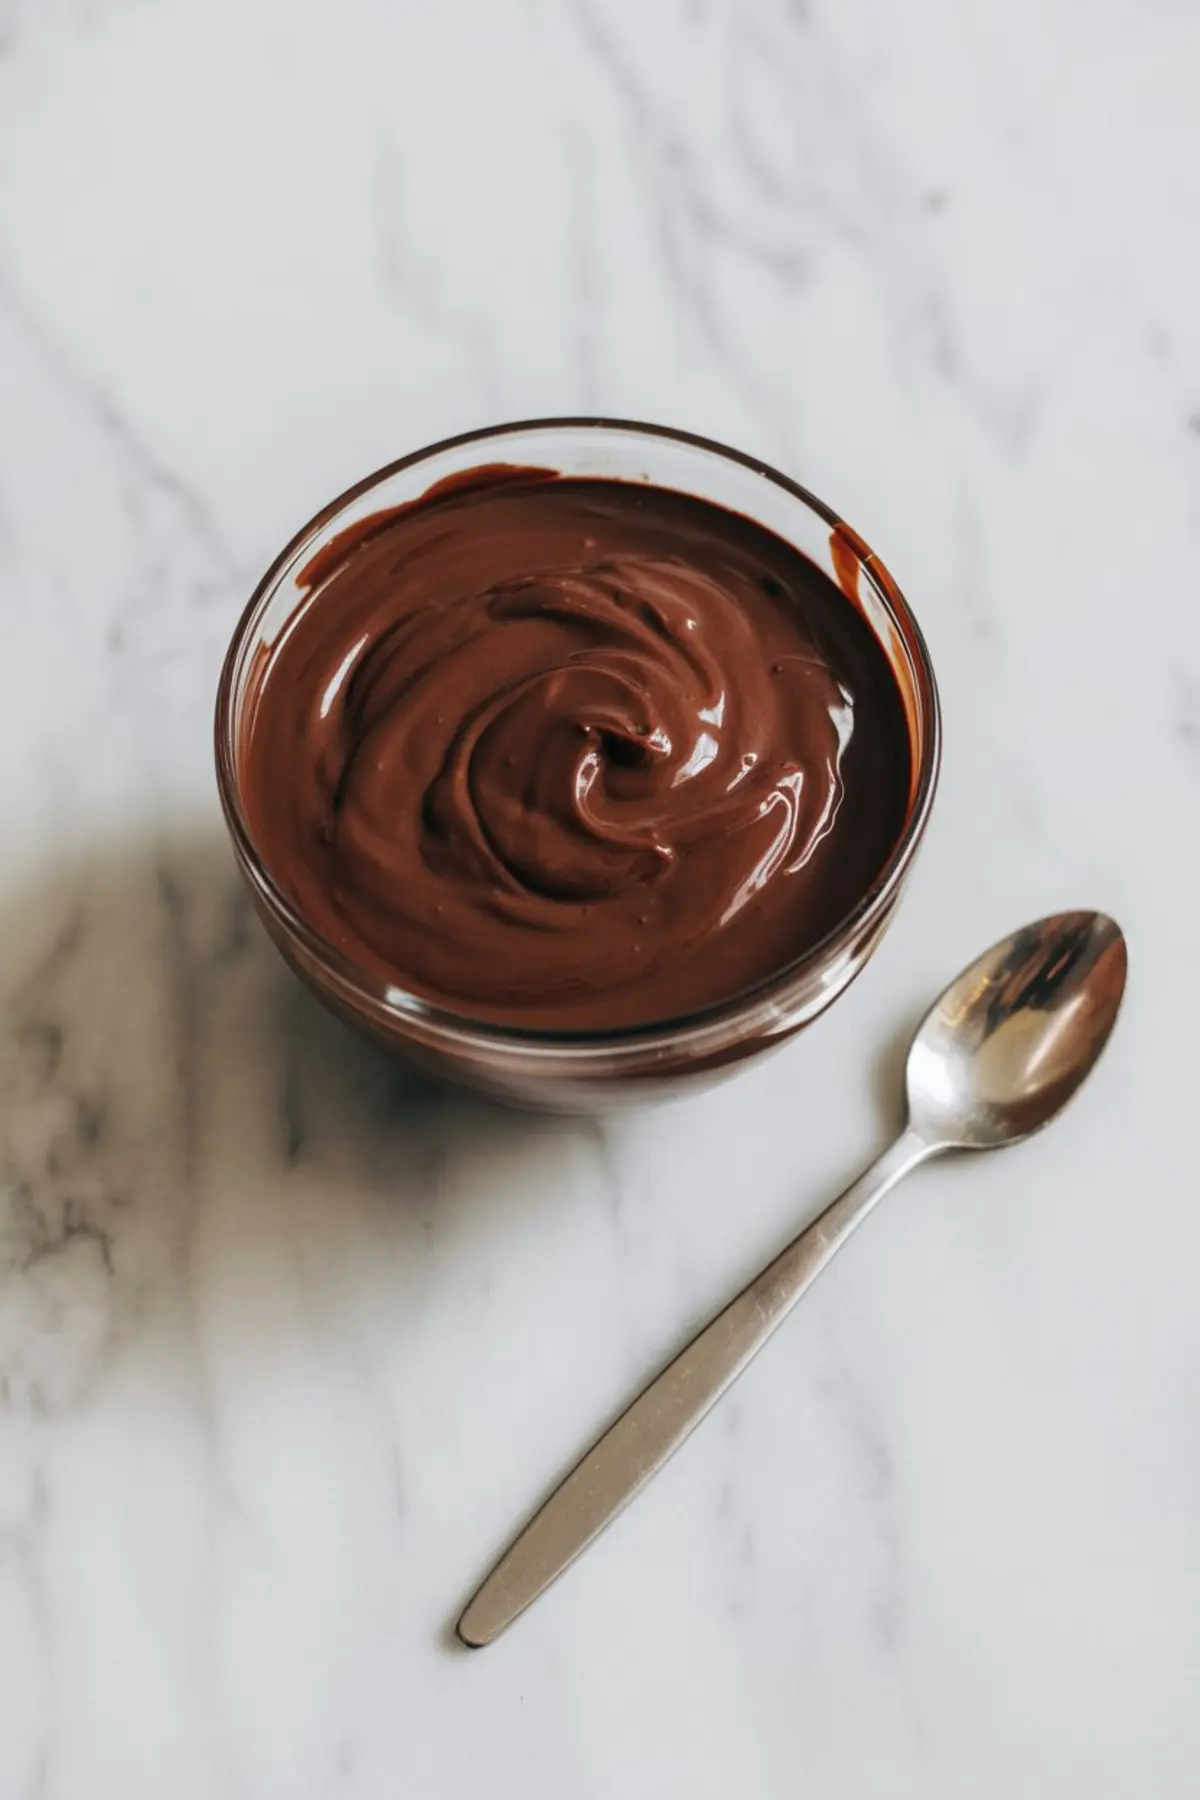
- PREPARE THE GANACHE: Place the chocolate in a medium heatproof bowl. Heat the cream in a small saucepan over medium heat until it begins to simmer but does not boil.
- COMBINE AND STIR: Pour the hot cream over the chocolate and let it sit undisturbed for 2 to 3 minutes, then stir gently until smooth and glossy. Let the ganache cool for 5 to 10 minutes.
- TOP THE PIE: Pour the ganache over the chilled filling and use a spoon or spatula to spread it evenly to the edges.
- ADD TOPPING: Sprinkle chopped roasted peanuts around the edge of the ganache for a crunchy finish if using.
- CHILL AND SERVE: Refrigerate the finished pie for at least 3 hours before slicing and serving to ensure it is fully set.
Notes
Use commercial-style peanut butter (not natural or oily) for best texture. The crust can also be made using graham crackers or chocolate wafer cookies. Pie can be made 1 day ahead and stored in the refrigerator.
Nutrition Information
Yield
12Serving Size
1Amount Per Serving Calories 106Total Fat 8gSaturated Fat 4gTrans Fat 0gUnsaturated Fat 4gCholesterol 11mgSodium 59mgCarbohydrates 7gFiber 1gSugar 5gProtein 2g