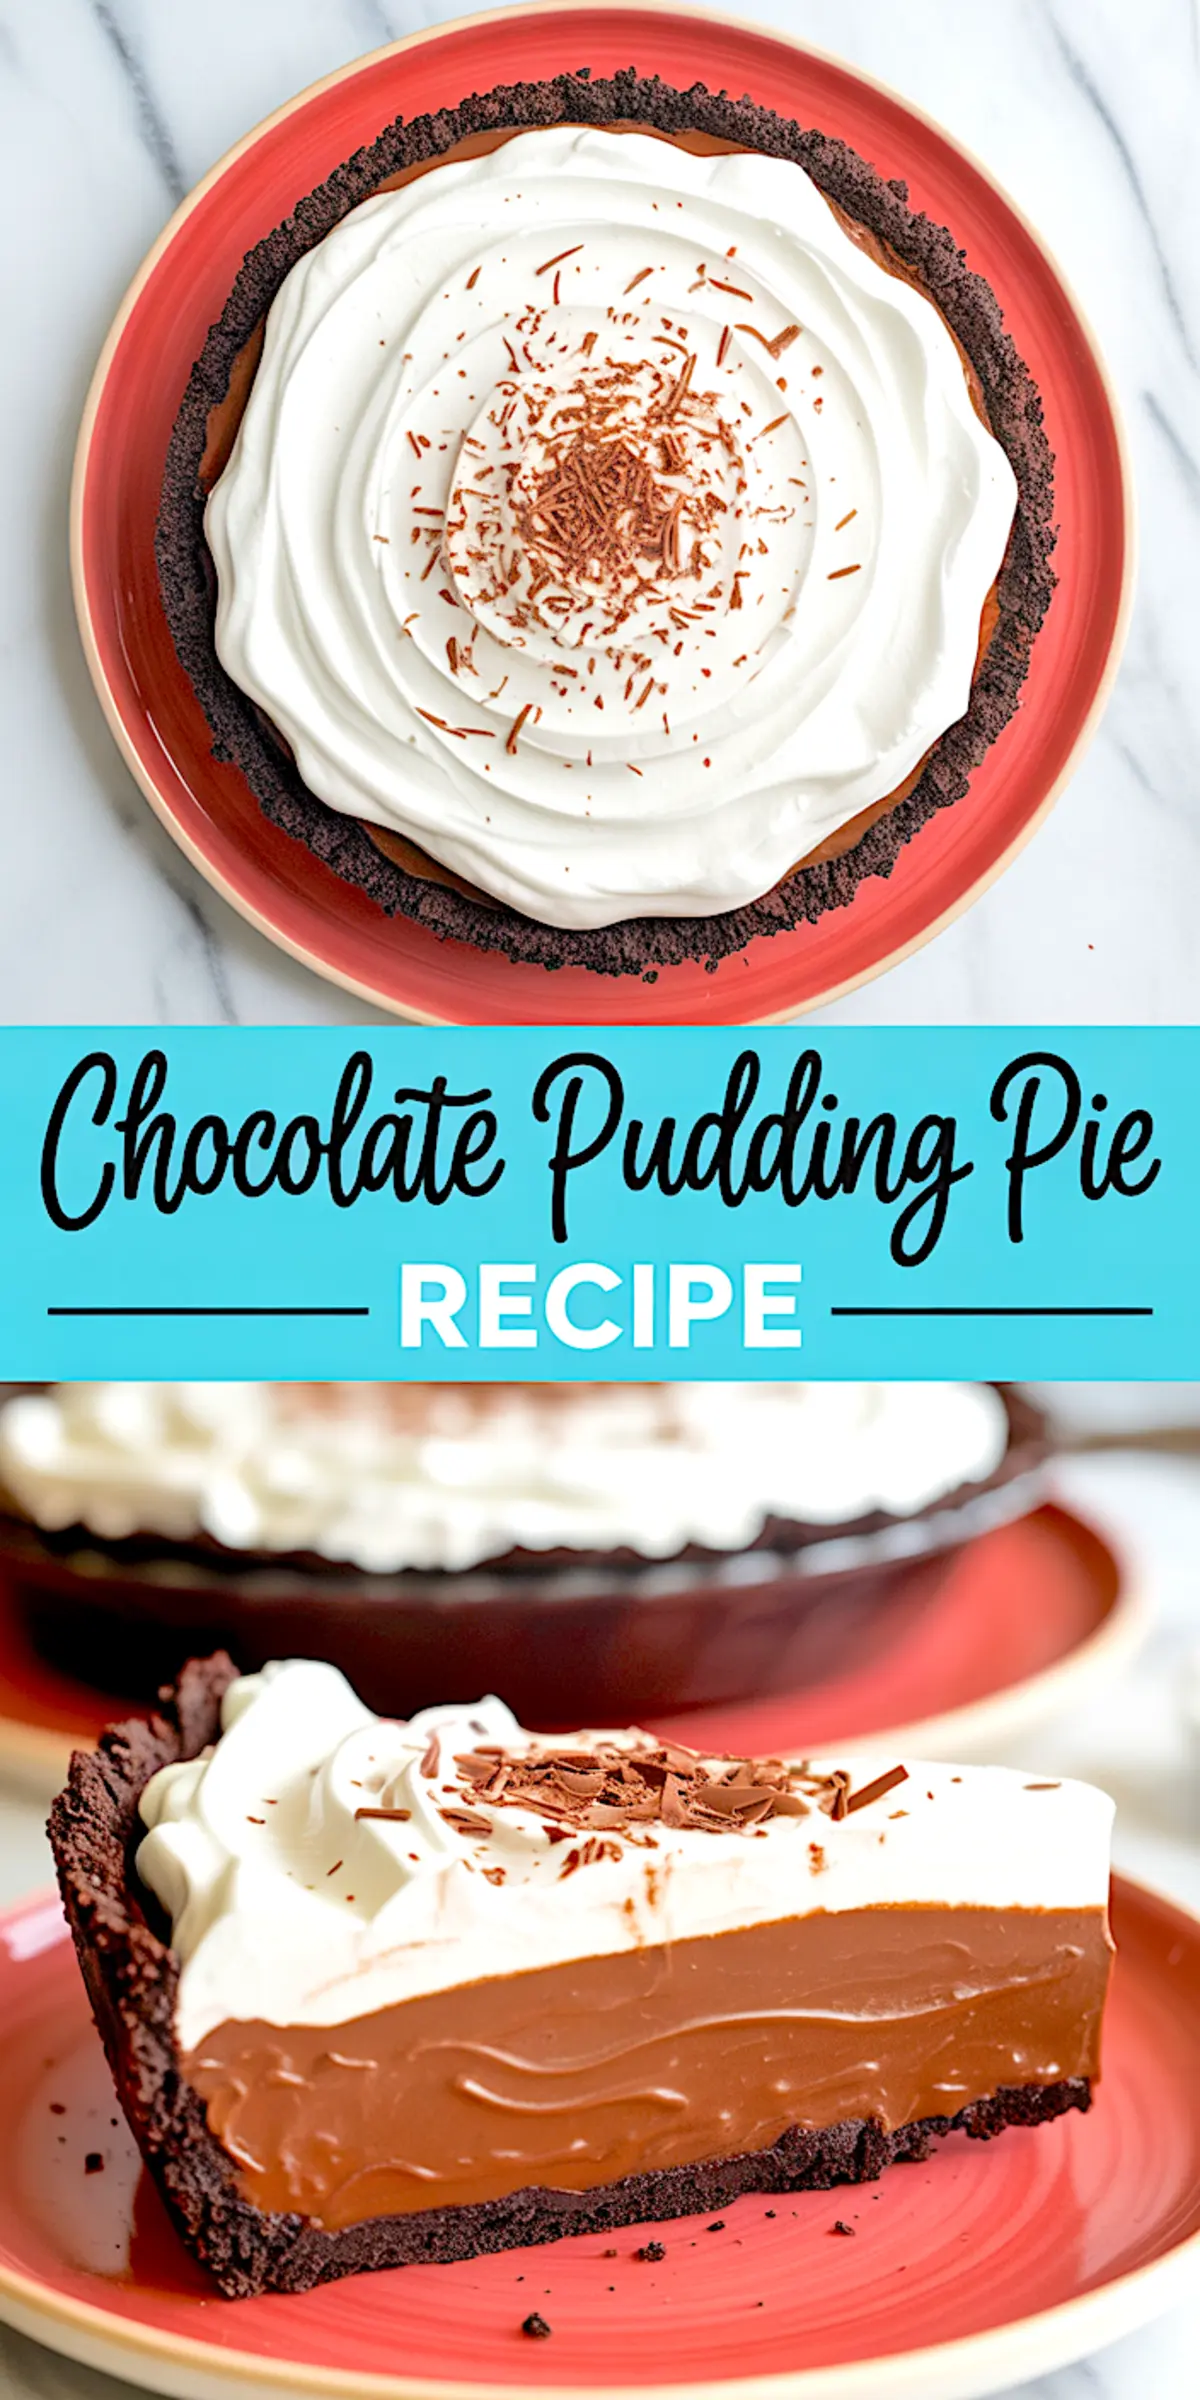
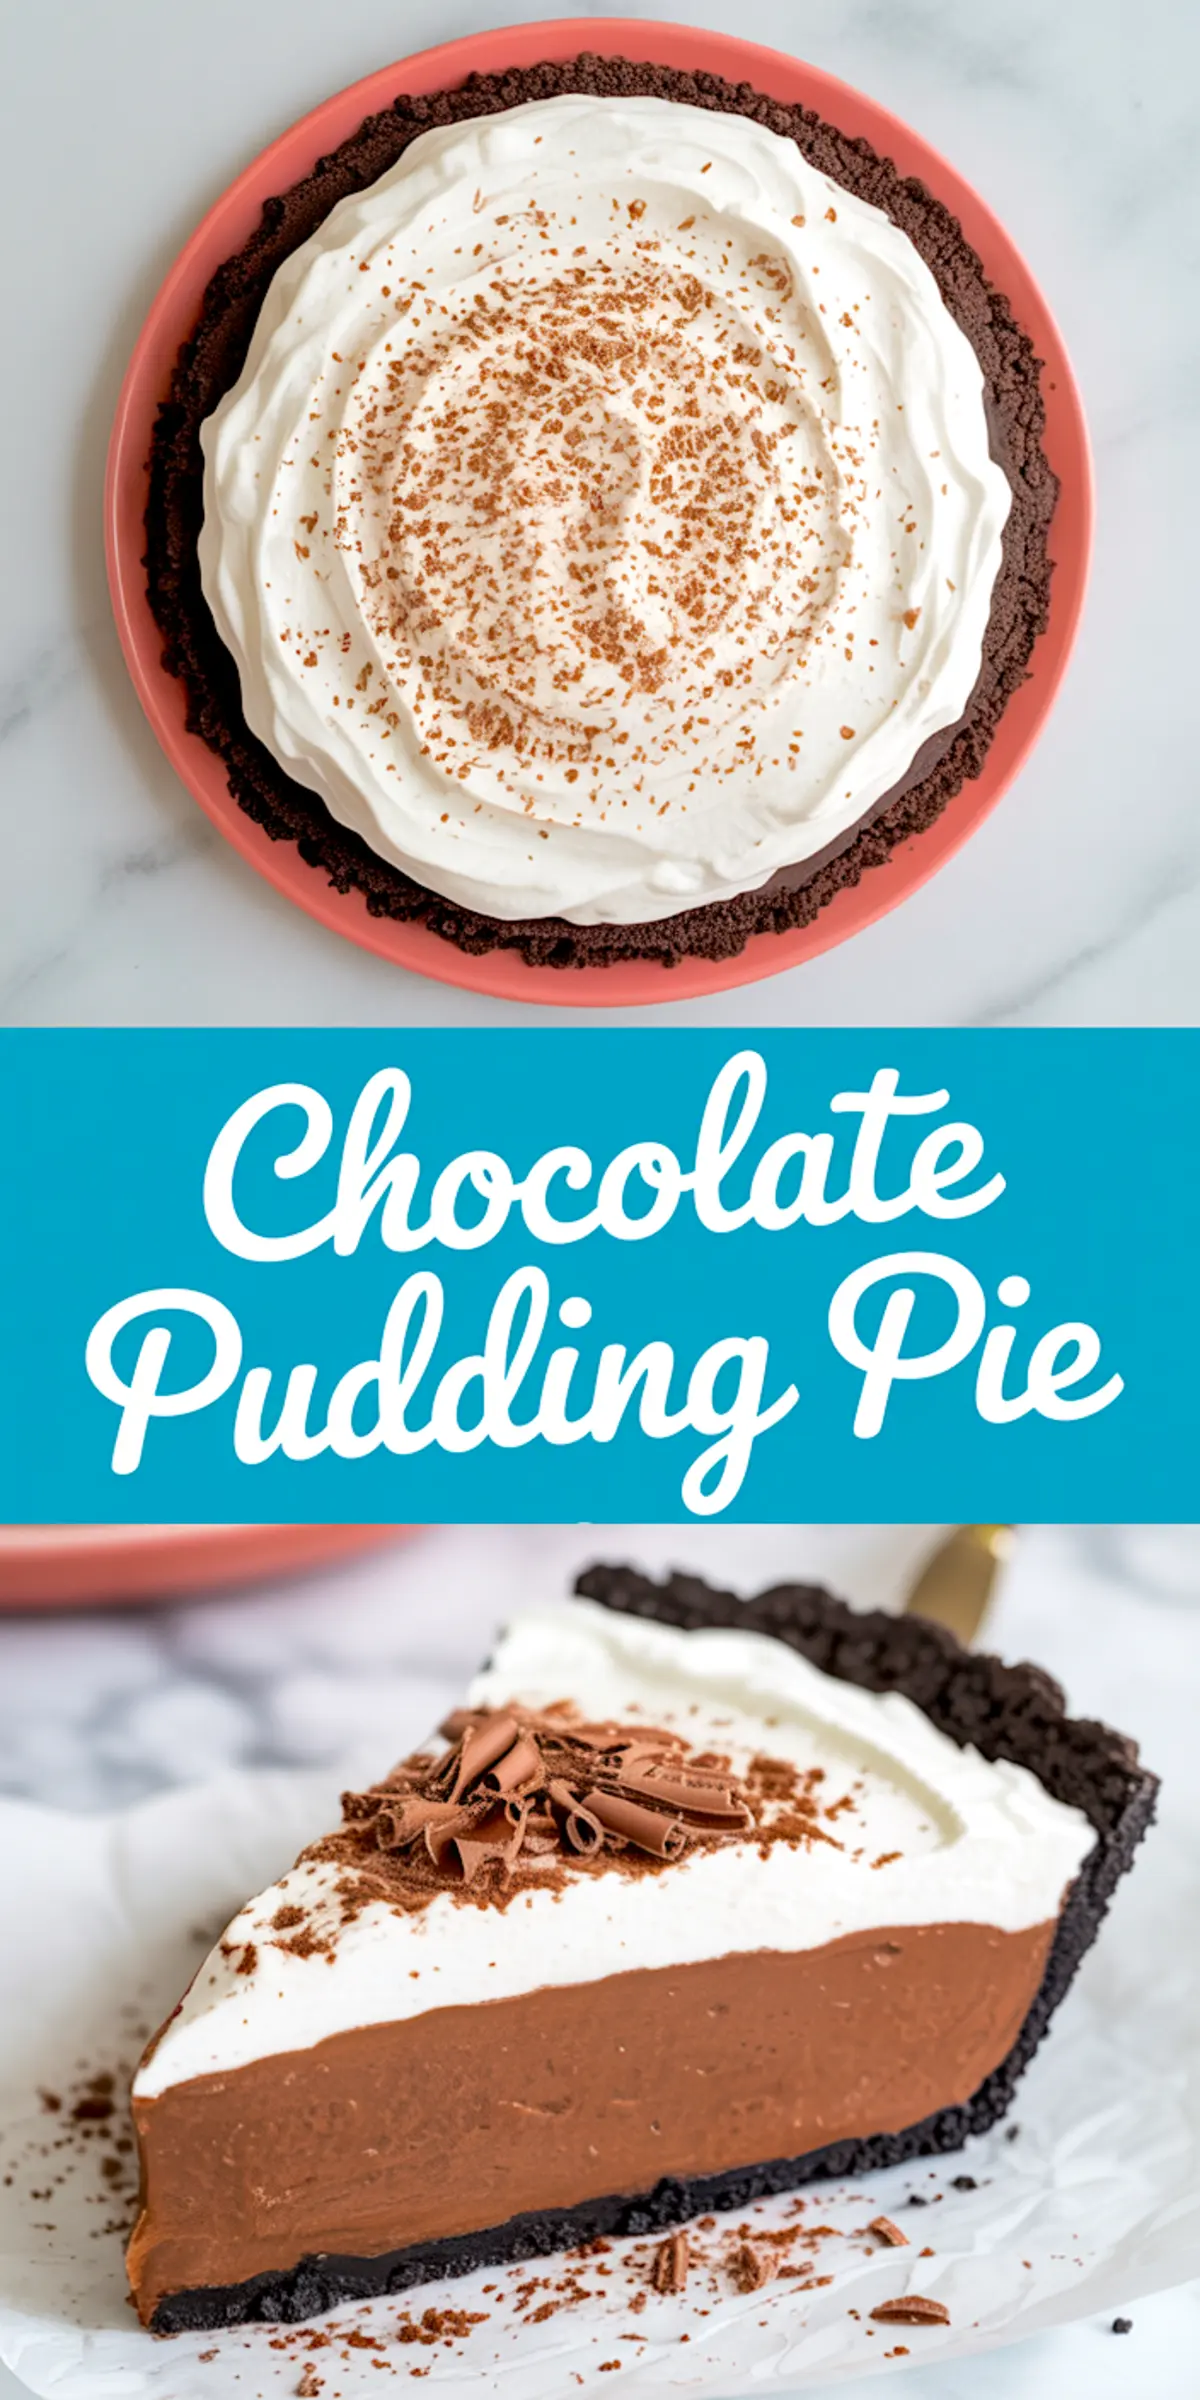
A chocolate pudding pie often disappoints. The crust crumbles, the filling runs, the whipped cream falls flat. This version fixes all of it. The crust uses dark chocolate biscuits instead of graham crackers. The pudding thickens without gelatin or shortcuts. The whipped cream holds without stiff peaks.
You’ll get a pie that cuts clean and eats smooth. Every step helps it stay stable—from how you mix the dry ingredients to how you press the wrap on top before chilling.
You won’t need a baking degree to get it right. You’ll just need to follow the details that matter.
Following a special diet?
Every recipe on this site can be converted to gluten-free, vegan, dairy-free, keto, nut-free or egg-free with adjusted ratios so nothing falls flat.
Try the Recipe Converter →Why This Pie Works for Actual Slices, Not Just Spoonfuls
The crust starts with crushed dark chocolate biscuits. They’re less sweet than graham crackers and hold better after baking. I use McVitie’s, and add just a pinch of salt. The melted butter binds the mixture without making it greasy.
I bake the crust for 10 minutes at 350°F. It sets firmly and cools while the filling comes together. This gives a more reliable base than what I’ve seen in some pies that skip the oven step entirely.
For a lighter baked option, you can explore the Chocolate Chess Pie I often make in winter—it’s rich but slices just as well.
Building a Stovetop Pudding with Real Flavor and Depth
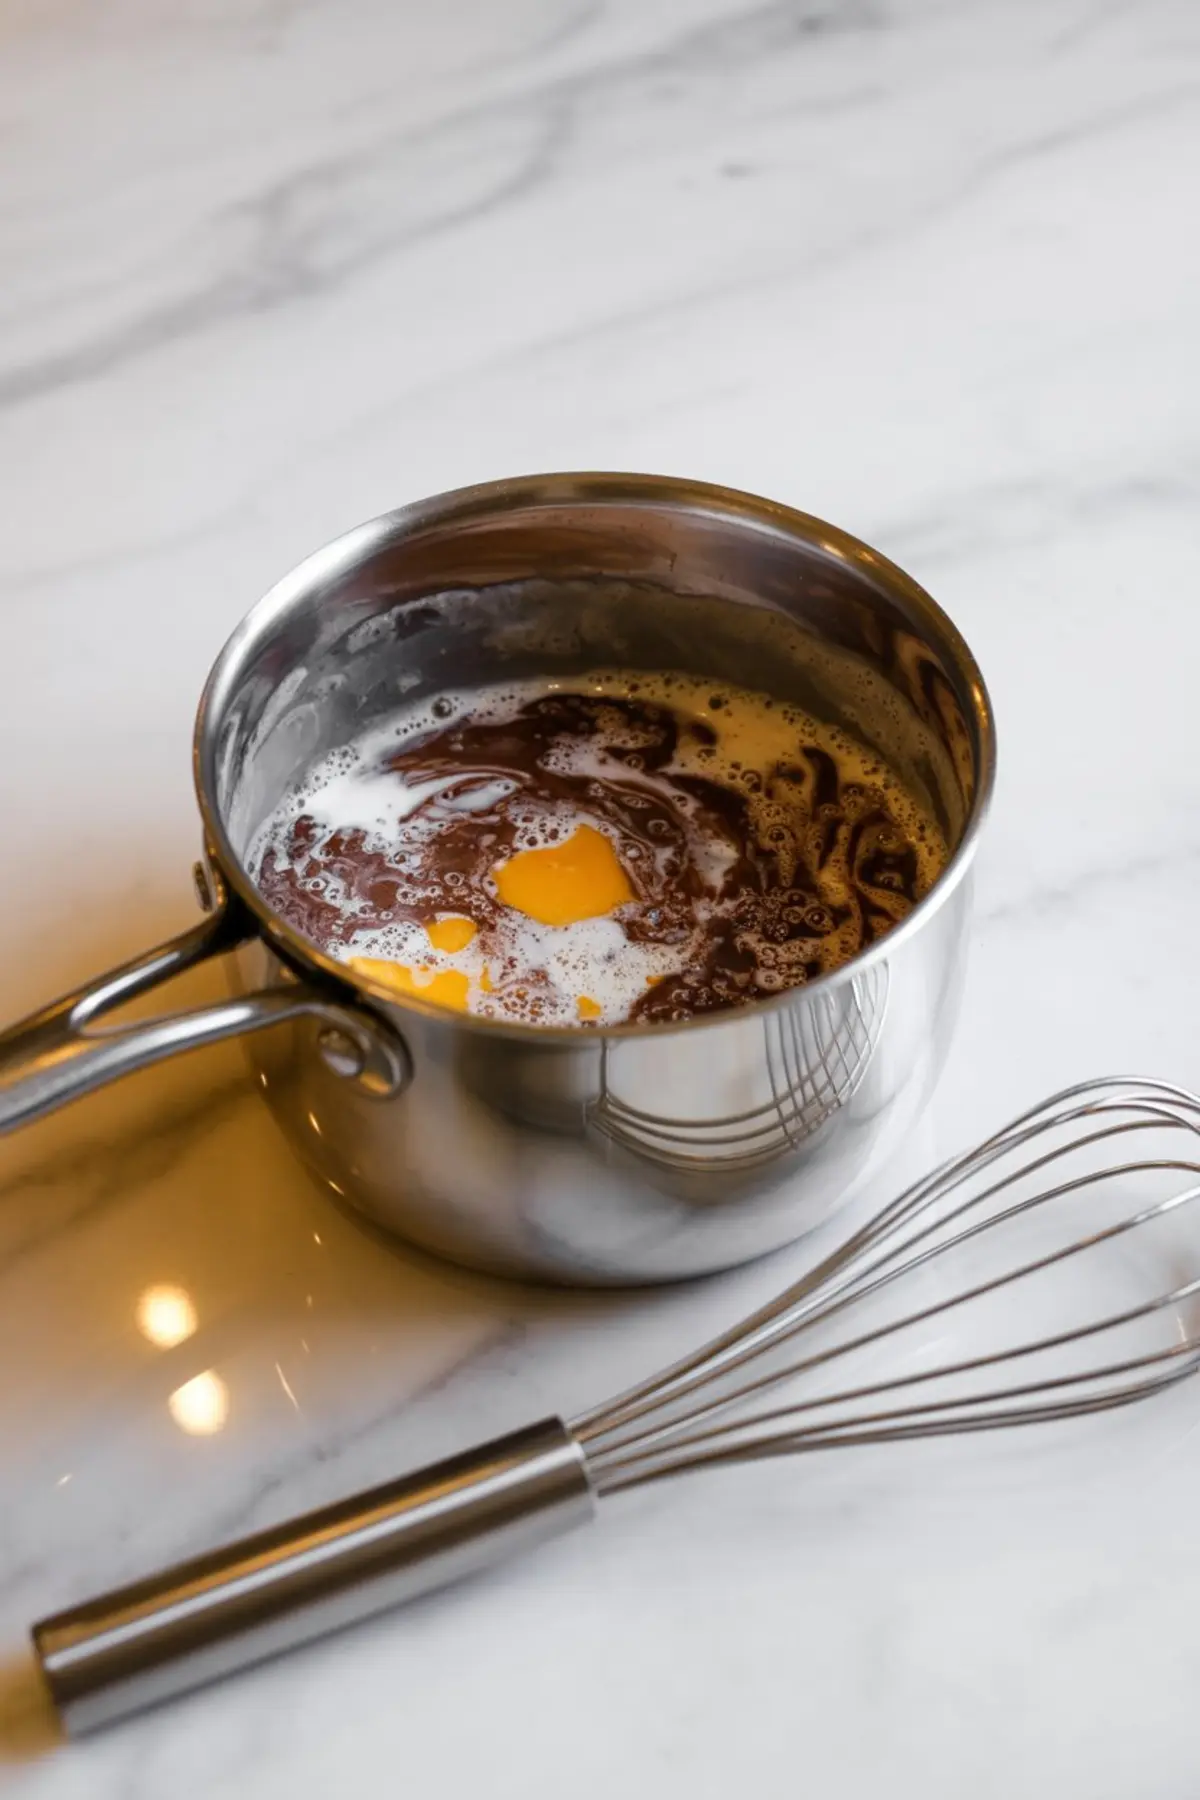
The pudding starts in a cold saucepan. I whisk together granulated sugar, Dutch cocoa, cornstarch, and salt until lump-free. Then I add whole milk and egg yolks, whisking again to combine.
Once on the heat, the mixture thickens gradually. Stir constantly. It takes about 8–10 minutes. You’ll feel it tighten just before it starts to bubble. Remove it the second it does.
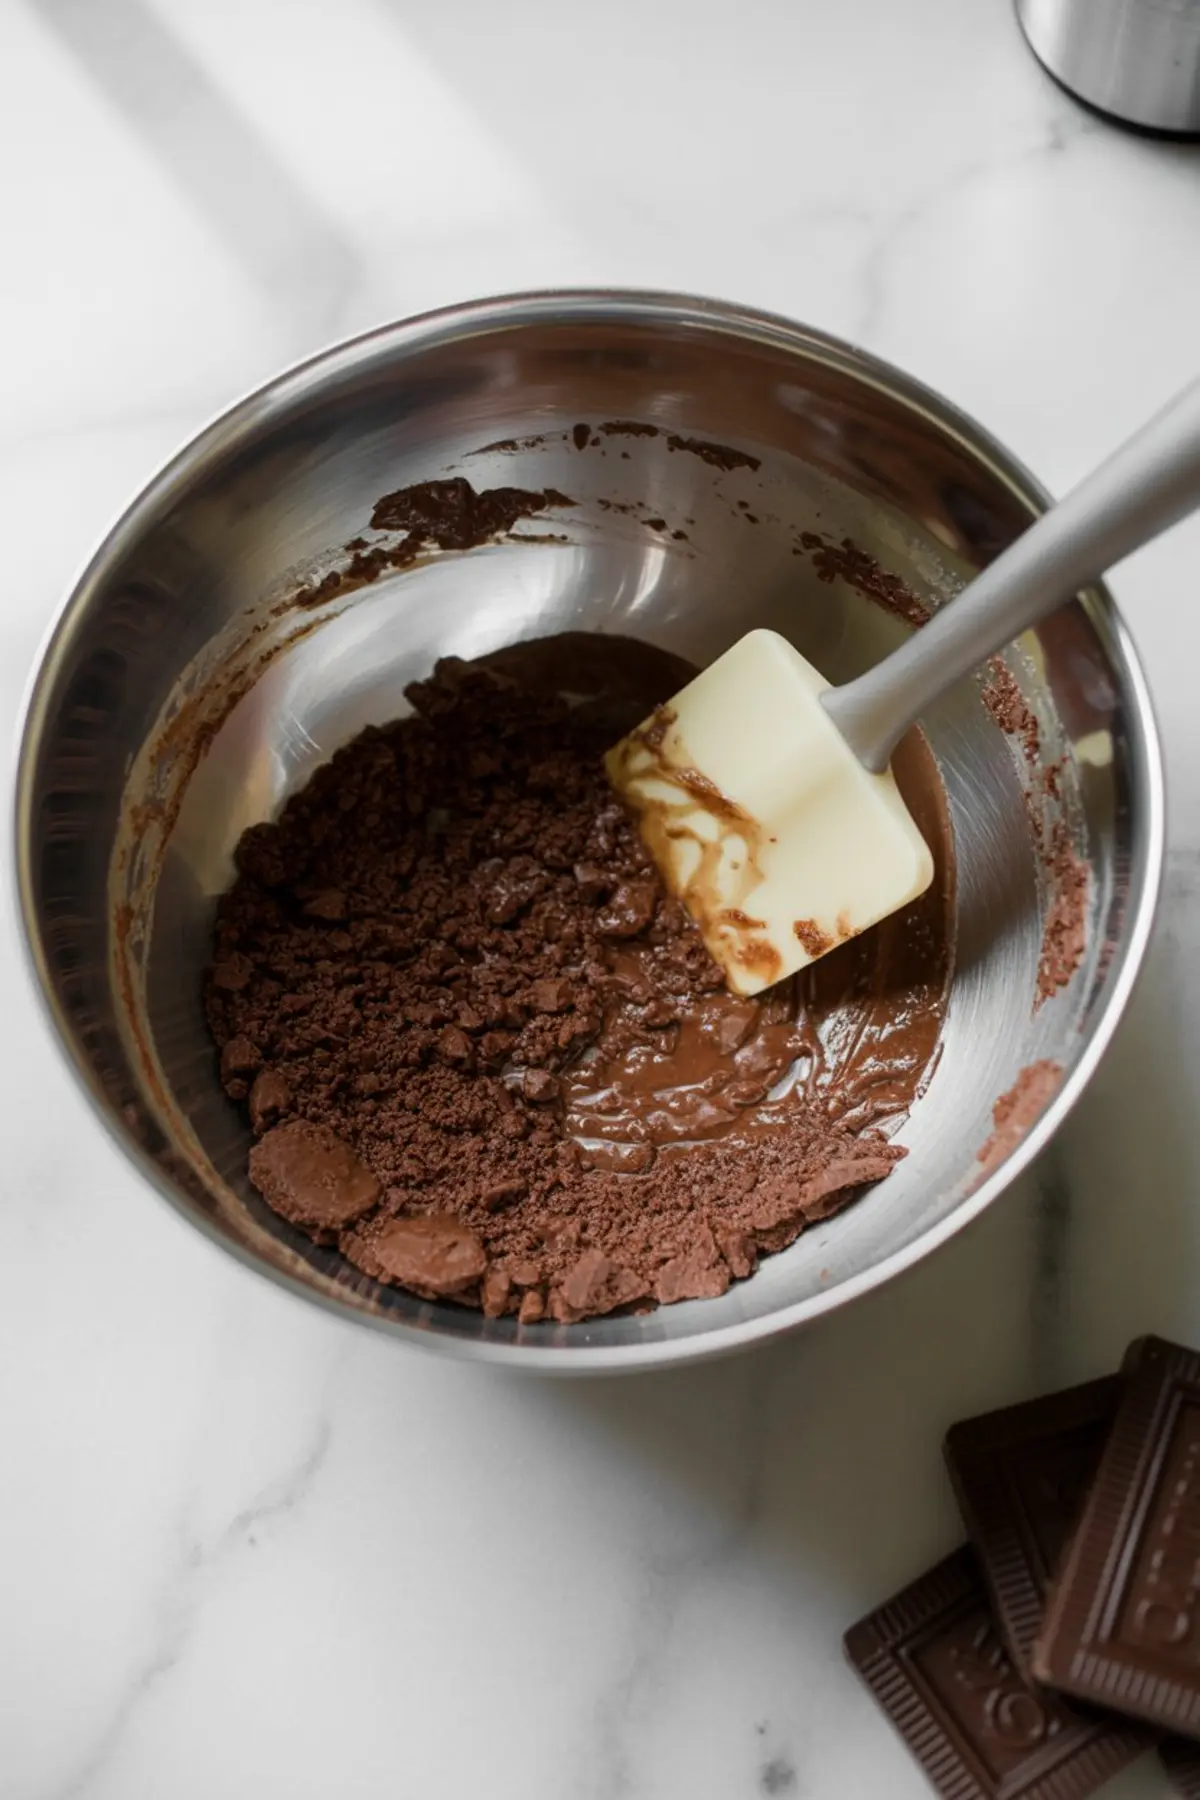
At this point, the chopped dark chocolate goes in, along with butter and vanilla. Stir until glossy and smooth. The difference between this and a boxed pudding shows in both texture and taste.
For comparison, this filling feels deeper and more structured than what I use in the Chocolate Cream Pie Easy, which uses a cream-based base with no eggs.
Chocolate Biscuit Crust vs. Graham Cracker: What to Choose
I’ve made both. The graham crust adds sweetness and works fine for pies with light, sweet fillings. But here, it dulls the depth of the chocolate pudding. The biscuit crust builds contrast, not just crunch. It keeps the base crisp without making the pie taste sugary.
The key is crushing the biscuits finely and pressing the mixture tightly into the pie pan. I use a flat-bottomed measuring cup and make sure to go up the sides evenly.
For a layered option with a similar crust approach, the Chocolate Peanut Butter Pie builds on this idea using chilled components instead of pudding.
Whipped Cream Finish and Proper Chilling
I whip heavy cream with powdered sugar and vanilla until it reaches medium peaks. This gives structure without making it stiff. Spread or pipe it across the cooled pudding pie just before serving.
Chill the filled pie for at least 4 hours, preferably overnight. Pressing plastic wrap directly onto the pudding prevents a skin and helps the top stay smooth. The longer chill allows clean slicing with a warm, thin knife.
Once cut, each piece holds its form without drooping. You’ll see sharp layers from crust to cream. This is what separates it from most no bake chocolate pie attempts.
Storage Tips and Prep-Ahead Advice
Leftovers keep well in the fridge for 3 days. The crust stays crisp, and the cream holds with minor softening. Avoid freezing—thawed pudding often breaks down.
I’ve prepared the crust a day in advance and wrapped it tightly at room temperature. It makes same-day assembly faster, especially when baking another dessert like my Homemade Chocolate Pie in the morning.
Serve straight from the fridge, but let it sit out for 5–10 minutes so the texture softens slightly before slicing.
Pin and Share Your Version
This chocolate pudding pie deserves a place on your chocolate dessert board. Pin it now and keep it handy next time you’re planning for guests, holidays, or just a quiet night that calls for real chocolate.
If you bake it, share your thoughts below. Did you try the biscuit crust or go back to graham crackers? Did the pudding set to your liking? Let’s talk in the comments—I’d love to hear how yours turned out.
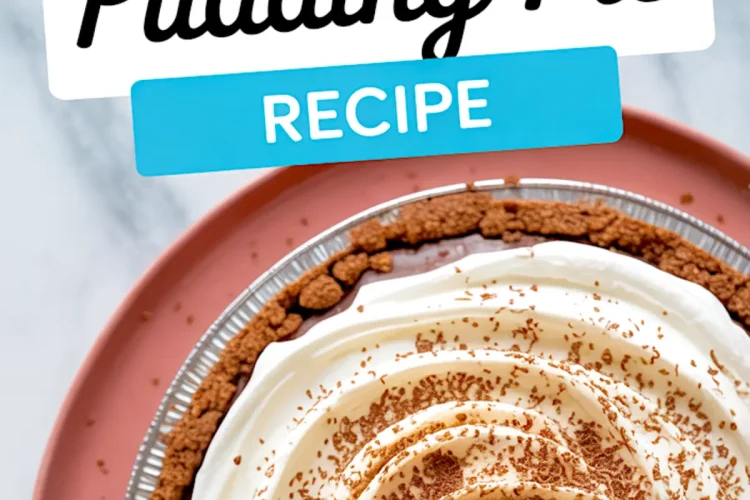
Chocolate Pudding Pie Recipe
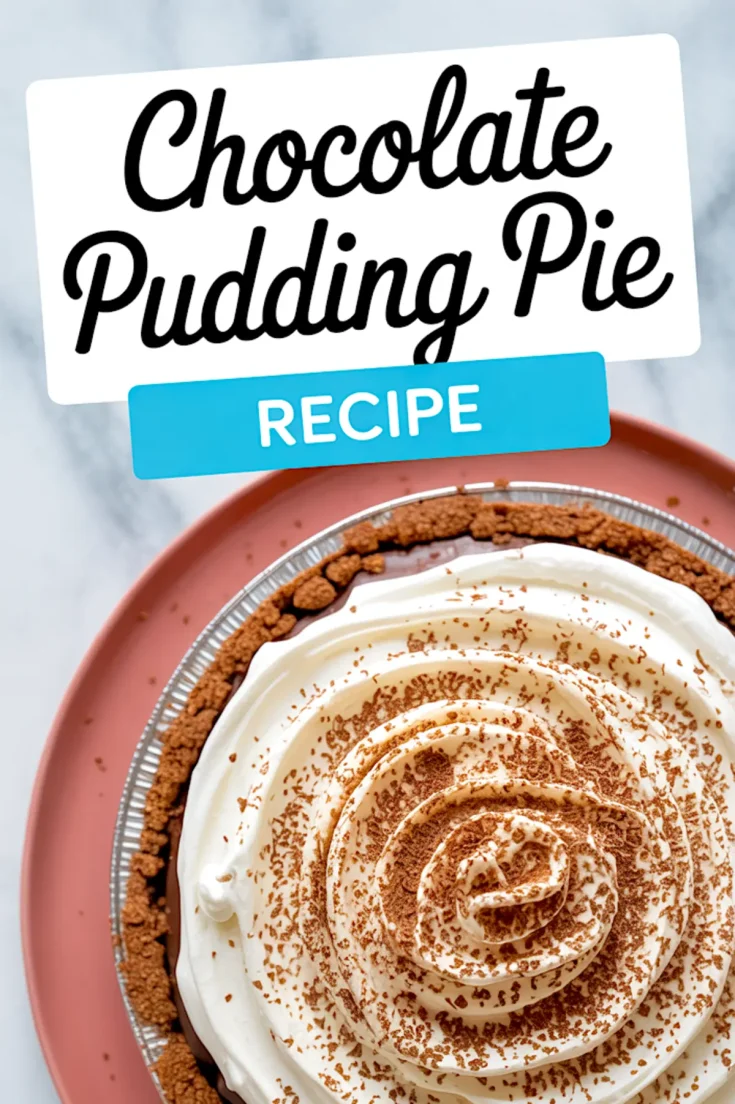
A rich, silky chocolate pudding sits in a crisp crust made from extra dark chocolate biscuits, finished with soft whipped cream and a sprinkle of chocolate shavings. Each layer balances sweetness with depth, making this pie a favorite for any gathering or a quiet night at home.
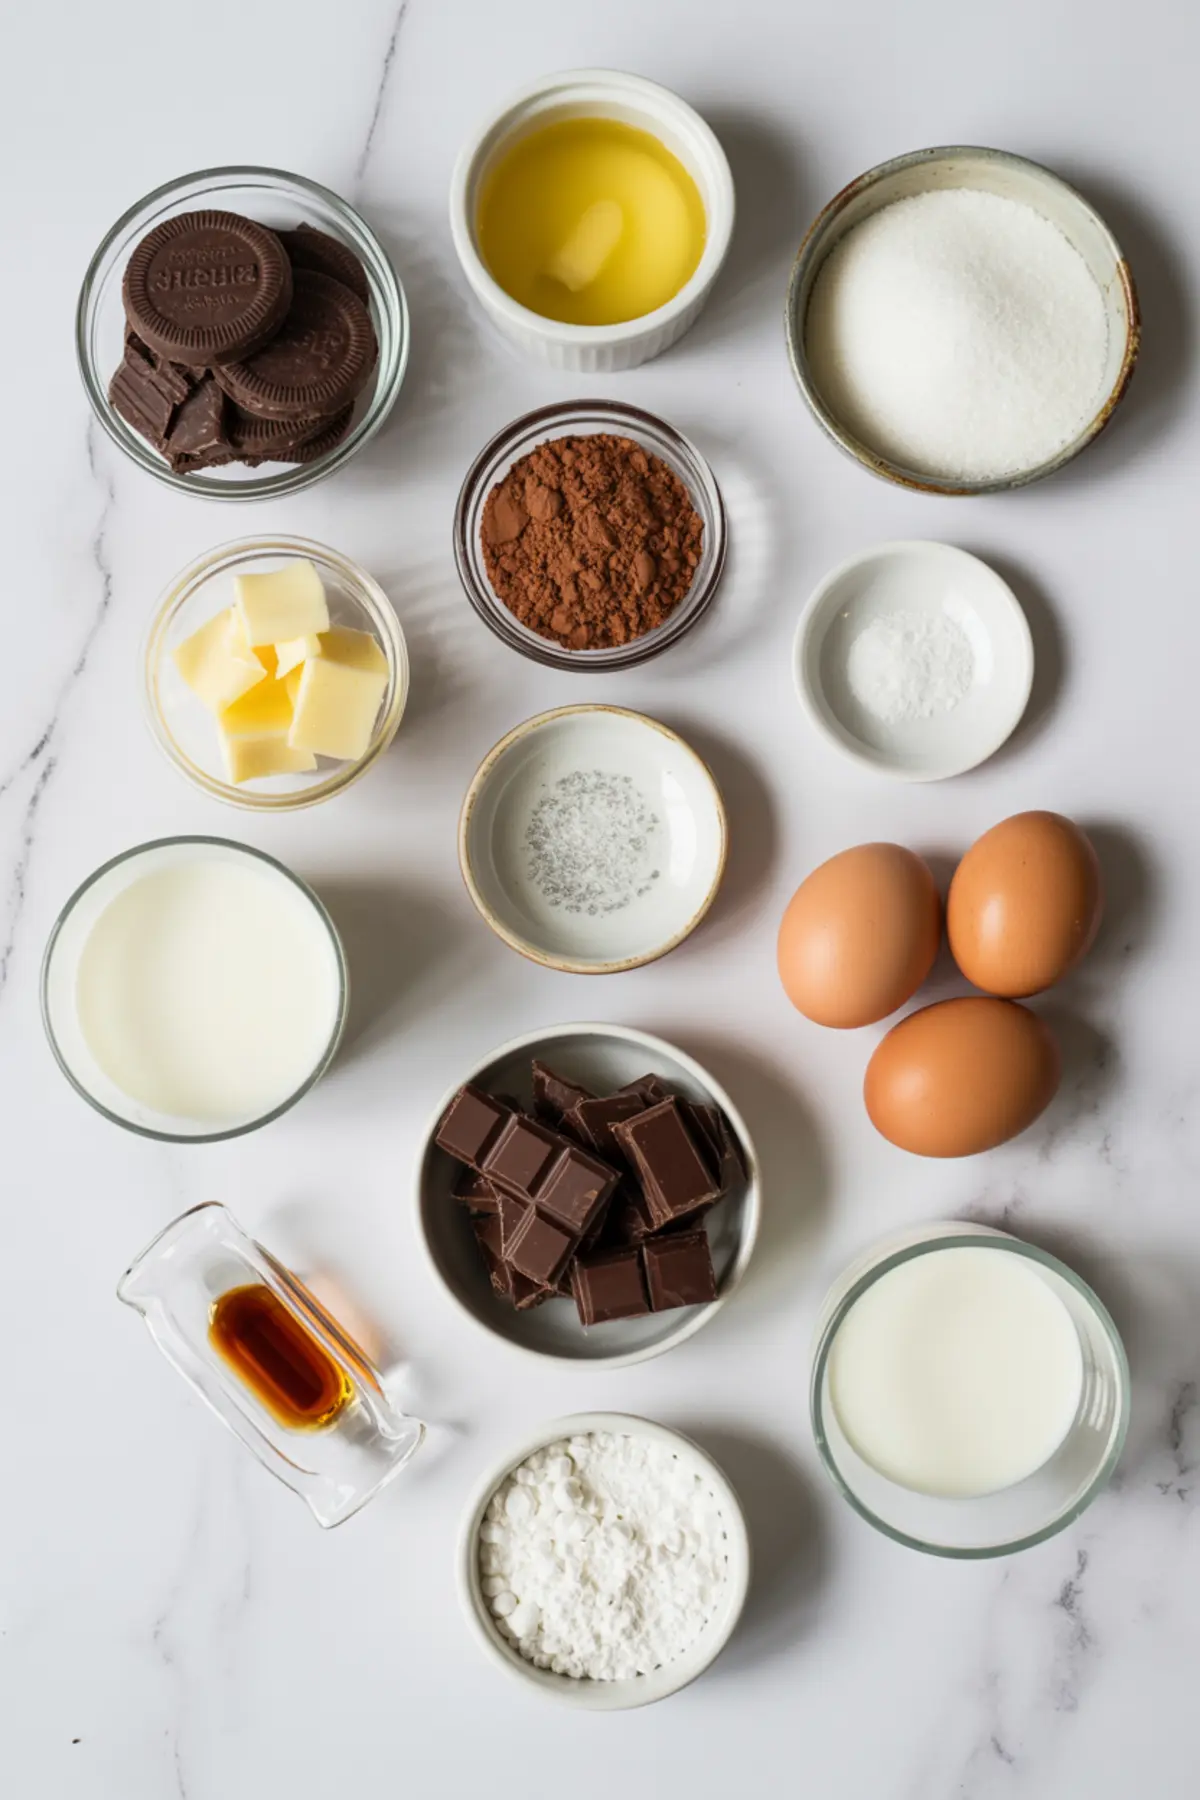
Ingredients
- FOR THE DARK BISCUIT CRUST
- 2 ½ cups very dark chocolate biscuits (like McVitie’s dark chocolate digestives), crushed into fine crumbs
- 6 tablespoons unsalted butter, melted
- 1 tablespoon granulated sugar (optional, skip if biscuits are already sweet)
- Pinch of sea salt
- FOR THE CHOCOLATE PUDDING FILLING
- ⅔ cup granulated sugar
- ¼ cup unsweetened cocoa powder (use Dutch-processed for a deeper flavor)
- 3 tablespoons cornstarch
- ¼ teaspoon salt
- 2 ¾ cups whole milk
- 4 large egg yolks
- 1 tablespoon unsalted butter
- ½ teaspoon vanilla extract
- 1 cup dark chocolate (60–70% cocoa), chopped or chips
- FOR THE WHIPPED CREAM TOPPING
- 1 ½ cups heavy whipping cream
- 2 tablespoons powdered sugar
- ½ teaspoon vanilla extract
- Dark chocolate shavings or cocoa powder (for garnish)
Instructions
- MAKE THE CRUST: Preheat the oven to 350°F (175°C). In a medium bowl, stir together the crushed dark biscuits, melted butter, sugar (if using), and sea salt until the crumbs are fully moistened.
- FORM THE CRUST: Press the crumb mixture evenly into the bottom and up the sides of a 9-inch pie pan. Use the bottom of a measuring cup or glass to compact the crumbs firmly into place.
- BAKE THE CRUST: Bake the crust for 8 to 10 minutes, just until set and slightly darkened. Let it cool completely on a wire rack before adding the filling.
- MIX THE DRY PUDDING INGREDIENTS: In a medium saucepan (off the heat), whisk together the sugar, cocoa powder, cornstarch, and salt until fully combined with no lumps.
- ADD MILK AND EGGS: Gradually whisk in the milk until smooth, then add the egg yolks and whisk until fully incorporated.
- COOK THE PUDDING: Set the saucepan over medium heat and cook the mixture, stirring constantly with a silicone spatula or whisk, until it thickens and just begins to bubble, about 8 to 10 minutes.
- FINISH THE PUDDING: Remove the pan from the heat and immediately whisk in the butter, vanilla, and chopped dark chocolate until the pudding is glossy and smooth.
- FILL THE PIE: Pour the hot pudding into the cooled crust and use a spatula to smooth the surface. Press a piece of plastic wrap directly onto the surface of the pudding to prevent a skin from forming.
- CHILL THE PIE: Refrigerate the pie for at least 4 hours, or until fully set and chilled through.
- MAKE THE WHIPPED CREAM: In a chilled mixing bowl, beat the heavy cream, powdered sugar, and vanilla extract together until medium peaks form and the cream holds its shape but is still soft.
- TOP AND SERVE: Spread or pipe the whipped cream evenly over the chilled pie. Garnish with chocolate shavings or a dusting of cocoa powder before serving.
Notes
Use very dark chocolate biscuits (not overly sweet) for the best crust flavor. The pudding will thicken more as it cools, so avoid overcooking. For clean slices, chill the pie overnight and use a warm knife to cut.
Nutrition Information
Yield
12Serving Size
1Amount Per Serving Calories 685Total Fat 41gSaturated Fat 22gTrans Fat 0gUnsaturated Fat 15gCholesterol 141mgSodium 300mgCarbohydrates 71gFiber 3gSugar 48gProtein 10g