
There’s a kind of quiet satisfaction that comes from rolling out a pie crust that doesn’t crumble under your hands. If you’ve ever wrestled with gluten free dough, you know what I mean.
This crust gives you structure without sacrificing texture. It rolls cleanly. It cradles your fillings. And it bakes into a golden, crisp shell that doesn’t shout gluten free at first bite.
You’ll learn how to mix, roll, and shape this dough so it behaves the way pie dough should—with just enough give and no breakage. You’ll also get a helpful comparison that can make or break the result depending on your fat choice.

Following a special diet?
Every recipe on this site can be converted to gluten-free, vegan, dairy-free, keto, nut-free or egg-free with adjusted ratios so nothing falls flat.
Try the Recipe Converter →Why I Trust This Dough With Every Seasonal Filling
I’ve made this crust for everything from my lemon pie in spring to cherry pie in the thick of summer. It’s carried coconut cream with grace and held up just as well with the denser sweet potato filling. Lemon pie recipe or cherry pie recipe — same crust, same success.
It holds its shape. It browns evenly. And it works whether you’re making a gluten free pumpkin pie recipe or experimenting with savory one crust pie recipes like a quiche.
You can keep this dough dairy-based with cold butter or swap it to make a dairy free pie crust by using plant-based alternatives. Either way, the key is keeping everything cold.
Mixing the Dry Ingredients for Consistency
Start with a gluten-free all-purpose flour blend that includes xanthan gum. That small addition replaces the gluten’s elasticity, so don’t skip it. I add a pinch of sugar when I know the pie will be sweet, like with custards or fruits.
For savory uses—like if you’re making a gluten free quiche crust—just leave the sugar out entirely. Keep your salt measured properly, even in sweet pies. It rounds out the flavor.
Why Butter Temperature Changes the Outcome
I’ve tested this crust with both room temperature and cold butter. The difference is obvious. Cold butter creates little steam pockets as it melts in the oven, lifting the dough and forming delicate layers.
Room temperature butter, by contrast, blends too easily into the flour. The result is dense and greasy.
I always start with butter straight from the fridge and cube it small. This gives more control while cutting it in. It also keeps your hands from warming it too fast. I use a pastry cutter most days, though fingertips work in a pinch.
Adding Water and Forming the Dough Disc
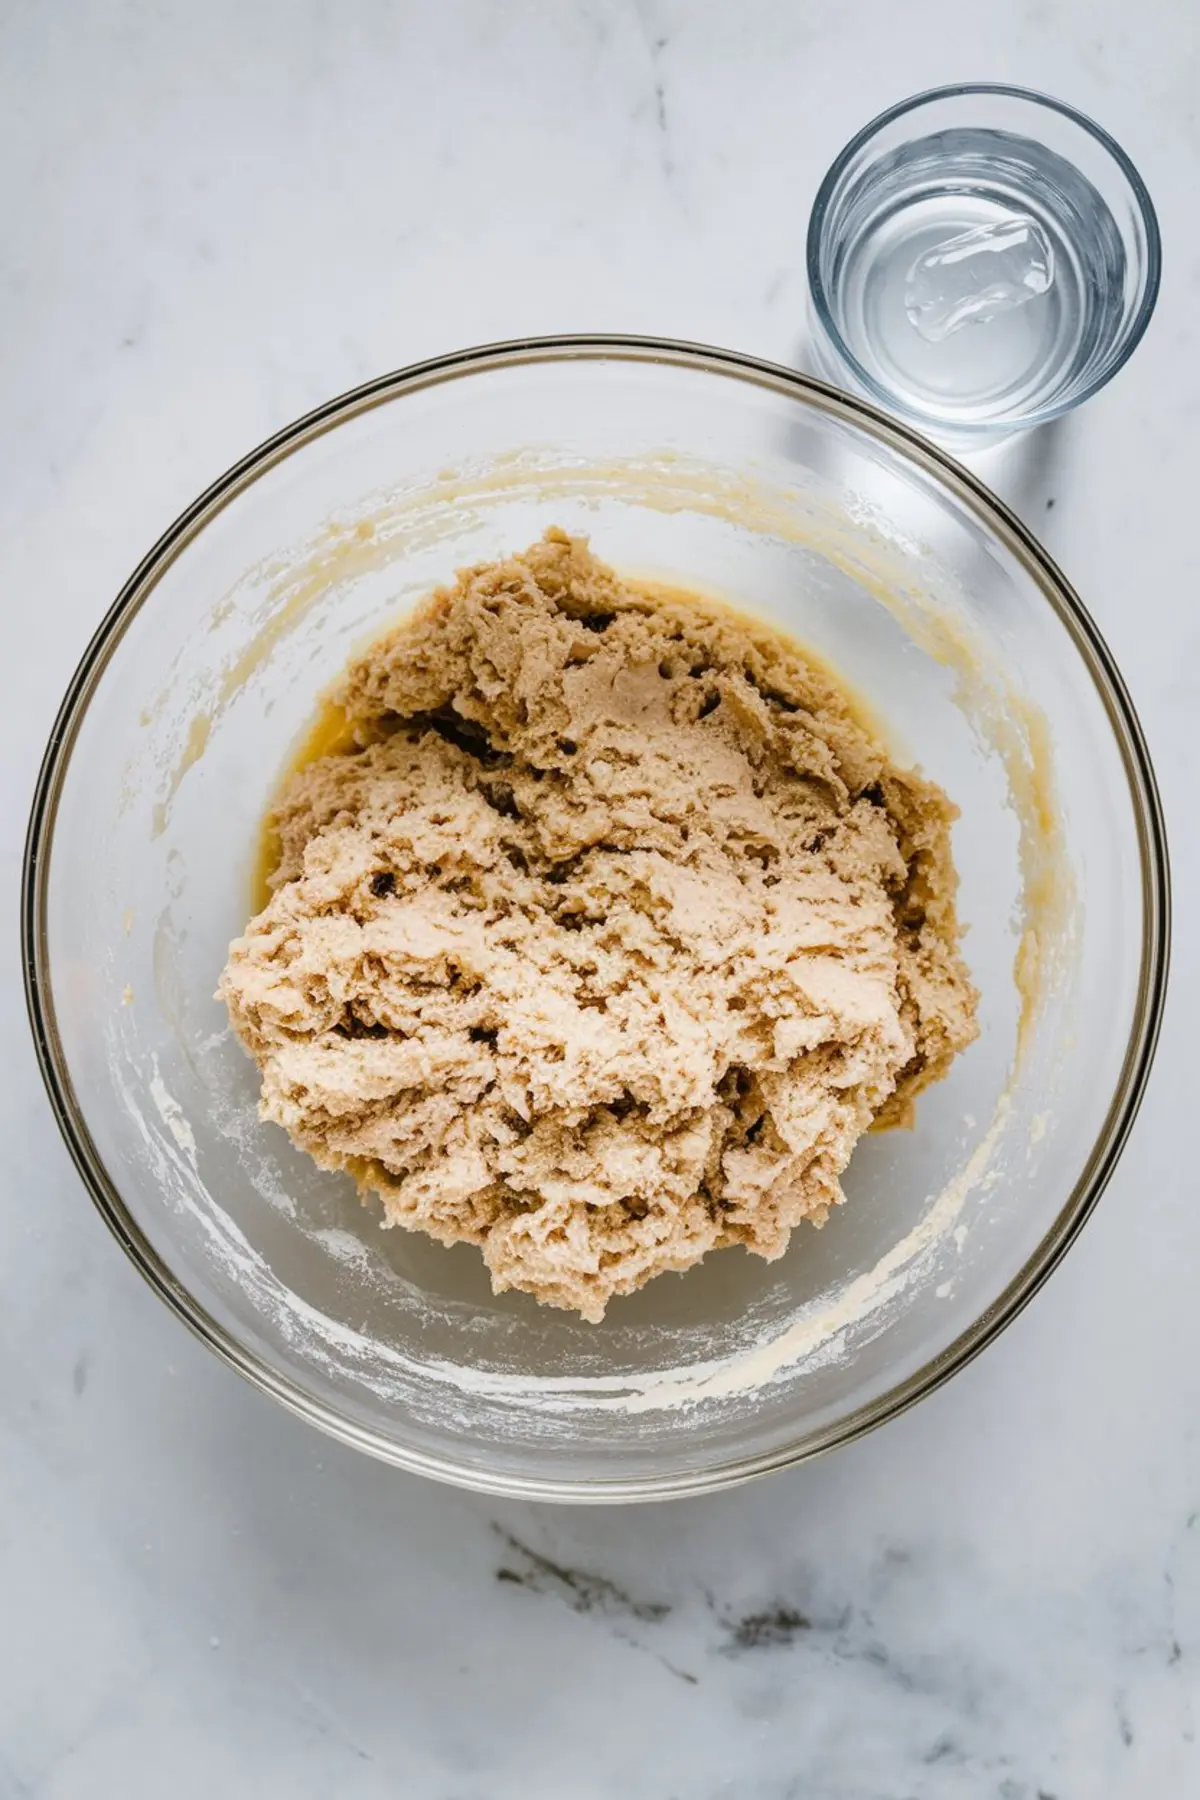
Drizzle in ice water a spoonful at a time. Use a fork, not your hands, to mix it in. You’re looking for a dough that starts to hold when pressed but doesn’t feel wet.
If you go too far, the dough will get sticky. If that happens, you can sprinkle in a bit more flour. I flatten the dough into a disc, wrap it tight, and refrigerate for at least 30 minutes. One hour is better.
Try this coconut cream pie filling if you want a soft set custard with a firm crust base. It works beautifully with this recipe.
Rolling the Dough
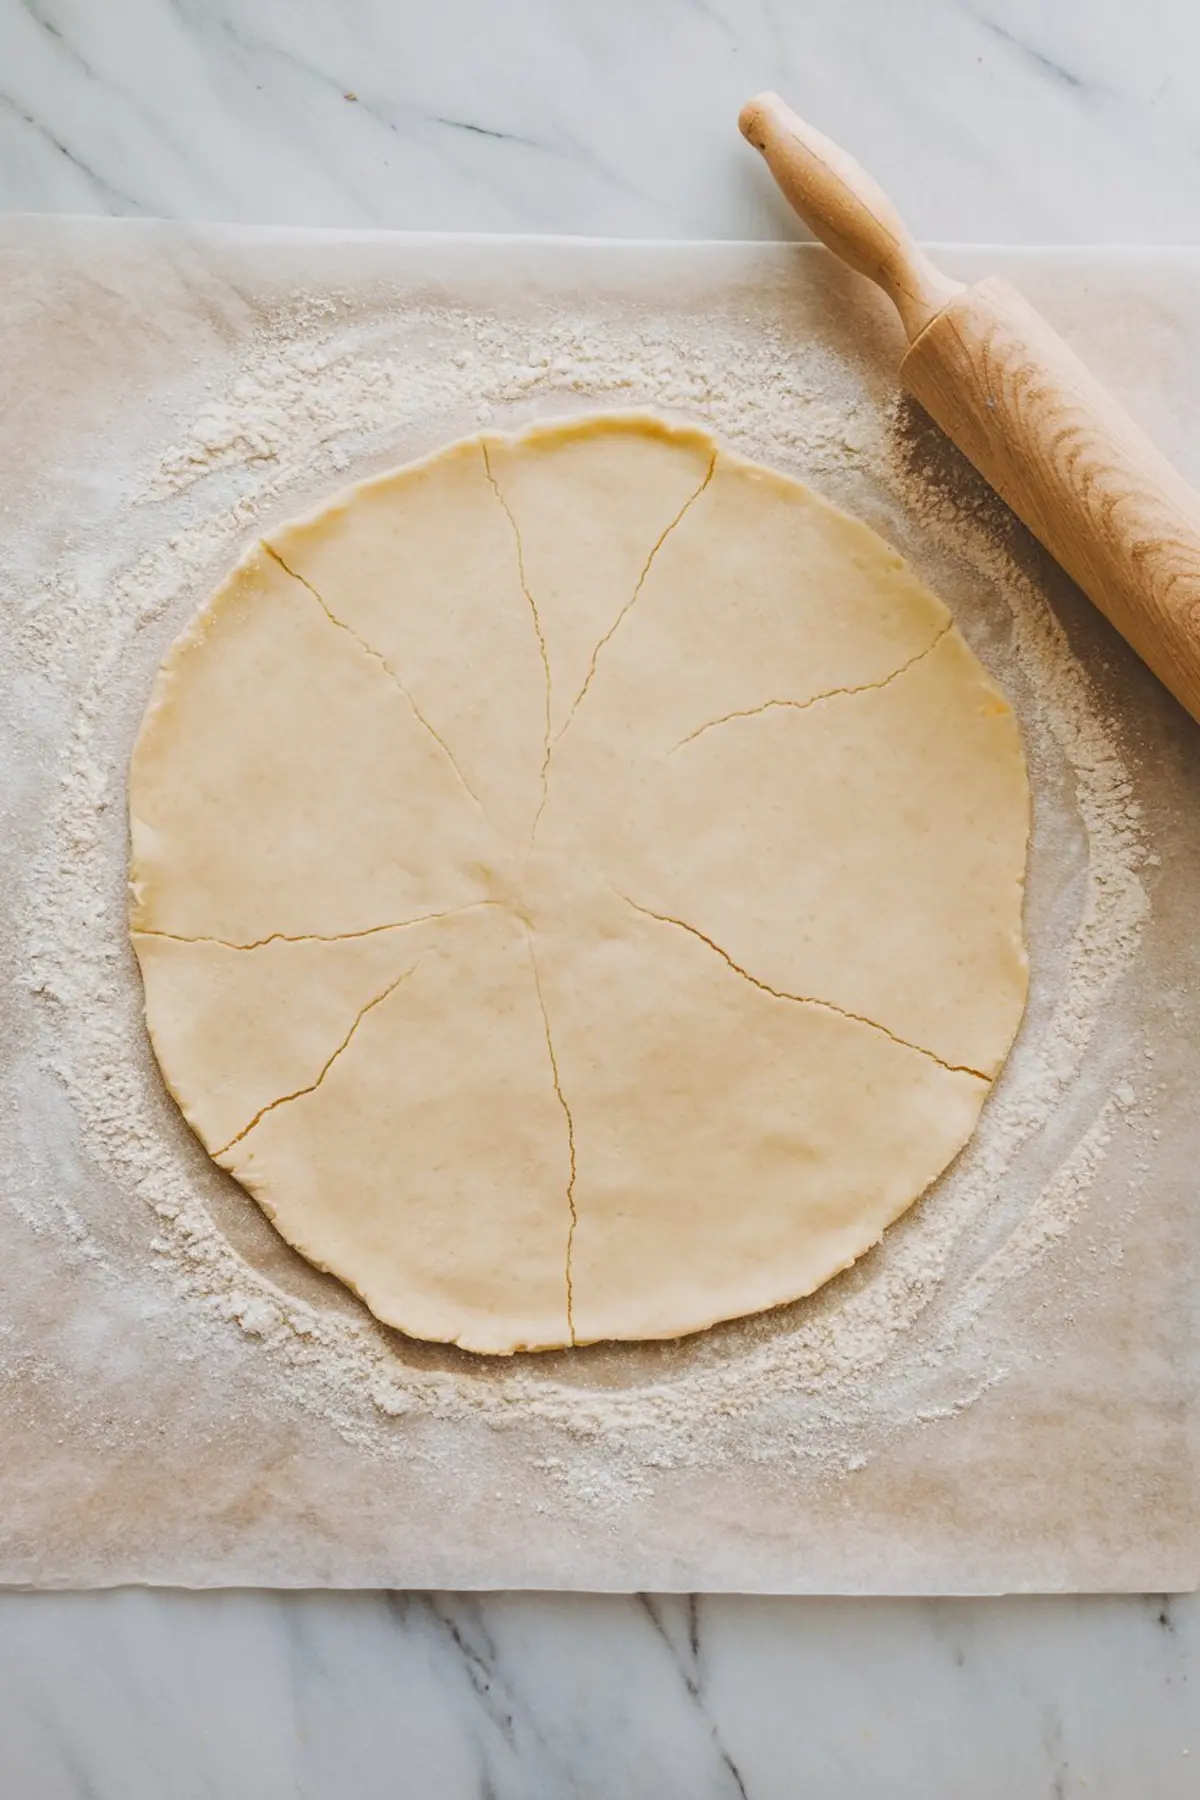
Gluten free pastry dough doesn’t stretch. It splits. So I always use parchment paper and flour the surface lightly with the same gluten free blend.
Roll from the center out, turning the dough slightly every few strokes. Cracks happen. You can press them together gently with your fingers. I don’t stress over perfection here.
Sweet potato pie shows off how well this crust handles heavier fillings.
Transferring and Crimping Your One Crust Pie
This dough handles better cold, so work quickly. I use the parchment to flip it into a greased pan. Then I press the dough gently into the corners without stretching.
Crimp the edges however you like—fingers, fork, or fluted pinching. Chill the crust again before baking. That second chill helps prevent slumping in the oven.
Blind baking? Line it with parchment and fill with pie weights. Bake until the edges begin to color, then remove weights to finish the bottom. For pies that bake fully once filled, skip the weights and follow the specific pie recipe.
Storage and Make-Ahead Tips That Work Every Time
You can make this gf pie crust recipe up to two days ahead. Keep it wrapped and refrigerated. It also freezes well for up to three months. Just defrost overnight in the fridge before rolling.
If you want a sugar free pie crust, simply skip the sugar. The structure doesn’t rely on it.
You can double the ingredients and divide the dough into two discs. That gives you a ready-to-go gluten free pie dough for top-and-bottom crusts or a second pie next day.
Final Thoughts and A Note from Me
This is the crust I use without hesitation. It rolls without fuss. It bakes without drama. And it makes pie feel possible again for anyone baking gluten free.
Save this to your Simple Pie Crust Ideas board and come back to it with each new season. Let me know in the comments if you tried it, or if you have questions on making it work with your favorite filling.
I’ve tested dozens of versions over the years, and this is the one that stays in my recipe binder.
Gluten-Free Pie Crust
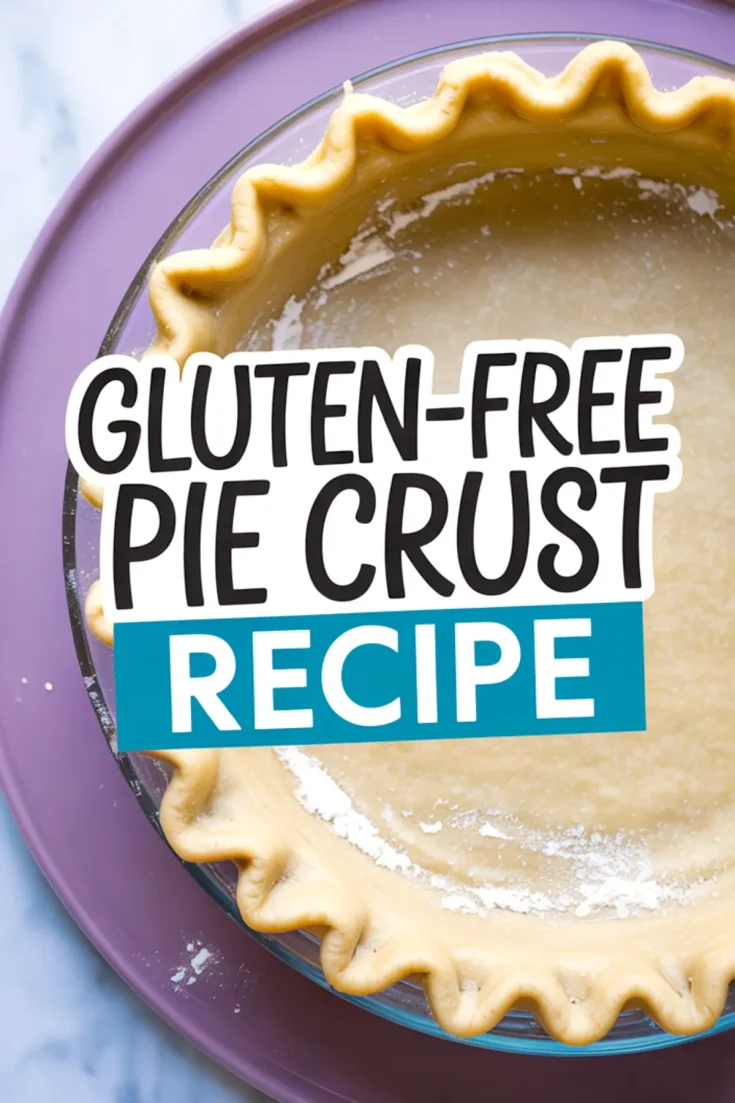
A tender, flaky gluten-free pie crust that rolls out smoothly and holds together without cracking. This version uses a gluten-free flour blend with xanthan gum and cold butter to create a consistent, reliable dough for both sweet and savory pies.
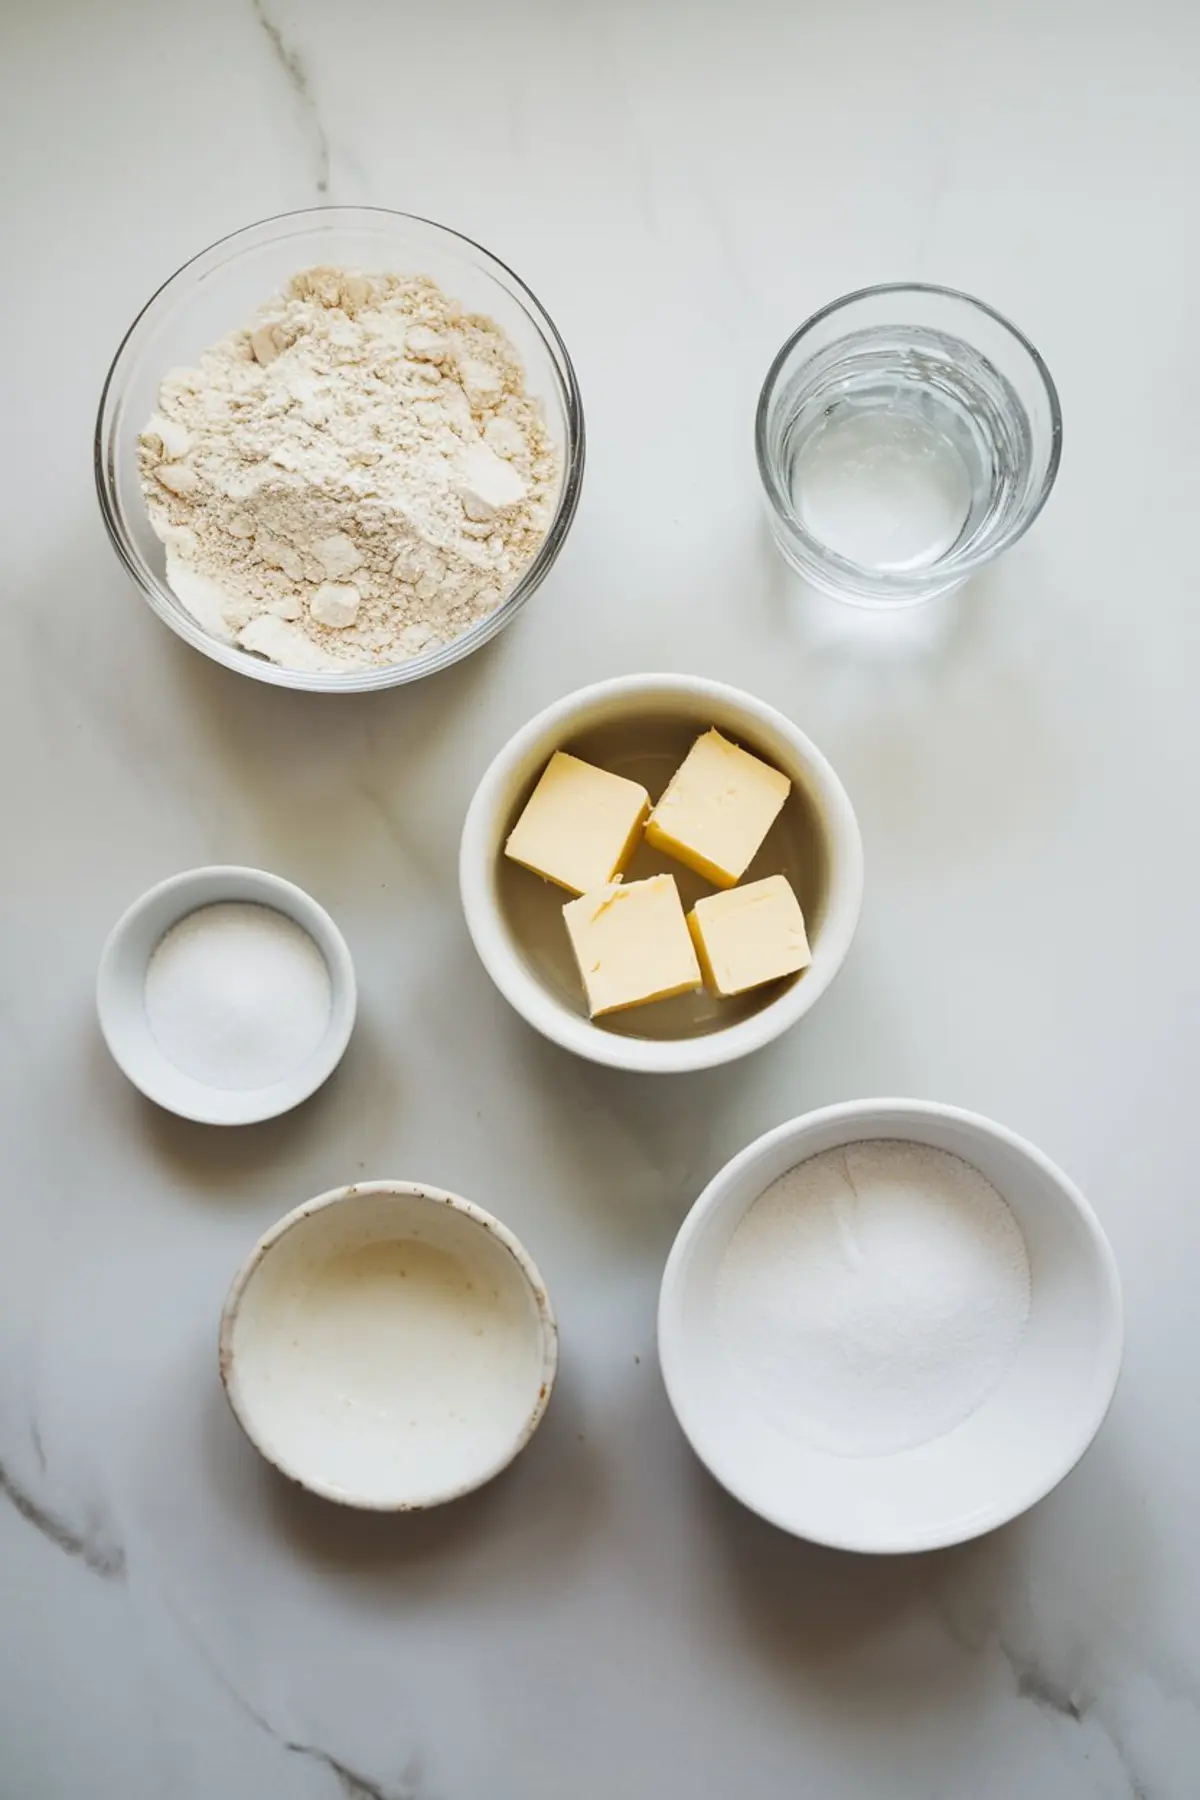
Ingredients
- 1 ¼ cups gluten-free all-purpose flour blend (with xanthan gum)
- ½ tsp salt
- 1 tbsp sugar (optional, for sweet pies)
- ½ cup (1 stick) unsalted butter, cold and cut into small cubes
- 3–5 tbsp ice water
Instructions
- MIX THE DRY INGREDIENTS: In a large mixing bowl, whisk together the gluten-free flour, salt, and sugar (if using) until evenly combined.
- CUT IN THE BUTTER: Add the cold, cubed butter to the flour mixture. Use a pastry cutter or your fingertips to work the butter into the flour until the mixture resembles coarse crumbs with pea-sized pieces of butter remaining.
- ADD ICE WATER SLOWLY: Drizzle in the ice water one tablespoon at a time, gently mixing with a fork after each addition. Stop when the dough begins to come together and holds when pressed—typically after 3 to 5 tablespoons. Avoid overmixing.
- FORM THE DOUGH: Gather the dough into a ball, flatten it into a disc, and wrap it tightly in plastic wrap. Chill in the refrigerator for at least 30 minutes and up to 2 days.
- ROLL IT OUT: Lightly flour a sheet of parchment paper or your work surface with gluten-free flour. Roll the chilled dough into a 12-inch circle. If cracks form, press them gently back together using your fingers.
- TRANSFER AND CRIMP: Carefully flip the dough into a 9-inch pie pan using the parchment to help. Press the dough into the pan and crimp the edges as desired. For a pre-baked crust, chill again for 15 minutes before baking.
- BAKE: For a pre-baked (blind-baked) crust, preheat the oven to 375°F (190°C). Line the crust with parchment paper and fill with pie weights or dry beans. Bake for 15 minutes, then remove the weights and parchment. Continue baking for another 10–12 minutes until the crust is golden. For filled pies, follow the specific pie recipe’s baking instructions.
Notes
For best results, keep all ingredients cold and handle the dough gently. If making a double-crust pie, double the ingredient amounts and divide the dough into two discs before chilling.
Nutrition Information
Yield
1Serving Size
1Amount Per Serving Calories 668Total Fat 7gSaturated Fat 4gTrans Fat 0gUnsaturated Fat 2gCholesterol 15mgSodium 1232mgCarbohydrates 132gFiber 4gSugar 13gProtein 16g