If you’re here to learn how to make homemade apple pie filling, you’re probably looking for something reliable. Something you can spoon into a pie crust, layer in bars, tuck into puff pastry, or serve warm over vanilla ice cream. This stovetop method gives you that kind of flexibility—thick, glossy filling that actually holds its shape.
This version doesn’t rely on canned shortcuts. You’ll use fresh apples, a quick cornstarch base, and just the right amount of spice. I’ve been making this exact method for years. It sits in my recipe binder marked ‘filling that never fails.’ I trust it for every apple pie recipe I bake from scratch.
Following a special diet?
Every recipe on this site can be converted to gluten-free, vegan, dairy-free, keto, nut-free or egg-free with adjusted ratios so nothing falls flat.
Try the Recipe Converter →What Makes This Apple Filling Different?
Many stovetop pie fillings go watery within a day or taste flat under a crust. This version stays thick after cooling and sets up beautifully when baked. I combine white and brown sugar for depth, and finish the mixture with a pat of butter to round out the flavor.
The balance between the cinnamon and nutmeg also matters. Cinnamon leads, but the nutmeg deepens the flavor without overpowering. It reminds me of the way my grandmother’s pies always smelled the moment we cracked open the oven.
This base also stores well. I’ve used it for apple turnovers with puff pastry, layered it into apple pie cheesecake bars, and even added it to a quick caramel apple skillet brownie to give the center that gooey finish.
Ingredient Notes and Why They Matter
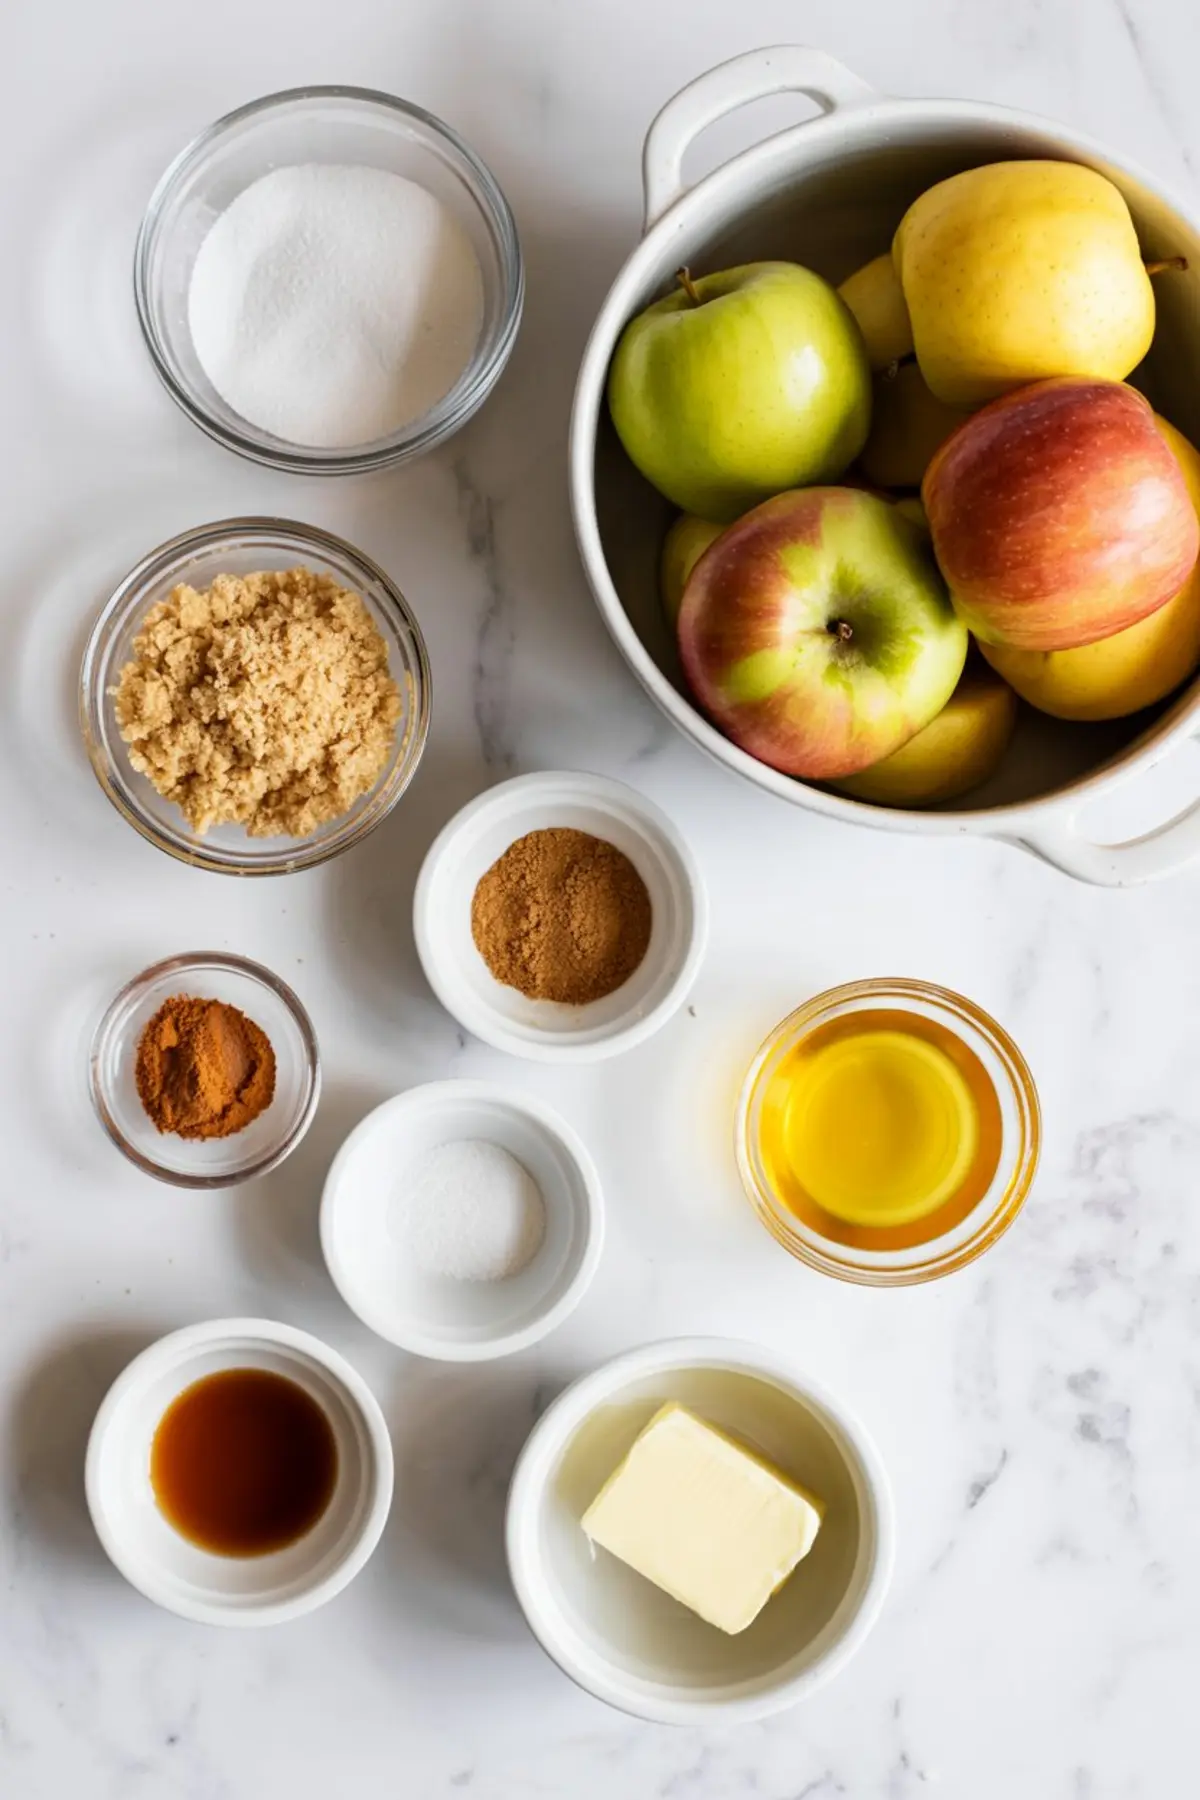
I always start with a mix of apples. A few tart ones like Granny Smith keep the filling from becoming one-note, while sweeter types like Fuji or Honeycrisp soften the sharper edges. The lemon juice doesn’t just prevent browning—it balances the sugars.
Cornstarch thickens the base without adding extra sweetness, unlike some flour-based versions. This keeps the flavor clean. Brown sugar adds richness and color. Cinnamon and nutmeg provide warmth. The vanilla brings it all together.
I sometimes skip the butter at the end, but when I add it, the filling becomes silkier. It’s a small detail that changes the finish.
Cornstarch vs Flour: Why I Stick With Cornstarch
I’ve tested this filling with both flour and cornstarch. In my experience, cornstarch creates a smoother, more stable texture. Flour can give the filling a cloudy appearance and a slight grain.
Cornstarch also thickens faster. That makes it easier to control the consistency while the apples cook. I find the filling easier to manage when layering into maple glazed apple pie bars or folding into dough.
Cooking the Filling: Step-by-Step Highlights
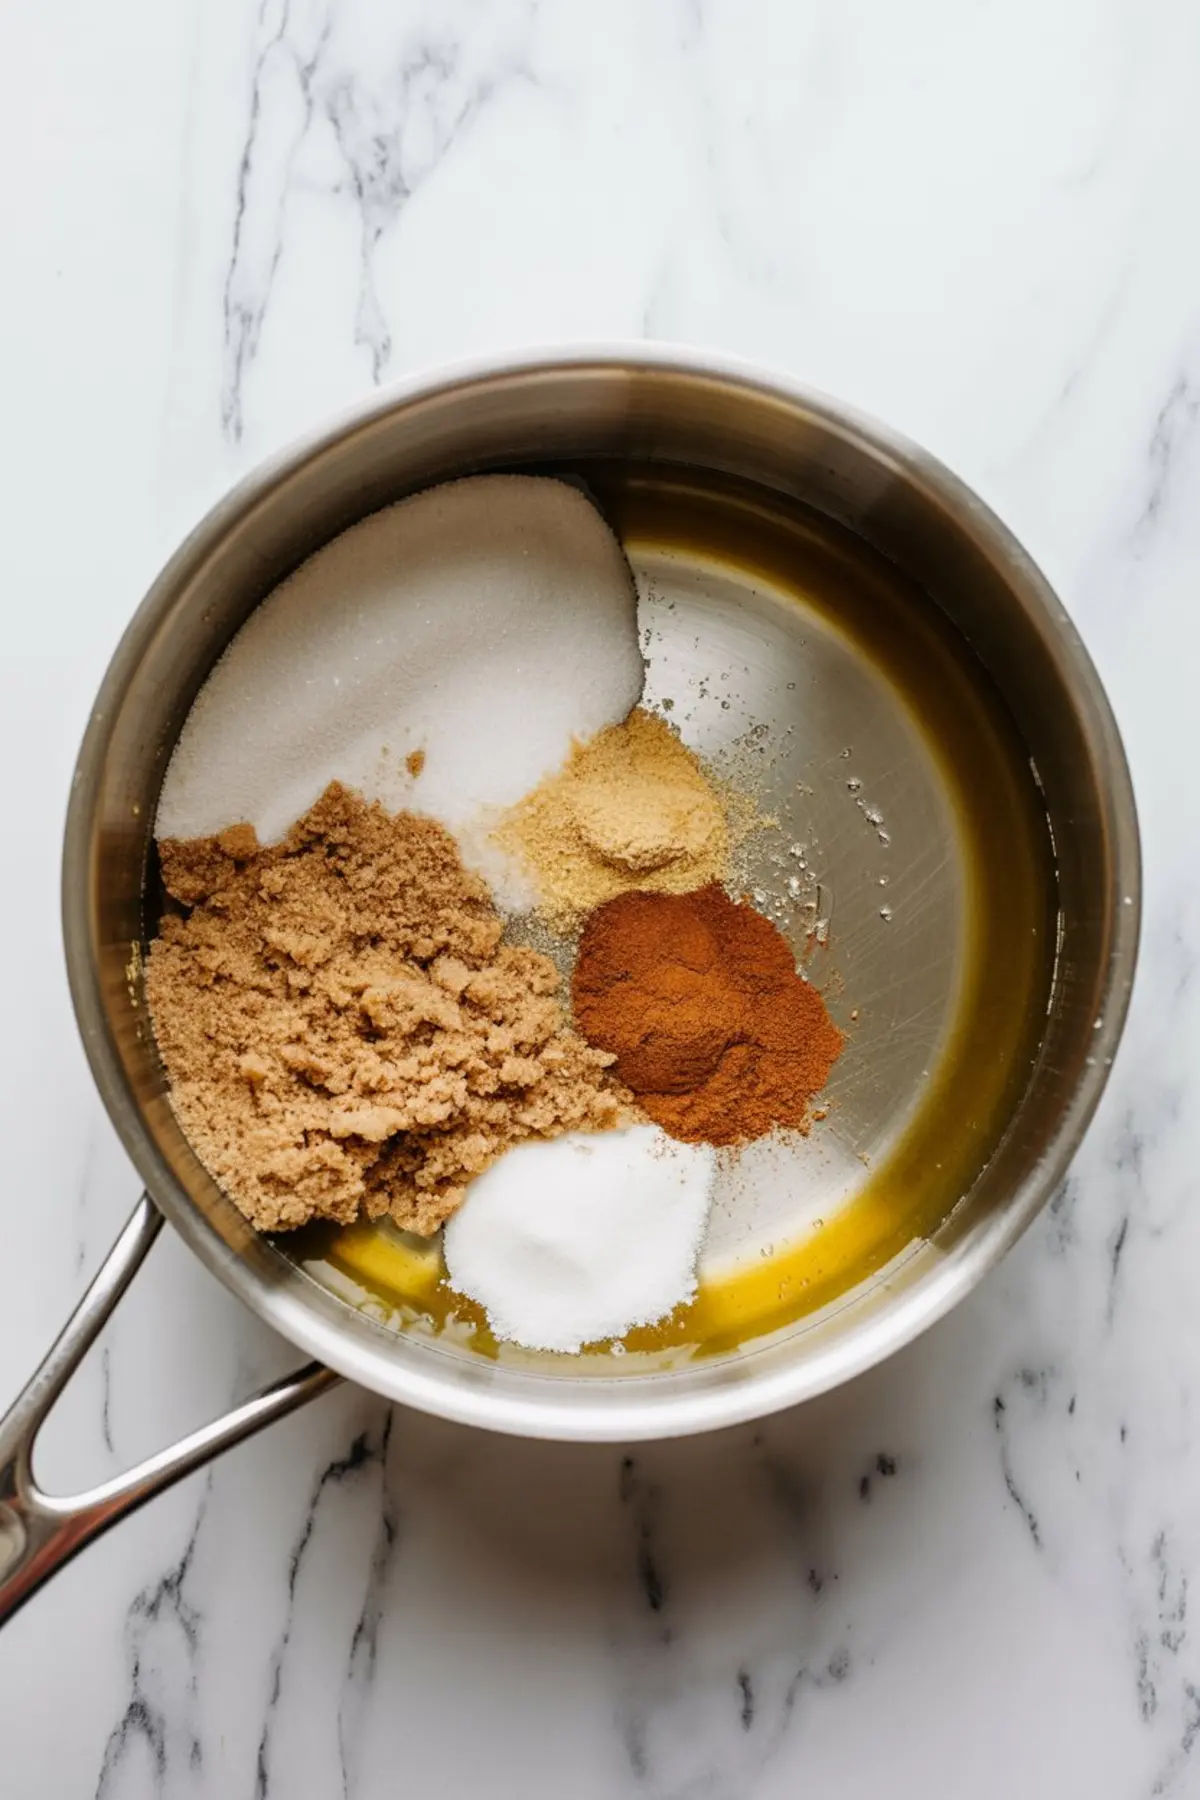
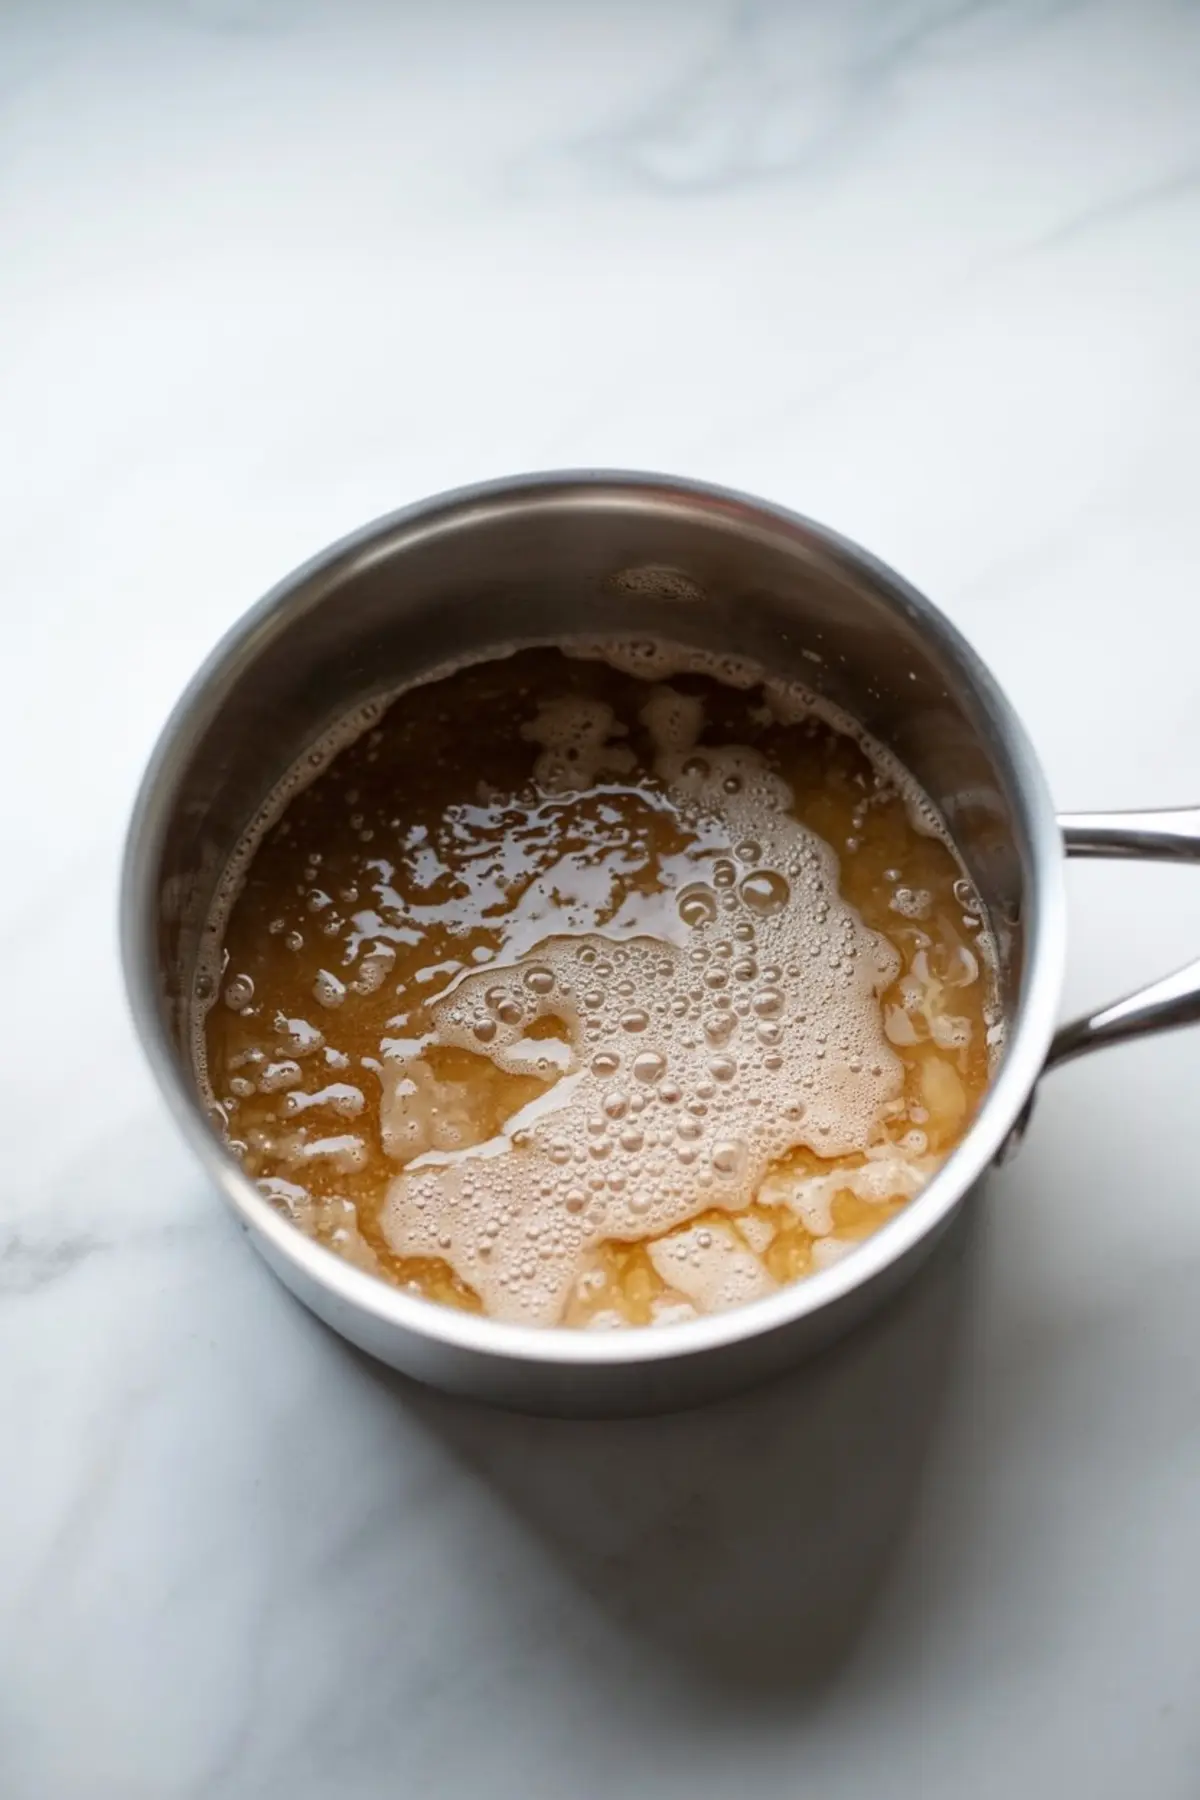
After prepping the apples and tossing them in lemon juice, I set them aside. The real flavor starts when I whisk together the sugars, water, cornstarch, and spices. It’s important to keep whisking until you see it thicken. You’ll know it’s ready when it coats the back of a spoon.
Then I stir in the apples, cover the pot, and let them simmer gently. Stir every few minutes to coat the apples fully. They should soften but still keep some bite. Mushy apples will ruin the texture.
When the apples are just right, I pull the pan off the heat and stir in the vanilla. The butter goes in last if I’m using it. The filling smells like warm pie crust and late-September air.
How to Use and Store This Filling
This filling can be used warm or cooled, depending on your dessert. For caramel apple pie, I let it cool fully so it doesn’t make the crust soggy. For apple pie cookies, I use it at room temperature so it’s easy to spoon without spreading.
You can store the filling in a sealed jar for up to 5 days in the fridge. It also freezes well for up to 3 months. Just thaw it overnight in the fridge before using.
Sometimes I’ll keep a jar in the back for quick weeknight apple crisp pie. It helps to have a base that’s already done.
Final Notes Before You Bake
If you’re planning to use this filling in a crust, make sure it’s completely cool. Warm filling can melt the butter in your crust before it hits the oven.
This also works beautifully layered into trifles or served over pancakes. It’s flexible, dependable, and quick enough for any day of the week.
Once you get a feel for it, the method becomes second nature. You’ll start to trust the texture as it thickens and know when the apples are just right.
Save and Share This Apple Pie Filling
You can pin this easy apple filling recipe to your Apple Pie Desserts or Pie Filling Recipes boards for fall baking season.
Let me know in the comments how you used it—or if you tried it with another fruit twist. I’d love to hear what you baked with it.
Apple Pie Filling Recipe
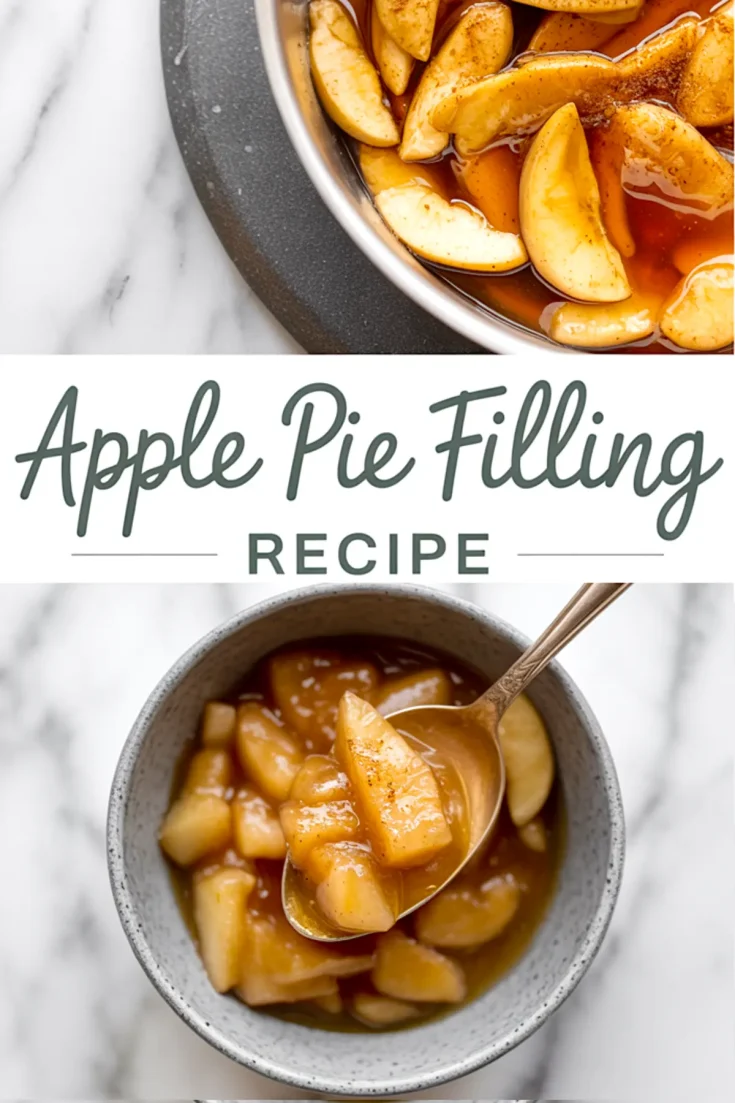
A stovetop apple pie filling made with fresh apples, warm spices, and pantry staples. This easy recipe delivers thick, flavorful filling perfect for pies, crisps, turnovers, or serving warm with ice cream.
Ingredients
- 6 medium apples (about 2½ to 3 pounds), peeled, cored, and sliced
- 2 tablespoons lemon juice
- ⅔ cup granulated sugar
- ⅓ cup light brown sugar, packed
- ¼ cup cornstarch
- 1½ cups water
- 1 teaspoon ground cinnamon
- ¼ teaspoon ground nutmeg
- ⅛ teaspoon salt
- 1 teaspoon pure vanilla extract
- 1 tablespoon unsalted butter (optional)
Instructions
- PREPARE THE APPLES: Peel, core, and slice the apples into ½-inch thick slices. Toss them with lemon juice in a large bowl to prevent browning and set aside.
- COOK THE BASE: In a large saucepan over medium heat, whisk together the water, granulated sugar, brown sugar, cornstarch, cinnamon, nutmeg, and salt. Continue whisking until the cornstarch dissolves completely and the mixture starts to thicken, about 3 to 5 minutes.
- ADD THE APPLES: Stir the sliced apples into the thickened sauce, coating them evenly. Reduce the heat to medium-low, cover the pot, and simmer for 10 to 15 minutes, stirring occasionally, until the apples are tender but still hold their shape.
- FINISH THE FILLING: Remove the saucepan from the heat and stir in the vanilla extract and butter (if using). Allow the filling to cool slightly before using or storing.
Notes
Let the filling cool completely before transferring to jars or containers for storage. Store in the refrigerator for up to 5 days or freeze for up to 3 months. Use a mix of tart and sweet apples for balanced flavor—Granny Smith and Honeycrisp work well together.
Nutrition Information
Yield
4Serving Size
1Amount Per Serving Calories 391Total Fat 3gSaturated Fat 2gTrans Fat 0gUnsaturated Fat 1gCholesterol 8mgSodium 77mgCarbohydrates 94gFiber 7gSugar 77gProtein 1g