There’s something deeply satisfying about a fruit pie that cuts cleanly. A pie that sets just enough to hold its form without losing that juicy center. That’s what you get with this huckleberry pie. It’s not runny. It doesn’t sink. And most importantly, it tastes like late summer in every forkful.
You’ll learn exactly how to prepare a well-structured filling, avoid a soggy bottom, and balance tart and sweet without guesswork. Whether this is your first try with wild berries or your tenth, this guide will make it easier to get consistent results.
What Makes Huckleberry Pie Special
Unlike more common blueberry pies, huckleberries have a richer flavor and a slightly firmer texture. They hold their shape when baked and bring a deep, wine-colored hue that’s unmistakable. I often compare it to the difference between a regular strawberry pie and something more layered like a strawberry rhubarb pie. There’s more depth, and it doesn’t rely solely on sweetness.

Huckleberry pie is one of those recipes that doesn’t need much adornment. You let the berries do the work. The filling becomes almost jammy as it cools—set enough for neat slices, yet loose enough to taste homemade.
Pie Crust Ingredients and Texture Tips
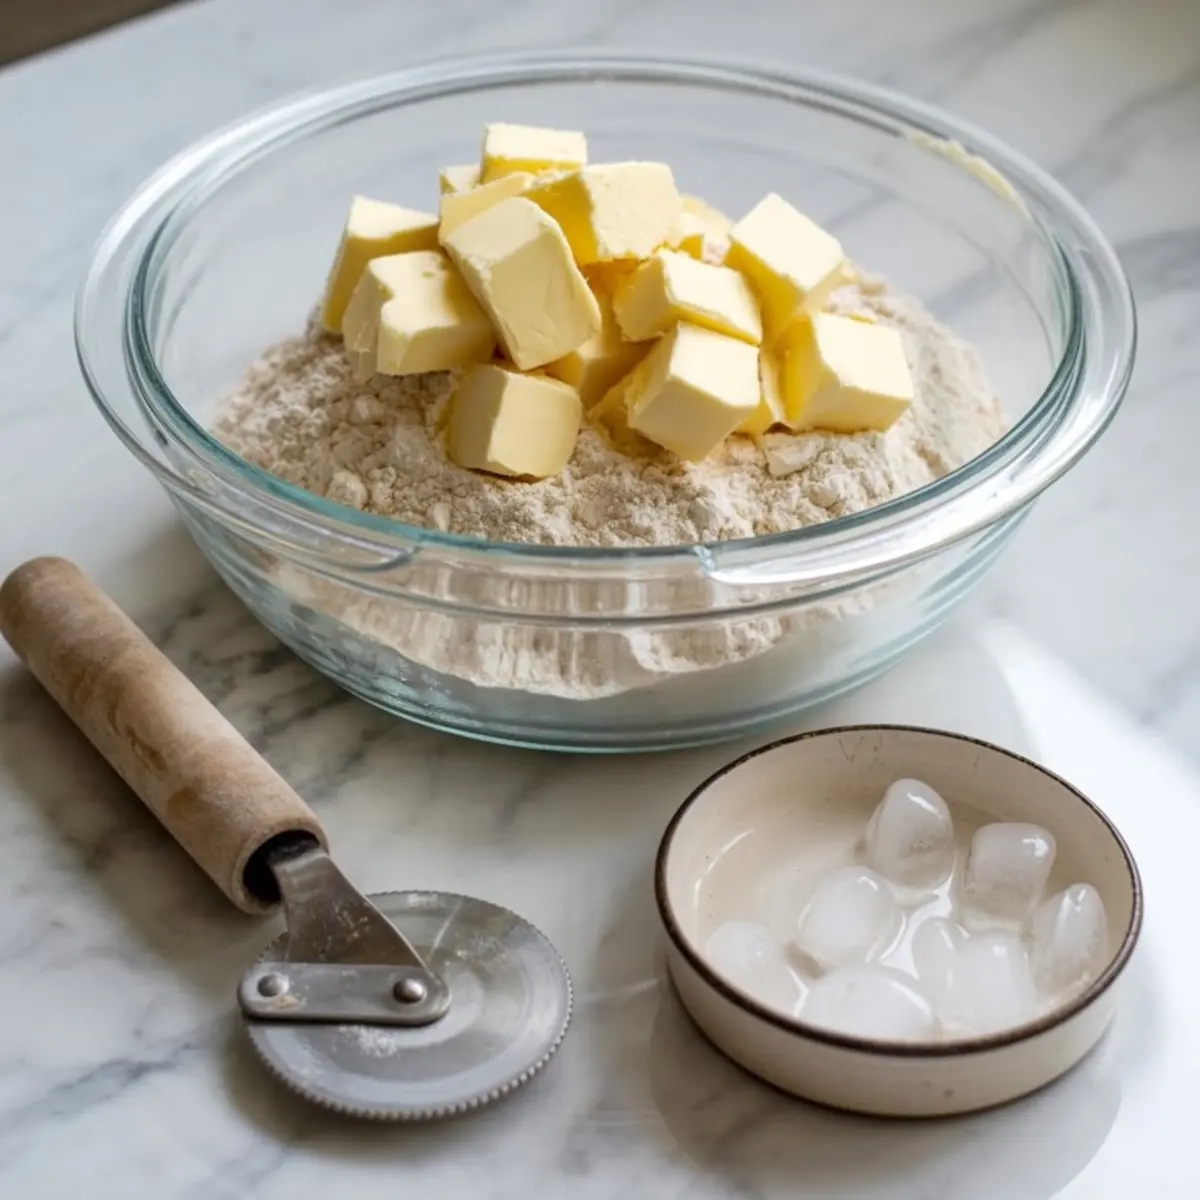
The crust matters just as much as the filling. I use a standard butter crust with flour, salt, and ice water, but the key lies in how the butter is handled. Keep it cold. Work it quickly. You want visible bits of butter that steam in the oven and create layers.
If you’re new to homemade crusts, I’ve broken down every step over in my pie crust recipe. It’s what I use for all fruit pies, and it works just as well for blueberry pie too.
The Best Huckleberry Filling Balance
You’ll need five full cups of fresh or frozen huckleberries. If they’re frozen, don’t thaw. Mix them straight with sugar, lemon juice, cinnamon, vanilla, and cornstarch. Let it sit for fifteen minutes so the cornstarch can hydrate and bind with the berry juices.
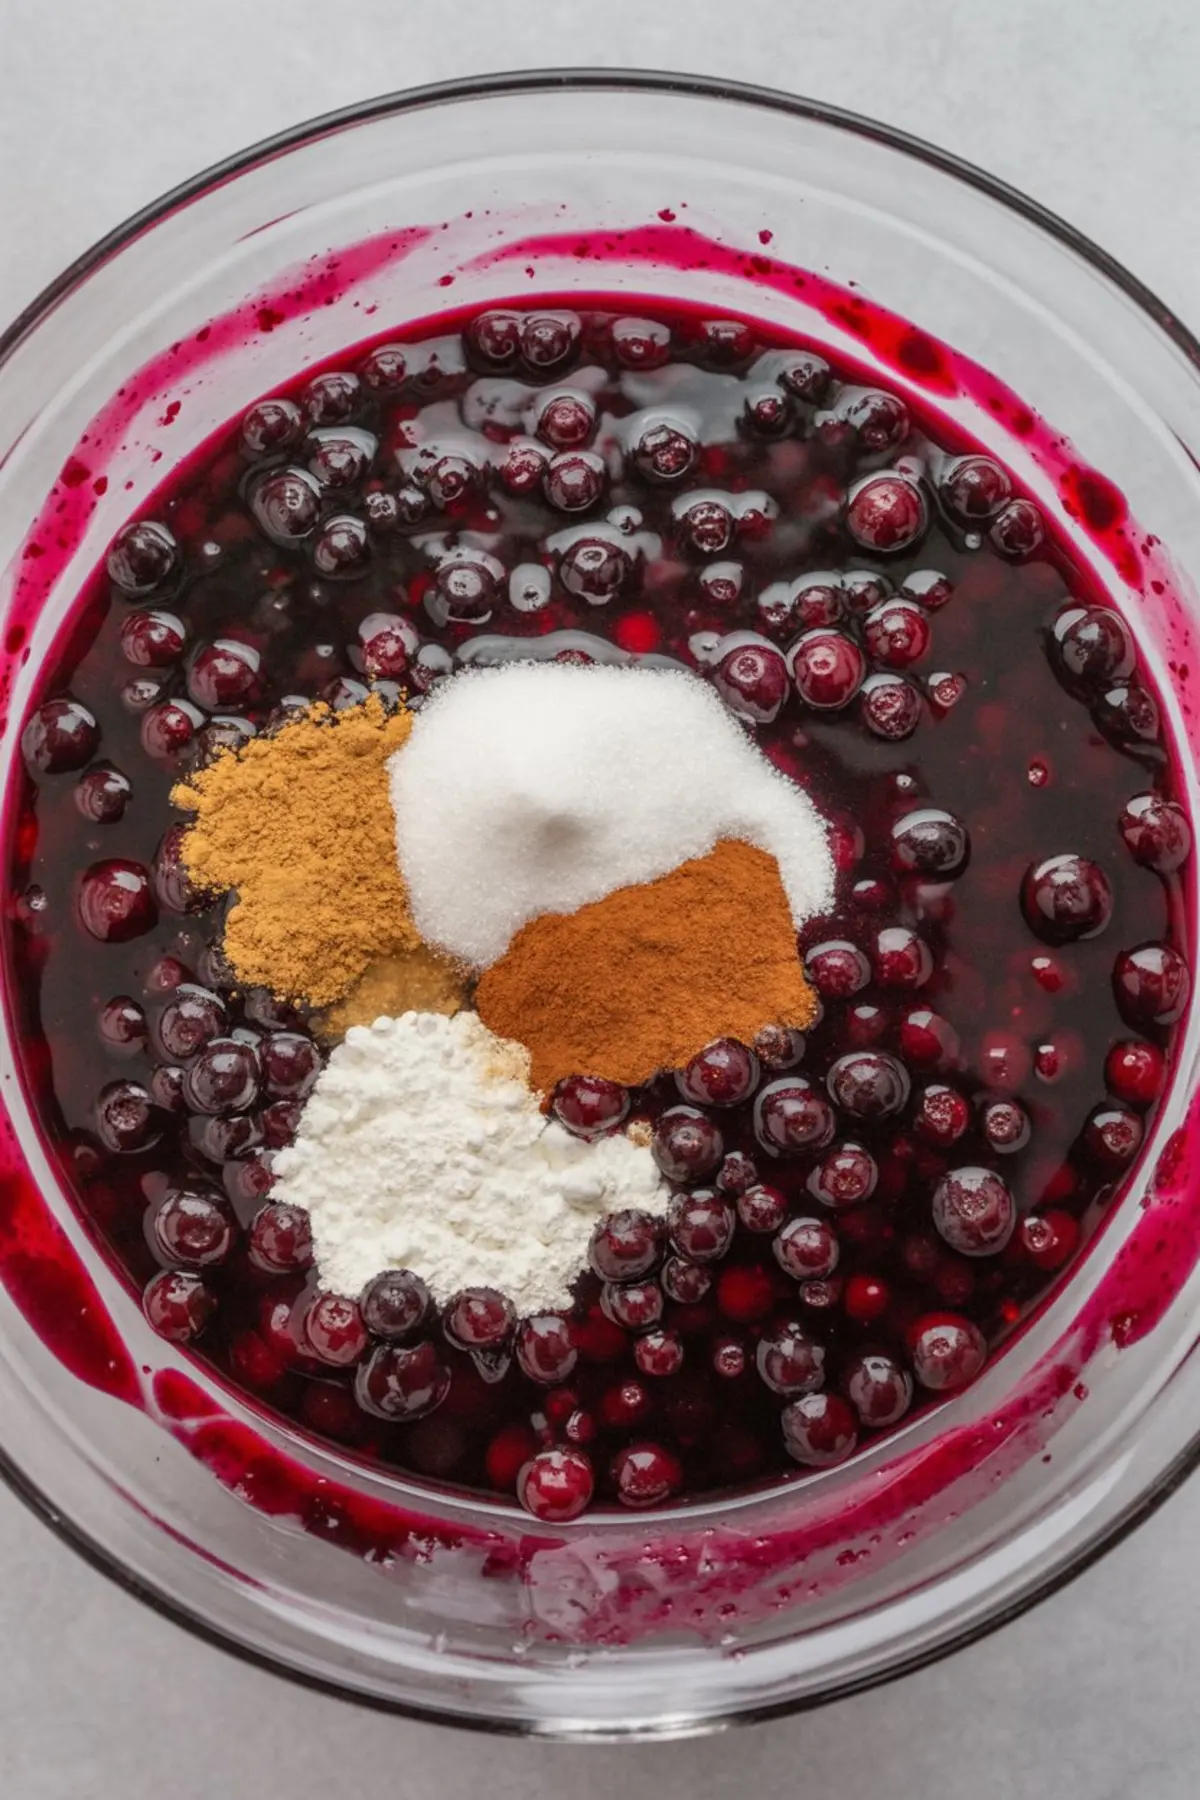
That short resting time prevents excess run-off while baking. The cinnamon is subtle but rounds out the fruit flavor nicely, especially if you enjoy old-fashioned berry pies with a warm finish.
Butter vs. Shortening: What’s Best for the Crust?
I’ve used both in tests. Butter wins every time for flavor and flakiness. Shortening gives you more structure but lacks the depth I want in a pie like this. Especially with a bold filling like huckleberry, the richness of butter complements the fruit rather than competing with it.
In my notes, I’ve found that butter crusts brown more evenly and pair well with any seasonal filling, whether you’re baking hand pies or savory galettes.
Lattice Top vs. Whole Crust
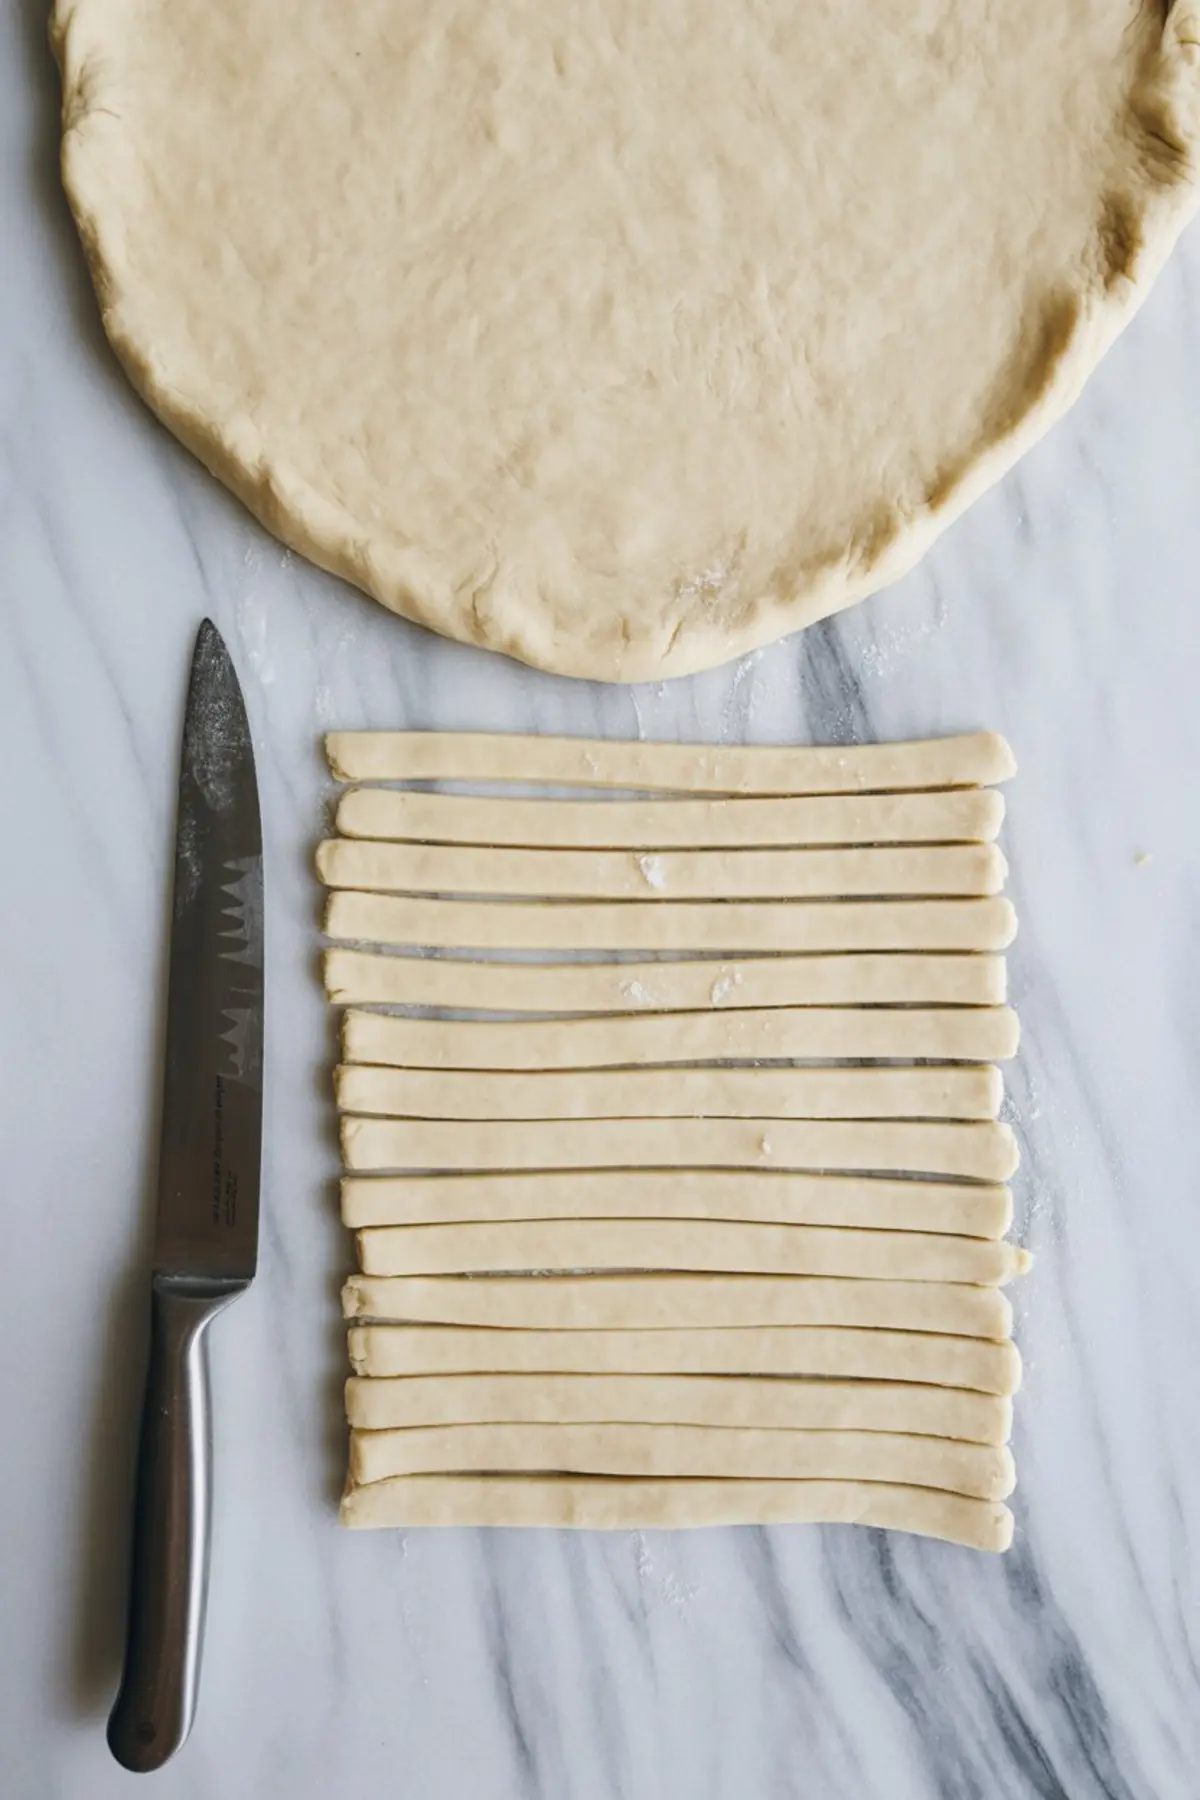
This part is more than decorative. A lattice allows some steam to escape, thickening the filling gently. A whole crust with vents will retain more moisture. I usually go with a lattice when working with high-moisture fruit like in homemade strawberry pie. For huckleberry, both work, but the lattice adds just enough ventilation to help the filling set without over-drying it.
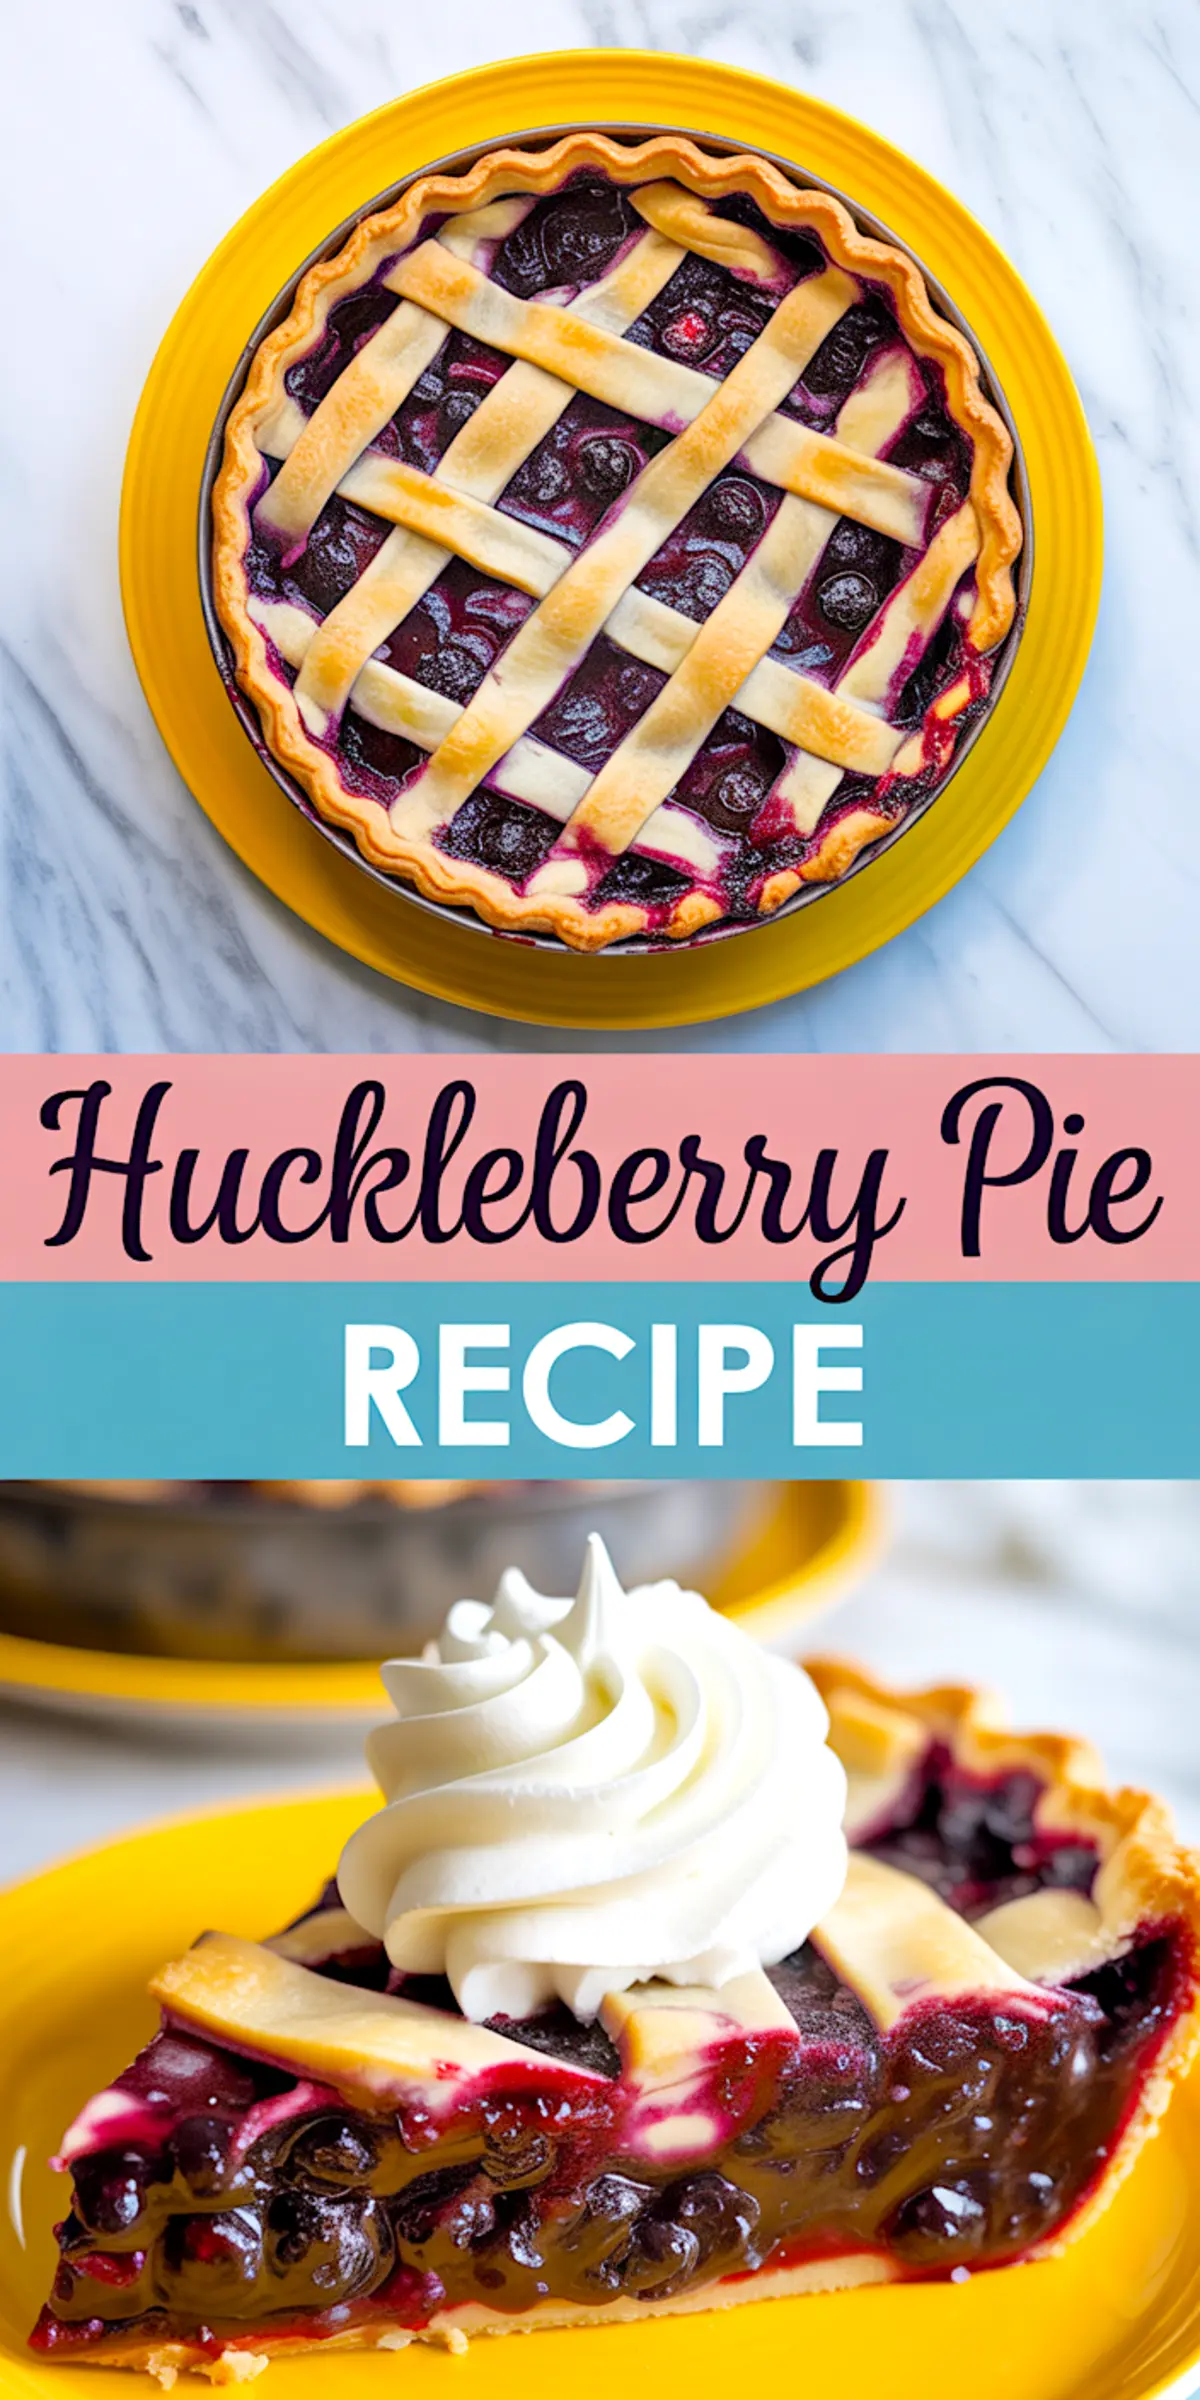
Brush the top with an egg wash and coarse sugar. It adds color and crunch. And if the edges brown faster than the center, a simple foil shield will fix it.
Baking and Cooling for Clean Slices
Start the bake at 400°F, then reduce to 350°F after twenty minutes. This gives the bottom crust a head start. The pie should bubble visibly in the center, and the top will turn golden and crisp.
Don’t skip the cooling time. Three to four hours minimum. This makes the difference between a slice that holds or collapses. If you plan to serve it later in the day, bake it in the morning and leave it on the counter.
Serving and Storage Notes
I prefer this pie at room temperature. The filling settles, and the flavor develops. If you refrigerate it, cover it loosely with foil, not plastic, to preserve the crust’s texture.
Huckleberry pie pairs well with a scoop of vanilla ice cream or a dollop of whipped cream. For leftovers, warm individual slices in a low oven. The crust revives better than in a microwave.
You can also freeze a fully baked pie once it’s cooled. Wrap tightly in foil and place in a freezer bag. Reheat directly from frozen at 325°F until warmed through. It won’t be quite the same as fresh, but it keeps the flavor intact.
Other Recipes You Might Enjoy
Looking for more summer pies with clean fruit-forward flavors?
Try this blueberry pie for a more common alternative.
Or go seasonal with a classic strawberry pie that highlights sweetness.
And if you love the contrast of sweet and tart, this strawberry rhubarb pie strikes that balance beautifully.
Save and Share This Huckleberry Pie
Pin this to your pie board so you have it ready for huckleberry season. And if you bake it, I’d love to hear how it turned out. Leave a comment below with your tips, questions, or your own variation.
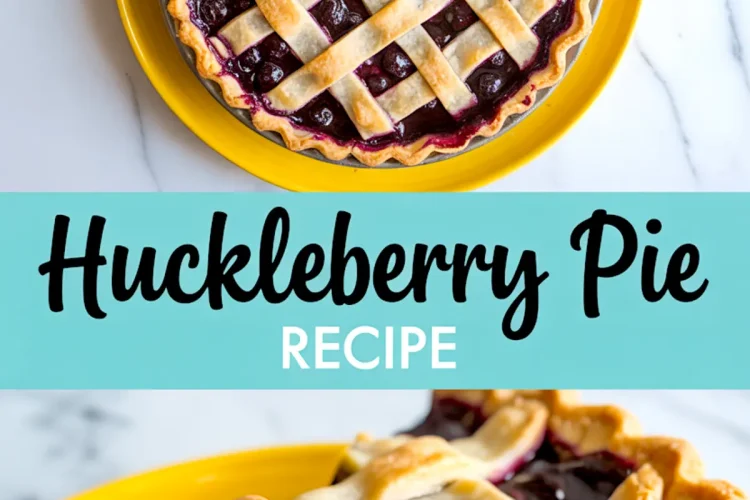
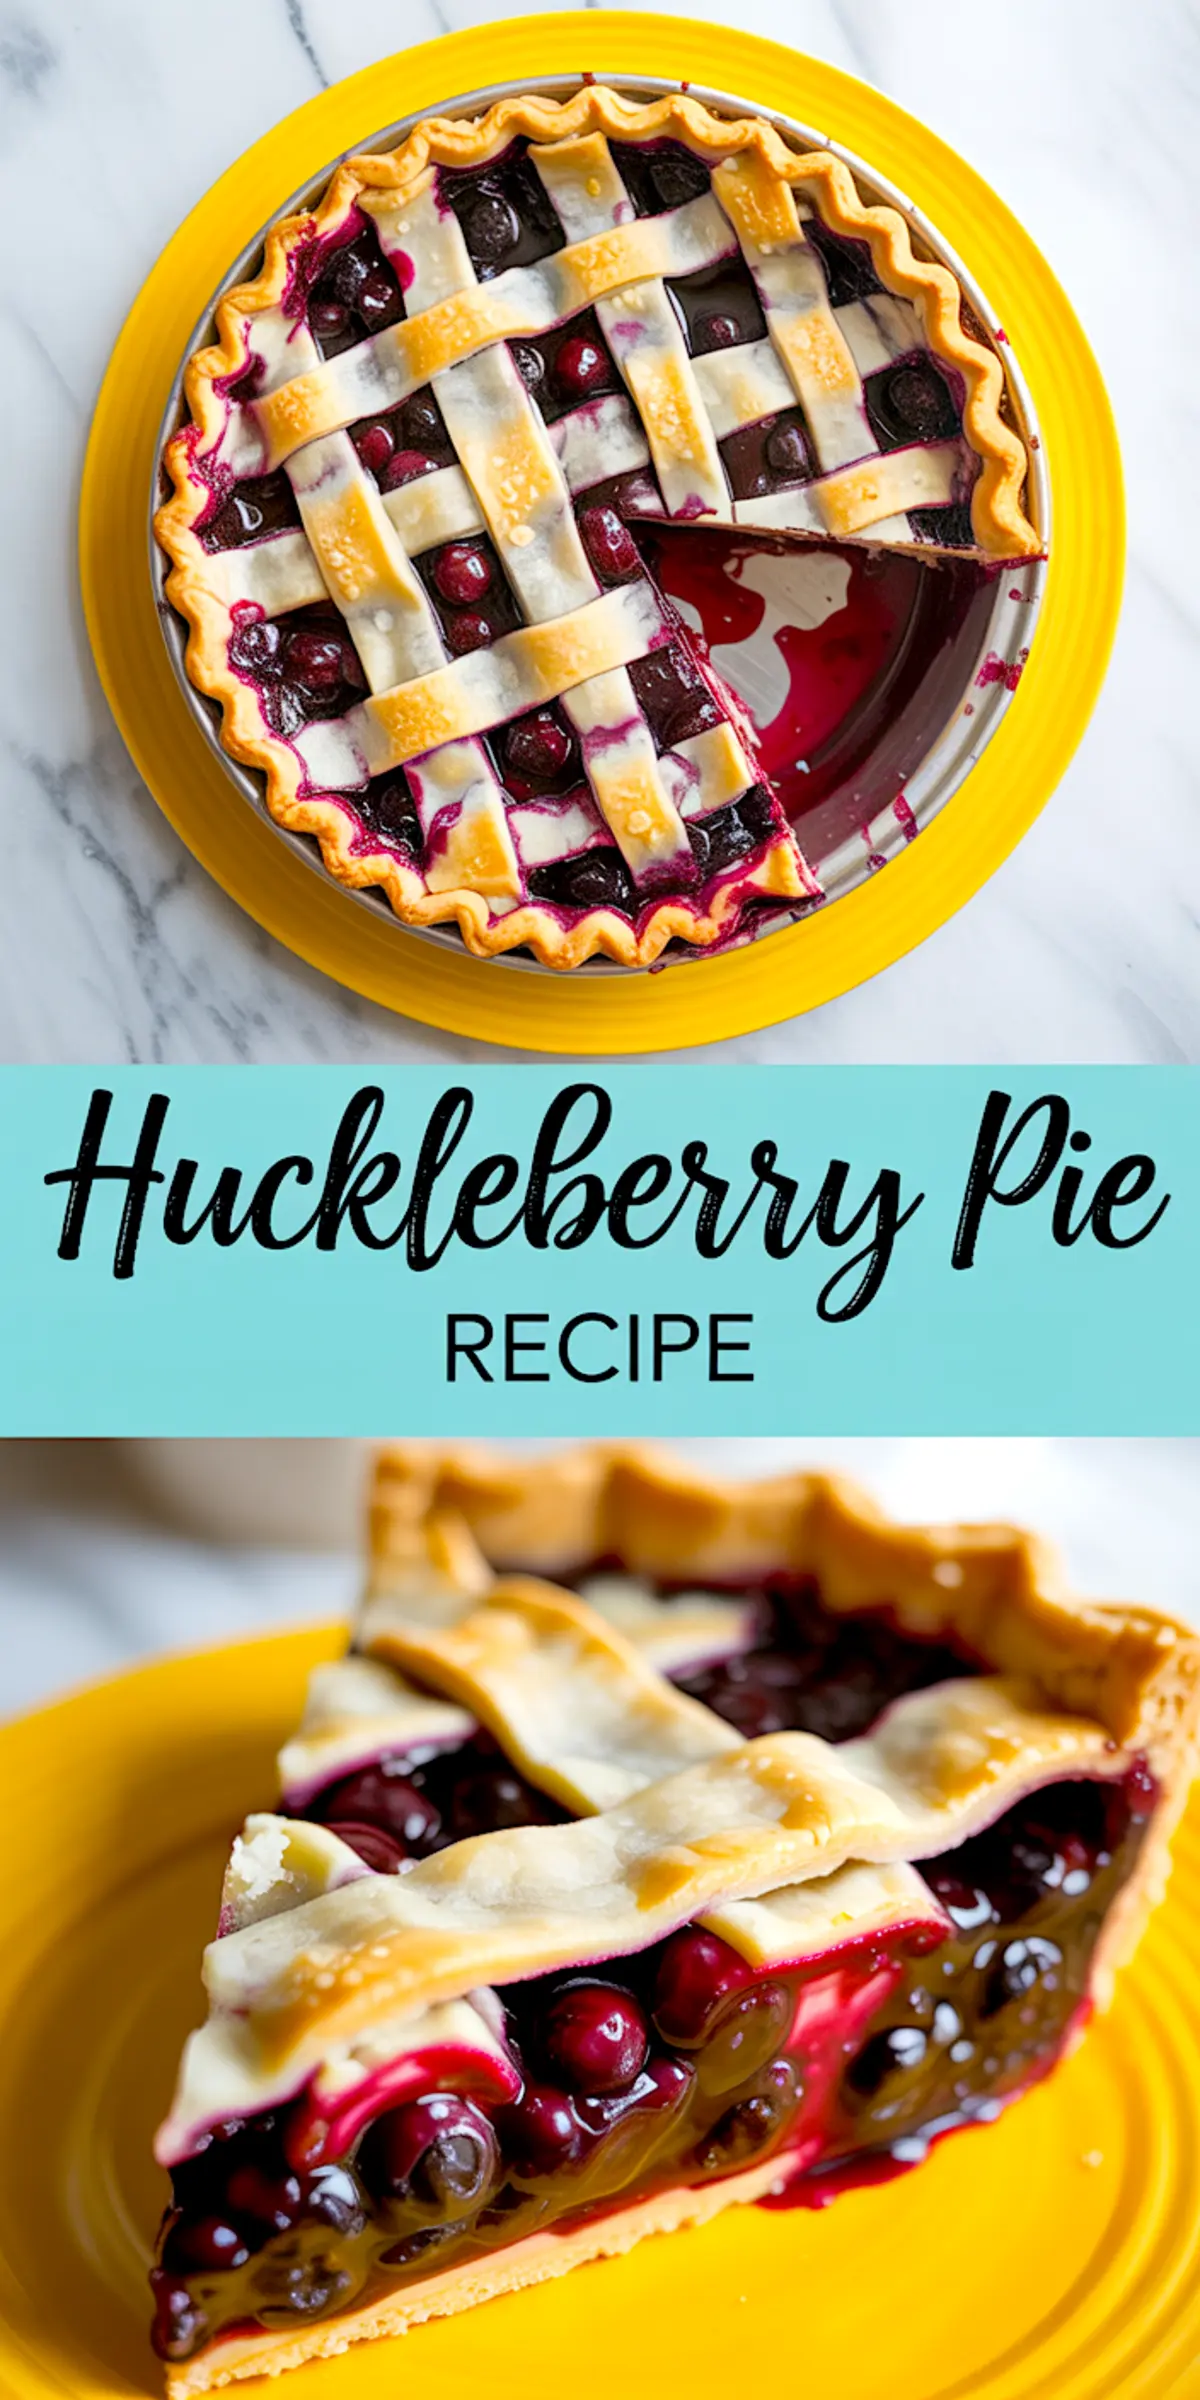
Huckleberry Pie Recipe
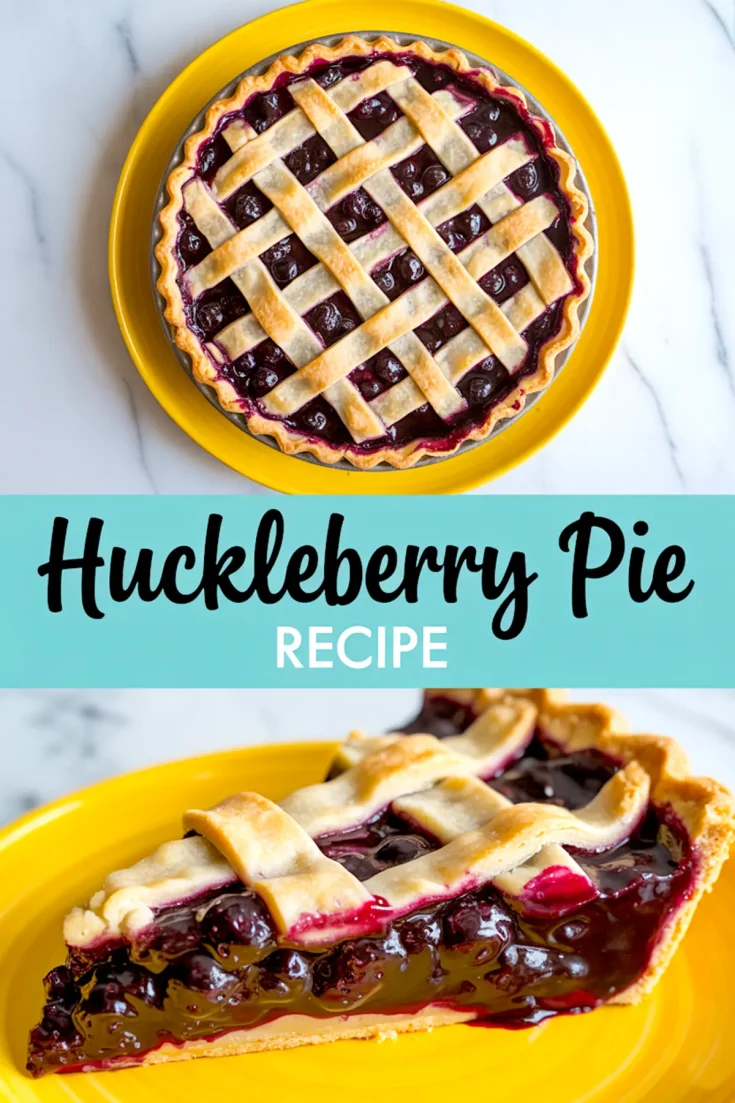
A huckleberry pie combines sweet-tart berries with a buttery double crust. The filling thickens as it bakes, creating a deep purple center with a jam-like texture. Serve it at room temperature after a full cooling period for clean slices and a well-set filling.
Ingredients
- FOR THE PIE CRUST (DOUBLE CRUST):
- 2 ½ cups all-purpose flour
- 1 tsp salt
- 1 cup unsalted butter, cold and cubed
- 6–8 tbsp ice water
- FOR THE HUCKLEBERRY FILLING:
- 5 cups fresh or frozen huckleberries
- 1 cup granulated sugar
- 3 tbsp cornstarch
- 1 tbsp lemon juice
- ½ tsp ground cinnamon
- 1 tsp vanilla extract
- 1 tbsp butter, cut into small cubes
- FOR ASSEMBLY:
- 1 egg yolk + 1 tbsp milk (for egg wash)
- Coarse sugar for sprinkling
Instructions
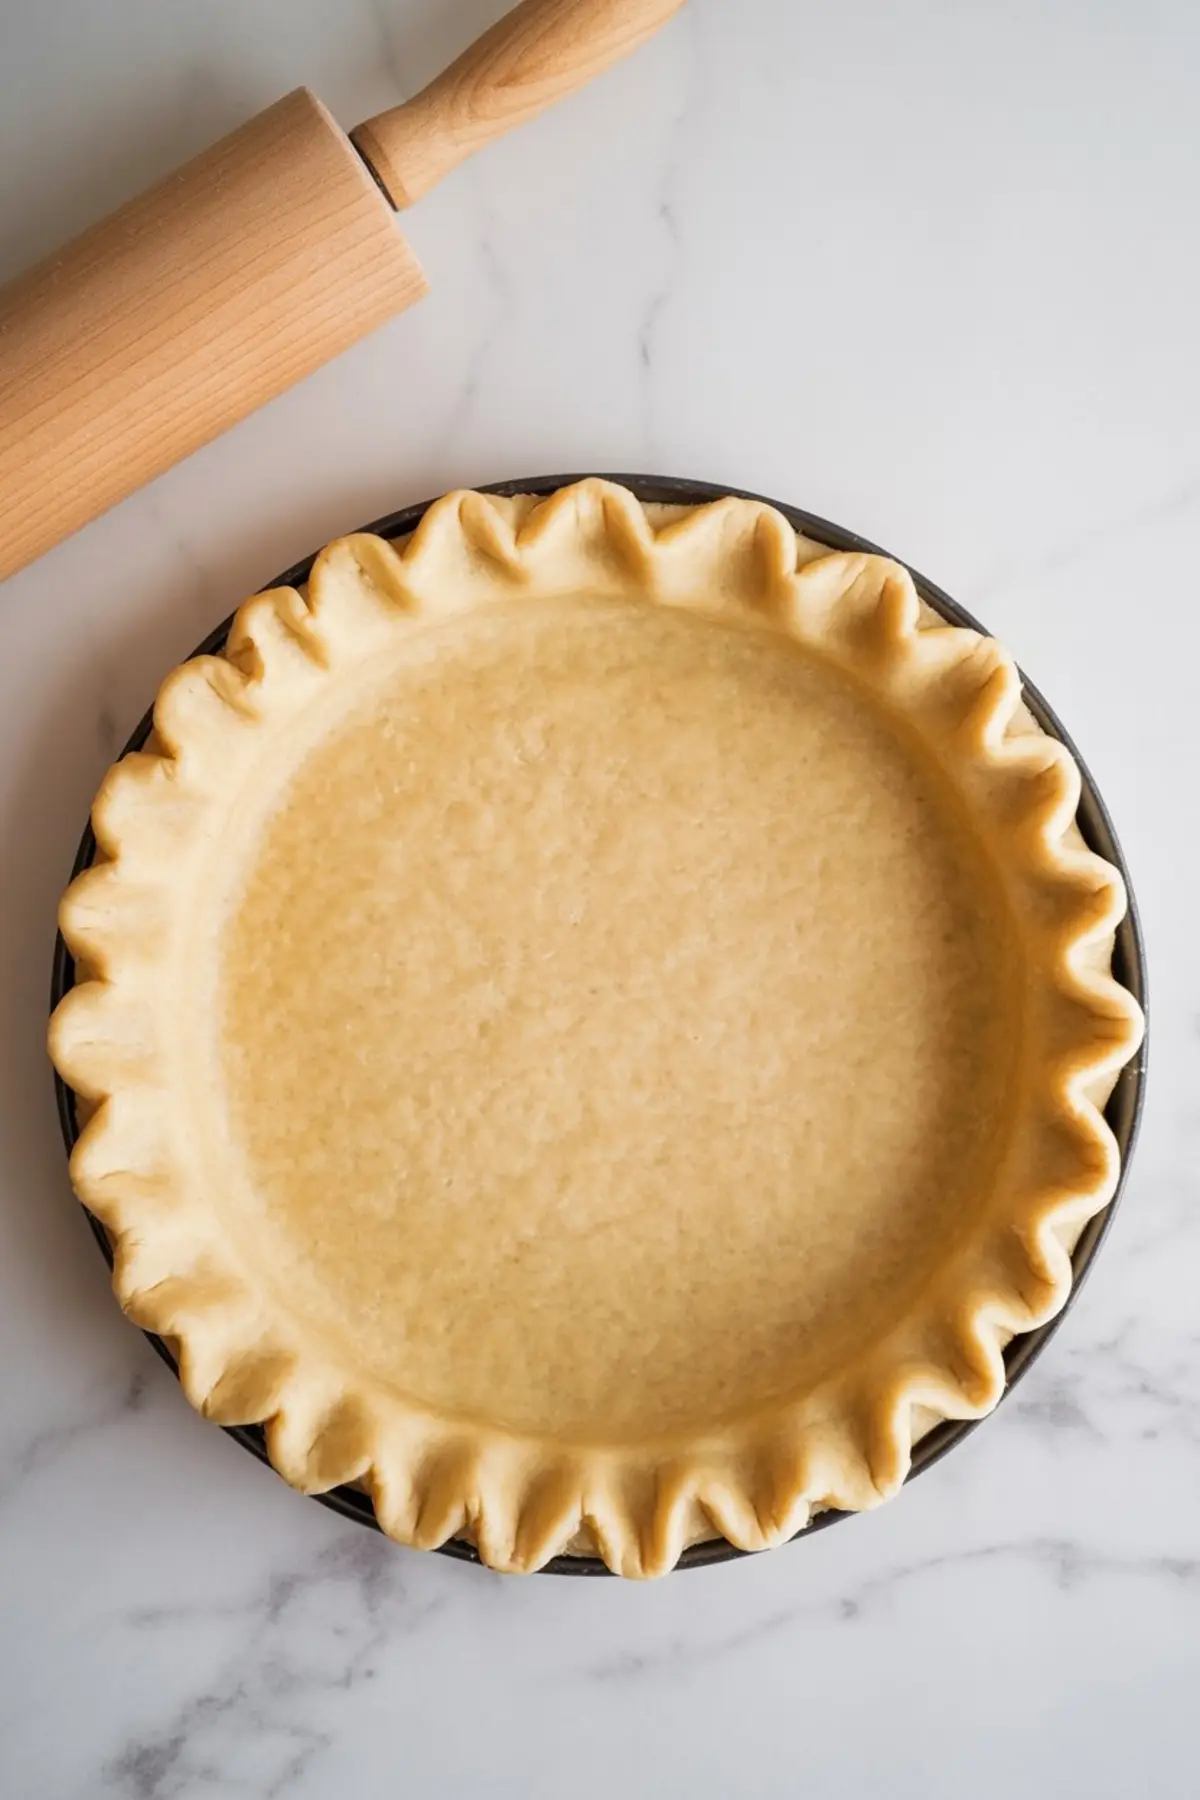
- MAKE THE PIE DOUGH: In a large bowl, whisk together the flour and salt. Cut in the cold butter using a pastry cutter or your fingertips until the mixture resembles coarse crumbs. Add ice water gradually, one tablespoon at a time, stirring just until the dough comes together without being sticky. Divide the dough in half, shape into discs, wrap tightly in plastic wrap, and refrigerate for at least 1 hour.
- PREPARE THE FILLING: In a large bowl, gently combine the huckleberries with sugar, cornstarch, lemon juice, cinnamon, and vanilla extract. Stir until evenly coated and let the mixture sit for 15 minutes to allow the juices to release and the cornstarch to hydrate.
- ROLL OUT AND ASSEMBLE: Preheat the oven to 400°F (200°C). On a lightly floured surface, roll out one disc of chilled dough into a 12-inch circle and fit it into a 9-inch pie plate. Trim the edges to a ½-inch overhang. Pour the prepared huckleberry filling into the crust and dot with the butter cubes. Roll out the second disc of dough and cut into strips for a lattice top or use it whole, venting the center. Lay the lattice strips or full crust over the filling, trim and crimp the edges, then brush with egg wash and sprinkle with coarse sugar if using.
- BAKE: Place the assembled pie on a parchment-lined baking sheet and bake at 400°F (200°C) for 20 minutes. Lower the oven temperature to 350°F (175°C) and continue baking for 35–40 minutes more, until the crust is golden brown and the filling is bubbling visibly. If the edges brown too quickly, cover them with foil. Let the pie cool completely on a wire rack—at least 3 to 4 hours—before slicing to allow the filling to fully set.
Notes
If using frozen huckleberries, do not thaw them before mixing to prevent excess moisture. The cinnamon is optional but enhances the berry flavor subtly. A full cool-down is essential for clean slices.
I love the tip allowing the filling it to sit for 15 minutes… huckleberry notoriously runny… this really made a difference. Thank you!
I’m glad that tip helped, Deborah. Huckleberries can be a little tricky with how much juice they release, and letting the filling sit really does give the cornstarch time to do its job. I’ve had pies turn soupy before skipping that step, so I started making it a habit. Happy to hear it worked well for you 💜