There’s a moment in early fall when the air sharpens just enough to call for apples. I don’t always want to commit to a full pie, especially if I’m sharing dessert at school functions or carrying trays across the yard for a weekend gathering. That’s where these maple glazed apple pie bars come in. They strike the balance between nostalgic flavor and weekday practicality.
You’ll learn how to get that classic apple pie taste—warm spices, tender fruit, buttery crust—without fussing over a pie plate. You’ll also see why I prefer a bar method for apple desserts with fresh apples. The structure stays intact. The portions stay neat. And you get a crisp bottom, golden crumb top, and a silky maple finish in every square.
I’ve baked many versions of apple crumble bars and apple crisp bars over the years, and this recipe is the one I trust when I need reliable results without extra dishes or stress.
Following a special diet?
Every recipe on this site can be converted to gluten-free, vegan, dairy-free, keto, nut-free or egg-free with adjusted ratios so nothing falls flat.
Try the Recipe Converter →Does Apple Bars Work Better Than Pie?
Pie slices collapse under their own weight when they aren’t cooled properly. Bars don’t do that. This recipe bakes in a 9×13 pan, which supports the crust and gives the filling a firm base.
The shortbread crust holds up to the apple juices without getting soggy. I use a 2:1 flour-to-butter ratio with just a bit of sugar and salt. The dough presses down easily and holds its shape after baking. No chilling required. It’s the kind of crust I use for cherry pie bars too.
In my notes, I’ve found that the combination of Granny Smith and Honeycrisp works better than any single apple variety. Granny Smith brings the acidity and bite. Honeycrisp adds sweetness and moisture. Other apples tend to bake too soft or taste one-dimensional. This blend gives texture and contrast.
The Apple Filling That Won’t Leak or Mute the Flavor
Fresh apples need help to bind together in a bar. I use a mix of white sugar and brown sugar with a spoonful of flour to catch the juice. The cinnamon and nutmeg don’t overpower. One tablespoon of lemon juice brightens everything.
This isn’t a syrupy filling like some apple pie filling desserts. It’s lighter. The apples cook down slightly in the oven, but the filling still holds its form when sliced. You’ll find a similar method used in my easy apple crisp recipe, just with oats instead of a crumb topping.
A Crumb Topping That Actually Stays Crunchy

Crumb toppings often disappoint when they melt into the filling. That usually happens when the butter is too soft or the topping is overmixed.
Keep your butter cold. Cut it in with a pastry cutter or your hands until you see large clumps. You want a chunky texture here—not sand. Those clusters brown evenly in the oven and give each bite a slight crunch.
You can try a similar approach with chocolate pecan pie bars if you’re after a richer, darker variation of bar desserts.
Maple Glaze vs Powdered Sugar Icing
Some bakers top apple bars with a plain powdered sugar glaze. I used to do that too—until I started warming maple syrup with a touch of butter and vanilla. The result is smoother, silkier, and better suited to fall flavors.
It’s important not to boil the glaze. Just melt and whisk. Once the bars cool, drizzle it over the top. If you’re using walnuts, press them in while the glaze is still tacky.
I’ve compared both glazes side by side. The powdered sugar-only version hardens too quickly and doesn’t complement the apple. The maple glaze stays soft but sets enough to travel well. It’s a detail that changes the entire dessert.
How to Serve, Slice, and Store Apple Pie Bars
I always cool the pan for at least 30 minutes before slicing. If you need sharp, clean edges—chill the bars first. Then use a long knife and wipe between cuts. That’s how I plate them for bake sales and family dinners.
Serve at room temperature for best texture. The crust softens if the bars sit out too long with the glaze, so if I’m baking a day ahead, I leave the glaze off until just before serving.
Store covered at room temperature for two days or keep them in the fridge for up to five. These hold their shape better than soft apple bars and don’t go limp by day two.
For a no-bake option that travels well, my peanut butter bars use a similar press-in crust concept—though the flavor leans rich and nutty.
Related Apple Dessert Recipes You’ll Want to Try Next
These bars fit right alongside your fall and holiday baking lineup. If you’re building out a board or seasonal dessert tray, I suggest adding these:
- Apple Pie Cinnamon Rolls: everything you love about apple pie inside a pillowy swirl.
- Easy Apple Crisp: a low-effort, oat-topped version for casual nights.
- Easy Cherry Pie Bars: similar method, different fruit.
Save This Apple Dessert for Later
You can pin this recipe to your Apple Dessert Recipes board or your Easy Apple Desserts collection and come back to it next time you need something sharable, sliceable, and trusted.
I’d love to hear how it turns out for you. Did you use walnuts or leave them off? Which apples worked best in your kitchen? Share your results or questions in the comments so we can swap notes and tips.
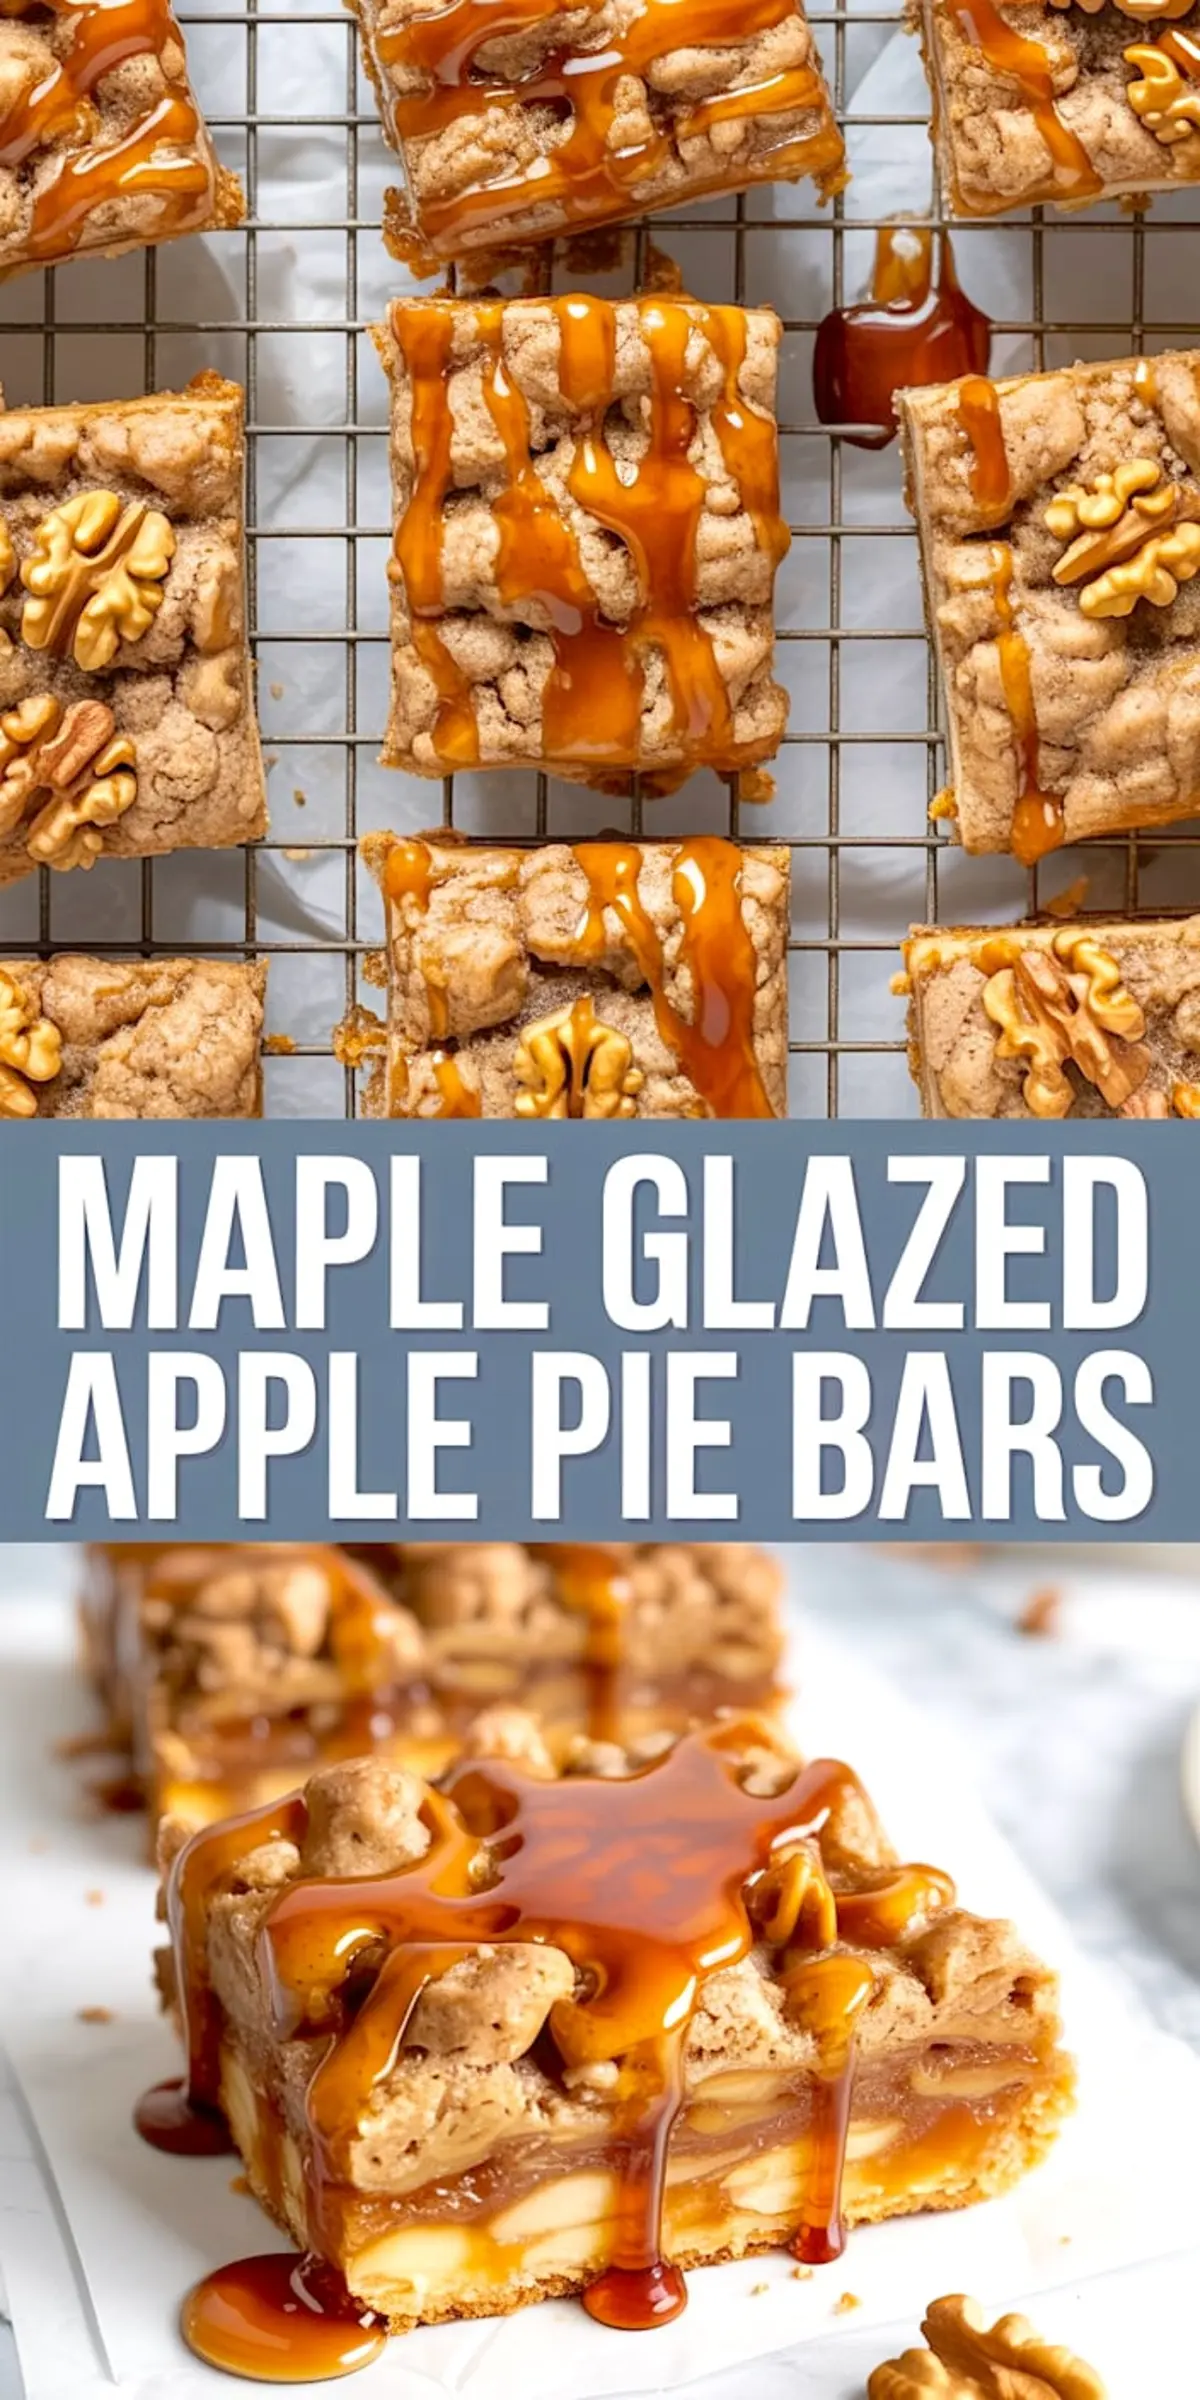
Maple Glazed Apple Pie Bars
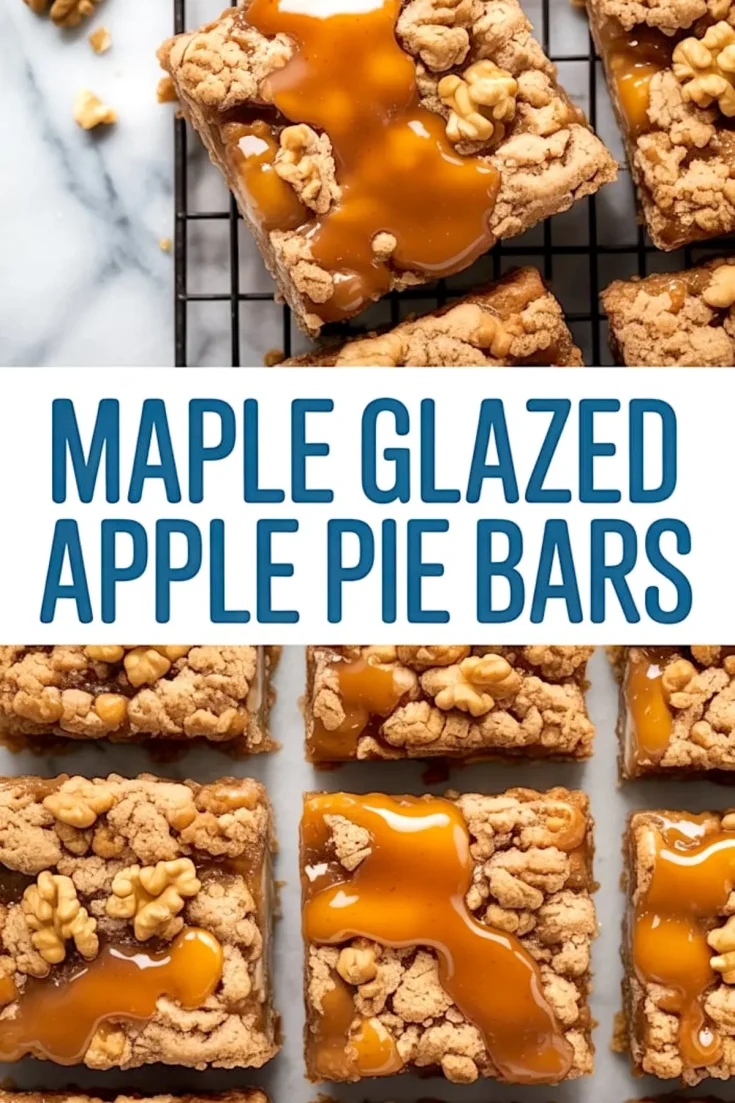
These maple glazed apple pie bars combine the comfort of a classic apple pie with the simplicity of a bar dessert. A buttery shortbread-style crust supports a warmly spiced apple filling and a golden crumb topping. Just before serving, a smooth maple glaze is drizzled on top, adding a rich layer of flavor. These bars hold their shape well, making them easy to transport and store.
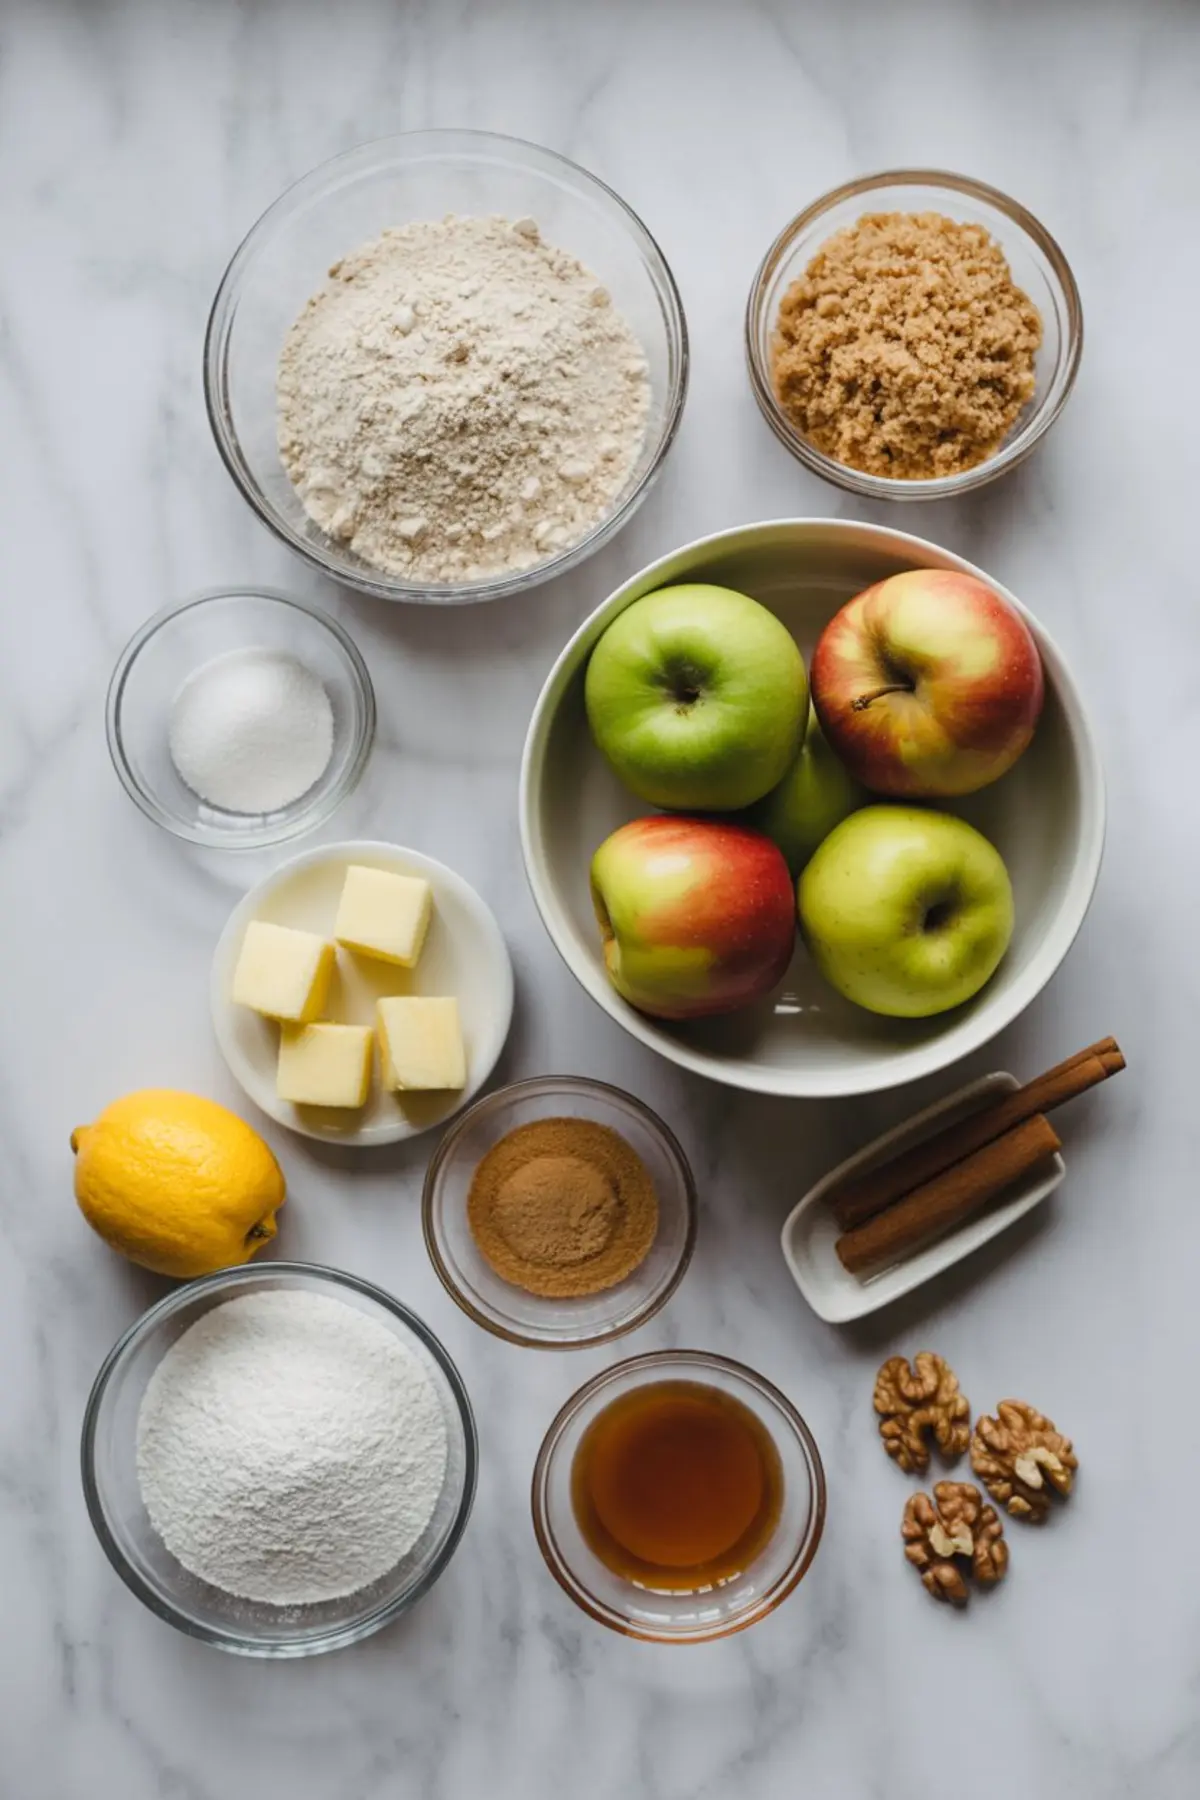
Ingredients
- FOR THE CRUST
- 2 cups all-purpose flour
- 1/2 cup granulated sugar
- 1/4 teaspoon salt
- 1 cup (2 sticks) unsalted butter, cold and cut into cubes
- FOR THE APPLE FILLING
- 4 medium apples, peeled, cored, and thinly sliced (Granny Smith and Honeycrisp are a good mix)
- 1/4 cup granulated sugar
- 1/4 cup light brown sugar
- 2 tablespoons all-purpose flour
- 1 teaspoon cinnamon
- 1/4 teaspoon ground nutmeg
- 1 tablespoon lemon juice
- FOR THE CRUMB TOPPING
- 1 cup all-purpose flour
- 1/2 cup light brown sugar
- 1/2 teaspoon cinnamon
- 1/4 teaspoon salt
- 1/2 cup unsalted butter, cold and cubed
- FOR THE MAPLE GLAZE
- 1/2 cup pure maple syrup
- 2 tablespoons unsalted butter
- 1/4 cup powdered sugar
- 1/4 teaspoon vanilla extract
- OPTIONAL TOPPING
- 1 cup walnut halves (toasted if desired)
Instructions
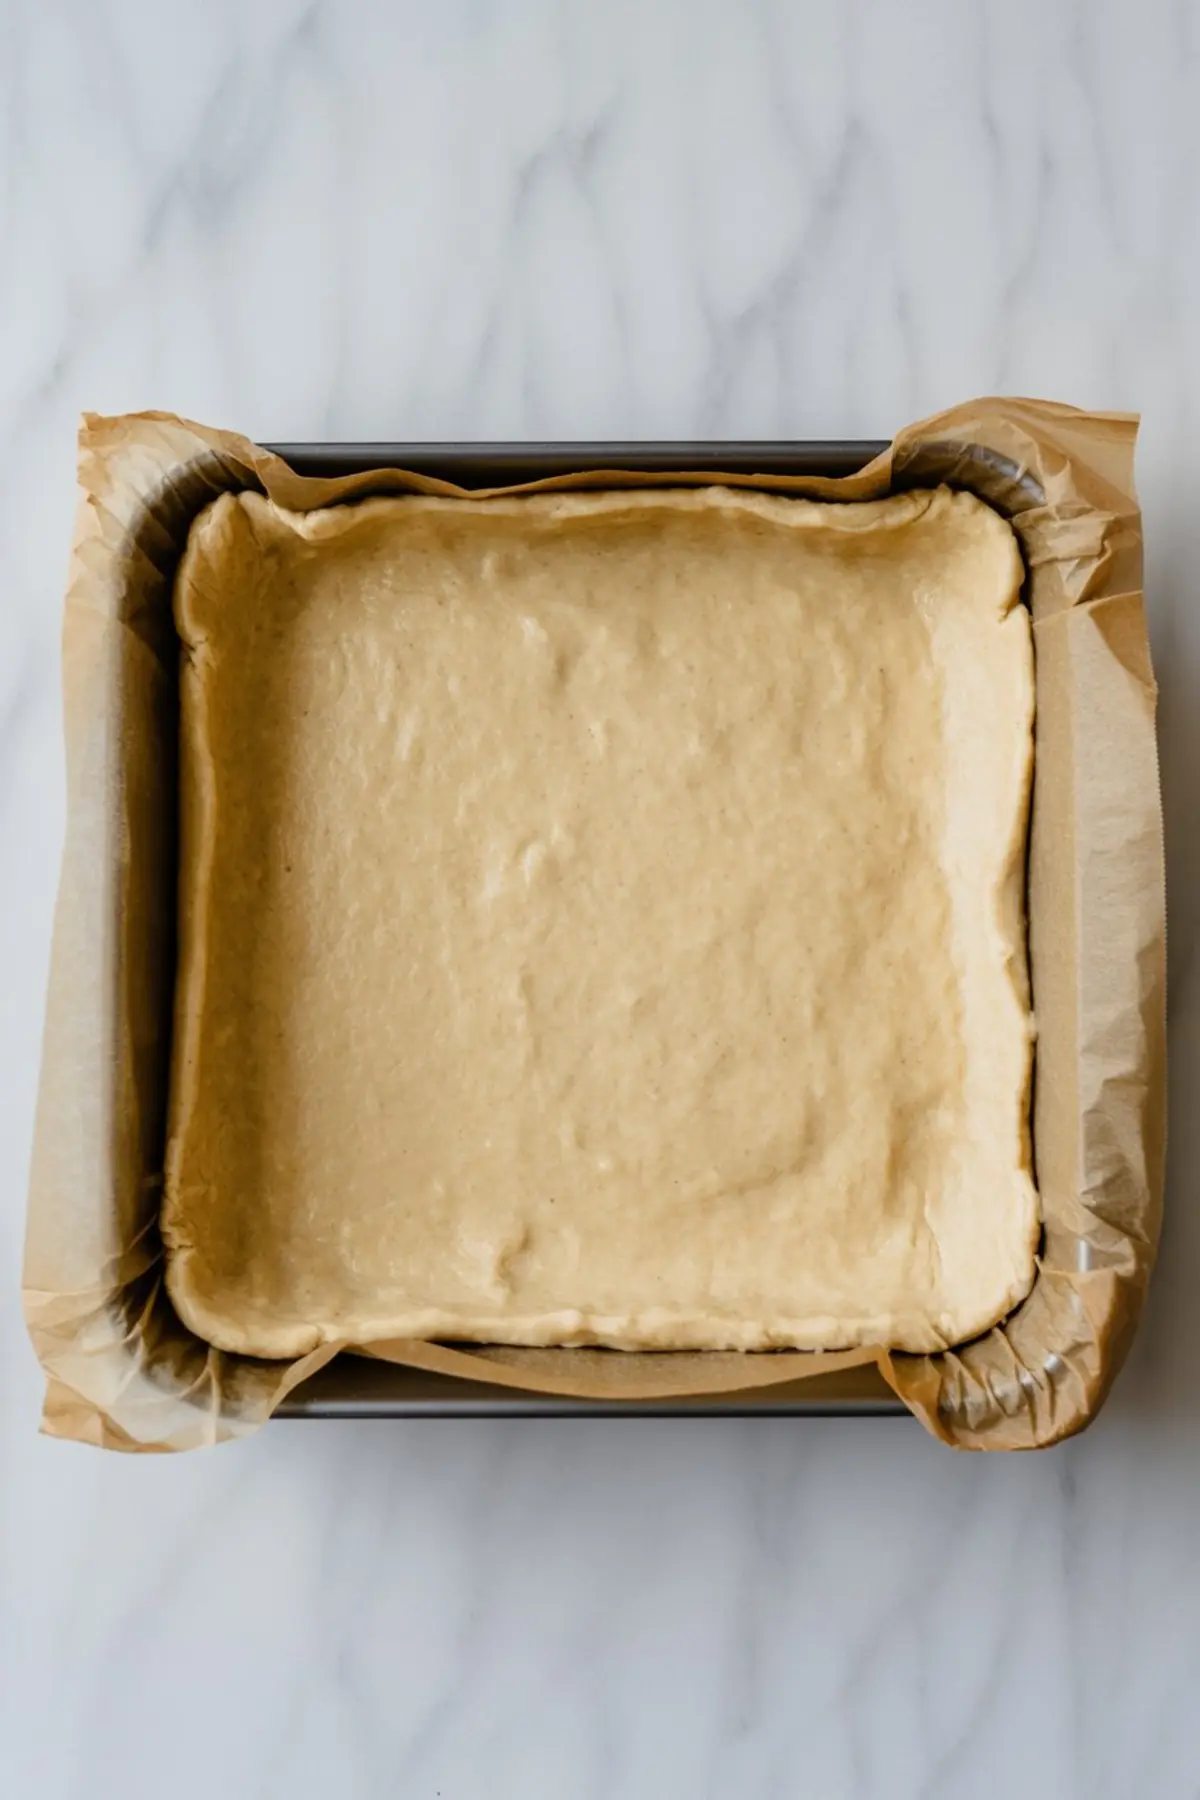
- PREPARE THE CRUST: Preheat the oven to 350°F (175°C) and line a 9x13-inch baking dish with parchment paper. In a large bowl, mix together the flour, granulated sugar, and salt. Cut in the cold butter using a pastry cutter or your fingertips until the mixture forms coarse crumbs. Press the mixture firmly and evenly into the bottom of the prepared pan. Bake for 15–18 minutes, until the edges are lightly golden.
- MIX THE APPLE FILLING: While the crust bakes, combine the sliced apples with granulated sugar, brown sugar, flour, cinnamon, nutmeg, and lemon juice in a large bowl. Stir gently until the apples are evenly coated. Set aside to allow the mixture to begin releasing juices.
- MAKE THE CRUMB TOPPING: In a separate bowl, stir together the flour, brown sugar, cinnamon, and salt. Add the cold cubed butter and use your fingers or a pastry cutter to work it into the dry ingredients until large, crumbly pieces form. Do not overmix; visible clumps are ideal for texture.
- ASSEMBLE THE BARS: After the crust has baked, remove it from the oven and evenly distribute the apple filling over the warm crust. Do not press the apples down. Sprinkle the crumb topping generously over the apple layer, allowing some clumps to remain intact.
- BAKE: Return the pan to the oven and bake for 40–45 minutes, or until the top is golden brown and the apples are soft when tested with a knife. The edges should appear set, and the center should no longer look wet.
- MAKE THE MAPLE GLAZE: While the bars bake, combine the maple syrup and butter in a small saucepan over medium heat. Stir occasionally until the butter is melted and the mixture is warm. Remove from heat and whisk in the powdered sugar and vanilla extract until smooth. Set aside to cool slightly.
- COOL AND FINISH: Let the bars cool in the pan for at least 30 minutes. Once cooled, drizzle the maple glaze evenly over the surface. If using walnuts, sprinkle them on immediately after glazing so they adhere to the top.
Notes
Bars can be stored at room temperature for up to 2 days or refrigerated for up to 5 days. For cleaner cuts, chill before slicing. Glaze just before serving for best texture.
Nutrition Information
Yield
16Serving Size
1Amount Per Serving Calories 341Total Fat 13gSaturated Fat 5gTrans Fat 0gUnsaturated Fat 6gCholesterol 21mgSodium 78mgCarbohydrates 56gFiber 3gSugar 33gProtein 4g