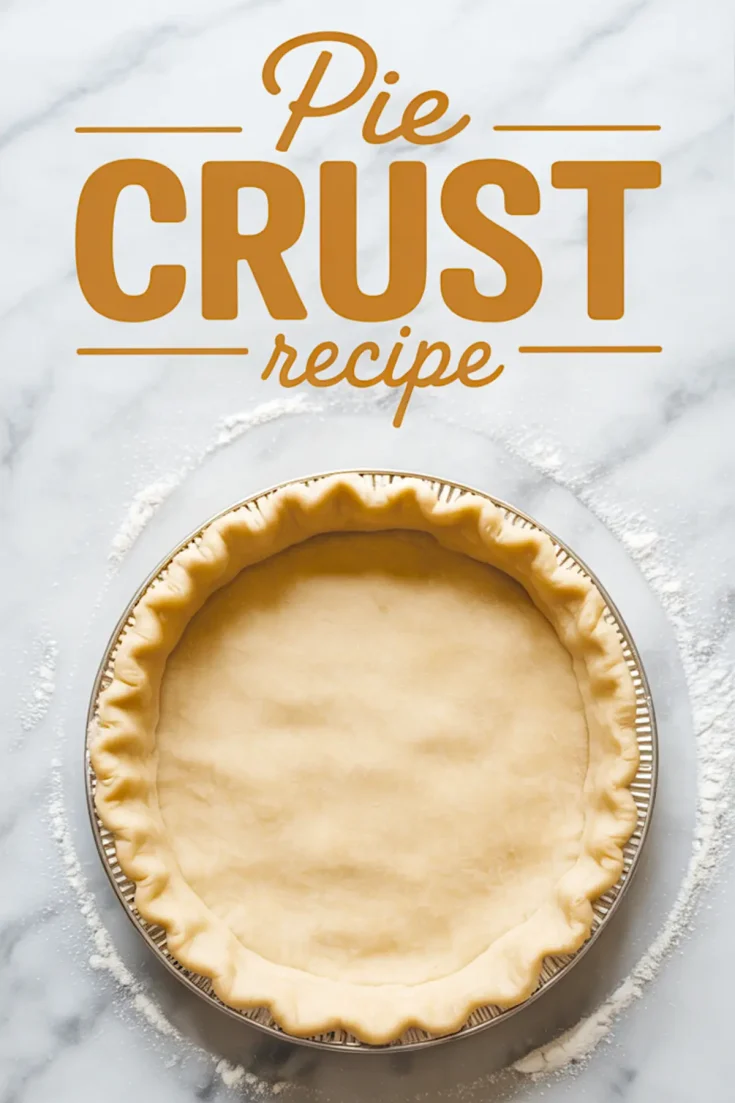
Make pie dough from scratch with confidence and ease using my foolproof baking guide.
There’s a kind of quiet power in mastering your own pie dough.
You’re not just mixing flour and butter—you’re setting the stage for every great pie you’ll ever make.
From apple slices layered into sugar and spice, to silky custards poured with care, everything depends on how that base behaves in your oven. This pie crust recipe is my foundation. I’ve tested, adjusted, scribbled notes, and returned to it for everything from fruit pies to quiches.
I wrote this for you if you’re tired of guessing. You’ll learn exactly how to make a buttery, flaky pie crust that fits both sweet and savory fillings—and why each ingredient and step matters.
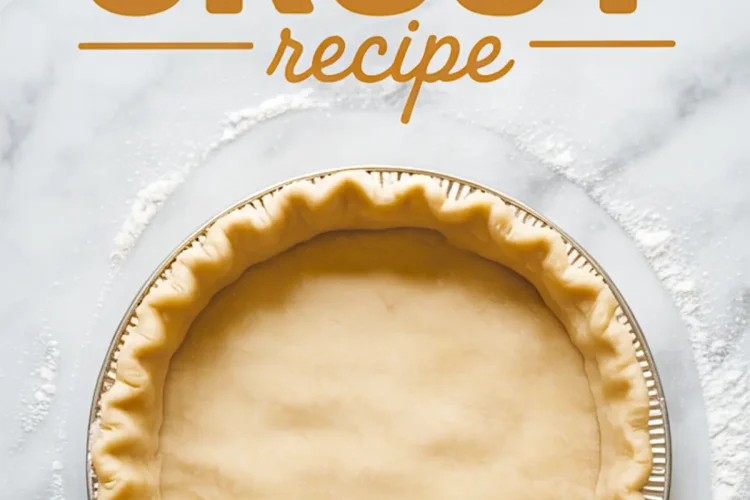
How to Make Homemade Pie Dough That Holds Its Shape and Delivers Flavor
Best Pie Crust Recipe for Beginners and Experienced Bakers
Start with flour, salt, and (if you’re baking something sweet) just a touch of sugar. It’s a small addition, but it balances a tart pie filling beautifully. For savory pies, I skip the sugar entirely. Either way, it gives structure without getting in the way of the butter’s flavor.
The butter is everything. I use unsalted, and I keep it cold—hard, straight-from-the-fridge cold. Cut into cubes, it presses into the flour without melting, forming those magic layers that flake apart once baked.
This is one of those places where experience taught me more than any cookbook. Margarine or shortening might give you softness, but you lose that deep, toasty edge that only real butter delivers. I’ve tried both. Butter wins every time.
If you’re planning a lemon pie or any citrus-forward pie, the butter’s richness will balance the brightness. For cream pie recipes or custards, it becomes a neutral yet flavorful base.
Working the Butter In: What Texture to Look For in Your Pie Crust Dough
Pie Dough Recipe That Works with Fork, Pastry Cutter, or Fingers

After mixing the dry ingredients, you add in the butter. I prefer using my hands—not just for nostalgia’s sake, but because it gives the best control. You’re aiming for coarse crumbs with a few pea-sized butter bits left.
Don’t overwork it. Those pockets of butter are what create lift in the oven. If everything looks smooth, it’s already gone too far.
Once the mixture looks sandy with tiny butter pieces visible, you’re ready for water. Ice-cold water, added one tablespoon at a time, brings it all together without melting the fat. I stop as soon as the dough holds when pinched—usually around six tablespoons.
A sticky dough will shrink. A dry dough will crack. This is one of those moments where practice does more than precision. So don’t rush it.
Chilling, Rolling, and Shaping Your Pie Dough Like a Pro
Easy Pie Recipes Begin With Properly Rested Dough
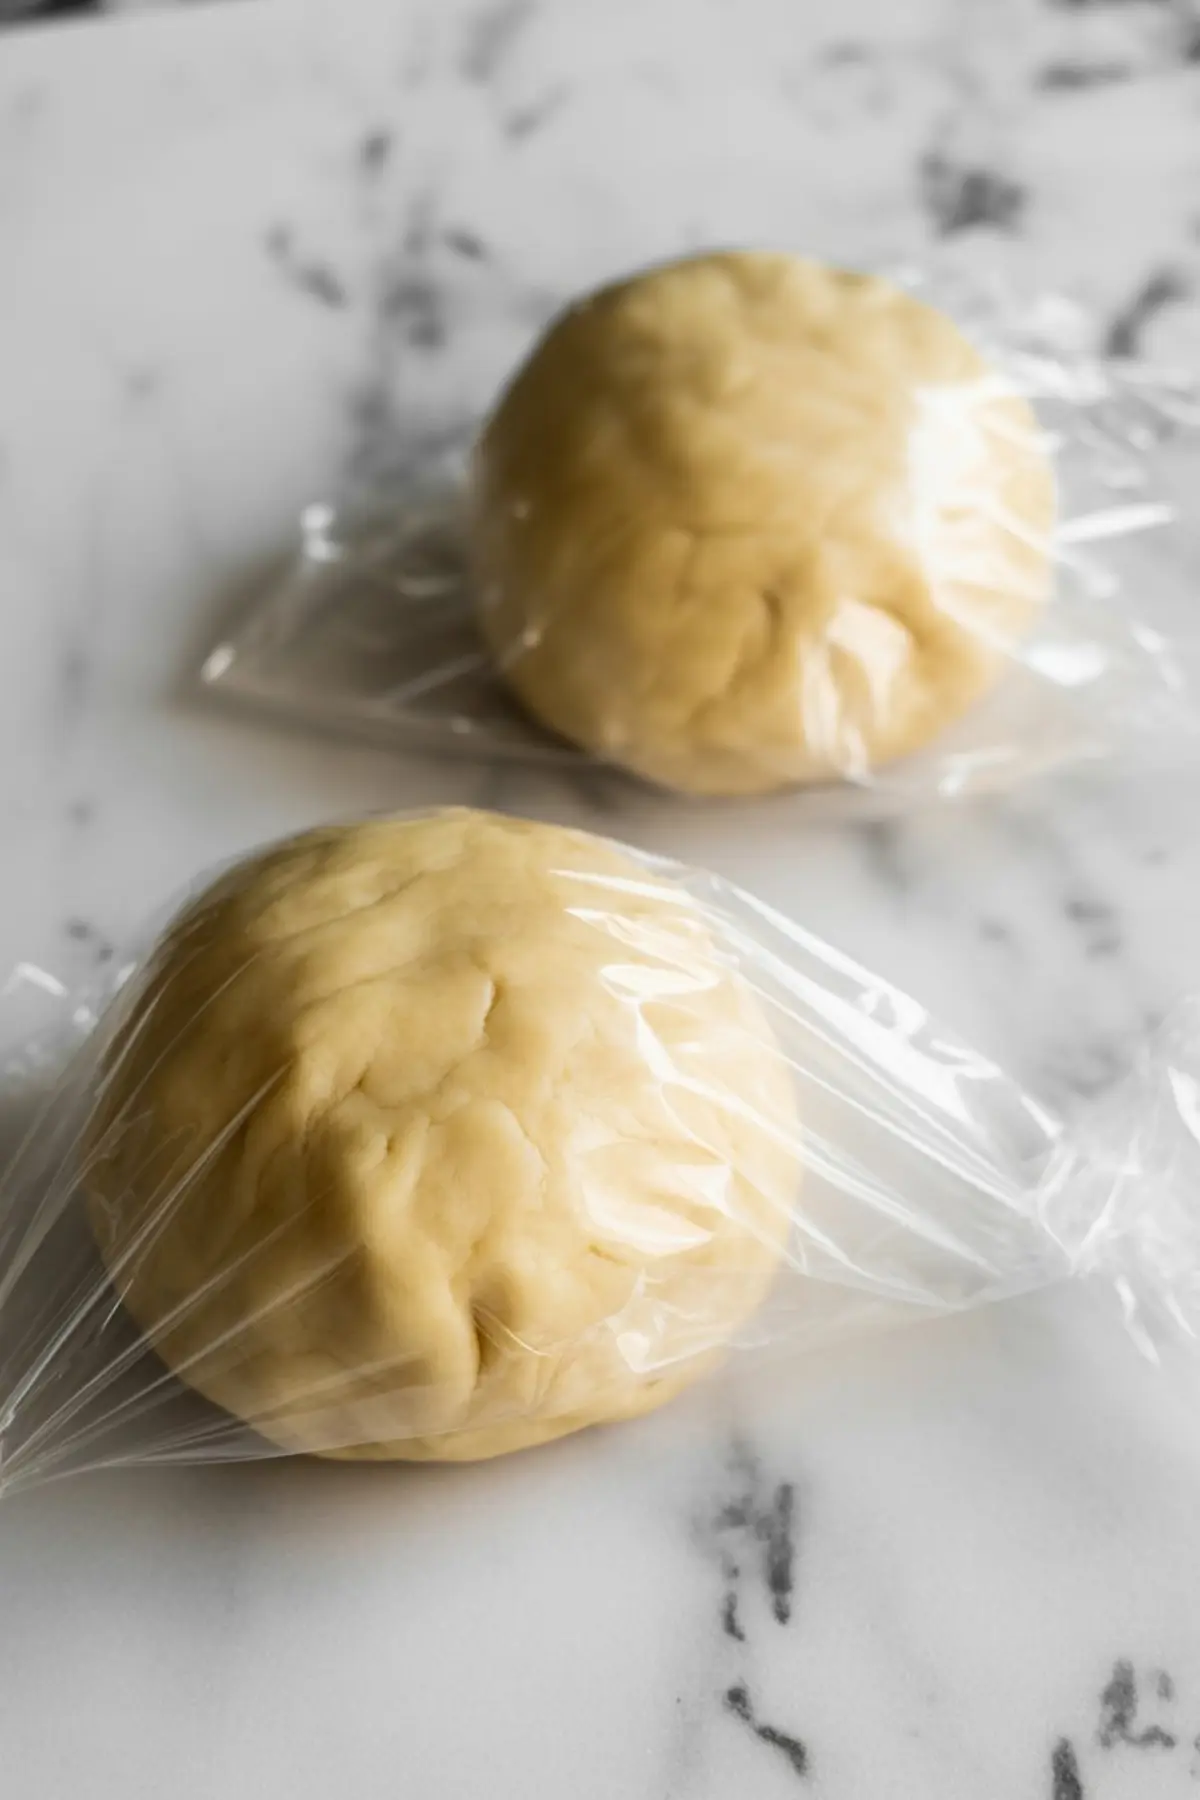
Split the dough in two and shape it into discs. Wrap each in plastic and rest it in the fridge for at least an hour. This relaxes the gluten and makes the rolling far easier. You’ll thank yourself later.
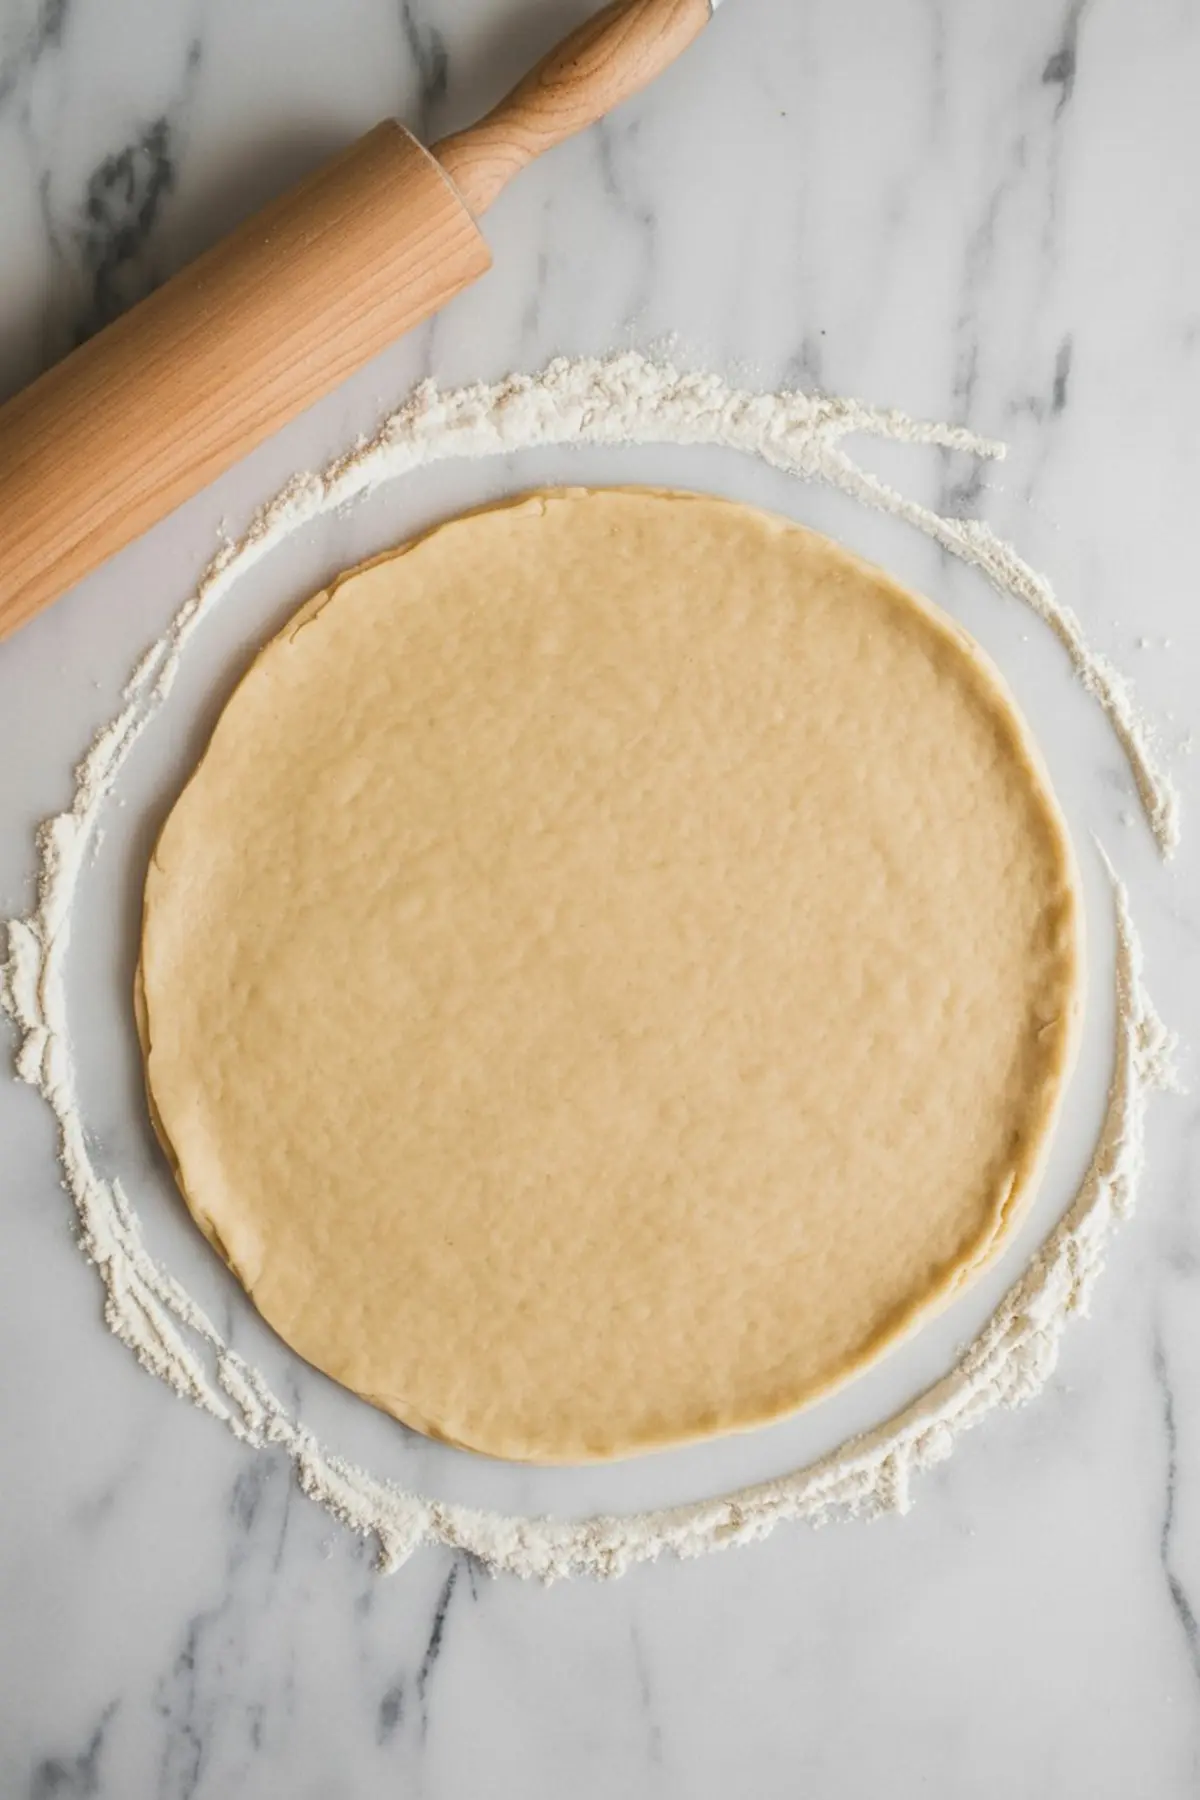
On a floured surface, take your time with the rolling pin. I go for about ⅛ inch thick and use a light touch. The goal is to roll out, not press down.
Drape it gently over your dish, letting it settle naturally. Never stretch. Stretched dough snaps back—and you’ll get shrinking during baking.
If you’re making something like cherry pie with juicy filling, this dough holds up without going soggy. That’s thanks to the butter and cold handling.
Edge Finishes and Why Crimping Isn’t Just for Looks
DIY Pie Crust Ideas That Add Personality and Structure
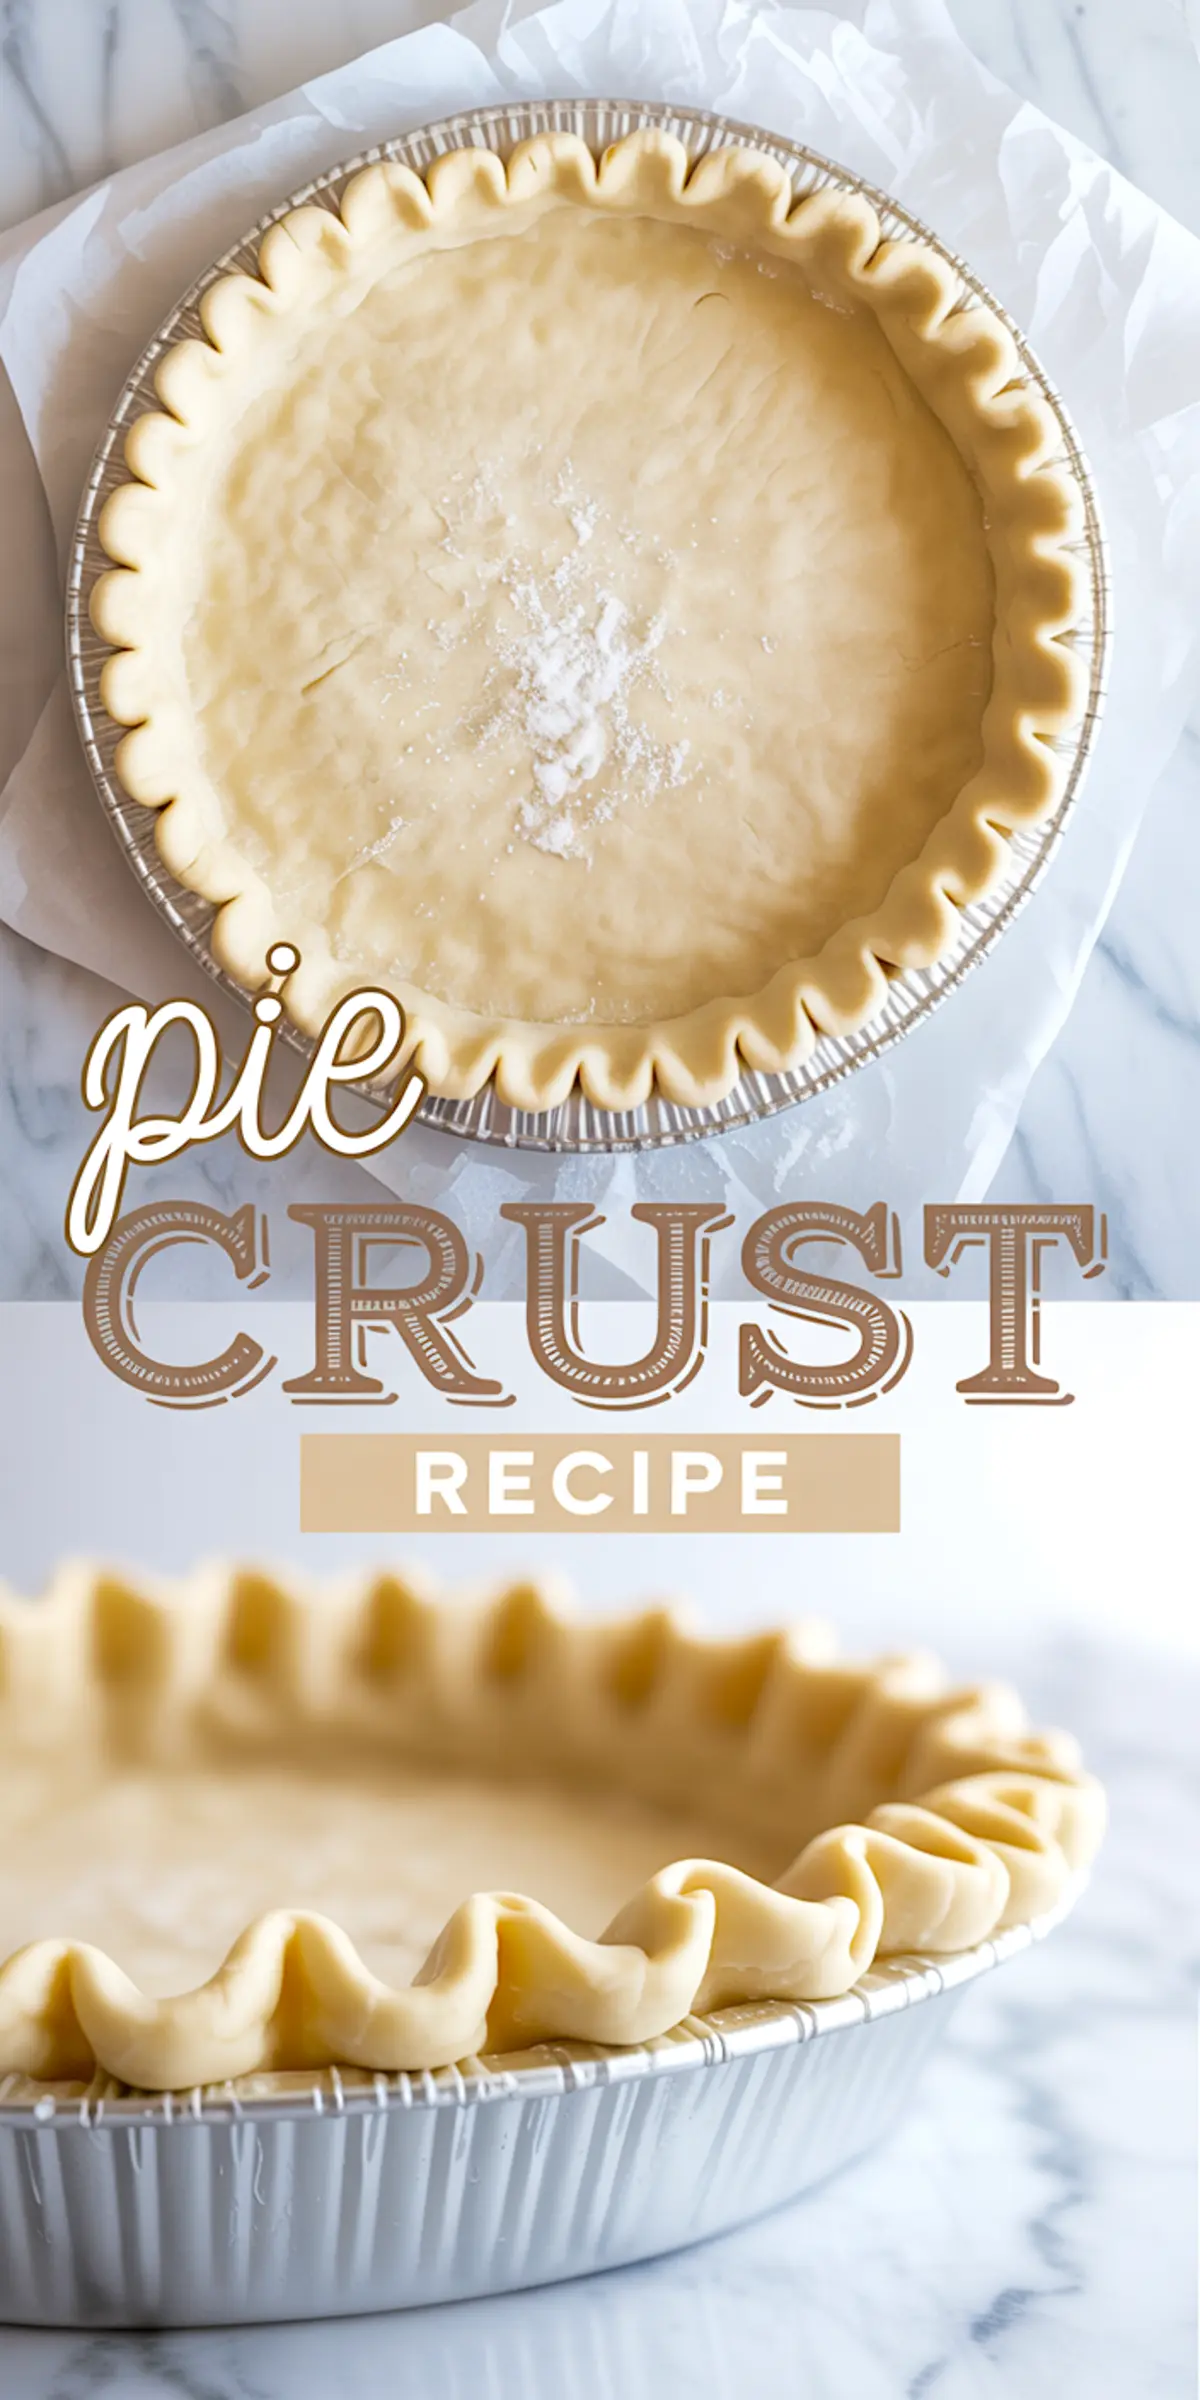
Once the dough is in the dish, trim it with clean kitchen scissors. I leave half an inch of overhang, fold it under, then press or pinch depending on the finish I want.
If I’m baking for guests, I use a fluted crimp with my fingers. For a rustic pie like sweet potato pie, I’ll just fork the edge.
Before it bakes, the crust goes back in the fridge for thirty minutes. That small step changes everything. It helps the shape stay true and keeps your edges from collapsing.
Baking Notes: Blind Baking, Pie Fillings, and How to Store Dough
From Fruit to Cream Pies, This Crust Covers It All
You can bake this crust fully, partially, or not at all depending on the pie. For blind baking, poke a few holes with a fork, use parchment and weights, and bake until light gold.
Fruit pies like strawberry pie or coconut cream pie often start with raw dough. Custard and cream pies usually need a fully baked shell.
For storage, wrap extra dough discs tightly and freeze up to two months. Thaw overnight in the fridge before rolling.
If you’re using this base for Pie Crust Desserts like hand pies or galettes, let it soften slightly before working—it makes folding easier.
Serving and Storing Homemade Pies with This Crust
How to Get the Best Slices and Keep Leftovers Crisp
Once baked and filled, let the pie cool completely before slicing. This helps the filling set and gives you clean edges.
For pies with whipped toppings or delicate fillings, chill before serving. Wrap leftovers in foil and store in the fridge. To re-crisp the bottom, place a slice in a low oven for a few minutes.
This crust doesn’t go soggy as fast as store-bought dough. I’ve left slices of fruit pies overnight, and the bottom stayed firm enough to lift with one hand.
Pie Crust Comparison: Butter vs. Shortening and Why I Choose Butter
I’ve baked this pie dough using both butter and shortening. Butter gives flavor, structure, and that golden color that makes pies beautiful. Shortening offers softness and flexibility, especially in high-heat kitchens.
But the flavor doesn’t compare.
In my notes, every time I use butter, guests comment on the crust. When I use shortening, they comment on the filling. That’s enough for me to stick with butter.
Save This Classic Pie Dough for Your Next Bake
Pin it now and let me know how it worked for you
This is the kind of recipe I keep taped to the inside of my pantry door. It’s the one I trust for family holidays, summer tarts, and weeknight pies.
If you’ve baked your own version, I’d love to hear how it went. Leave a comment with your favorite pie filling or any questions that came up while you worked the dough.
Save this on Pinterest so you’ll have it on hand next time your fridge is full of butter and berries.
Pie Crust Recipe
This homemade pie crust recipe creates a buttery, flaky base that works well for sweet and savory pies. The dough is simple to prepare, and shaping can be done with just your hands or a fork. Follow these clear steps for reliable, delicious results every time.
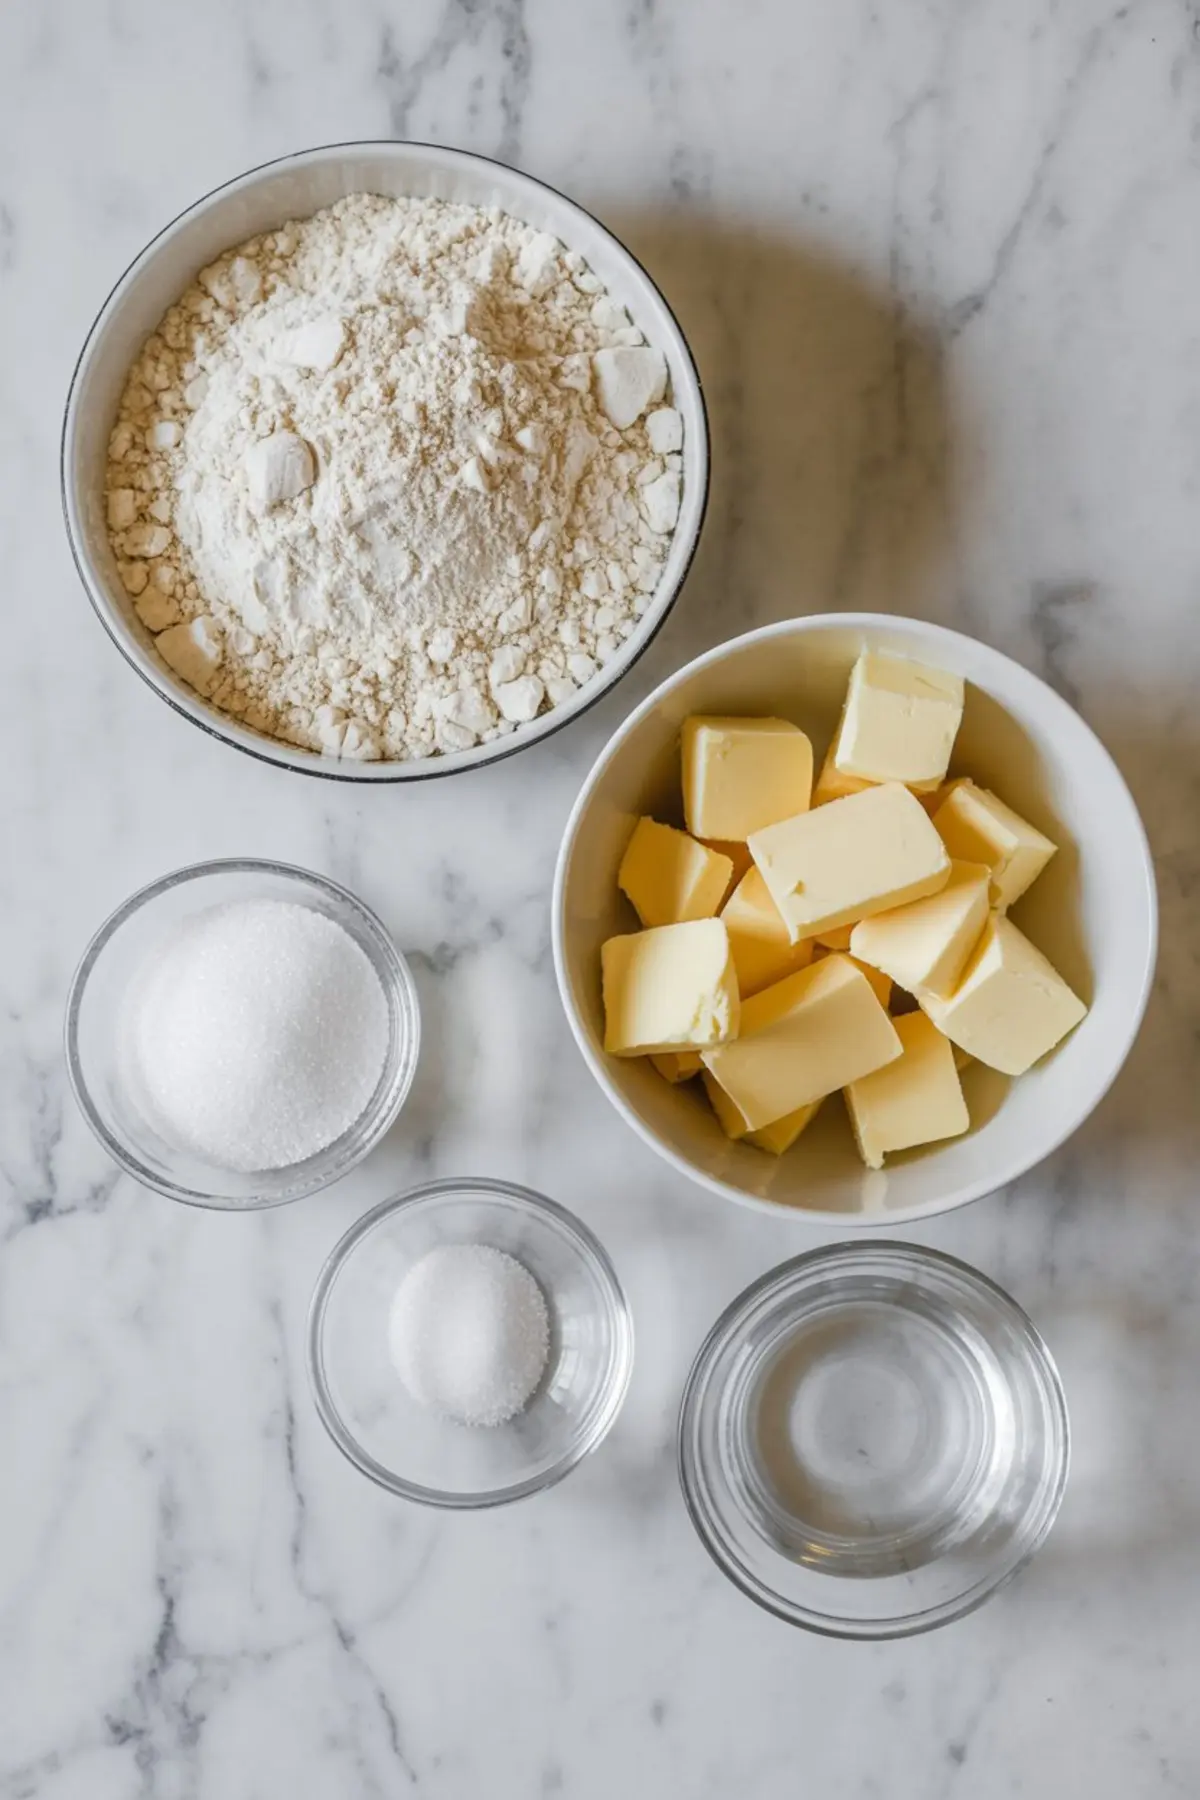
Ingredients
- 2 ½ cups (312g) all-purpose flour
- 1 teaspoon salt
- 1 tablespoon granulated sugar (optional, for sweet pies)
- 1 cup (226g) unsalted butter, very cold and cut into cubes
- 6–8 tablespoons ice water
Instructions
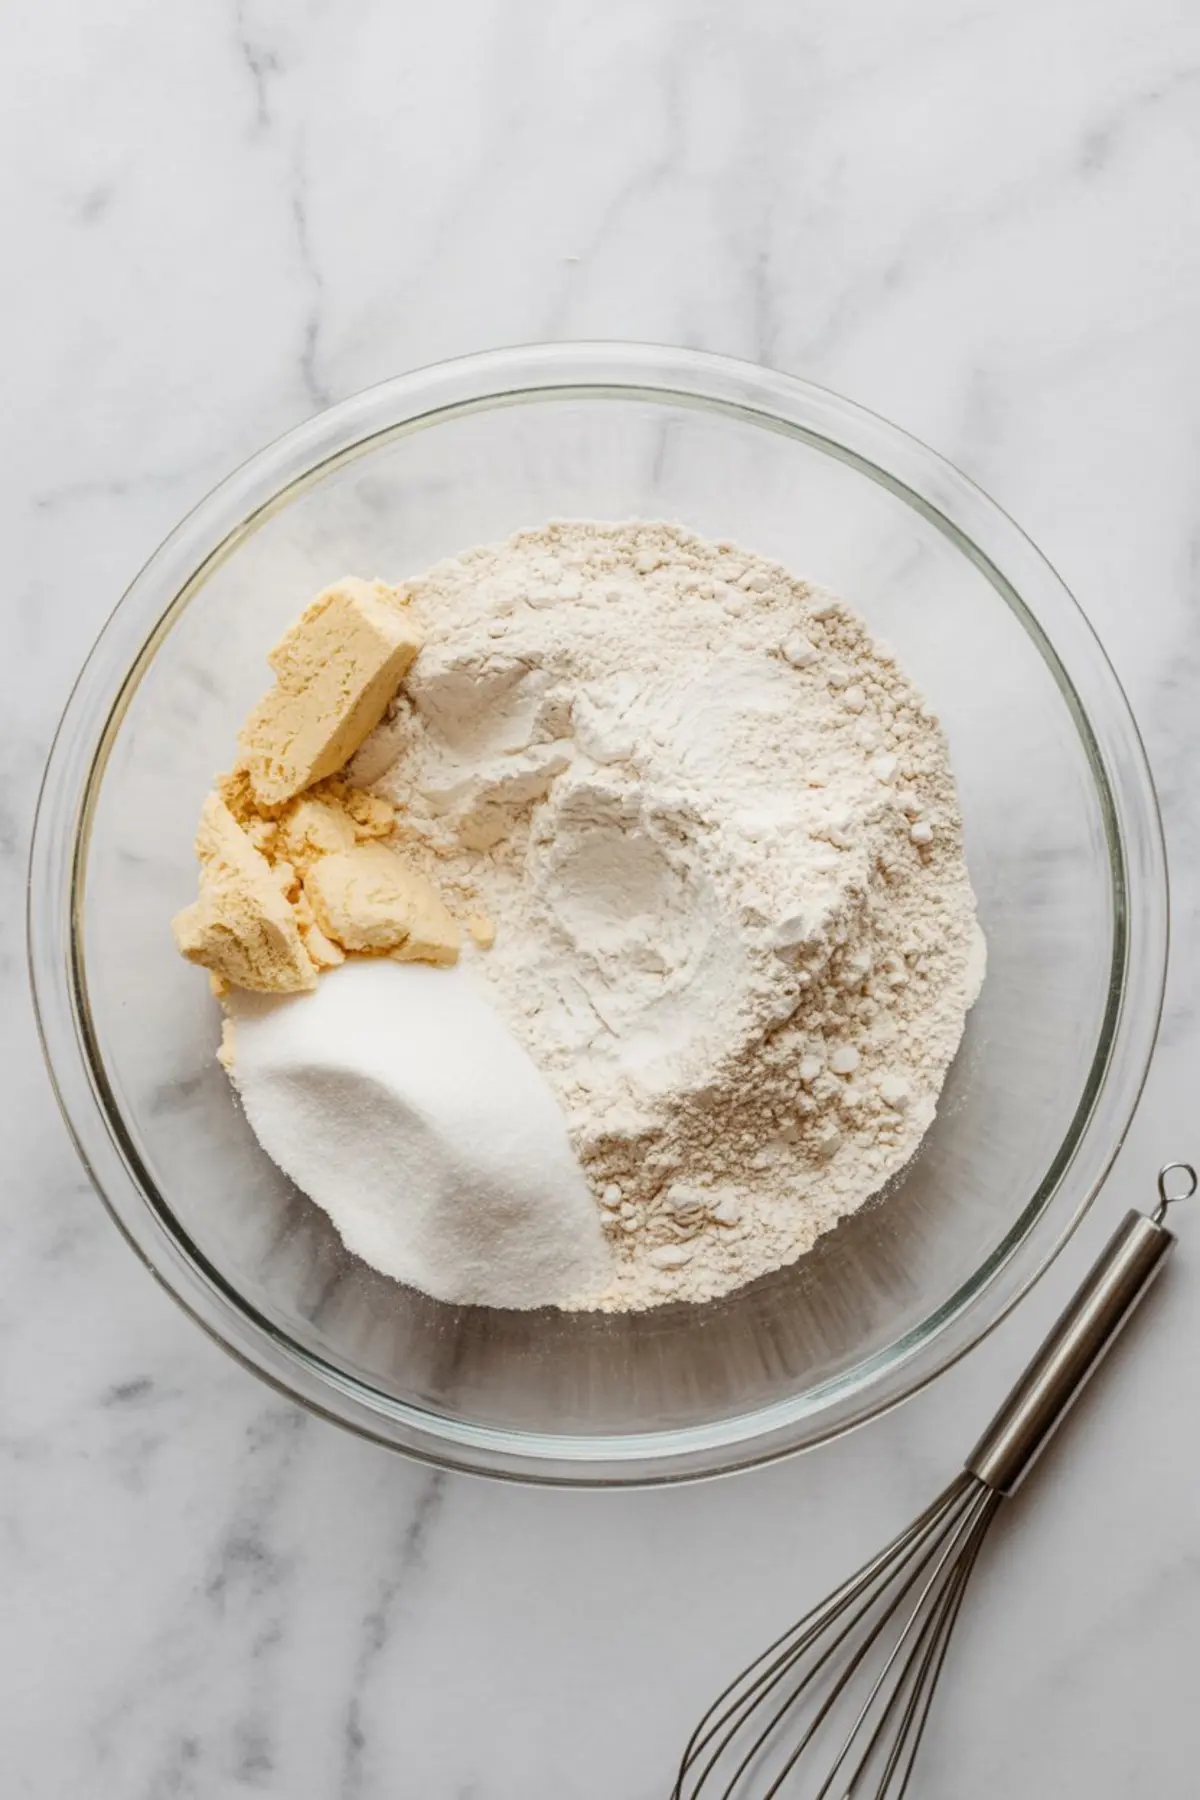
- PREPARE DRY INGREDIENTS: In a large bowl, whisk together the all-purpose flour, salt, and granulated sugar (if using) until evenly combined.
- CUT IN THE BUTTER: Add the cold butter cubes to the flour mixture. Use a pastry cutter, fork, or your fingertips to work the butter in until the texture resembles coarse crumbs with some pea-sized bits remaining.
- ADD ICE WATER: Drizzle in the ice water, one tablespoon at a time. Stir gently with a fork after each addition. Stop when the dough begins to clump together and holds when pinched between your fingers. You may not need all 8 tablespoons.
- FORM THE DOUGH: Gather the dough into one mass and divide it into two equal portions. Shape each into a flat disc, wrap tightly in plastic wrap, and refrigerate for at least 1 hour or up to 3 days.
- ROLL AND SHAPE: Lightly flour your work surface and rolling pin. Roll one chilled disc into a 12-inch circle, approximately ⅛ inch thick. Transfer the rolled dough to your pie dish, gently pressing it into the bottom and sides without stretching.
- TRIM AND CRIMP THE EDGES: Trim the excess dough, leaving about a ½-inch overhang. Fold the overhang under itself to create a thicker edge. For a fluted edge, pinch the dough between your index finger and thumb. For a simpler finish, press the dough against the dish rim with the back of a fork.
- CHILL AGAIN: Place the prepared crust in the refrigerator for 30 minutes before baking. This step helps prevent the crust from shrinking in the oven.
- BAKE AS NEEDED: Follow your specific pie recipe. For blind baking, prick the base of the crust with a fork, line it with parchment paper, and fill it with pie weights or dried beans. Bake in a preheated oven at 375°F (190°C) for 15–20 minutes or until lightly golden.
Notes
Use this crust for fruit pies, tarts, quiches, or savory fillings. Dough can be frozen for up to 2 months if wrapped tightly.
Nutrition Information
Yield
2Serving Size
1Amount Per Serving Calories 644Total Fat 7gSaturated Fat 4gTrans Fat 0gUnsaturated Fat 2gCholesterol 15mgSodium 1126mgCarbohydrates 126gFiber 4gSugar 7gProtein 16g