There’s a confidence that comes from knowing your process works. This Pistachio Mousse Tart recipe has earned its place in my kitchen because it delivers consistent results every time. You will create crisp cocoa tart shells, smooth dark chocolate ganache, and light pistachio mousse that holds beautifully without feeling heavy.
I have worked through the adjustments so you do not have to second-guess anything. You will leave with a dessert that looks sophisticated but remains achievable even if you are baking for guests or preparing ahead.
Following a special diet?
Every recipe on this site can be converted to gluten-free, vegan, dairy-free, keto, nut-free or egg-free with adjusted ratios so nothing falls flat.
Try the Recipe Converter →Building the Cocoa Tart Shell for Strength and Flavor
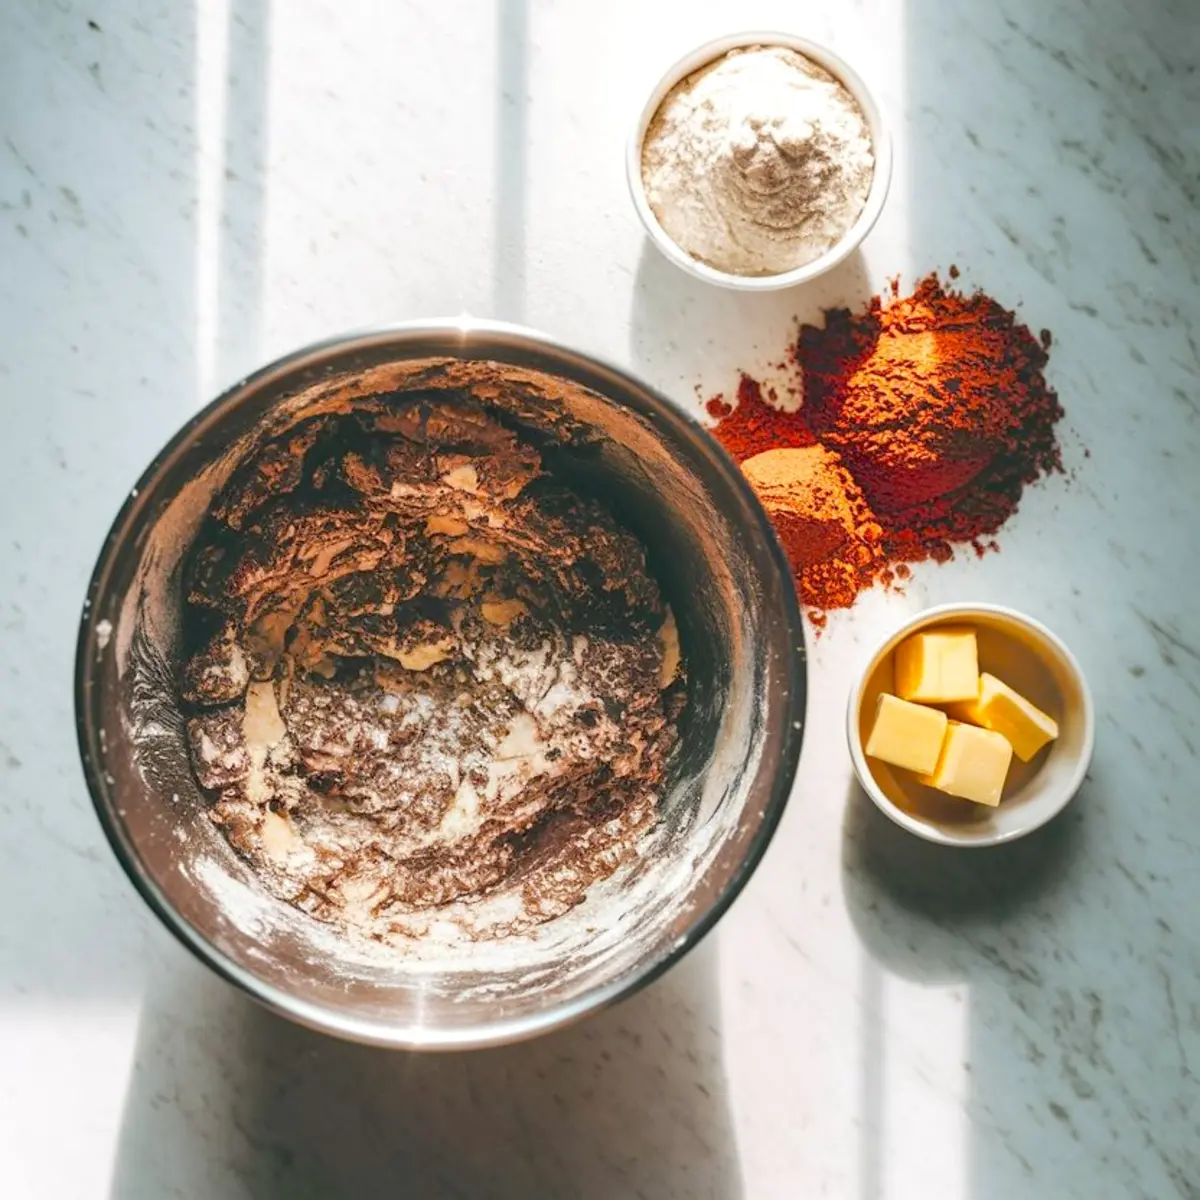
The base determines much of the tart’s success. I always start with Dutch-process cocoa. It gives the shell a deeper chocolate flavor that holds its own against the pistachio mousse. The flour, cocoa, powdered sugar, and salt combine first. Cold butter gets worked in with my fingertips until it reaches a crumbly texture.
The egg yolk follows, and then cold water is added slowly. You want just enough water for the dough to come together without becoming sticky. Overmixing at this stage toughens the shell, so I stop as soon as it holds shape. I flatten the dough into a disc and chill it thoroughly. That step stabilizes the butter, preventing shrinking during baking.
Shaping, Freezing, and Baking the Tart Shells
The chilled dough rolls easily to about one eighth of an inch. I cut circles to fit mini tart pans, gently pressing each into place. Docking the bottoms with a fork allows steam to escape while baking.
I always freeze the prepared shells for ten minutes before they go into the oven. That brief freeze keeps the structure sharp. They bake at 350°F until set, which usually takes about twelve minutes. Once cooled fully in their pans, the shells hold their shape and stay crisp.
Creating the Ganache Layer for Smooth Contrast
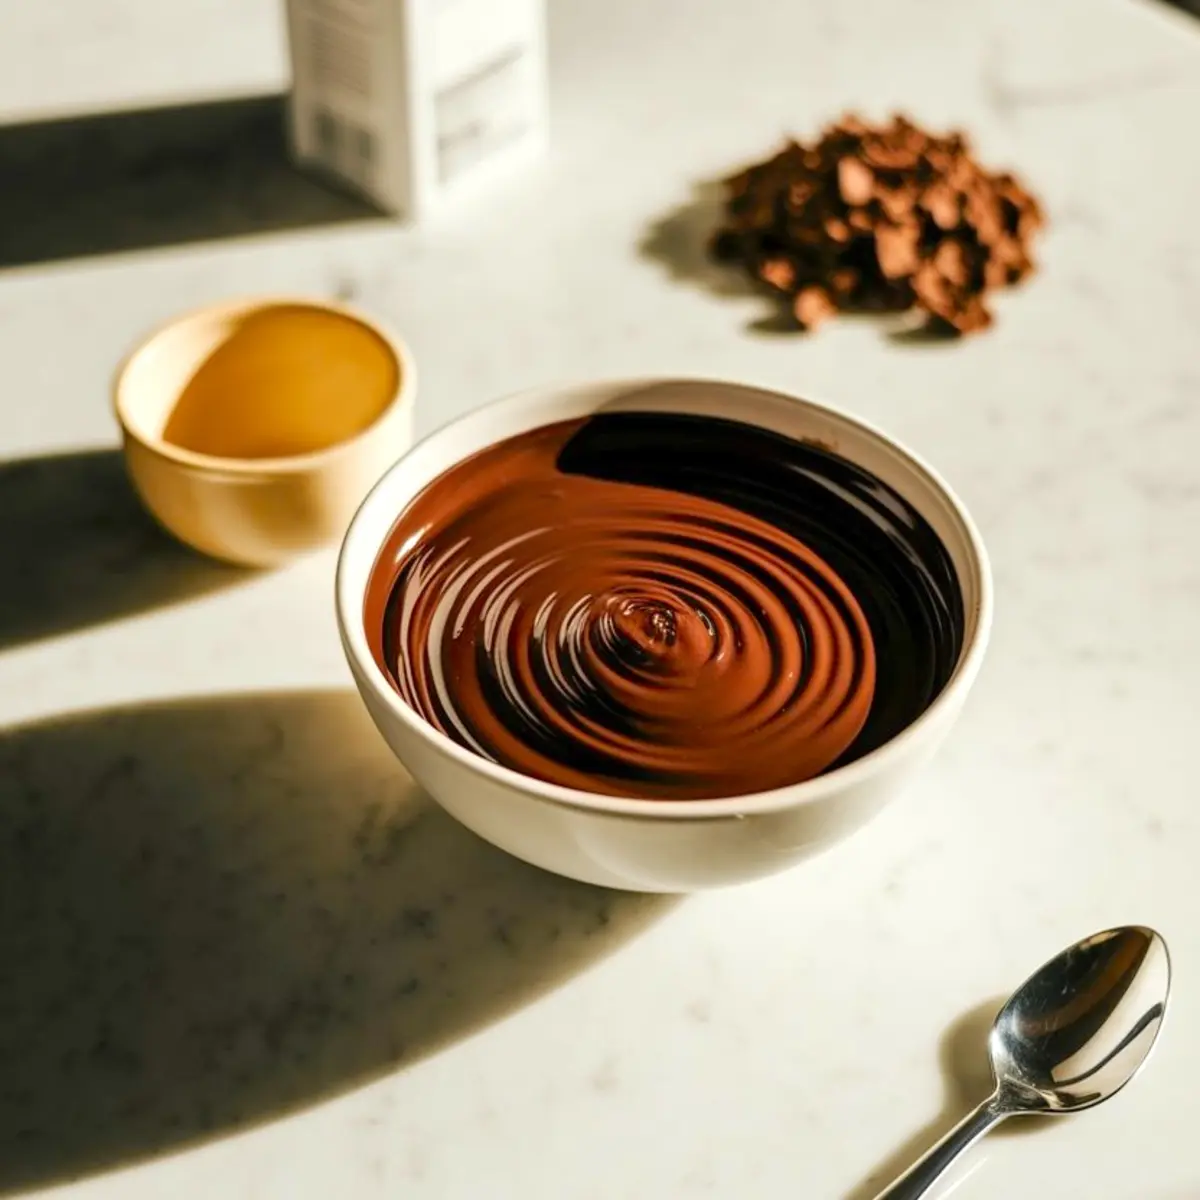
The ganache provides that smooth, rich middle layer. I always select dark chocolate between seventy and seventy five percent cocoa. That range supports the pistachio flavor without overwhelming it.
The heavy cream gets heated until it barely simmers. I pour it over the chopped chocolate and let it rest for a minute before stirring in the butter. This simple method creates a glossy, even ganache. I spoon it gently into the cooled tart shells, then refrigerate them so the ganache can set.
I use a similar ganache method in my Pistachio Chocolate Sandwich Cookies, where the ganache works as a filling between crisp cocoa cookies.
Pistachio Paste: Pure vs Sweetened
Through my tests, I have worked with both pure pistachio paste and sweetened versions. Pure paste made from nothing but pistachios always delivers the cleanest nut flavor. The sweetened paste dulls that natural richness. For these tarts, I always return to the pure pistachio paste. The mousse keeps its balance while allowing the pistachio to shine.
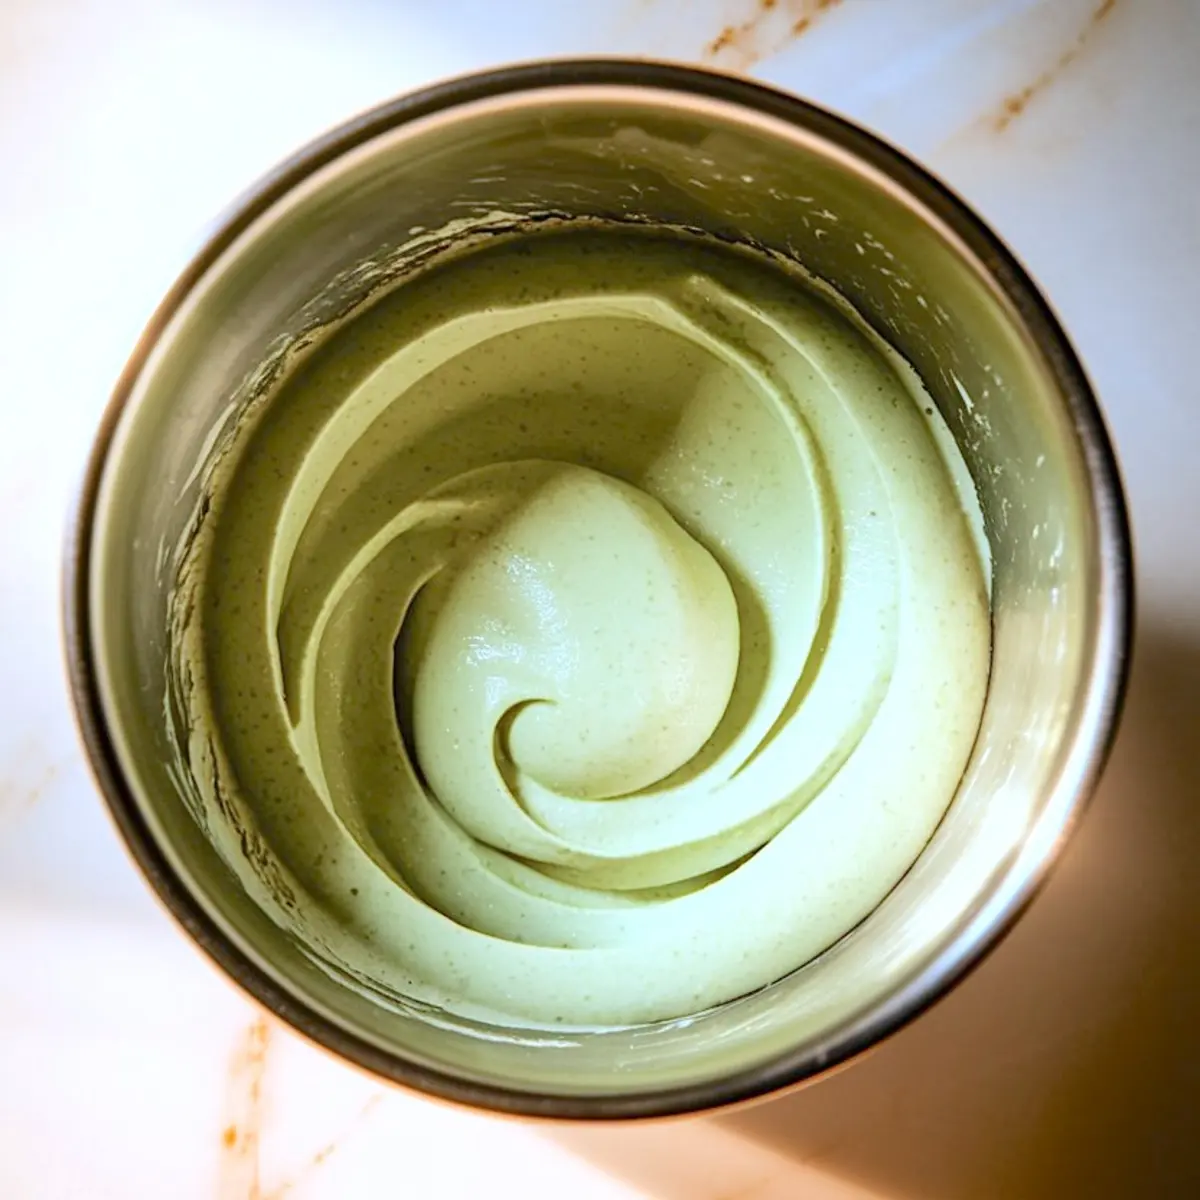
Whipping the Pistachio Mousse for the Topping
The mousse demands gentle technique. I bloom powdered gelatin in warm milk to give it structure. Cold heavy cream gets whipped with powdered sugar just until soft peaks form. This stage requires attention because overwhipping leads to a dense mousse.
In a separate bowl, I stir the pistachio paste and vanilla extract together. Once the gelatin mixture cools, it blends into the pistachio base. A small drop of green gel coloring gives the mousse that fresh, natural hue.
Finally, I fold in the whipped cream slowly with a spatula. Patience during this step keeps the mousse light. The finished mousse chills briefly to firm up before piping.
Piping, Assembling, and Chilling the Tarts
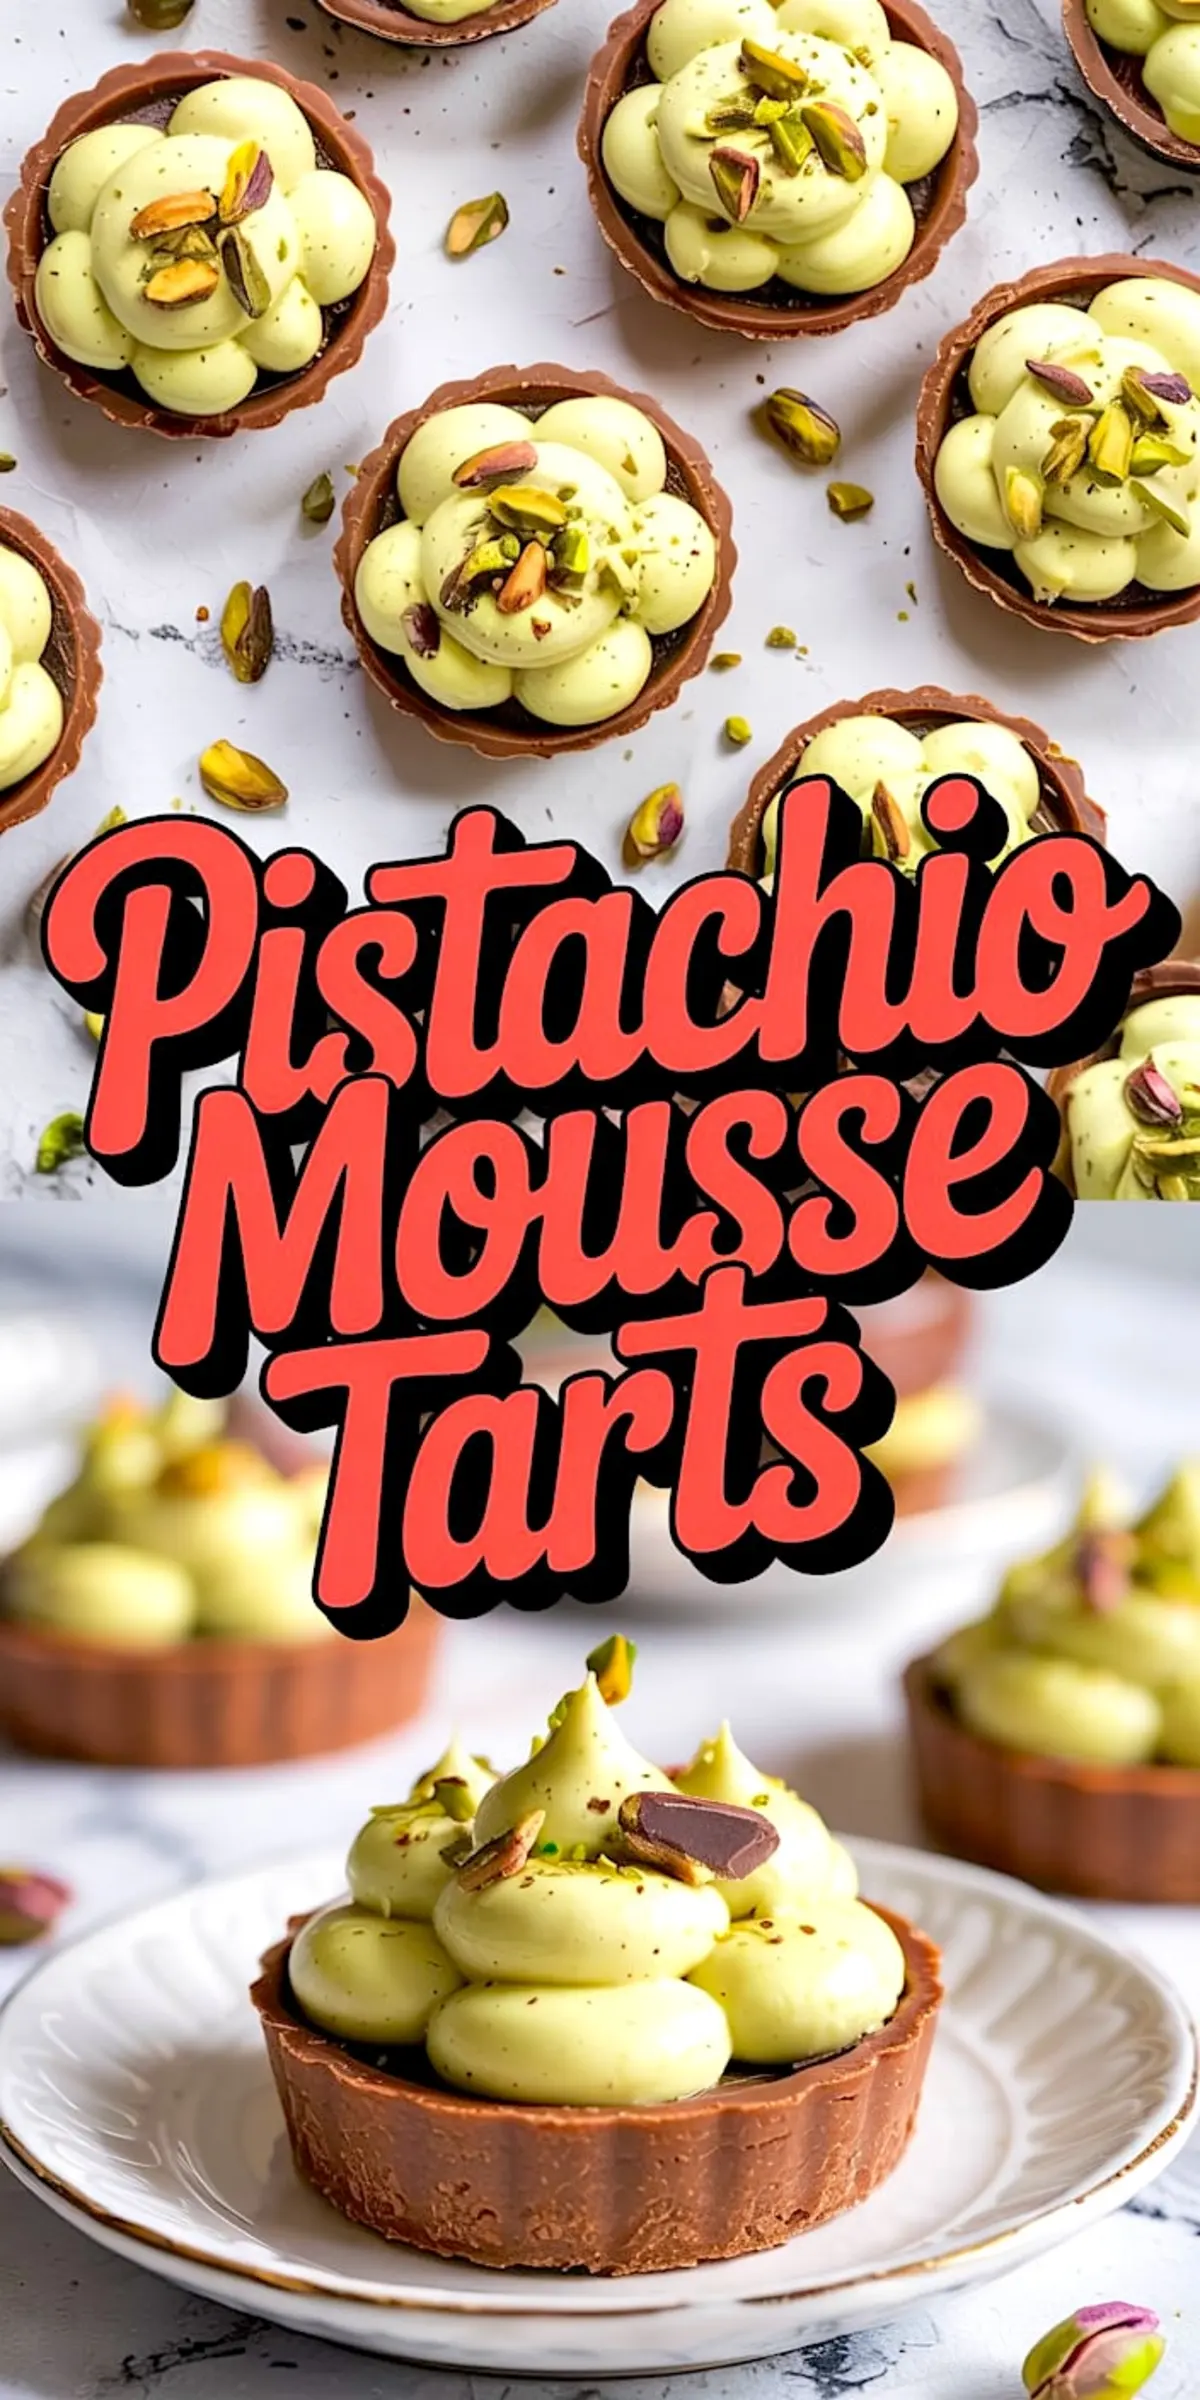
Using a piping bag fitted with a round tip, I pipe generous domes of mousse onto the chilled ganache. The clean shape highlights the smoothness of the mousse. After piping, I let the assembled tarts chill for at least thirty minutes. This rest allows the mousse to stabilize fully.
A very similar mousse technique appears in my Pistachio Chocolate Choux Buns, where the cream gets enclosed inside airy pastry shells.
Garnishing for Texture and Visual Appeal
Right before serving, I top each tart with crushed roasted pistachios. The crunch adds needed contrast to the soft mousse. Small dark chocolate chunks bring bitter notes that keep the sweetness balanced. White chocolate shavings add a visual pop. Occasionally, I finish with edible gold leaf if the occasion calls for extra polish.
The same balance of crunch and cream makes my Pistachio Chocolate Swirl Cake Squares one of my favorite variations when I want a tray bake instead of individual tarts.
Serving and Storing These Tarts
These mini tarts work beautifully for gatherings. Guests appreciate their individual portions, which eliminate the need for slicing. I often make them one day ahead and store them in the refrigerator. The shells stay crisp and the mousse holds its texture.
For longer storage, I cover them loosely to avoid moisture buildup. The structure holds well for up to two days when properly stored.
More Chocolate Pistachio Combinations to Explore
This flavor pairing remains one of my favorites. If you want to expand your skills, try my Pistachio Chocolate Croissants for a laminated dough challenge.
For advanced pastry work, my Pistachio Chocolate Éclairs offer another beautiful take on the same flavors.
If you prefer smaller confections, my Pistachio Chocolate Truffles let you work with ganache in a slightly different way.
Join Me in the Kitchen
I hope you save these Pistachio Mousse Tarts to your Pinterest board so you can revisit them anytime. Feel free to share your results in the comments or ask questions if you run into any step that needs more clarity. I always enjoy hearing how my recipes work in your kitchens.
Pistachio Mousse Tarts
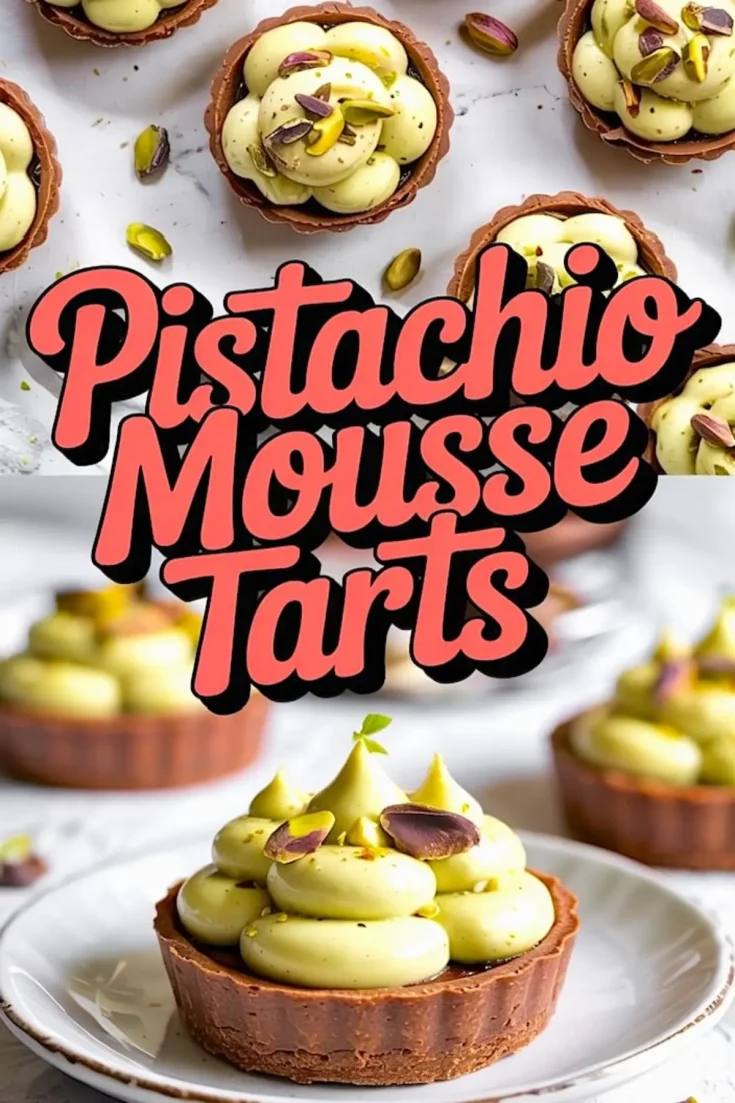
These dark chocolate pistachio mousse tarts combine a crisp cocoa tart shell, a silky dark chocolate ganache layer, and a creamy pistachio mousse topping. The mousse is lightly tinted green for a fresh, clean look that highlights its nutty flavor. Each tart is elegant yet simple to prepare with careful layering and chilling.
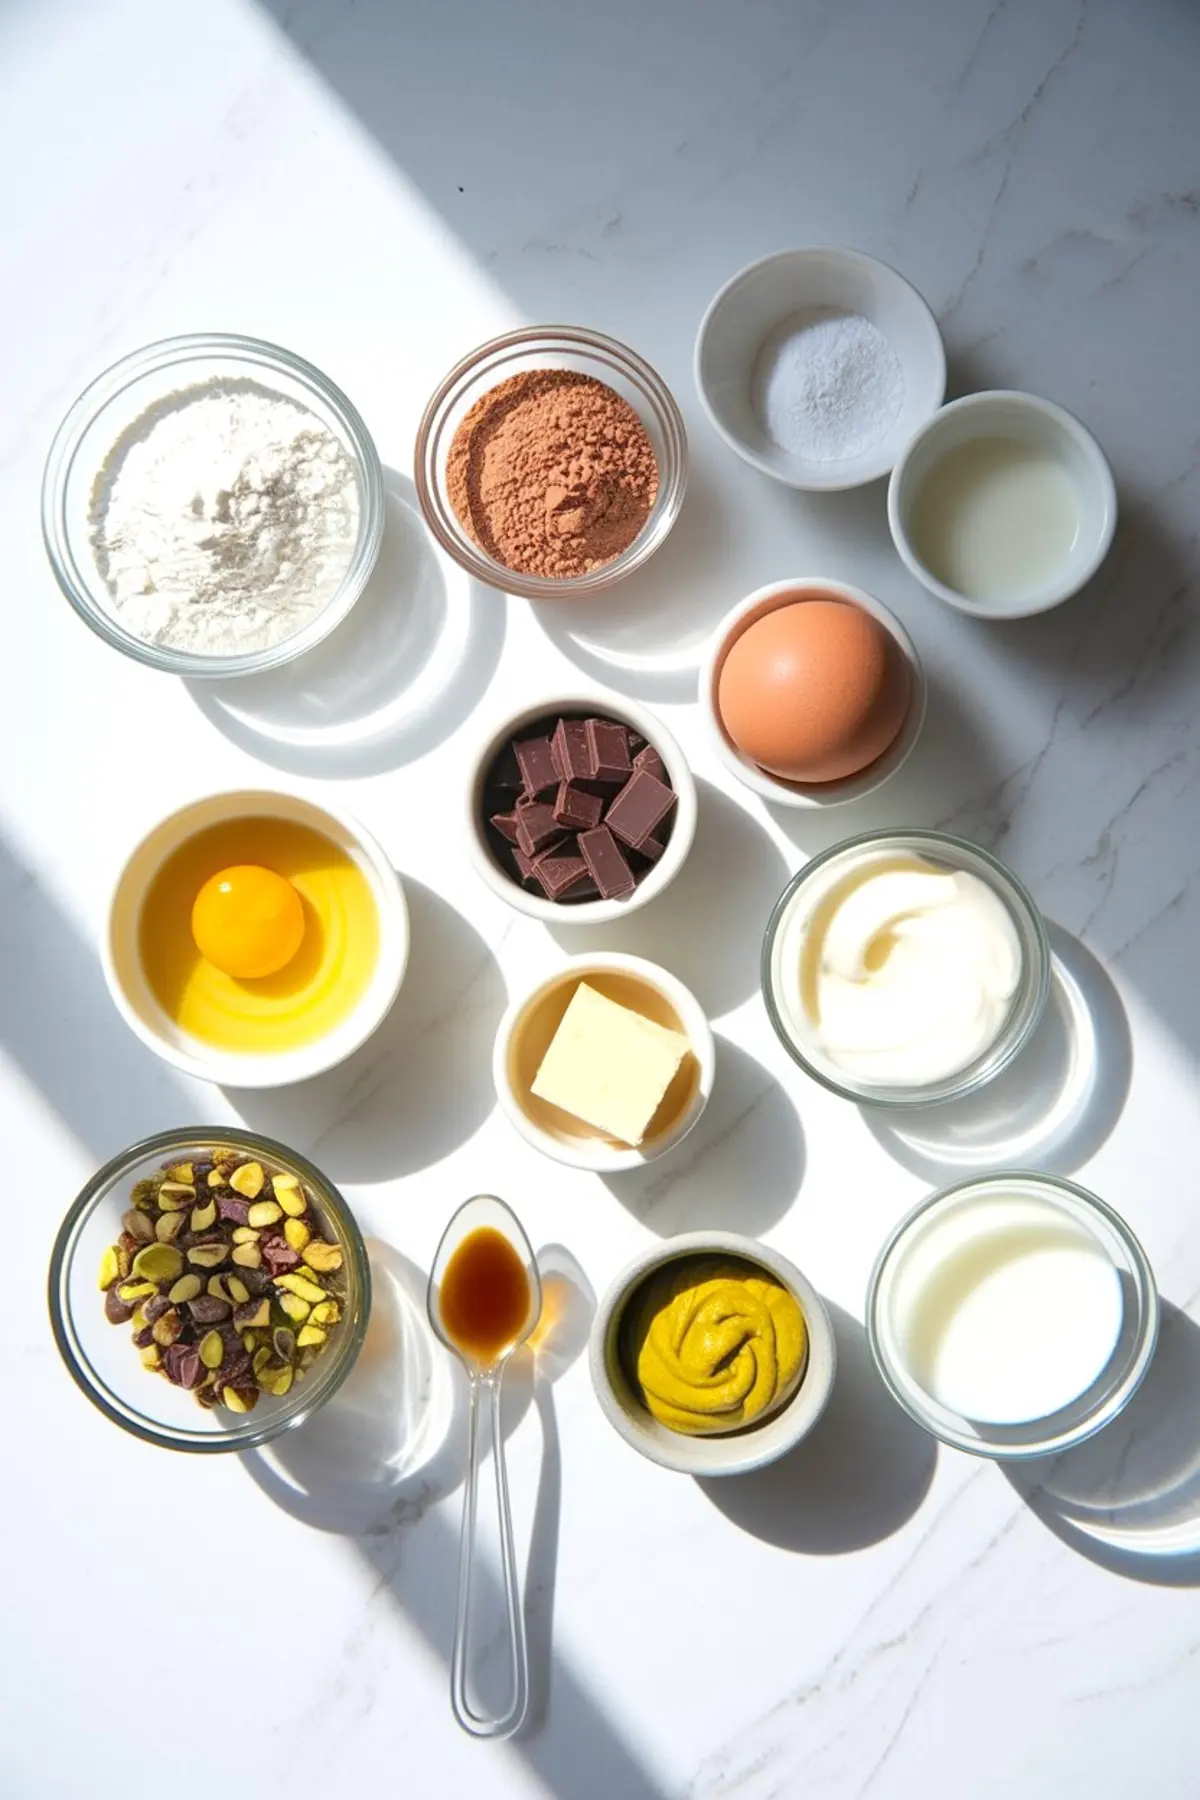
Ingredients
- FOR THE DARK CHOCOLATE TART SHELLS
- 1¼ cups (160g) all-purpose flour
- ⅓ cup (35g) Dutch-process cocoa powder
- ½ cup (115g) cold unsalted butter, cubed
- ⅓ cup (40g) powdered sugar
- 1 large egg yolk
- 1–2 tbsp cold water
- Pinch of salt
- FOR THE GANACHE FILLING
- 100g high-quality dark chocolate (70–75% cocoa), chopped
- 100ml heavy cream
- 1 tsp unsalted butter
- FOR THE PISTACHIO MOUSSE
- 1 cup (240ml) heavy cream, very cold
- 2 tbsp powdered sugar
- ¼ cup (60g) pure pistachio paste (unsweetened or lightly sweetened)
- 1 tsp vanilla extract
- 1 tsp powdered gelatin
- 2 tbsp warm whole milk
- 1 small drop green gel food coloring (adjust for desired shade)
- OPTIONAL TOPPINGS
- Crushed roasted pistachios
- Mini dark chocolate chunks
- White chocolate shavings
- Edible flowers or gold leaf
Instructions
- MAKE THE TART SHELLS: In a medium mixing bowl, whisk together the flour, cocoa powder, powdered sugar, and salt. Add the cold butter cubes and rub them into the dry ingredients using your fingertips until the mixture resembles fine crumbs. Mix in the egg yolk, then add cold water 1 tablespoon at a time just until the dough comes together without being sticky. Flatten into a disc, wrap in plastic wrap, and refrigerate for 30 to 45 minutes to chill and firm the dough.
- SHAPE AND BAKE: On a lightly floured surface, roll out the chilled dough to about ⅛ inch thick. Cut and press the dough into eight 3 to 4-inch mini tart pans. Dock the bottoms with a fork to prevent puffing. Place the tart shells in the freezer for 10 minutes. Bake in a preheated 350°F (175°C) oven for 12 to 14 minutes, or until fully set. Let cool completely in the pans before filling.
- MAKE THE GANACHE: Place the chopped dark chocolate in a heatproof bowl. In a small saucepan, heat the cream just until it begins to simmer. Pour the hot cream over the chocolate and let sit for 1 minute. Add the butter and stir gently until the ganache is smooth and glossy. Spoon a thin layer of ganache into each cooled tart shell and refrigerate for about 20 minutes, or until set.
- MAKE THE PISTACHIO MOUSSE: Sprinkle the powdered gelatin over the warm milk and let it bloom for 5 minutes. Meanwhile, whip the cold cream with powdered sugar in a mixing bowl until soft peaks form. In a separate bowl, stir together the pistachio paste and vanilla extract until smooth. Warm the bloomed gelatin mixture slightly, then stir it into the pistachio mixture. Add a small drop of green gel food coloring and mix until the color is evenly distributed. Fold the whipped cream into the pistachio base gently, using a spatula, until fully blended. Transfer the mousse to a piping bag fitted with a round tip and refrigerate briefly to firm slightly before piping.
- ASSEMBLE THE TARTS: Pipe generous round dollops of pistachio mousse onto the chilled ganache layer in each tart shell. Arrange evenly and refrigerate the tarts for at least 30 to 60 minutes to allow the mousse to set fully before serving.
- GARNISH AND FINISH: Just before serving, top the mousse with crushed roasted pistachios and sprinkle mini dark chocolate chunks for added texture and flavor. For a more polished presentation, garnish with white chocolate shavings or a touch of edible gold leaf.
Notes
For best results, use high-quality dark chocolate and a pistachio paste made from 100% pistachios without added sugar or oils. The food coloring is optional but recommended for a more vibrant mousse. The tarts can be made a day ahead and stored in the refrigerator.
Nutrition Information
Yield
8Serving Size
1Amount Per Serving Calories 461Total Fat 25gSaturated Fat 14gTrans Fat 0gUnsaturated Fat 8gCholesterol 113mgSodium 77mgCarbohydrates 52gFiber 3gSugar 27gProtein 8g