If you want a pistachio dessert that looks impressive without making your day complicated, you’ve landed exactly where you should be.
This Pistachio Pudding Cake is not just another green cake.
It hides a vibrant pudding layer inside that holds its shape, adds flavor, and brings an unexpected softness between the cake layers. Over the years, I’ve tested many pistachio pudding recipes, and this one continues to stay at the top of my personal list.
You will learn exactly how to create a structured pistachio cream dessert that slices beautifully and delivers both color and texture.
This approach helps even beginner bakers create a pudding-filled cake that doesn’t collapse or turn sloppy. The method balances structure and softness, which gives confidence to anyone attempting it.
Following a special diet?
Every recipe on this site can be converted to gluten-free, vegan, dairy-free, keto, nut-free or egg-free with adjusted ratios so nothing falls flat.
Try the Recipe Converter →Why Pistachio Pudding Works So Well in Cakes
Instant pistachio pudding mix does more than just flavor the cake. The pudding mix helps keep the cake tender while also adding a soft nutty flavor that doesn’t overpower.
The light almond extract lifts the pistachio note. The green food coloring makes sure the color signals the flavor before you even take a bite.
The creamy filling uses the same pudding base but prepared separately, allowing it to set into a clean, distinct layer between the cake slices. This gives each forkful a defined texture change that most pistachio cake decoration recipes don’t offer.
I’ve prepared pistachio cakes using fully blended pudding in the batter, and while the taste stays good, the interior lacks that beautiful separation. This layered method makes the dessert visually appealing and more satisfying on the plate.
Gathering the Ingredients for Pistachio Pudding Cake
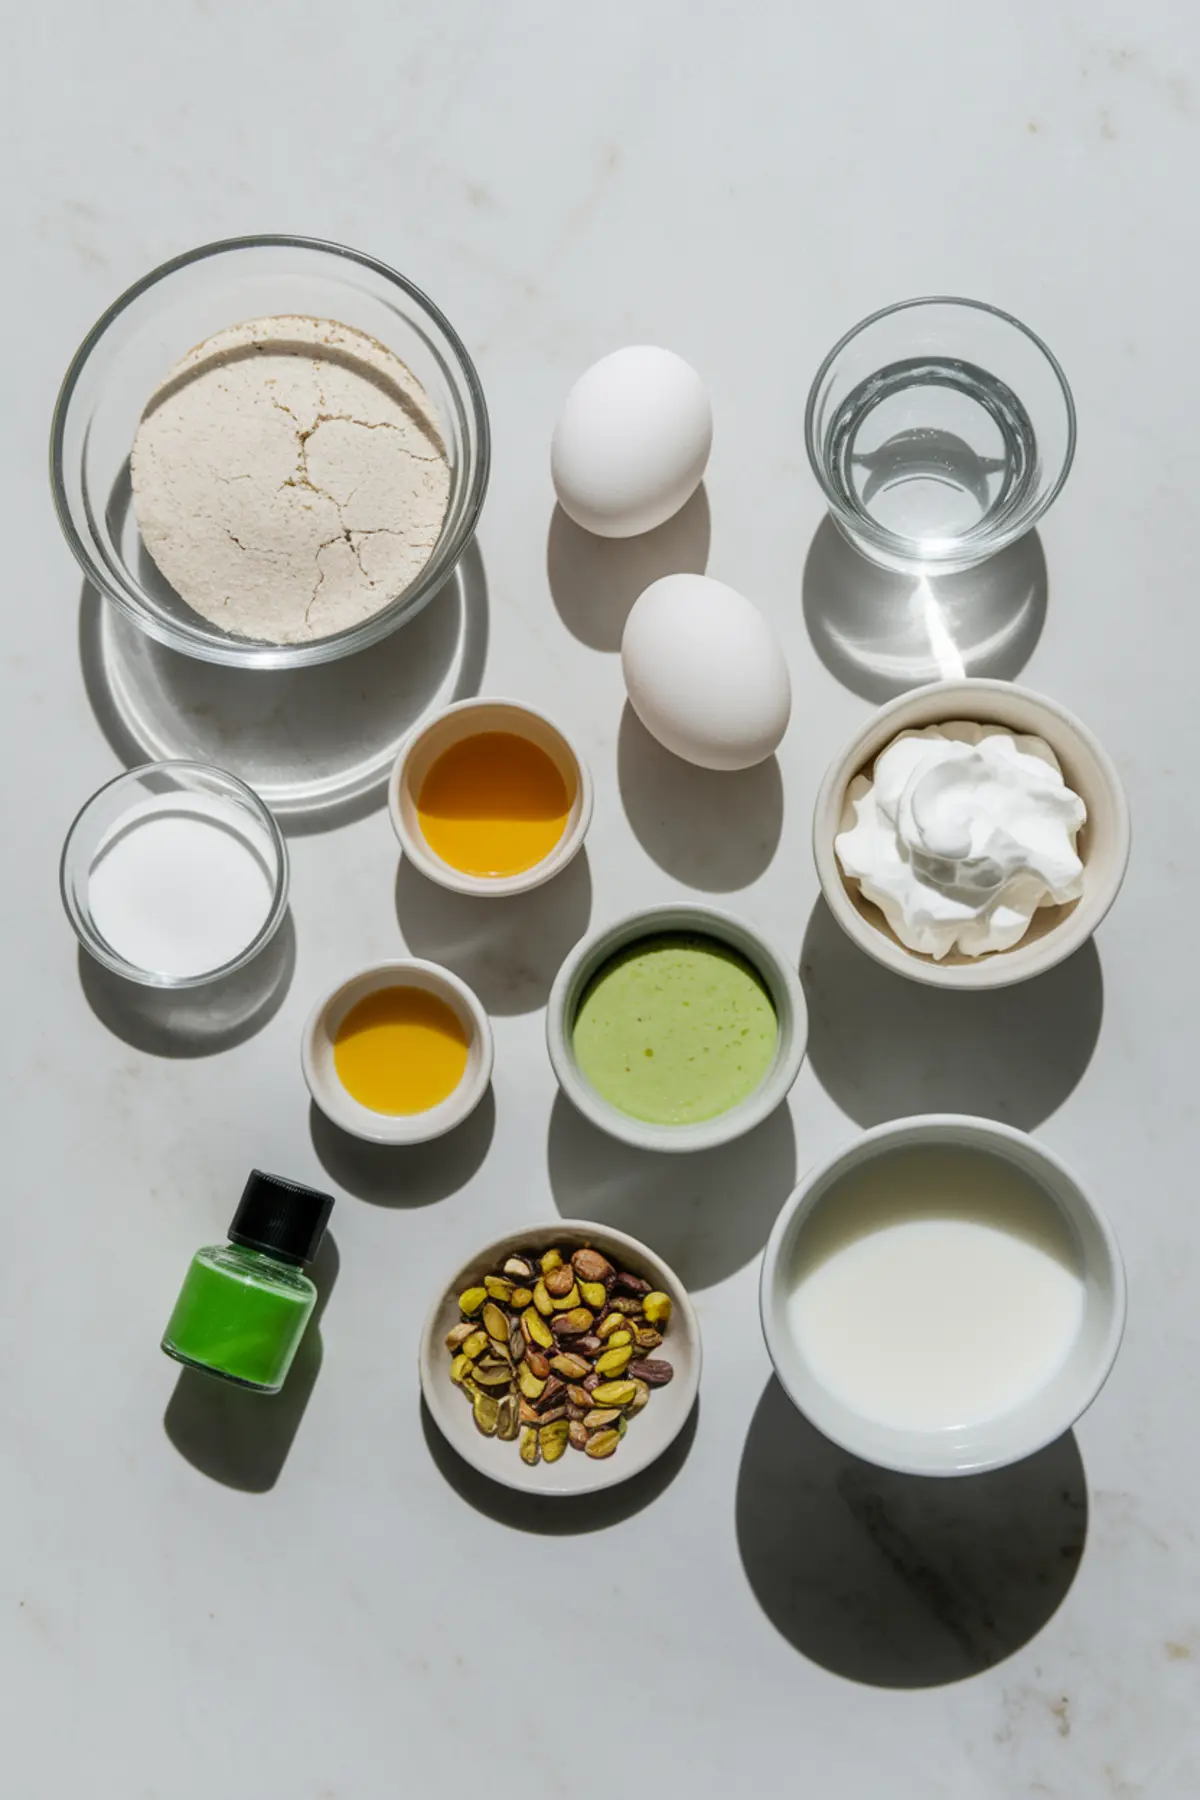
Start with a simple boxed white cake mix. I always use a 15.25-ounce box for consistency.
The instant pistachio pudding mix brings both flavor and color, though I still add green food coloring for a stronger, more vivid presentation. A few drops of almond extract amplify the nutty profile without turning it artificial.
The filling stays consistent by using another box of instant pistachio pudding combined with cold milk and a few extra drops of gel food coloring for that rich, creamy green.
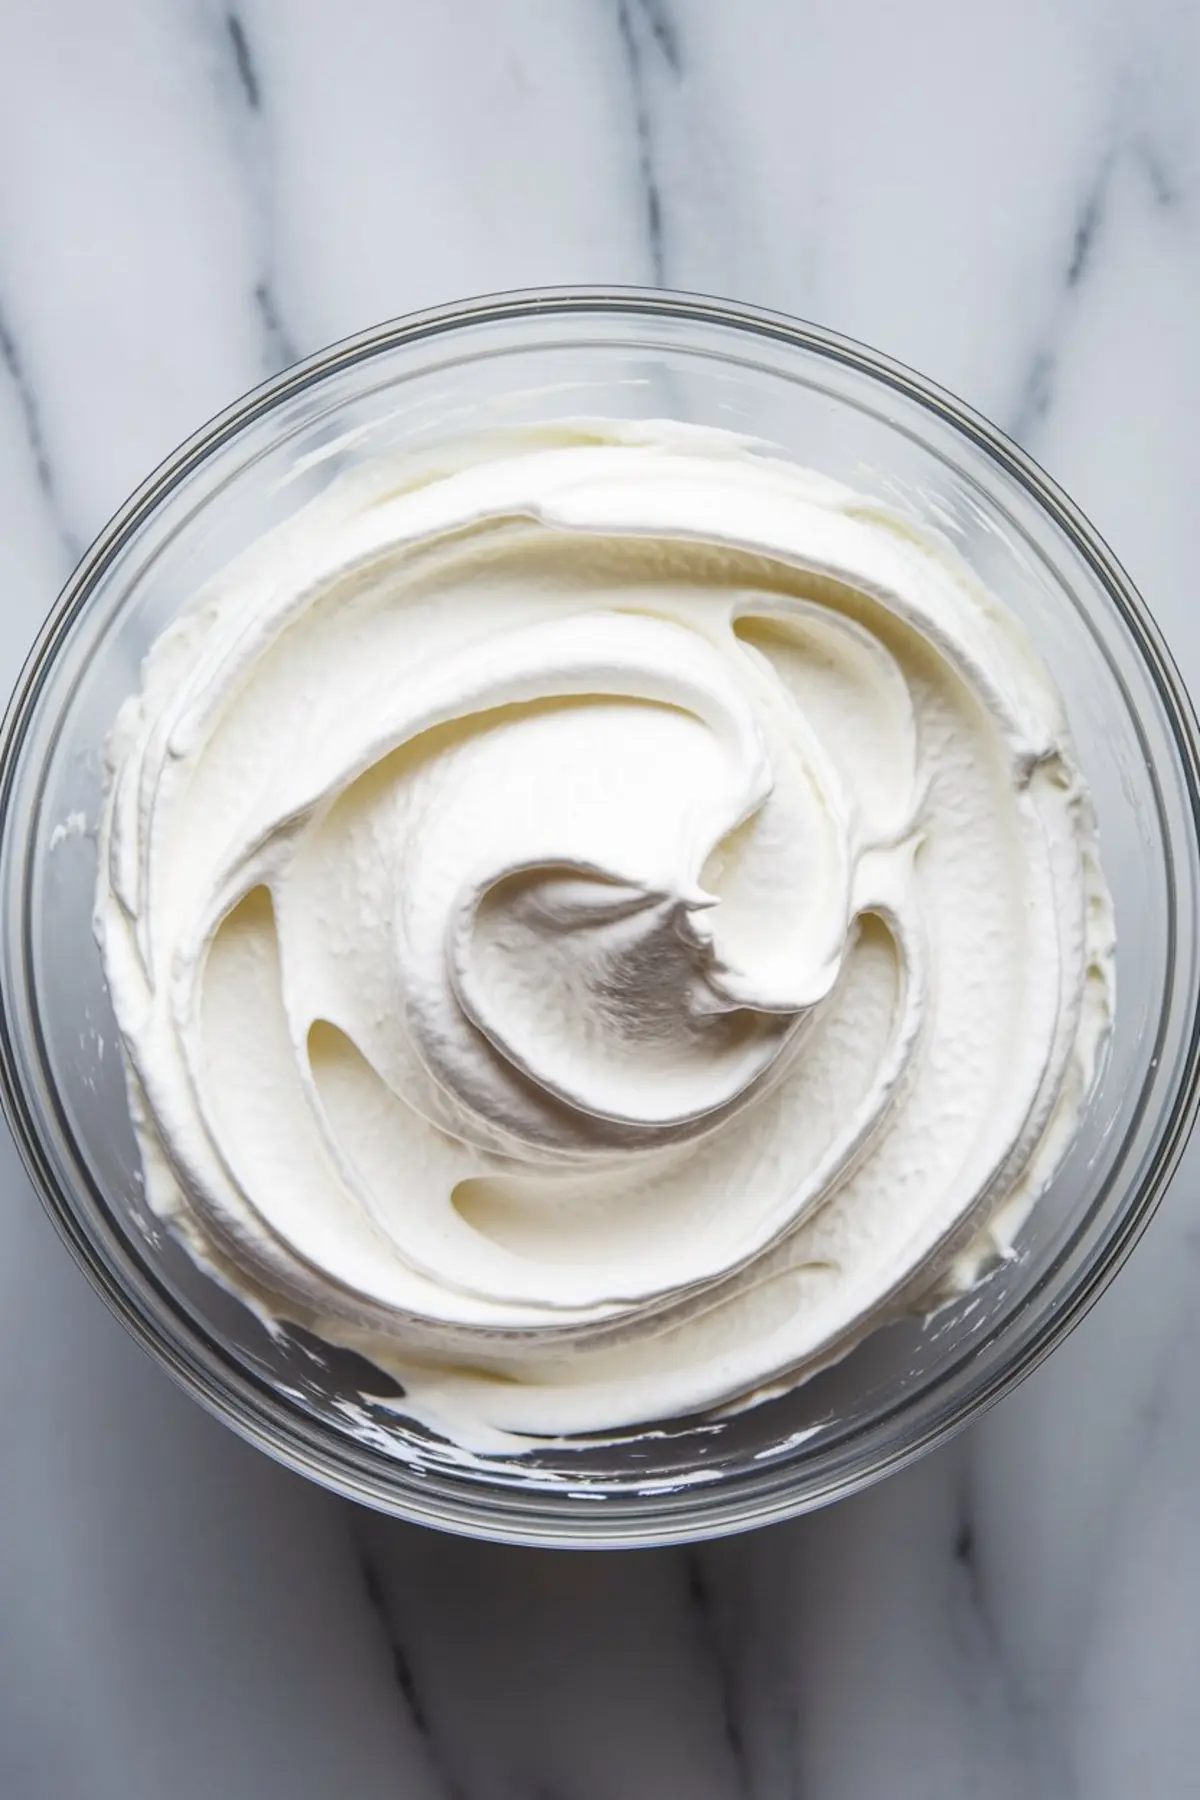
To finish, whipped topping spreads easily over the cake without adding heaviness, while chopped roasted pistachios bring a crunch that contrasts beautifully with the creamy center.
I’ve tried both homemade whipped cream and Cool Whip. For consistency, especially if you plan to store it for a few days, Cool Whip holds better without weeping.
Comparing Green Food Coloring: Gel vs Liquid
In my experience, the type of green food coloring makes a real difference.
Liquid food coloring often waters down the batter and the filling, which affects both texture and set time. Gel food coloring provides the deep color you want without changing the moisture balance.
I always reach for gel food coloring for this cake, both in the batter and in the pudding filling. A few drops go a long way and help keep the pudding firm enough to slice cleanly.
Mixing the Pistachio Cake Batter
The batter comes together in one bowl. Start by combining the white cake mix with one box of pistachio pudding mix.
Add four large eggs, one cup of water, vegetable oil, almond extract, and the green food coloring. Use medium speed on your mixer and beat until the batter looks smooth and even.
This takes about two minutes. The batter should have a light green hue that signals the pistachio flavor inside.
Baking the Cake to the Right Texture
Prepare your 9×13-inch cake pan by greasing, flouring, and lining the bottom with parchment paper. This extra step makes unmolding easier later.
Pour the batter in and level the top. Bake at 350°F for 30 to 35 minutes. The top should spring back lightly when touched, and a toothpick inserted into the center should come out clean.
Allow the cake to cool completely before moving forward. Rushing this step risks breaking the layers when slicing.
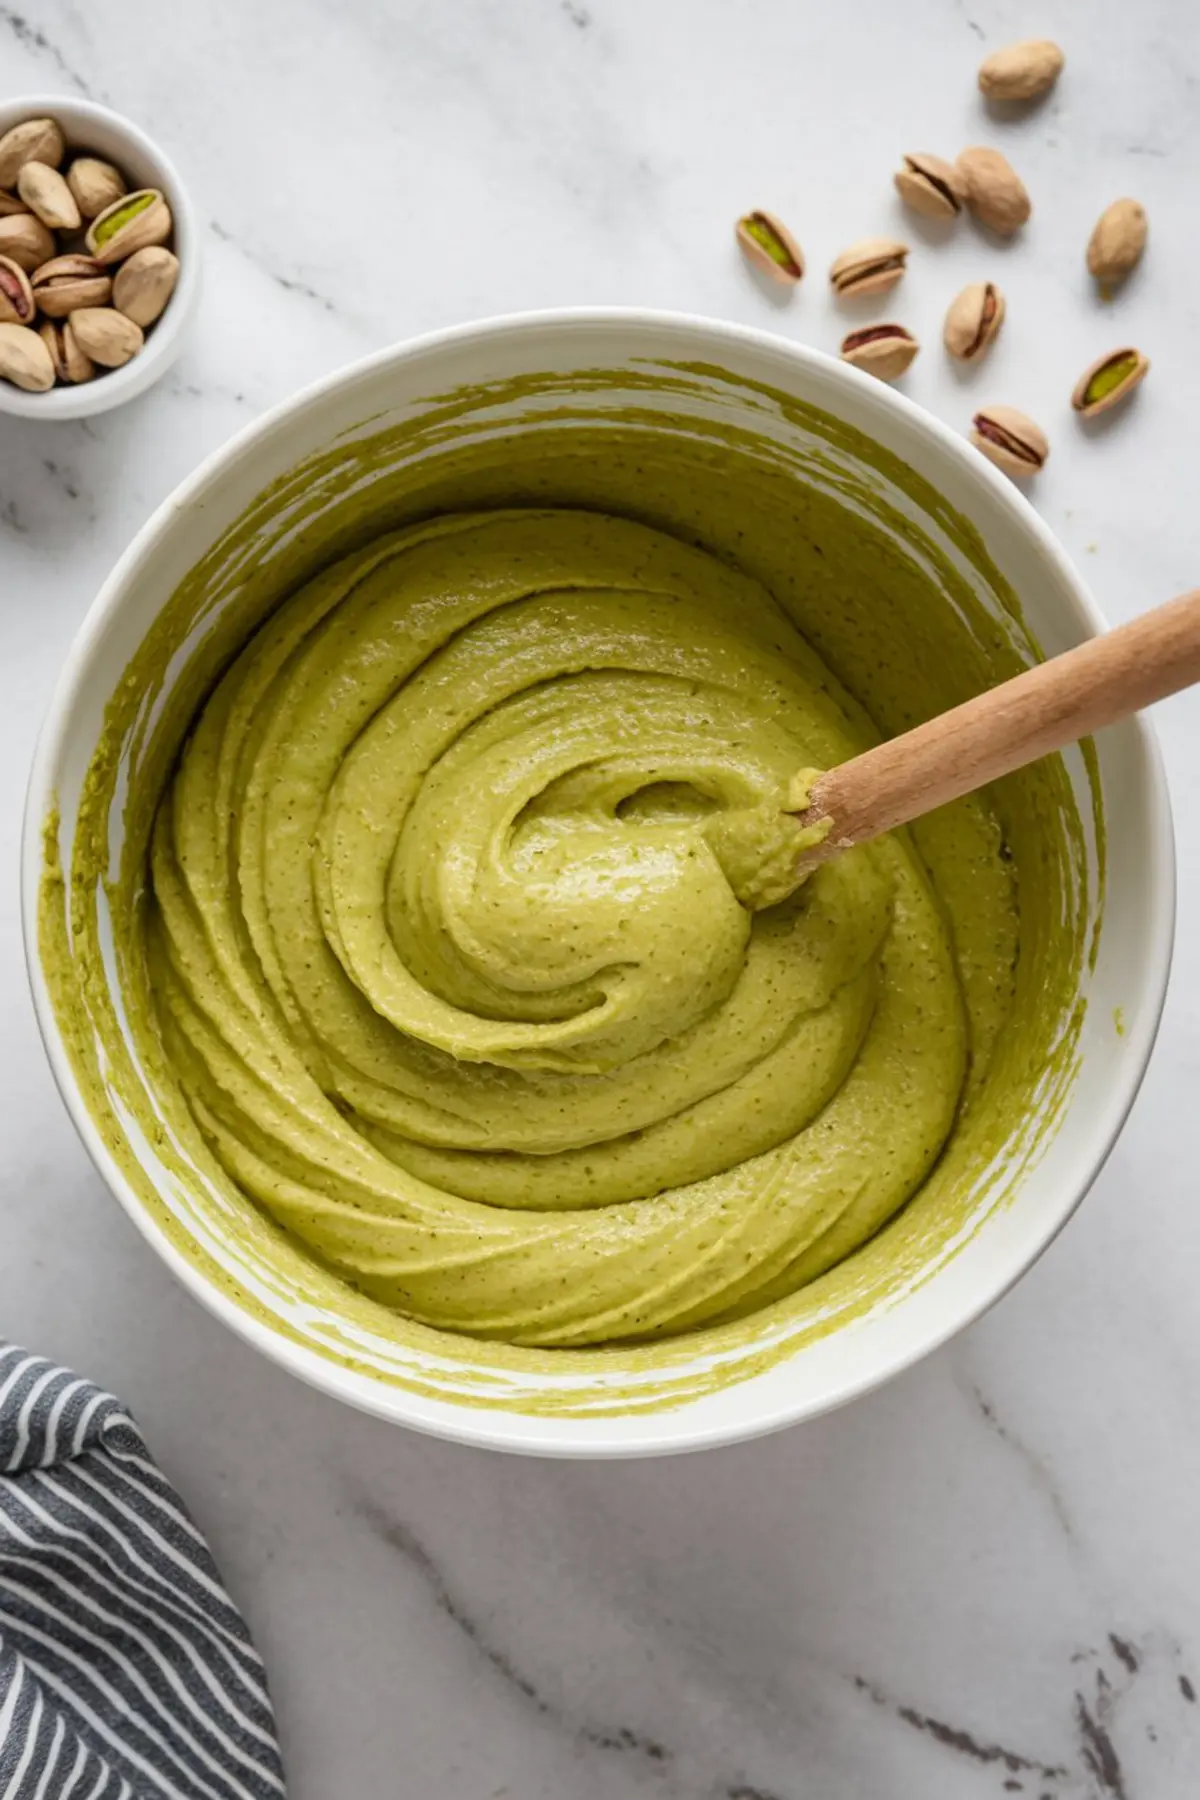
Preparing the Pistachio Pudding Cream Filling
While the cake cools, prepare the filling. Whisk one box of instant pistachio pudding with two cups of cold milk. Add 5 to 6 drops of green gel food coloring.
Let it sit for about five minutes. The pudding will thicken to a spoonable, creamy texture. This consistency allows it to spread evenly without spilling out of the cake once layered.
I find that letting the pudding sit slightly longer, about ten minutes, gives an even sturdier texture that holds its shape perfectly.
Slicing and Filling the Cake
Once cooled, transfer the cake to a cutting board. Use toothpicks around the edges to guide your knife as you slice the cake horizontally into two even layers.
Lift the top layer gently and set it aside.
Spread the thickened pudding evenly over the bottom layer, working carefully to keep the layer smooth and even.
Return the top layer back on top, aligning it with the bottom. Press gently to secure it.
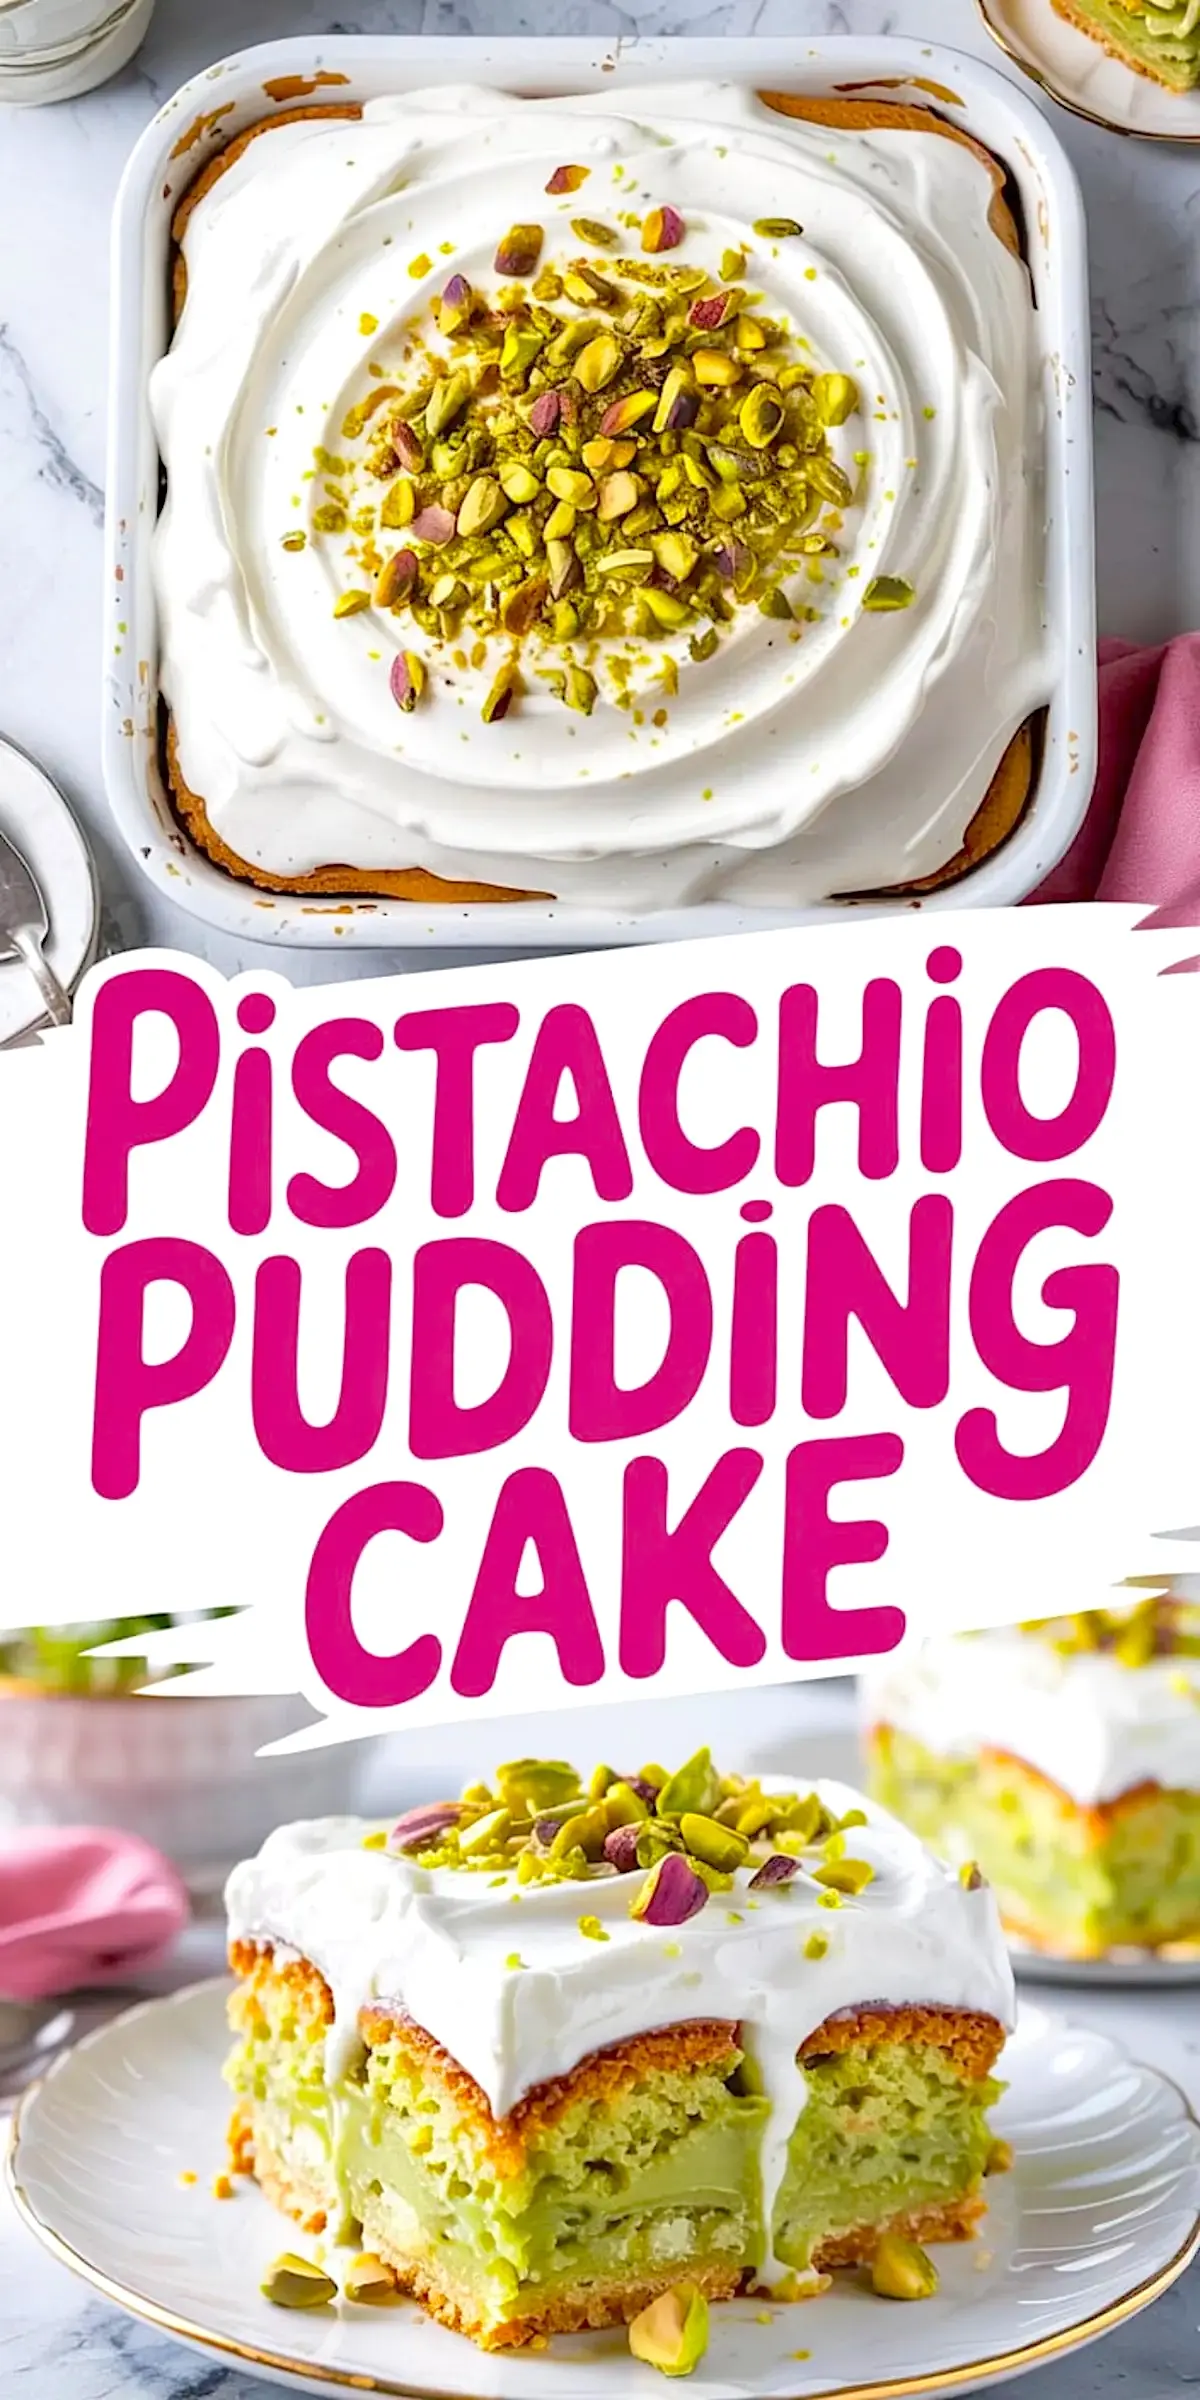
Finishing the Pistachio Cake Decoration
Spread the whipped topping evenly over the cake surface.
I like to use an offset spatula to create light swirls, adding visual movement. Sprinkle chopped roasted pistachios over the top. They give texture, color contrast, and bring forward the pistachio flavor.
This final touch makes the cake feel finished, without needing complex cake decorating tools.
Serving and Storing Pistachio Pudding Cake
Refrigerate the finished cake for at least one hour before slicing. This chilling time allows the filling to set fully, so your slices hold together beautifully.
I’ve stored this cake for up to three days in the refrigerator. The whipped topping remains stable, and the pudding stays firm without leaking.
If you want to serve smaller portions, this cake also works wonderfully cut into squares for a buffet or dessert table. The clean green layer inside always catches attention.
If you enjoy this pistachio pudding cake, you might also like my Pistachio Pudding Dessert which uses a different layering technique but highlights the same flavor profile.
For another creamy pistachio treat, try my Pistachio Mousse with chocolate ganache.
Or explore a more elegant option like my Pistachio Tart for summer gatherings.
Why This Pistachio Cream Dessert Stands Out
Unlike many pistachio pudding pie or pistachio pudding recipes where the filling dominates, this cake keeps a balance.
The cake offers structure. The pudding brings creaminess. The whipped topping finishes it lightly.
Each layer serves its role. Together, they create a pistachio cream dessert that feels polished but stays easy to prepare.
Even for bakers who rarely attempt layered cakes, this method simplifies the process without sacrificing the visual or flavor payoff.
Final Thoughts and Let’s Stay Connected
Now you have my step-by-step method for a reliable pistachio pudding cake that holds its layers, delivers flavor, and brings visual appeal to your table.
Save this recipe to your Pinterest board so you have it ready for your next special occasion.
I would love to hear how it turned out for you! Drop a comment below with your experience, questions, or variations you tried. Your feedback helps this baking community grow.
Pistachio Pudding Cake
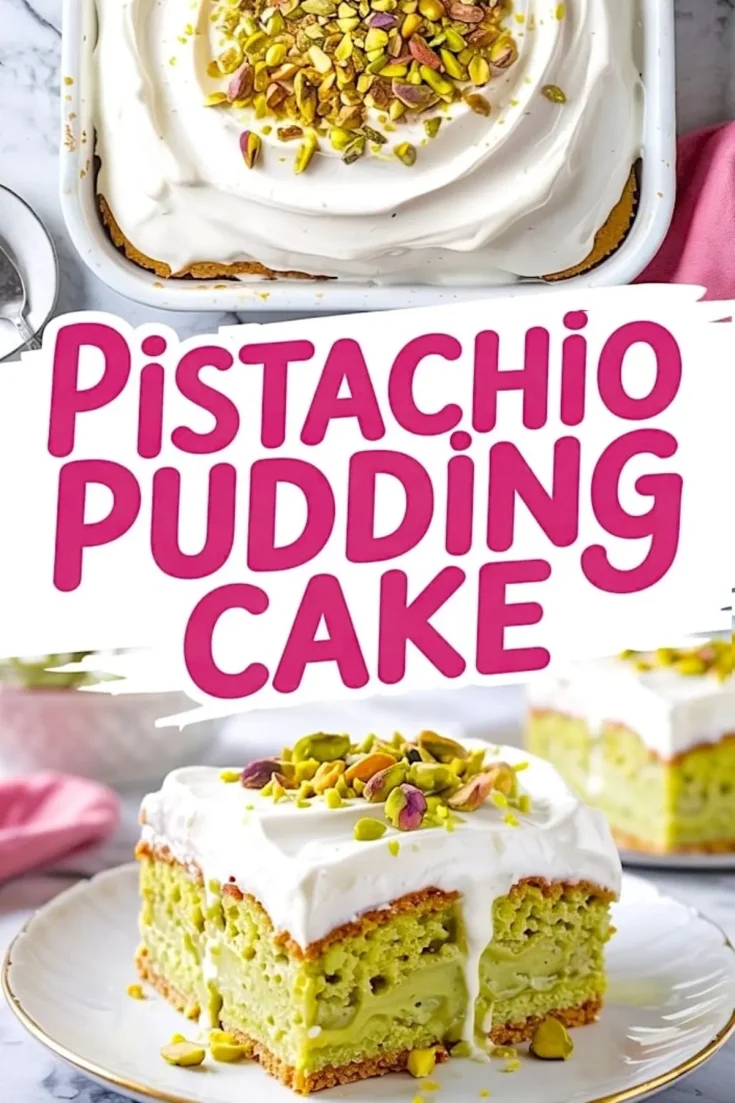
A boxed white cake mix turns into something unexpected with the addition of pistachio pudding mix and green food coloring. The vivid green pudding layer hides inside the cake like a surprise and stays neat and structured. Whipped topping and roasted pistachios finish it off for contrast in both texture and flavor.
Ingredients
- FOR THE CAKE
- 1 box white cake mix (15.25 oz)
- 1 (3.4 oz) box instant pistachio pudding mix
- 4 large eggs
- 1 cup water
- ½ cup vegetable oil
- ½ teaspoon almond extract (optional)
- 2–3 drops green food coloring
- FOR THE CREEPY PUDDING FILLING
- 1 (3.4 oz) box instant pistachio pudding mix
- 2 cups cold milk
- 5–6 drops green gel food coloring
- FOR THE TOPPING
- 2 cups whipped topping (Cool Whip or homemade whipped cream)
- ½ cup chopped roasted pistachios
Instructions
- PREHEAT THE OVEN AND PREPARE THE PAN: Preheat oven to 350°F (175°C). Grease and flour a 9x13-inch cake pan and line the bottom with parchment paper. Set aside.
- MIX THE CAKE BATTER: In a large mixing bowl, combine the white cake mix, pistachio pudding mix, eggs, water, oil, almond extract (if using), and green food coloring. Beat on medium speed for 2 minutes until the batter is smooth and well blended.
- BAKE THE CAKE: Pour the batter into the prepared pan and spread evenly. Bake for 30–35 minutes or until a toothpick inserted in the center comes out clean. Let the cake cool completely in the pan.
- PREPARE THE CREEPY GREEN PUDDING: In a bowl, whisk together the second box of pistachio pudding mix and cold milk. Add green gel food coloring and whisk until the color is deep and consistent. Let the pudding thicken for about 5 minutes.
- SLICE THE CAKE INTO TWO LAYERS: Once the cake is fully cooled, remove it from the pan and place on a cutting board. Use a serrated knife to carefully slice the cake horizontally into two even layers. Use toothpicks along the side as a guide to keep your cut level.
- FILL WITH THE CREEPY PUDDING: Place the bottom cake layer on a serving tray. Spread the thick green pudding evenly over the surface. Carefully place the top cake layer back on and press gently to secure it in place.
- ADD WHIPPED TOPPING AND PISTACHIOS: Spread the whipped topping over the top of the cake, smoothing it with a spatula. Sprinkle with chopped roasted pistachios for added texture and flavor.
- CHILL BEFORE SERVING: Refrigerate the assembled cake for at least 1 hour to allow the pudding layer to set and the flavors to meld before slicing and serving.
Notes
Use gel food coloring for intense color without thinning the pudding. For cleaner slices, chill the cake thoroughly before cutting.
Nutrition Information
Yield
16Serving Size
1Amount Per Serving Calories 205Total Fat 15gSaturated Fat 5gTrans Fat 0gUnsaturated Fat 9gCholesterol 52mgSodium 107mgCarbohydrates 14gFiber 0gSugar 11gProtein 4g