This recipe fits right into the season—quick, soft, satisfying, and packed with flavor that reminds you it’s fall, even on a busy Tuesday. You’ll learn how to make no-bake pumpkin protein balls that hold their shape, taste warm and spiced, and don’t skimp on the good stuff.
You won’t need a food processor or special molds. Just a bowl, a spoon, and a few pantry ingredients.
I started making these during one of our early-morning recipe test days at the studio, when I needed something that felt like breakfast but acted like a power snack. They came together in less than 10 minutes and have stayed on rotation ever since.
Following a special diet?
Every recipe on this site can be converted to gluten-free, vegan, dairy-free, keto, nut-free or egg-free with adjusted ratios so nothing falls flat.
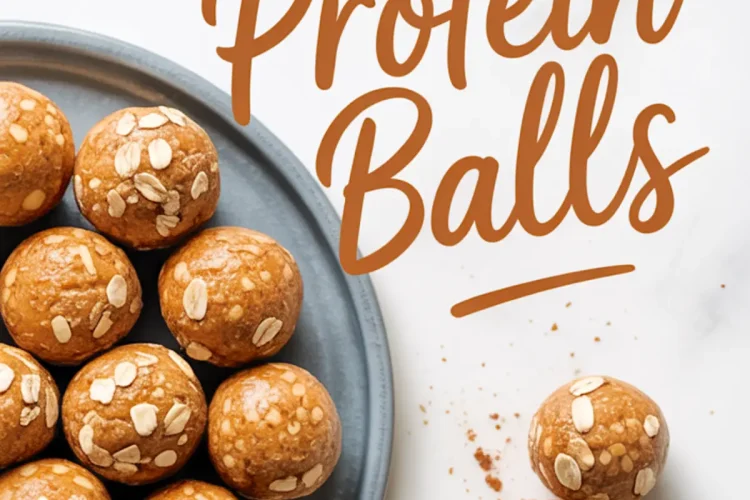
Try the Recipe Converter →These aren’t dry, powdery protein bites. They’re soft, chewy, and just sweet enough to feel like a treat.
The Ingredients That Make These Pumpkin Energy Balls Work
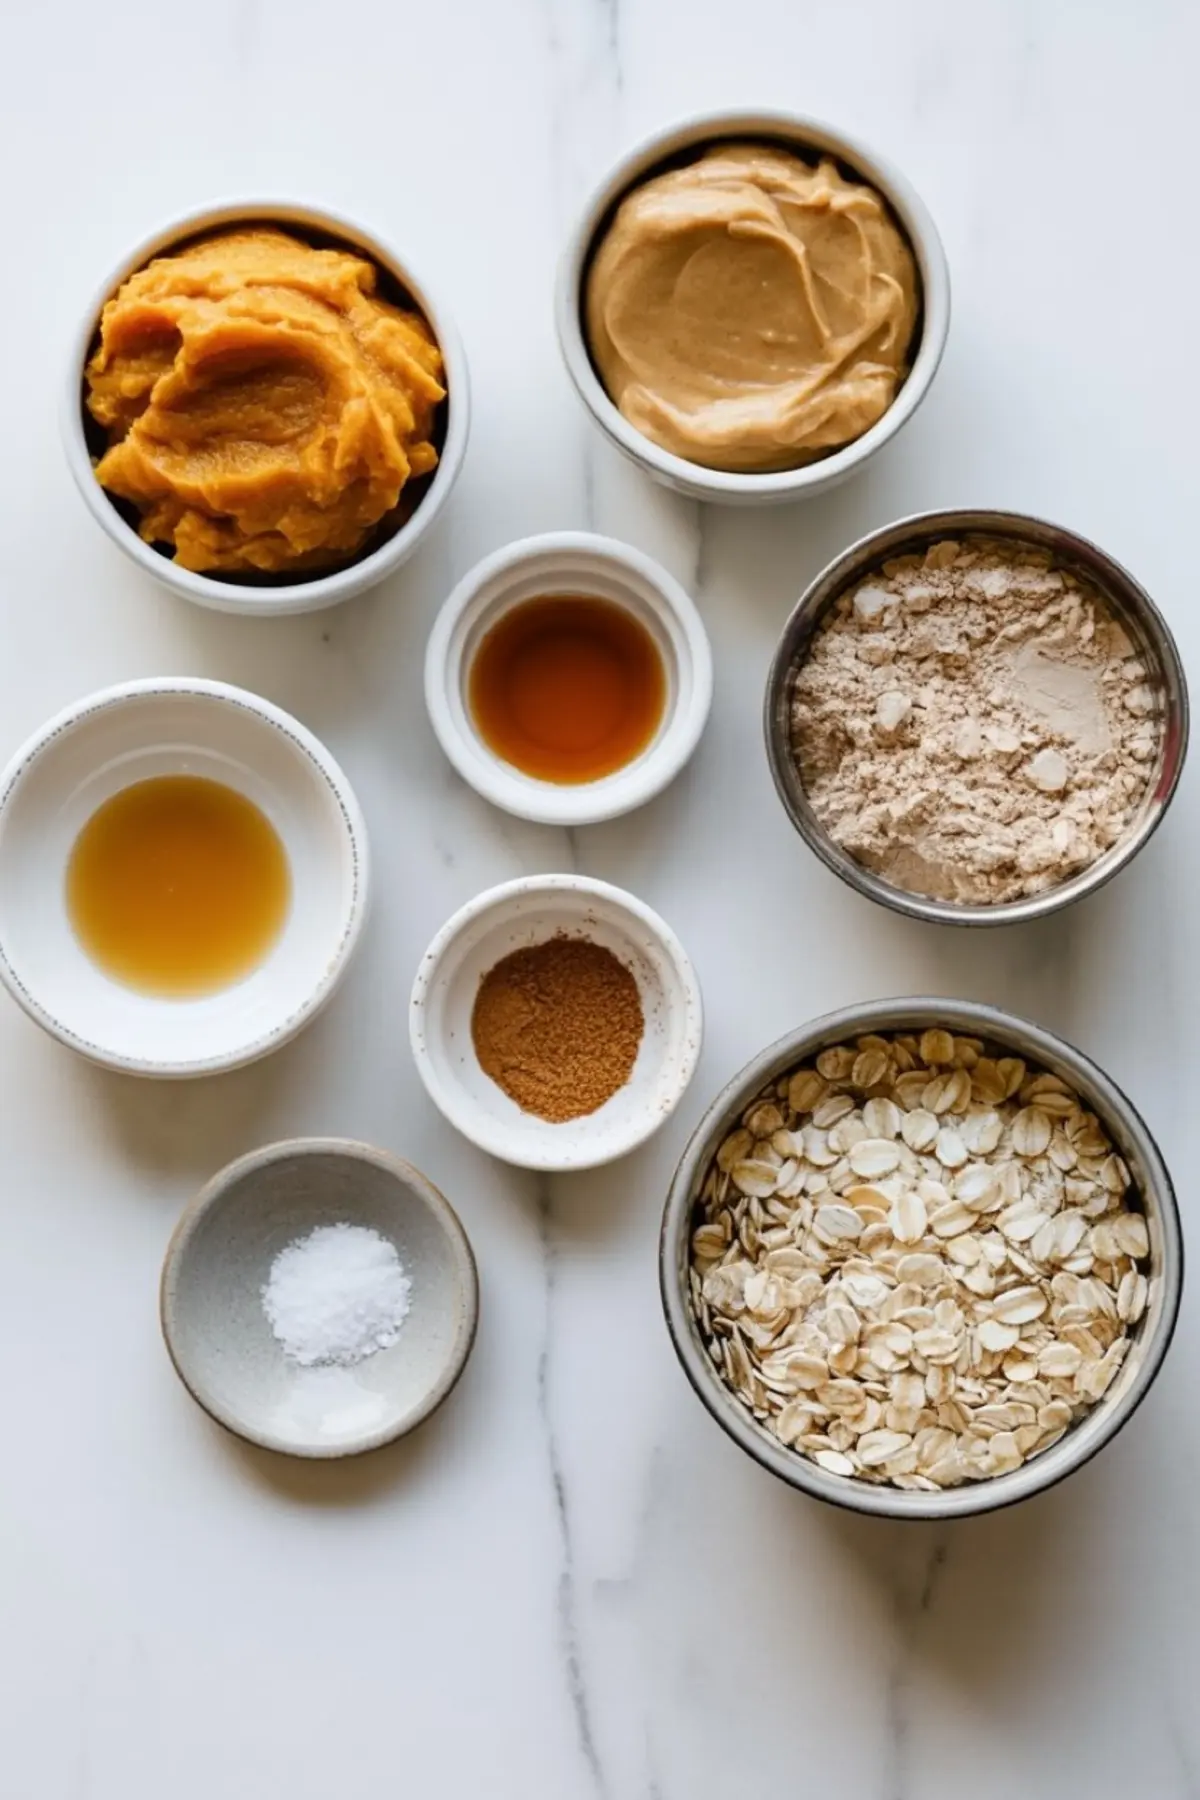
The base starts with canned pumpkin puree, not pumpkin pie filling. This adds moisture, color, and subtle sweetness. Nut butter acts as the binder. I usually reach for natural almond or peanut butter, but cashew butter gives a slightly creamier bite.
Maple syrup adds depth and helps with texture. You could use honey, though I find maple syrup gives a smoother finish, especially once chilled. A splash of vanilla and a spoonful of pumpkin pie spice tie it all together.
From there, you need protein powder and oats. I use vanilla whey when I want a boost post-workout, or unsweetened plant-based protein if I’m making a high protein breakfast option to share. The oats bring bulk and chew, and rolled oats hold up better than quick-cooking ones.
If you like texture, mix-ins like mini chocolate chips or crushed pecans give contrast. A tablespoon of chia or flaxseed adds fiber without affecting the taste.
I’ve tested batches with both whey and plant-based powders. Whey gives a smoother texture and firms up quicker in the fridge. Plant-based powders can make the mixture a bit thicker, but they hold their shape just as well. If you’re using plant-based powder, I recommend slightly warming the nut butter for easier mixing.
How to Build the Right Texture Without Overcomplicating It
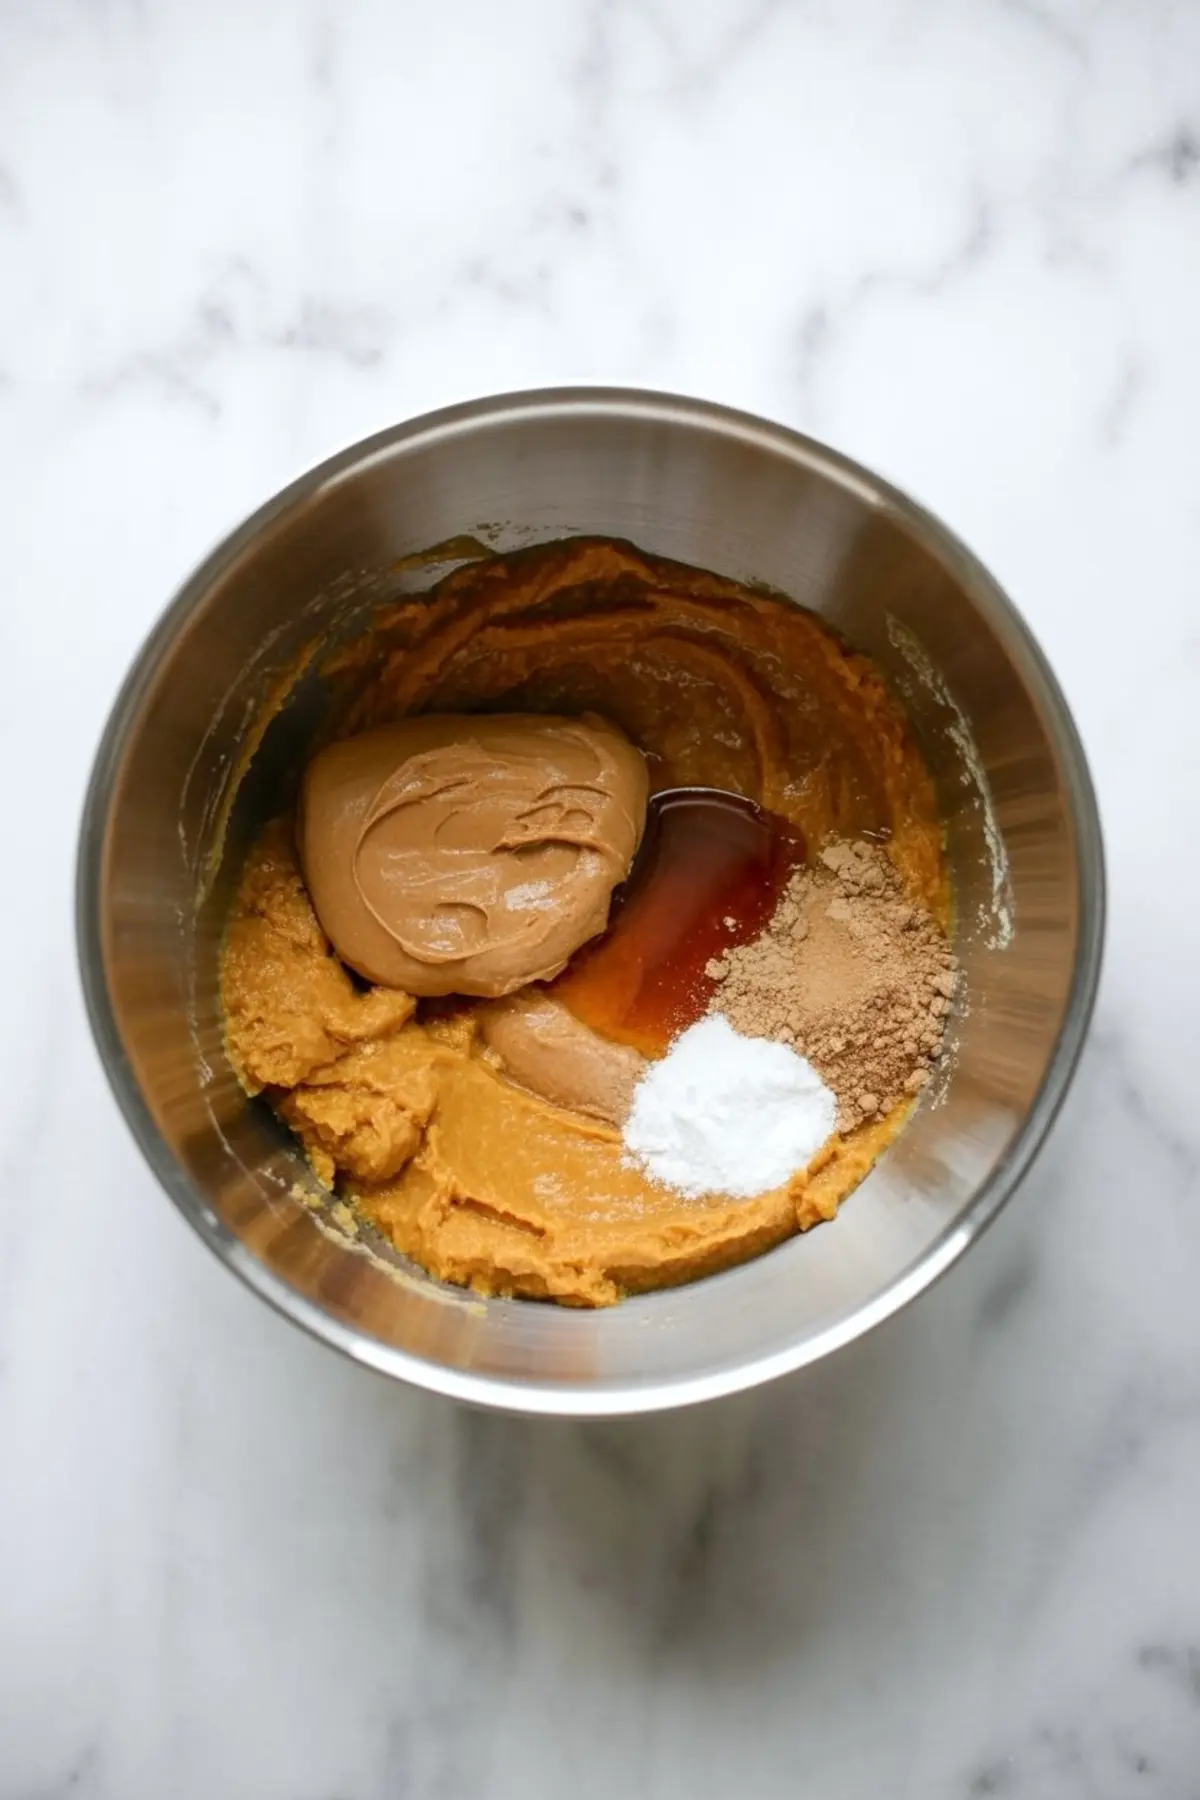
Start with the wet ingredients. Mix the pumpkin, nut butter, syrup, vanilla, spice, and salt until you get a creamy base. This is where flavor begins, so don’t skip the full teaspoon of vanilla.
Once it’s smooth, stir in the protein powder and let the mixture thicken slightly. Then fold in the oats. The dough should feel soft but hold its shape when scooped. If it’s too sticky, add a spoonful of oats or protein powder. If it’s too firm, a drizzle of maple syrup usually fixes it.
Now comes your choice: either fold in your add-ins or leave them out for a cleaner base. I like to split the batch—half with mini chocolate chips for post-lunch snacks, half plain for a mid-morning energy bite.
For a simple visual contrast and slight crunch, roll the finished balls in extra oats before chilling.
You can also try these Pumpkin Oatmeal Cookies if you’re looking for a baked option that uses similar ingredients.
Shaping and Chilling: Where It All Comes Together
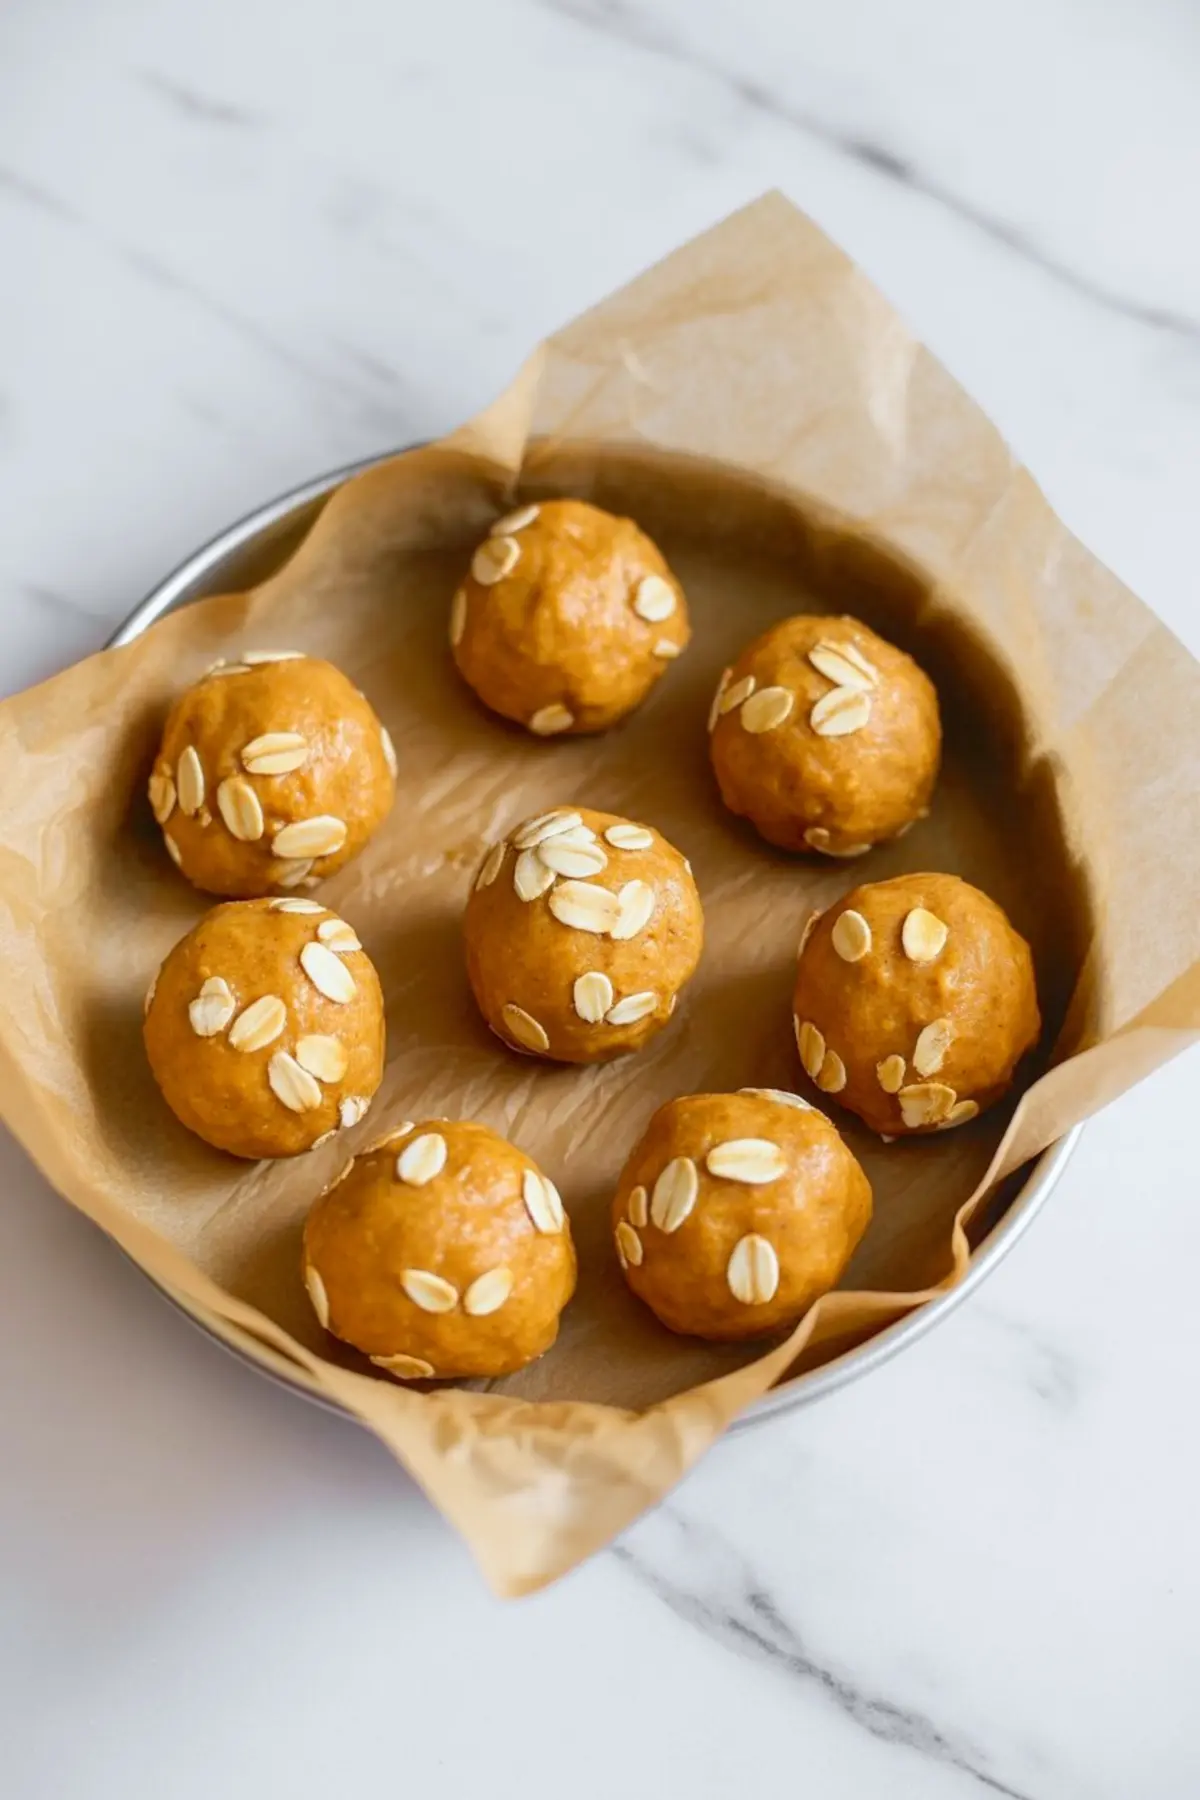
Scoop out the dough using a tablespoon or small cookie scoop. Roll each portion between your hands to form round, compact balls.
If the dough starts sticking, dampen your palms slightly or chill the dough for 5 minutes to firm it up.
Lay the rolled balls onto a parchment-lined plate or tray and pop them in the fridge for at least 30 minutes. The chilling helps them set and deepens the flavor.
Once chilled, transfer them to an airtight container. They keep well in the fridge for a week and can be frozen for up to a month.
I like to grab one of these before a walk or pack a few alongside a smoothie when mornings get rushed. If you’re in a no-bake mood, Pumpkin Cheesecake Balls are another easy make-ahead option.
Serving Notes and Storage Tips That Actually Help
These pumpkin spice energy balls don’t require much fuss. You can pack them into lunchboxes, keep them on the counter for a couple of hours, or pair them with tea in the afternoon.
For parties or snack boards, roll them in finely chopped nuts or coconut. I sometimes press a single dark chocolate chip into the top for a visual cue.
Store them in a sealed glass container in the fridge for the best texture. Avoid stacking more than two layers unless you separate them with parchment.
If you love grab-and-go recipes like this, Easy Peanut Butter Protein Balls are a good one to batch-make alongside these.
One Decision That Affects the Final Texture
In my notes, I’ve found the choice between using 1 cup of oats versus ¾ cup inside with ¼ cup reserved for rolling makes a noticeable difference.
Using all the oats in the dough gives you a more uniform texture—denser and chewier. Reserving some for the outer coating adds contrast. It also helps reduce sticking if you’re packing them into containers.
If you want a smoother surface and less oat-tooth feel, go with the full cup inside. For variety and a little crunch on the outside, reserve the quarter cup. I switch depending on whether I’m making them for storage or serving same-day.
Final Thoughts & Community Invite
This recipe gives you a fast, customizable way to enjoy pumpkin protein recipes without heating the oven. You can shape it to suit your schedule and pantry. Add chocolate chips or keep them simple. Make them ahead or mix a batch after dinner for tomorrow’s breakfast.
If you enjoy seasonal snacks that don’t demand too much from you, these pumpkin protein balls belong in your weekly rotation. They’re right in line with Pumpkin Pie Cookies which are quick, familiar, and dependable.
Save this to your favorite board so you can return to it next week.
Let me know in the comments how yours turned out, or if you found a mix-in you love. I always enjoy seeing how others shape these into their routines.
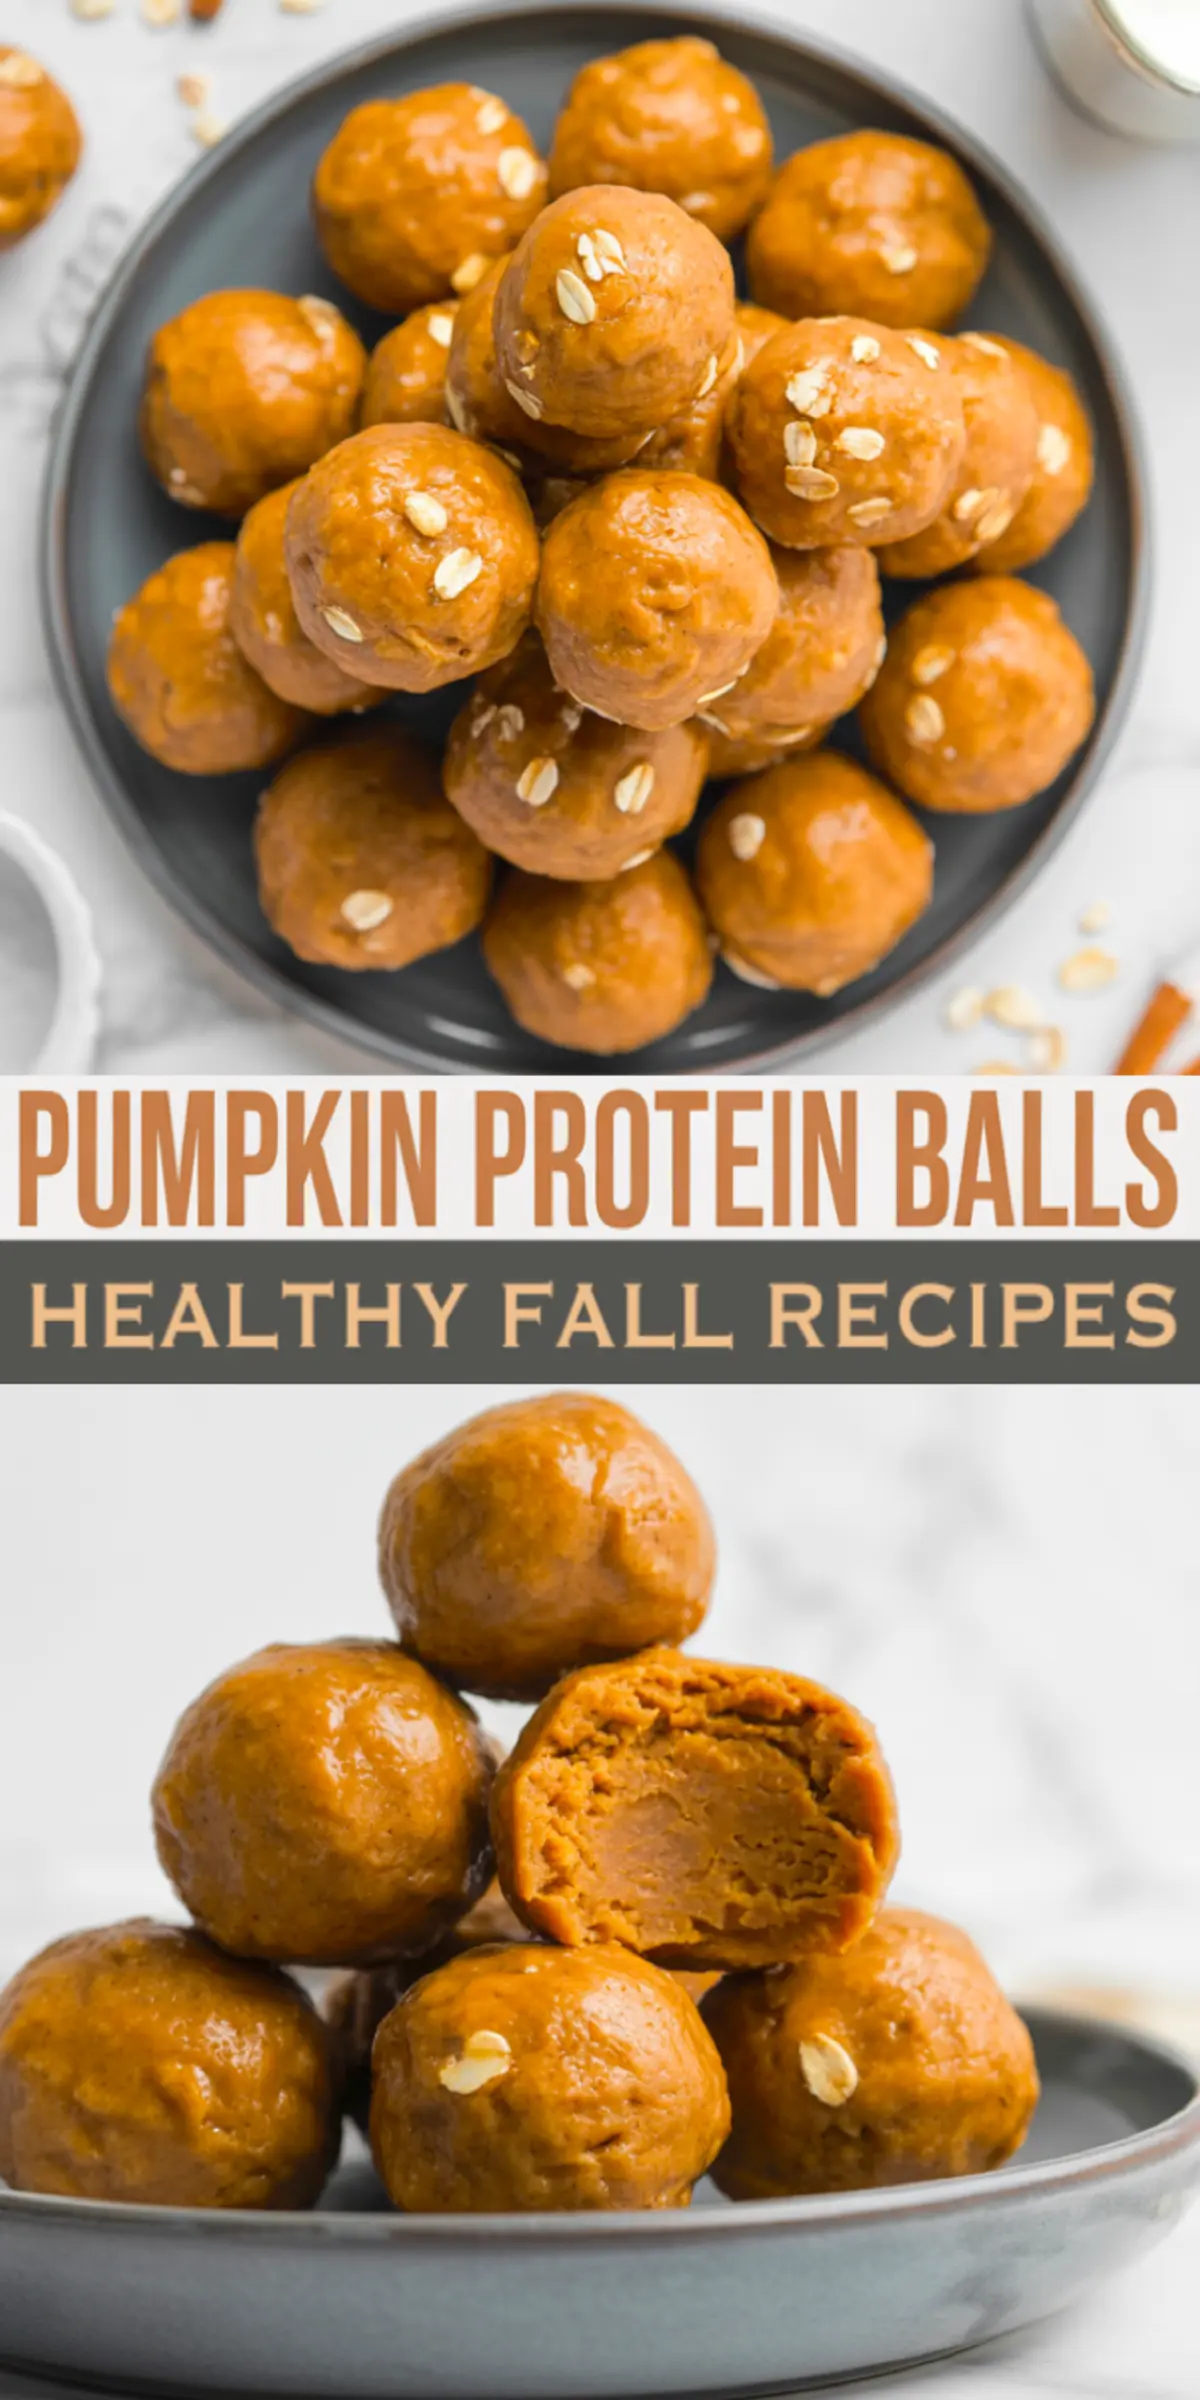
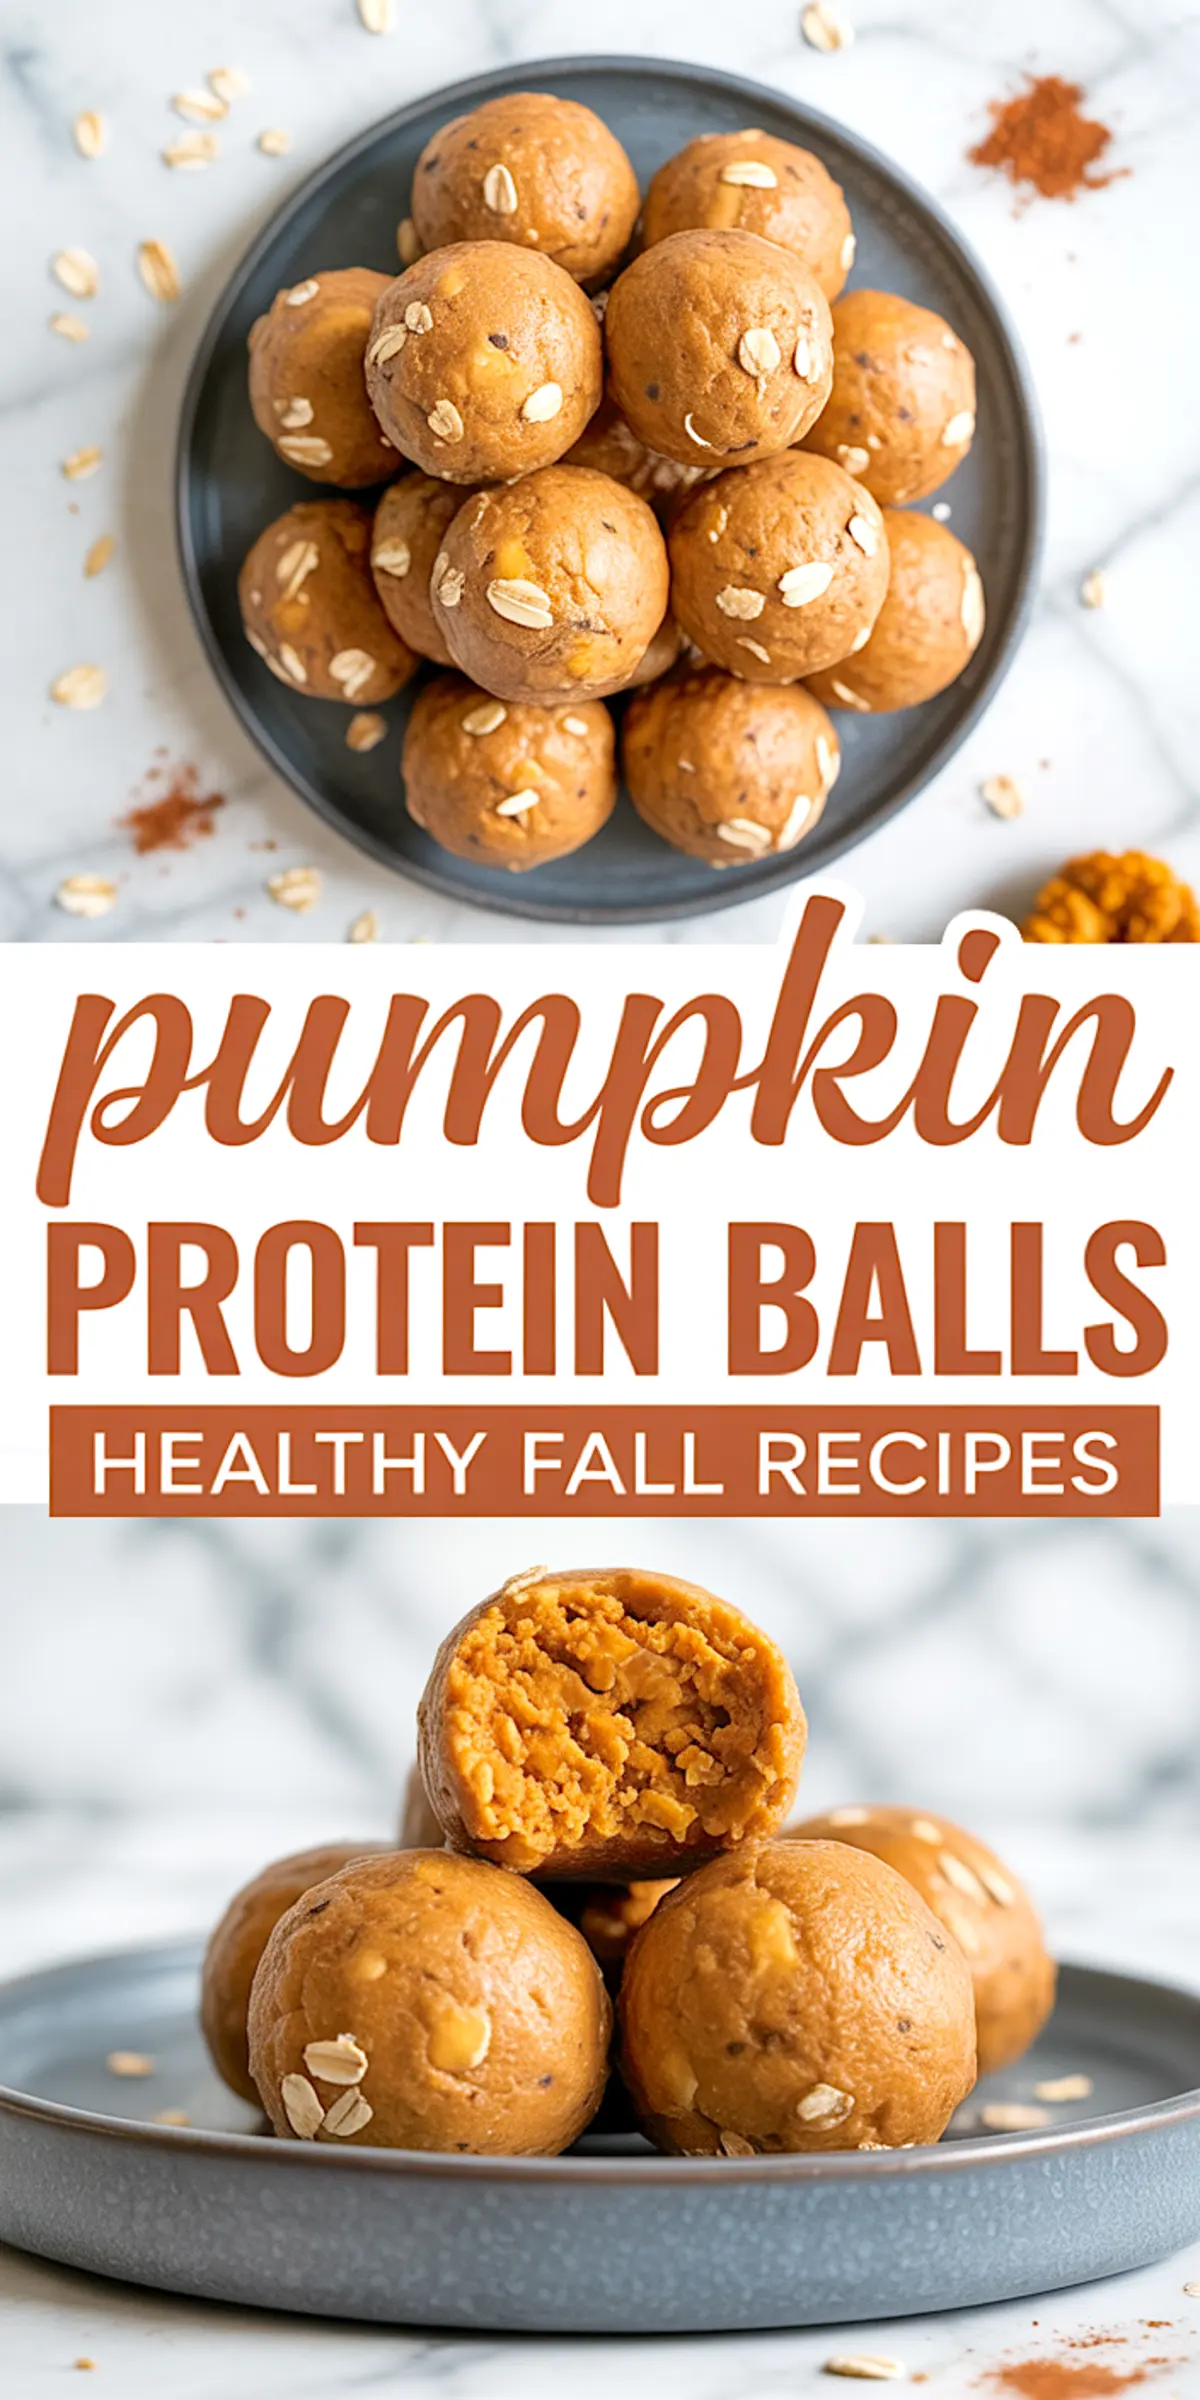
Pumpkin Protein Balls Recipe
These soft, chewy pumpkin protein balls combine the cozy flavors of fall with nutritious ingredients. Made with canned pumpkin, nut butter, oats, and protein powder, they’re naturally gluten-free and packed with fiber. Perfect for a quick snack or post-workout boost, these no-bake bites come together in minutes and can be customized with your favorite mix-ins.
Ingredients
- 1 cup canned pumpkin puree (not pumpkin pie filling)
- 1/2 cup nut butter (almond, peanut, or cashew)
- 1/4 cup pure maple syrup (or honey)
- 1 tsp vanilla extract
- 2 tsp pumpkin pie spice
- 1/4 tsp salt
- 1/2 cup vanilla or unflavored protein powder (plant-based or whey)
- 1 cup old-fashioned rolled oats, divided (use 1 cup inside the dough or 3/4 cup inside + 1/4 cup for coating)
- Optional Mix-ins
- 2 tbsp mini chocolate chips
- 1 tbsp chia seeds or flaxseeds
- 2 tbsp chopped pecans or walnuts
Instructions
- COMBINE WET INGREDIENTS: In a large mixing bowl, stir together the canned pumpkin, nut butter, maple syrup, vanilla extract, and salt until the mixture is smooth and well-blended.
- ADD DRY INGREDIENTS: Add the protein powder and pumpkin pie spice to the bowl and stir until fully incorporated, forming a thick and cohesive base.
- FOLD IN OATS: Mix in 1 cup of oats, or use 3/4 cup if you plan to reserve 1/4 cup for coating the outside. The dough should be thick and slightly sticky, but firm enough to roll. Add a little extra oats or protein powder if the mixture is too soft.
- MIX IN EXTRAS: Stir in any optional mix-ins like mini chocolate chips, chia or flaxseeds, or chopped nuts to customize the flavor and texture.
- ROLL INTO BALLS: Scoop about 1 to 1.5 tablespoons of dough per ball and roll between your palms. If reserving oats for coating, roll each ball in the remaining 1/4 cup oats to cover the surface.
- CHILL: Place the balls on a parchment-lined plate or tray and refrigerate for at least 30 minutes to firm up. Once chilled, transfer to an airtight container and store in the fridge for up to one week or freeze for longer storage.
Notes
You can adjust the texture by changing the oat ratio or chilling the mixture slightly before rolling. Use certified gluten-free oats if needed. Protein powder sweetness and flavor may vary, so adjust maple syrup to taste if necessary.
Nutrition Information
Yield
20Serving Size
1Amount Per Serving Calories 94Total Fat 4gSaturated Fat 1gTrans Fat 0gUnsaturated Fat 3gCholesterol 2mgSodium 48mgCarbohydrates 9gFiber 2gSugar 4gProtein 3g