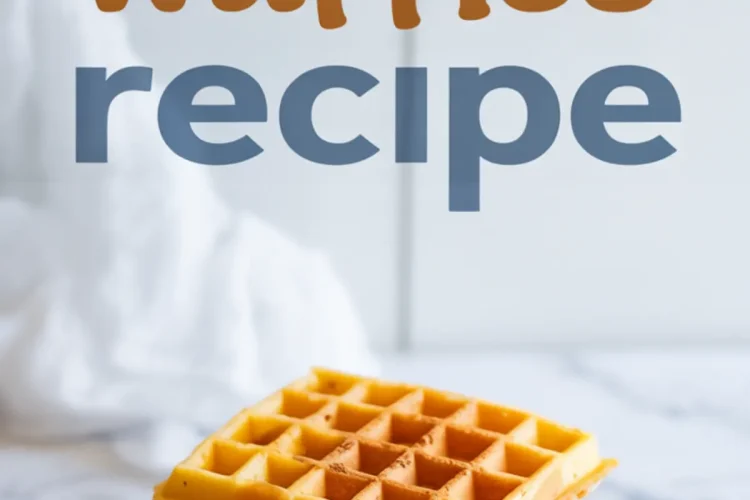
You don’t need whipped cream towers or complicated gadgets to make fall breakfast memorable. A reliable waffle iron and one bowl of batter will get you there. This pumpkin waffles recipe uses canned pumpkin and pantry basics to deliver soft, golden waffles with just the right hint of spice.
These are the kind of waffles I return to every year once the mornings start cool and the first can of pumpkin shows up in my pantry. The texture is light enough to avoid the heaviness some pumpkin recipes bring. At the same time, there’s enough structure here to hold a generous pat of butter and a pour of warm maple syrup.
You’ll walk away with a waffle recipe that doesn’t stick, doesn’t get soggy, and doesn’t require fancy flour blends or extra steps. Just a dependable batter and a few minutes at the griddle.
Following a special diet?
Every recipe on this site can be converted to gluten-free, vegan, dairy-free, keto, nut-free or egg-free with adjusted ratios so nothing falls flat.
Try the Recipe Converter →Why These Pumpkin Waffles Stand Out From the Usual Mixes
Most boxed pumpkin waffle mixes lean too hard on sugar or spice. This recipe balances both. You’ll find cinnamon and nutmeg here, but just enough to give character without overwhelming the pumpkin flavor.
Unlike overly sweet pumpkin pie bars, these waffles hold back the sugar, giving you the option to serve them sweet or savory. I often serve them alongside scrambled eggs on crisp mornings.
If you’ve tried the Bisquick pumpkin waffles or the boxed Pumpkin Waffles With Krusteaz, you’ll notice this batter cooks cleaner and releases from the iron more easily. That’s because the butter content is just right—no sticking, no tearing.
Ingredients You’ll Want to Keep Handy for Fall Cooking
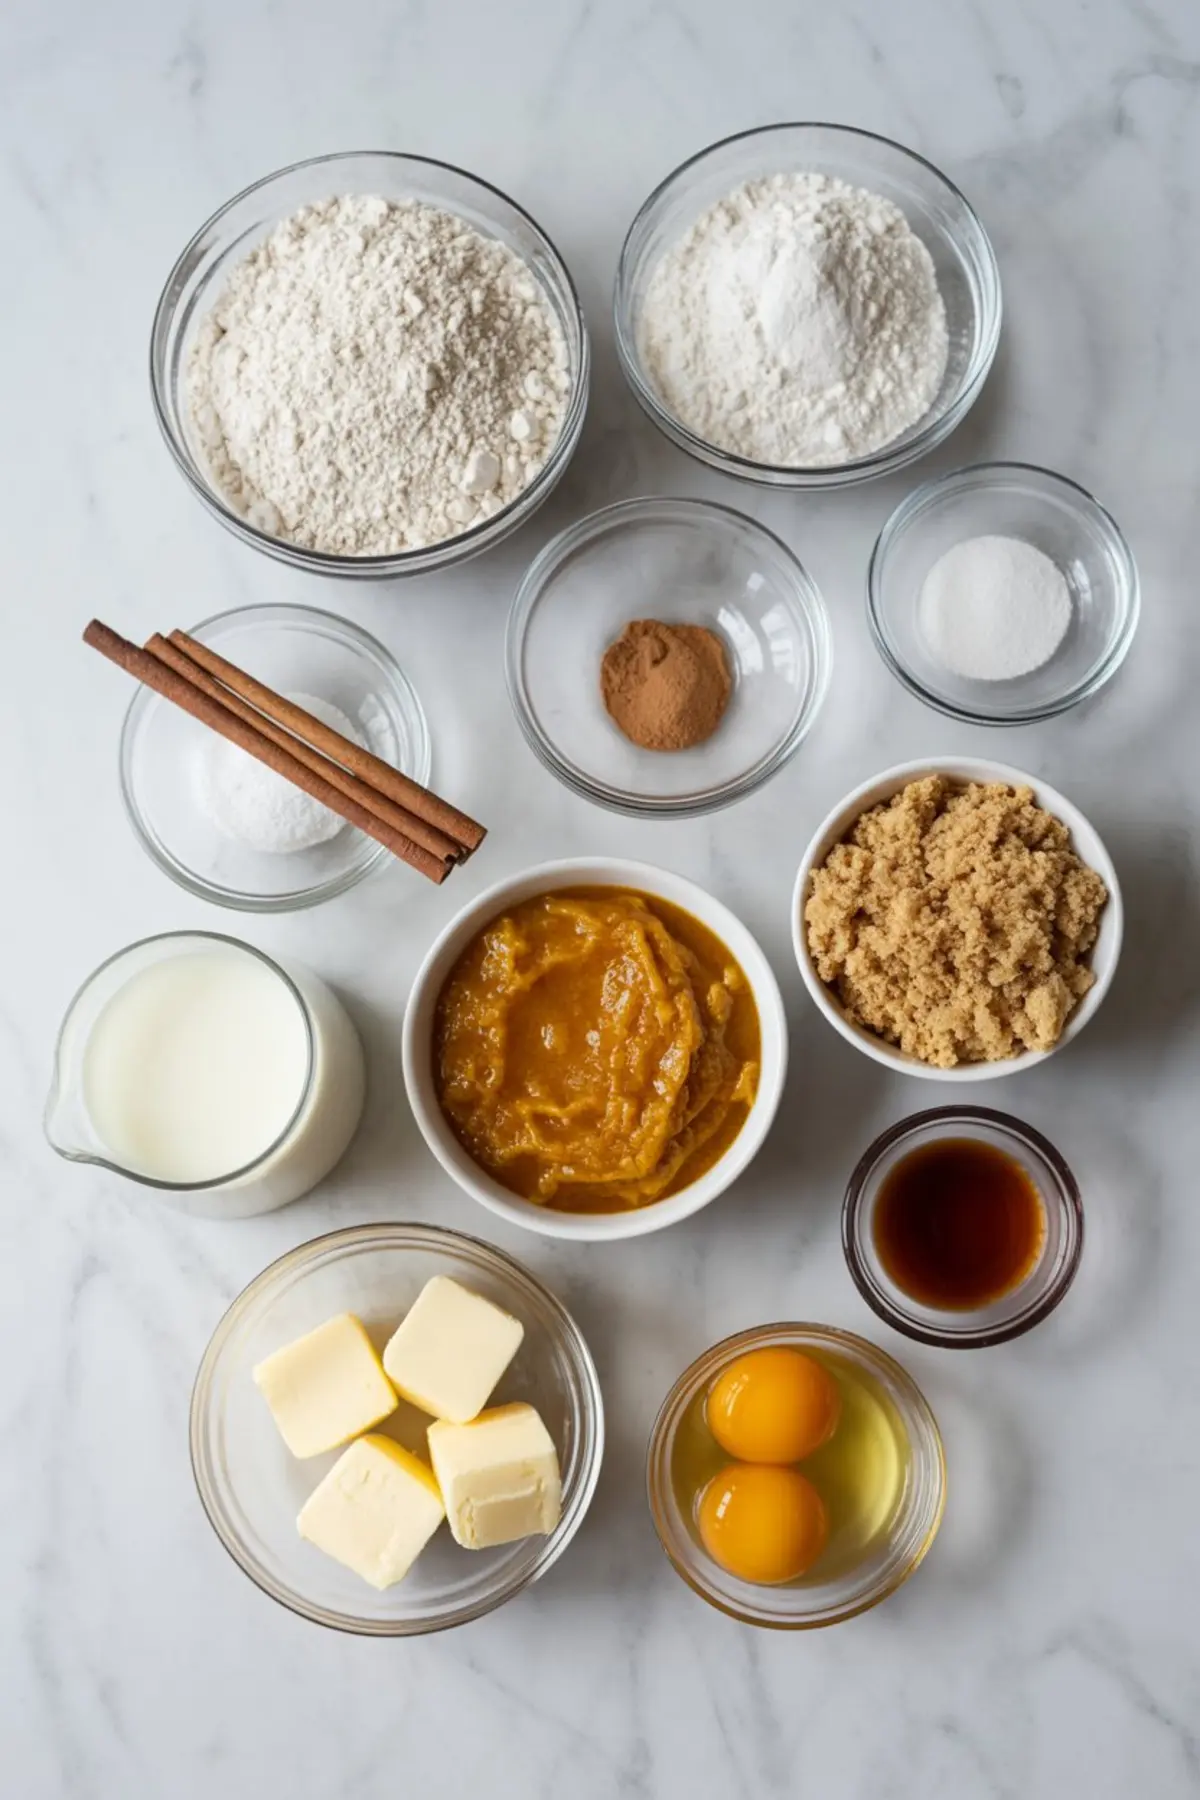
This recipe uses all-purpose flour, baking powder, and a small touch of baking soda. The baking soda isn’t optional—it helps neutralize the mild acidity in canned pumpkin and gives the waffles a tender crumb.
Cinnamon carries most of the spice here. A pinch of nutmeg deepens the aroma, but it can be skipped if your household prefers a simpler flavor. I’ve made these both ways, and both are solid. Milk and melted butter form the base of the wet mixture, with eggs and vanilla rounding it out.
The pumpkin purée should be plain, not pie filling. You’ll need about a third of a cup, which leaves just enough leftover for no bake pumpkin cheesecake balls.
Wet vs. Dry: Mixing Technique Matters More Than You Think
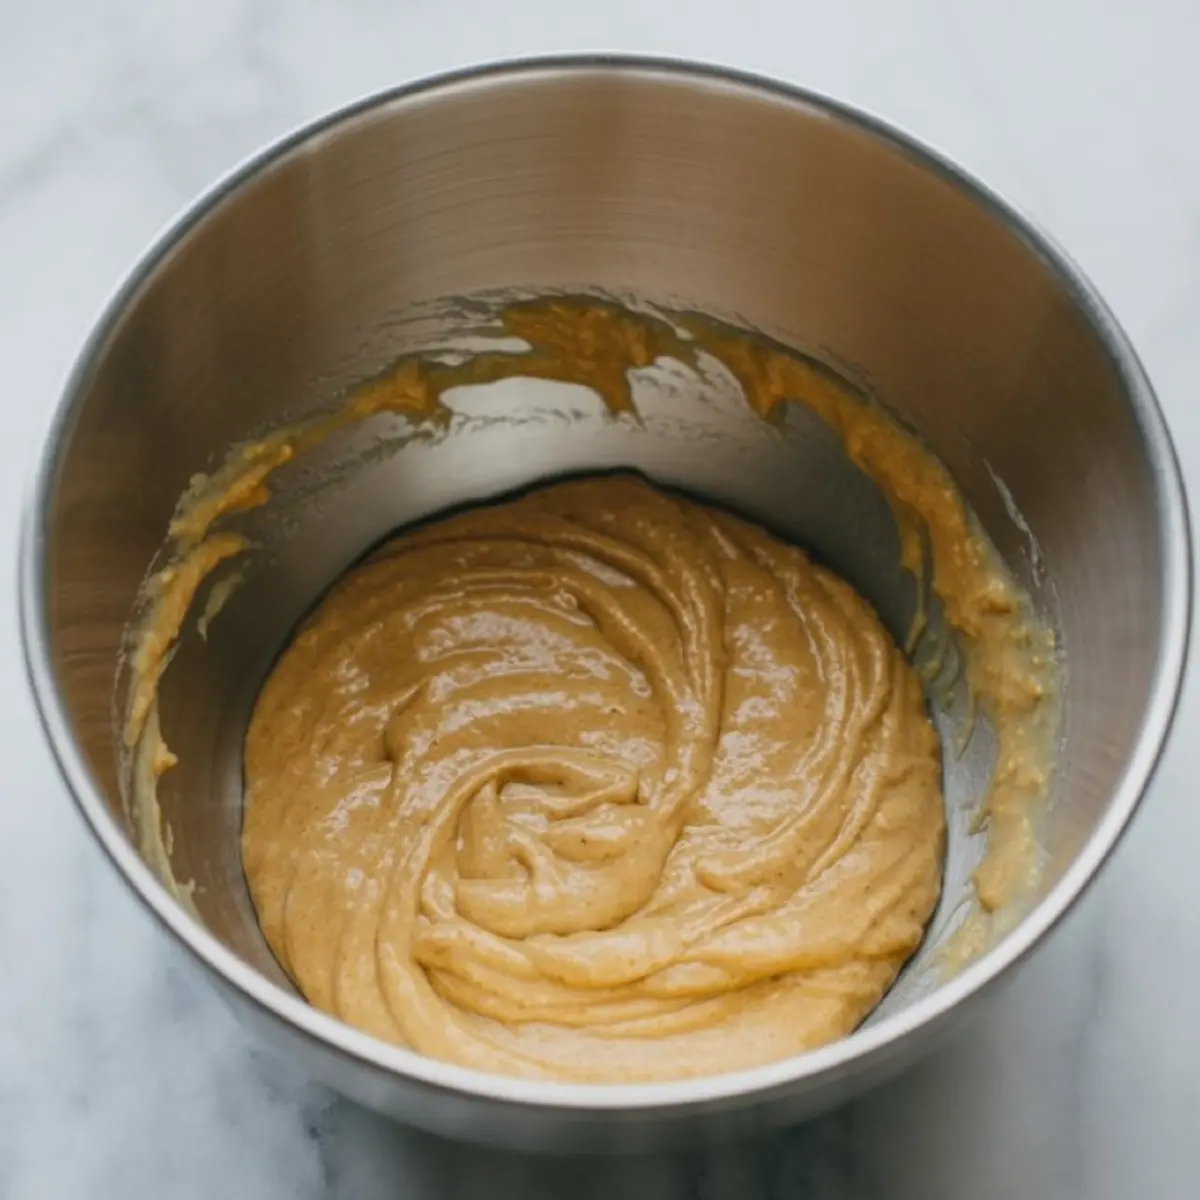
Mixing technique plays a bigger role in waffle texture than most realize. I’ve tested this recipe with electric mixers, and the result is always too tight. Use a large spoon or spatula and stop stirring once the streaks of flour disappear.
The goal is to keep the batter light. A few lumps are fine—those pockets will cook out as steam rises in the waffle iron.
In my notes, I’ve found that using whole milk gives a rounder finish. Oat milk comes close, but almond milk leaves the waffles slightly more dry after cooling. If you’re leaning toward plant-based options, oat holds its shape best here.
Practical Comparison: Brown Sugar vs. White Sugar
I’ve used both brown sugar and granulated sugar in this recipe. Brown sugar wins by a mile. The molasses content adds a softness and subtle depth that plays well with the pumpkin. White sugar made the edges sharper but dried out the interior within minutes.
If you’re after pumpkin waffles healthy enough to skip syrup, the brown sugar helps you get there with just a pat of butter.
Cooking and Serving Tips for Crisp Edges and Soft Centers
Always preheat your waffle iron thoroughly. A lukewarm plate steams the batter instead of browning it. Grease lightly, even if the plates are nonstick. Butter gives better flavor than spray oil and helps with that crisp edge.
These waffles release easily once the steam stops. Resist the urge to lift the lid too early. Waffles that tear usually just need another 30 seconds.
To keep them warm while cooking the rest of the batch, place finished waffles directly on a wire rack in a 200°F oven. Stacking will make them steam and soften.
Serve immediately or freeze in a single layer. Reheat straight from frozen in a toaster. They crisp right back up without drying out.
Seasonal Serving Ideas and Toppings That Work
I like to serve these with warm maple syrup and a small bowl of spiced whipped cream. For Halloween waffles, I’ve added a dusting of cinnamon sugar and pumpkin sprinkles for the kids. These also pair well with sliced pears or caramelized apples if you’re serving a crowd.
If you prefer something less sweet, top them with salted butter and a spoonful of plain Greek yogurt. They don’t need much help.
For anyone curious about fall pancakes vs. waffles, this recipe wins on texture. The crisp surface holds toppings better, and the interior stays light even after cooling—something most pancakes lose.
Related Recipes to Round Out Your Fall Table
If you have leftover canned pumpkin, easy pumpkin scones make a good afternoon bake. Or turn to pumpkin oatmeal cookies for a soft, spice-forward treat that travels well in lunch boxes.
For a no-bake option, the pumpkin cheesecake balls offer a creamy contrast to these crisp-edged waffles.
Save and Share Your Batch
Pin this Pumpkin Waffles Recipe to your Fall Waffles or Halloween Breakfast boards to keep it handy for busy mornings.
I’d love to know how yours turned out. Did you serve them sweet or savory? Leave a comment and share your version, I always read every one.
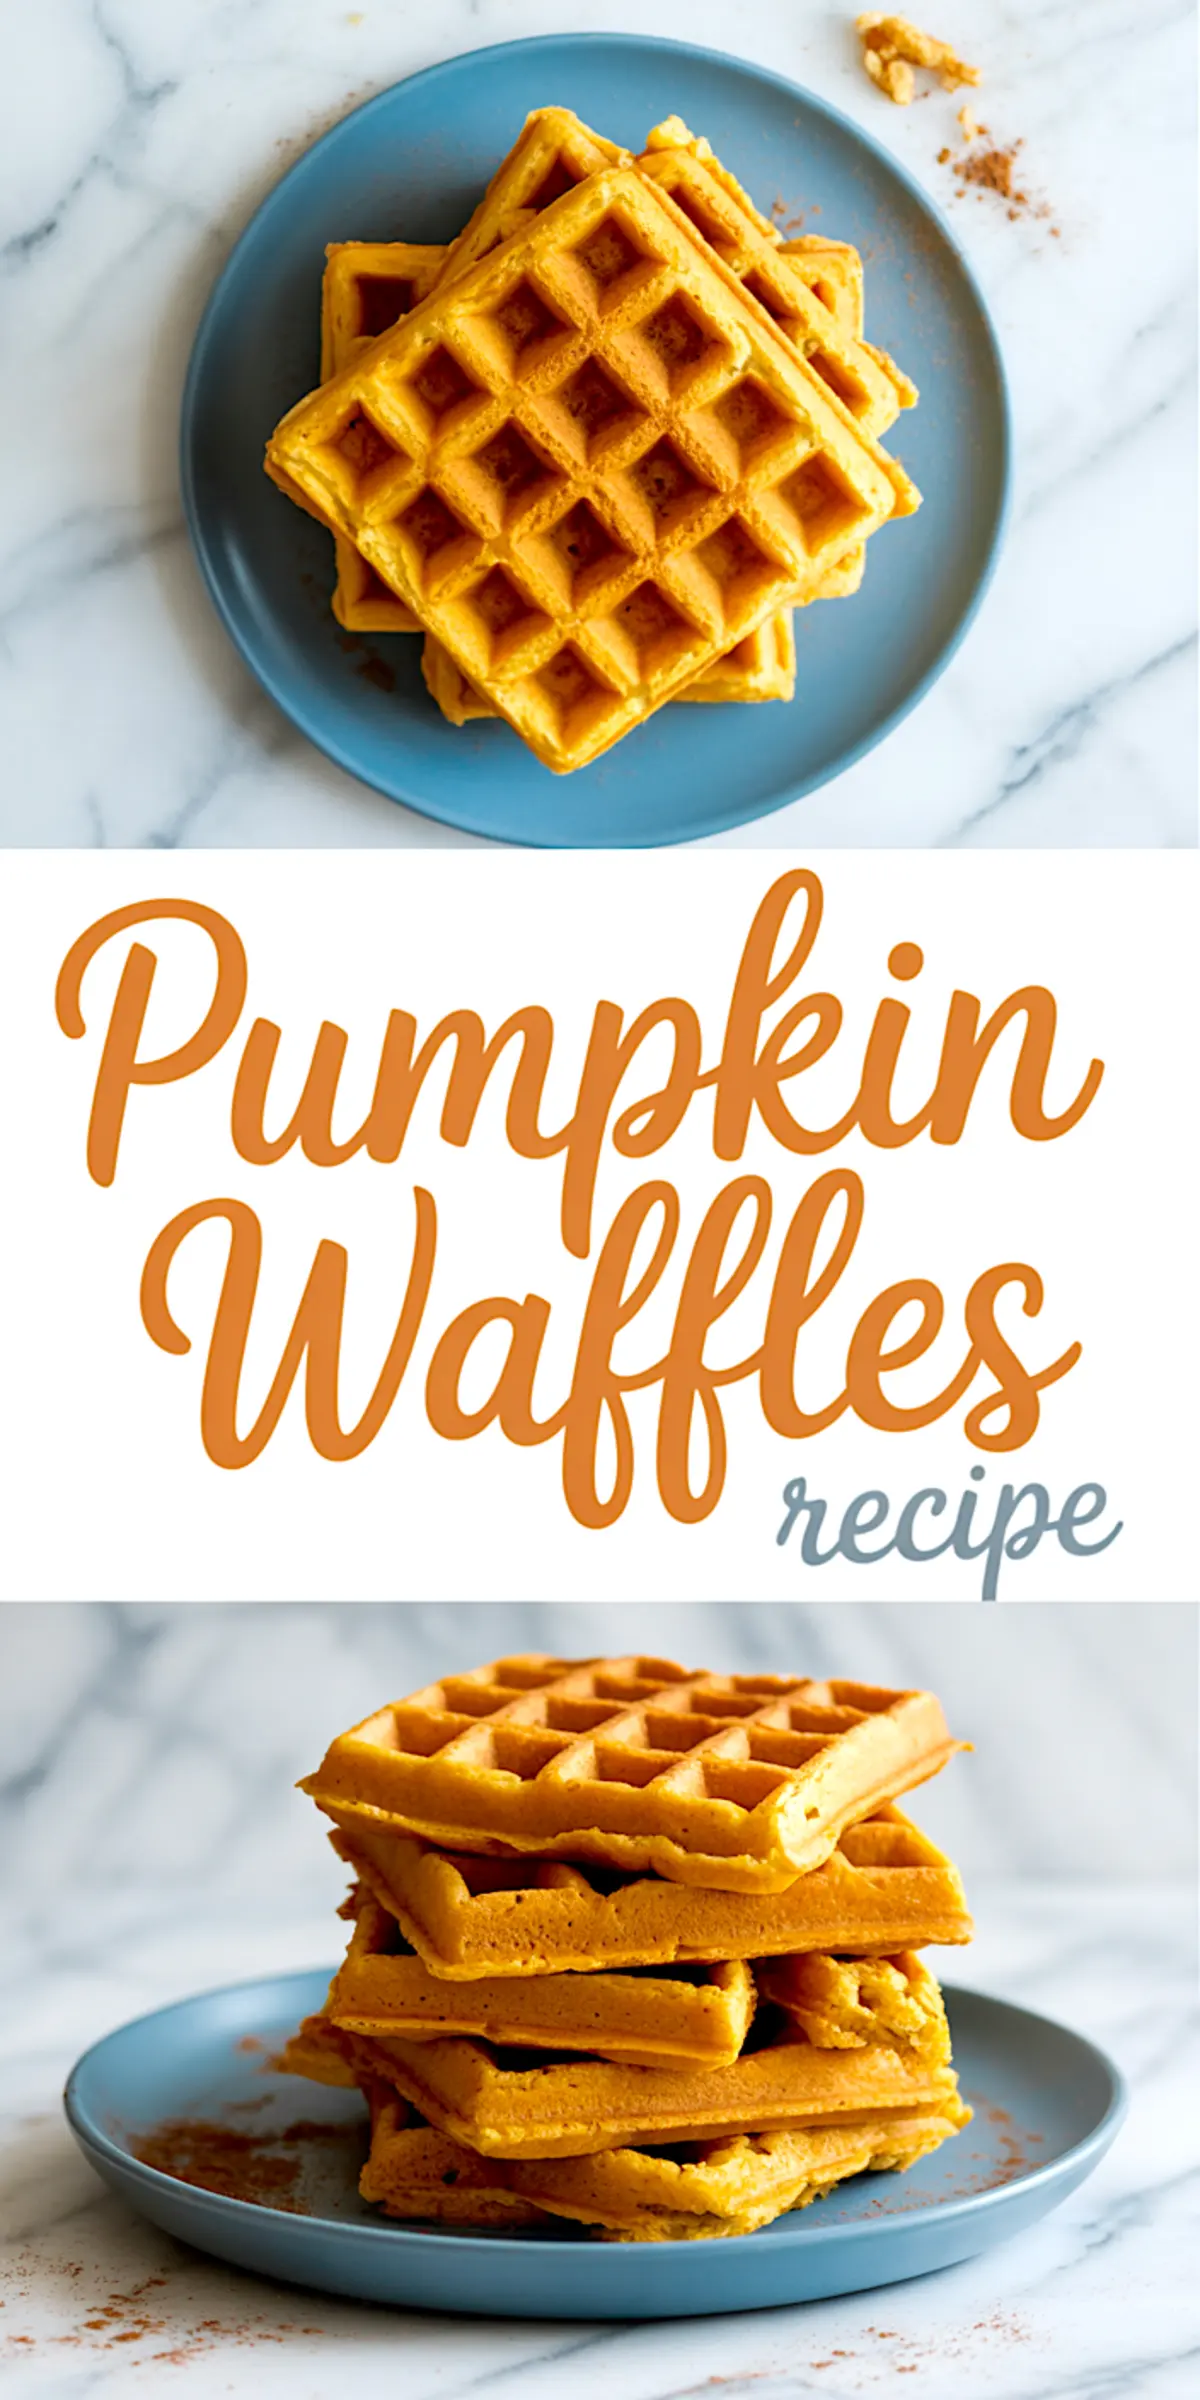
Pumpkin Waffles Recipe
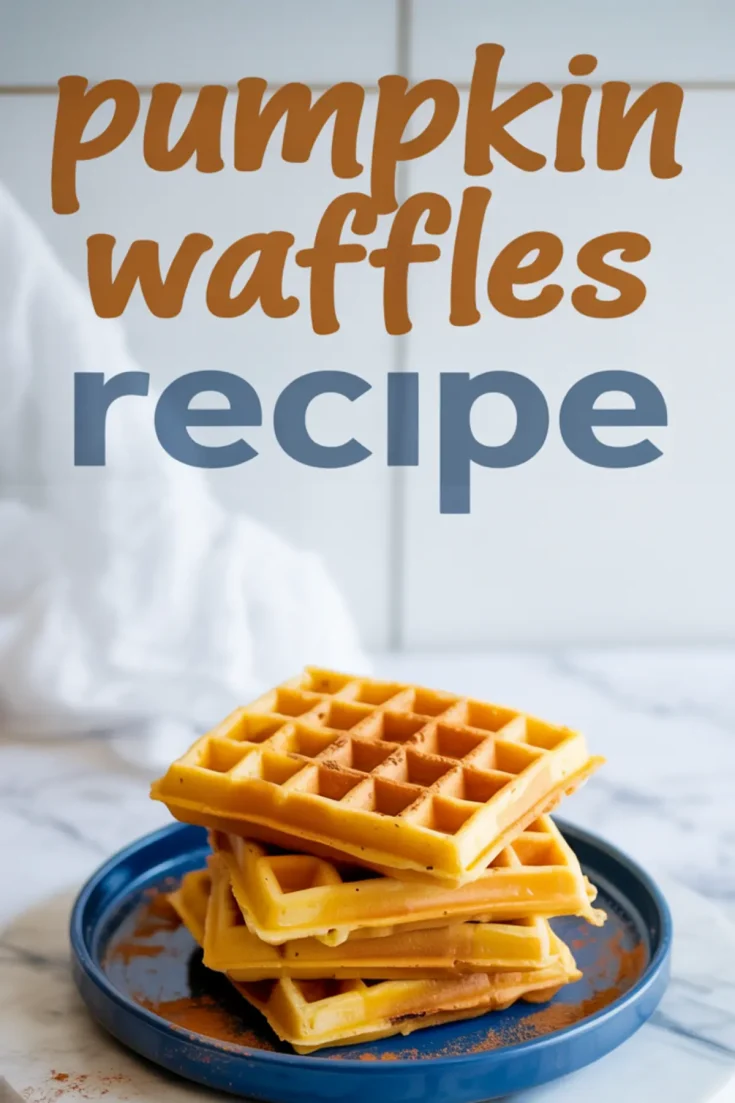
A lightly spiced pumpkin waffle recipe that brings a soft golden color, gentle crisp edges, and a tender interior. Balanced with just a touch of canned pumpkin and warm spices, these waffles are ideal for a fall breakfast that’s simple and not overly sweet. No special tools required—just a basic waffle maker and pantry staples.
Ingredients
- Dry Ingredients:
- 1 3/4 cups all-purpose flour
- 1 tbsp baking powder
- 1/4 tsp baking soda
- 1/2 tsp salt
- 1 tsp ground cinnamon
- 1/4 tsp ground nutmeg
- Wet Ingredients:
- 1 1/4 cups milk
- 1/3 cup canned pumpkin purée
- 2 tbsp brown sugar
- 1/4 cup melted butter (plus extra for greasing the waffle iron)
- 2 large eggs
- 1 tsp vanilla extract
Instructions
- PREHEAT THE WAFFLE IRON: Turn on your waffle maker and preheat it according to the manufacturer’s instructions. Lightly grease the plates with melted butter or oil.
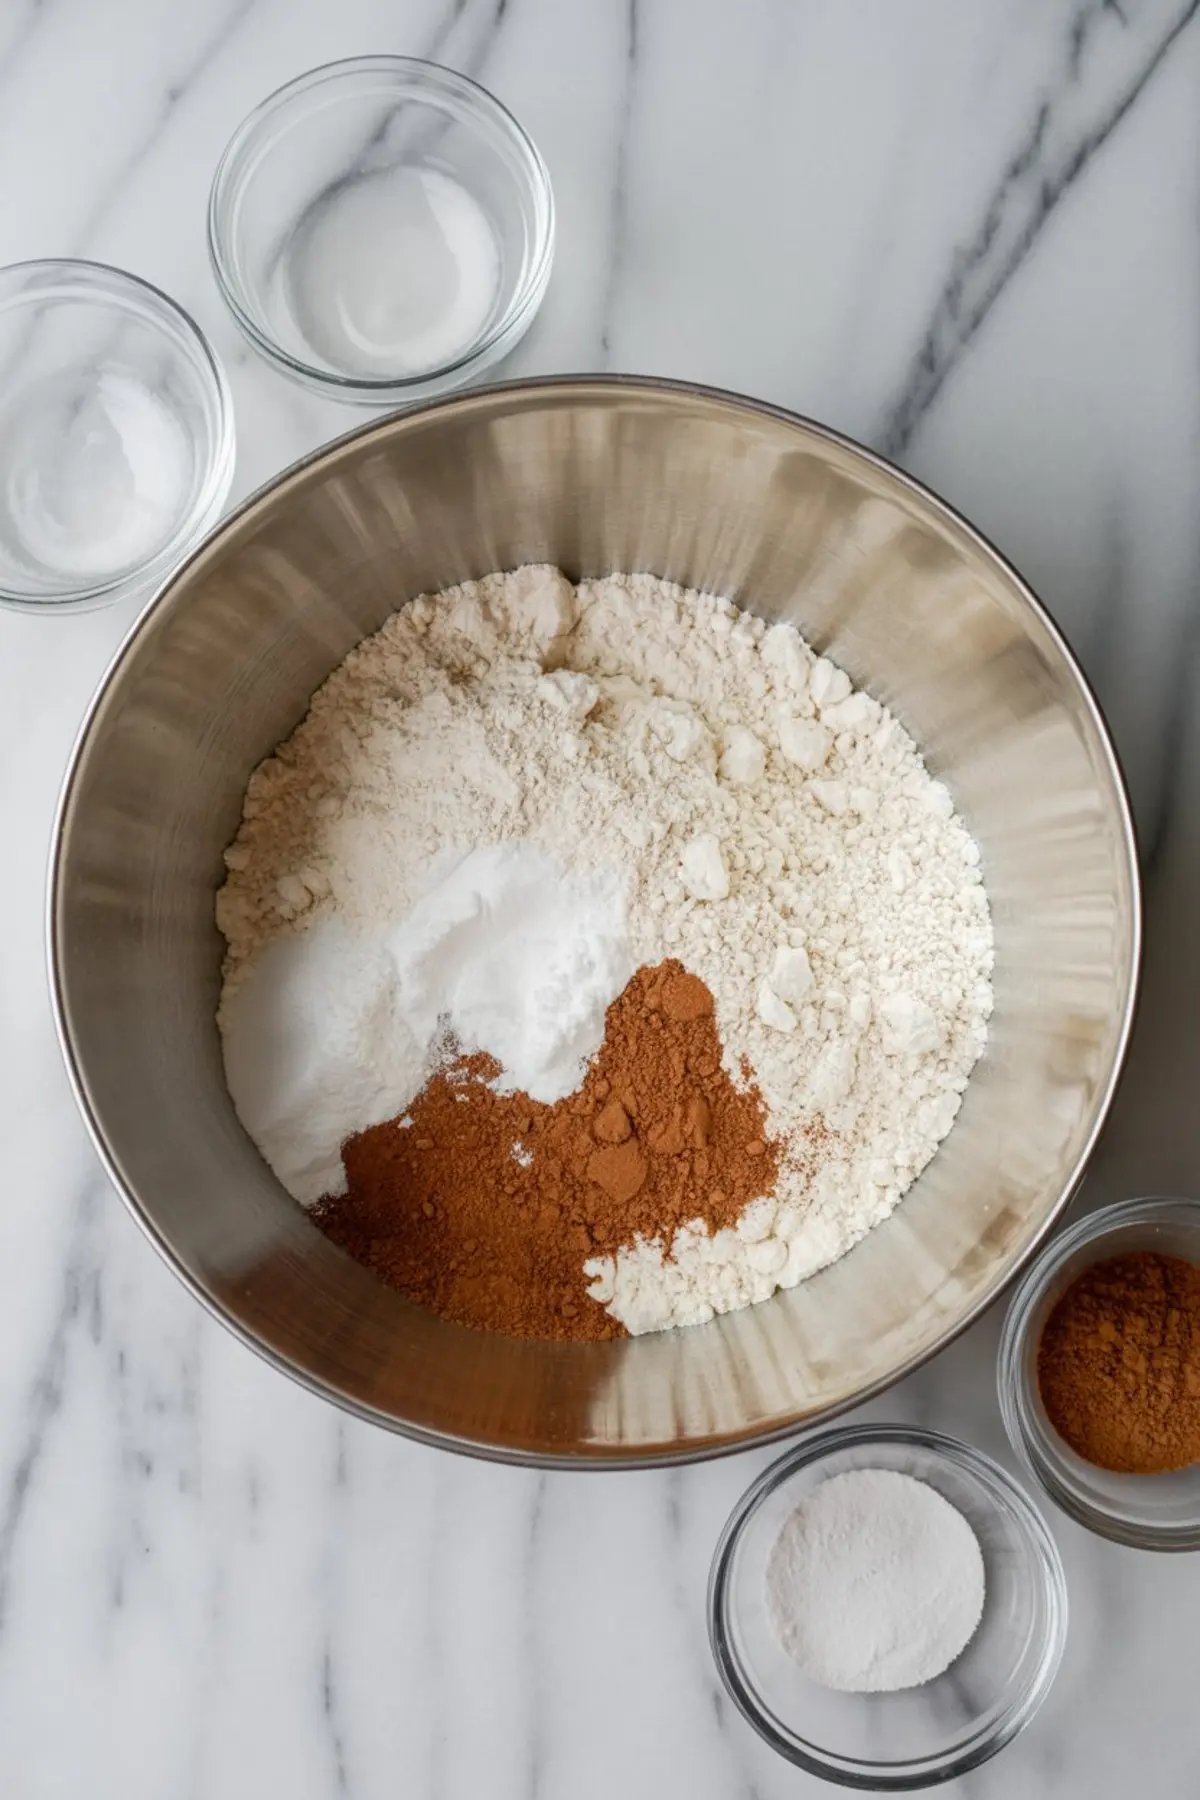
- MIX THE DRY INGREDIENTS: In a large mixing bowl, whisk together the flour, baking powder, baking soda, salt, cinnamon, and nutmeg until evenly combined.
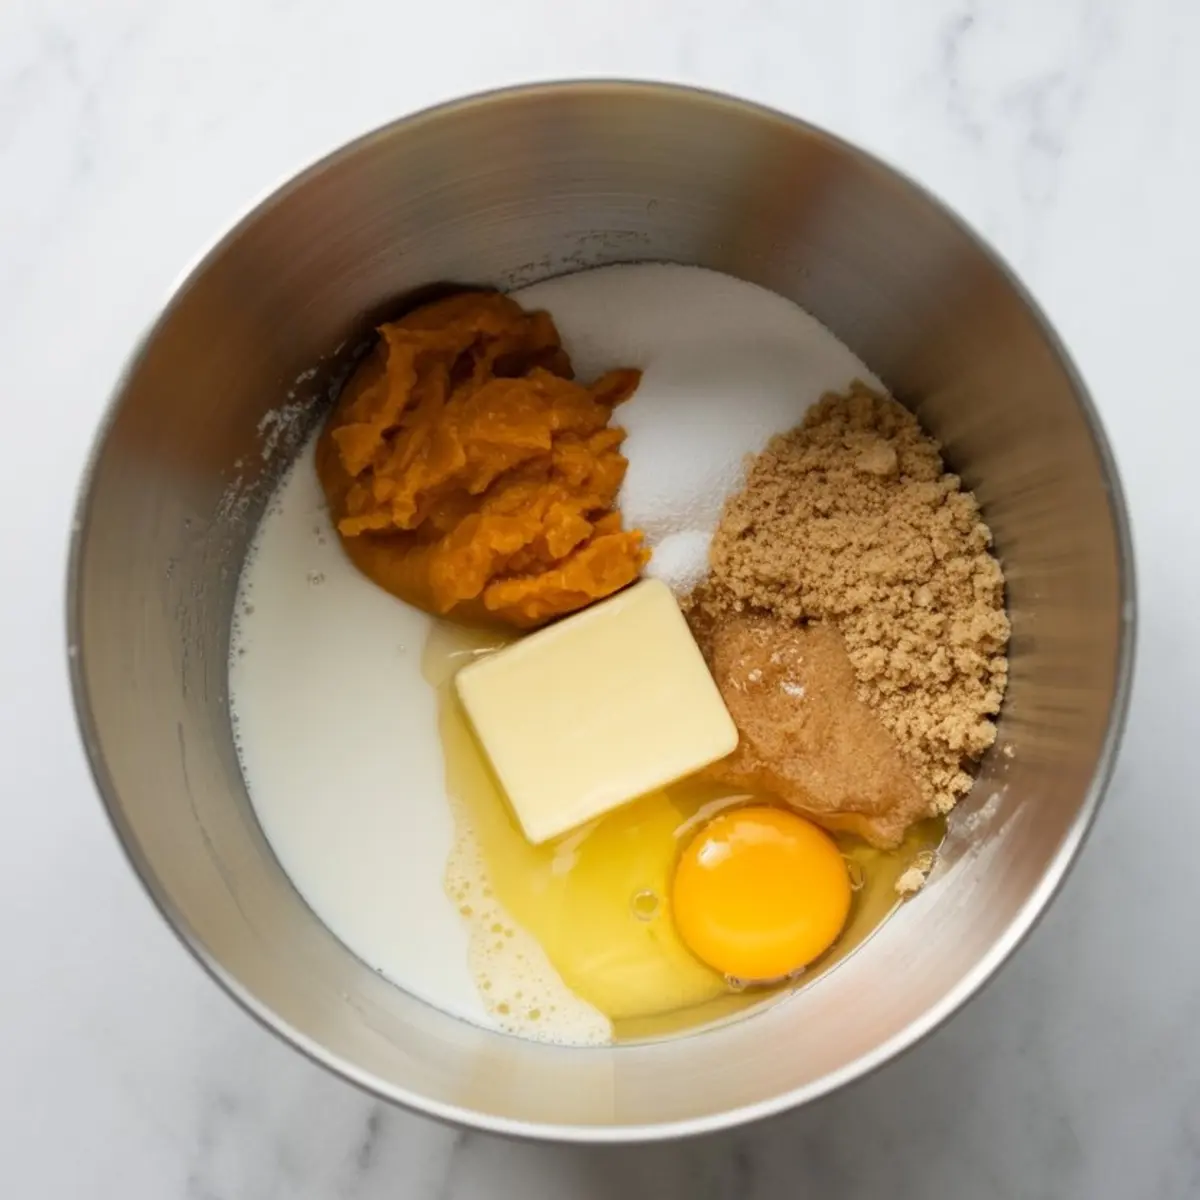
- COMBINE THE WET INGREDIENTS: In a separate bowl, whisk together the milk, canned pumpkin purée, brown sugar, melted butter, eggs, and vanilla extract until smooth and fully blended.
- COMBINE WET AND DRY MIXTURES: Pour the wet mixture into the bowl with the dry ingredients. Stir gently with a spatula or wooden spoon just until the flour disappears. Do not overmix; a few small lumps are okay.
- COOK THE WAFFLES: Scoop the appropriate amount of batter into your preheated waffle iron (this will vary based on the size of your waffle plates). Spread the batter slightly if needed, close the lid, and cook until the waffles are golden brown and lightly crisp on the edges.
- FINISH AND SERVE: Remove the cooked waffles and repeat with the remaining batter. To keep waffles warm while you cook, place them on a wire rack in a 200°F (90°C) oven.
Notes
For a softer spice flavor, omit the nutmeg. Whole milk gives a richer texture, but plant-based alternatives work well too. Avoid overmixing the batter to keep waffles tender.
Nutrition Information
Yield
4Serving Size
1Amount Per Serving Calories 410Total Fat 16gSaturated Fat 9gTrans Fat 1gUnsaturated Fat 6gCholesterol 130mgSodium 901mgCarbohydrates 54gFiber 2gSugar 10gProtein 12g