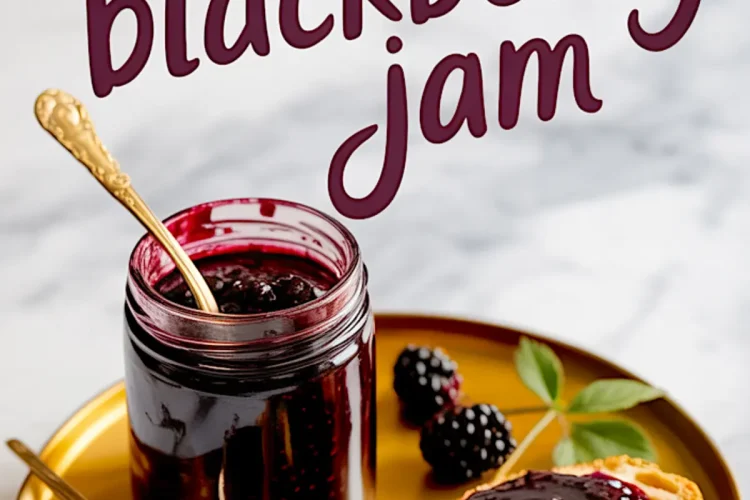
Blackberry jam is one of those preserves that doesn’t need much. When the fruit is ripe and sweet, the rest falls into place. This recipe uses no added pectin, no fillers, and no shortcuts. Just berries, sugar, lemon, and time.
What you’ll get here is a small-batch jam with deep fruit flavor and a soft, spreadable set. It’s easy enough for beginners but refined enough for seasoned canners. If you’ve been looking for a reliable go-to blackberry preserves recipe that balances sweetness with tart notes, this version gives you both.
You’ll learn how to work with fresh or frozen berries, how to test for doneness without a thermometer, and how to store or can the jam safely. And you’ll walk away with a jar that tastes better than anything you’ve bought off a shelf.
Following a special diet?
Every recipe on this site can be converted to gluten-free, vegan, dairy-free, keto, nut-free or egg-free with adjusted ratios so nothing falls flat.
Try the Recipe Converter →The Ingredients: What Matters and Why It Works
This jam begins with four cups of fresh blackberries. If you’re working with frozen berries, just thaw them first. The texture changes slightly, but the flavor holds up well. I’ve tested both side by side, and frozen berries still make a rich jam—just expect a slightly looser set.
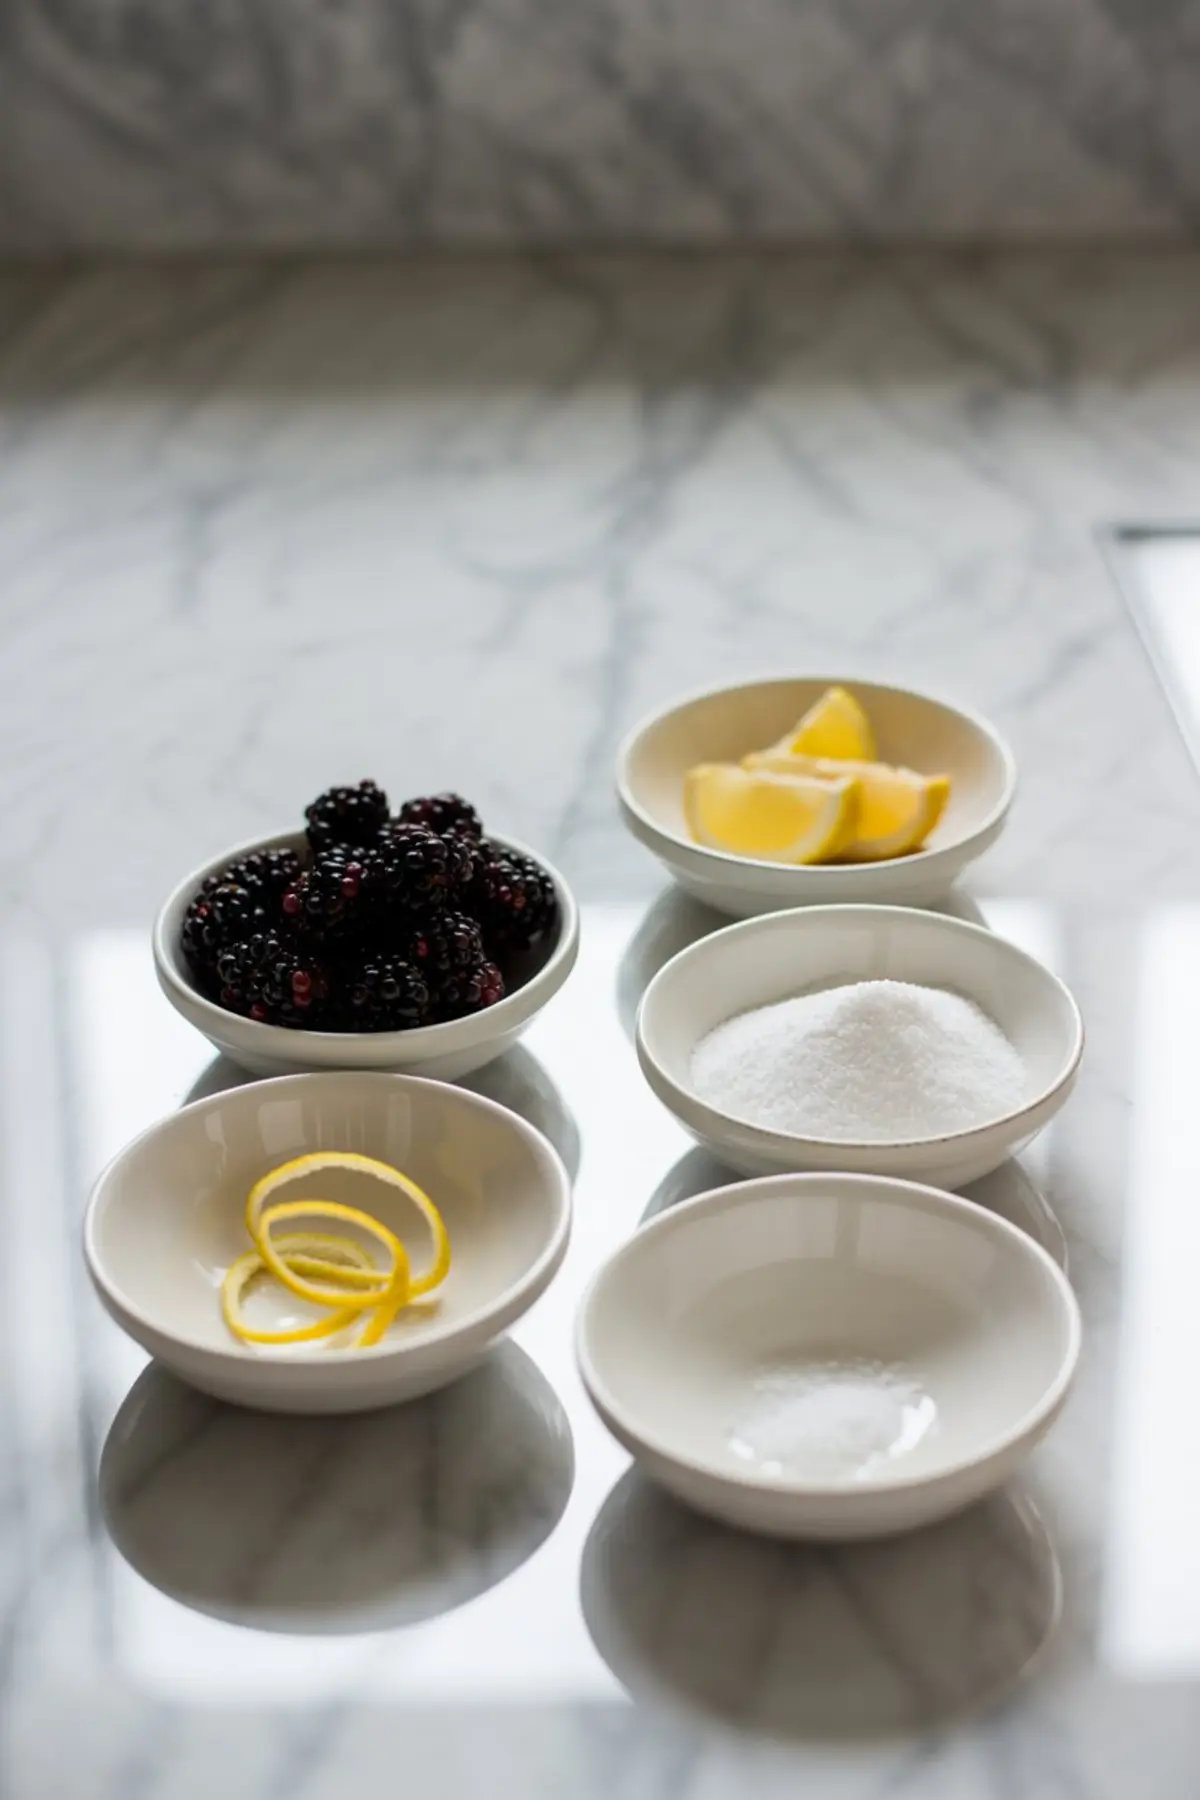
Add sugar next. Two cups bring out the berry’s natural richness without overpowering it. It also draws out the juices as the mixture heats.
Lemon juice plays two roles: It helps the jam set and keeps the flavor bright. The zest adds depth, and the pinch of salt sharpens everything. Skip the zest if you want a smoother spread, but keep the juice—it makes a noticeable difference.
Helpful Comparison: Fresh vs. Frozen Blackberries
I’ve used both many times. Fresh berries make a firmer jam with a deeper hue and slightly more texture. Frozen berries are softer and tend to break down faster. That makes them ideal if you prefer a smoother consistency or plan to strain for seedless blackberry jam. In my notes, frozen batches always needed a few extra minutes of boiling to reach the same thickness.
Mashing and Mixing: Creating the Base
Once the berries are in your pot, mash them gently. I use the back of a spoon if I want a chunky result, or a potato masher when I need it smoother. The key is to break them down enough so the sugar blends well.
Then stir in the sugar, lemon juice, and salt. The sugar will draw out the juices and create a glossy, deep purple base. Stir over medium heat until everything dissolves. Use a wide saucepan to let the liquid reduce faster without scorching.
At this point, the scent alone tells you it’s going to turn out right.
If you’re curious about similar jam textures, this method mirrors what I use in my blueberry jam recipe, where gentle simmering brings out the berry’s body without turning it stiff.
Boiling, Bubbling, and Testing for Set
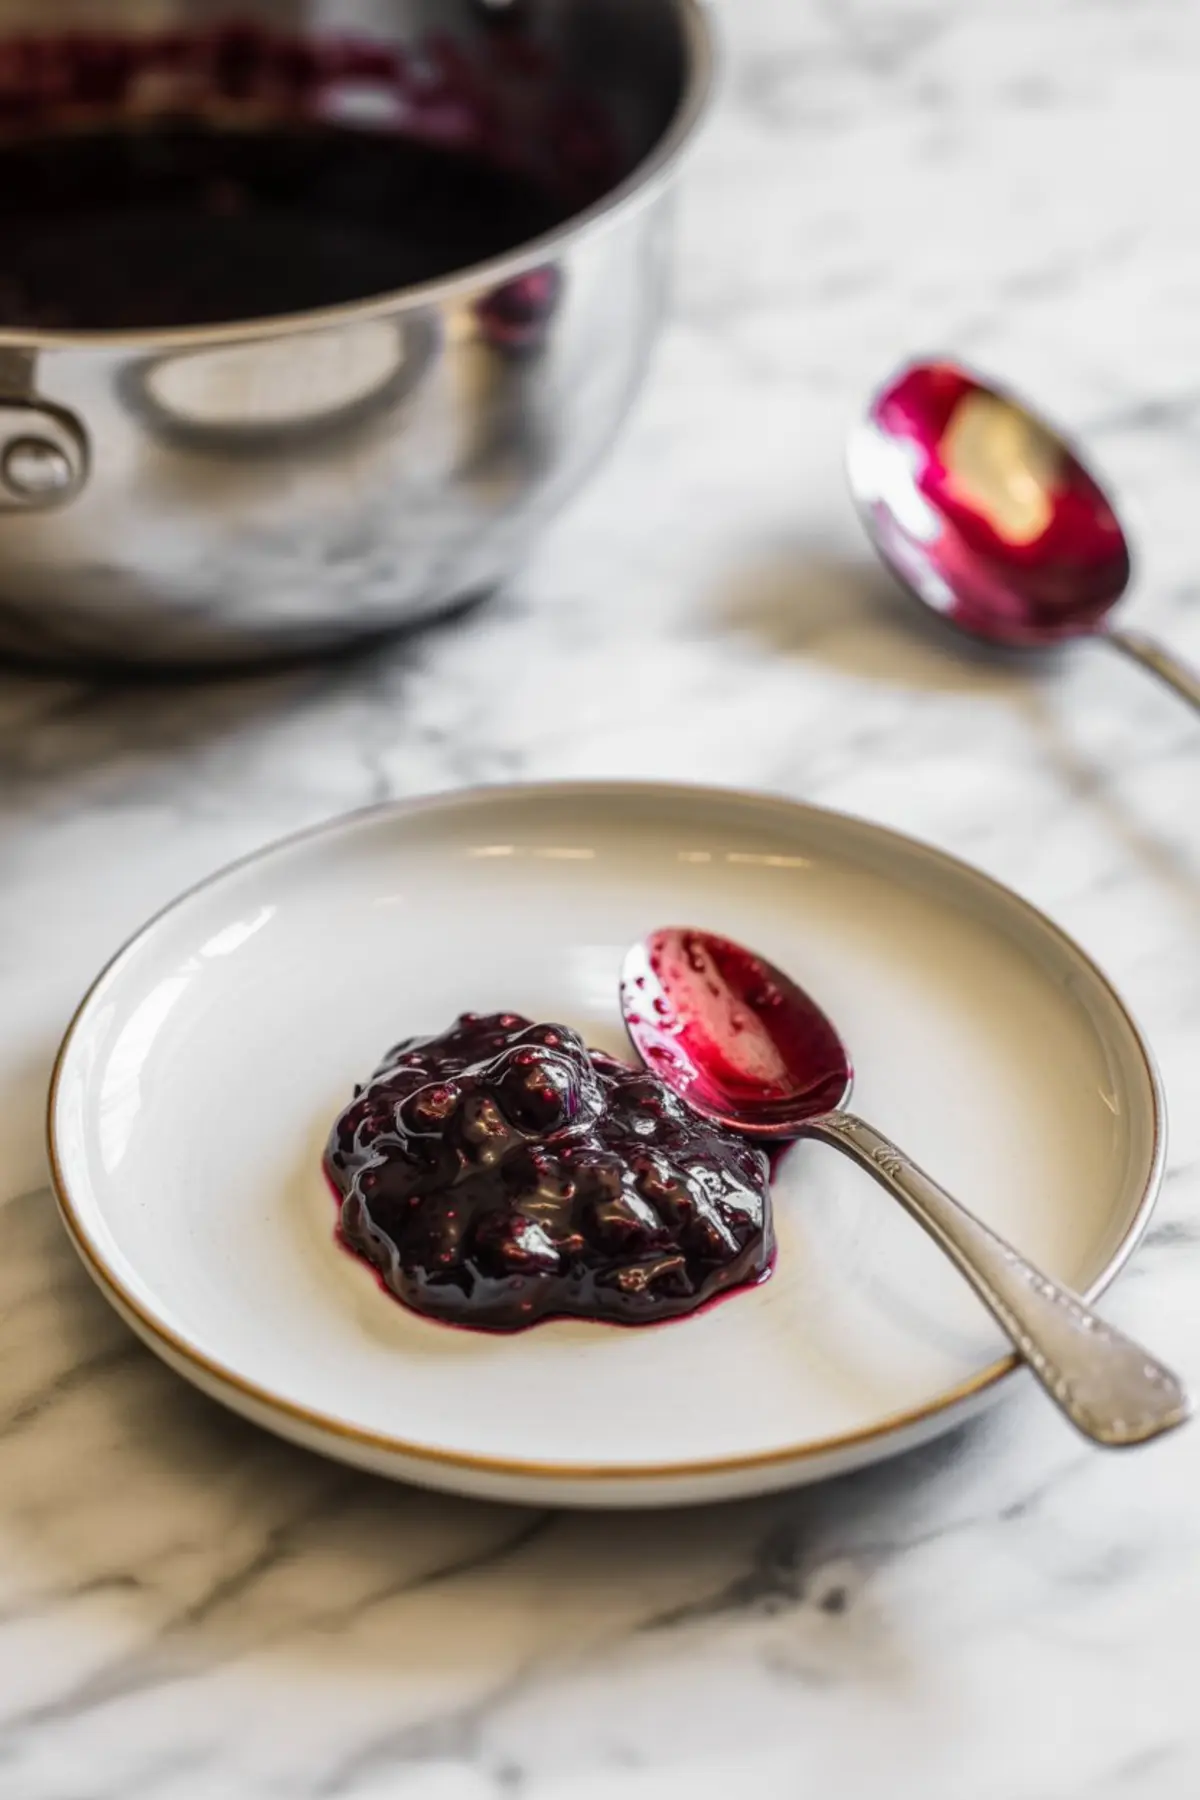
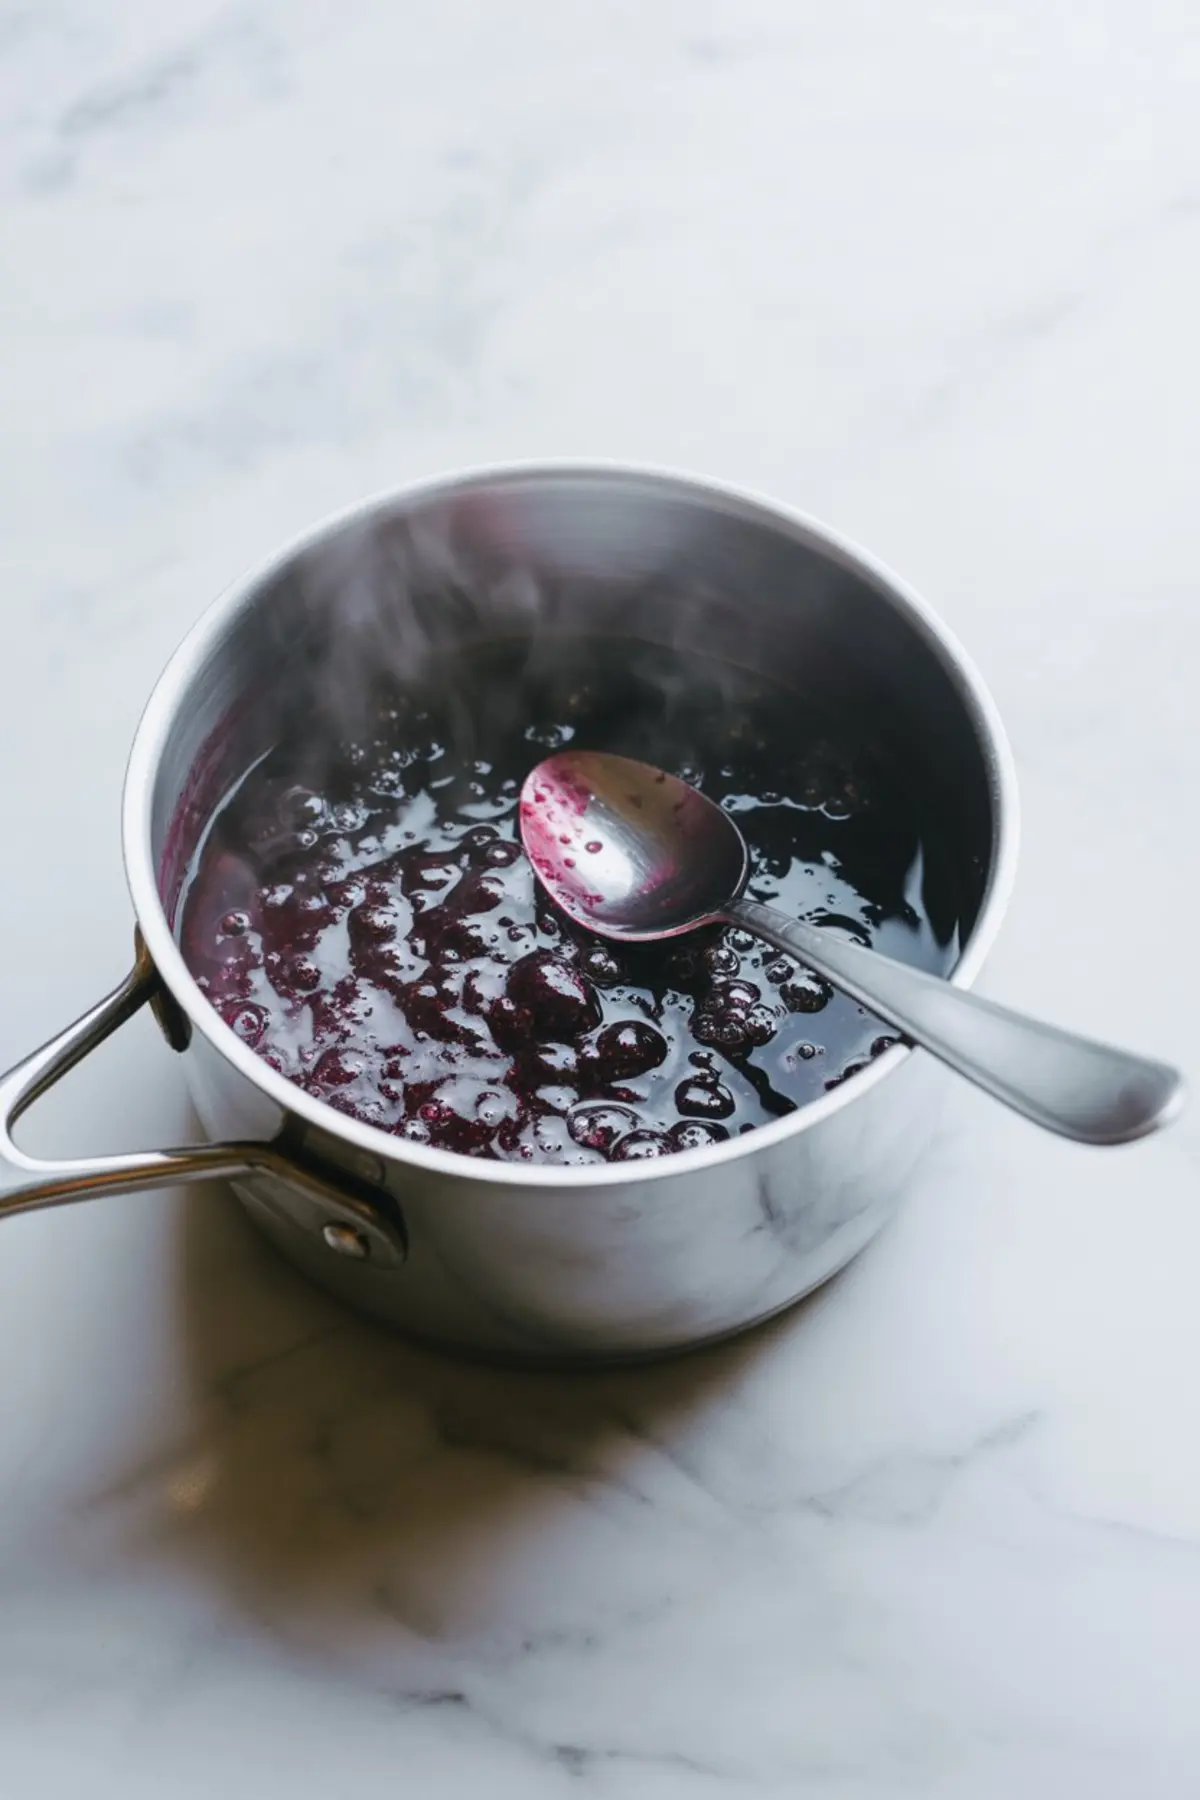
Once the sugar has dissolved, turn the heat to high and bring the mixture to a rolling boil. This step thickens the jam and pulls it all together. Keep stirring so it doesn’t stick to the bottom.
Let it boil for 15 to 20 minutes. The bubbling will change—it’ll go from foamy to thick and shiny. That’s your cue to test. Spoon a bit onto a cold plate. If it wrinkles slightly when you drag your finger through, it’s ready. If it’s still loose, boil another 2 to 3 minutes and try again.
Avoid overcooking. As the jam cools, it thickens more. It’s better to stop early than to push too far and lose the soft, spreadable finish.
For a softer flavor with a lighter feel, try using this same method with strawberries or even seasonal pumpkin jam for a different texture and richness.
Skimming and Filling the Jars
As the jam finishes, you’ll notice a light foam forming on top. Skim it off with a clean spoon. It won’t hurt the taste, but removing it gives the jar a cleaner look and smoother surface.
Then fill your jars while the jam is still hot. Use a funnel if you have one, but if not, ladle carefully and wipe the rims clean before placing the lids.
For long-term storage, process the filled jars in a boiling water bath for 10 minutes. That seals them safely and gives you shelf-stable jam for up to a year.
If you plan to eat it within a few weeks, just refrigerate once cooled. I often keep one open in the fridge and process the rest. It helps with smaller batches, like I do for caramel apple jam—a fall favorite around here.
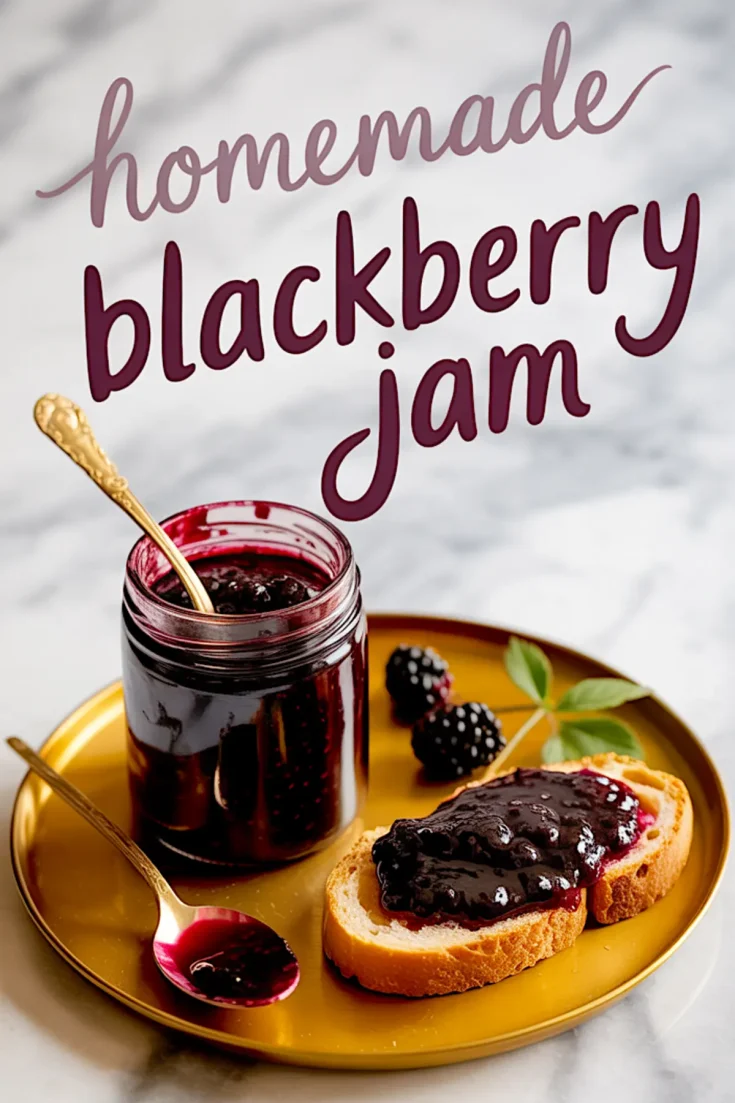
Serving Tips and Storage Notes
This jam works well on toast, waffles, or as a filling between cake layers. I like it swirled into Greek yogurt or folded into vanilla ice cream. It holds its shape without stiffening and keeps a soft sheen.
Store open jars in the fridge and use within 3 to 4 weeks. Processed jars stay good in a cool pantry for up to 12 months.
If you’re experimenting with berry jam recipes, this one gives you a reliable base to riff on—think of it as a foundation you can flavor with herbs, spice, or even jalapeño for a savory kick.
Related Recipes You Might Like
- Blueberry Jam Recipe – sweet and soft-set, perfect for spooning.
- Strawberry Jam Recipe – bright, simple, and deeply fruity.
- Caramel Apple Jam Recipe – a fall twist with rich apple flavor.
- Homemade Pumpkin Jam – cozy and unexpected.
Save This for Later and Join the Conversation
Pin this Homemade Blackberry Jam Recipe so you can find it next time berry season rolls around. Share your batch in the comments—I’d love to hear how it turned out, what you served it with, or if you added your own twist.
There’s room in the kitchen for every method, every favorite jar, and every question. Let’s keep the jam shelf growing.
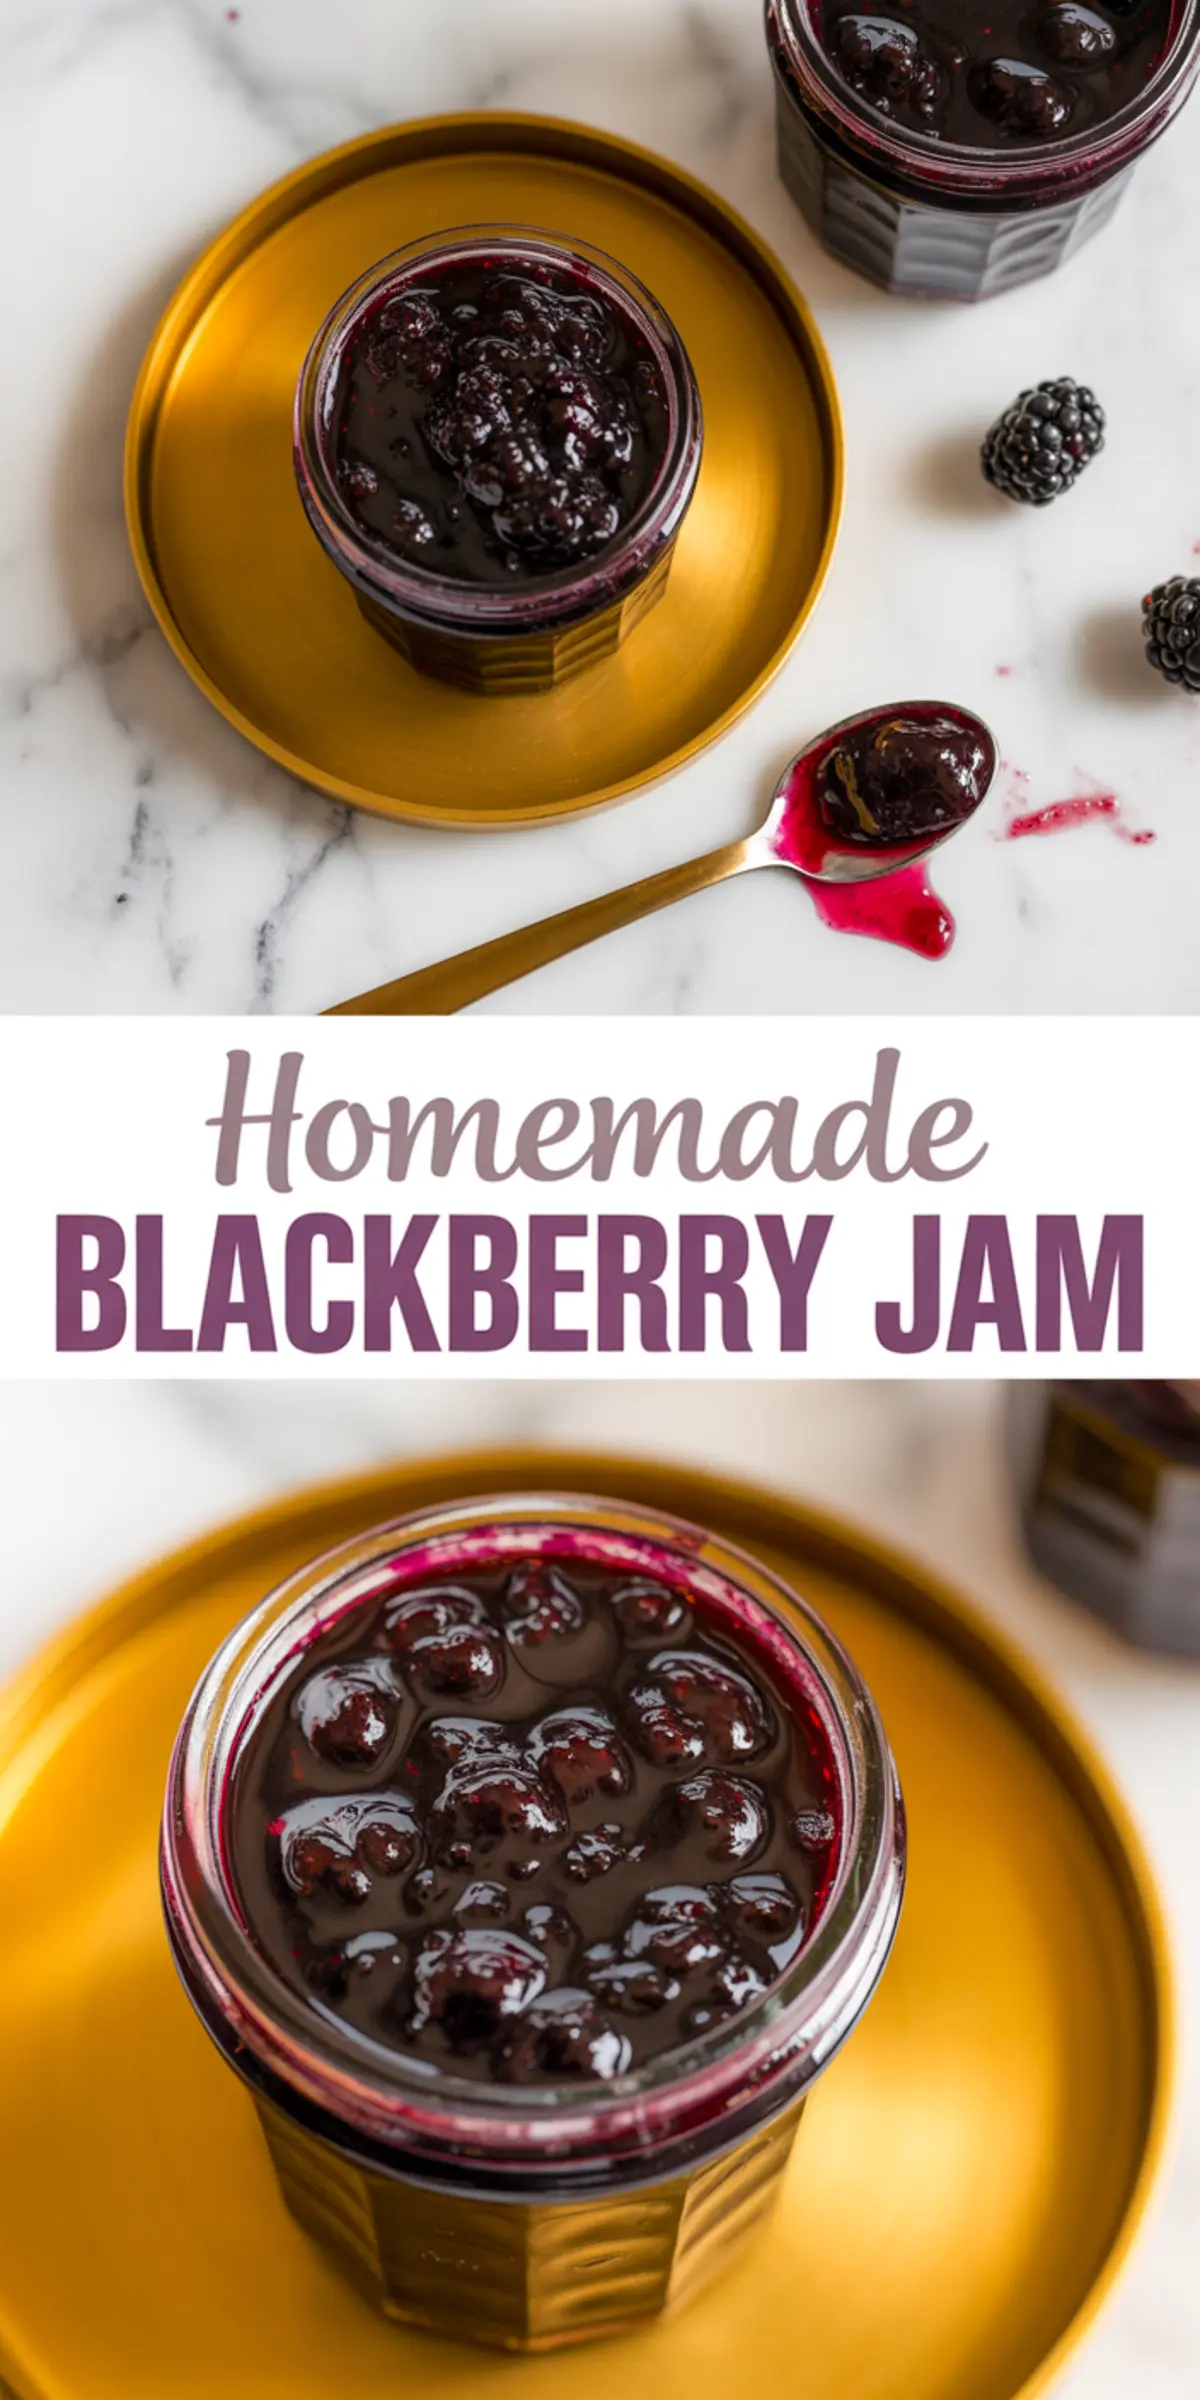
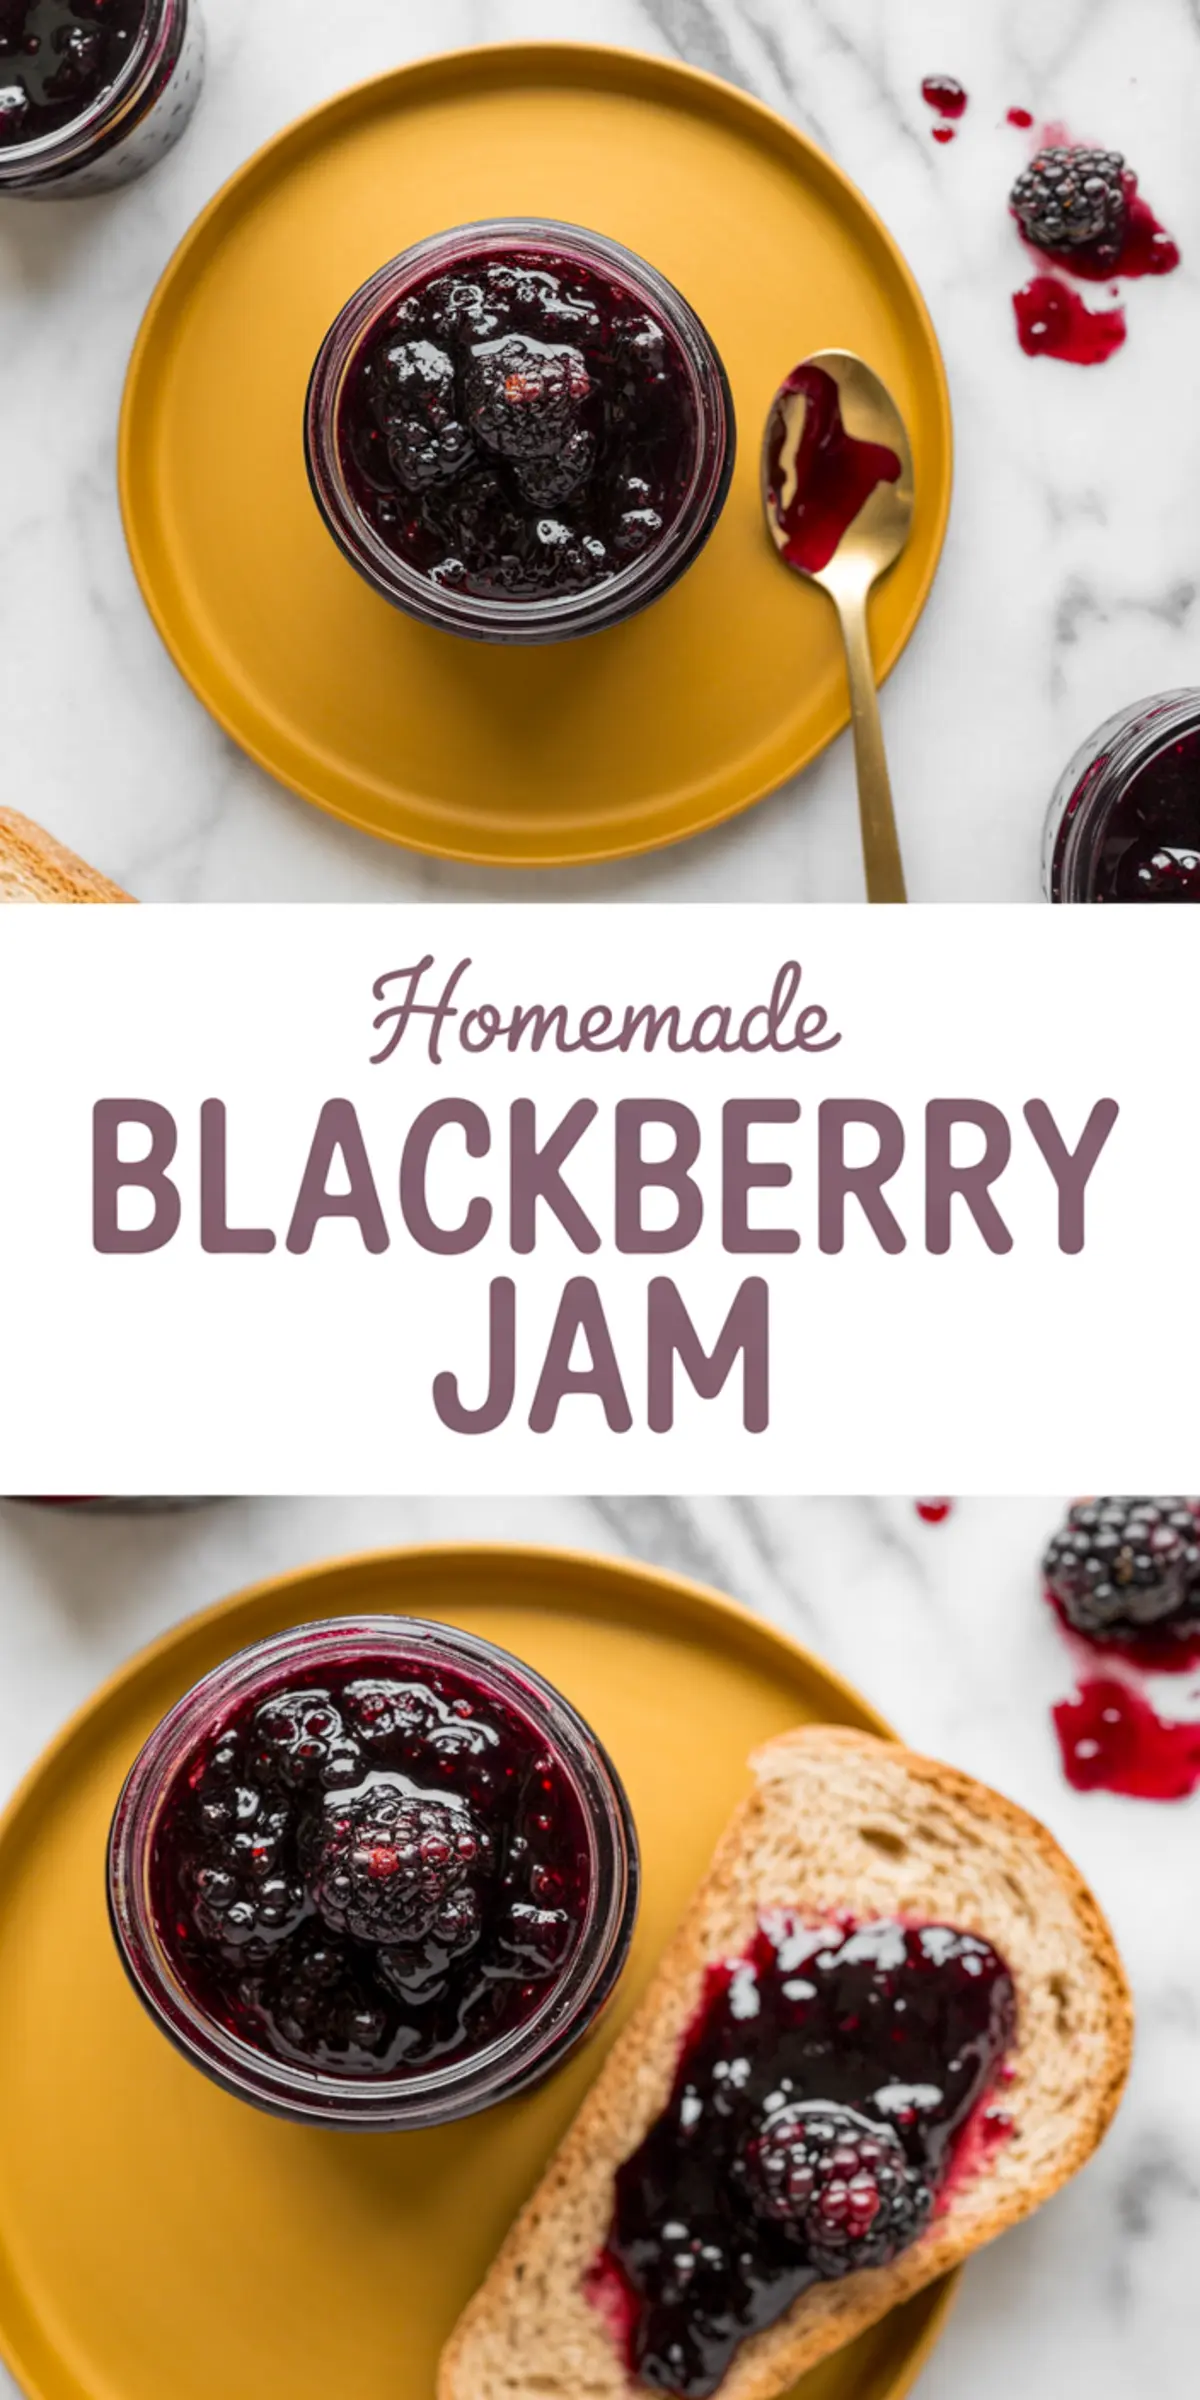
Homemade Blackberry Jam Recipe
A small-batch blackberry jam made without added pectin, using fresh or frozen berries, sugar, and lemon. The result is a thick, flavorful preserve with a deep fruit taste and a soft-set texture. This jam stores well in the fridge or can be water-bath processed for longer shelf life.
Ingredients
- 4 cups fresh blackberries (or frozen, thawed)
- 2 cups granulated sugar
- 2 tablespoons lemon juice (freshly squeezed)
- Zest of 1 lemon (optional)
- 1/4 teaspoon salt
Instructions
- PREPARE YOUR JARS: If you plan to store your jam unrefrigerated, sterilize jars and lids by placing them in a large pot of boiling water for 10 minutes. Carefully remove and place on a clean towel to air dry.
- MASH THE BERRIES: Add blackberries to a large saucepan. Use a potato masher or the back of a spoon to crush the berries until mostly broken down, leaving some chunks if desired for texture.
- ADD SUGAR AND LEMON: Stir in the granulated sugar, lemon juice, lemon zest (if using), and salt. Set the saucepan over medium heat and stir until the sugar is fully dissolved and the mixture is evenly combined.
- BRING TO A BOIL: Increase the heat to high and bring the mixture to a rolling boil, stirring frequently to prevent sticking or burning on the bottom of the pan.
- COOK UNTIL THICKENED: Boil the jam for 15 to 20 minutes, stirring occasionally. To test for doneness, spoon a small amount onto a chilled plate and run your finger through it—if it wrinkles slightly, the jam is ready. If not, continue boiling and test again after a few more minutes.
- SKIM THE FOAM: Once thickened, use a spoon to skim off any foam that has formed on the surface. This step helps improve the jam’s appearance and texture.
- FILL YOUR JARS: Carefully ladle the hot jam into sterilized jars, leaving about 1/4 inch of headspace. Wipe the jar rims with a clean, damp cloth. Place the lids on top and screw on the bands just until fingertip-tight.
- PROCESS (OPTIONAL): For shelf-stable storage, process the filled jars in a boiling water bath for 10 minutes. If storing in the refrigerator, allow the jars to cool to room temperature before refrigerating.
Notes
Use a wide, heavy-bottomed saucepan to help the jam cook evenly and avoid scorching. Jam thickens more as it cools, so avoid overcooking. For seedless jam, strain the mashed berries through a fine-mesh sieve before adding sugar. Refrigerated jam lasts up to 1 month; processed jars can be stored unopened in a cool, dark place for up to 1 year.
Nutrition Information
Yield
3Serving Size
1Amount Per Serving Calories 608Total Fat 1gSaturated Fat 0gTrans Fat 0gUnsaturated Fat 1gCholesterol 0mgSodium 182mgCarbohydrates 155gFiber 11gSugar 143gProtein 3g