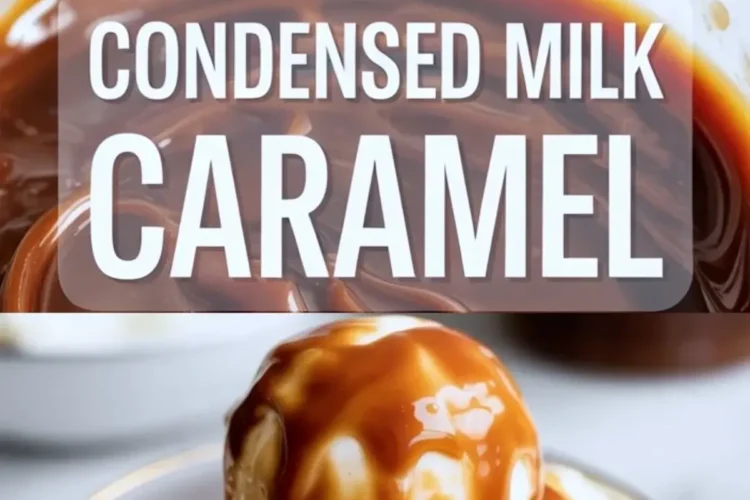
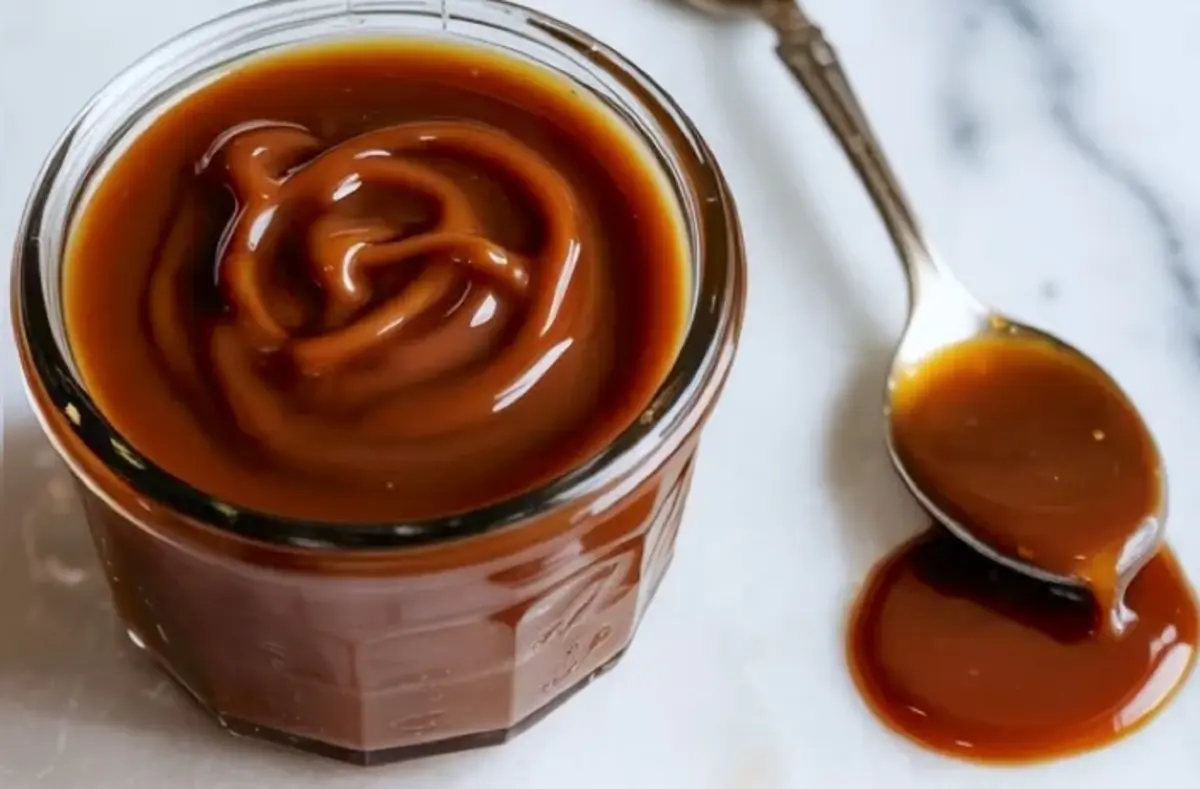
This caramel sauce from condensed milk turns one can into thick dulce de leche with deep flavor and glossy texture. This caramel sauce recipe with condensed milk shows how to caramelize sweetened condensed milk safely for a smooth sweetened condensed milk caramel you can spoon, drizzle, or spread. If you collect condensed milk recipes and homemade sauce recipes, this homemade caramel sauce condensed milk method gives you consistent results with almost no hands on work.
This caramel sauce using sweetened condensed milk relies on steady simmering and full water coverage. The sealed can traps moisture and sugar together, which allows the milk proteins and sugar to darken slowly and evenly. I like this method because it controls heat without stirring sugar in a pan. My Homemade Caramel Sauce Recipe uses open sugar cooking, but this version feels calmer and more predictable.
The key number here is water depth. The can must stay under 1 to 2 inches of water at all times. That buffer keeps the temperature steady and prevents hot spots. I check the pot every 30 minutes. That habit alone protects the texture.
The Ingredients and Why I Choose Them
Sweetened condensed milk does all the heavy lifting. It already contains sugar and milk solids in the right ratio, so heat transforms it into dulce de leche without extra steps. I look for a smooth, pale cream color in the can before cooking. For another filling idea, my Salted Caramel Cake Filling Recipe shows how caramel supports layered cakes.
Water acts as a gentle heat bath. It surrounds the can and distributes heat evenly. I use hot tap water when I top up the pot so the simmer stays steady.
Vanilla extract adds warmth at the end. Sea salt sharpens the sweetness and gives contrast. I add them after stirring the caramel smooth, just like I do in my Homemade Pumpkin Sauce for Coffee where salt lifts the flavor.
Technique Spotlight: The Simmer
The simmer sets the tone for the entire caramel sauce from condensed milk. Gentle bubbles should rise slowly, not roll hard. A rapid boil shakes the can and stresses the seal. I keep the heat at medium low and adjust as needed.
Time changes color and thickness. Two hours creates a lighter golden caramel with a soft spoonable texture. Three hours builds a darker amber dulce de leche that holds shape on a cake. I choose based on use.
How I Make It Step by Step
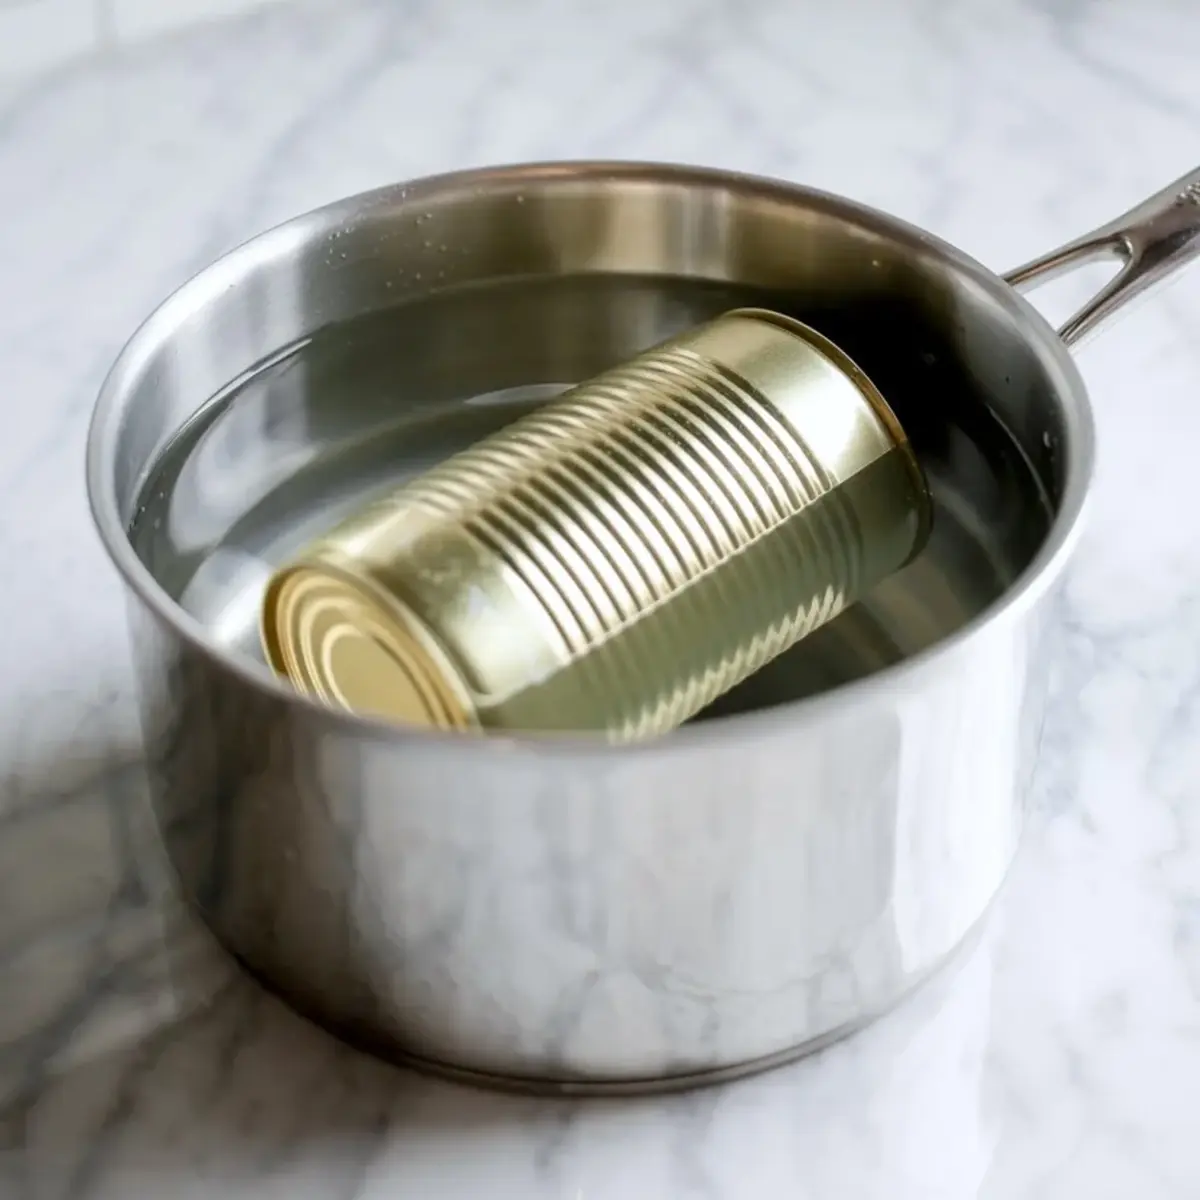
I remove the paper label and check the can for dents. Then I lay it on its side in a deep pot and cover it fully with water. The side position promotes even cooking.
I bring the water to a gentle simmer and start the timer. Every 30 minutes I check the level and add hot water if needed. I stay nearby. A steady routine makes this recipe feel simple.
After 2 to 3 hours, I turn off the heat and let the can cool completely in the water. Cooling prevents pressure release. Once cool, I open the can, transfer the caramel to a bowl, and stir until smooth.
How To Tell It Is Ready
Color gives the first clue. Light golden means shorter cooking, deep amber means longer simmer. Texture confirms it. The caramel should look thick and glossy, not grainy.
If it pours like syrup, it needs more time next round. If it feels very stiff, you likely simmered closer to three hours. I trust color most.
Troubleshooting Common Issues
Thin caramel usually comes from short cooking time. Extend the simmer by 20 to 30 minutes next time. Keep water coverage steady.
Grainy texture can appear if the simmer turns too aggressive. Lower the heat and maintain gentle bubbles. For a tart contrast to sweet sauces, I often serve it with Homemade Cranberry Sauce.
Ways To Change It
Add one teaspoon vanilla for warmth. Stir in a pinch of sea salt for salted dulce de leche. Mix in a tablespoon heavy cream for a looser drizzle.
You can cook closer to three hours for a thicker spread that works inside cakes or sandwich cookies. I use the darker version between cake layers.
Storage And Reheating
Store the caramel in an airtight jar in the fridge for up to two weeks. The texture firms as it chills. That thickness makes it easy to spoon.
Reheat gently in short microwave bursts or over low heat on the stove. Stir until smooth and glossy again.
Practical Tips From My Kitchen
Use a deep pot so water stays above the can. Set a timer for water checks. Keep extra hot water ready in a kettle.
Label the jar with the cooking time so you remember the texture. Small notes help future batches.
How I Serve It
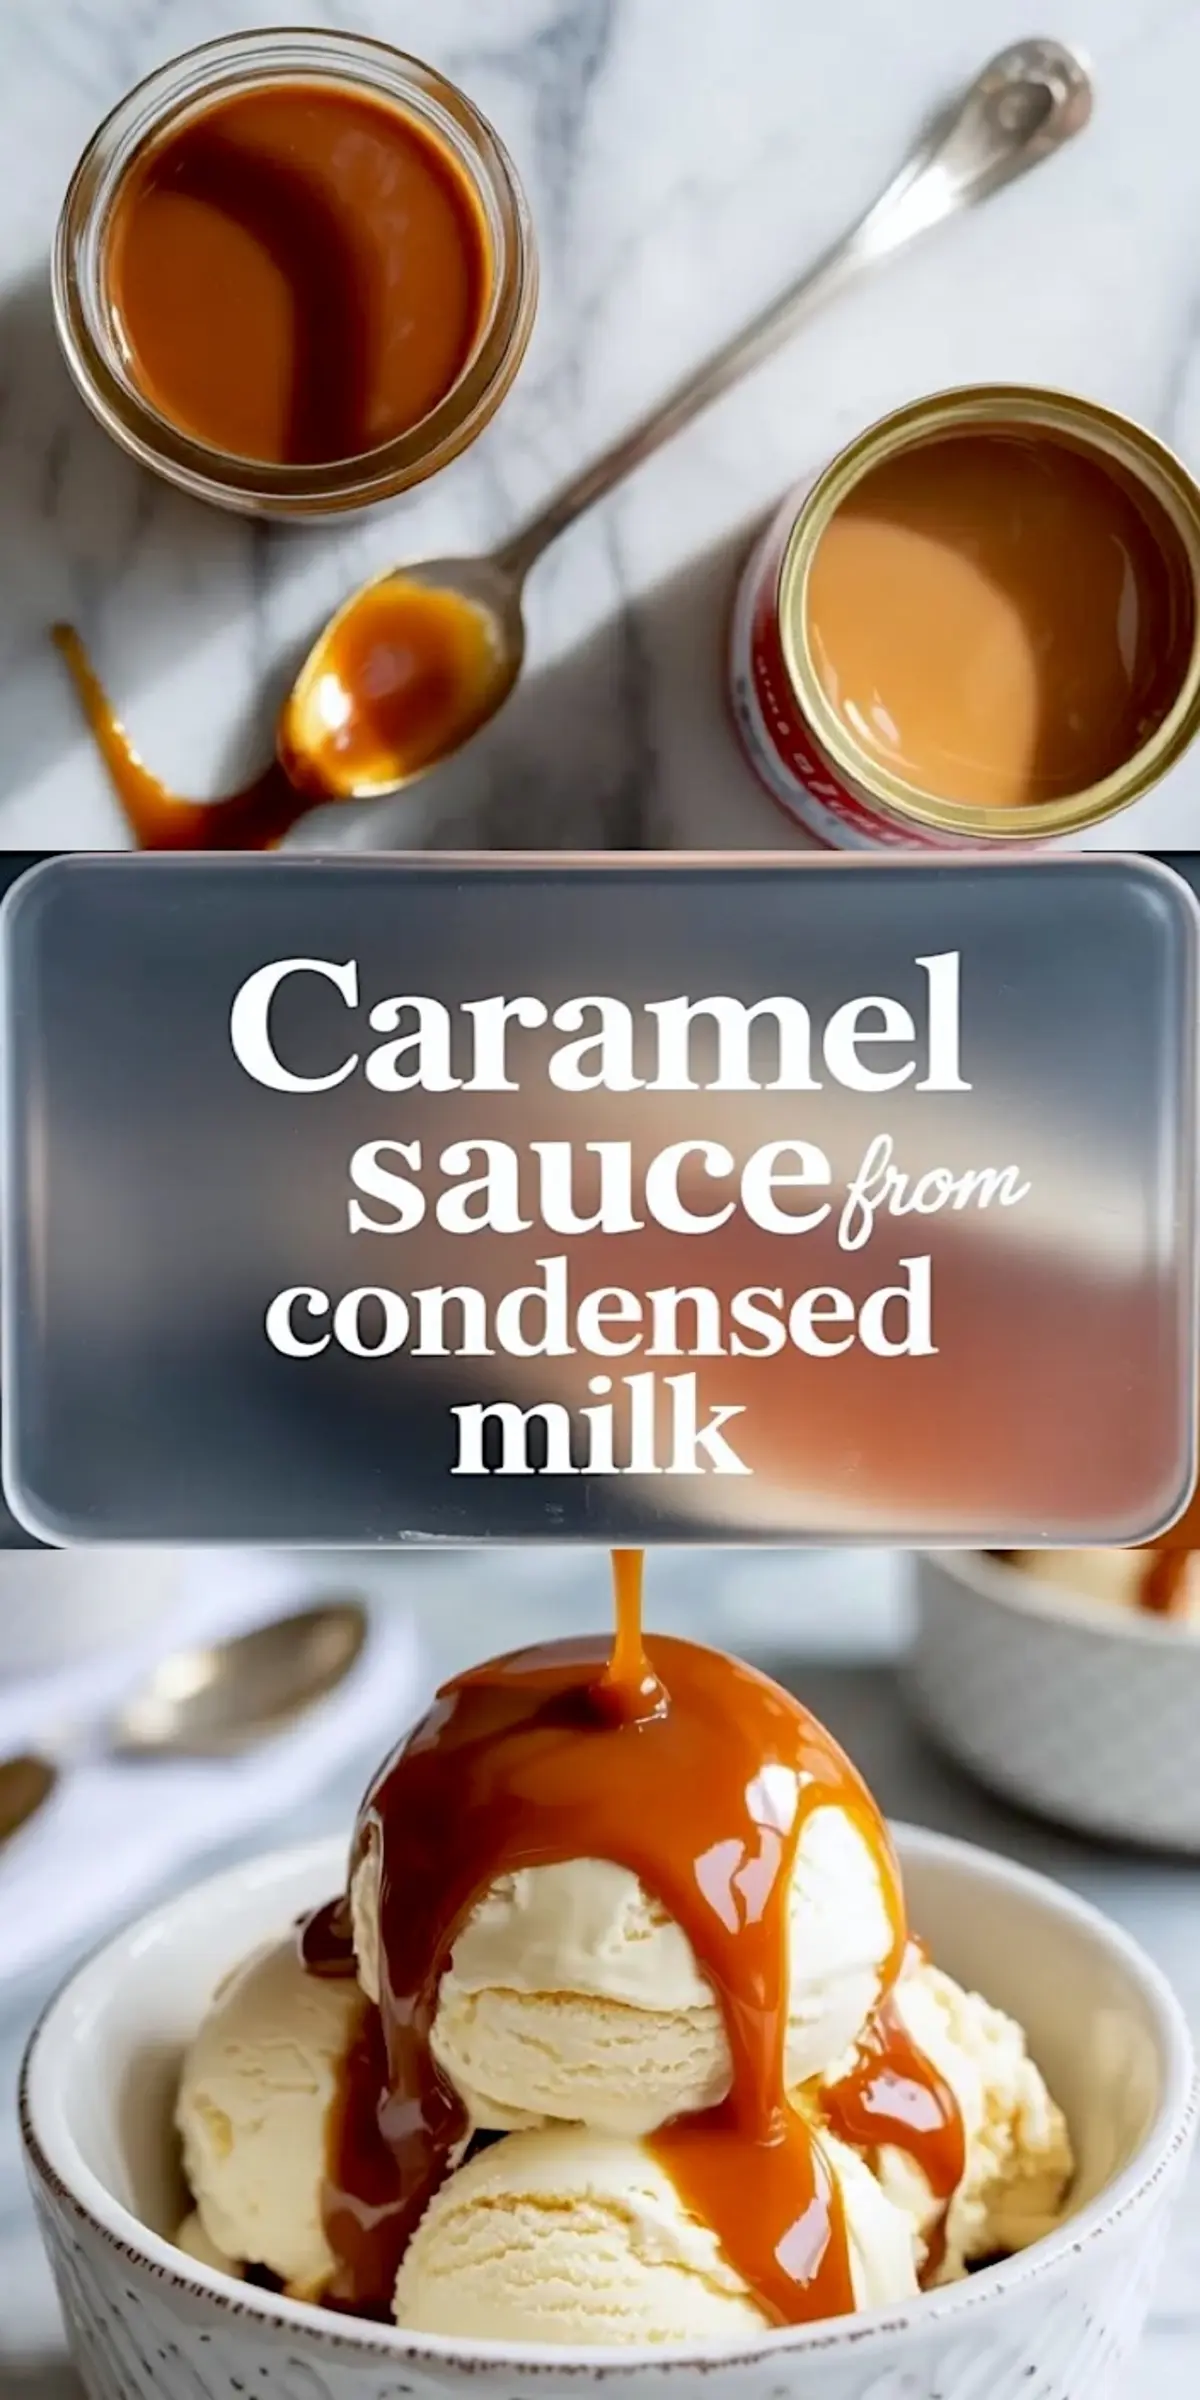
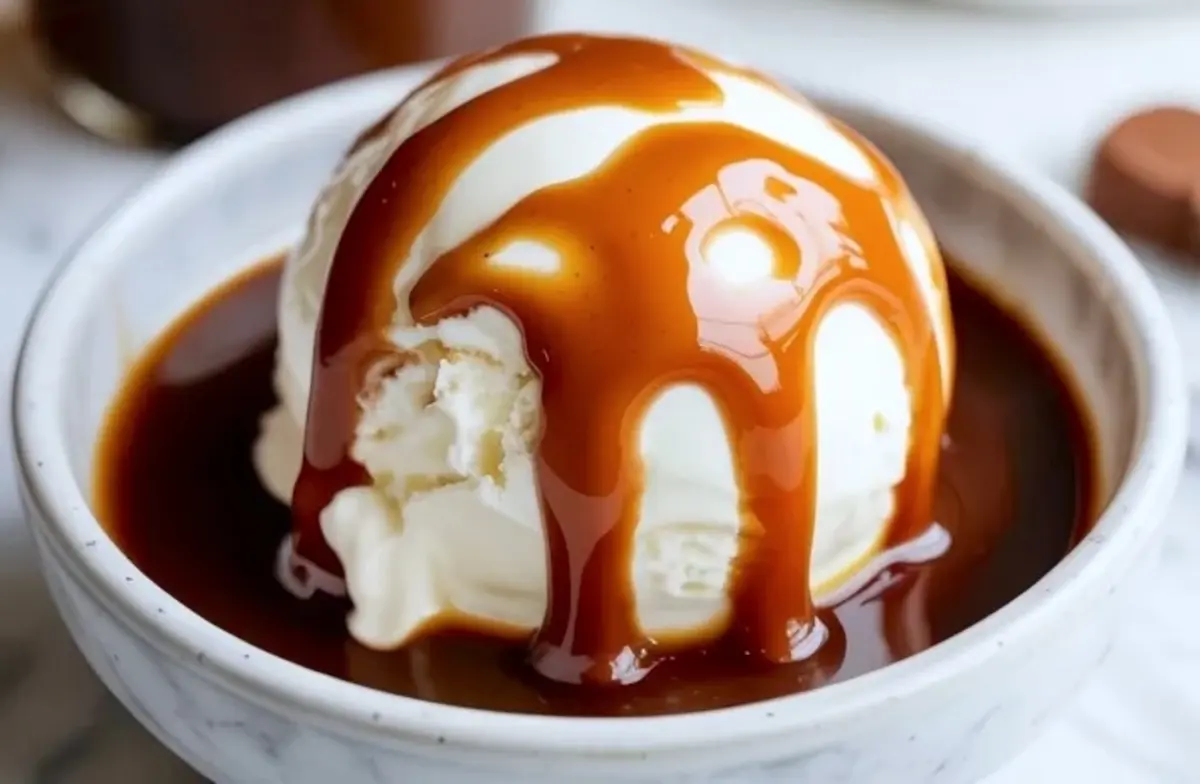
I drizzle it over vanilla ice cream. I spoon it over brownies. I spread it inside layer cakes. I swirl it into buttercream.
Sometimes I eat it straight from the spoon. Simple and honest.
Save This Recipe

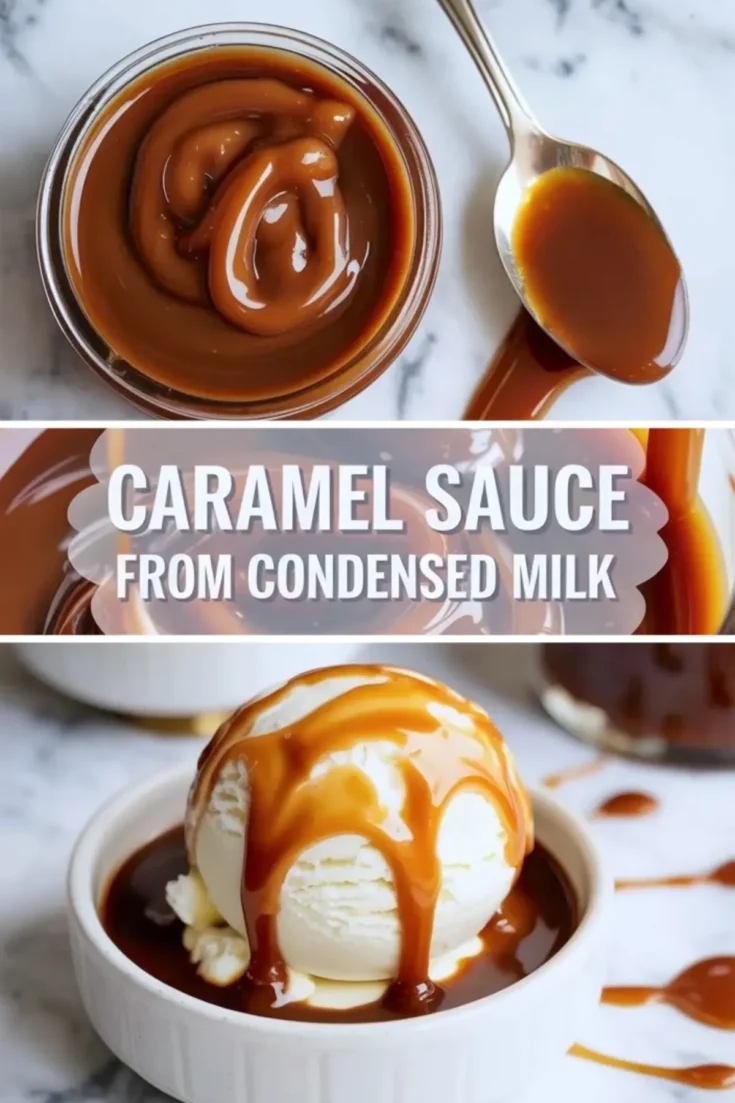
Save this caramel sauce from condensed milk to your dessert or homemade sauce board on Pinterest so you can find it fast. Tell me in the comments how long you cooked yours and how you used your dulce de leche. I read every note and love seeing your variations.
Caramel Sauce from Condensed Milk
This rich and silky Caramel Sauce From Condensed Milk turns one simple ingredient into thick, golden Dulce de Leche. Made as a classic Caramel Sauce Recipe With Condensed Milk, it develops deep flavor and smooth texture with minimal effort.
Learn How To Caramelize Sweetened Condensed Milk safely to create glossy Sweetened Condensed Milk Caramel that tastes slow cooked and luxurious. This method for Caramel Sauce Using Sweetened Condensed Milk delivers consistent results every time.
Keep this easy Homemade Caramel Sauce Condensed Milk on hand for drizzling over cakes, brownies, and ice cream. It belongs in your collection of reliable Condensed Milk Recipes and versatile Homemade Sauce Recipes, giving you a foolproof Homemade Caramel Sauce with authentic dulce de leche flavor.
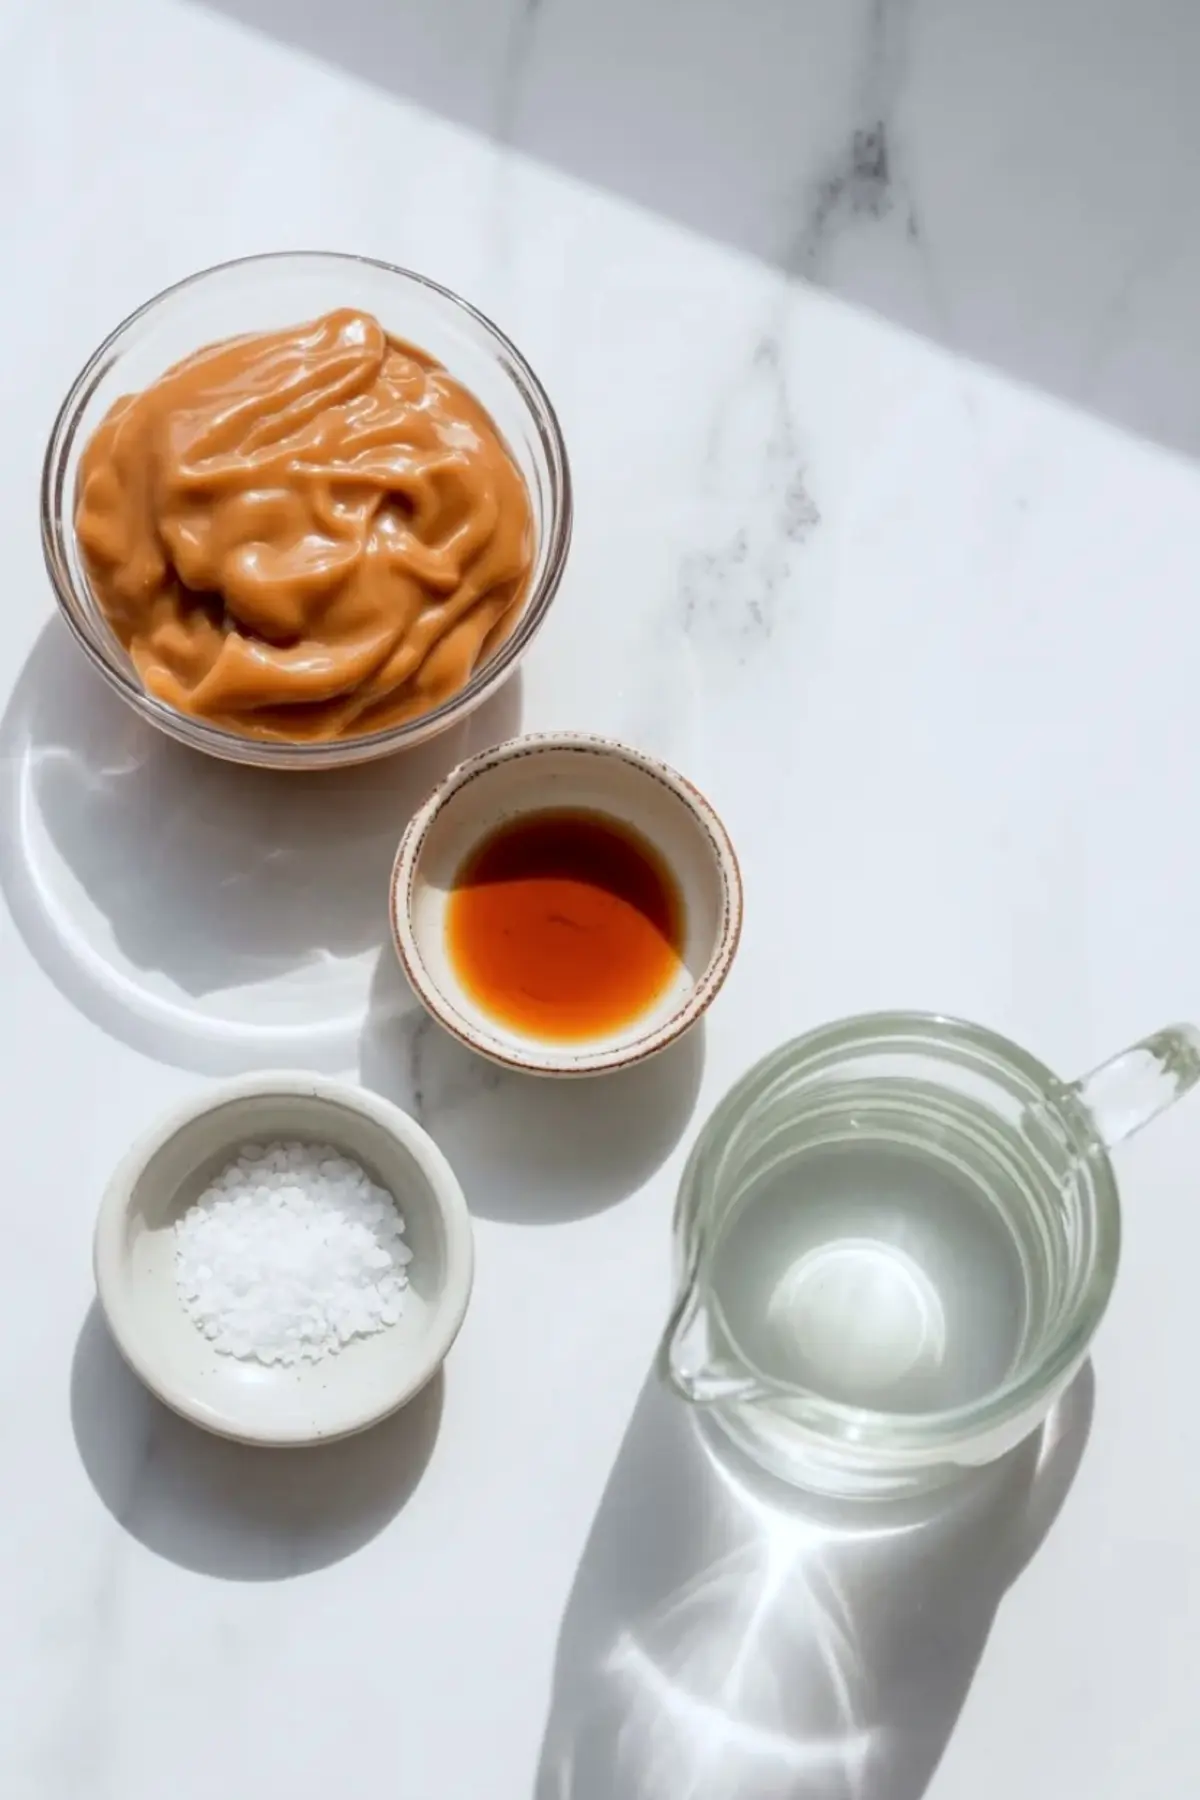
Ingredients
- 1 can (14 ounces / 397 g) sweetened condensed milk
- Water, enough to fully cover the can by 1–2 inches
- Optional: 1 teaspoon vanilla extract
- Optional: Pinch of sea salt
Instructions
- PREPARE THE CAN: Remove the paper label from the unopened can of sweetened condensed milk. Check that the can is sealed and free from dents or damage.
- PLACE IN POT: Lay the unopened can on its side in a deep saucepan or pot. Positioning it on its side helps promote even cooking.
- ADD WATER: Fill the pot with water until the can is fully submerged with at least 1–2 inches of water above the top of the can.
- BRING TO SIMMER: Place the pot over medium heat and bring the water to a gentle simmer. Reduce the heat as needed to maintain a steady simmer. Avoid a rapid boil.
- COOK THE CARAMEL: Simmer for 2 to 3 hours. Cook for 2 hours for a lighter golden caramel with a softer consistency. Cook for 3 hours for a deeper amber color and thicker texture.
- MONITOR WATER LEVEL: Check the pot every 30 minutes to ensure the can remains fully submerged. Add hot water as needed to keep the water level consistent.
- COOL COMPLETELY: Turn off the heat after the cooking time is complete. Allow the can to cool fully in the water before removing it. Cooling completely prevents pressure buildup and ensures safe handling.
- OPEN AND STIR: Once the can is completely cool, carefully open it. Transfer the caramel to a bowl and stir until smooth and creamy.
- ADD OPTIONAL FLAVOR: Stir in vanilla extract for added warmth or a pinch of sea salt for a salted caramel variation, if desired.
Notes
Allow the can to cool fully before opening to prevent hot caramel from spilling due to internal pressure.
Store caramel sauce in an airtight container in the refrigerator for up to 2 weeks.
Reheat gently in the microwave in short intervals or over low heat until pourable.
For a darker and thicker dulce de leche, extend the simmering time slightly while maintaining proper water coverage.
Nutrition Information
Yield
1Serving Size
1Amount Per Serving Calories 121Total Fat 3gSaturated Fat 2gUnsaturated Fat 1gCholesterol 13mgSodium 49mgCarbohydrates 21gSugar 21gProtein 3g