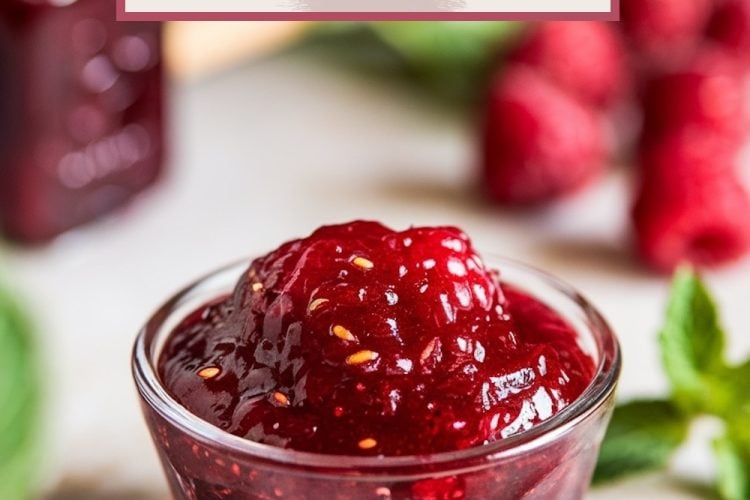
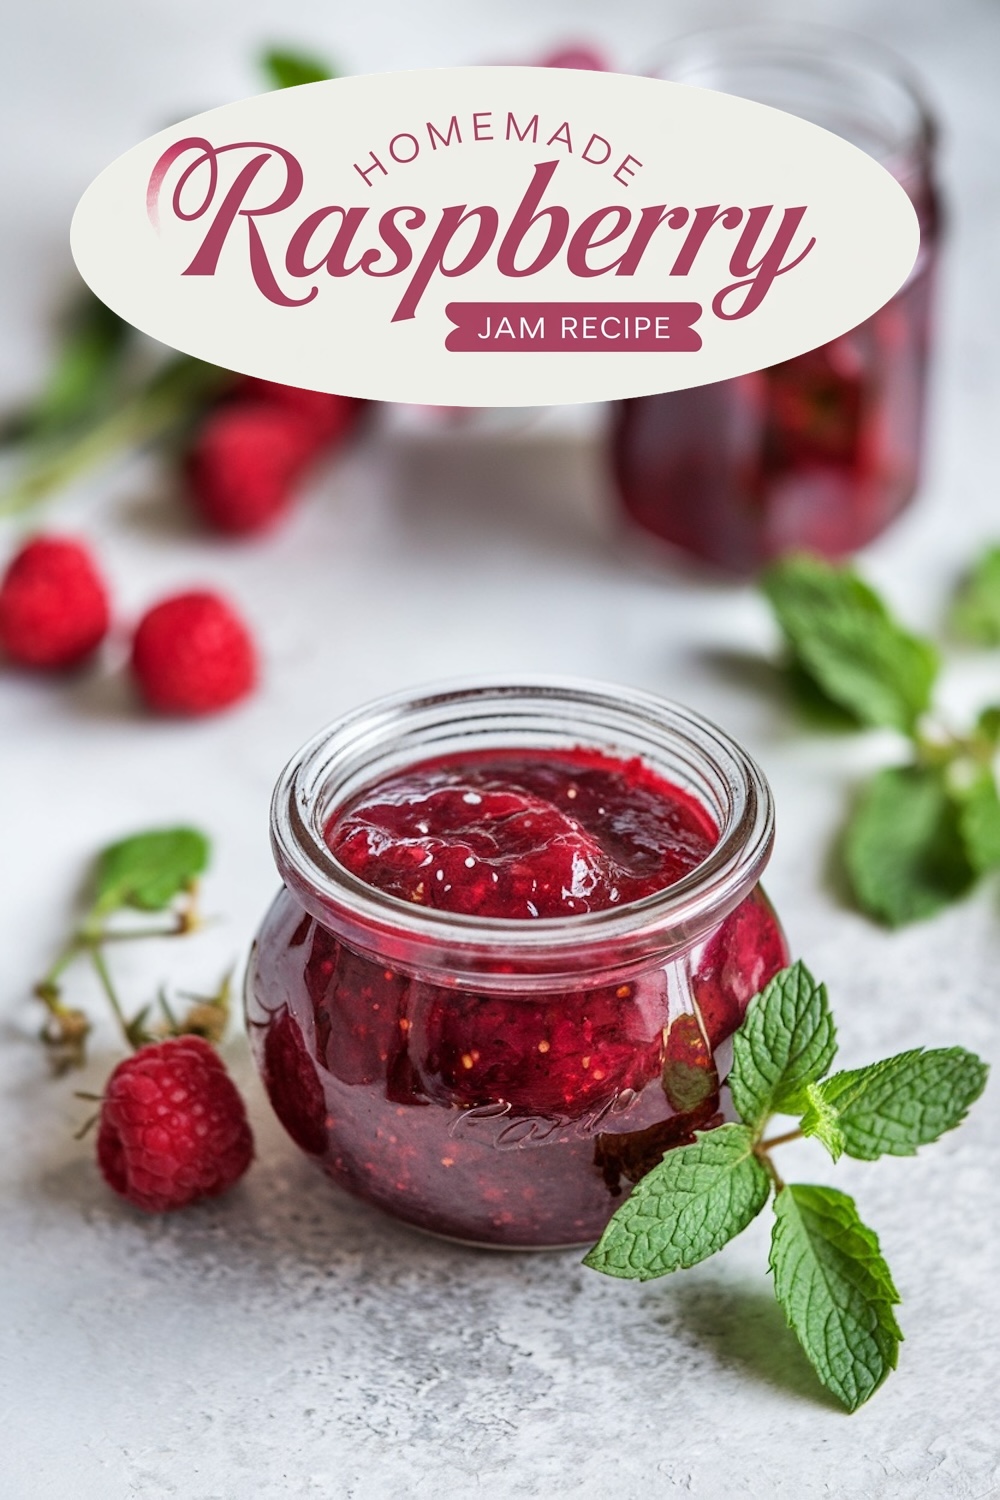
There’s something so rewarding about making one’s own jam. This homemade raspberry jam recipe will show how quickly fresh raspberries can be made into a sweet and slightly tart spread that’s great for layering in cakes, spreading on toast, and even giving to friends and family.
A love letter to all those quiet mornings, this recipe is perfect with just about anything or as a secret ingredient in super decadent desserts, like in my Fudgy Chocolate Cookies with Raspberry or Raspberry Filled Almond Snowball Cookies.
Following a special diet?
Every recipe on this site can be converted to gluten-free, vegan, dairy-free, keto, nut-free or egg-free with adjusted ratios so nothing falls flat.
Try the Recipe Converter →Why I Love This Raspberry Jam Recipe
I must have been a lucky kid growing up. There were raspberry bushes in the backyard, and summer afternoons many times meant picking handfuls of ripe berries, each popping with flavor. We’d make them into jam, filling the house with this heady sweetness. To this day, making raspberry jam is one such beautiful combination, sending me back to those days-simplicity and nostalgia combined. I do hope you have as much fun making this jam as I do!
Ingredients for Homemade Raspberry Jam
Making raspberry jam requires just four ingredients, most of which you might already have on hand:
- Raspberries: Fresh or frozen both work well. Fresh raspberries add a brighter flavor, but frozen ones are just as delicious.
- Sugar: Granulated sugar is essential to achieve that perfect jammy consistency.
- Lemon Juice: A little lemon juice balances the sweetness and enhances the natural raspberry flavor.
- Vanilla Extract (optional): For added depth and a hint of warmth, vanilla extract is a wonderful addition.
With these ingredients, you’re set to make a jam that’s both sweet and slightly tangy, with a texture that spreads beautifully on toast or scones.
Essential Equipment for Making Raspberry Jam
To create this jam, you’ll need a few basic kitchen tools:
- Saucepan: A medium-sized, heavy-bottomed saucepan is ideal, as it distributes heat evenly and prevents scorching.
- Wooden Spoon or Silicone Spatula: Perfect for stirring the jam and keeping it from sticking.
- Cold Plate or Spoon: You’ll need this to test the jam’s thickness once it’s cooked.
- Sterilized Jars: If you’re planning to store your jam for a longer period, have a couple of sterilized jars ready.
Step-by-Step Guide to Making Raspberry Jam
All this from one pot of raspberry jam in 30 minutes or so. Here’s how:
Preparing the Raspberries
If using fresh raspberries, wash and let them dry out on a clean towel as soon as possible. If using frozen, let the raspberries completely thaw, removing excess liquid by squeezing so that a thick consistency remains.
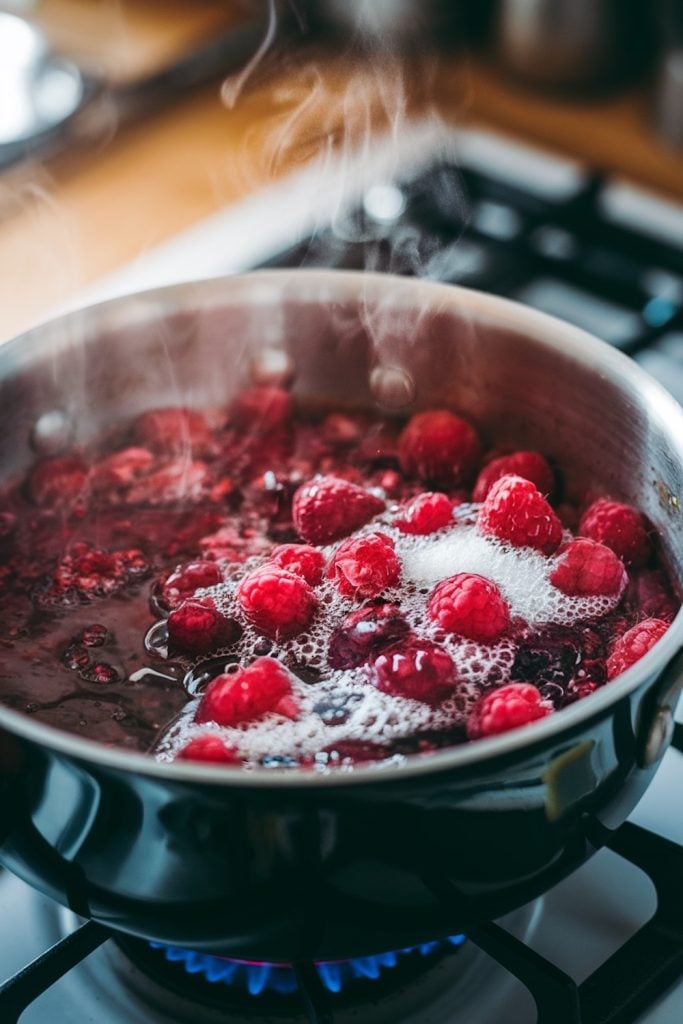
Cooking the Jam
In the saucepan, combine raspberries and lemon juice. Heat over medium heat until raspberries begin to collapse, releasing their juice and producing a bright red sauce; stirring occasionally to prevent sticking.
When raspberries are completely broken, add the sugar bit by bit, stirring to dissolve as much as possible. Let cook, stirring quite often, for 15–20 minutes; while it is cooking, it will reduce and thicken to a shiny and fragrant mixture.
Checking for the Perfect Consistency
Now, in order to check if it reached the setting point, take a little bit of it onto a cold plate or even on the back of a spoon, then draw your finger through-if it wrinkles and doesn’t flow back, then it is ready. If it is still runny, cook a few more minutes and try again.
Adding Vanilla (Optional)
Add a hint of warmth and depth with vanilla extract right at the end of cooking. Stir in, then pull the saucepan off of the heat. The vanilla adds a soft aromatic layer which goes beautifully with the raspberries.
Cooling and Storing the Jam
Allow your jam to cool a little, then carefully ladle it into sterilized jars, leaving a little headspace. Screw the lids on, and if you are planning on storing the jam for more than a few weeks, you will want to store it in the refrigerator or process the jars in a hot water bath for longer-term storage.
Serving Ideas for Raspberry Jam
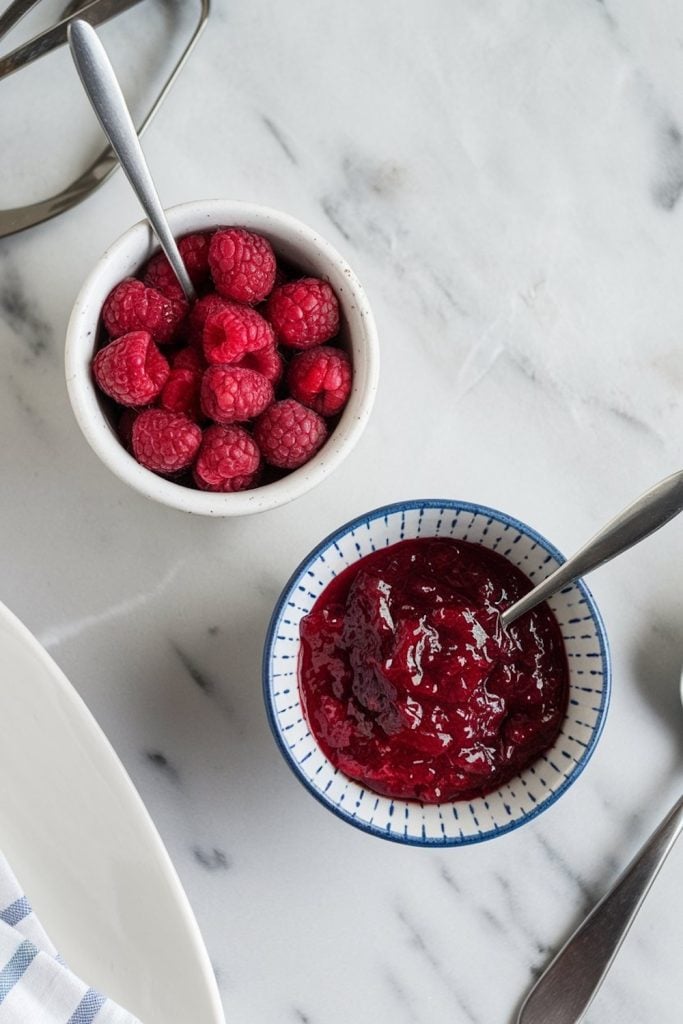
Homemade raspberry jam is incredibly versatile! Here are a few ways to enjoy it:
- Breakfast Spread: Spread it on toast, English muffins, or bagels for a quick breakfast treat.
- Layered in Cakes: Raspberry jam pairs beautifully with vanilla or almond-flavored cakes.
- Swirled in Yogurt: Stir a spoonful into plain yogurt for a fruity twist.
- Glazed on Tarts: Use it as a base for fruit tarts or a glaze for pastries.
Tips for Perfect Raspberry Jam
- Choose the Best Berries: Use ripe, flavorful raspberries for the best results.
- Keep an Eye on the Heat: Medium heat is ideal; high heat can scorch the jam.
- Adjust Sweetness: If you prefer a less sweet jam, reduce the sugar slightly, but keep in mind that sugar also acts as a preservative.
- Sterilize Jars: Properly sterilized jars are essential for safe storage.
Serving Information
- Yields: 2–3 cups
- Prep Time: 10 minutes
- Cook Time: 20 minutes
- Calories: 40 per tablespoon
Make Some Sweet Memories
Homemade raspberry jam is a basic and rewarding process, one that warms up your kitchen with gentleness and sweetness. Whether rank amateur at making jam or very seasoned pro, this is a great recipe for capturing the flavor of ripe raspberries. Give it a try and let me know what you think! If you like this recipe, be sure to pin it for later or to share with friends.

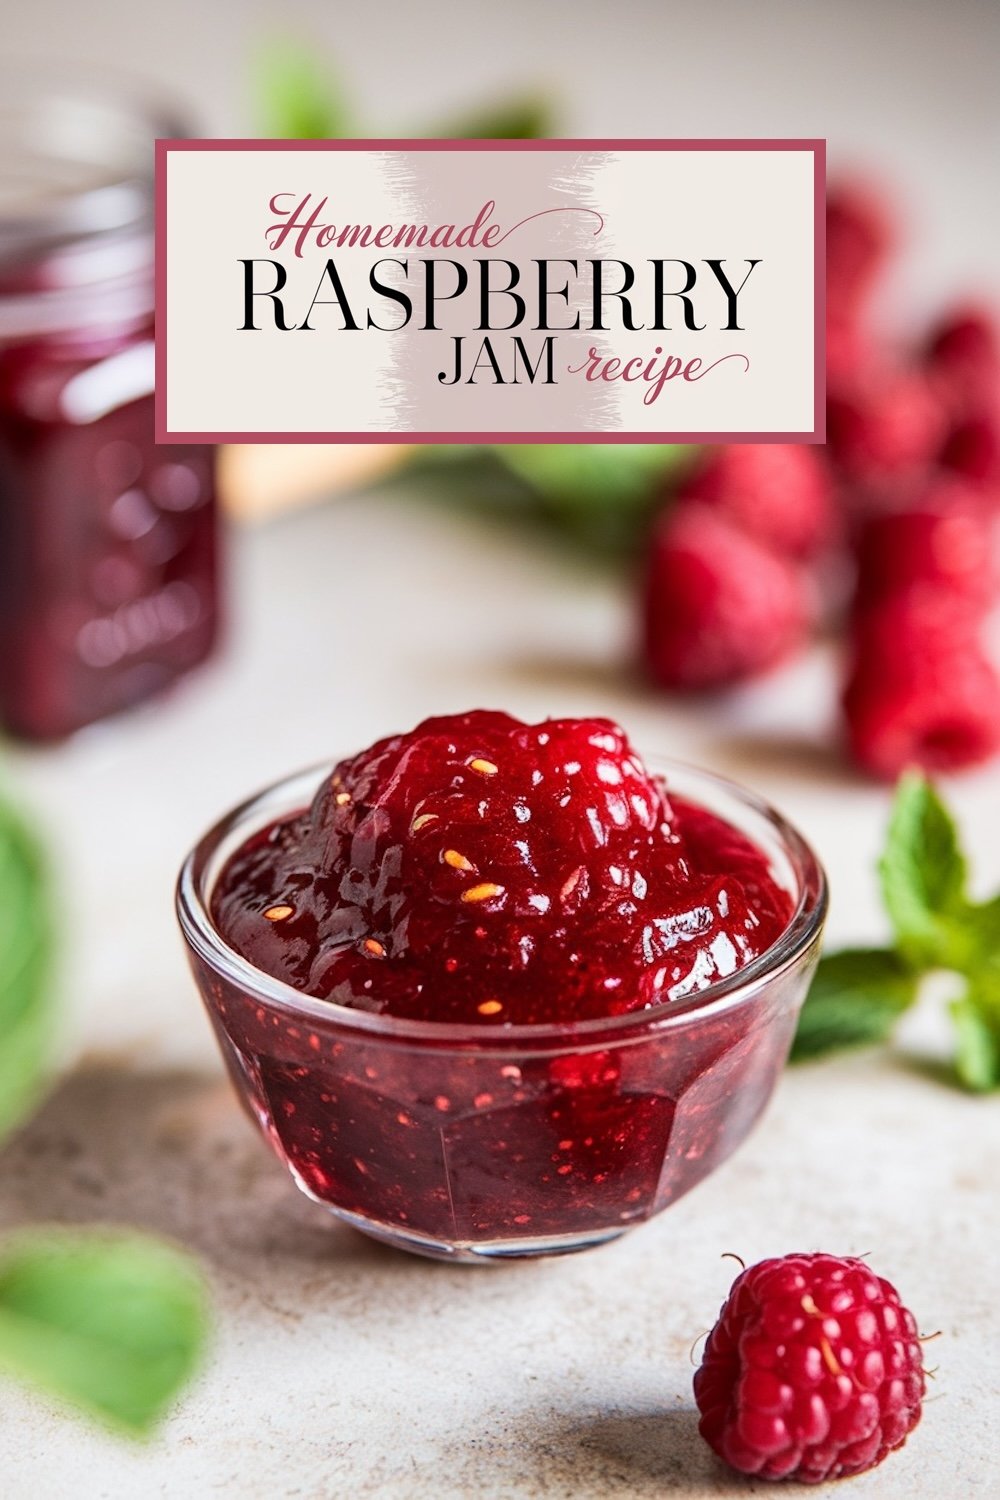
Homemade Raspberry Jam Recipe
Course: Cake Ideas2-3 cups
servings10
minutes20
minutes40 per tablespoon
kcalIngredients
4 cups fresh raspberries (or frozen, thawed)
2 cups granulated sugar
1 tablespoon lemon juice
½ teaspoon vanilla extract (optional, for added depth)
Steps
- Step 1: Prep the Raspberries
If you’re using fresh raspberries, give them a good rinse and let them dry. For frozen raspberries, make sure they’re fully thawed and drained. - Step 2: Cook the Jam
In a medium saucepan, combine the raspberries and lemon juice. Bring to a simmer over medium heat, stirring occasionally. As the raspberries break down, they’ll release their juices, creating a beautiful, vibrant red sauce. - Step 3: Add the Sugar
Once the raspberries have softened and are bubbling, add the sugar. Stir well until the sugar is fully dissolved, and continue to cook for 15-20 minutes, stirring frequently. The jam will begin to thicken as it reduces. - Step 4: Test for Doneness
To check if your jam has reached the right consistency, spoon a little onto a cold plate and run your finger through it. If it wrinkles slightly and doesn’t run back together, it’s ready. If not, cook for a few more minutes and check again. - Step 5: Add Vanilla (Optional)
For a deeper, richer flavor, stir in the vanilla extract just before you remove the jam from heat.