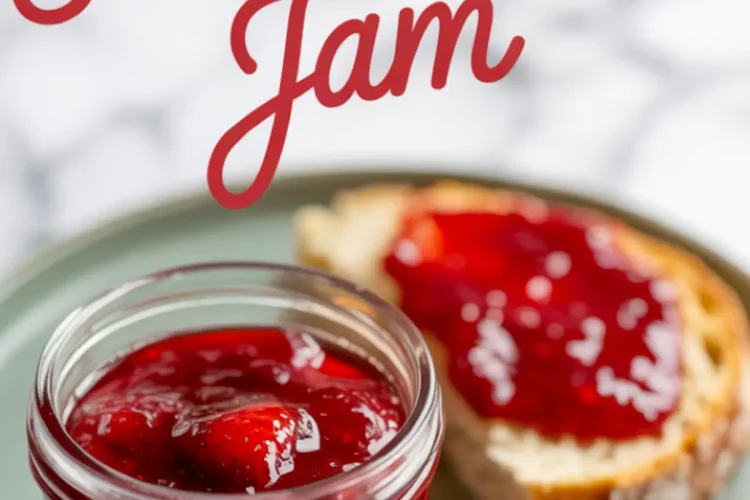
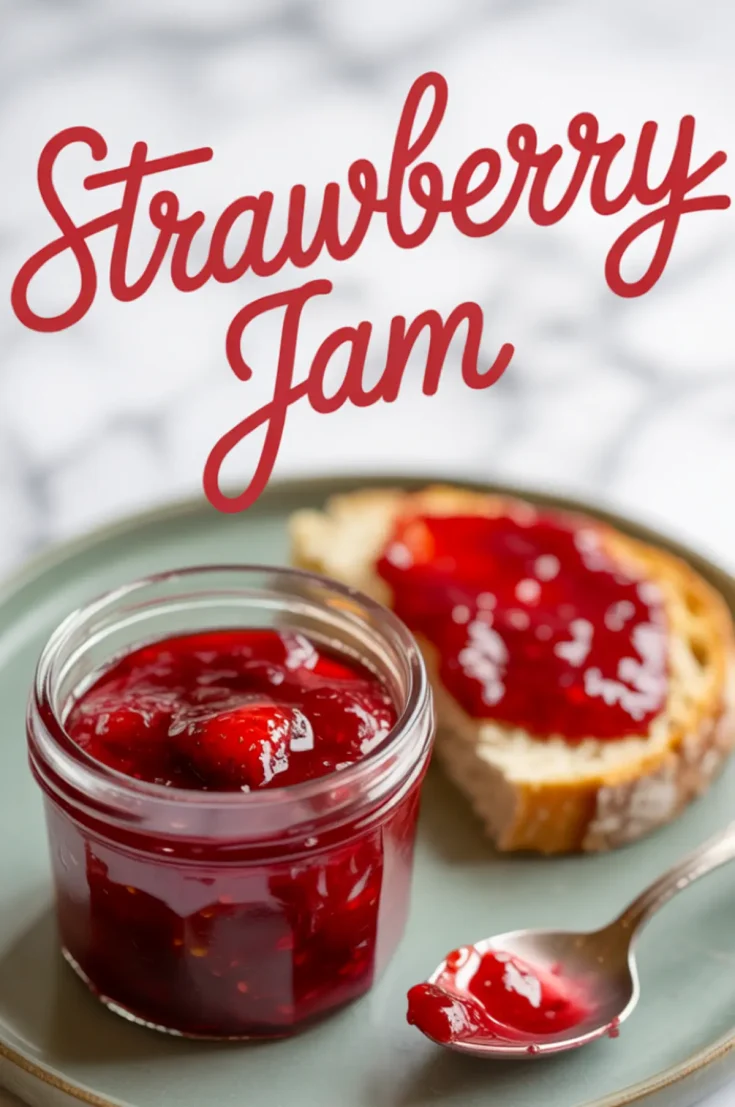
Homemade strawberry jam is more than just a spread. It’s a way to bottle up the season.
This recipe keeps it simple: ripe strawberries, sugar, and lemon. No pectin, no additives—just thick, glossy jam made with focus and care. You’ll learn how to test for doneness, balance acidity, and choose between fresh or frozen fruit. I’ve cooked this small batch so many times, I could do it with my eyes closed. But each jar still feels like a fresh reward.
You’ll come away knowing exactly how to get that deep, sweet strawberry flavor without overcomplicating it. Whether you want to spread it on toast, swirl it into yogurt, or spoon it over cakes, this jam is reliable and bright. And it lasts, if you make it right.

Following a special diet?
Every recipe on this site can be converted to gluten-free, vegan, dairy-free, keto, nut-free or egg-free with adjusted ratios so nothing falls flat.
Try the Recipe Converter →Ingredients That Shape the Flavor
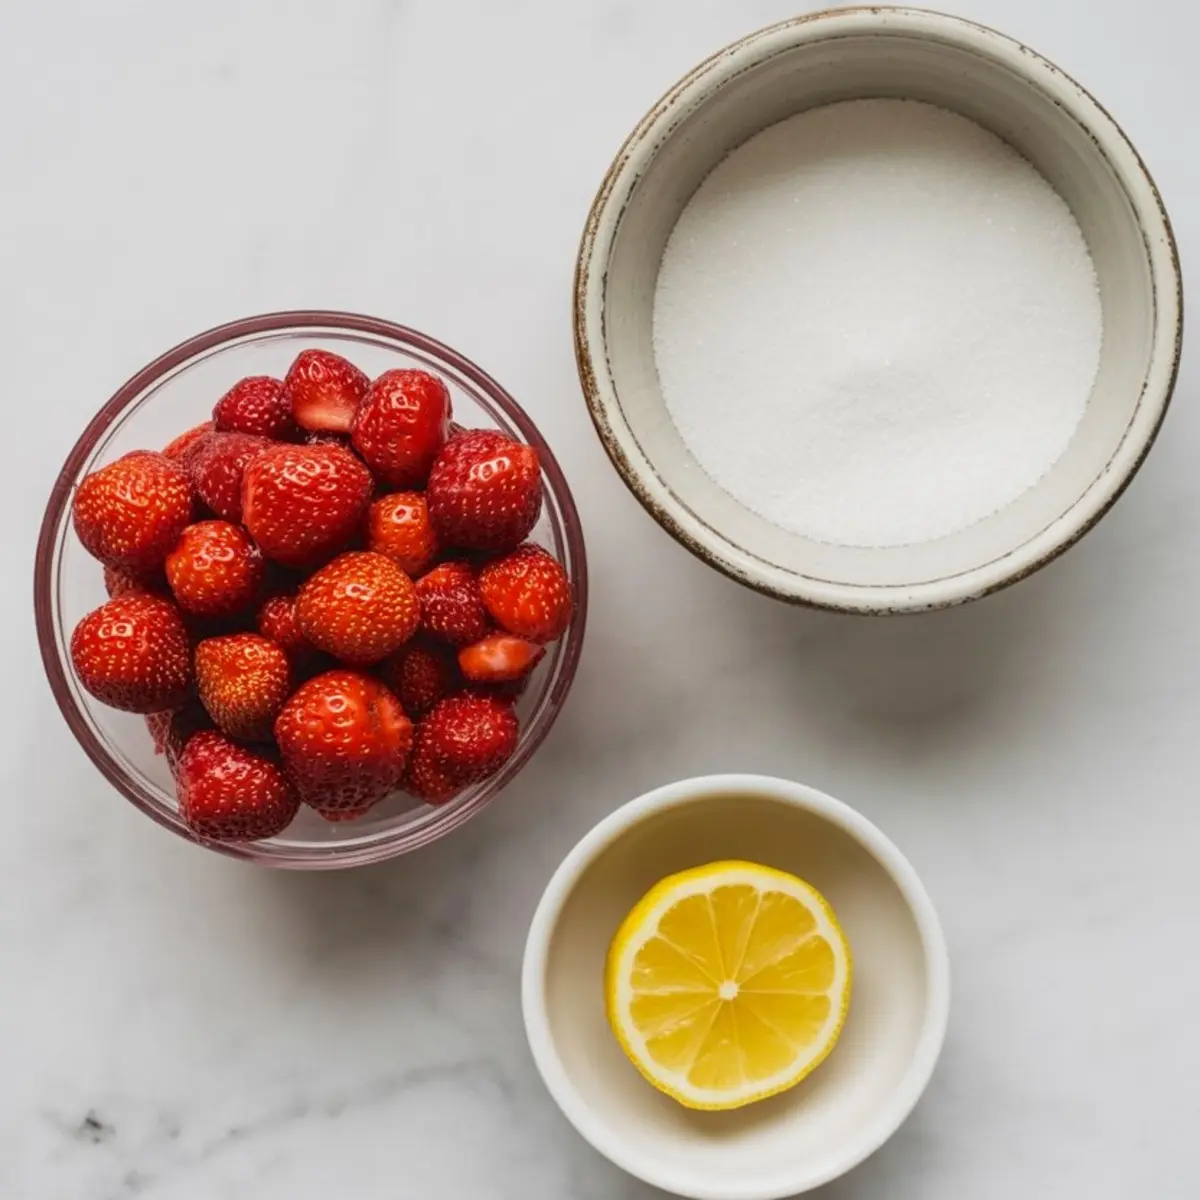
Strawberries are the heart of this jam. I always choose firm, fully ripe berries—bright red all the way through. They should smell sweet and leave juice behind when you slice them.
Sugar pulls out the juices and helps the jam reach the right consistency. In this ratio, two cups of sugar to four cups of strawberries balances flavor without making it overly sweet.
Lemon juice sharpens the flavor and helps the jam preserve its color. I often add a bit of lemon zest if I’m making a batch to serve with scones or folded into whipped cream. It adds just enough brightness. If I want something simpler and smoother, I leave it out.
For more layered flavor, I sometimes switch to my Balsamic Strawberry Jam, which has a deeper finish that pairs well with cheeses and charcuterie.
Texture: Mashed or Chunky?

The texture of your jam depends on how you prepare the berries. I’ve made versions where I chop them roughly and let the heat do the rest. Other times, I mash about two-thirds of the fruit before cooking and leave the rest in halves.
If you plan to use the jam in cakes or sandwich cookies, mash the berries more thoroughly. It will spread better and create a more uniform layer. For toast or breakfast bowls, I like the variation that comes from leaving some pieces whole.
In my kitchen notebook, the best result comes from mixing the two—most mashed, a few left whole. That way, the jam sets thick but still feels fresh. I use the same principle in my Raspberry Jam Recipe, which benefits from its own natural seeds and soft texture.
Timing Is Everything: How to Cook It Right
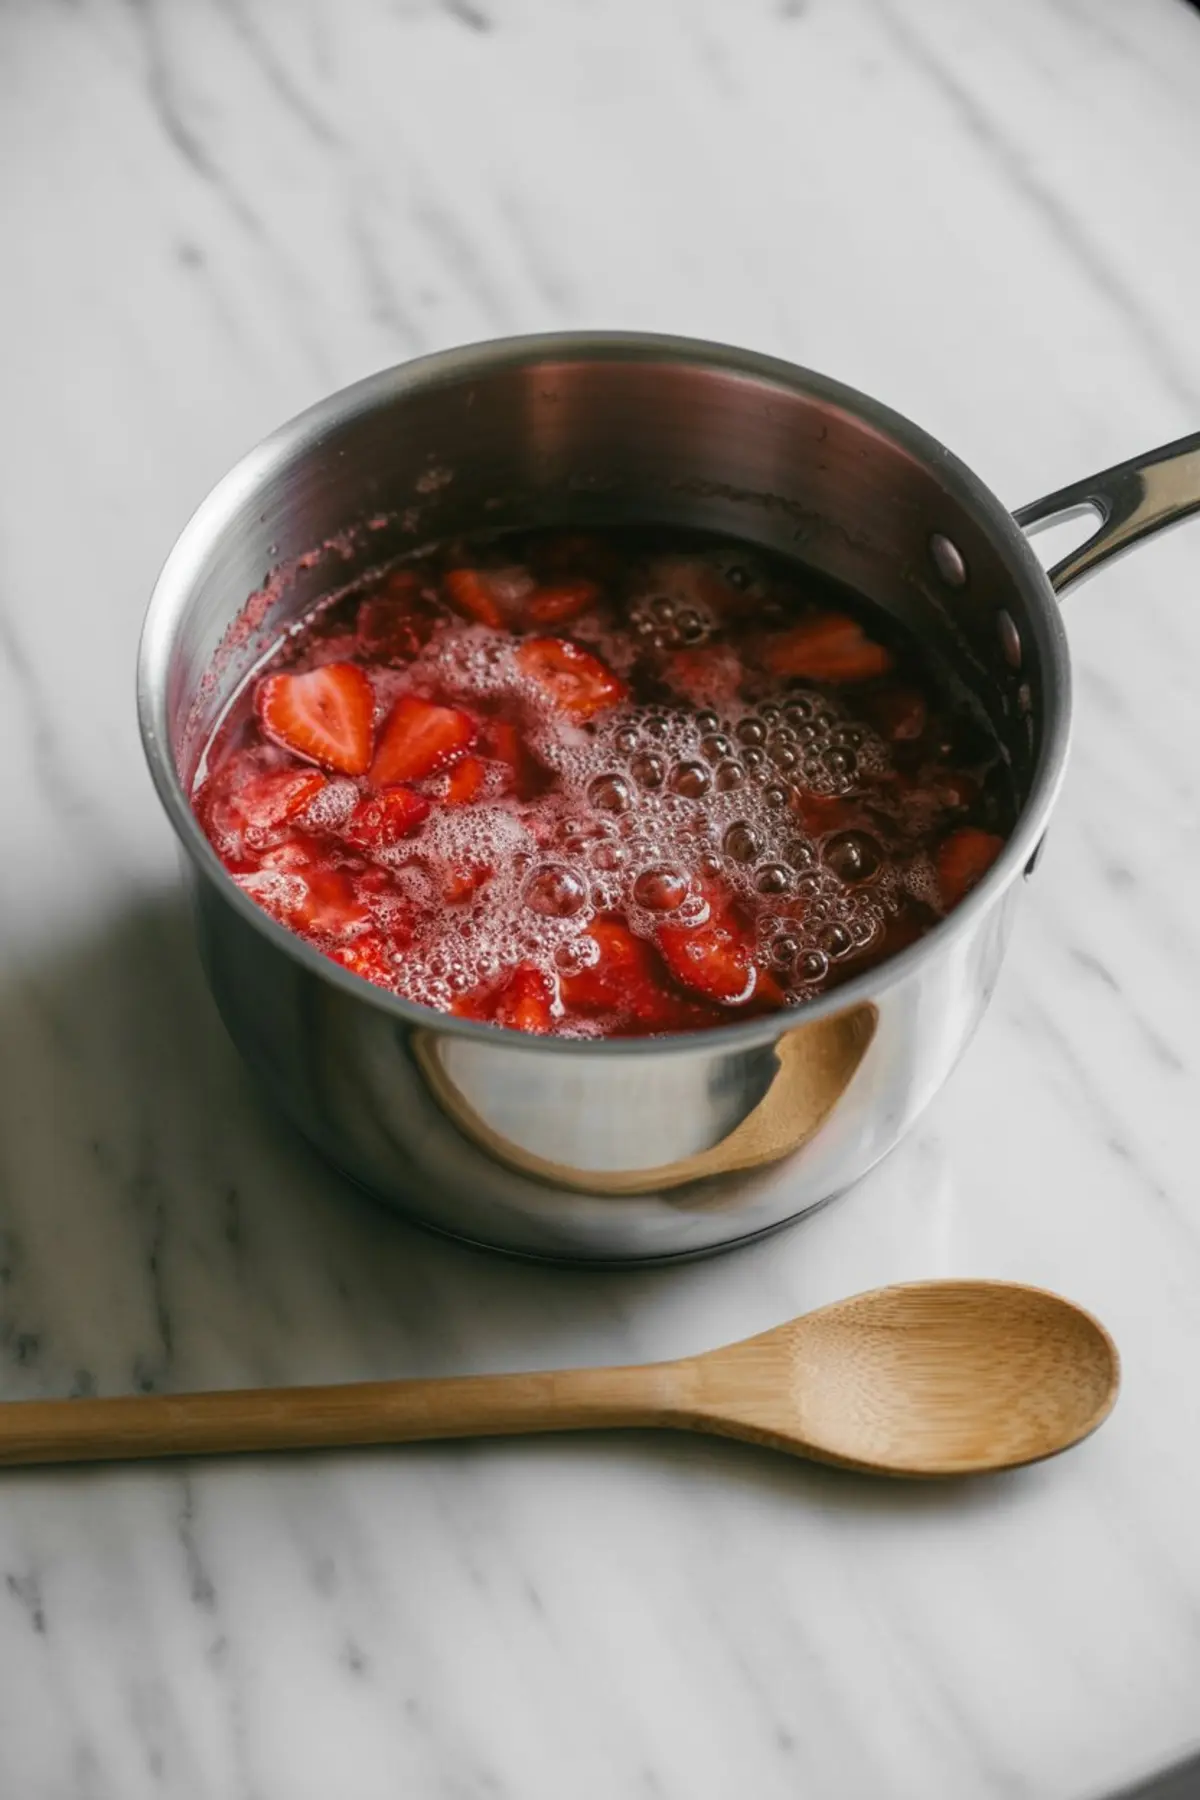
After letting the berries sit with the sugar and lemon juice, transfer everything into a heavy-bottomed saucepan and set it over medium heat.
The mixture will begin to bubble as the sugar melts and the juices release. Stir frequently and don’t walk away. This isn’t the kind of recipe you leave to chance.
As foam rises to the top, skim it off gently. I’ve found that skipping this step leads to uneven texture and affects the final color. Once the bubbling becomes more intense and the jam thickens, use the frozen plate method to test the set. Spoon a bit of hot jam on the cold plate, wait a few seconds, and push it with your finger. If it wrinkles, it’s ready.
This step requires patience. Undercooked jam stays runny and won’t hold its shape. Overcooked jam becomes dense and sticky. Aim for something that slides slowly off the spoon but doesn’t drip.
My Blueberry Jam takes slightly longer to set because of the water content in blueberries, but the method remains the same.
Sealing, Storing, and Using Your Jam

Once your jam reaches the right consistency, spoon it into sterilized jars. If you plan to use it within a few weeks, refrigerate once cooled. For long-term storage, process the jars in a boiling water bath for ten minutes, leaving a quarter inch of headspace.
Label each jar with the date and ingredients. I always note whether I used zest or kept it plain. These notes help me adjust future batches depending on what I plan to pair the jam with.
For gift jars or pantry storage, I like to pair this recipe with something more unexpected, like my Mixed Berry and Vanilla Jam, which offers more complexity and a soft vanilla finish.
Ingredient Comparison: Fresh vs Frozen Strawberries
I’ve made this jam with both fresh and frozen strawberries. Fresh fruit wins every time for me. The flavor is sharper, the texture is cleaner, and the color stays vibrant. But frozen strawberries do have their place.
When using frozen berries, I extend the simmering time by about 10 minutes to cook off the excess moisture. I also usually add the lemon zest, which helps lift the flavor back to where it should be. Still, the texture tends to be slightly looser.
If you’re short on time and need jam in the off-season, frozen berries will do the job. But if you’re making this for a special bake or for canning, fresh berries offer the best result.
Serving Suggestions and Storage Tips
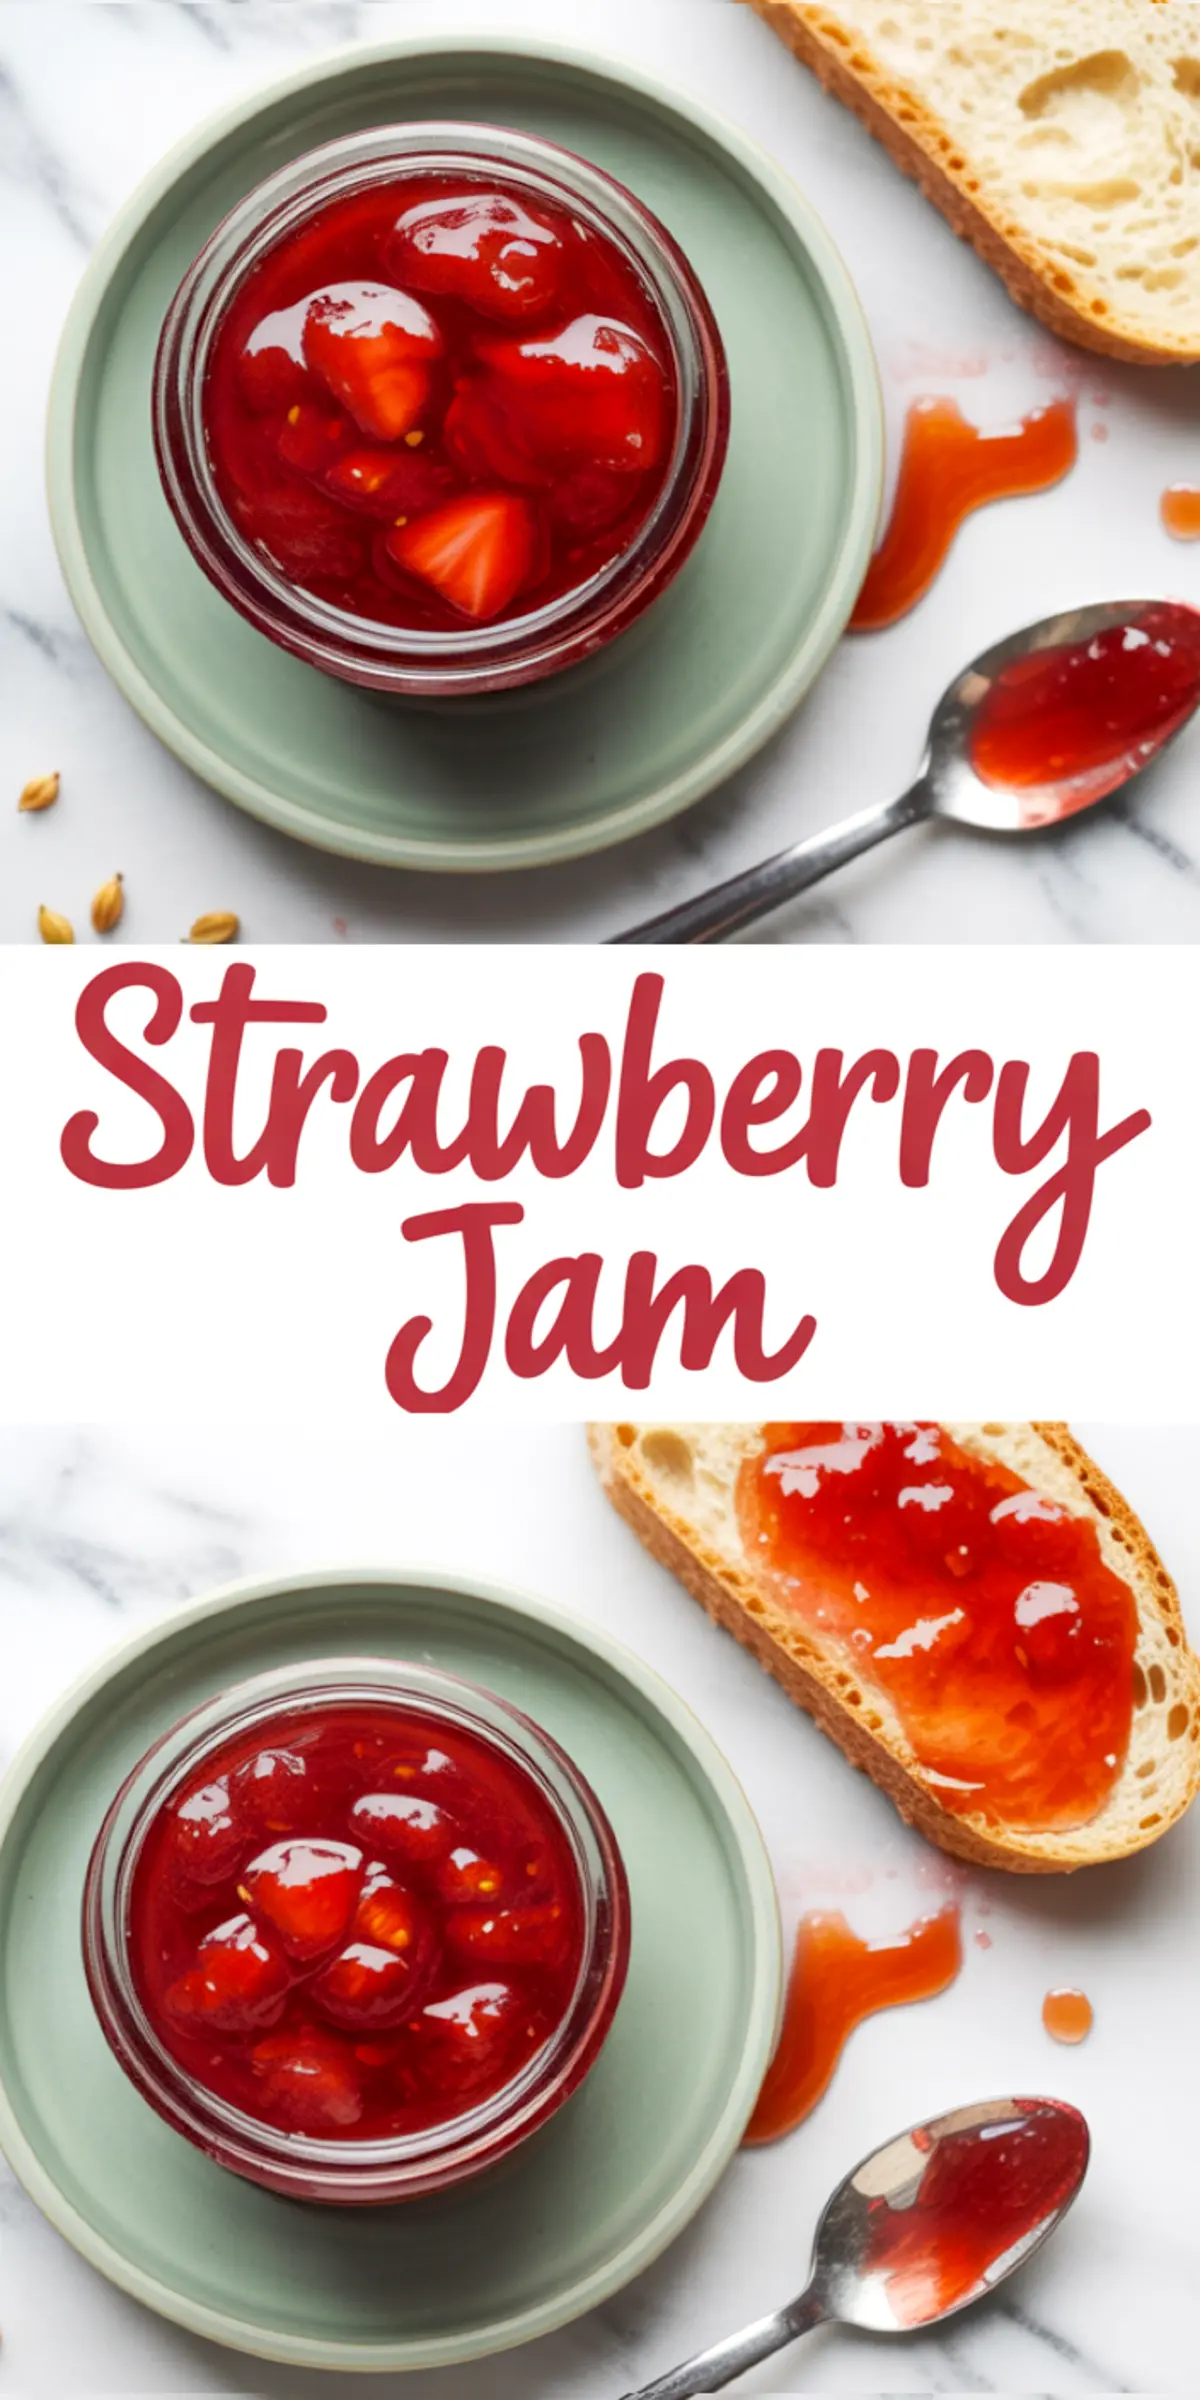
This strawberry jam works in so many ways. Spread it over warm toast, swirl it into vanilla yogurt, or use it as a filling for cupcakes and shortbread cookies.
It also pairs well with cheeses. I’ve layered it between brie slices or served it with aged cheddar on crackers. The sweetness balances the salt beautifully.
Store unopened sealed jars in a cool, dark pantry for up to one year. Once opened, refrigerate and use within two weeks. I keep a small spoon tucked inside the fridge jar—it makes morning toast faster.
Pin and Share Your Strawberry Jam
If you try this jam, I’d love to hear how it turned out. Did you use lemon zest? Did you try it with toast or bake it into something special?
Share your experience in the comments and feel free to ask questions—this is the kind of recipe that gets better with each conversation.
Save this recipe to your Pinterest board so it’s always ready when strawberry season rolls around. A jar of jam makes a sweet memory last much longer than the berries themselves.
Strawberry Jam Recipe
Sweet, glossy, and full of real strawberry flavor
Homemade strawberry jam preserves the bright taste of ripe berries with just a few ingredients. This small-batch recipe delivers a thick, spreadable jam using only strawberries, sugar, and lemon. No pectin required. Perfect for toast, yogurt, or baking projects.
Ingredients
- 4 cups fresh strawberries, hulled and halved
- 2 cups granulated sugar
- 2 tablespoons lemon juice, freshly squeezed
- 1 teaspoon lemon zest (optional)
Instructions
- PREP THE BERRIES: Wash and hull the strawberries, then cut them in halves or quarters depending on their size. For a smoother jam, lightly mash the berries with a potato masher to break them down.
- COMBINE IN A POT: In a heavy-bottomed saucepan, combine the strawberries, sugar, and lemon juice. Stir thoroughly, then let the mixture rest for 10 to 15 minutes to allow the sugar to draw out the berry juices.
- COOK THE JAM: Set the saucepan over medium heat and stir occasionally as the mixture heats and begins to bubble. Once it reaches a boil, reduce the heat slightly and simmer for 25 to 30 minutes, stirring frequently and skimming off any foam that rises to the surface.
- CHECK THE SET: Place a small plate in the freezer for 5 minutes. Spoon a bit of hot jam onto the chilled plate and wait a few seconds. Push the edge of the jam with your finger; if it wrinkles, the jam is done. If not, continue simmering and test again after a few more minutes.
- JAR IT: Carefully ladle the hot jam into sterilized jars, leaving about ¼ inch of headspace. Wipe the rims clean, seal with lids, and let cool completely. For long-term storage, process jars in a water bath canner for 10 minutes; otherwise, store in the refrigerator and use within a few weeks.
Notes
For best flavor, use fully ripe strawberries. The optional lemon zest adds extra brightness but can be omitted for a more classic flavor. Jam will thicken further as it cools.
Nutrition Information
Yield
2Serving Size
1Amount Per Serving Calories 888Total Fat 1gSaturated Fat 0gTrans Fat 0gUnsaturated Fat 1gCholesterol 0mgSodium 9mgCarbohydrates 228gFiber 7gSugar 217gProtein 2g