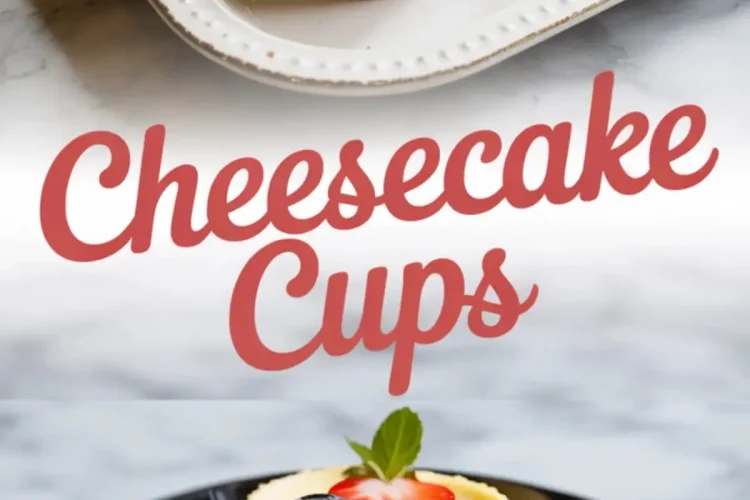
Cheesecake cups make desserts feel both elegant and practical. Each cup carries the same creamy richness of a classic cheesecake but in a form that is easy to share, transport, and enjoy. You will find this recipe especially useful if you need baked goods to sell at a school event, want individual servings for a family gathering, or simply enjoy having a few treats tucked away in the fridge.
I’ve found these mini cheesecake bites to be among the most requested desserts at bake sales and community events. People enjoy them because they look like something you’d buy at a bakery, yet they come together with ingredients you already know and trust. You can count on their presentation to catch eyes, while their flavor seals the deal.
Following a special diet?
Every recipe on this site can be converted to gluten-free, vegan, dairy-free, keto, nut-free or egg-free with adjusted ratios so nothing falls flat.
Try the Recipe Converter →The Ingredients That Build Creamy Cheesecake Cups
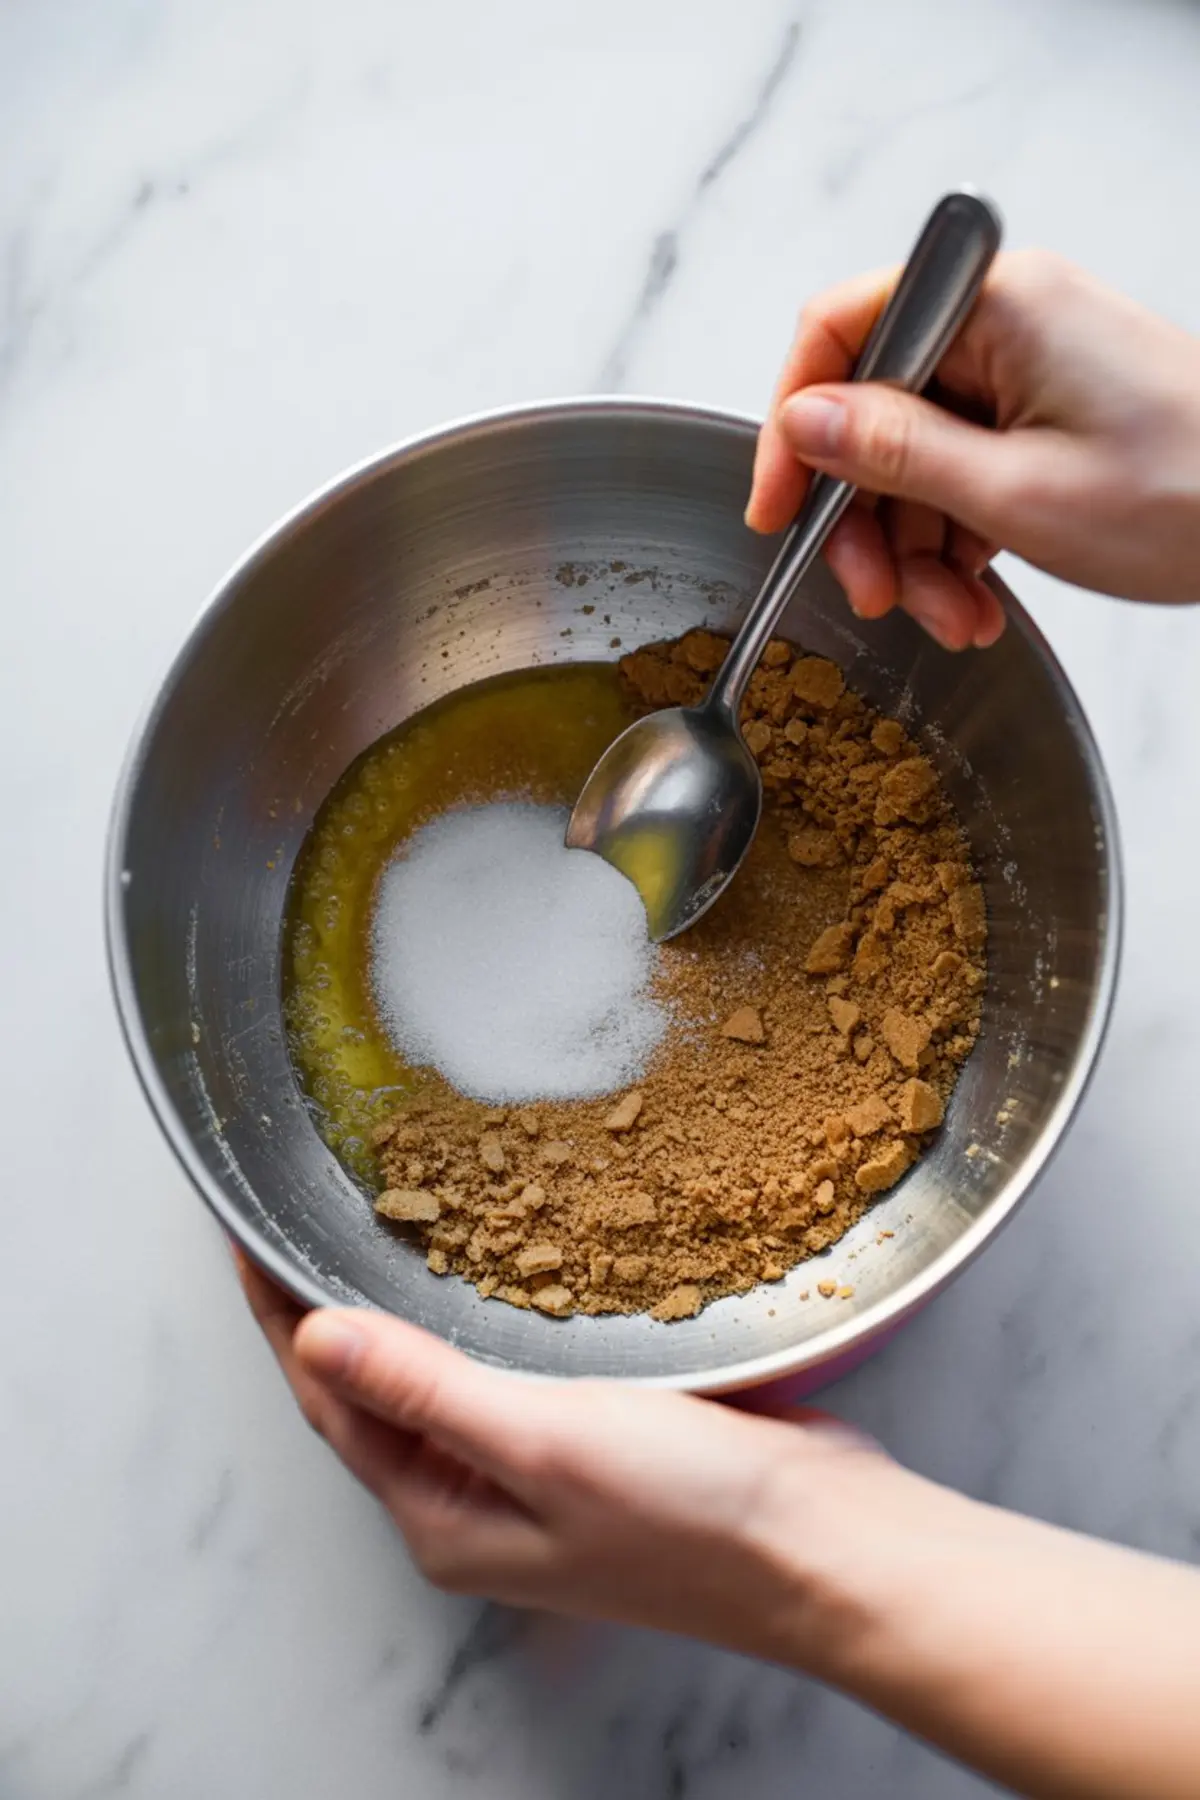
The crust begins with a classic base of graham cracker crumbs, sugar, and melted butter. I always make sure the butter is fully melted before mixing, so every crumb gets coated evenly. Using the flat bottom of a small glass to press the crust into the liners gives a neat, firm layer that doesn’t crumble when you peel back the paper.
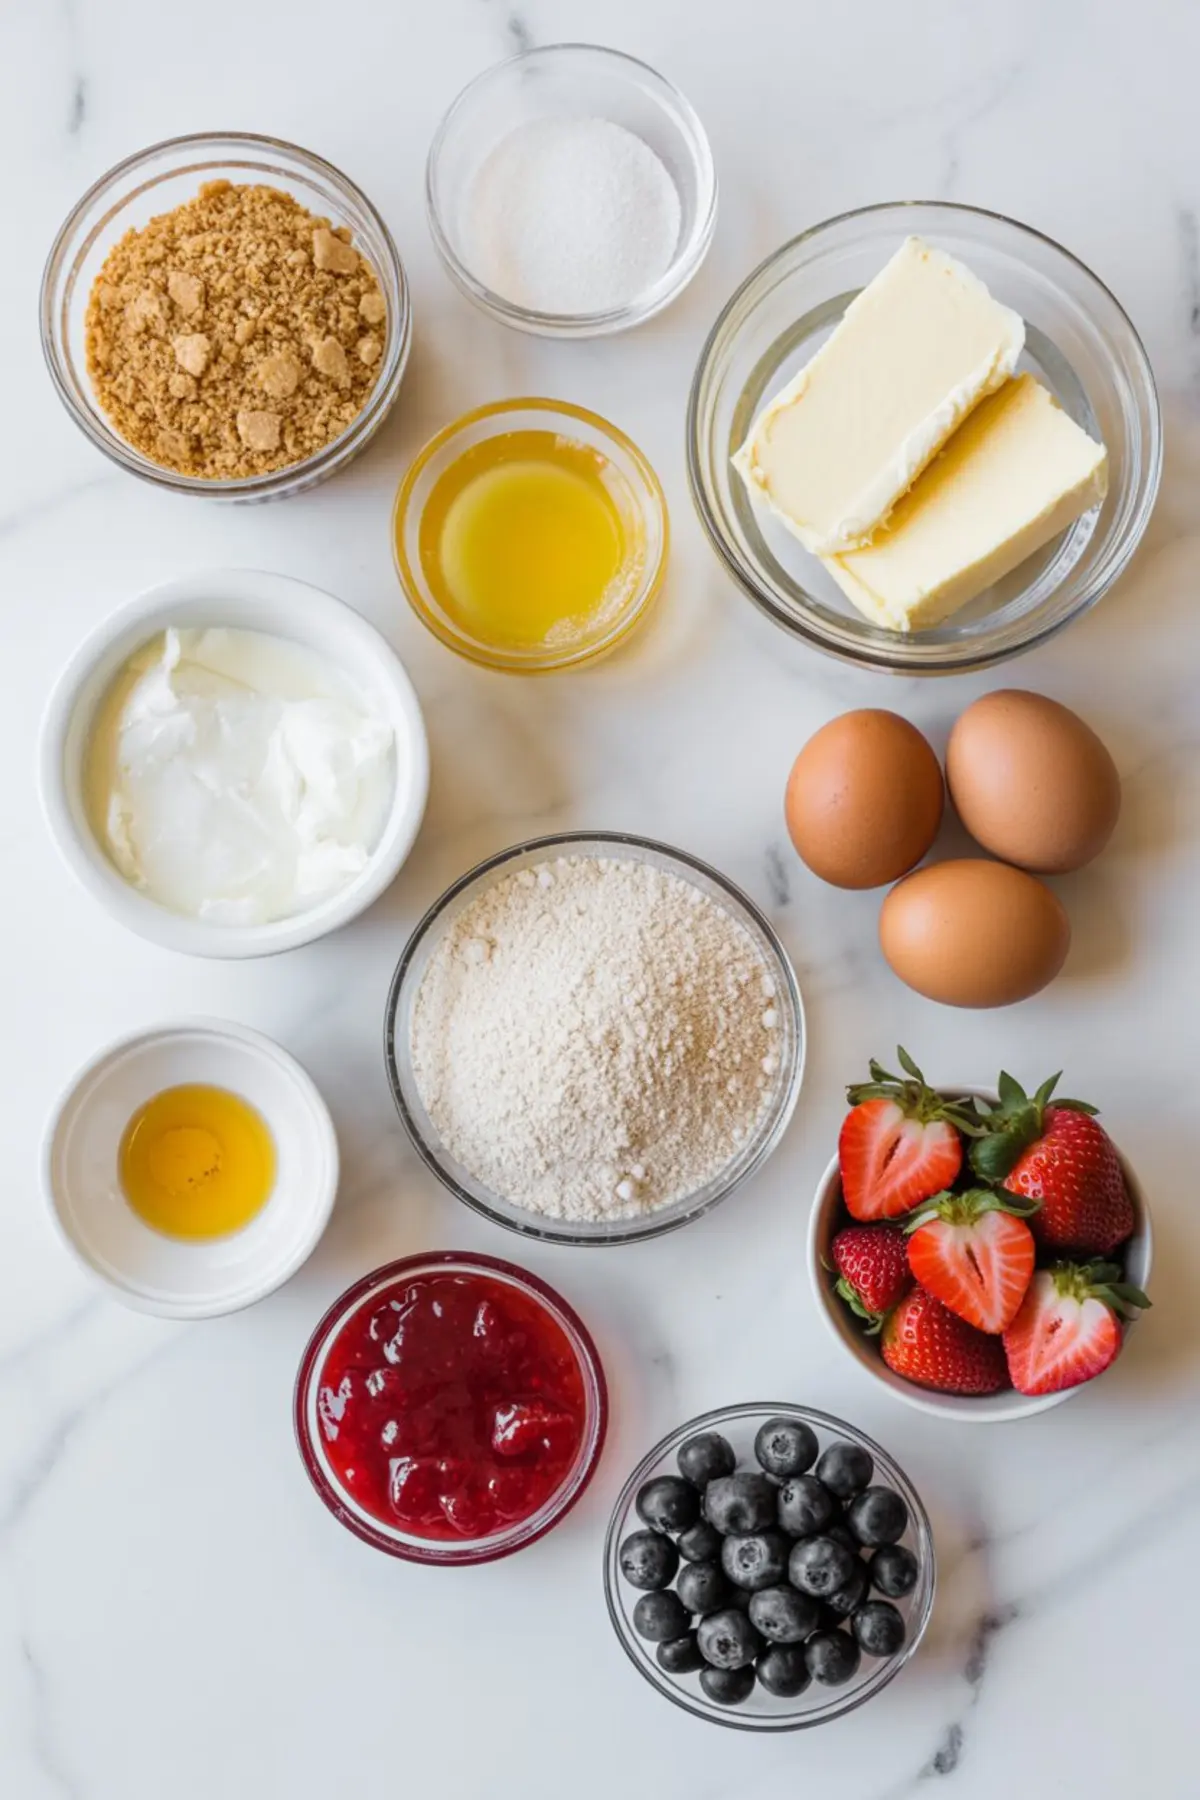
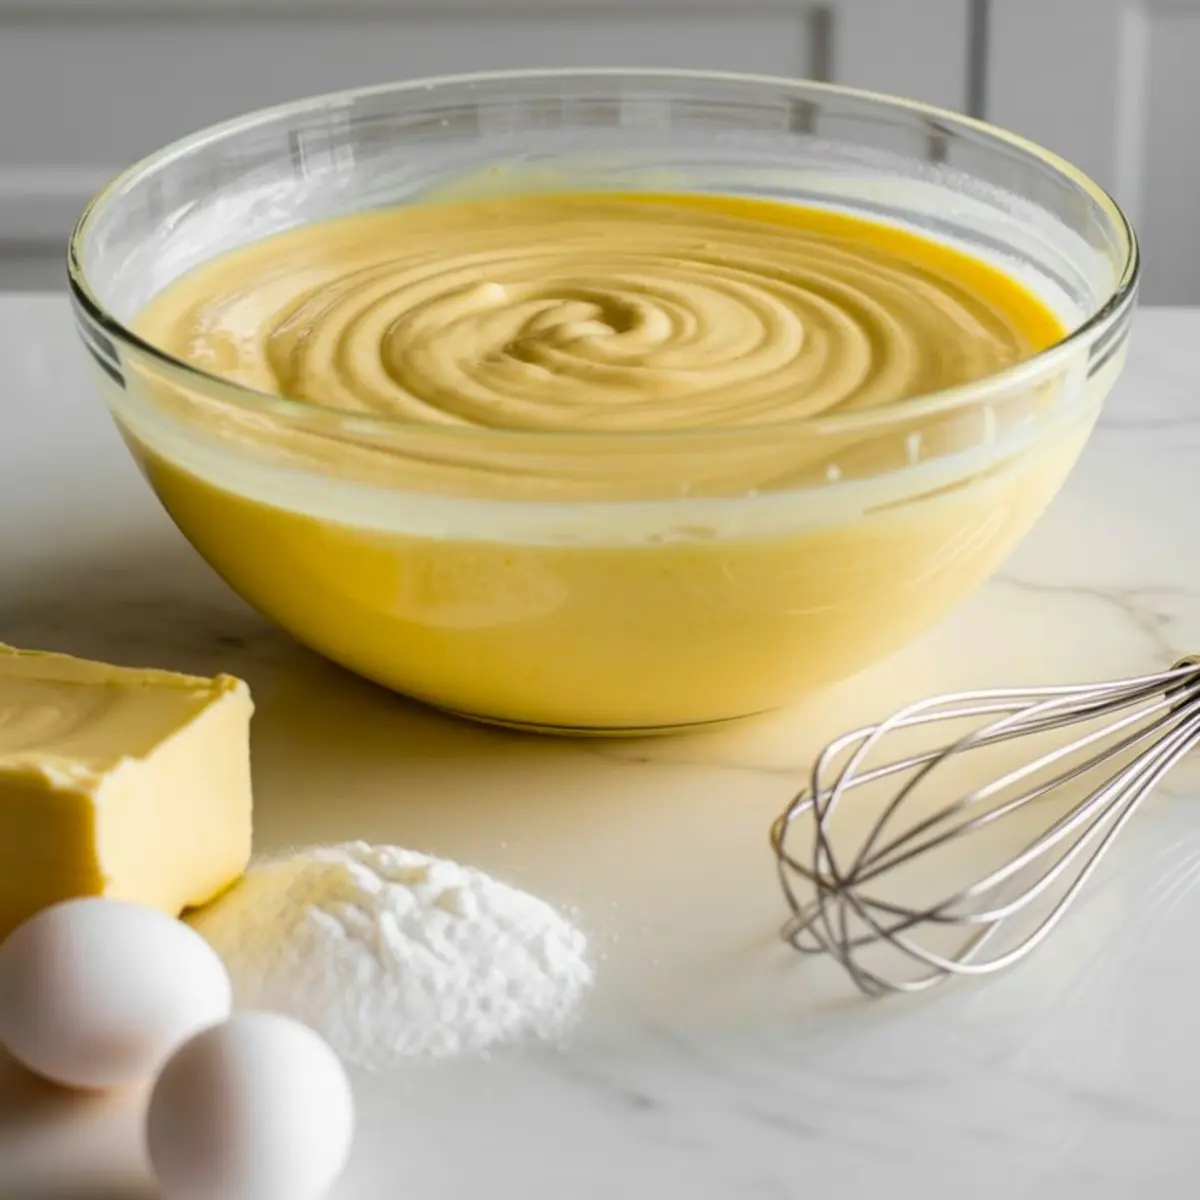
The filling blends cream cheese, sugar, eggs, vanilla, sour cream, and a touch of flour. Using room temperature cream cheese avoids lumps, giving the cups a silky finish. I’ve made these cups both with and without the sour cream, and the difference is noticeable.
Sour cream creates a lighter texture, while leaving it out results in a denser, more New York–style bite. Personally, I prefer the creamier version with sour cream because it pairs better with fresh fruit toppings.
If pumpkin is a flavor you enjoy, you may also want to try this Mini Pumpkin Cheesecake Recipe, which uses the same base but carries the cozy spices of fall.
Baking the Cheesecake Cups to Set Just Right
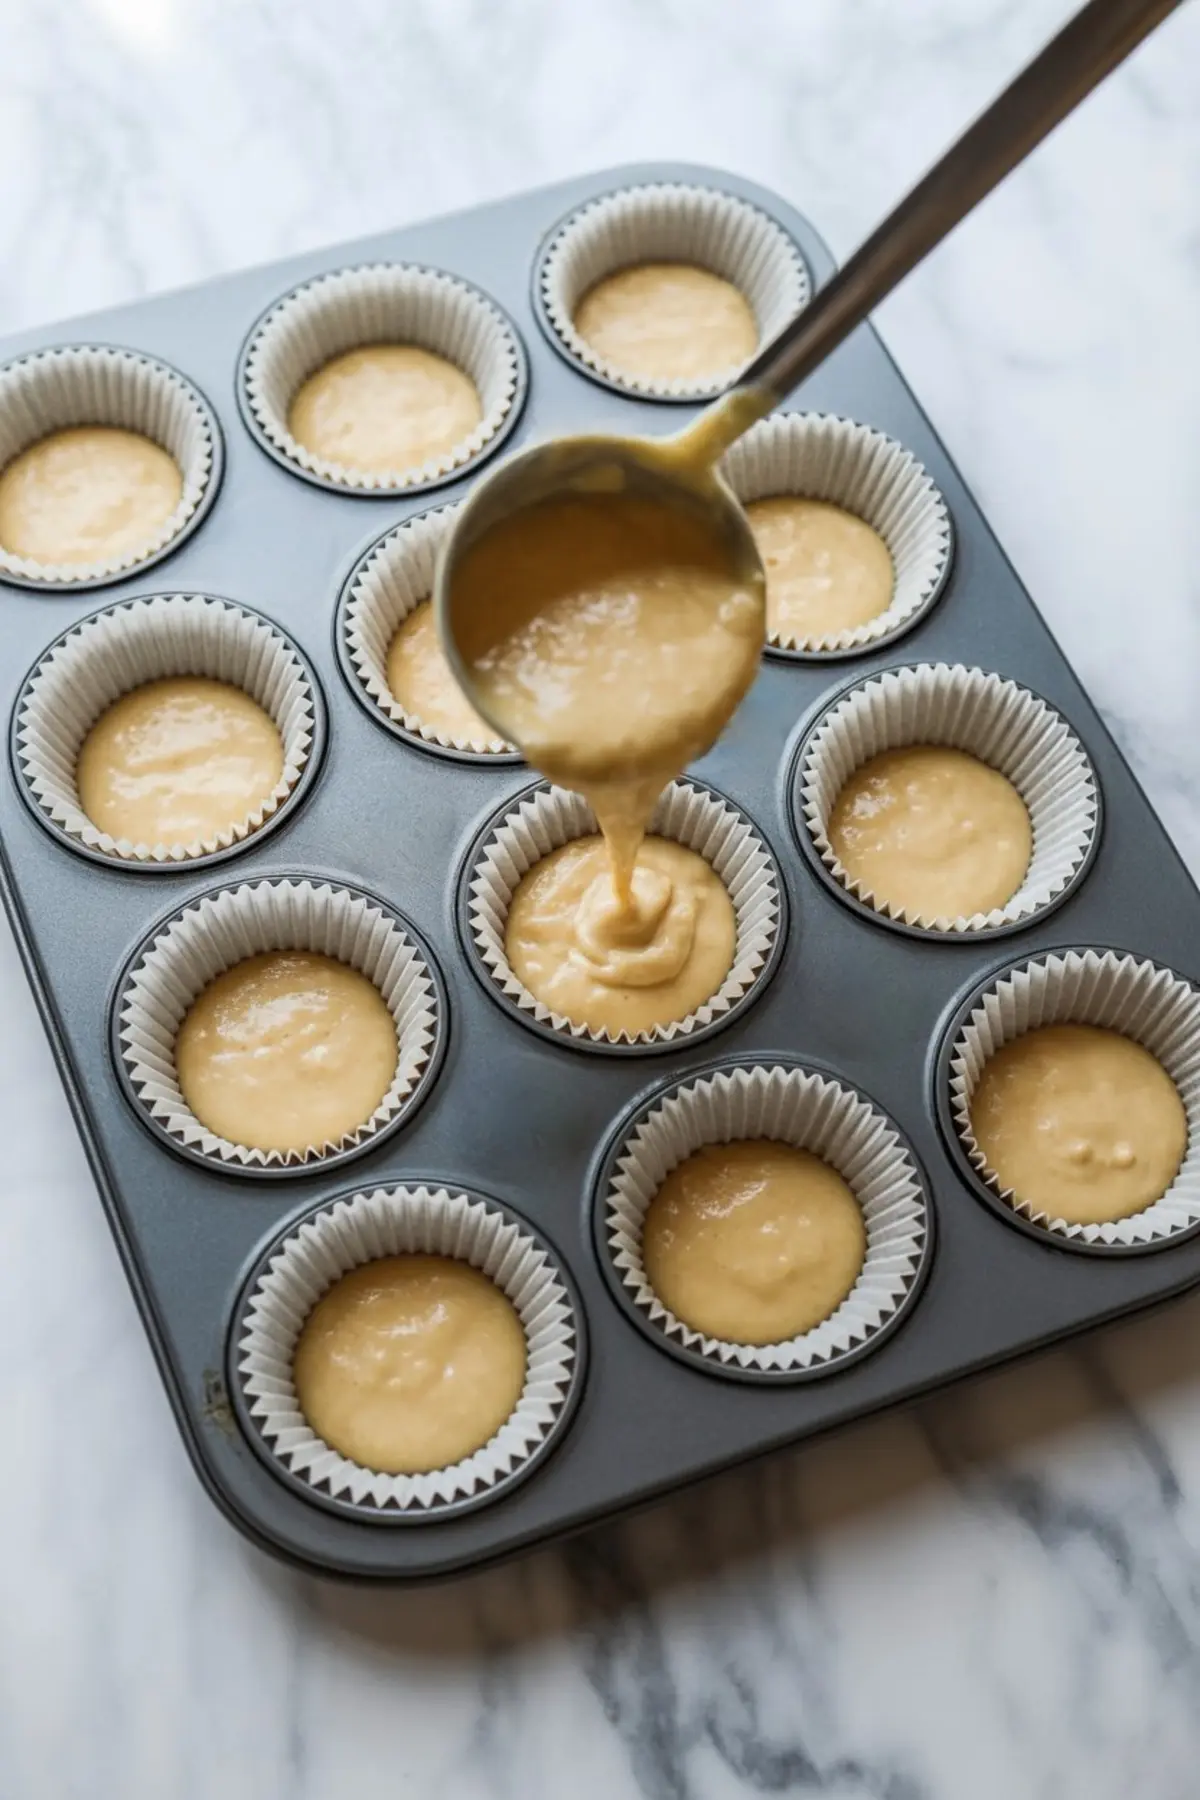
Fill each liner about three-quarters full, which allows space for the filling to rise slightly without overflowing. Bake until the centers are set but still hold a gentle jiggle.
The cups continue to firm as they cool, so resist the urge to overbake. Cooling them in the pan before transferring to the refrigerator prevents sudden temperature changes that can cause cracks.
In my own notes, I’ve compared baking them with a water bath to skipping it. The water bath gives a slightly softer texture and fewer cracks, but I usually skip it for this recipe.
The topping of jam and fruit covers any minor surface imperfections, making the water bath optional.
For a chocolate twist, you may enjoy these Cherry Cheesecake Brownies, which combine a fudgy base with a creamy layer similar to these cups.
Adding Fruit Toppings
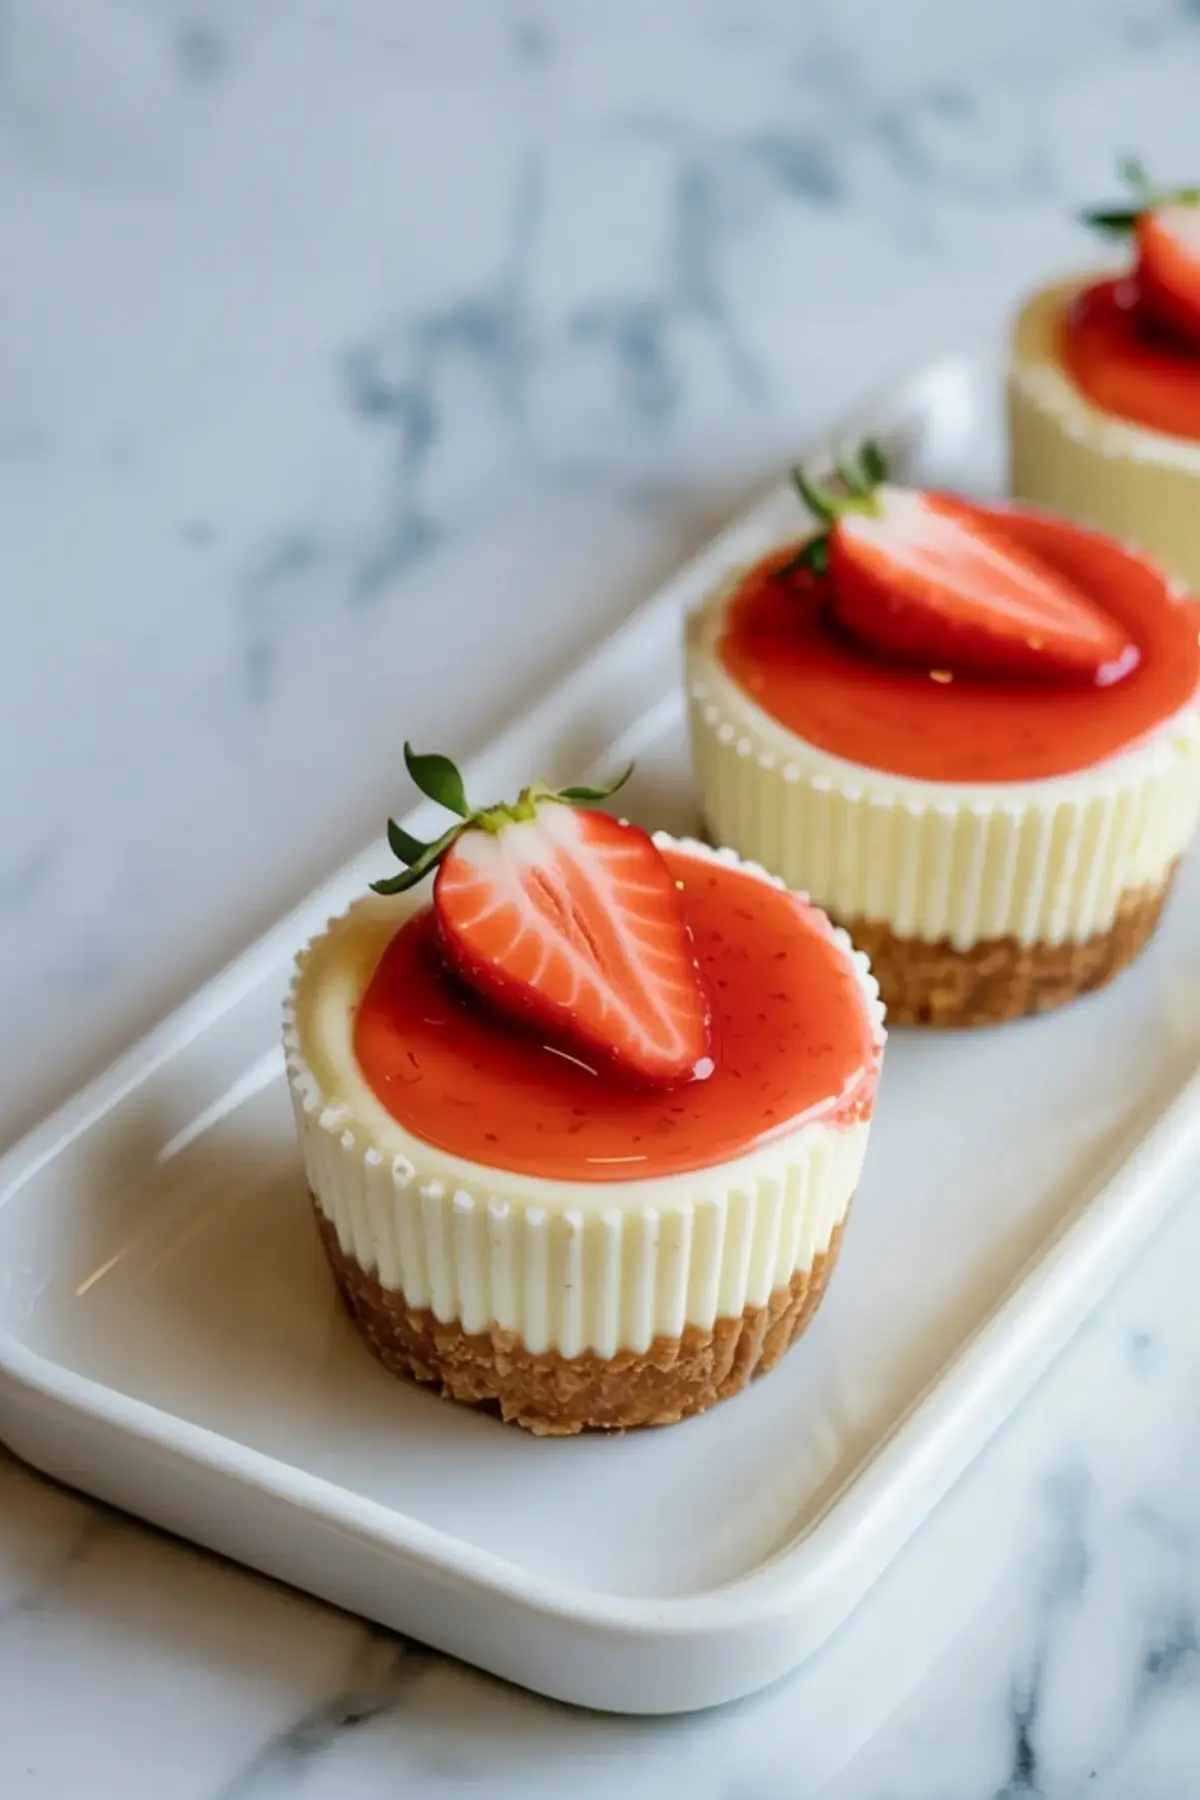
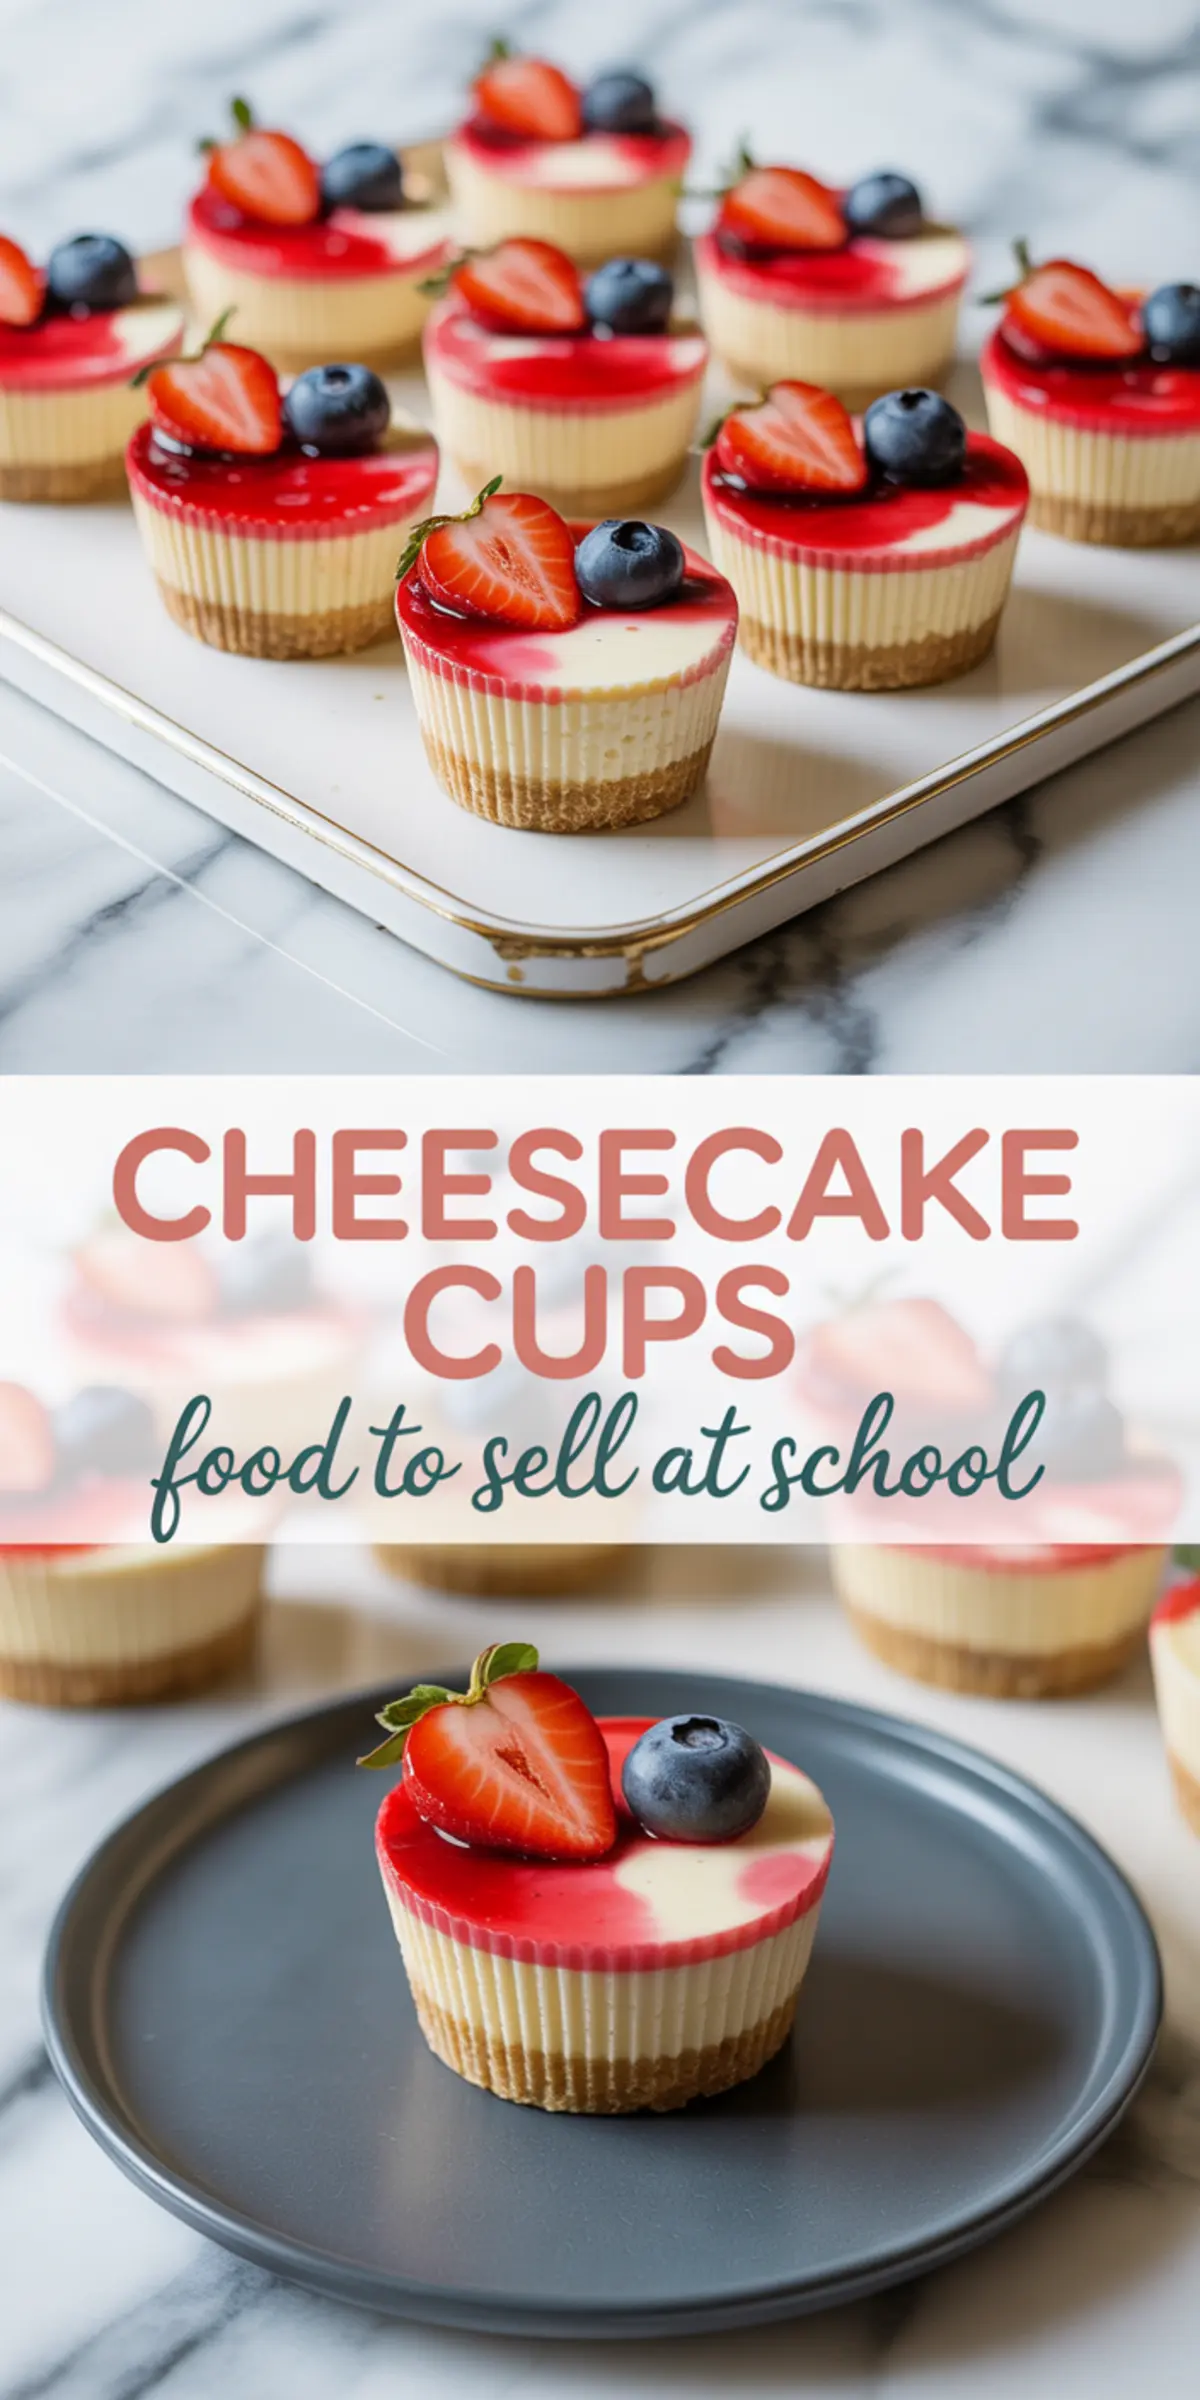
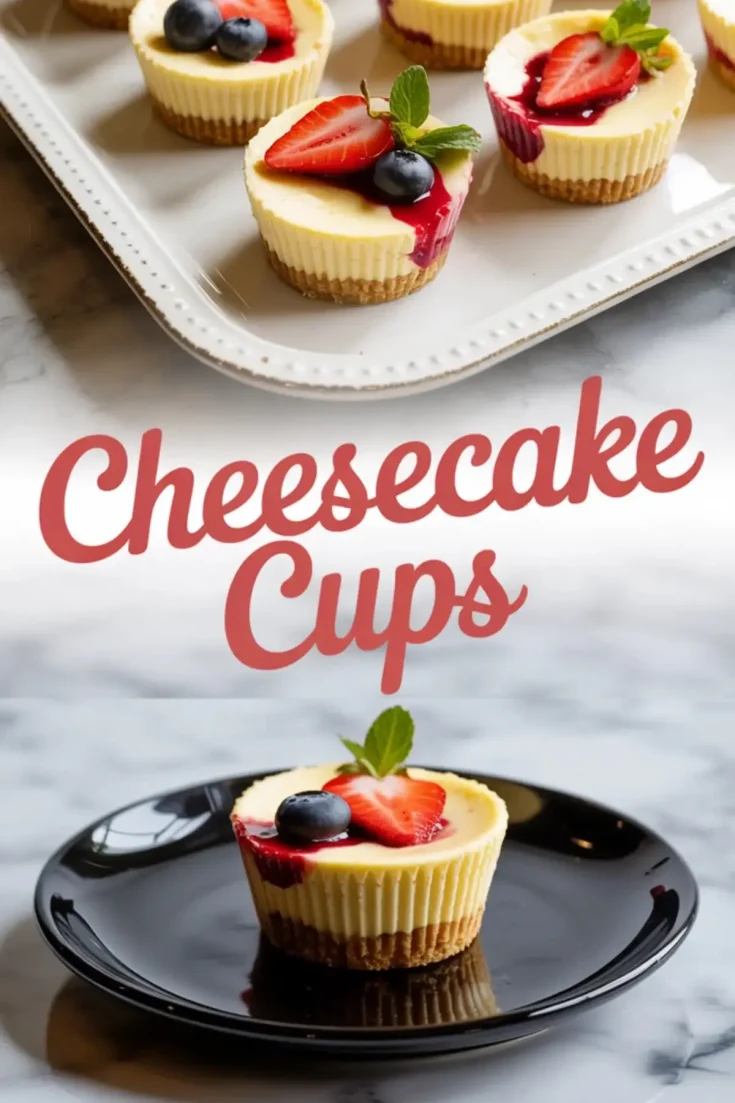
Once the cheesecakes chill, spread a thin layer of warmed strawberry or raspberry jam over the top. The warmth helps it glide on smoothly without tugging at the delicate surface.
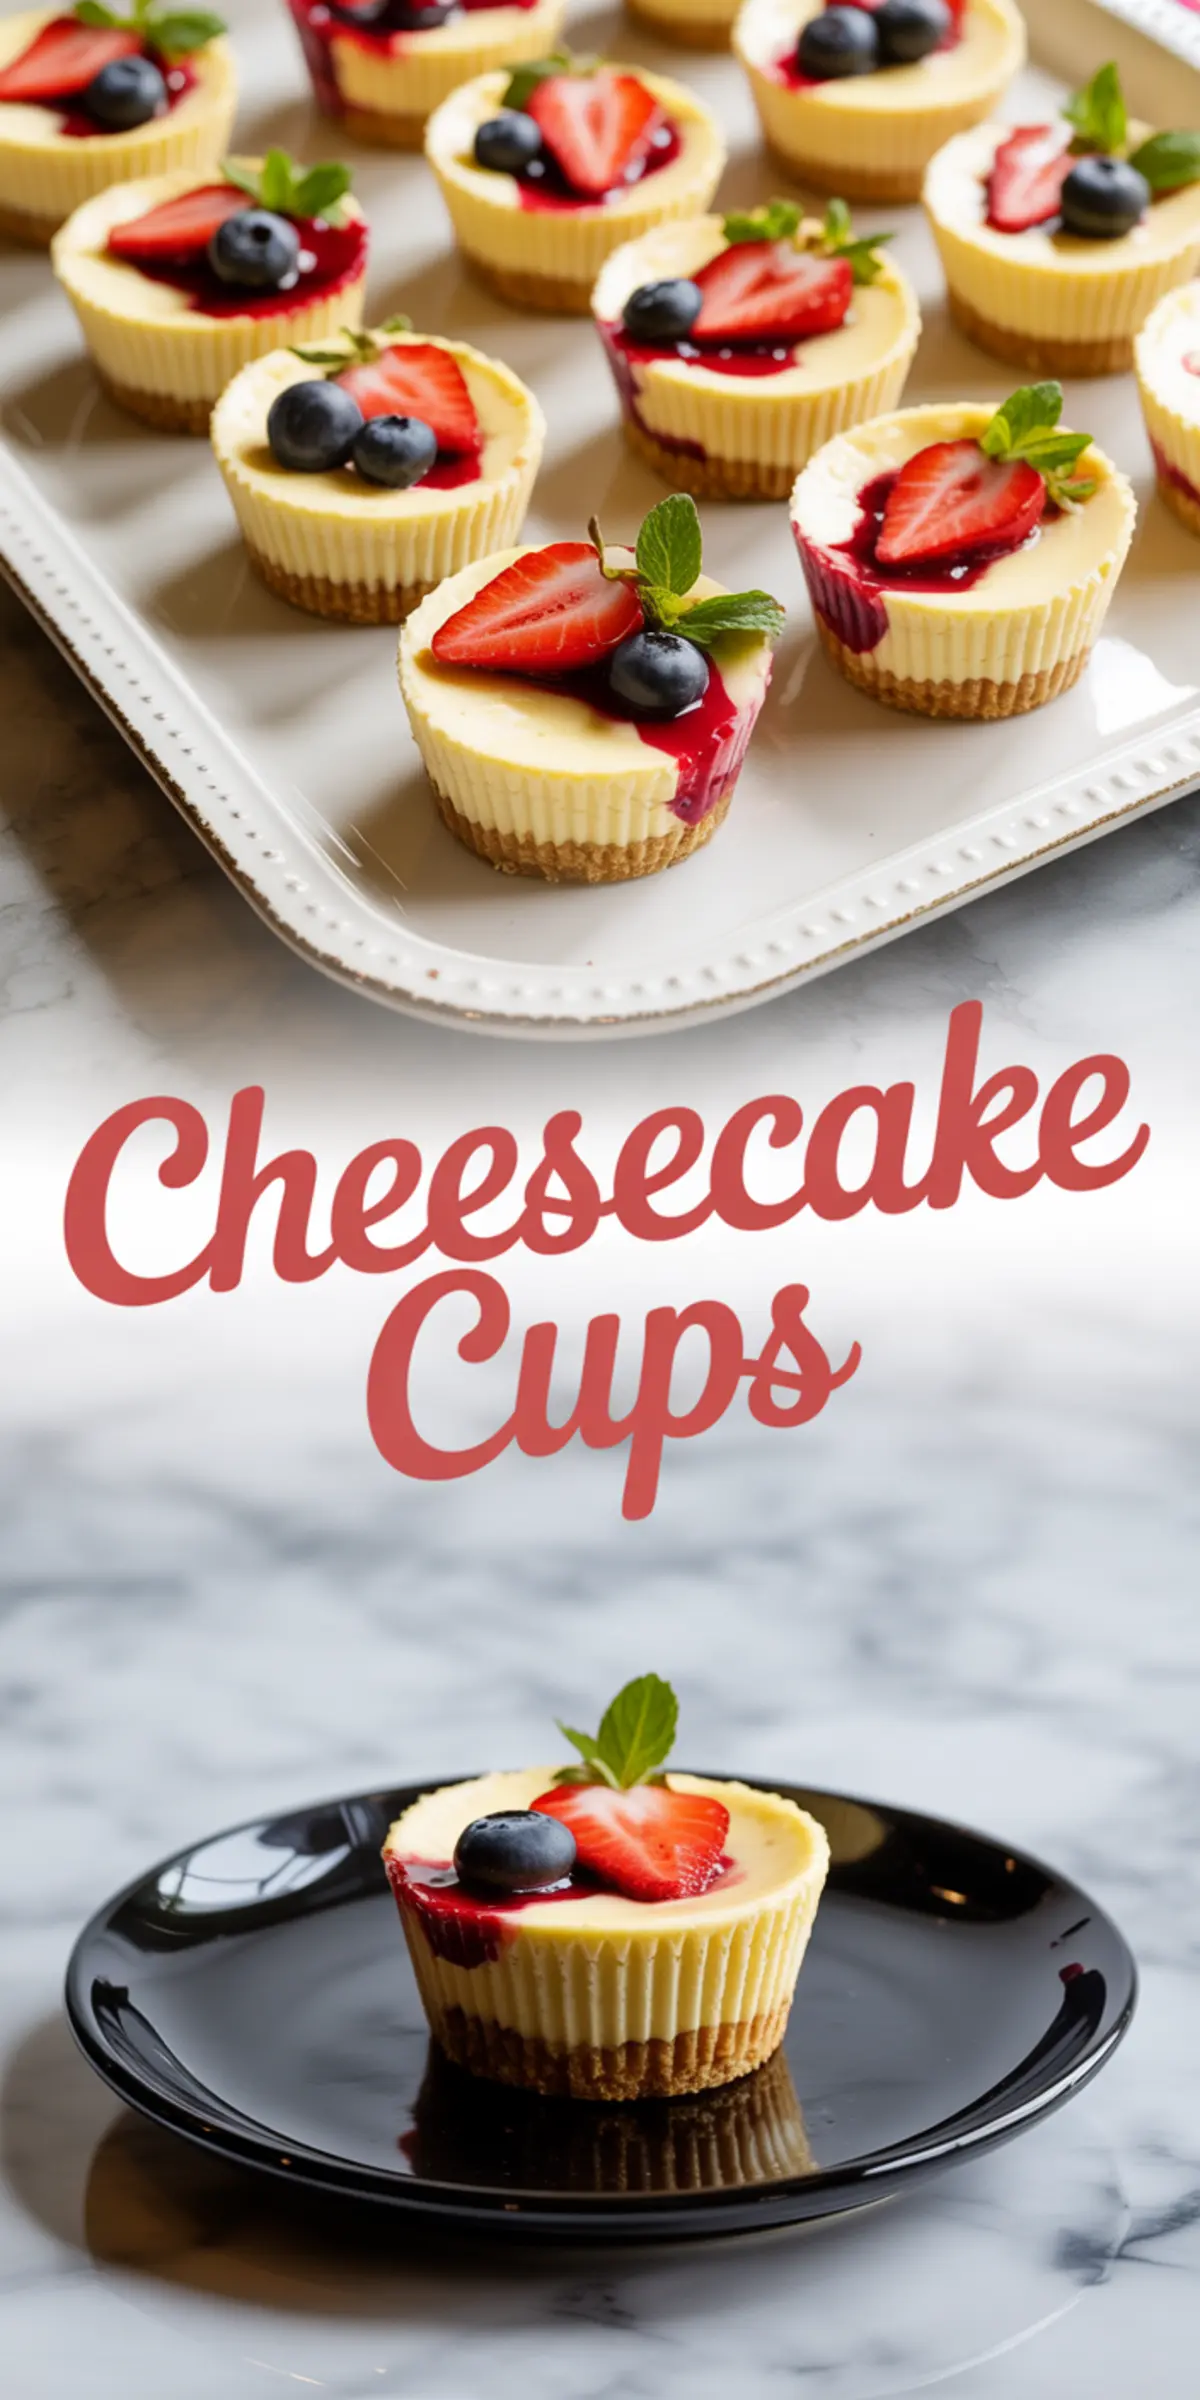
Garnish with a halved strawberry and a fresh blueberry for a balanced look and flavor.
You can adapt the topping to the season. Summer calls for fresh berries. Fall works well with figs, caramel drizzle, or even apple slices. Winter can handle pomegranate seeds or candied cranberries. This flexibility keeps the recipe fresh each time you make it.
If you want a show-stopping look for a holiday table, take a look at this Patriotic Triple Berry Cheesecake, which uses a similar berry topping idea but on a larger scale.
Serving and Storing Cheesecake Mini Cups
These individual cheesecake cups serve neatly straight from the liners, which makes them excellent desserts to sell or bring to a gathering. You can plate them on a simple white tray for a clean look, or arrange them in cupcake boxes if you plan to sell them at a fundraiser.
Store the cups covered in the refrigerator for up to four days. If you need to make them ahead, bake the cheesecakes the day before and add the jam and fruit just before serving to keep the topping fresh and glossy.
I’ve also tried freezing them without toppings. They thaw well in the refrigerator overnight, and you can add fruit just before serving. This option helps if you want to prepare batches for future use.
Tip: Cheesecake cups no bake recipes exist, but I find the baked version holds its shape better for transport and has the familiar flavor people expect when they bite in.
A Final Word and an Invitation
Mini cheesecake cups are one of those dessert cups ideas that always deliver. They look professional, travel easily, and bring a creamy bite that keeps people coming back for more. I’ve baked them countless times and still get asked for the recipe after every event.
I would love for you to save this recipe to your Pinterest boards so you can come back to it whenever you need a simple, crowd-pleasing treat.
Share in the comments how your batch turned out or what fruits you chose for the topping. If you have questions, feel free to ask. I always enjoy hearing from fellow bakers.
Cheesecake Cups Recipe
Cheesecake cups are creamy, bite-sized treats topped with fresh fruit for a colorful finish. They are easy to make ahead, transport, and serve, making them especially practical for bake sales and school events.
Ingredients
- FOR THE CRUST
- 1 ½ cups graham cracker crumbs (about 12 whole crackers)
- 2 tablespoons granulated sugar
- 6 tablespoons unsalted butter, melted
- FOR THE CHEESECAKE FILLING
- 16 oz (2 packages) cream cheese, softened
- ½ cup granulated sugar
- 2 large eggs
- 1 teaspoon pure vanilla extract
- ½ cup sour cream
- 2 tablespoons all-purpose flour
- FOR THE TOPPING
- ½ cup strawberry or raspberry jam, warmed slightly
- Fresh strawberries, halved
- Fresh blueberries (or any seasonal fruit)
Instructions
Step 1: PREPARE THE CRUST: Preheat oven to 325°F (163°C). Line a standard 12-cup muffin pan with paper liners. In a medium bowl, mix graham cracker crumbs, sugar, and melted butter until the mixture resembles wet sand. Divide evenly among the cupcake liners and press down firmly with the back of a spoon.
Step 2: MAKE THE CHEESECAKE FILLING: In a large bowl, beat cream cheese with an electric mixer until smooth. Add sugar and mix until combined. Beat in eggs one at a time, then add vanilla extract. Mix in sour cream and flour until smooth with no lumps.
Step 3: BAKE THE CHEESECAKE CUPS: Spoon batter evenly over crusts, filling each liner about three-quarters full. Bake 18–20 minutes, until centers are set but slightly jiggly. Cool completely in the pan, then refrigerate for at least 3 hours or overnight.
Step 4: ADD THE TOPPING: Once chilled, spoon a thin layer of warmed jam on each cheesecake. Garnish with half a strawberry and a blueberry before serving.
Notes
For best results, chill overnight to allow the cheesecakes to firm fully. These can be made a day in advance and stored covered in the refrigerator.
Notes
For a neater crust, use the flat bottom of a small glass to press the graham mixture evenly into the liners.
If the cheesecakes crack on top, don’t worry — the jam and fruit topping will cover it.
Use room temperature cream cheese for a smooth, lump-free filling.
Cheesecake cups can be stored covered in the refrigerator for up to 4 days.
For variety, try topping with chocolate ganache, caramel sauce, or different seasonal fruits.
Nutrition Information
Yield
12Serving Size
1Amount Per Serving Calories 367Total Fat 24gSaturated Fat 13gTrans Fat 0gUnsaturated Fat 9gCholesterol 95mgSodium 354mgCarbohydrates 26gFiber 1gSugar 17gProtein 11g