A lot of fruit crisps rely on cool-weather comfort. This one carries itself differently.
It’s quick. It’s balanced. And it proves that a summer apple crisp can stand up to berry bakes and chilled puddings without feeling heavy. If you’re looking for a fruit dessert that feels classic but doesn’t taste recycled, this one works every time, especially with Pink Lady apples.
They hold their shape, bring a clean, tart sweetness, and give this crisp structure that doesn’t slump in the heat.
You’ll learn how to get that golden top without sog, how to layer flavors without overcomplicating things, and how to use your hands (literally) to make a crisp worth making again.
Following a special diet?
Every recipe on this site can be converted to gluten-free, vegan, dairy-free, keto, nut-free or egg-free with adjusted ratios so nothing falls flat.
Try the Recipe Converter →Summer Fruit Crisp with a Clean Finish
This recipe keeps things simple without feeling basic.
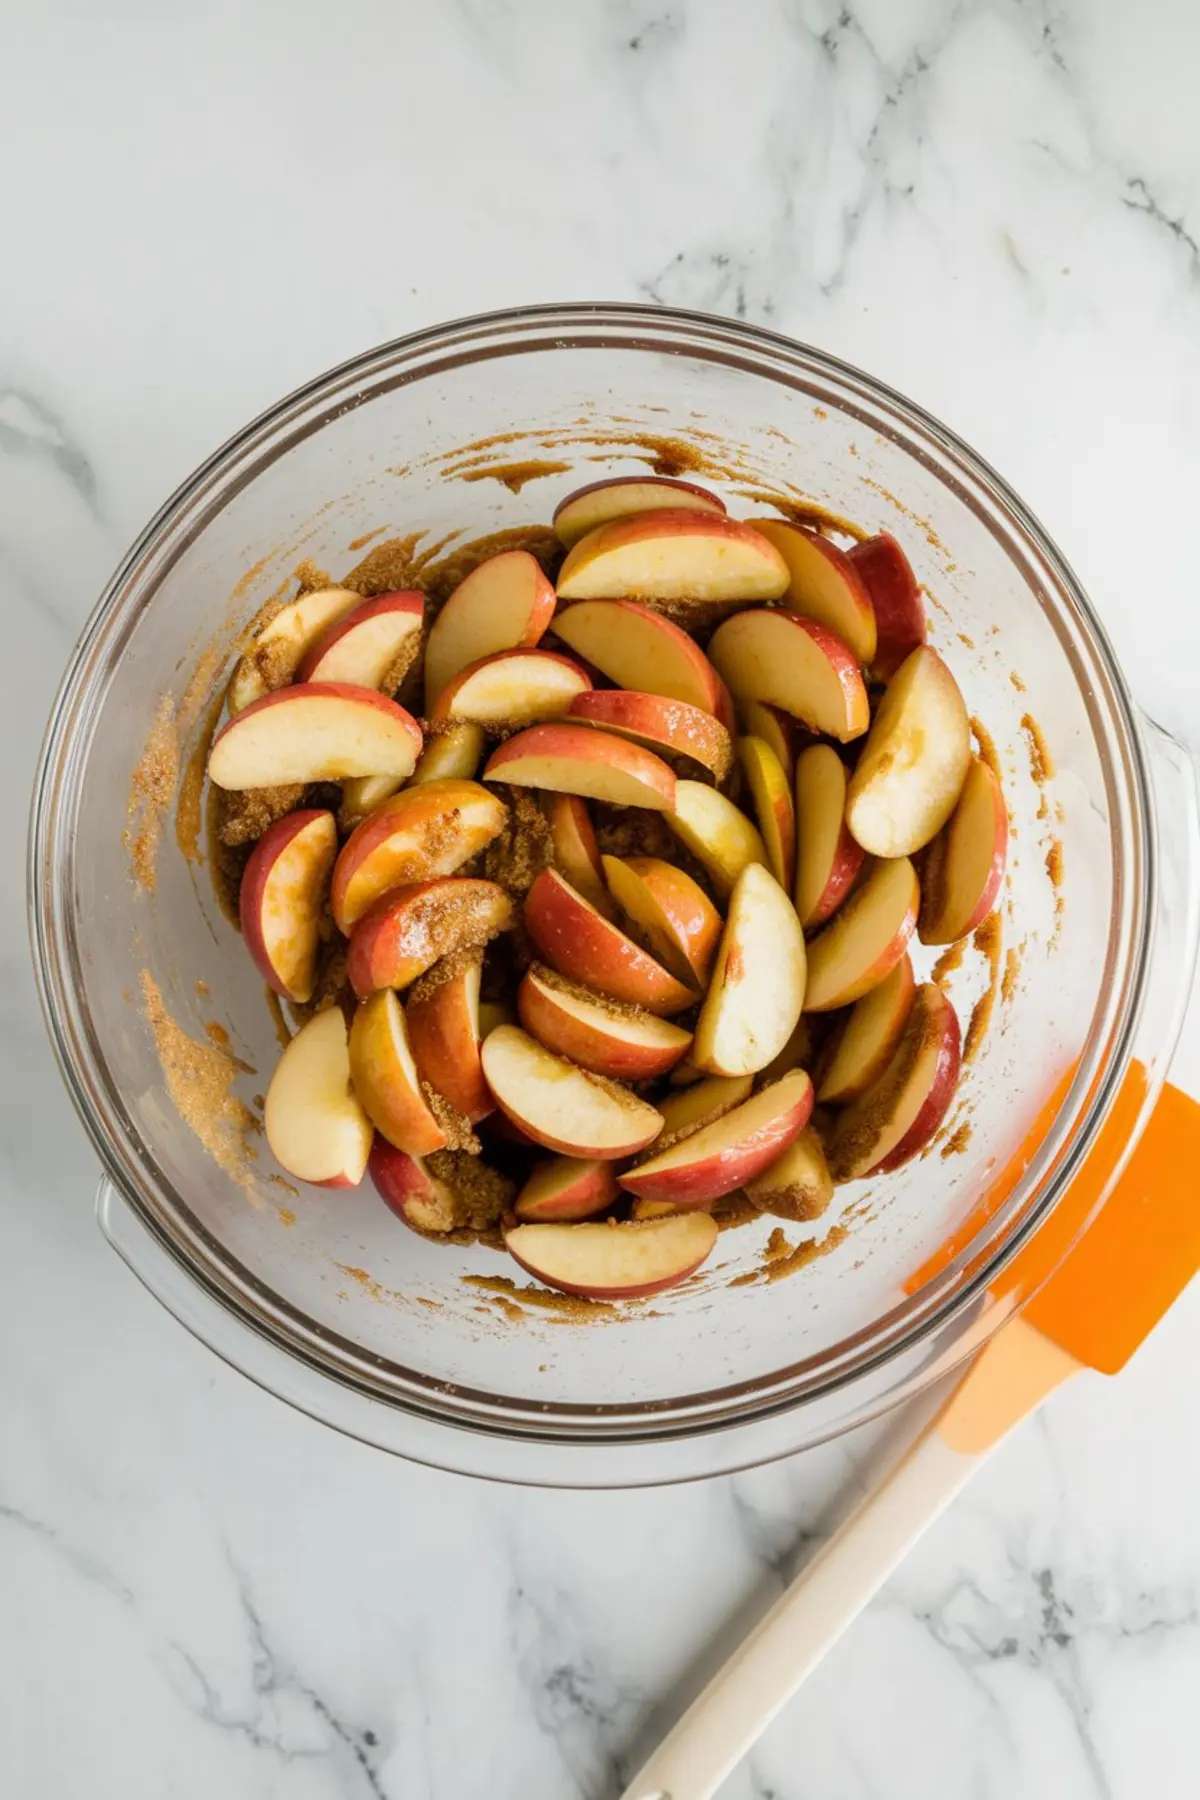
The apple base leans on a short list of pantry staples. Brown sugar brings out depth. Cinnamon and nutmeg round the flavor without overpowering it. Lemon juice prevents browning but also adds a fresh edge that works beautifully with Pink Ladies.
Cornstarch pulls its weight here. You won’t get a runny mess at the bottom of your dish. The juices thicken just enough to give you clean scoops with soft bite and glossy apple slices.
Making a Crisp Topping That Actually Stays Crisp
The topping is the only thing standing between you and a soggy disappointment.
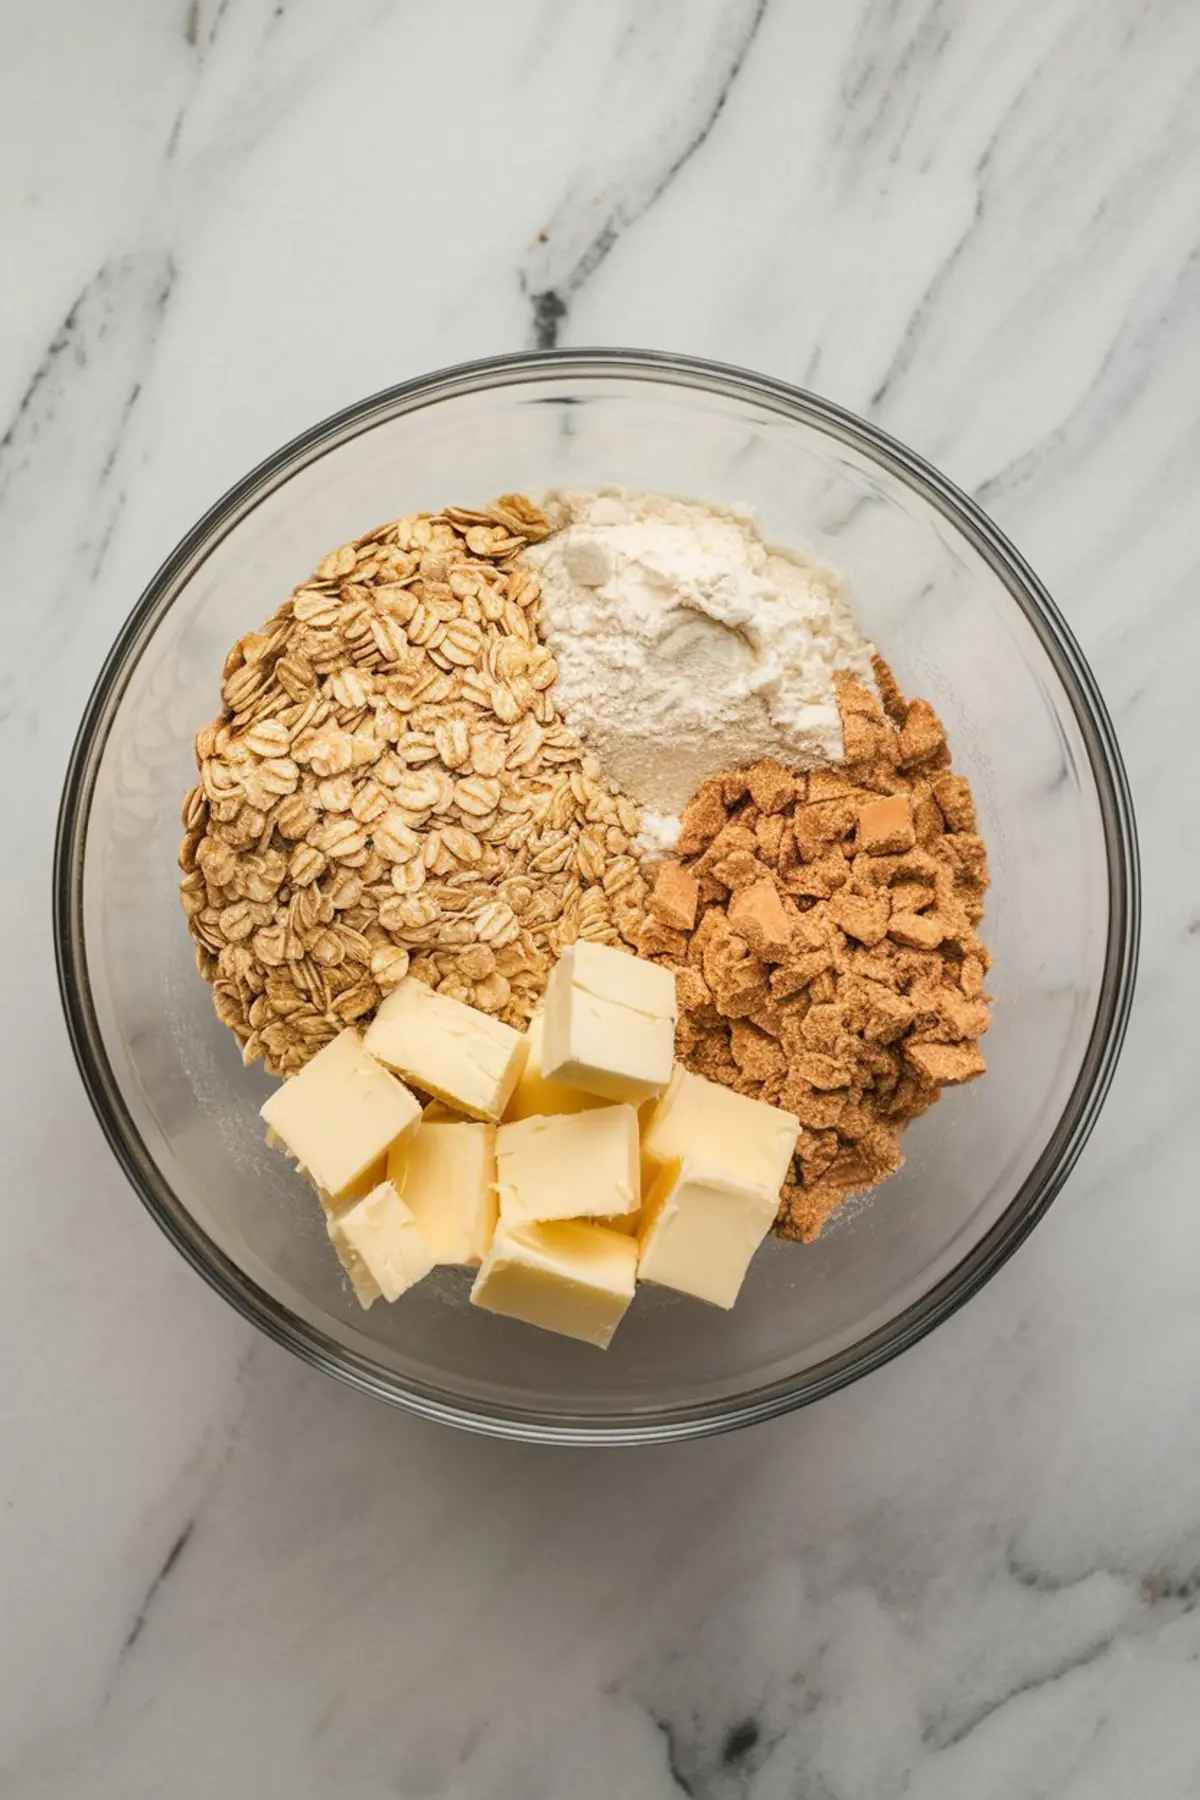
In my experience, cutting cold butter into the flour and oat mix with fingers gives better control. You don’t want a uniform paste. You want clumps. Some big. Some sandy. That uneven texture crisps better and browns more beautifully.
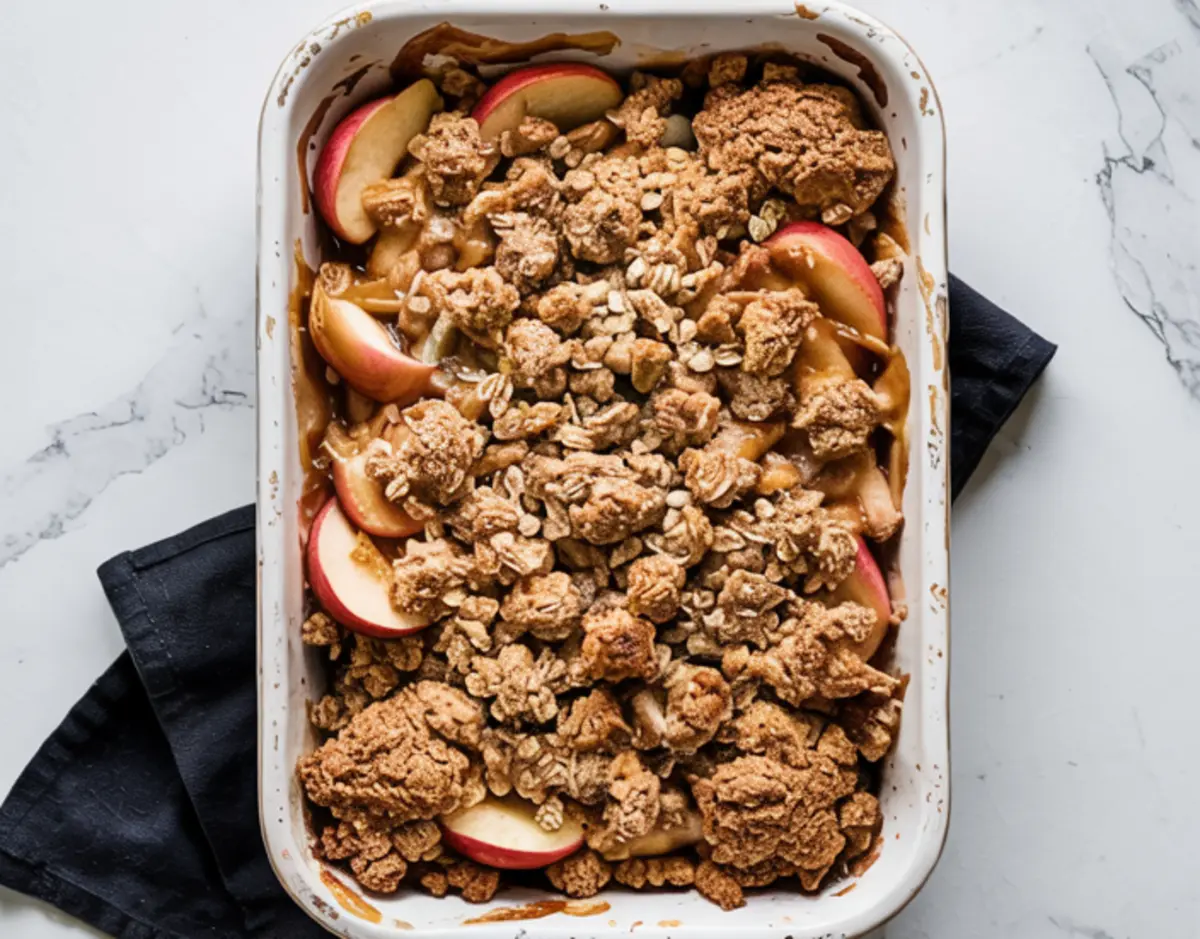
It also means the topping sits on top—lightly. Don’t pat it down. Let it rest like a scattered blanket over the fruit. That’s what gives you that golden, crunchy finish.
Fresh vs. Cold-Stored Apples: A Quick Note
I’ve tested this recipe with fresh Pink Lady apples straight from a local market and with ones that have sat in cold storage for a couple months.
Fresh ones break down less, hold their color better, and taste brighter. Stored ones still work, but the flavor gets flatter and the texture softens faster during baking. If you’re shopping in spring or summer, go fresh.
Baking Notes Worth Remembering
I use a glass baking dish because it helps me gauge browning and bubbling without opening the oven.
Metal pans cook faster and may brown the topping a little more. But in my notes, I’ve found that the glass dish gives more even heating for the filling and keeps the bottom layer from turning mushy.
Bake uncovered. That topping needs the dry heat to crisp.
Let the crisp sit for 10–15 minutes after baking. The juices settle. The structure firms. If you scoop too early, you’ll lose that contrast between soft fruit and crisp topping.
How to Serve It So It Doesn’t Just Feel Like Dessert
You can spoon this into bowls with vanilla ice cream and call it a day. But if I’m hosting or prepping ahead, I’ll portion it into small ramekins and chill them slightly, then warm right before serving.
They’re easier to plate, and you get better control over portions.
This crisp also pairs well with a dollop of lightly sweetened crème fraîche instead of ice cream. It cuts the sugar and brings a little tang that’s especially good with Pink Ladies.
If you prefer something no-bake for hotter days, you might like this Mango Chia Pudding or this Simple Dessert Dip.
Storage Tips That Don’t Ruin the Texture
Once cooled, cover it loosely and store it at room temperature for a day.
For longer storage, refrigerate in an airtight container—but know that the topping softens a little. Reheat in a 300°F oven for 10 minutes to bring back the crisp.
Avoid the microwave. It turns the topping soft and the apples gummy.
You can also freeze baked portions. Wrap tightly and freeze for up to a month. Reheat in the oven straight from frozen.
For another easy summer fruit dessert that holds well, try this Easy Blueberry Muffin recipe.
A Good Apple Crisp Shouldn’t Compete—It Should Comfort
You don’t need fancy ingredients here. Just good apples, cold butter, and a hot oven.
This isn’t a showstopper. It doesn’t need to be. It’s the kind of dessert that finishes a meal without taking it over. It’s the kind of dessert you remember later when you’re staring at apples and wondering what to do.
I’ve made this for friends on warm nights with grilled chicken and Easy Fruit Salad on the table.
I’ve also made it after long days when I needed to use up apples and wanted something warm in the kitchen.
It always delivers.
Save and Share This Summer Apple Crisp
Save this easy Pink Lady Apple Crisp to your Summer Desserts board so you don’t forget it.
I’d love to hear if you tried it, leave a comment with your thoughts or any questions. If you swapped the apples or added a twist, let’s talk about it. This blog isn’t just a recipe archive, it’s a kitchen conversation.
And if you’re looking for another fruit-based bake, this Apple Dump Cake might be next on your list.
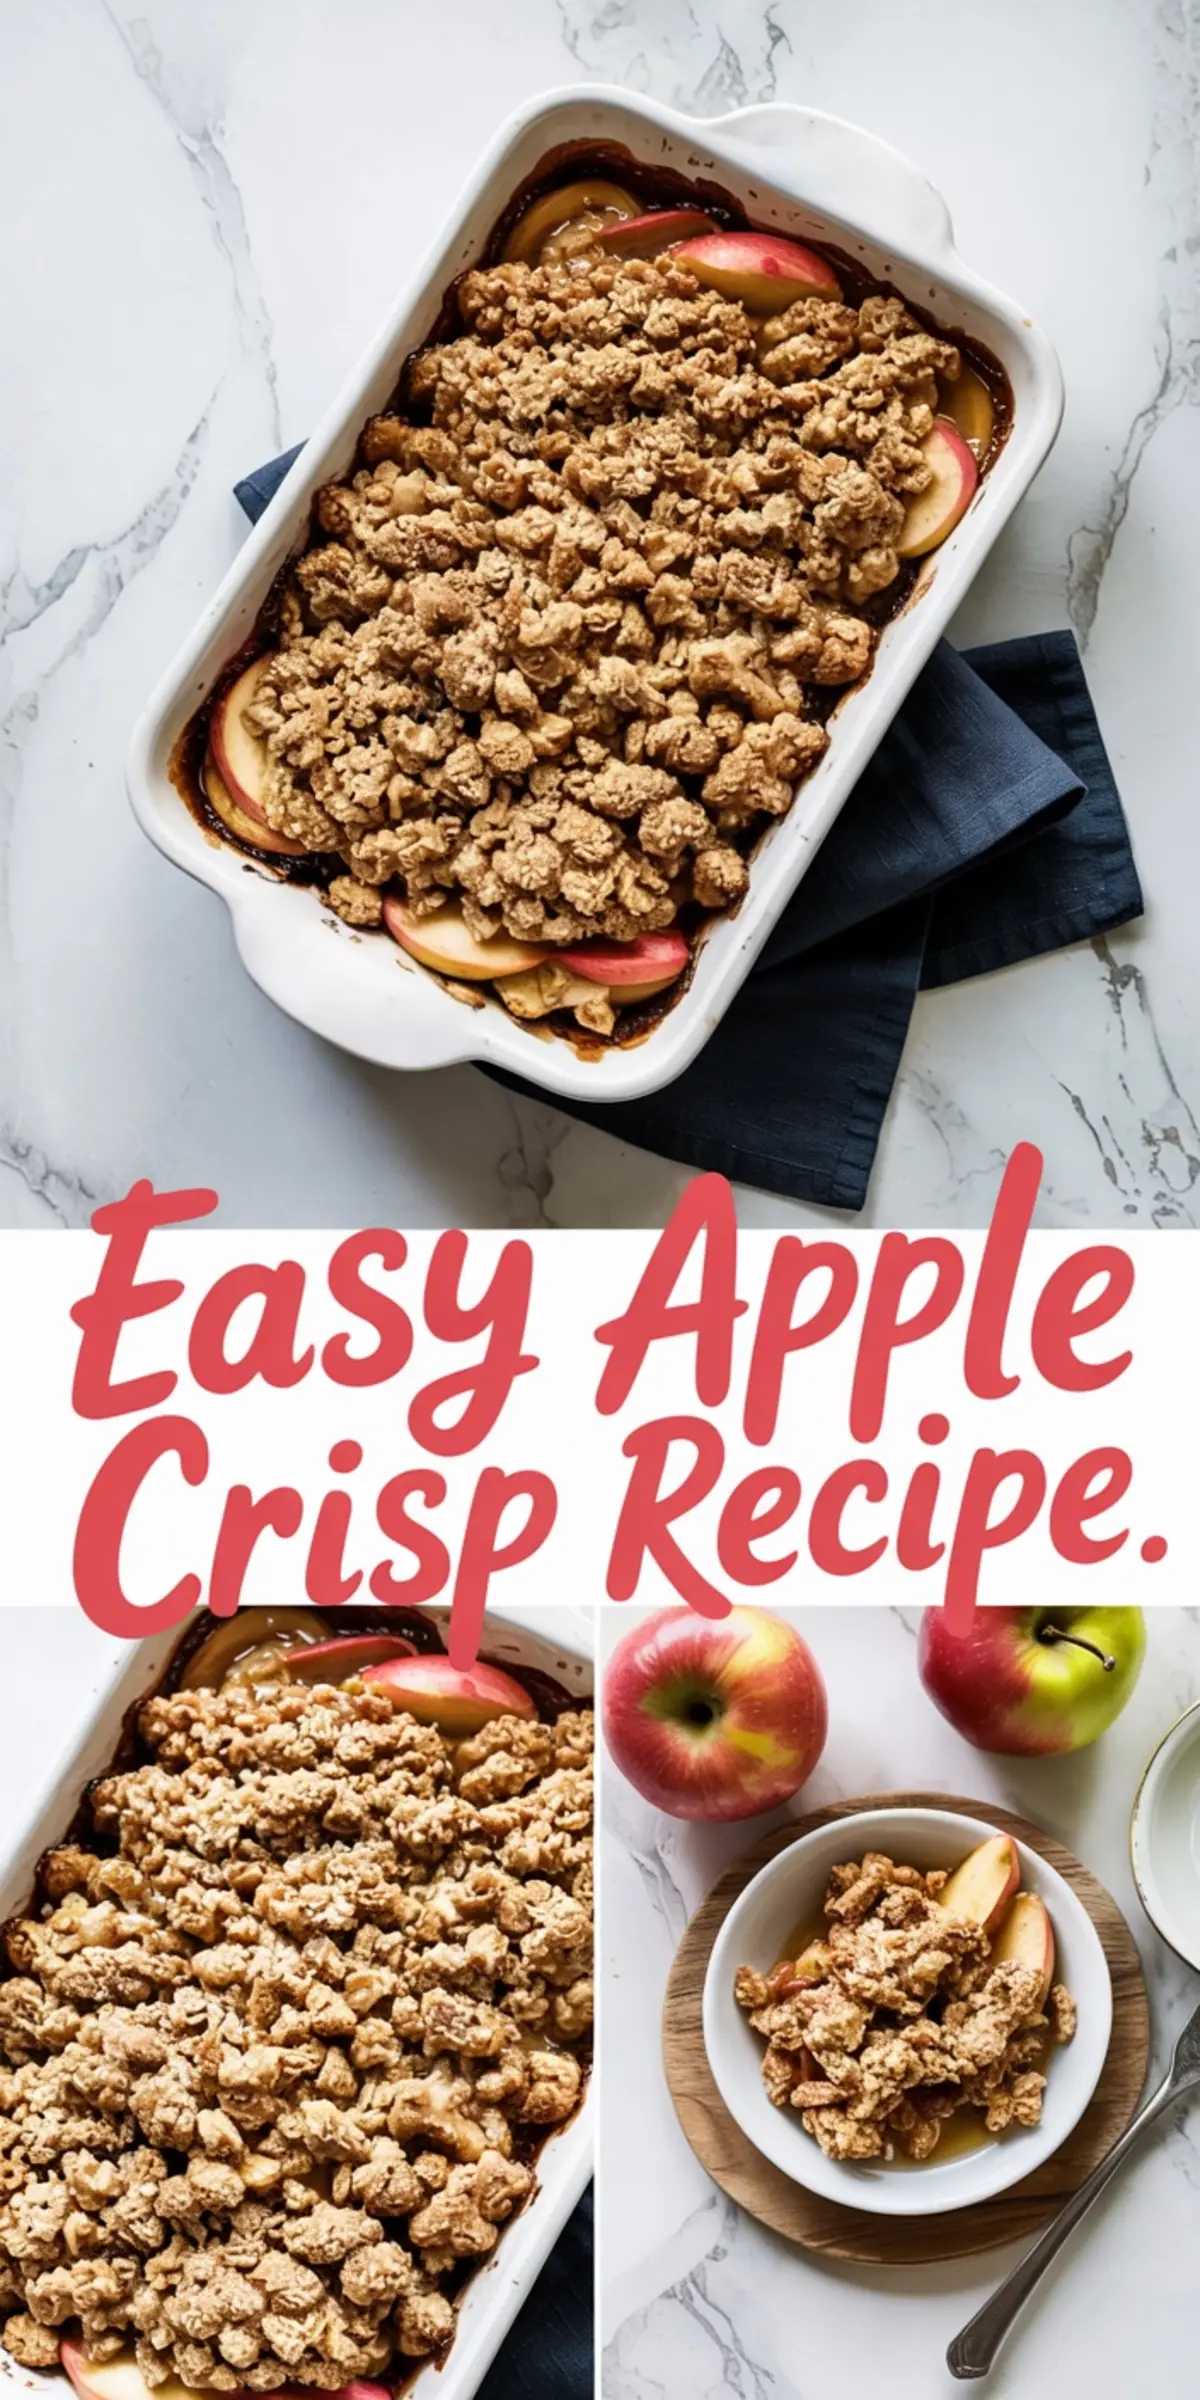
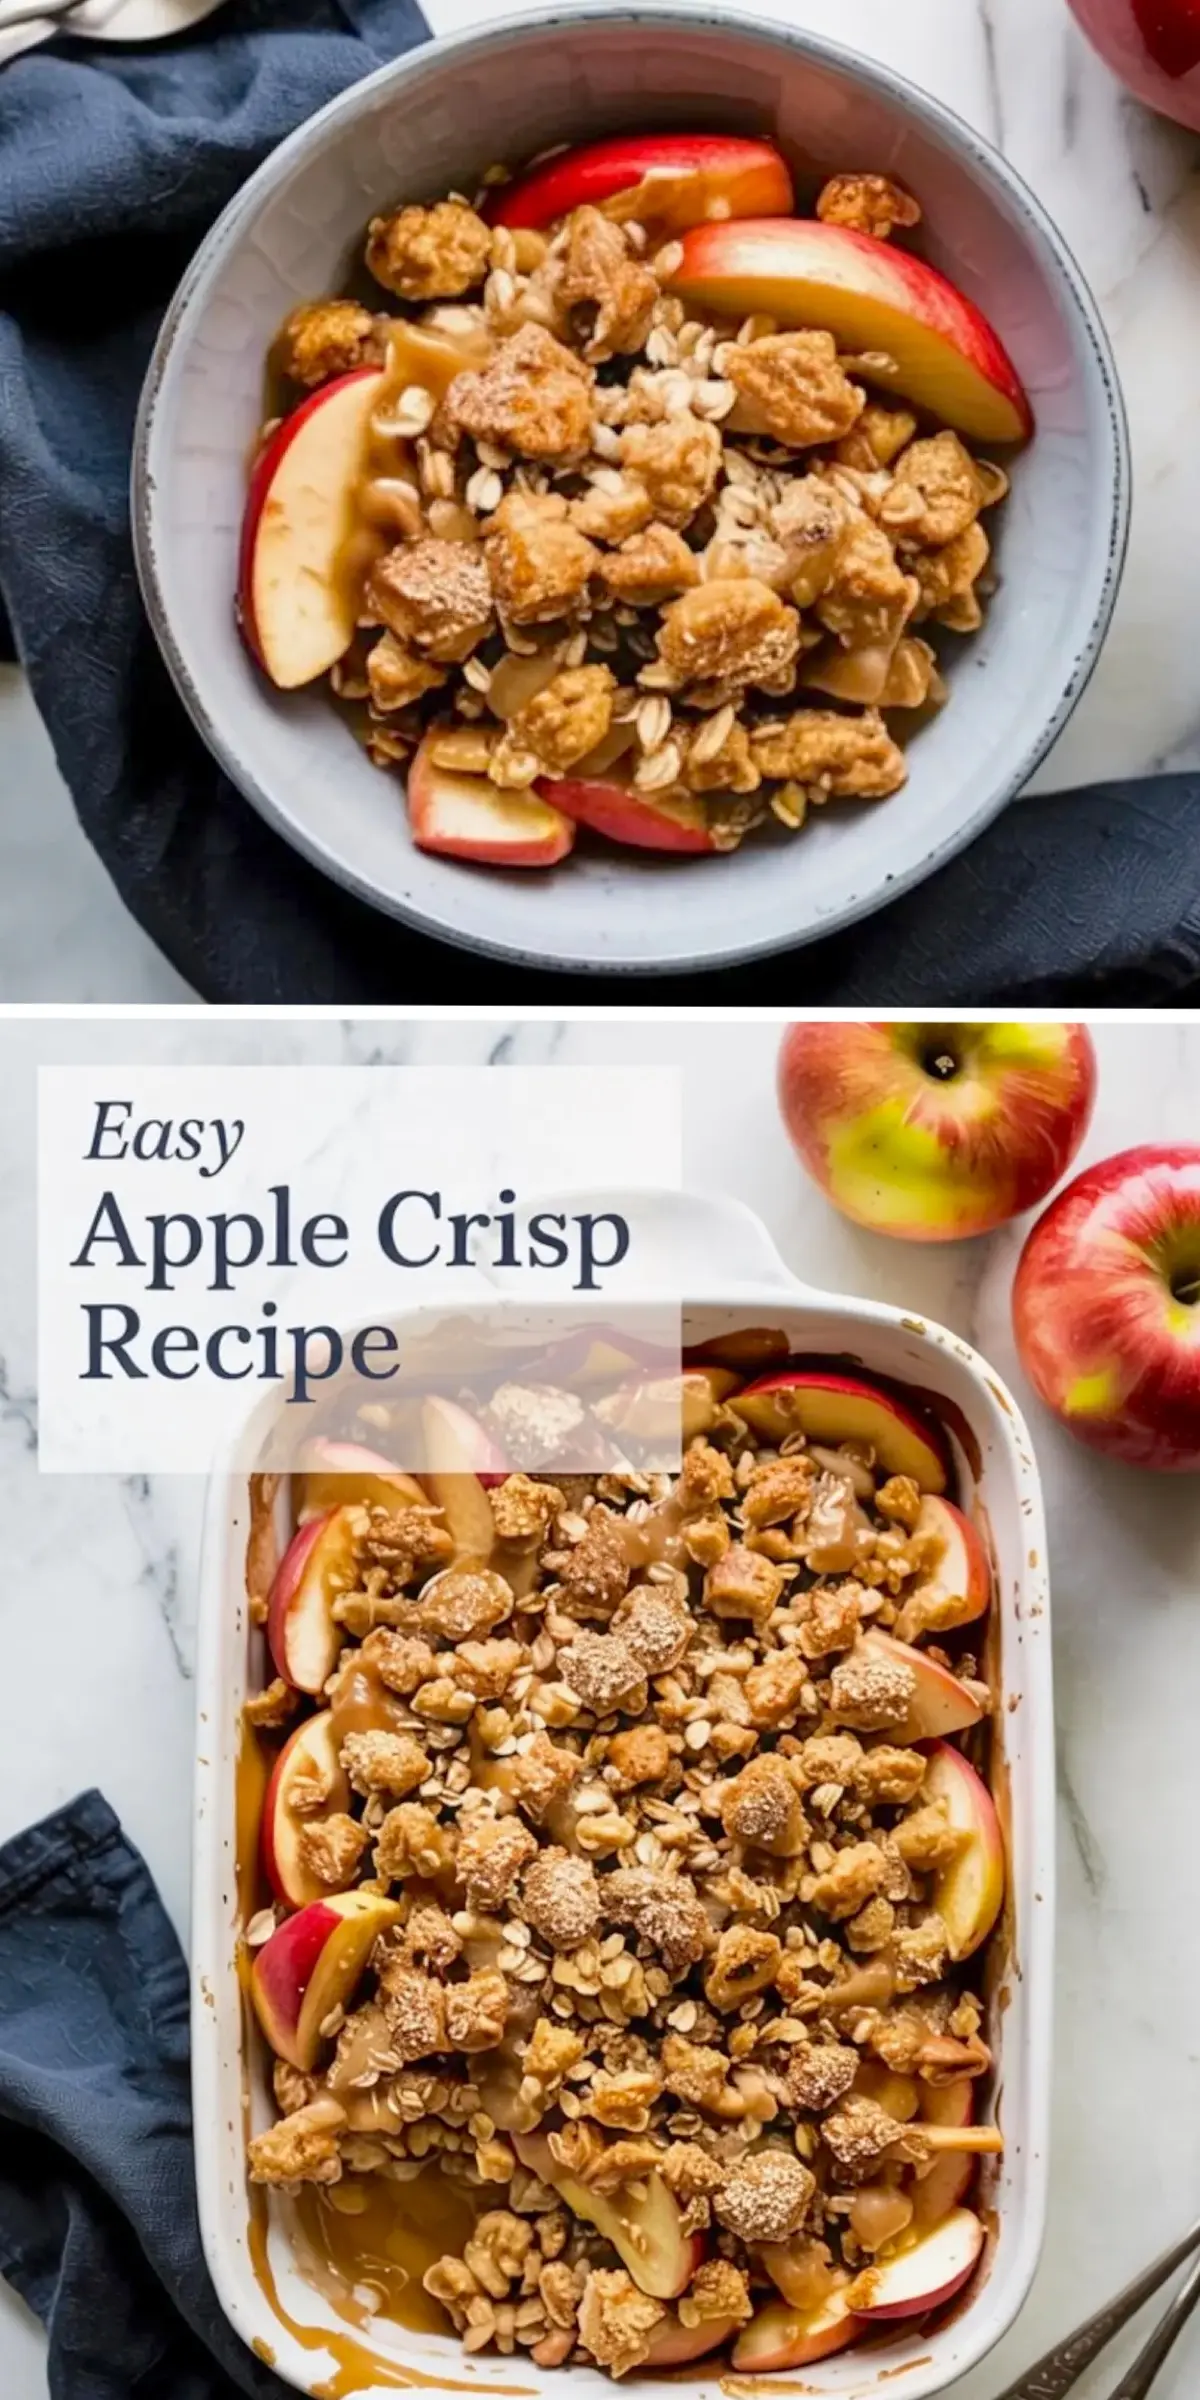
Easy Apple Crisp Recipe
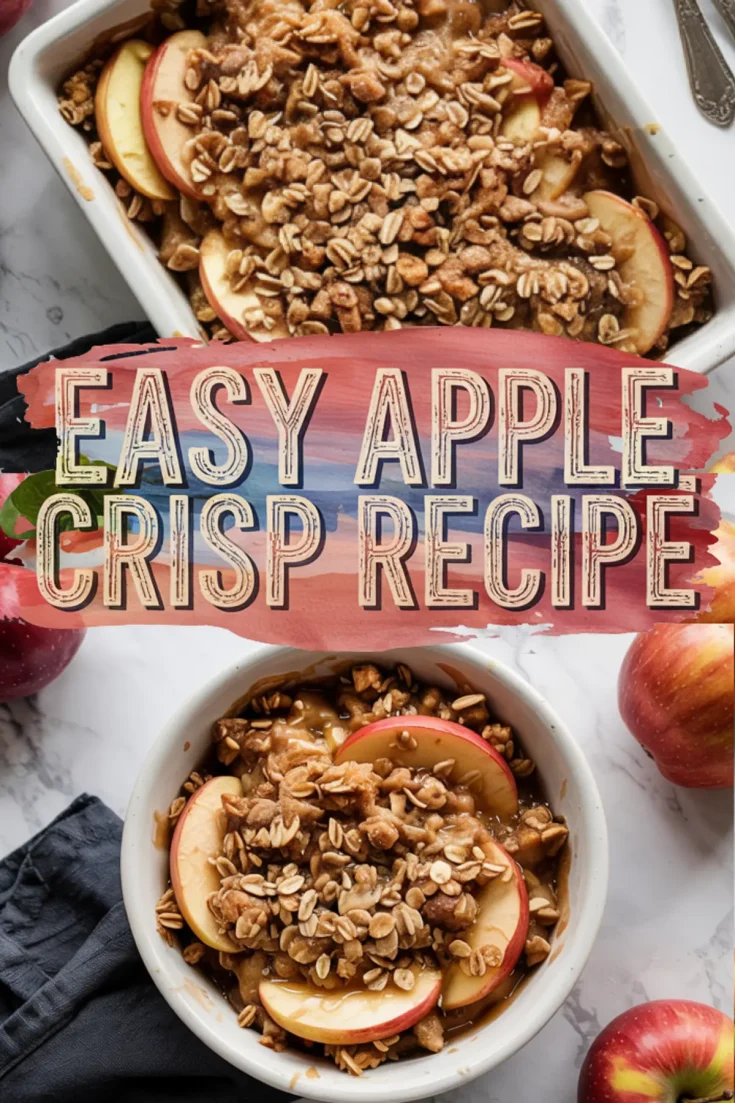
Warm baked apples and a buttery oat topping come together in this simple apple crisp recipe. It’s easy to make with pantry staples and perfect for cooler days. The tart-sweet apples soften beneath a crisp, golden topping spiced with cinnamon and nutmeg.
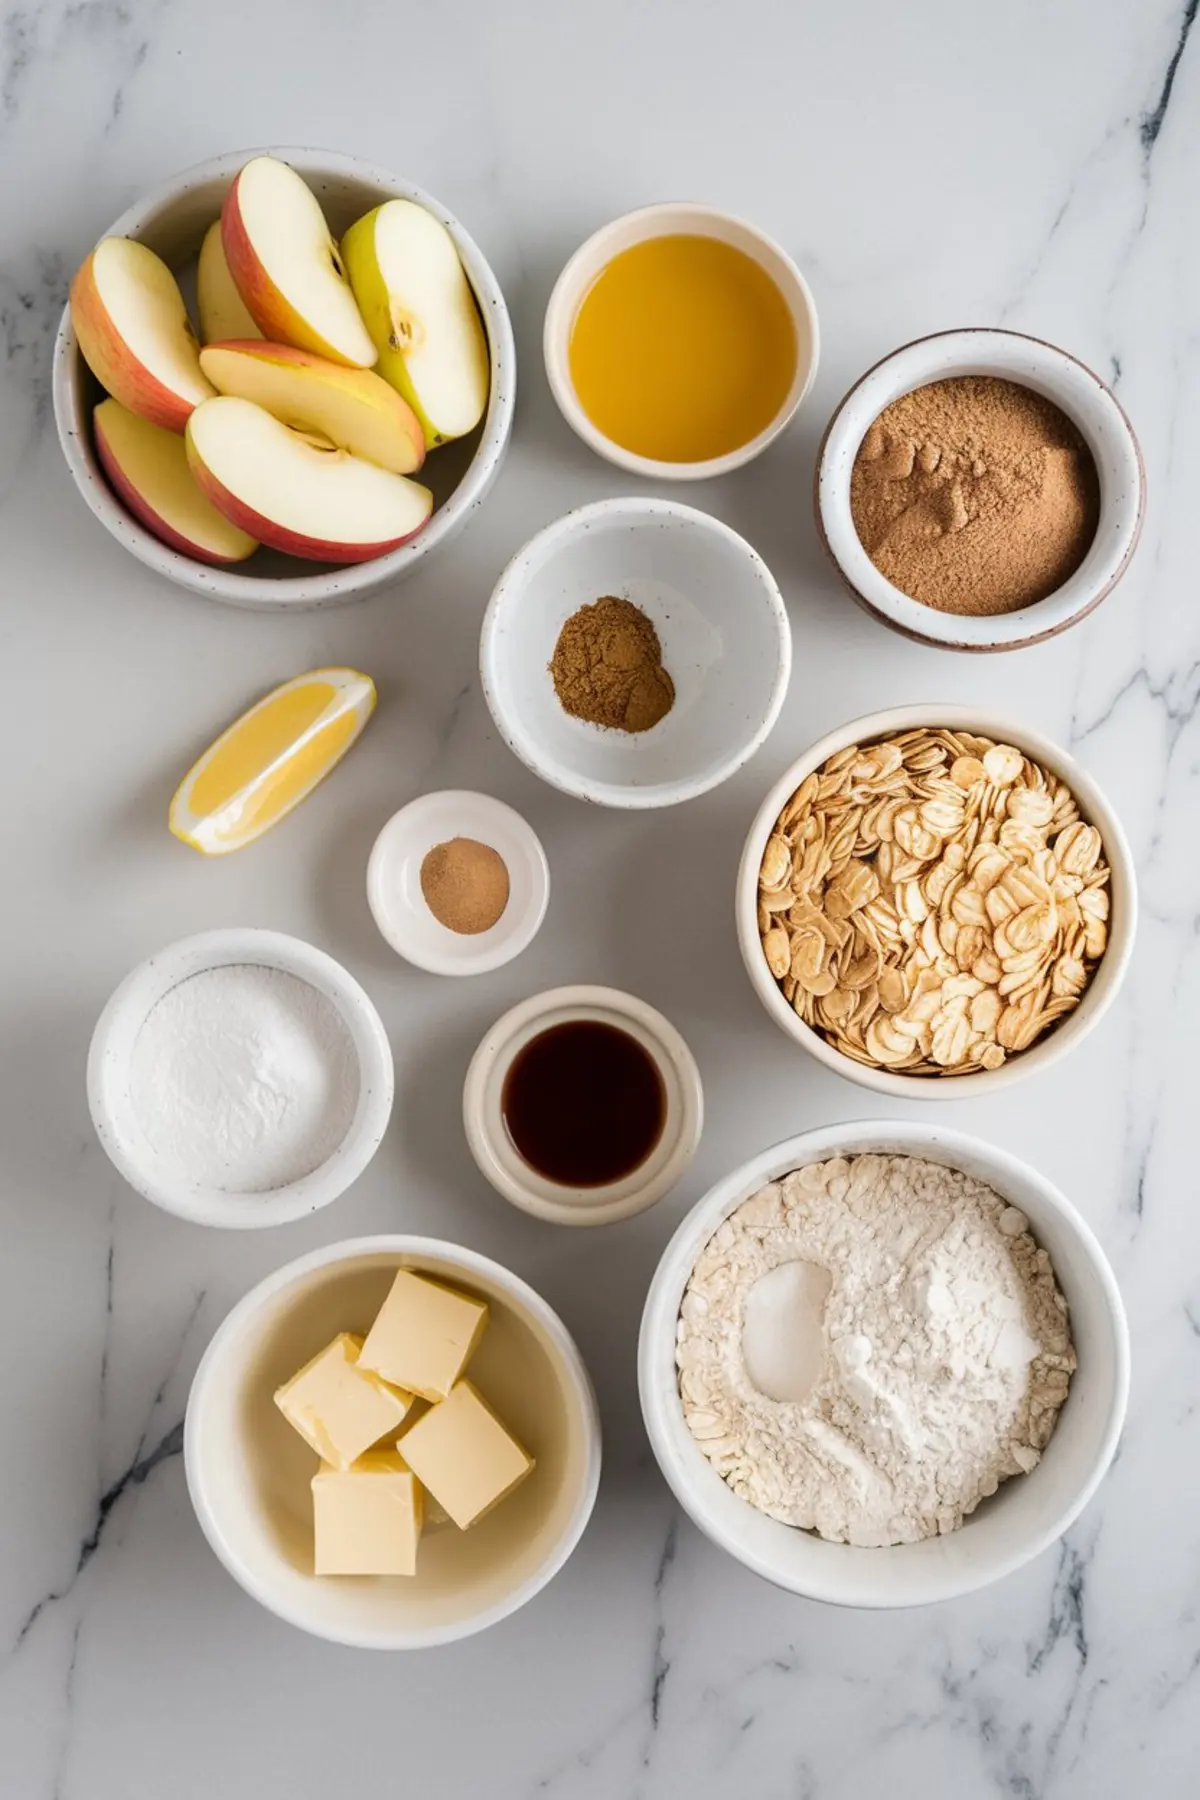
Ingredients
- FOR THE FILLING
- 6 medium apples, peeled and sliced (Granny Smith and Honeycrisp recommended)
- 1 tablespoon lemon juice
- ½ cup brown sugar
- 1 teaspoon ground cinnamon
- ½ teaspoon ground nutmeg
- 2 teaspoons cornstarch
- 1 teaspoon vanilla extract
- FOR THE TOPPING
- ¾ cup rolled oats
- ½ cup all-purpose flour
- ½ cup brown sugar
- ½ teaspoon ground cinnamon
- ¼ teaspoon salt
- ½ cup unsalted butter, cold and cut into small cubes
Instructions
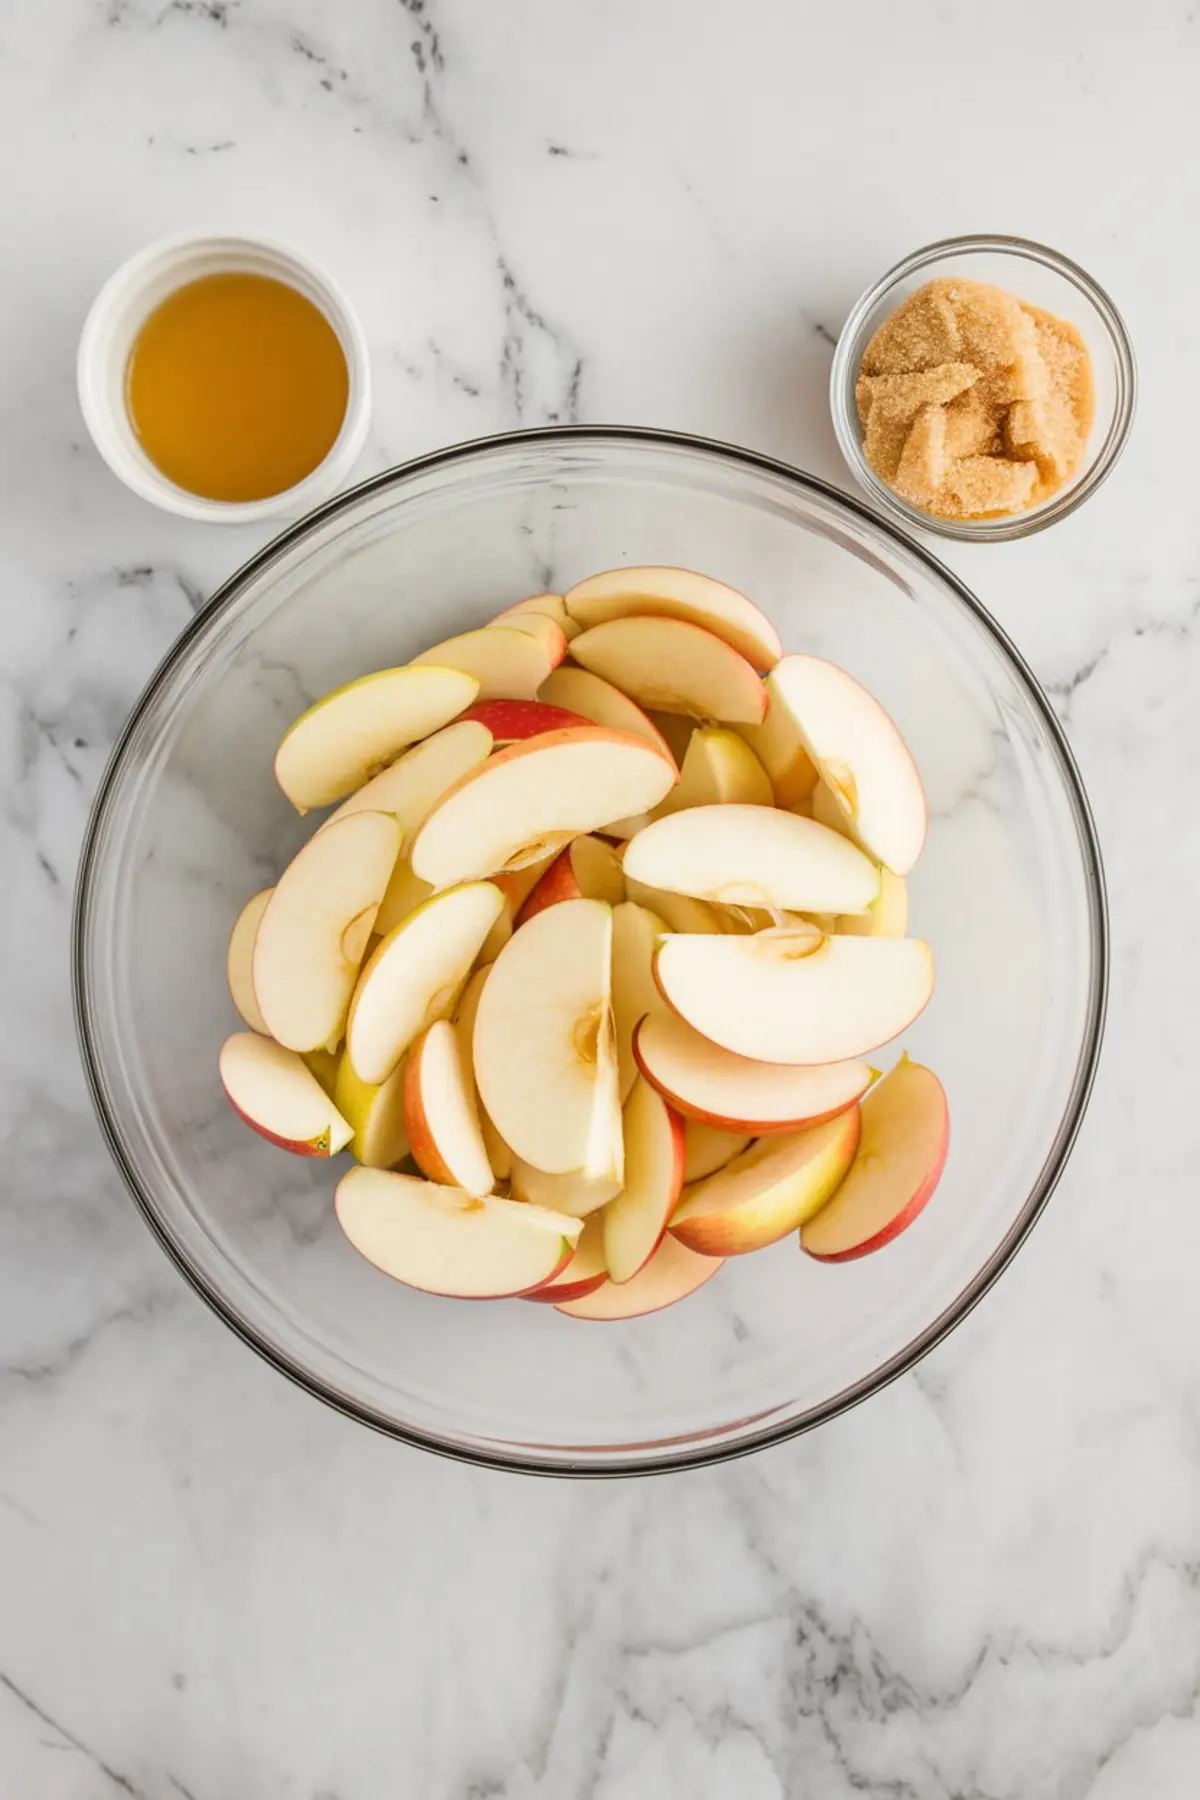
- PREHEAT THE OVEN AND PREPARE THE APPLES: Preheat the oven to 350°F (175°C). In a large mixing bowl, toss the sliced apples with lemon juice to prevent browning. Add brown sugar, cinnamon, nutmeg, cornstarch, and vanilla extract. Stir until the apples are well coated. Transfer the apple mixture to a greased 9x13-inch baking dish and spread into an even layer.
- MIX THE CRUMBLE TOPPING: In a separate bowl, combine rolled oats, flour, brown sugar, cinnamon, and salt. Add the cold, cubed butter and use a pastry cutter or your fingers to work it into the dry ingredients until the mixture forms coarse crumbs.
- TOP AND BAKE: Evenly sprinkle the crumble topping over the apples. Do not press the topping down—leave it loose so it crisps as it bakes. Place the dish in the oven and bake uncovered for 40 to 45 minutes, until the top is golden brown and the apple filling is bubbling around the edges.
- COOL BEFORE SERVING: Remove the apple crisp from the oven and let it cool for 10 to 15 minutes before serving. This allows the juices to thicken slightly and makes it easier to scoop.
Notes
For a less sweet version, reduce the brown sugar in the filling to ⅓ cup. To make it gluten-free, substitute the flour with a gluten-free all-purpose blend and use certified gluten-free oats. Pairs well with vanilla ice cream or lightly sweetened whipped cream.
Nutrition Information
Yield
8Serving Size
1Amount Per Serving Calories 323Total Fat 12gSaturated Fat 7gTrans Fat 0gUnsaturated Fat 4gCholesterol 31mgSodium 77mgCarbohydrates 54gFiber 5gSugar 37gProtein 2g