Creamy. Simple. No shortcuts. That’s what you’ll get here.
This panna cotta recipe has been on my table more times than I can count. What makes it special isn’t just the balance of cream and milk or the soft, barely-there wobble. It’s the way you can make it ahead, pull it from the fridge, and feel like you’ve served something elegant without breaking a sweat.
You’ll learn the exact method I use in my kitchen to get panna cotta that sets cleanly, tastes rich without being heavy, and stands up beautifully on the plate. I’ll also walk you through one ingredient choice that matters more than most people realize.
How to Get That Signature Panna Cotta Texture
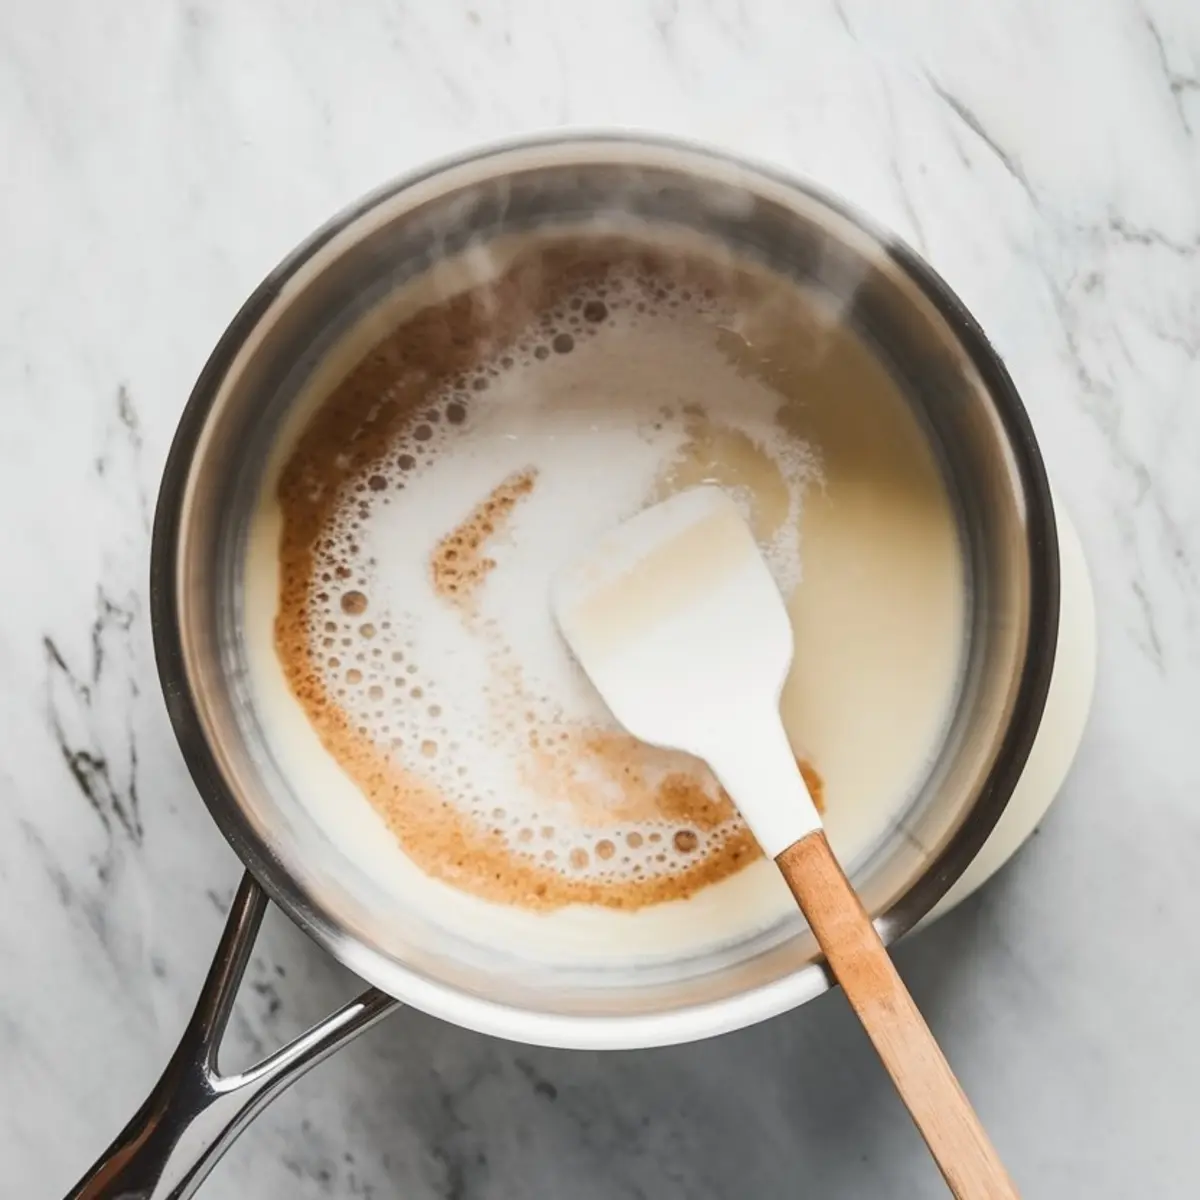
You need the cream to heat just enough to dissolve the sugar. I watch for the point where it begins to steam but stops short of bubbling. That’s the moment to remove it from the heat.
I don’t let it boil. Boiling changes the structure of the cream. It tightens. That leads to a rubbery finish.
I’ve tried it both ways. The difference is clear. When gently heated, the panna cotta stays soft and smooth.
Panna Cotta Ingredients: Use This Ratio Every Time
The balance of cream and milk gives panna cotta its signature richness without tipping into heaviness. I use 2 ½ cups of cream to ½ cup of whole milk. That’s deliberate and it works.
More milk makes the dessert lighter, but too much and it loses body. I’ve made versions with more milk when I needed to stretch ingredients. They were fine, but they didn’t hold that luxurious feel.
This ratio has never failed me.
Vanilla Extract or Fresh Beans: What’s Really Worth It?
I’ve made panna cotta with scraped vanilla beans and I’ve made it with good vanilla extract. My verdict is simple. Use extract unless you already have beans or it’s a special occasion.
Vanilla beans look impressive. The flecks are pretty. But flavor-wise, a pure extract does the job just as well.
For everyday dinners or casual entertaining, extract works beautifully. You don’t need to dress it up beyond what it is.
Pouring and Chilling the Right Way
After adding the vanilla and gelatin, I let the mixture cool for a few minutes before pouring. If it’s too hot, the molds will sweat and form condensation. That affects the texture and the finish.
I pour into clear glasses when I want to serve it without unmolding. For dinner parties, I use silicone molds. They release easily, especially if I dip the base in warm water for a few seconds.
Always cover them. Even a little exposure in the fridge can form a skin on top.
Fresh vs Frozen Berries: What I’ve Learned After Dozens of Tests
I’ve topped panna cotta with both. If you want the cleanest flavor and natural tartness, go with fresh berries. But frozen berries cooked into a coulis give you deeper color and stronger taste.
For summer gatherings, I lean toward fresh. In cooler months, or when berries aren’t in season, I simmer frozen raspberries with a spoonful of sugar and a squeeze of lemon. That coulis adds contrast without overpowering the panna cotta.
If you enjoy fruity desserts, you might like my Easy Blueberry Muffins or Strawberry Banana Muffins too.
Simple Toppings That Always Work
Fresh raspberries are my first pick. Their tartness balances the cream. Raspberry coulis is a close second if you like a smoother topping.
Sometimes I add a small mint leaf or a single edible flower. Never more than that. The panna cotta should stay center stage.
I’ve also served it alongside this Simple Dessert Dip on a dessert board as a creamy option.
Make-Ahead Tips for Busy Days
I always make panna cotta the night before. It sets cleanly and saves me time. You can make it up to two days in advance. Just keep it covered in the fridge.
Don’t freeze it. That changes the texture. It gets grainy and watery.
This dessert pairs beautifully with warmer choices like my Easy Apple Crisp if you want contrast on the table.
One Cool, One Creamy: A Pairing I Rely On
Sometimes I serve panna cotta with a Pecan Pie Milkshake. One is chilled and light, the other is creamy and rich.
That mix gives people something to talk about and makes dessert feel more dynamic without needing more work.
This pairing works well for cookouts and summer dinners when you want an easy dessert plan that still feels thoughtful.
Save and Share This Panna Cotta Recipe
If this panna cotta recipe finds a home in your kitchen, save it to your Desserts to Try board on Pinterest. That way it’s right there next time you need something elegant but easy.
And I’d love to know how yours turned out. Did you unmold it or serve it in a glass? Did you try berries, coulis, or something else entirely?
Drop your questions or stories in the comments. I always read them. Let’s learn from each other.
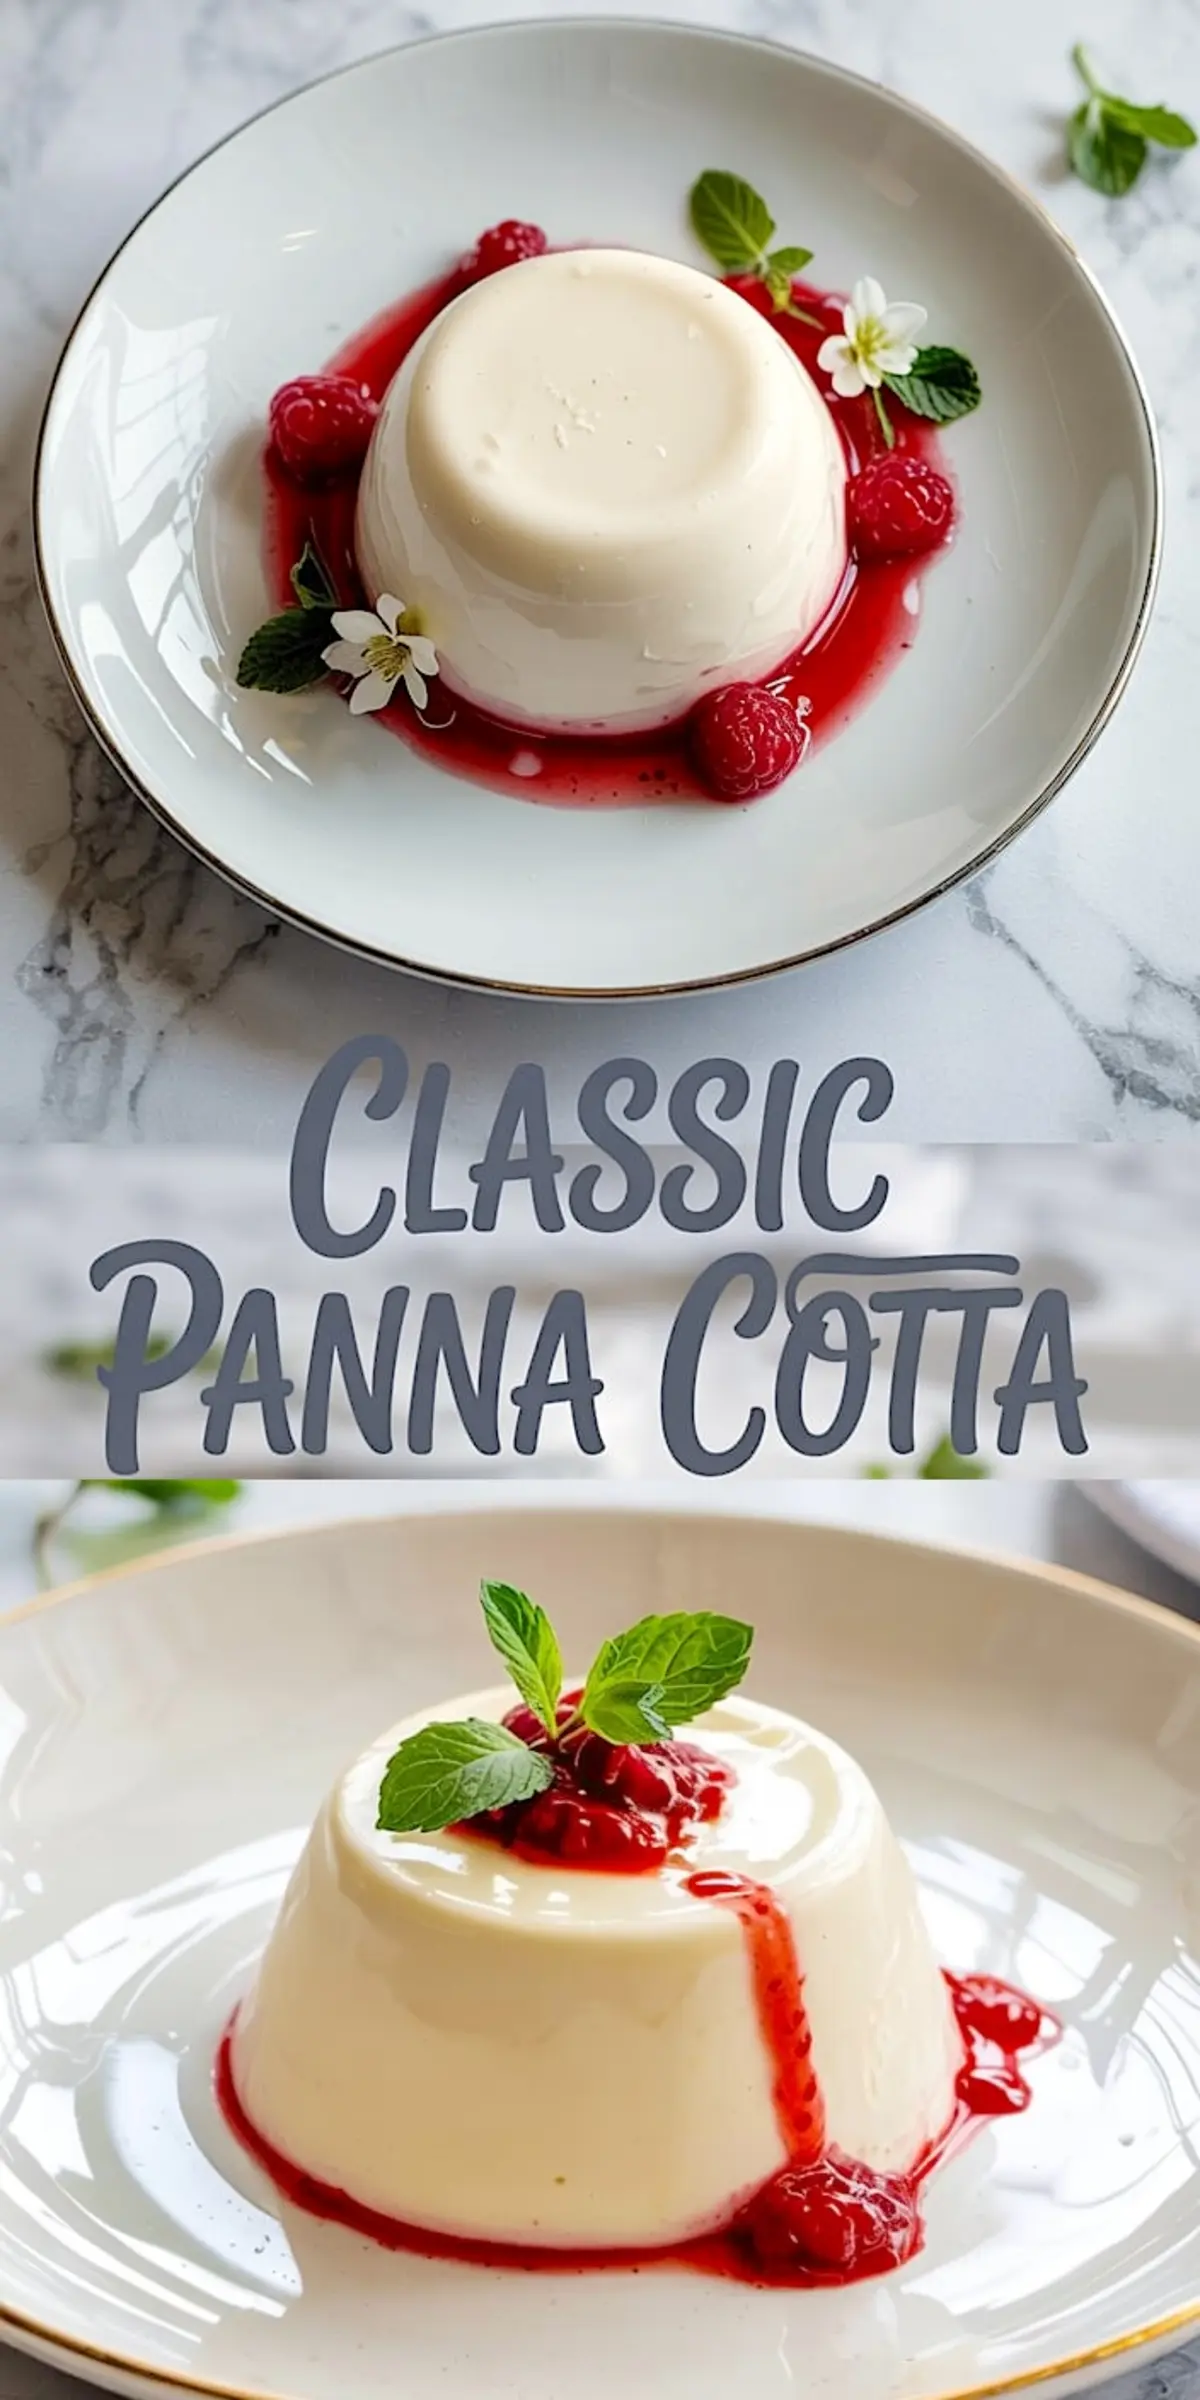
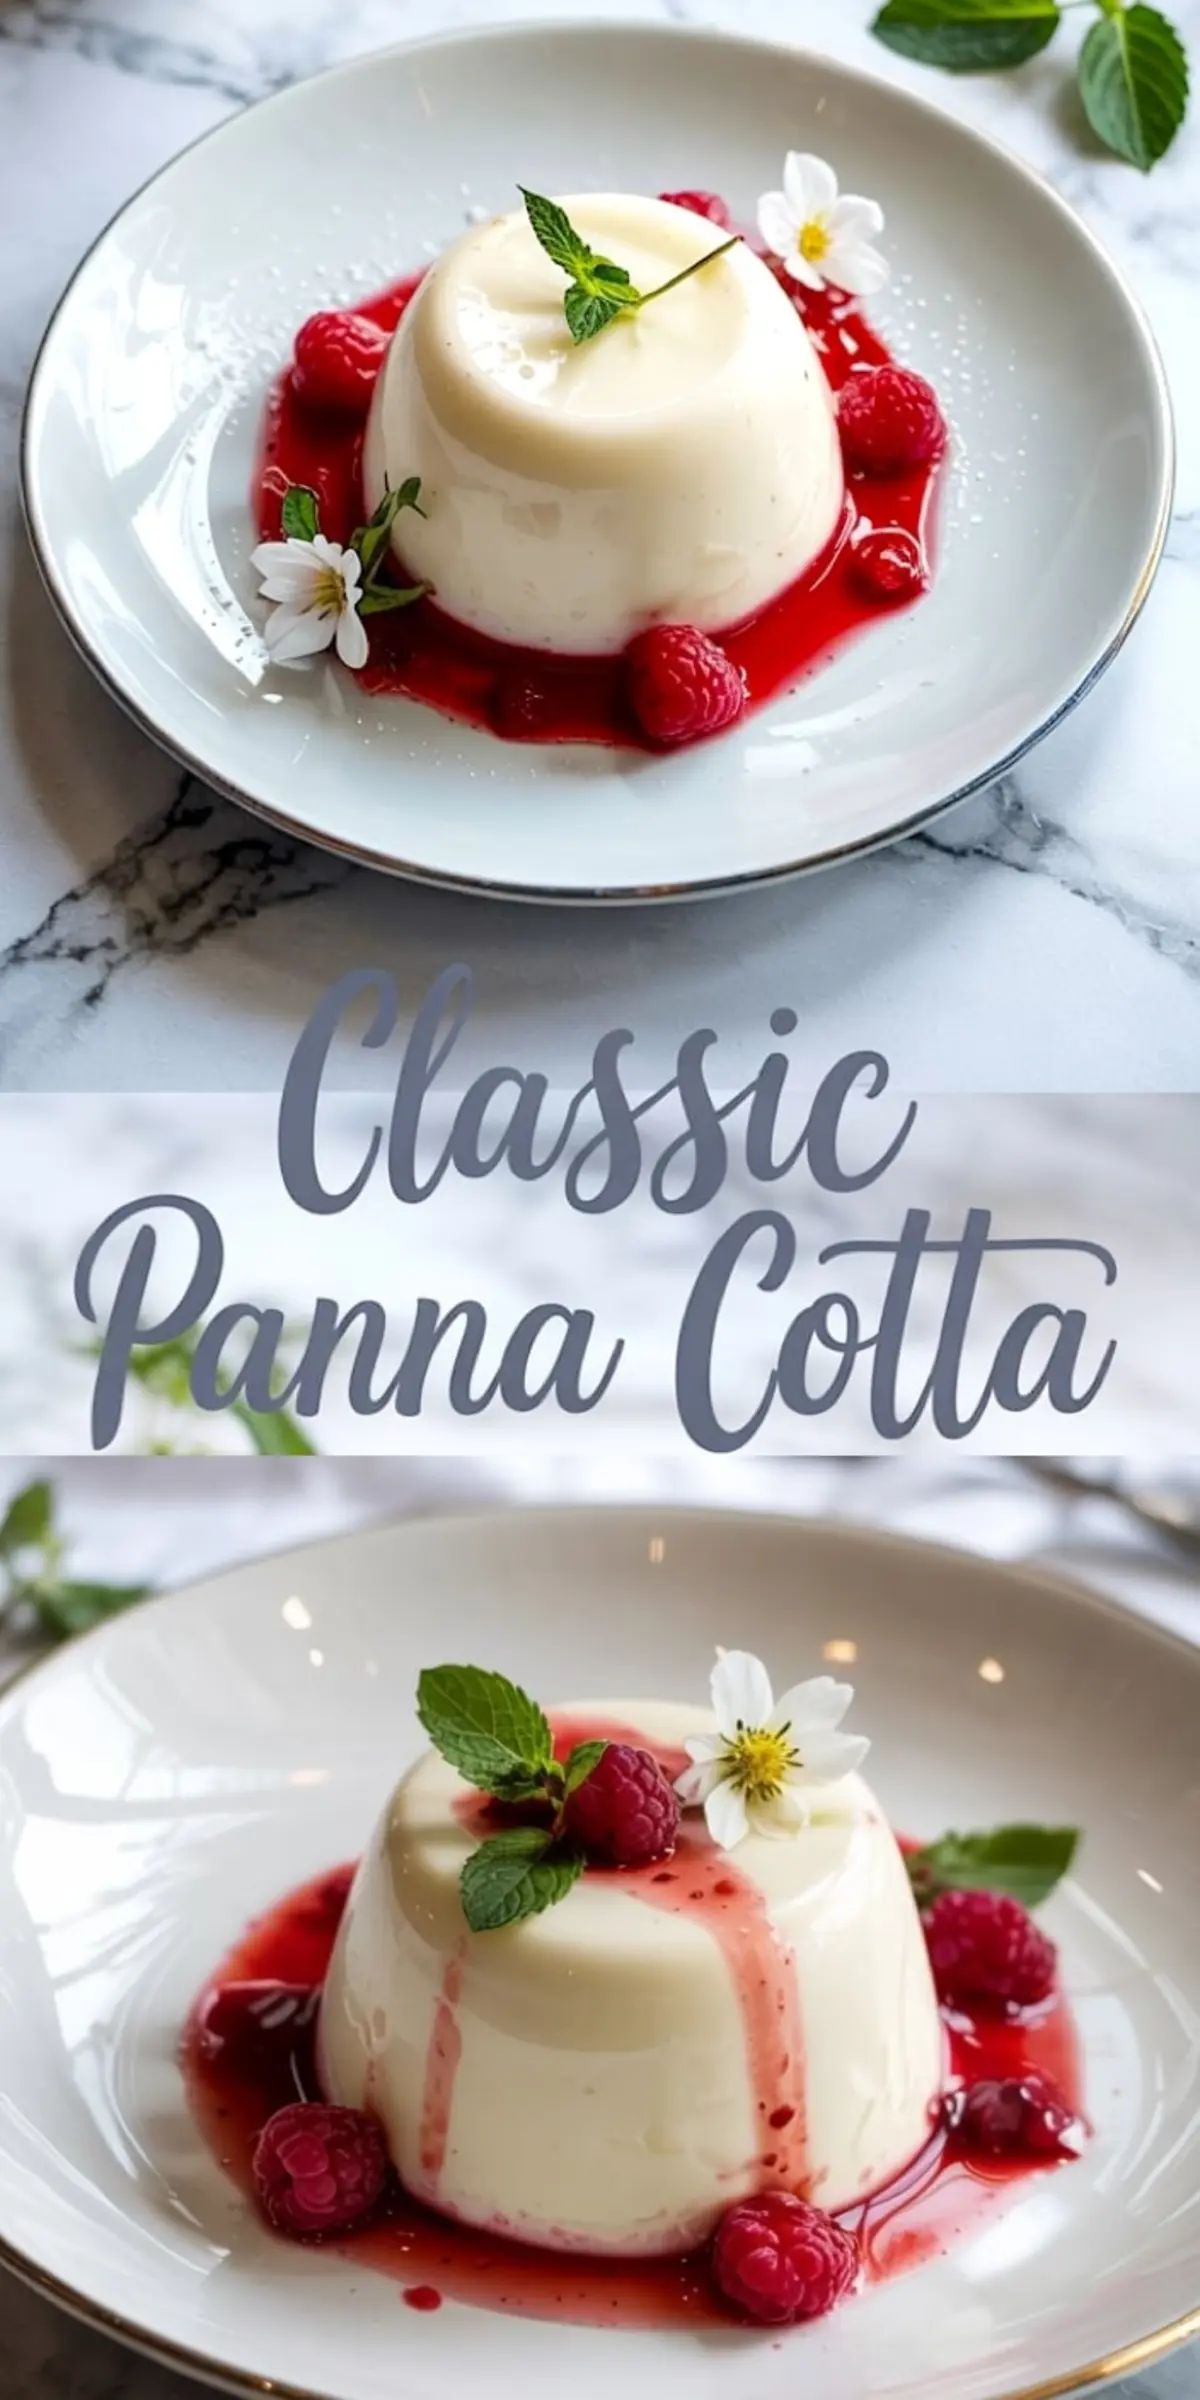
Classic Panna Cotta Recipe
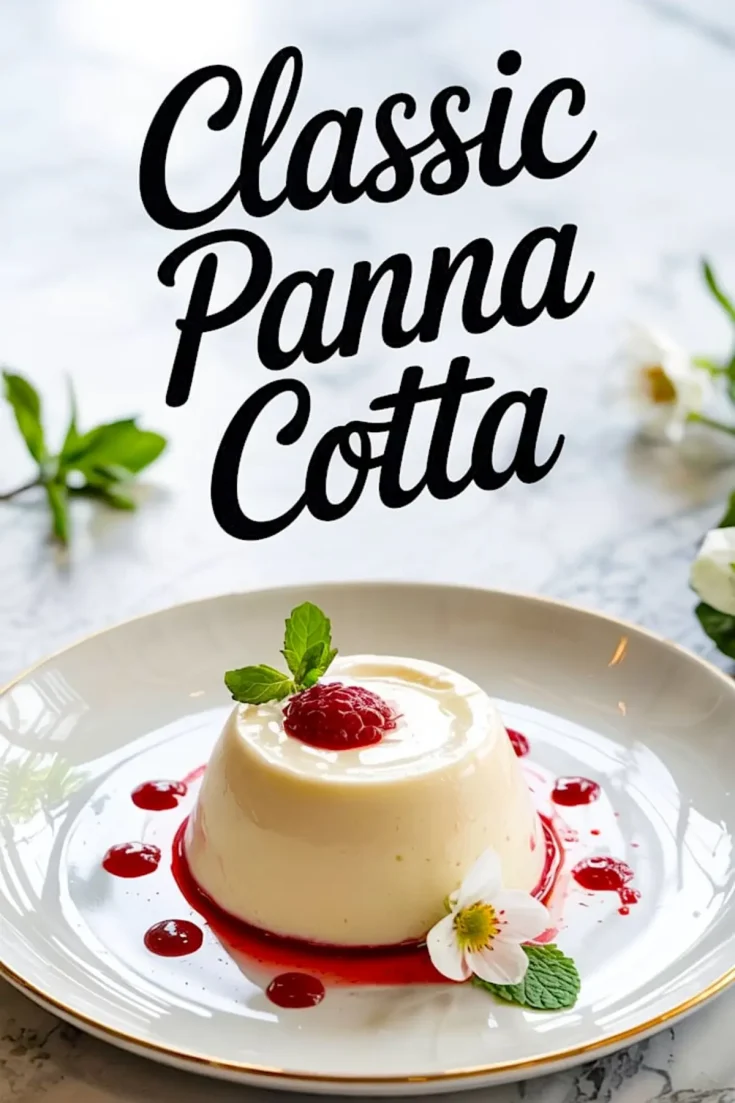
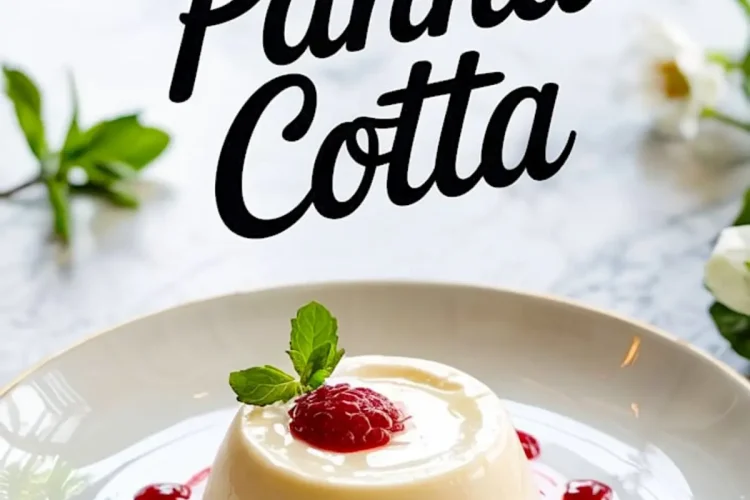
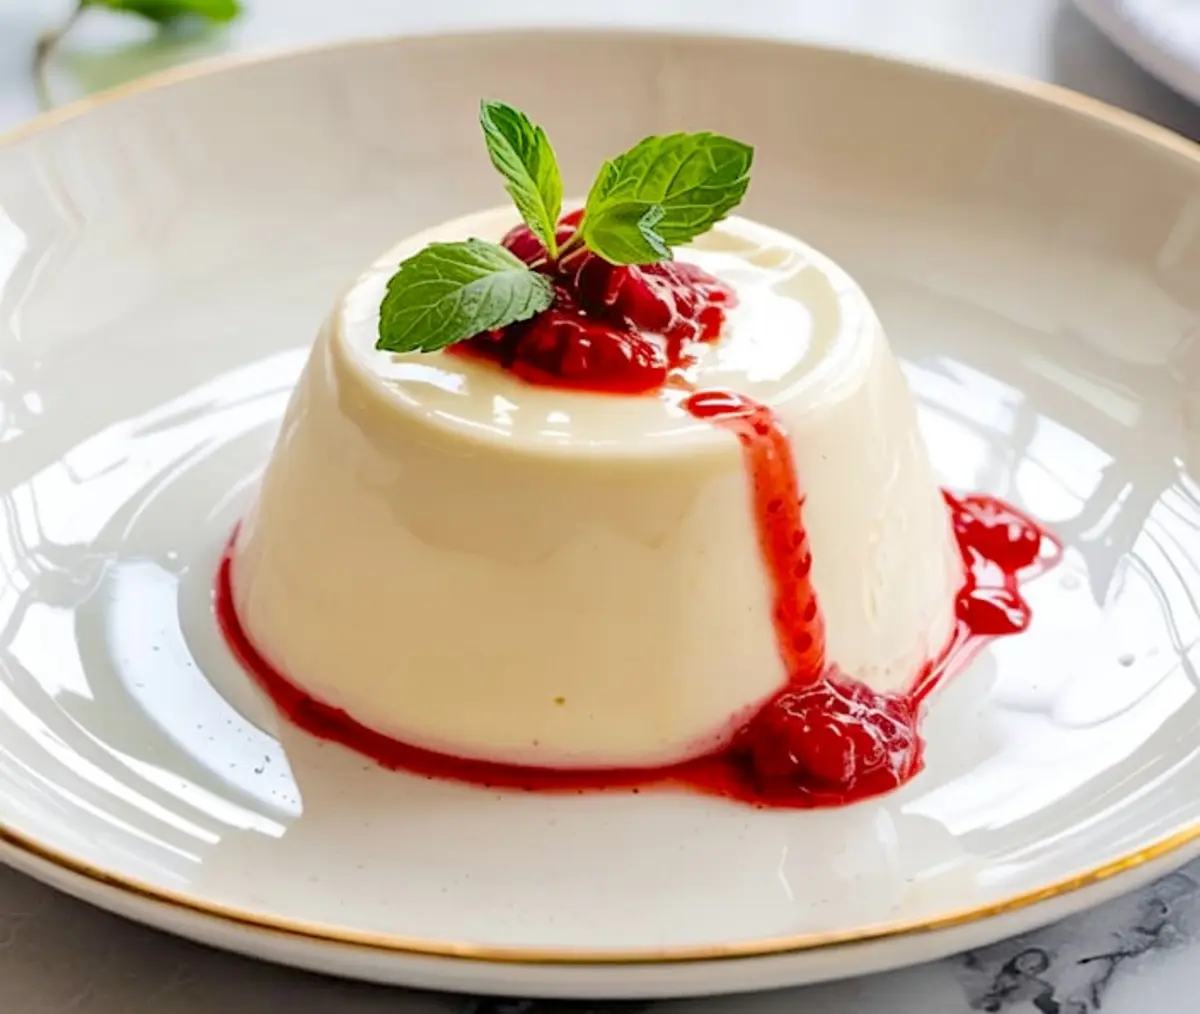
Creamy and delicate, classic panna cotta is a traditional Italian dessert made with cream, milk, sugar, gelatin, and vanilla. This dessert has a soft, silky texture that sets perfectly and can be served with fresh berries or fruit coulis for a simple yet impressive finish.
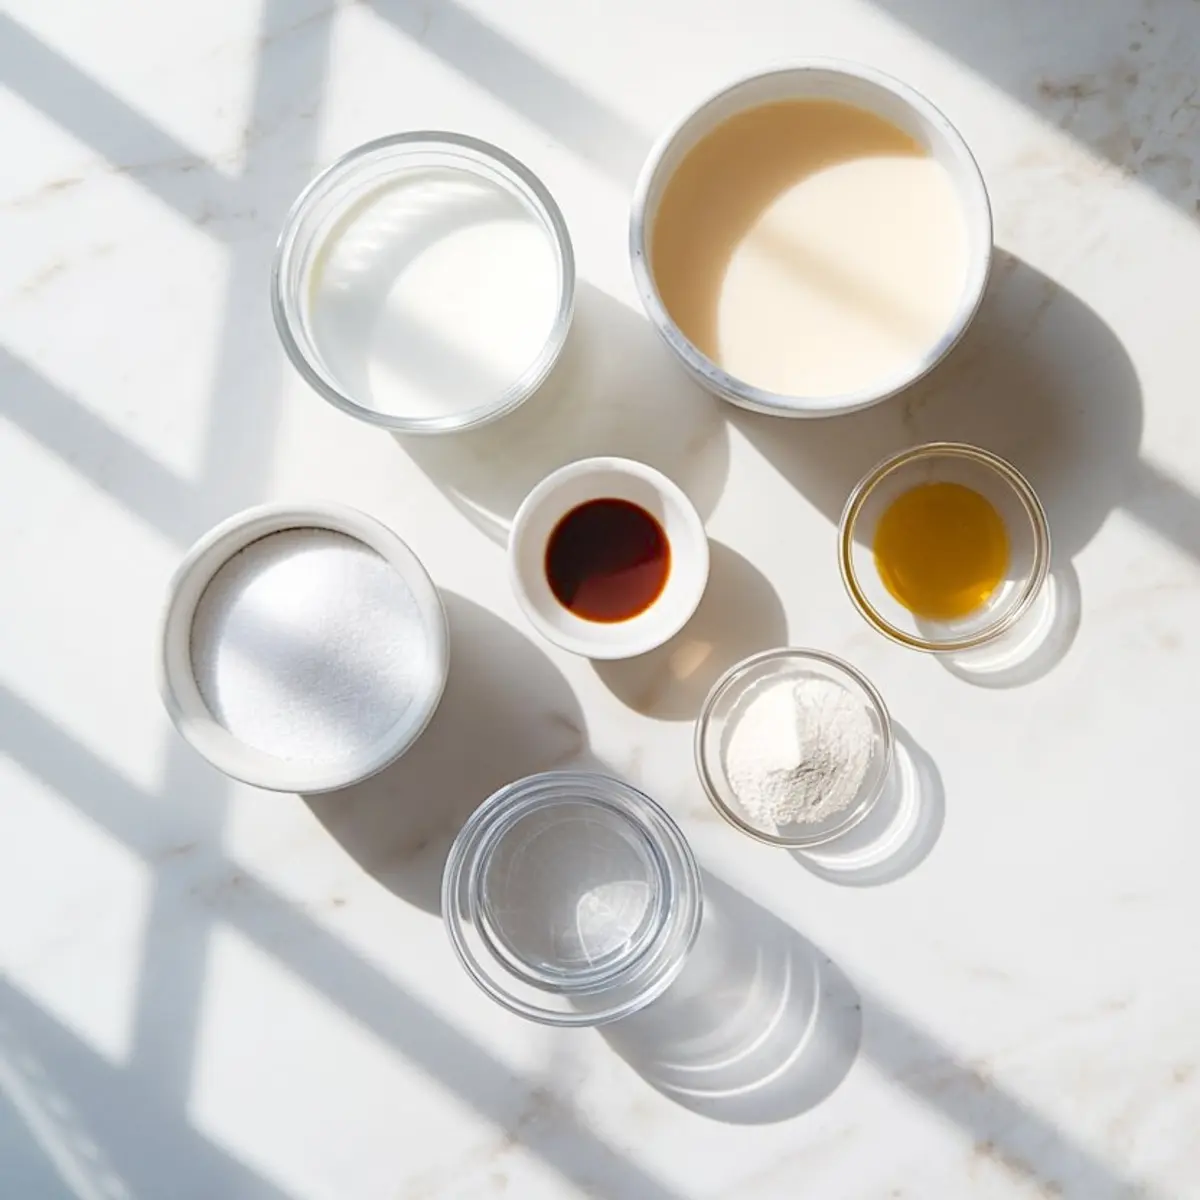
Ingredients
- 2 ½ cups (600 ml) heavy cream
- ½ cup (120 ml) whole milk
- ½ cup (100 g) granulated sugar
- 1 ½ teaspoons pure vanilla extract
- 2 teaspoons powdered gelatin (1 envelope)
- 3 tablespoons cold water
- Optional toppings: fresh raspberries, raspberry coulis, mint leaves, edible flowers
Instructions
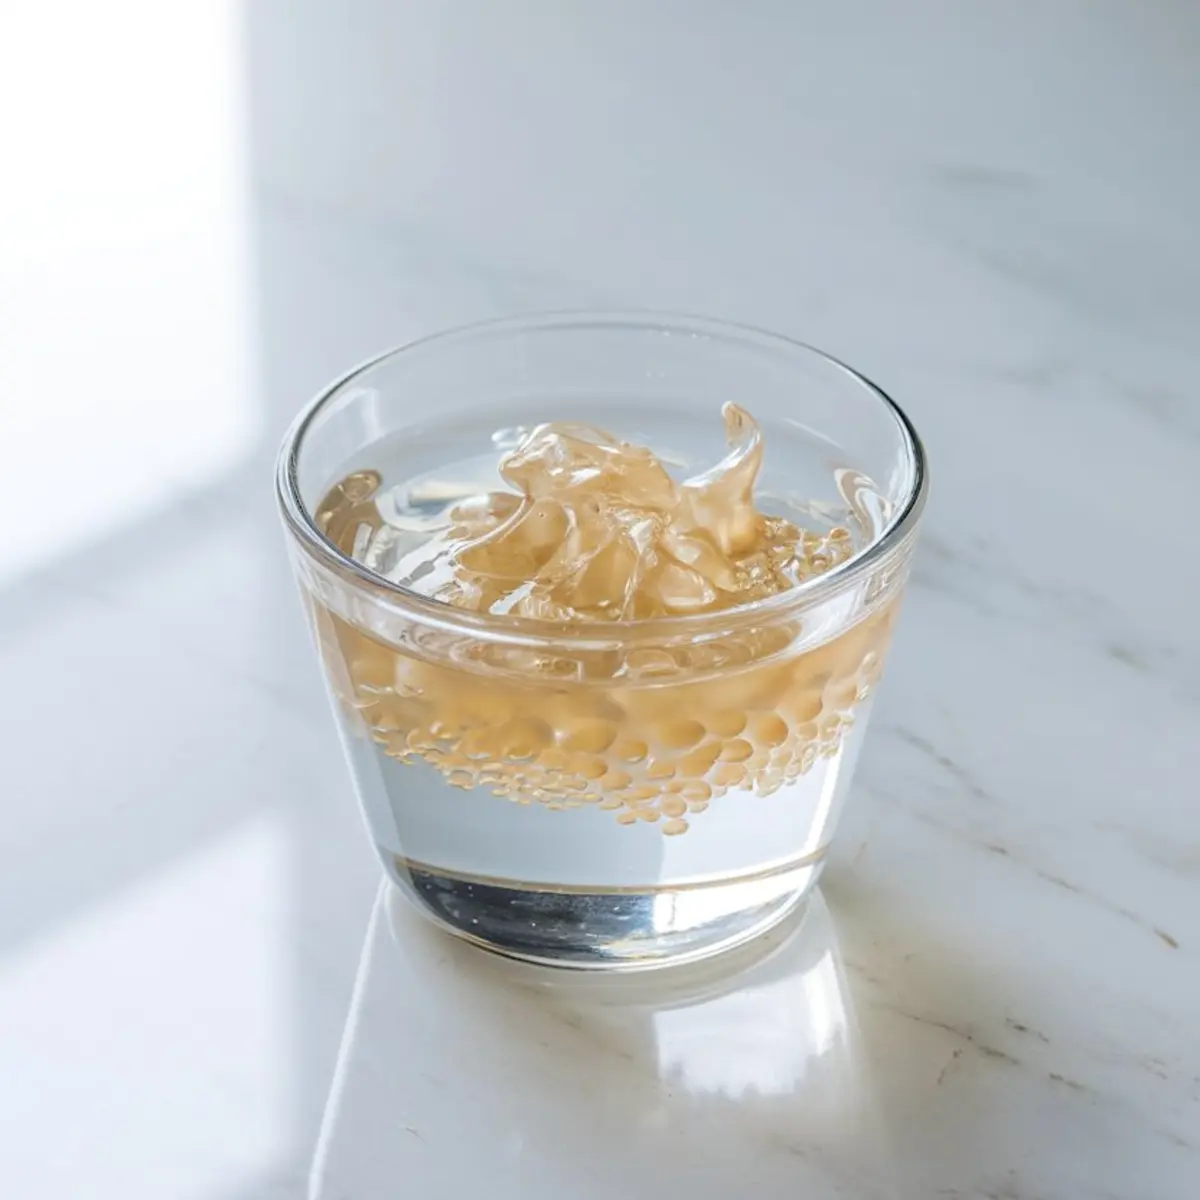
- BLOOM THE GELATIN: In a small bowl, sprinkle the powdered gelatin over the cold water and let it sit for 5 to 10 minutes until it becomes wrinkly and spongy in texture. This step ensures the gelatin properly dissolves later and the panna cotta sets with a smooth consistency.
- HEAT THE CREAM MIXTURE: In a medium saucepan over medium heat, combine the heavy cream, whole milk, and granulated sugar. Stir gently and heat until the sugar dissolves completely and the mixture is steaming but not boiling.
- ADD THE GELATIN: Remove the saucepan from heat and immediately add the bloomed gelatin. Stir thoroughly until the gelatin is fully dissolved, about 1 minute, ensuring no lumps remain.
- FLAVOR WITH VANILLA: Stir in the vanilla extract until evenly combined. Allow the mixture to cool for 5 to 10 minutes to reduce heat before pouring into molds.
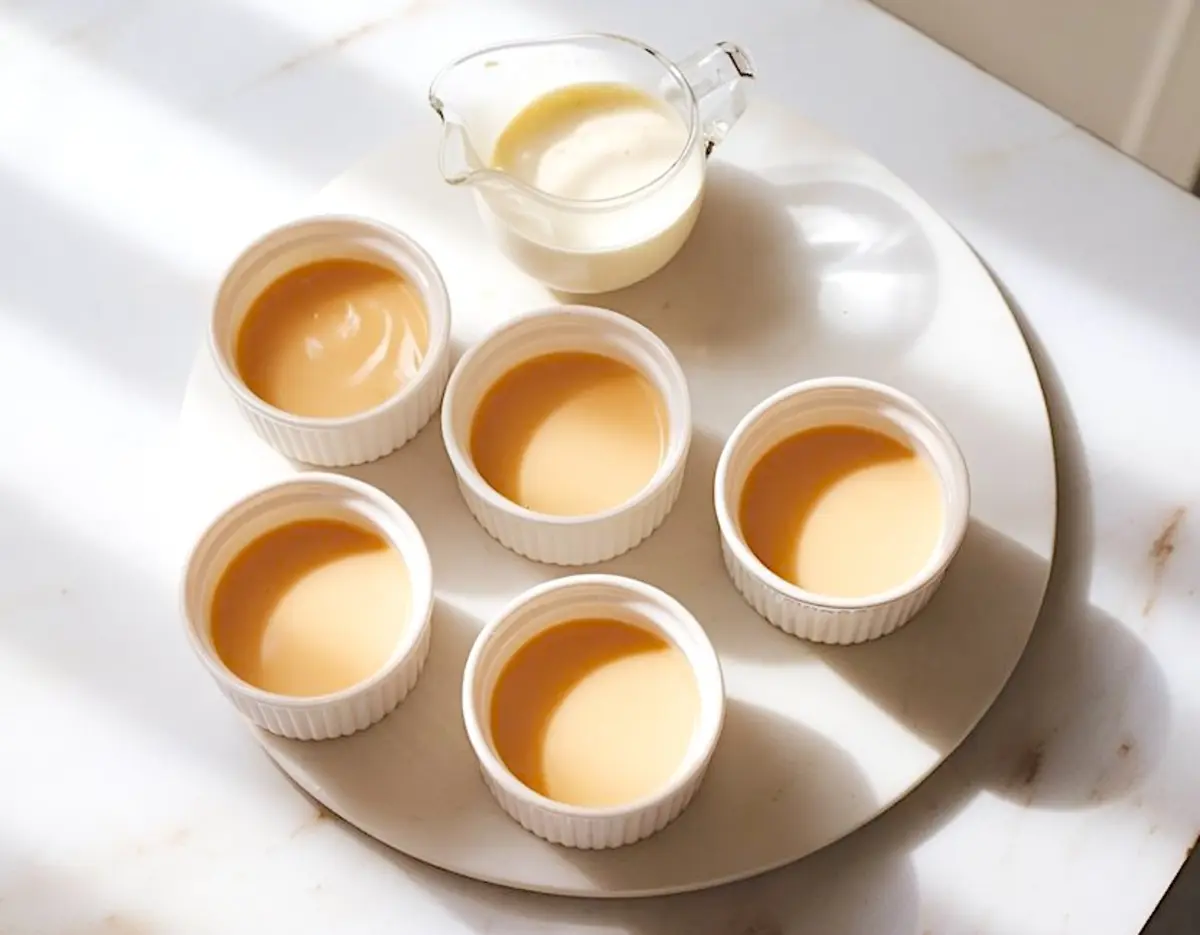
- POUR AND CHILL: Carefully pour the panna cotta mixture into ramekins, glasses, or silicone molds. Let them cool to room temperature, then cover with plastic wrap and refrigerate for at least 4 hours until fully set.
- UNMOLD AND SERVE: To unmold, dip each ramekin briefly into warm water, then run a thin knife around the edge and invert onto a serving plate. Add your preferred toppings such as fresh raspberries or raspberry coulis just before serving.
Notes
For best texture, do not boil the cream mixture. Overheating can affect the final consistency. The panna cotta can be made up to two days in advance and kept covered in the refrigerator until ready to serve.
Nutrition Information
Yield
4Serving Size
1Amount Per Serving Calories 90Total Fat 7gSaturated Fat 5gTrans Fat 0gUnsaturated Fat 2gCholesterol 23mgSodium 22mgCarbohydrates 3gFiber 0gSugar 3gProtein 3g
Emma, thanks so much for the recipe. My daughter always loves raspberries with a drizzle of maple syrup for dessert, she was wondering how she could incorporate that into a dessert for her wedding. Immediately I suggested panna cotta – the recipe is foolproof and easy to follow. Ride and groom to be were absolutely thrilled with the result. I got a high 5 😉.
That’s the kind of story that really sticks with me — how special to have a hand in your daughter’s wedding menu like that. Maple and raspberries sound like a perfect match for panna cotta too. Sending a high five right back to you, Stacy 😉