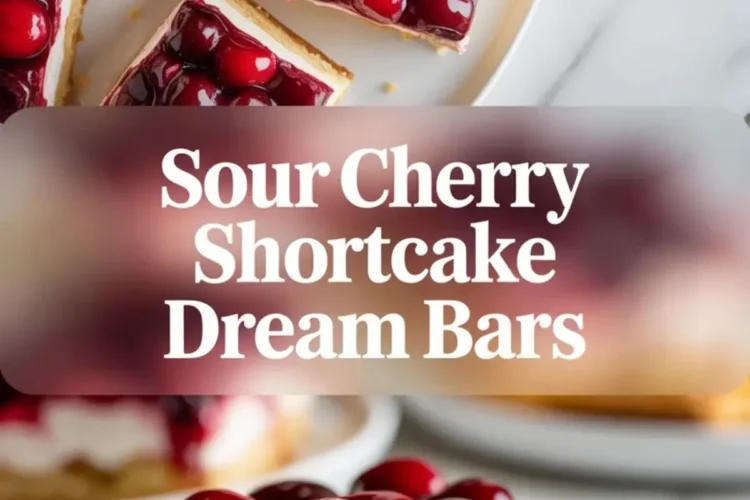
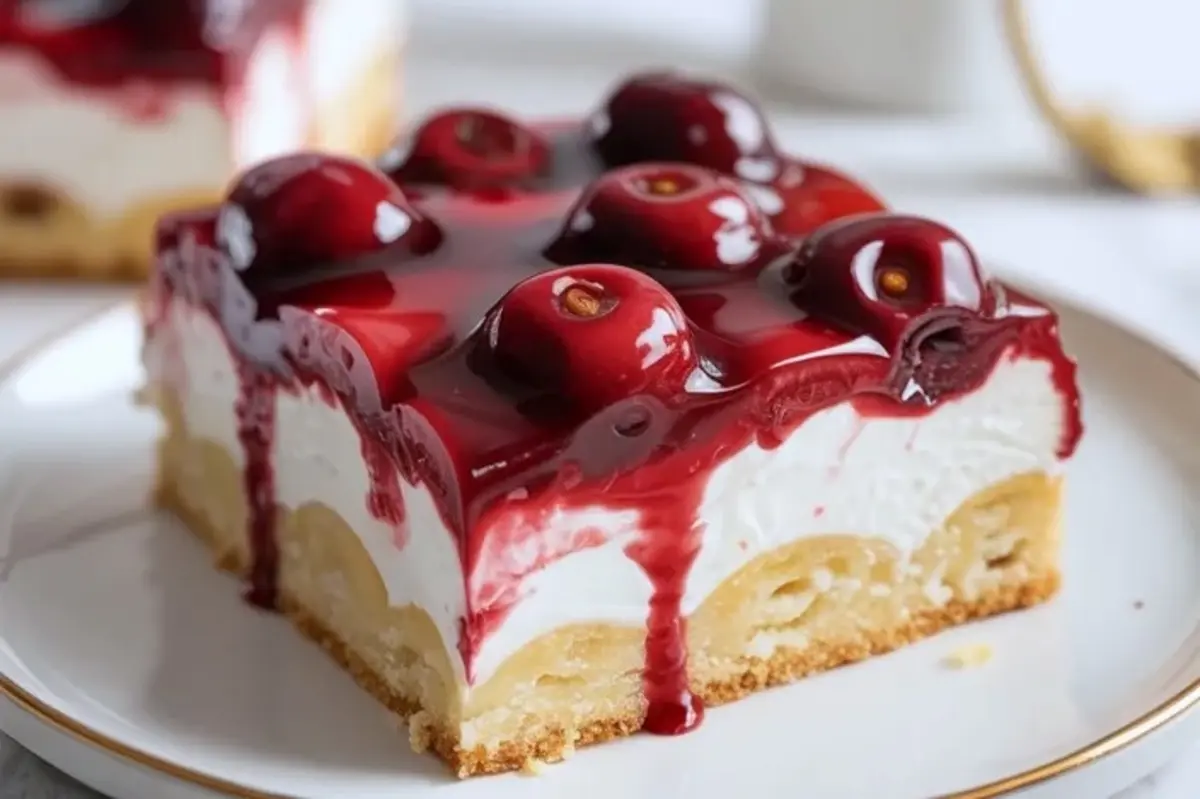
If you want a chilled cherry dessert that feels richer than a simple fruit bar but lighter than a baked cheesecake, these sour cherry shortcake dream bars land in a very useful middle ground. They start with a buttery shortcake style base, add a soft cream layer, then finish with a glossy sour cherry topping that sets into neat, striking slices.
What makes them stand out is the balance. Sour cherries bring enough tartness to keep the creamy middle from feeling heavy, and the shortcake base gives the bars a firmer, more structured bite than spoon desserts. If you already like fruity chilled bars such as cherry pie bars, this recipe gives you a creamier and colder version of that same cherry dessert mood.
Following a special diet?
Every recipe on this site can be converted to gluten-free, vegan, dairy-free, keto, nut-free or egg-free with adjusted ratios so nothing falls flat.
Try the Recipe Converter →Why The Layers Hold Together So Well
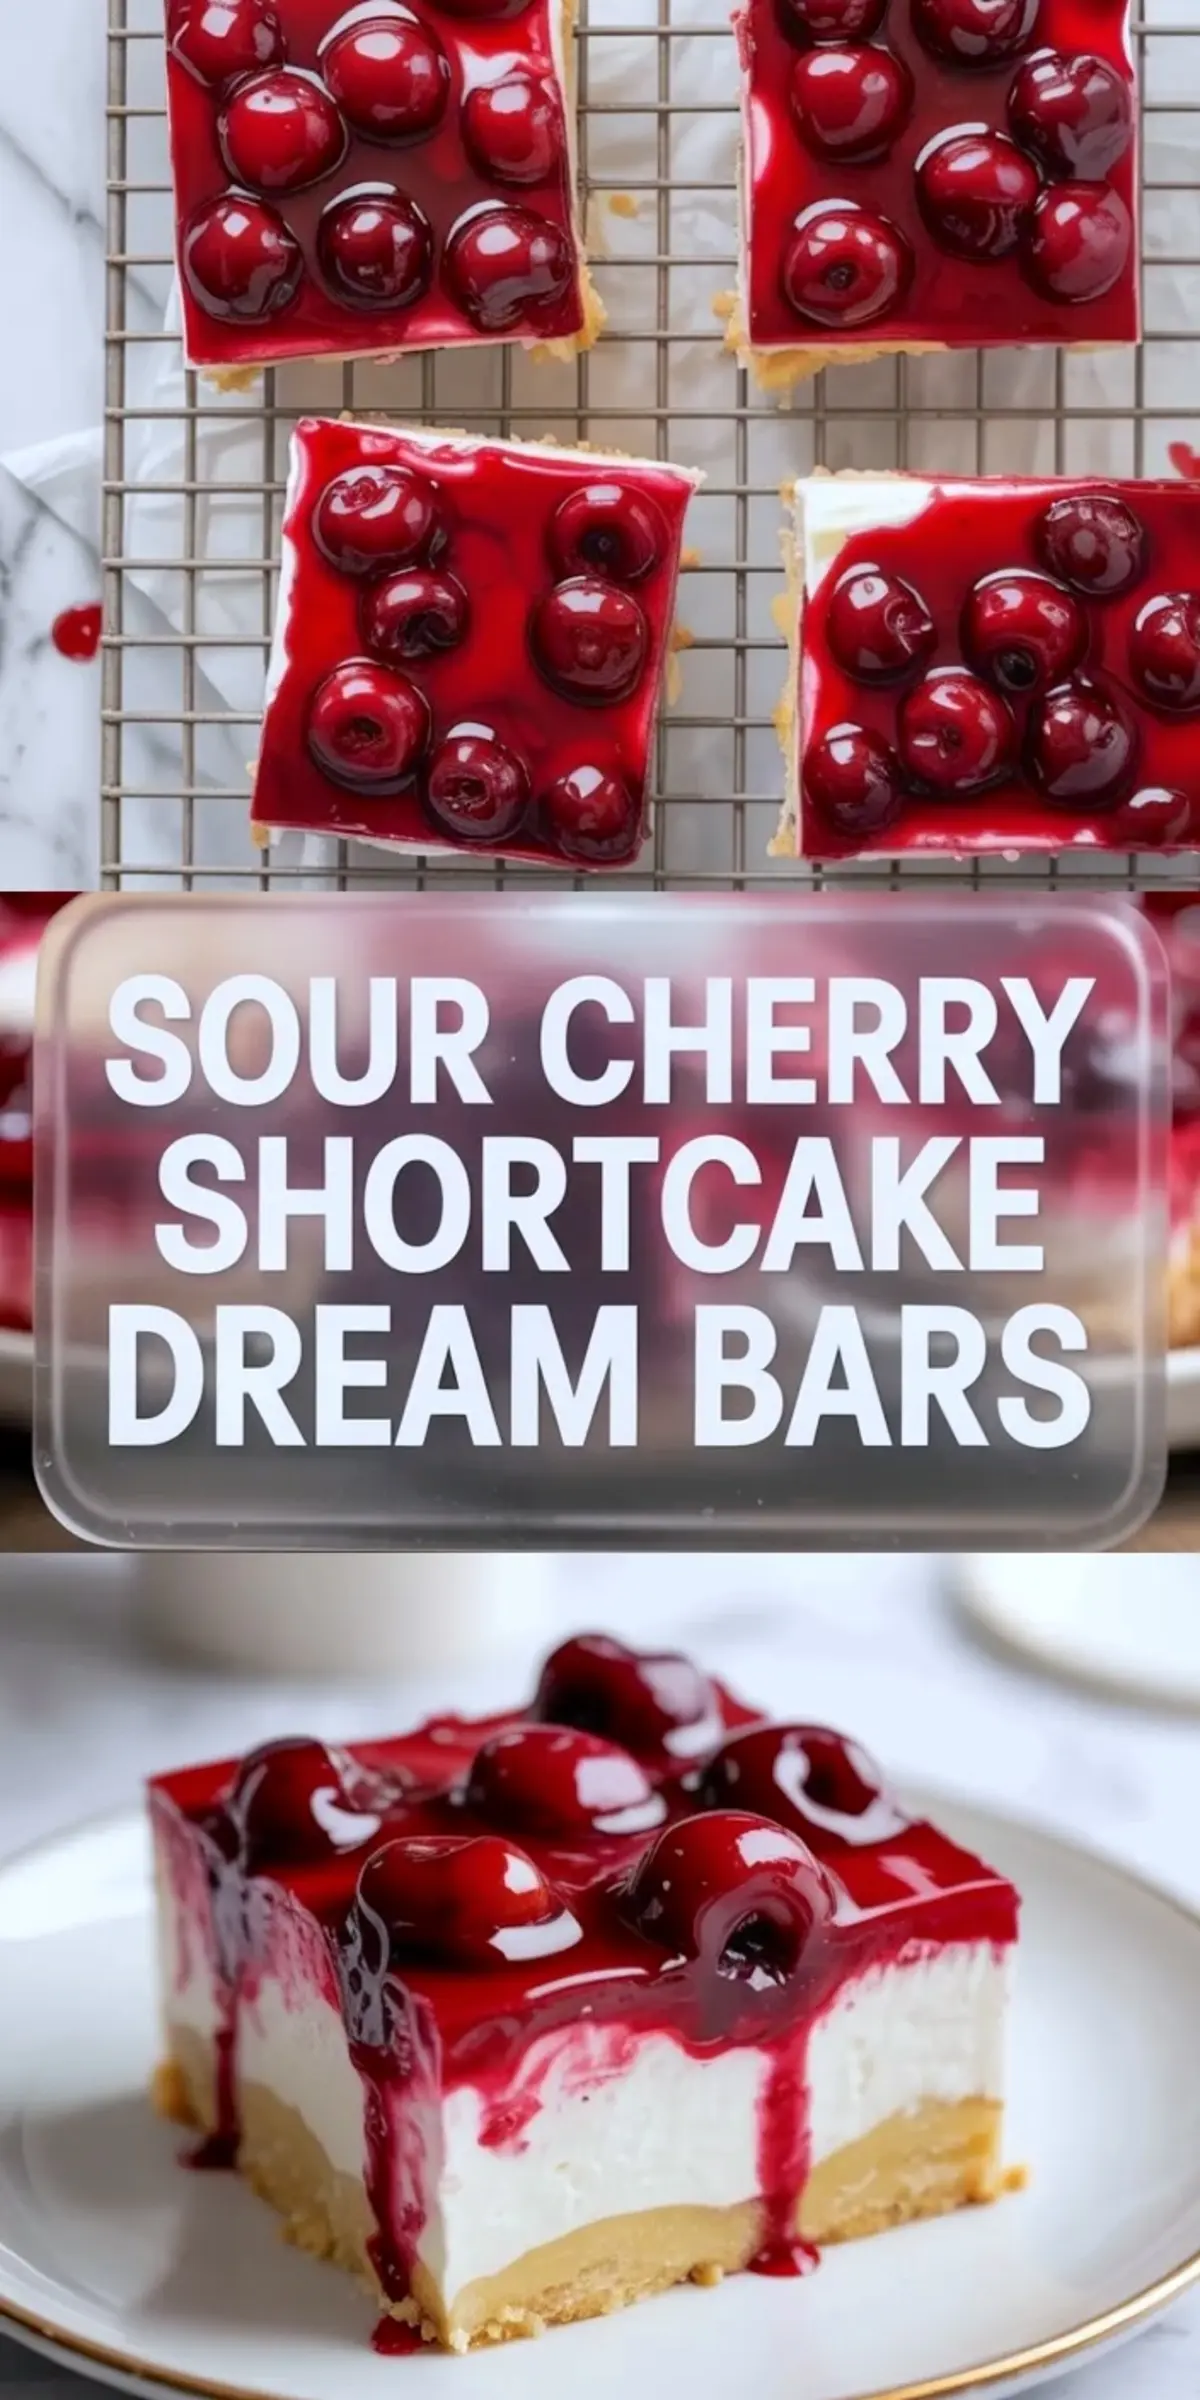
The structure works because each layer plays a different role. The base bakes into a firm buttery foundation, the cream layer adds a cool whipped softness, and the cherry topping gives the bars both color and a bright finish. Because the fruit is cooked and thickened before assembly, the top stays glossy instead of soaking into the cream beneath it.
The bars also slice well after chilling because the cream layer is stabilized by cream cheese and whipped cream together. That gives you a middle that feels airy when you eat it but still holds a clean edge in the pan. Readers who like creamy fruit bars may also want to save passion fruit cheesecake bars for a more tropical take on the same chilled layered style.
The Ingredients That Matter Most
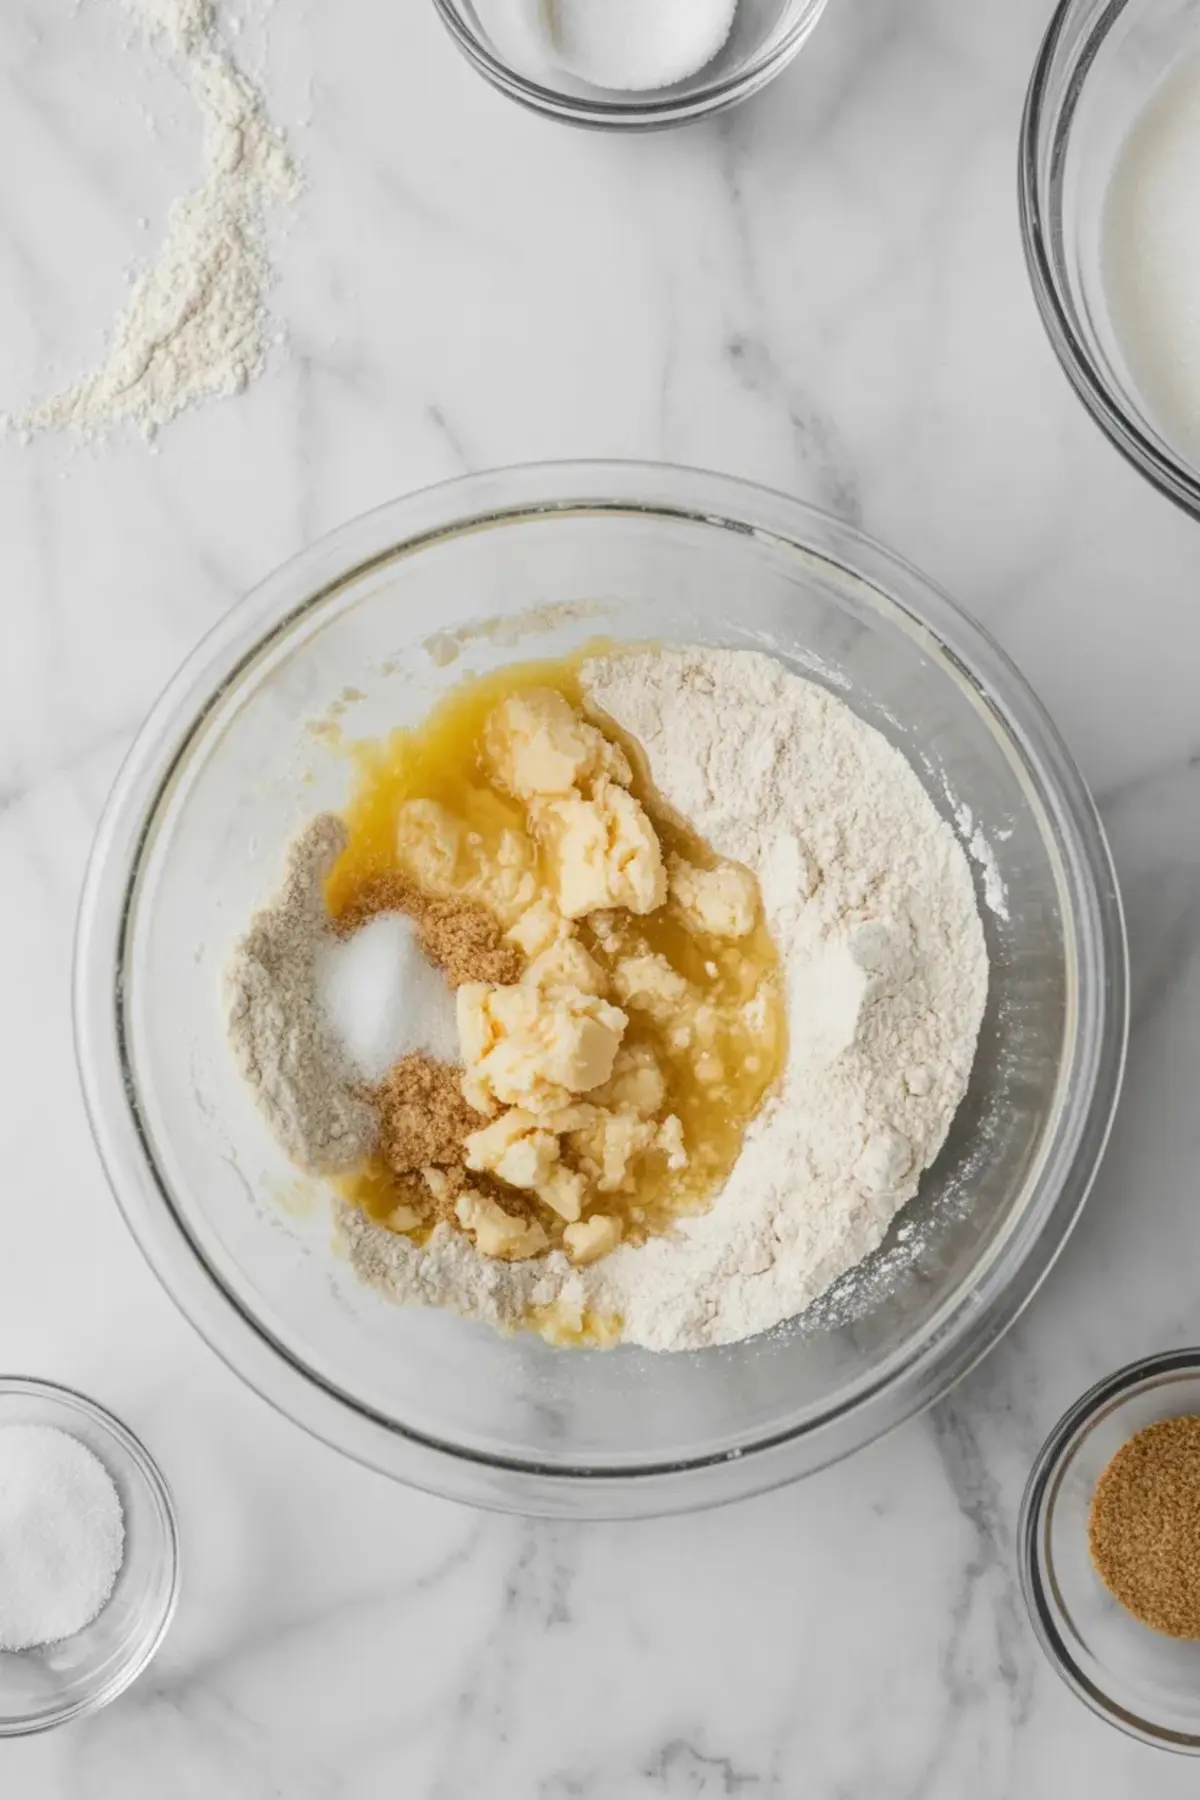
The base uses flour, sugar, salt, and butter to create a shortcake style bottom layer that is sturdy enough to carry the cream and cherries. The middle relies on cream cheese, powdered sugar, vanilla, and whipped cream for a filling that tastes smooth and cool instead of dense. Then the topping uses sour cherries, sugar, lemon juice, and cornstarch to make a fruit layer with real body and shine.
Sour cherries matter here because their tartness keeps the bars lively. Sweet cherries would change the balance and make the top feel flatter. If you enjoy cherry desserts with a stronger fruit edge, recipes like sour cherry dump cake lean into that same brighter cherry profile in a warmer, softer form.
Mixing The Shortcake Base
The base should come together into a soft dough that presses easily into the pan. You do not need to overwork it. What matters is getting the butter evenly distributed so the baked layer feels tender but still compact enough to support the filling later. Press it firmly into the corners so the finished bars do not crumble at the edges.
Bake just until lightly golden, then let it cool fully before the cream goes on. If the base stays warm, the filling can soften too much and lose its clean layered look once chilled.
Building The Cream Layer
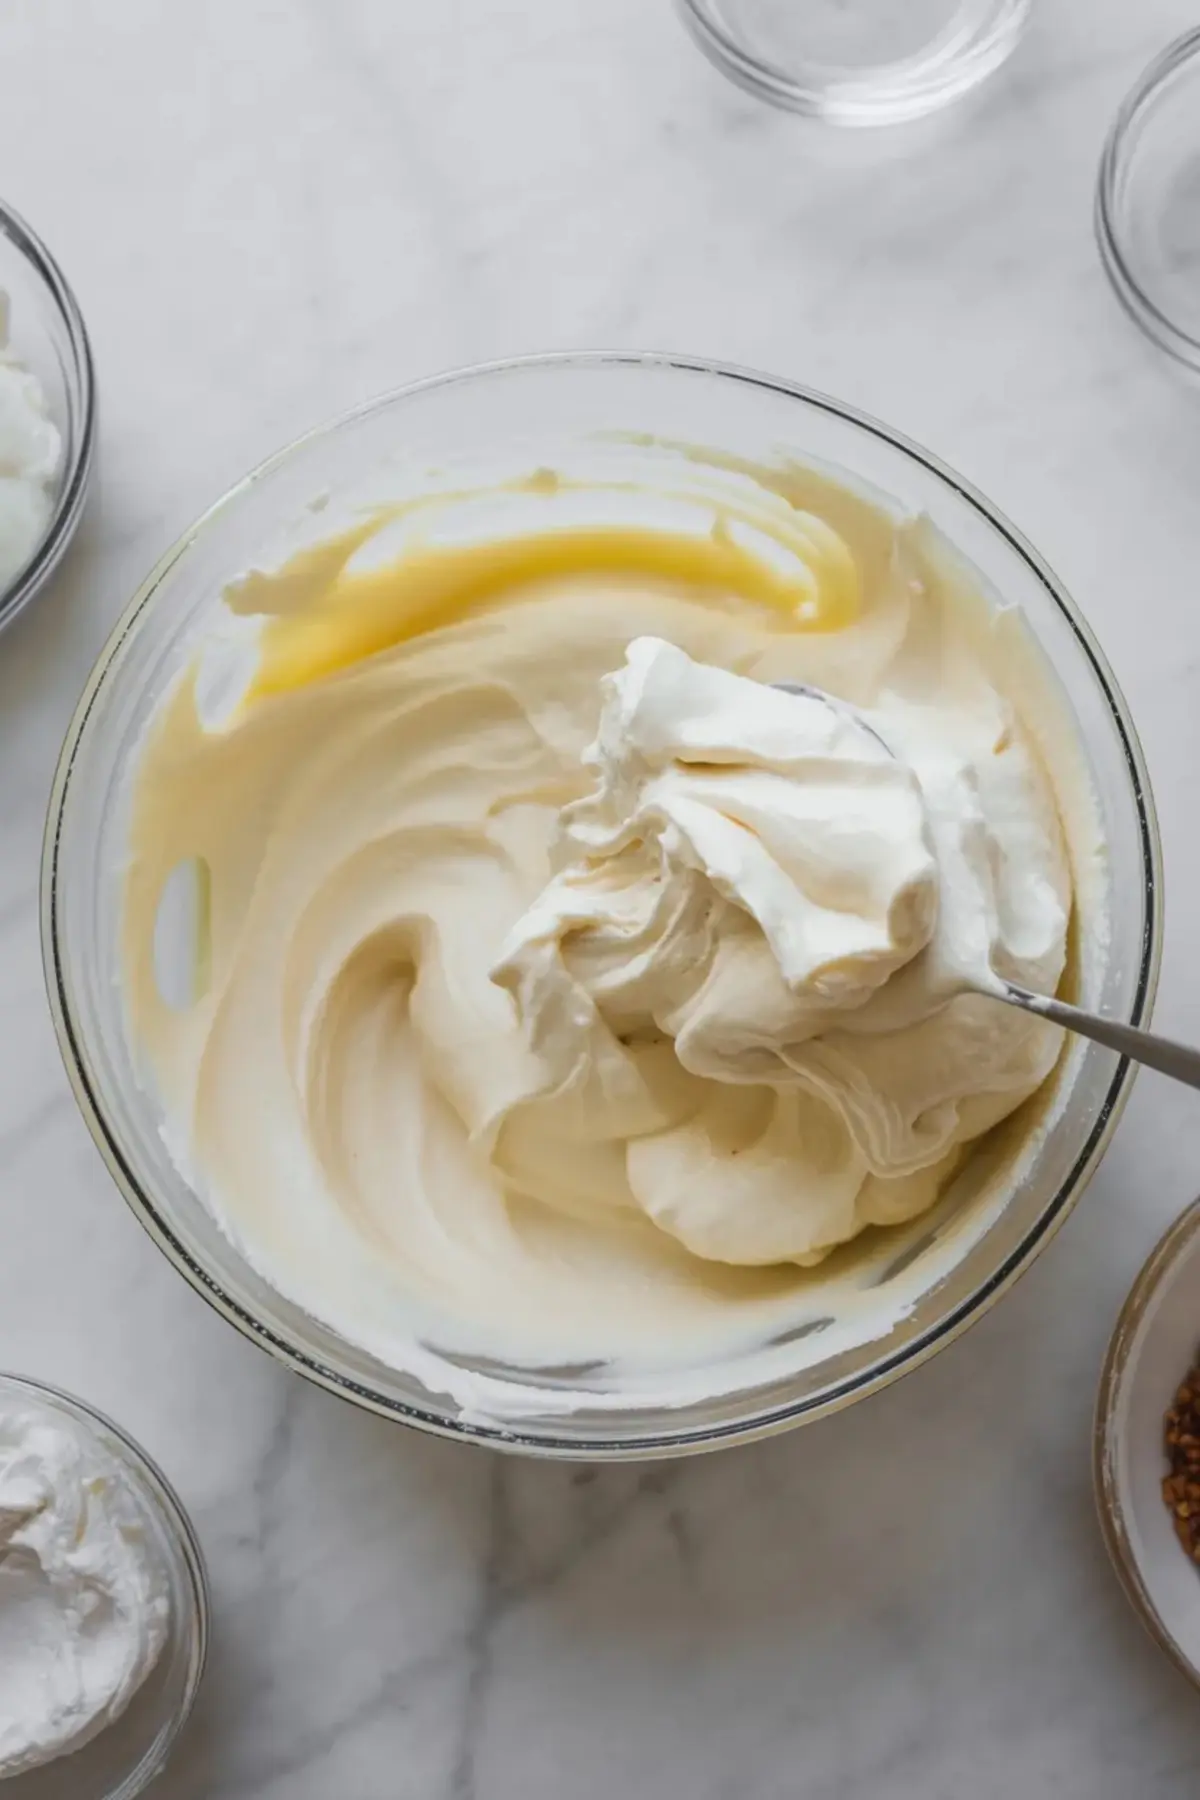
The cream layer should look smooth, thick, and airy. Beat the cream cheese until fully smooth before adding anything else, then fold in the whipped cream gently so the filling keeps some lift. That step is what gives these bars the dreamy texture in the middle instead of a heavier cheesecake style block.
Spread the filling over the cooled base in an even layer and let it chill while you make the topping. A cold middle layer gives you a better separation between cream and fruit once the cherries go on top.
Cooking The Sour Cherry Topping
The cherry topping is ready when the juices look glossy and the liquid has enough body to coat the fruit instead of running like a thin syrup. Cornstarch handles most of that work, but the lemon juice also sharpens the fruit and keeps the topping from reading as one note sweet.
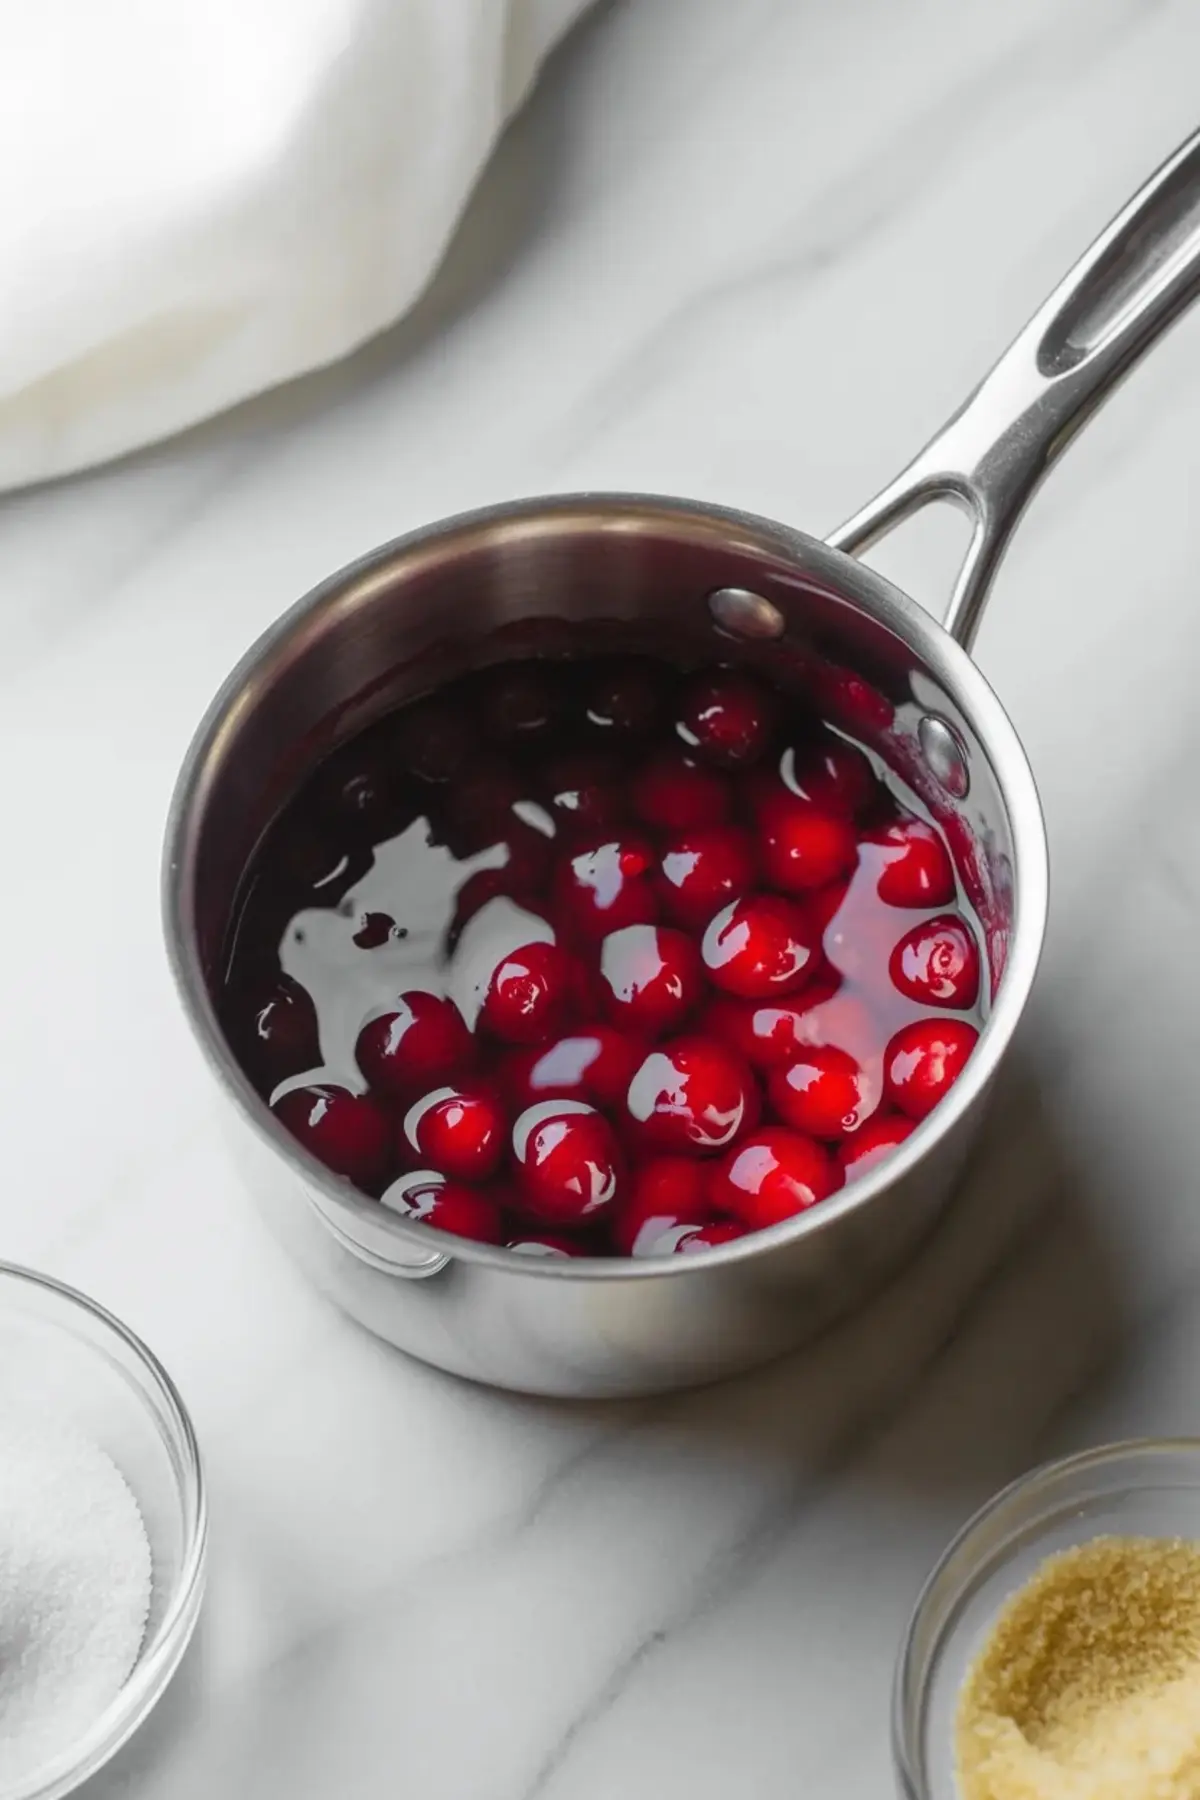
Let the topping cool until it is still pourable but no longer hot. If you pour it on too warm, the cream layer can loosen and streak. If it cools too much, it becomes harder to spread without dragging the layer underneath.
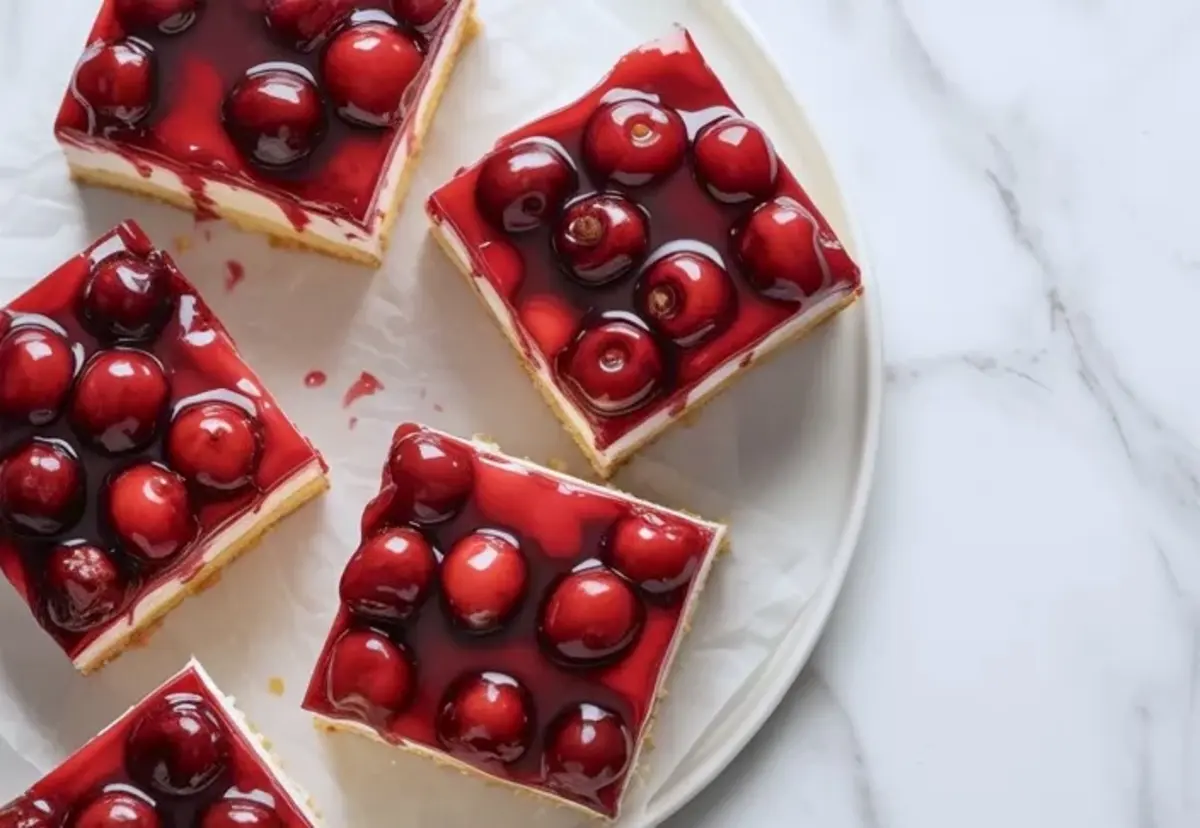
How To Tell The Bars Are Ready To Slice
After chilling, the bars should feel firm across the top and hold distinct layers when cut. The cherry topping should stay in place, the cream layer should look set rather than loose, and the base should lift cleanly from the parchment without bending too much. A sharp knife wiped between cuts helps keep the sides neat.
If the topping slides or the center bulges outward at the cut edge, the bars likely need more refrigerator time. A full chill is what turns them from a soft layered dessert into tidy bars.
Small Fixes And Easy Variations
If the base turns too crumbly, it likely needed firmer pressing before baking. If the cream layer looks lumpy, the cream cheese probably was not soft enough at the start. If the topping looks dull instead of glossy, it usually needed a little more cooking after the slurry went in. For a slightly different direction, you could swap the sour cherries for another tart fruit, but the original version works best because the fruit cuts through the richness so well.
If this kind of layered chilled dessert is your lane, coconut cheesecake bars give you a creamier tropical option, while lemon meringue pie bars push the citrus side harder.
Storage And Serving
Keep the bars in the refrigerator, covered, for up to three days for the best texture. They are at their best cold, when the cream layer stays fluffy and the cherry topping keeps its clean shine. If you need to stack them, use parchment between layers so the cherry top does not smear.
Serve them chilled on a dessert plate or as part of a summer tray bake spread. Because the bars are rich and fruit forward, smaller squares still feel satisfying.
Save This Recipe
Save these sour cherry shortcake dream bars for the next time you want a make ahead cherry dessert that looks dramatic but slices cleanly from the fridge. If you make them, save the recipe to Pinterest and share any chilling or slicing questions in the comments.
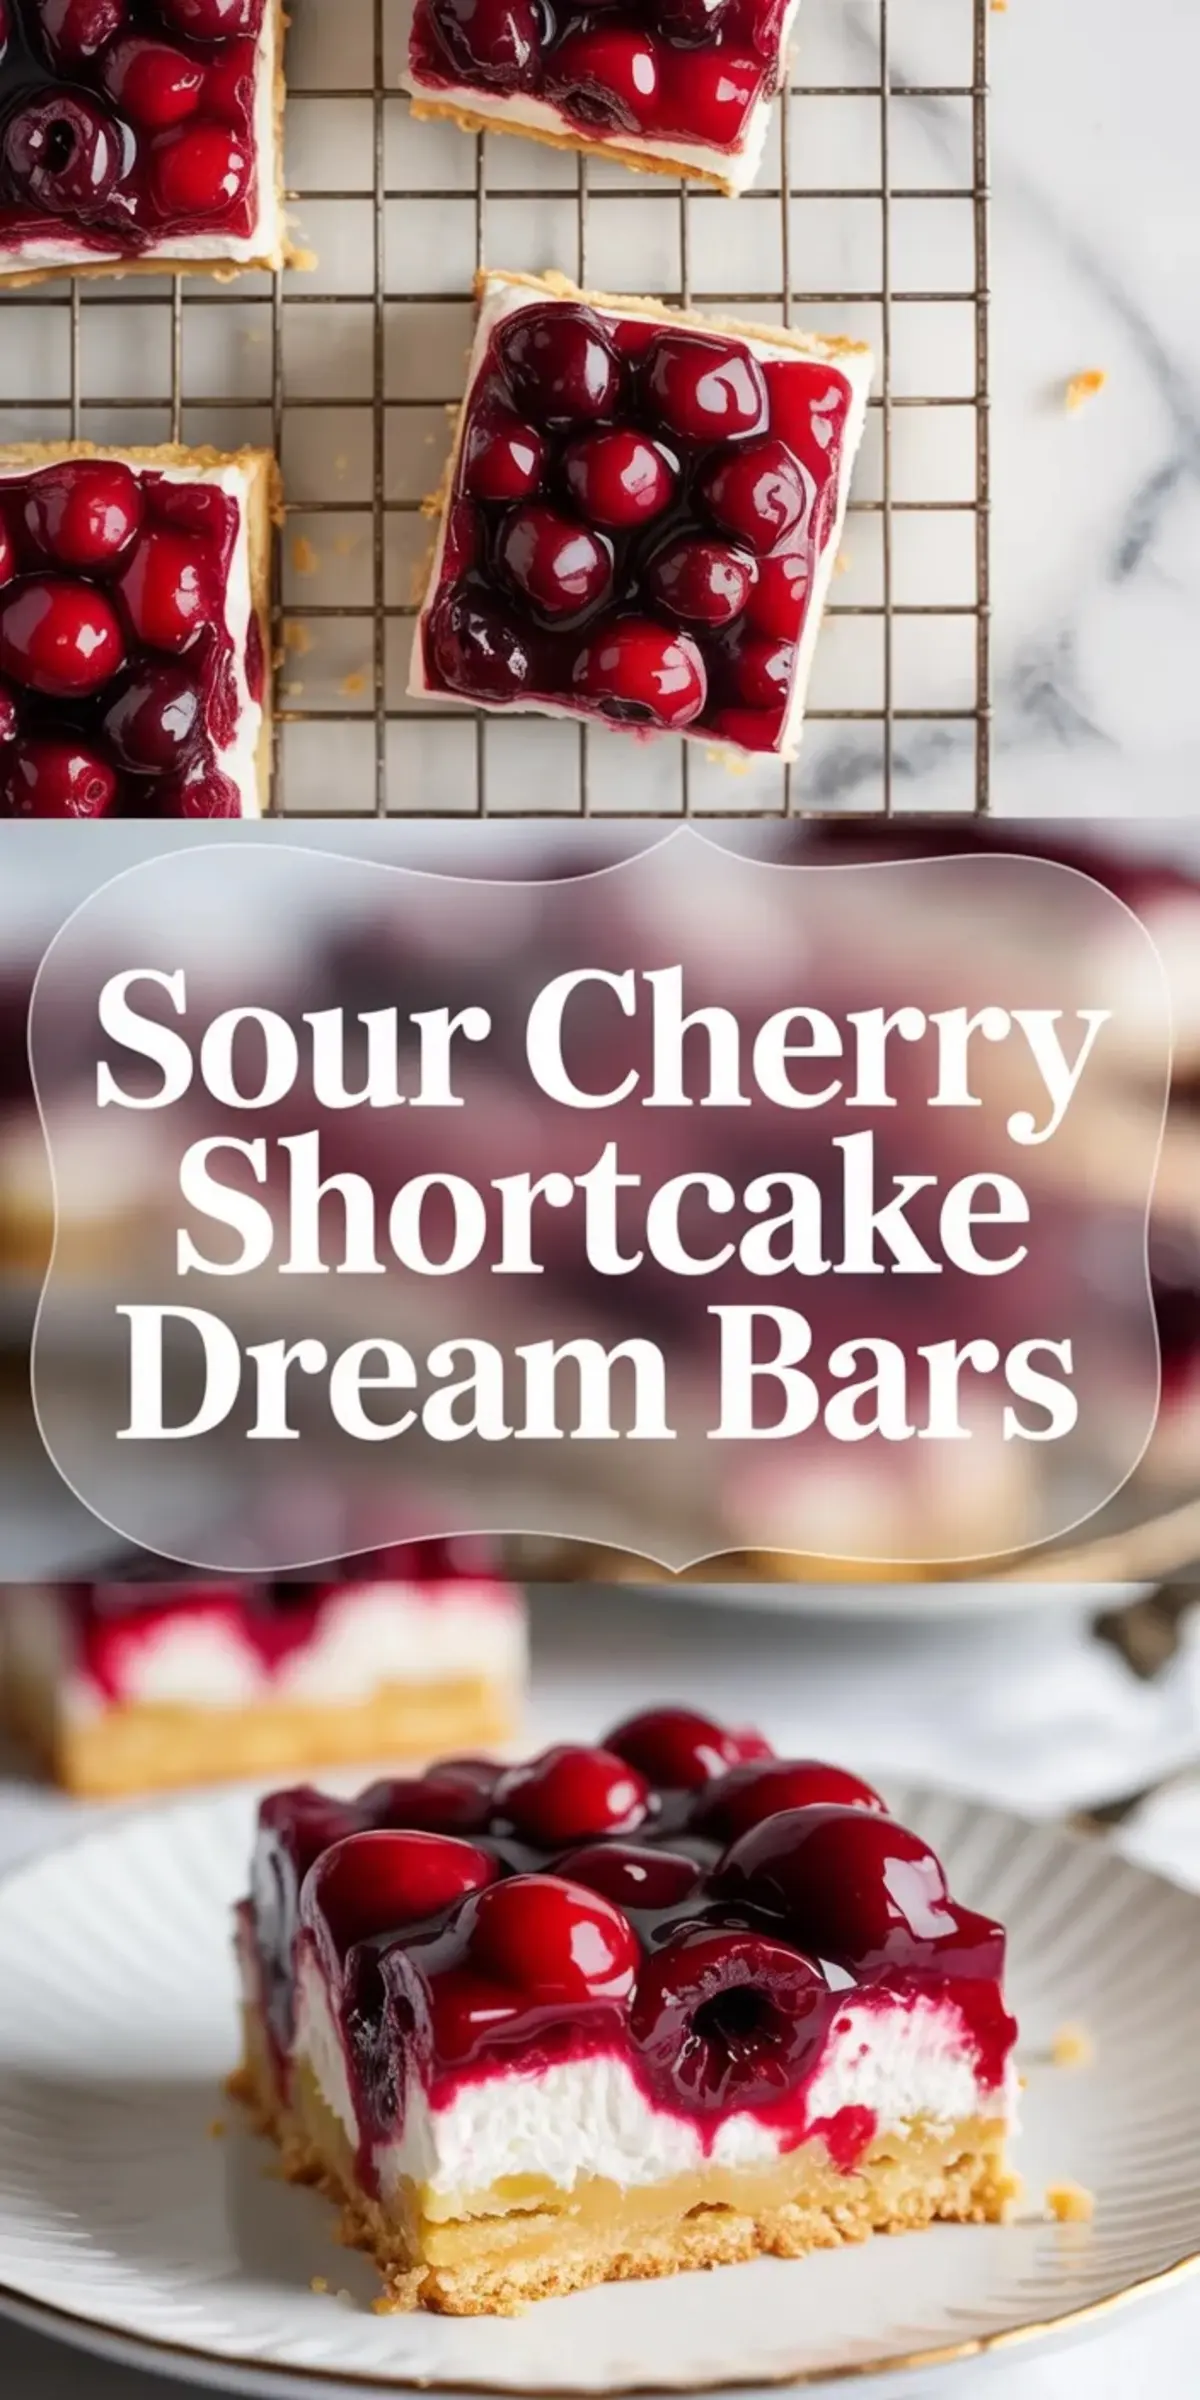
Sour Cherry Shortcake Dream Bars

These sour cherry shortcake dream bars start with a buttery shortcake style base, then add a cool whipped cream cheese layer and a glossy sour cherry topping that chills into clean, striking slices. The cherries bring a bright tart note that keeps the bars from tasting flat, while the creamy middle softens the fruit and gives the dessert a cheesecake bar feel without becoming heavy. The contrast between the tender base, fluffy center, and juicy cherry layer makes each bite feel layered and balanced. Because the topping is cooked first, it sets with enough body to hold the fruit in place instead of running across the bars. The bars stay tidy once chilled, so they work well for slicing ahead and serving later without last minute assembly. These sour cherry shortcake dream bars are especially useful when you want a make ahead summer dessert for parties, showers, potlucks, or a chilled dessert tray, because they slice neatly, carry well, and still look dramatic on the plate.
Ingredients
- FOR THE SHORTCAKE BASE
- 1 ½ cups all-purpose flour
- ½ cup granulated sugar
- ½ teaspoon salt
- ¾ cup unsalted butter, melted
- FOR THE CREAM LAYER
- 8 oz (225 g) cream cheese, softened
- ½ cup powdered sugar
- 1 teaspoon vanilla extract
- 1 cup heavy whipping cream
- FOR THE SOUR CHERRY TOPPING
- 2 cups sour cherries, fresh or frozen and pitted
- ½ cup granulated sugar
- 2 tablespoons cornstarch
- ¼ cup water
- 1 tablespoon lemon juice
Instructions
PREPARE THE PAN AND BASE: Preheat the oven to 350°F (175°C) and line an 8×8-inch baking pan with parchment paper. In a mixing bowl, combine flour, granulated sugar, and salt. Add melted butter and mix until a soft dough forms. Press the dough evenly into the bottom of the prepared pan to create a compact base layer.
BAKE THE BASE: Place the pan in the oven and bake for 15–18 minutes until the surface turns lightly golden. Remove from the oven and allow the base to cool completely so the cream layer spreads smoothly without melting.
MAKE THE CREAM LAYER: In a bowl, beat softened cream cheese until smooth and free of lumps. Add powdered sugar and vanilla extract, then mix until fully combined and creamy. In a separate bowl, whip the heavy cream until soft peaks form. Gently fold the whipped cream into the cream cheese mixture to create a light, smooth texture.
SPREAD AND CHILL THE CREAM LAYER: Spread the cream mixture evenly over the cooled base using a spatula to create a level surface. Transfer the pan to the refrigerator to chill while preparing the cherry topping.
COOK THE CHERRY TOPPING: In a saucepan over medium heat, combine sour cherries, granulated sugar, water, and lemon juice. Cook for about 5 minutes, stirring occasionally, until the cherries release their juices. In a small bowl, mix cornstarch with a small amount of water to form a slurry, then stir it into the cherry mixture. Continue cooking until the mixture thickens and develops a glossy appearance.
COOL THE TOPPING: Remove the cherry mixture from heat and allow it to cool slightly until it is still pourable but no longer hot, which helps preserve the structure of the cream layer.
ASSEMBLE THE BARS: Pour the slightly cooled cherry topping over the chilled cream layer. Spread gently and evenly to cover the entire surface without disturbing the layer beneath.
CHILL UNTIL SET: Refrigerate the assembled bars for at least 3–4 hours until fully set and firm enough to slice cleanly.
SLICE AND SERVE: Lift the bars out of the pan using the parchment paper. Use a sharp knife to cut into squares, wiping the blade between cuts for clean edges. Serve chilled.
Notes
Use fresh or frozen cherries based on availability; thaw and drain frozen cherries before cooking.
Allow full chilling time to ensure clean slices and stable layers.
Store covered in the refrigerator for up to 3 days for best texture and flavor.
Nutrition Information
Yield
12Serving Size
1Amount Per Serving Calories 442Total Fat 27gSaturated Fat 17gUnsaturated Fat 10gCholesterol 76mgSodium 159mgCarbohydrates 48gFiber 1gSugar 36gProtein 3g