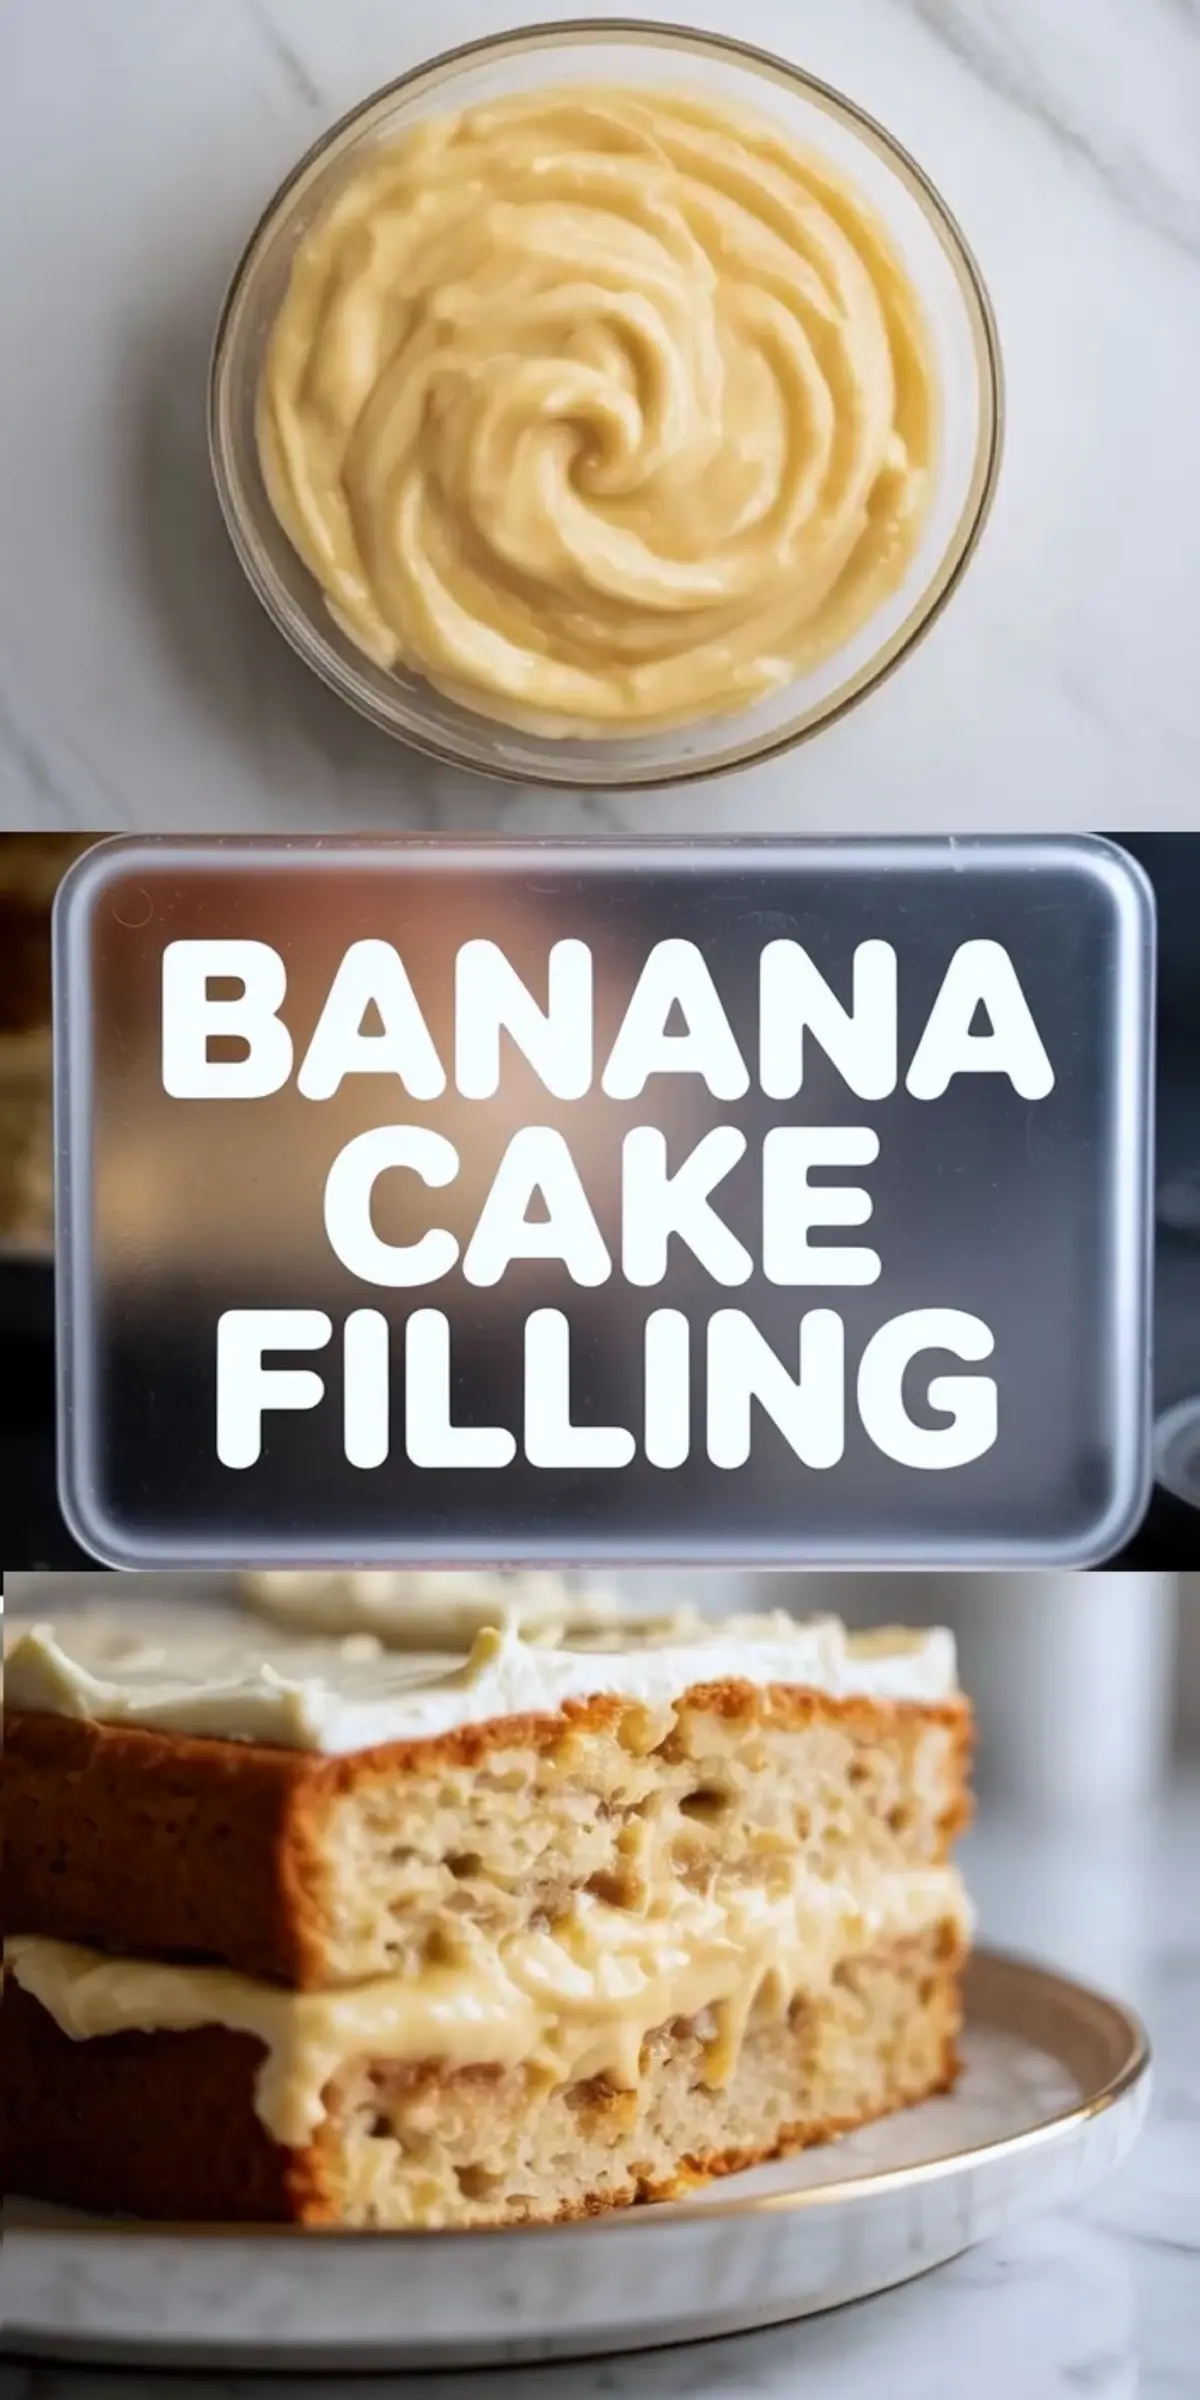
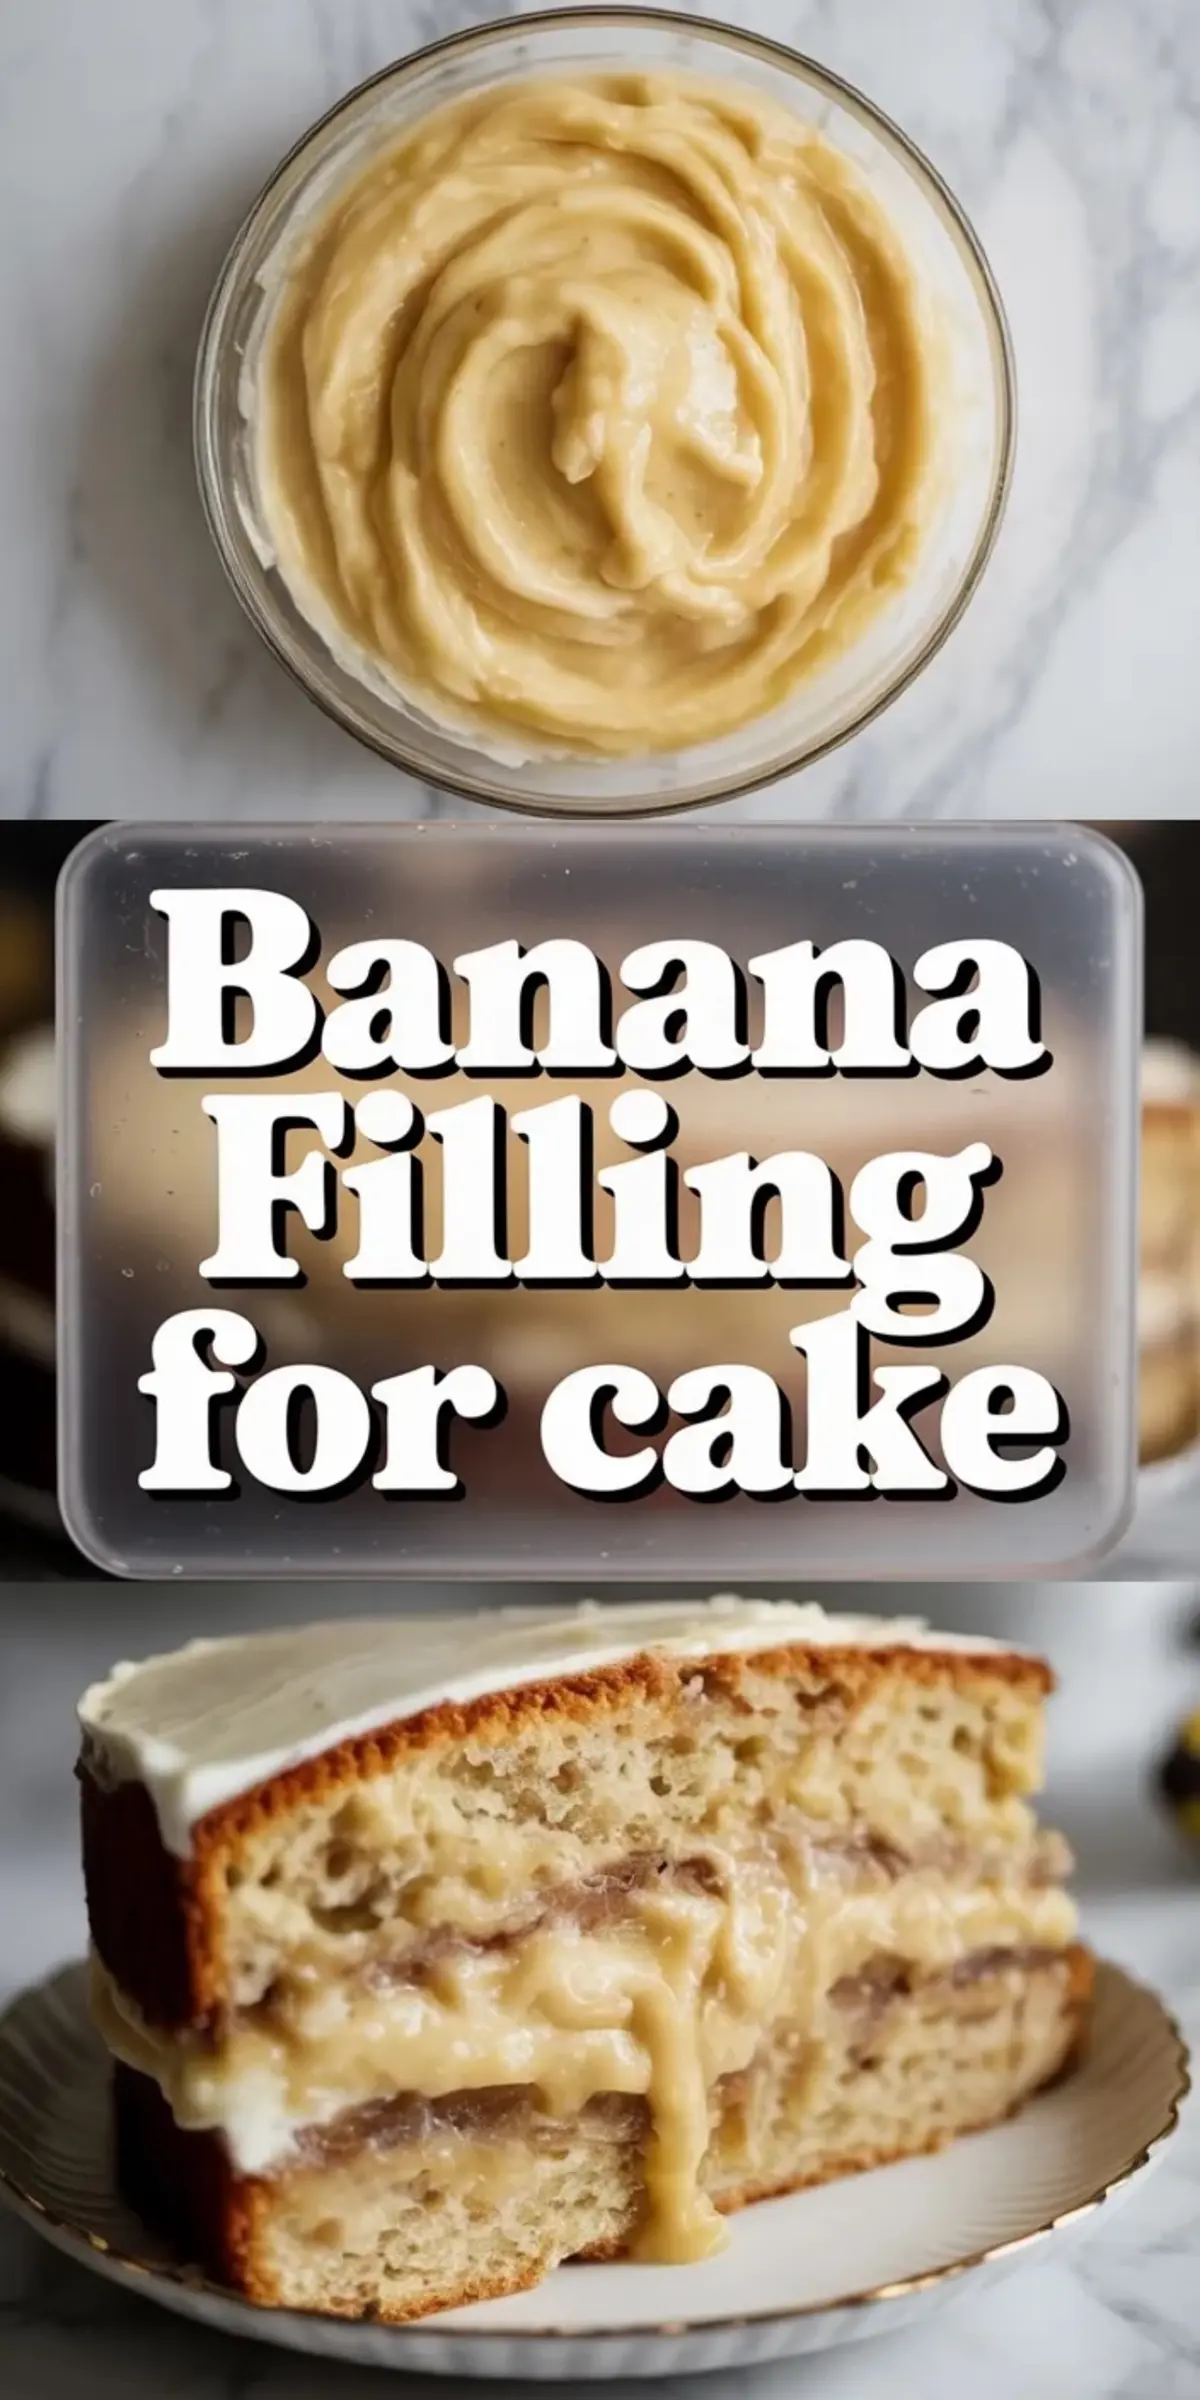
This banana cake filling is smooth, rich, and naturally sweetened with ripe bananas and just enough milk and egg yolk to give it a custard-like finish. It works as a banana cream filling in layered cakes, banana cream desserts, cupcakes, or any banana cake recipe that needs a soft, flavorful center.
The base combines ingredients found in most kitchens, but the texture sets it apart. It lands somewhere between banana pudding and pastry cream, with a light cinnamon option if you want a deeper note. It spreads easily, holds its shape, and delivers the banana flavor without becoming too sweet or too heavy.
Following a special diet?
Every recipe on this site can be converted to gluten-free, vegan, dairy-free, keto, nut-free or egg-free with adjusted ratios so nothing falls flat.
Try the Recipe Converter →The key to this filling is the balance between the fruit and the starch. Bananas bring natural sweetness and body, but the cornstarch and egg yolks create structure and creaminess. That ratio keeps it from becoming runny once it chills.
Some fillings skip the yolks or rely too much on gelatin or whipped cream. I’ve tried those versions. They’re fine, but they don’t hold up well between layers. This one does. It thickens properly on the stove and sets just enough in the fridge without becoming stiff. You’ll know it’s right when it coats the back of a spoon and stays put.
Ingredient Breakdown and Why I Chose Each One
Ripe bananas form the foundation. Choose ones with spotted skin but still a little firm inside. Mushy bananas will overpower the texture.
Cornstarch helps thicken the mixture. Without it, you’d end up with more of a banana sauce than a cake filling.
Whole milk gives it a rich body. I’ve tested with oat milk too, it works, but the flavor turns slightly grainy.
Egg yolks provide structure and smoothness. They bind everything together once heated. If you’ve made my Peanut Butter Mousse Filling, you’ve seen this trick before.
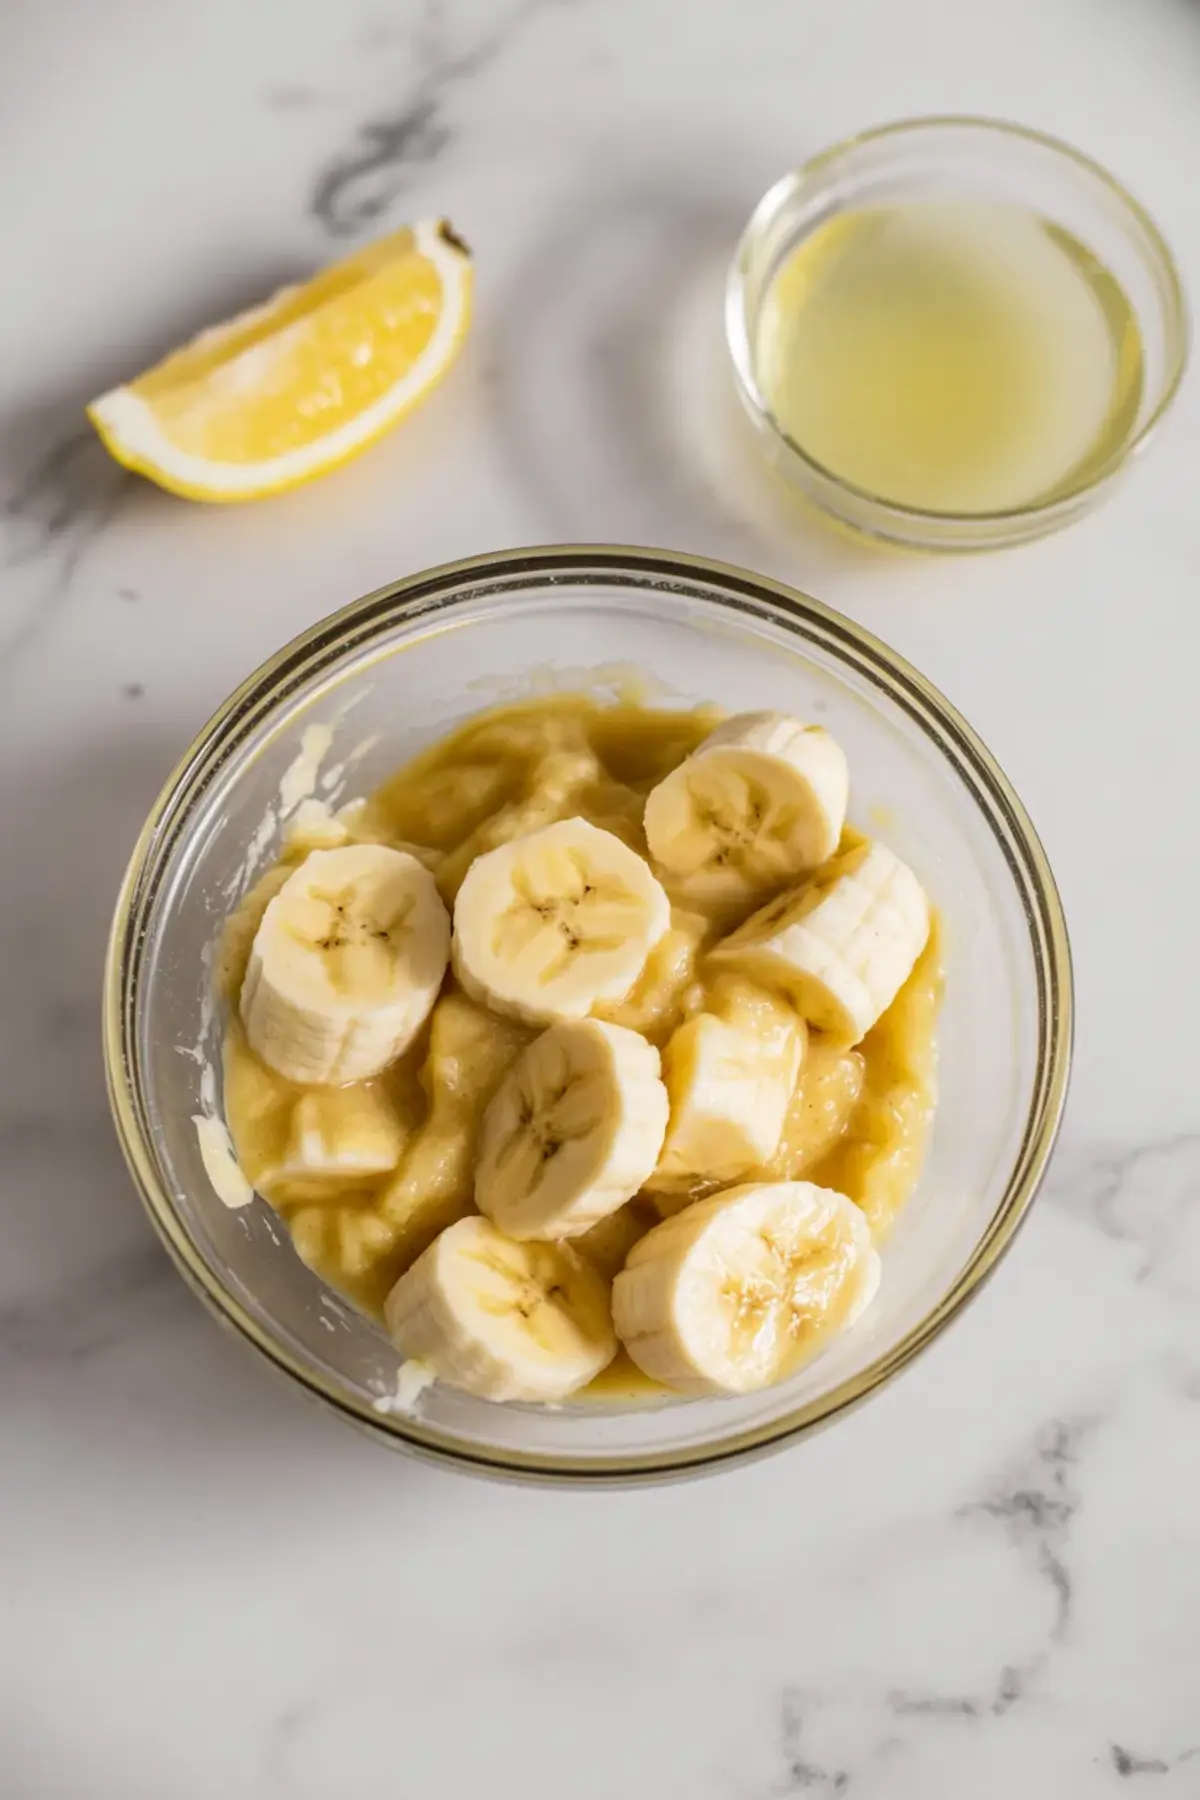
Lemon juice keeps the bananas from browning. It adds a little tang too. That brightness helps cut through the sweetness.
Unsalted butter and vanilla go in last, once the heat is off. They soften the finish and add flavor without altering the consistency.
A splash of heavy cream? Optional, but it rounds everything out. The same goes for cinnamon or nutmeg. I like cinnamon with banana, especially if the cake layers are already on the sweet side.
Why Ripe Bananas Matter
The bananas control the final texture. Too green, and you’ll get lumps and bitterness. Too soft, and the filling loses definition.
When you mash them, stop when they’re mostly smooth but still have a few small bits. Those tiny pieces melt slightly during cooking and give the filling a subtle banana texture, like what you’d find in a good Banana Cake.
If your bananas are too soft or dark, save them for banana bread or use them in a Nutella Cake Filling swirl instead. For this filling, aim for medium-soft with yellow peels speckled in brown.
How to Make It Step by Step
Start by mashing the bananas in a bowl. Stir in the lemon juice right away to hold the color. Set that aside.
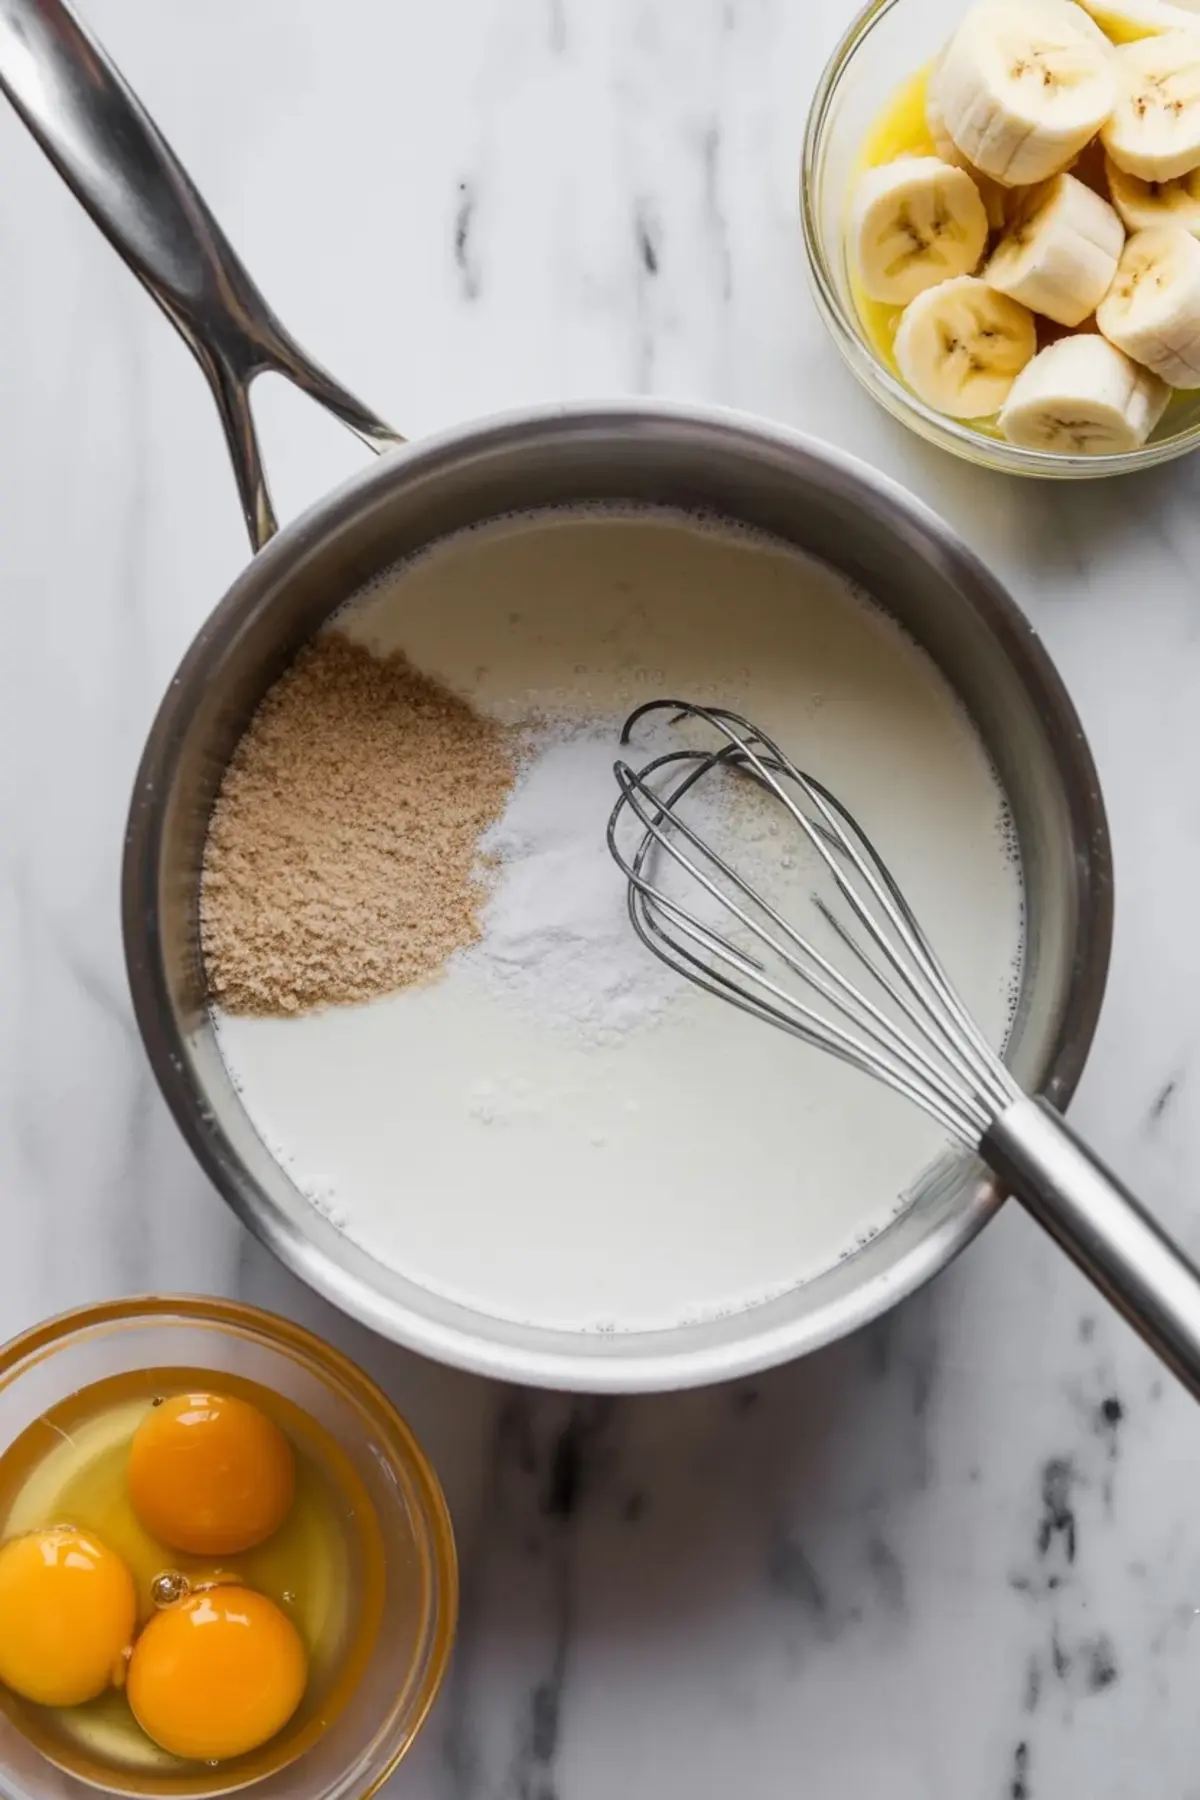
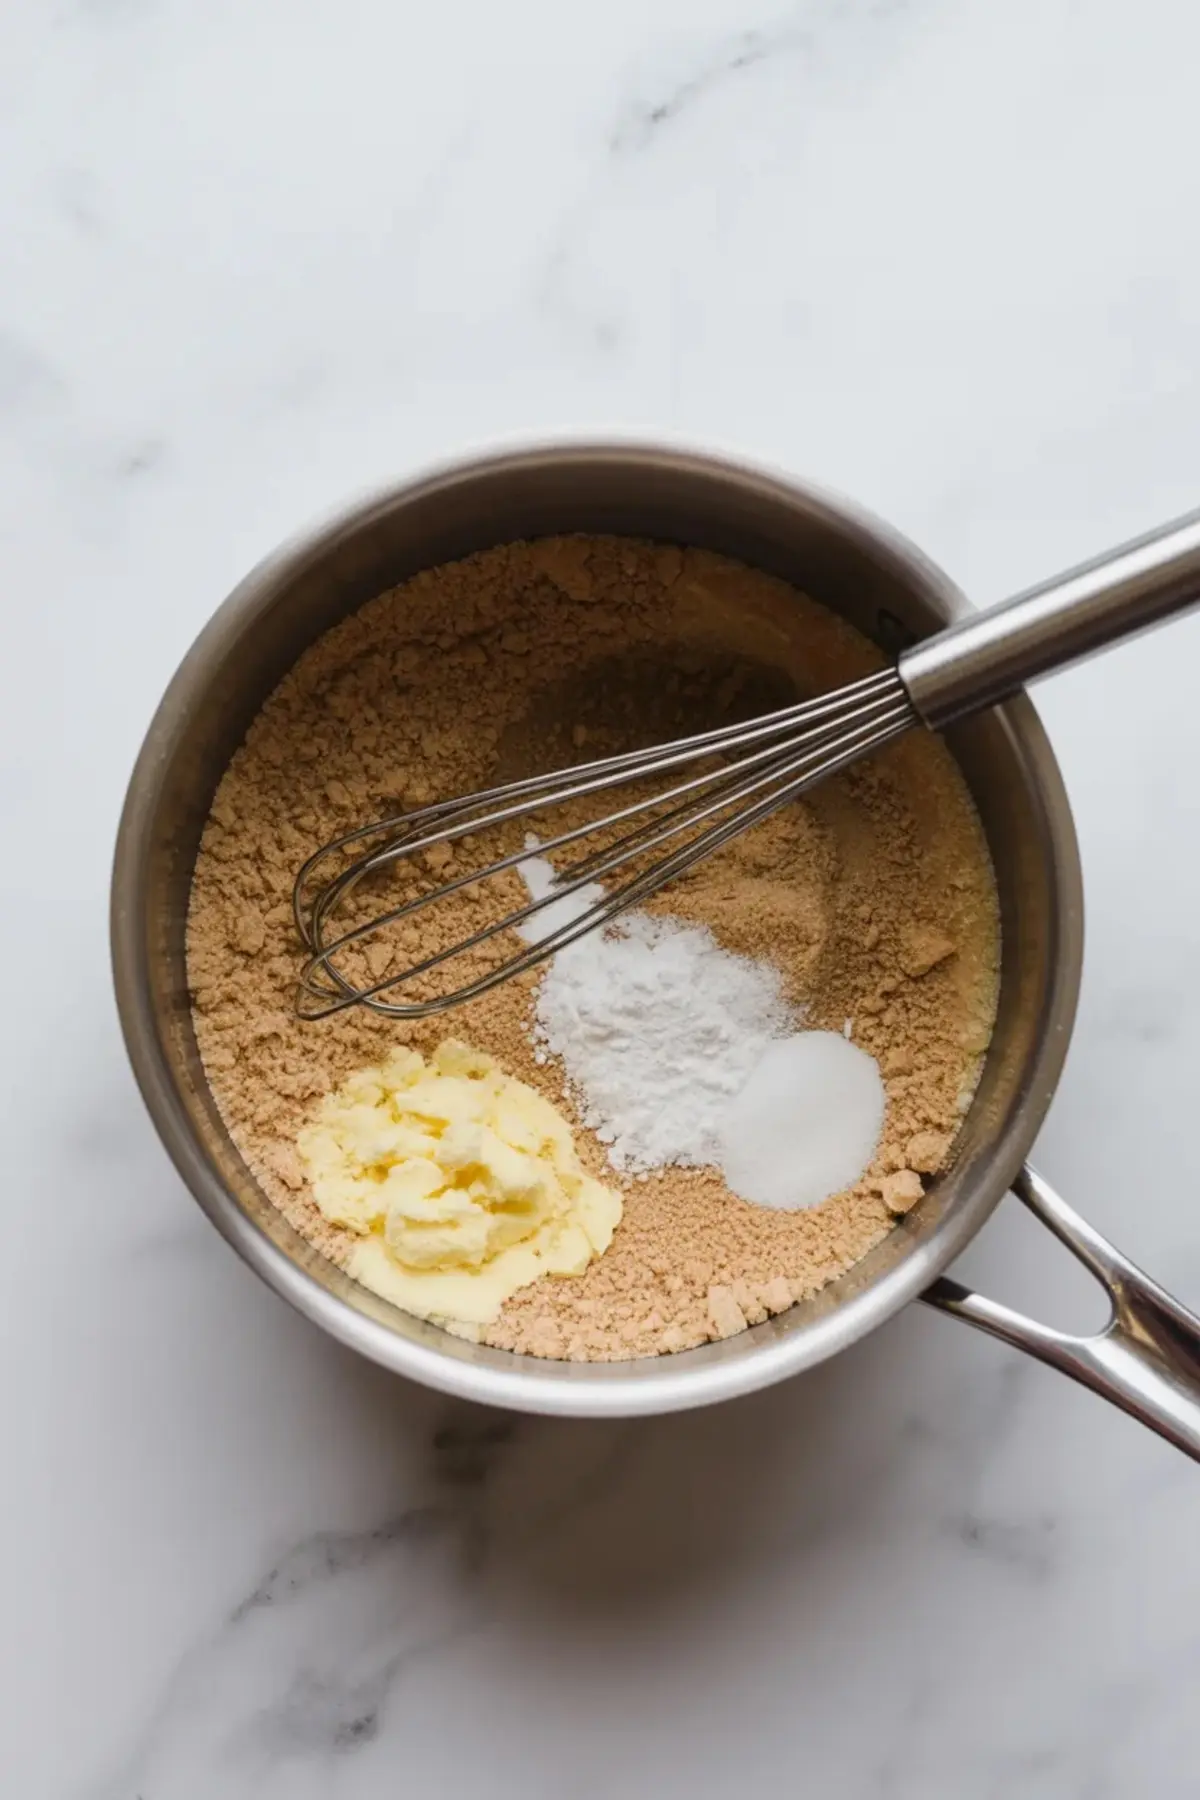
In your saucepan, whisk the sugar, cornstarch, and salt. Mixing them dry keeps the starch from clumping when the milk goes in.
Whisk in the milk slowly, then add the egg yolks and the banana mash. Keep stirring as it heats. Around the 6-minute mark, it will start to thicken.
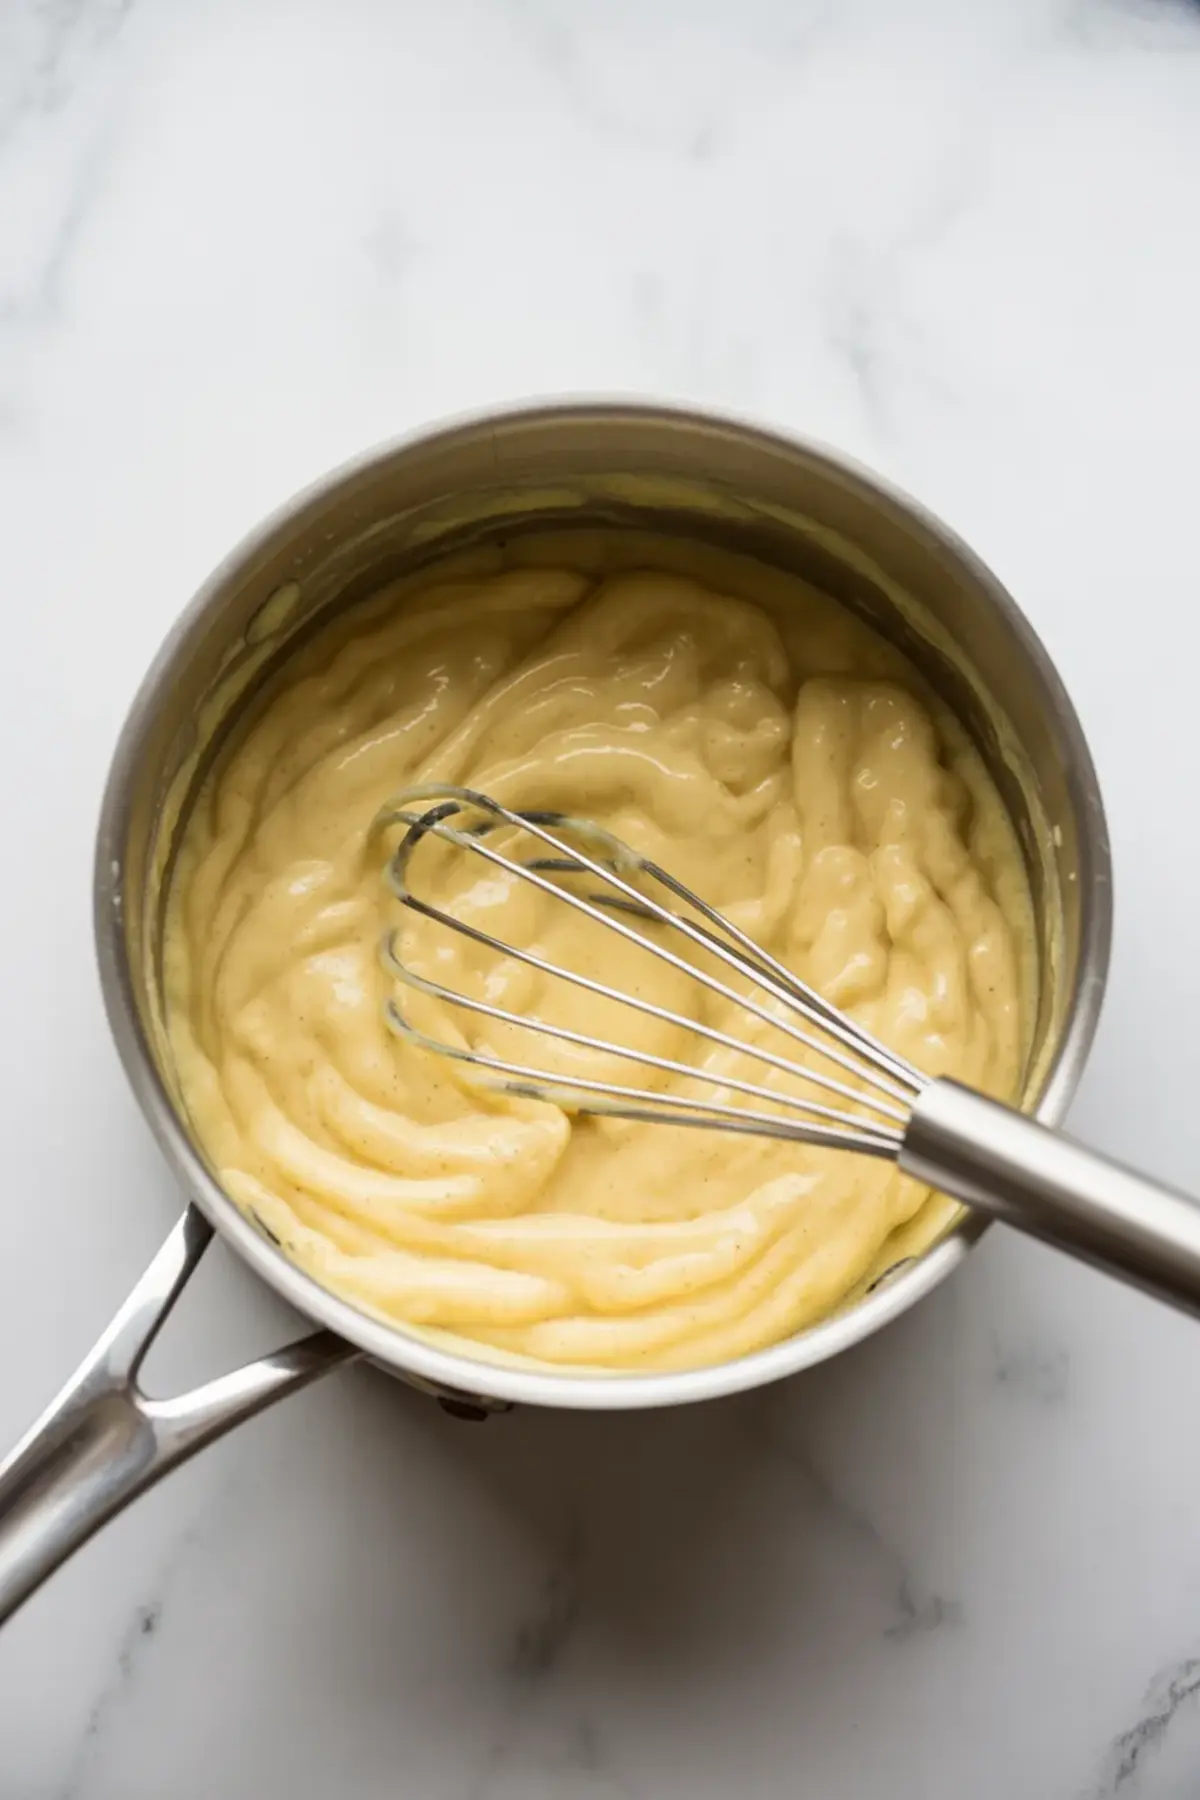
Once it bubbles slightly and coats a spoon, take it off the heat. Stir in butter and vanilla. Add the cream or spice now if you like.
Pour it into a bowl and press plastic wrap directly on top. This prevents a skin from forming. Cool at room temp, then chill at least 2 hours before using.
How to Know It’s Ready
Check for thickness. It should fall slowly from a spoon, not run. If it pours easily, it needs more cooking.
When underdone, it stays soupy and won’t hold in a cake. Overcooking causes clumping and sometimes a scrambled texture. The sweet spot? When it just begins to bubble and holds soft peaks as you stir.
Common Mistakes and How to Fix Them
If your filling never thickened, the heat was likely too low. Next time, raise the burner slightly and stir constantly.
If it turned grainy, the egg may have scrambled. Try whisking more consistently or straining the mixture before chilling.
If it tasted dull, add more lemon or a pinch of salt to sharpen it.
Variations You Can Try
Add 1 tablespoon of peanut butter for a nutty version that pairs beautifully with chocolate.
Use brown sugar instead of white for a deeper caramelized flavor, similar to my Salted Caramel Cake Filling.
Mix in 1 tablespoon of cocoa powder with the dry ingredients to turn it into a chocolate banana twist.
Swap the milk with coconut milk and sprinkle toasted coconut on the cake for a tropical version. I’ve served that combo as a cupcake filling and it got rave reviews.
How to Store and Reuse It
Store in the fridge up to 3 days. Keep it in an airtight container with plastic wrap on the surface.
Freeze it if needed, but thaw slowly in the fridge and stir gently before using. It may lose a bit of shine after freezing but still works for cakes.
Avoid microwaving. Let it sit at room temp to soften, or warm it gently on the stove over low heat.
My Tested Tips for Better Results
Use a heavy-bottomed saucepan. It heats more evenly. Whisk before turning on the heat. That step matters more than it seems.
Don’t skip the plastic wrap. It prevents a film from forming. Choose bananas that match the softness of the cake you’re using. Dense cake? Slightly firmer bananas work better.
Add the spice last. That way, it doesn’t overpower the banana during cooking.
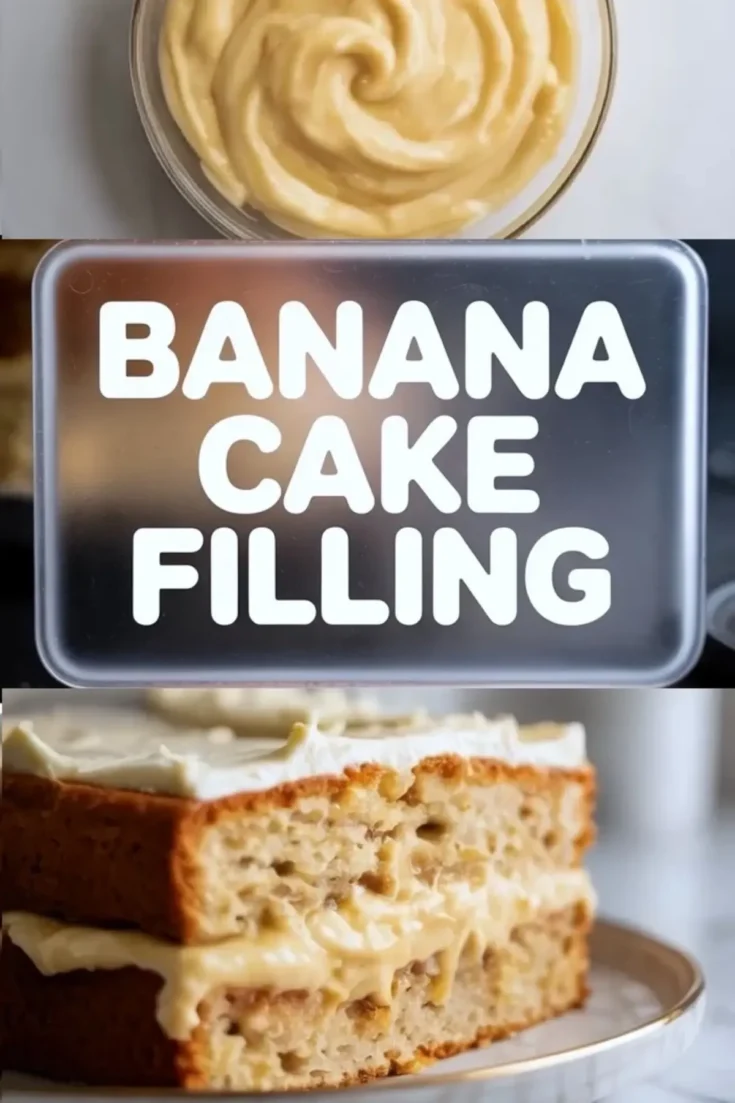
How to Serve This Banana Cream Filling
Use between layers of vanilla cake with whipped cream frosting. Pipe into cupcakes and top with ganache.
Spoon into tart shells and finish with Almond Croissant Filling. Swirl into ice cream for a homemade banana ripple.
Pair with crisp cookies as a chilled banana cream dip.
Save This Recipe & Share Yours Too
Pin this banana cake filling recipe to your dessert board so you can find it for your next celebration cake or banana cream dessert.
Let me know in the comments how it turned out for you. Did you try a twist? Did it make your banana cake better? I’d love to hear.
Banana Cake Filling
This smooth and flavorful banana cake filling pairs perfectly with any layered cakes with filling or banana cream cake. Made with simple ingredients, it delivers a rich texture that enhances your favorite banana dessert recipes. Whether you’re baking the best banana cake or assembling a banana cream dessert, this filling adds that homemade touch. Save it for your next batch of banana recipes dessert or as a go-to banana cream filling for cakes and cupcakes.
Ingredients
- 2 large ripe bananas (spotted, not mushy)
- 1/3 cup granulated sugar
- 2 tablespoons cornstarch
- Pinch of salt
- 1 tablespoon lemon juice
- 1 cup whole milk
- 2 large egg yolks
- 2 tablespoons unsalted butter
- 1 teaspoon vanilla extract
- 1 tablespoon heavy cream (optional)
- 1/4 teaspoon cinnamon or nutmeg (optional)
Instructions
- MASH THE BANANAS: In a medium bowl, mash the bananas until mostly smooth, leaving a few small lumps if desired. Stir in the lemon juice to help preserve the color and set aside.
- MIX DRY INGREDIENTS: In a medium saucepan, whisk together the granulated sugar, cornstarch, and a pinch of salt until evenly combined. This ensures the cornstarch doesn’t clump when you add the liquid.
- ADD WET INGREDIENTS: Gradually whisk in the whole milk until smooth. Add the egg yolks and mashed banana mixture, then stir everything together until fully combined.
- COOK THE MIXTURE: Place the saucepan over medium heat. Stir constantly using a heat-safe spatula or whisk, scraping the bottom and sides of the pan. After about 6 to 8 minutes, the mixture will thicken to a custard-like consistency. Once it bubbles gently and coats the back of a spoon, remove it from the heat.
- FINISH WITH BUTTER AND VANILLA: Immediately stir in the unsalted butter and vanilla extract until fully melted and smooth. If using, add the heavy cream and cinnamon or nutmeg at this stage and mix well.
- COOL DOWN: Pour the filling into a heatproof bowl. Press a piece of plastic wrap directly onto the surface to prevent a skin from forming. Allow it to cool to room temperature, then refrigerate for at least 1 to 2 hours before using in your cake.
Notes
Filling can be made up to 3 days ahead. Store in an airtight container in the refrigerator. Stir gently before using.