
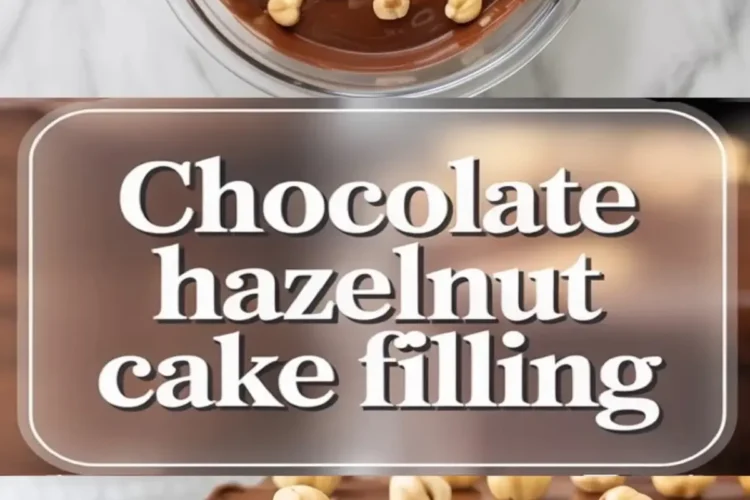
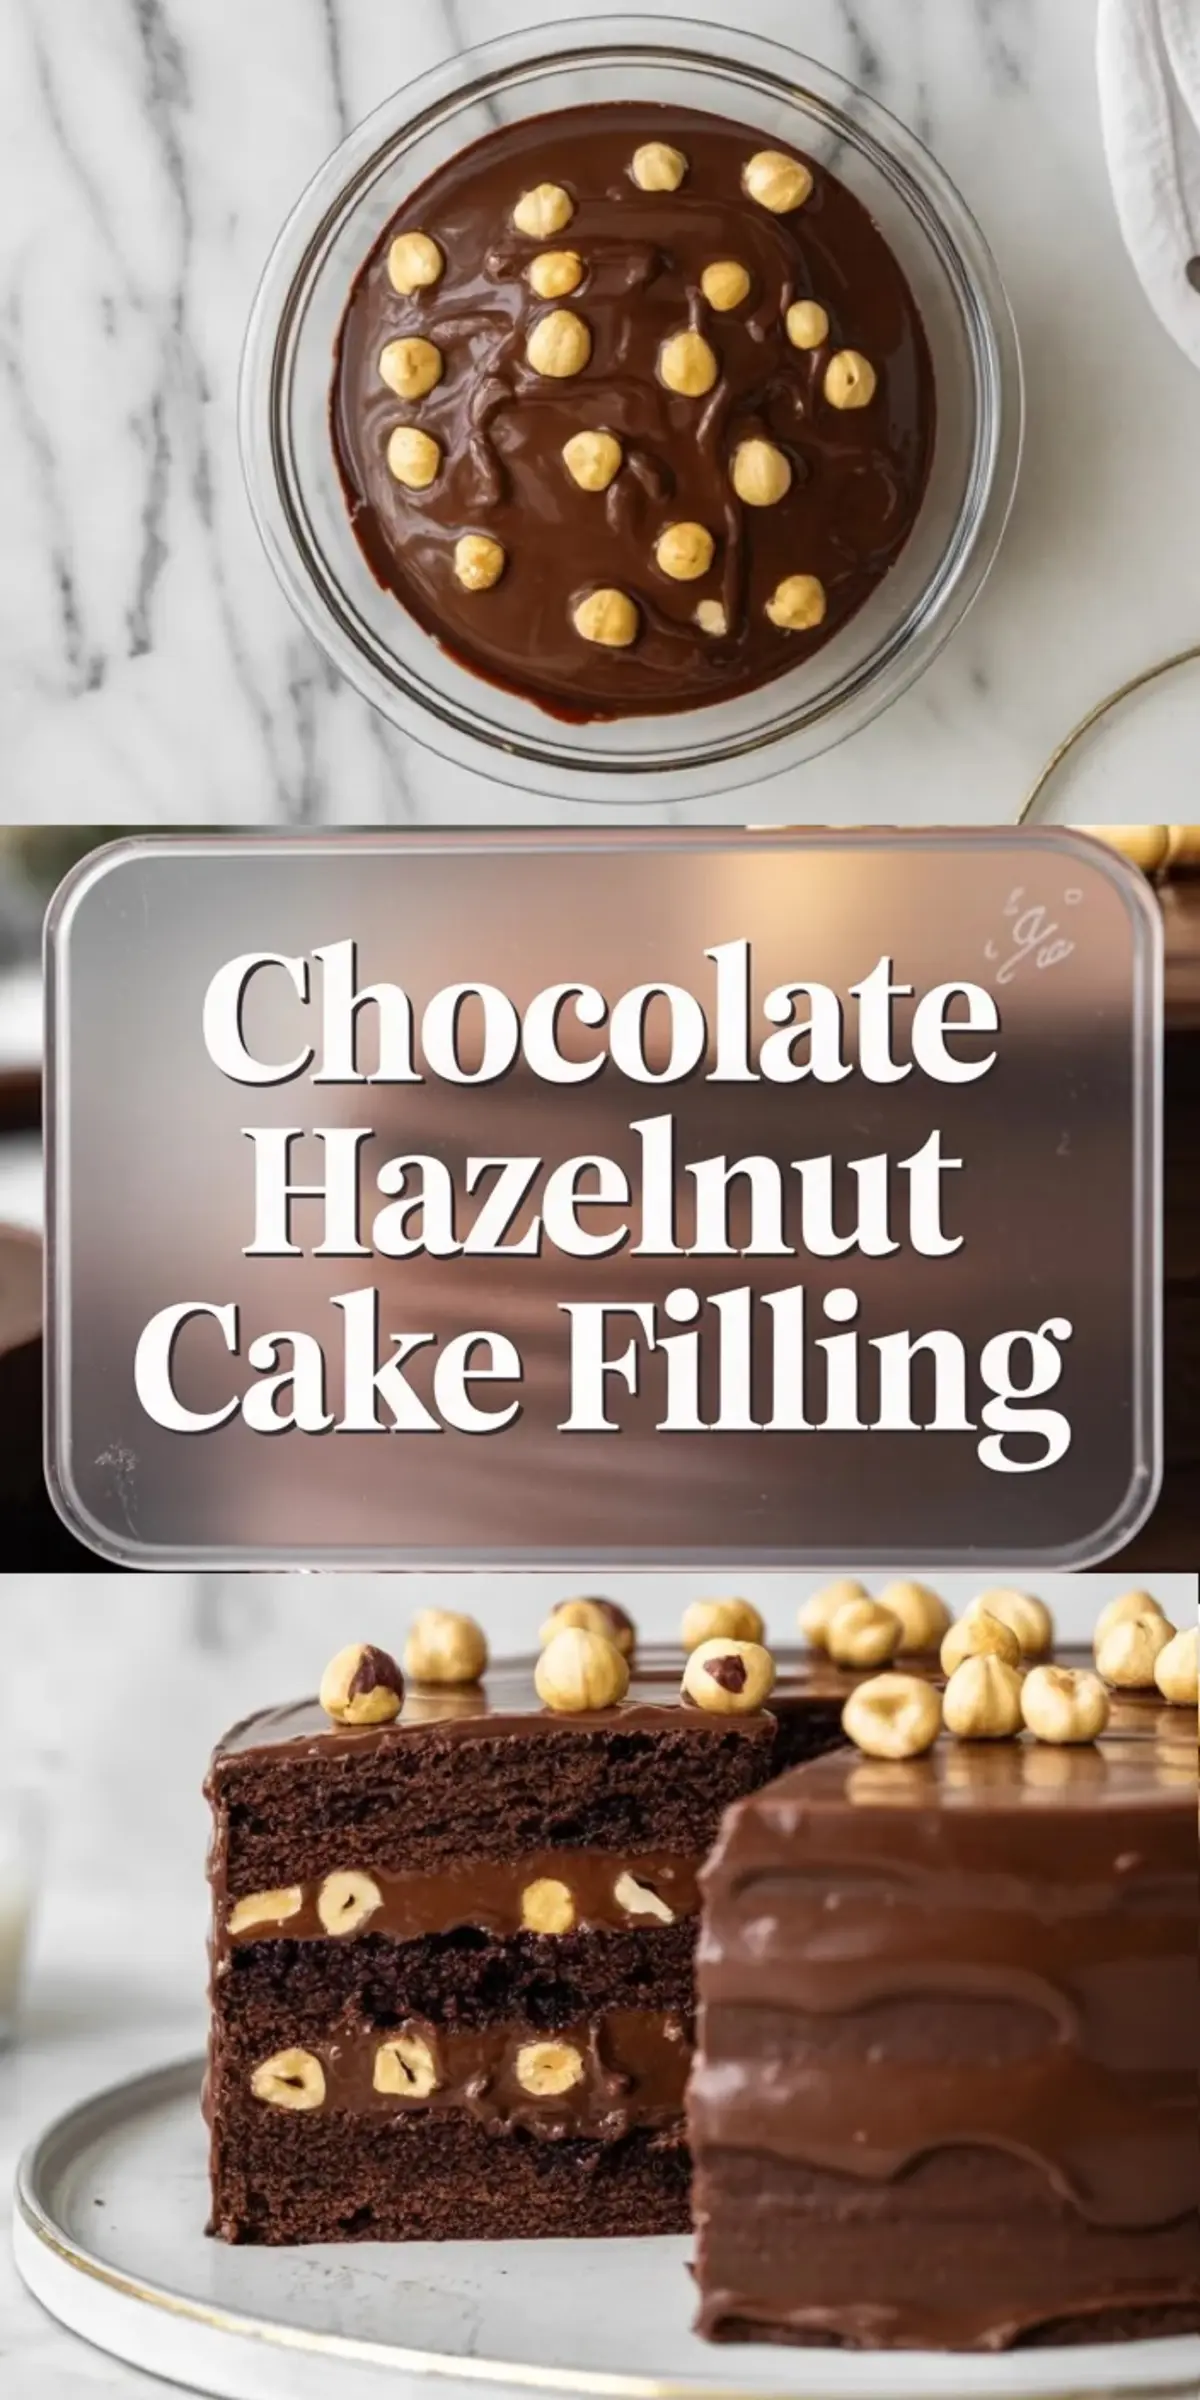
Chocolate hazelnut cake filling is the kind of recipe that can make a basic layer cake feel immediately richer. It gives you the deep flavor of chocolate, the round nuttiness of toasted hazelnuts, and a texture that sits somewhere between ganache and a softer spreadable cream. If you want a filling that feels more substantial than frosting alone, this is a strong one to keep in rotation.
What makes it especially useful is how easily it fits different kinds of cakes. It works between chocolate layers, inside birthday cakes, and in any build where you want a hazelnut filling for cakes that tastes clear and rich without becoming too sweet. The toasted hazelnuts also add a little texture, which keeps the filling from reading as flat or one note.
Following a special diet?
Every recipe on this site can be converted to gluten-free, vegan, dairy-free, keto, nut-free or egg-free with adjusted ratios so nothing falls flat.
Try the Recipe Converter →Why Chocolate and Hazelnut Work So Well Together
Chocolate and hazelnut already have a natural partnership, but this filling works because it keeps both flavors visible. The chocolate gives the filling its body and depth, while the hazelnuts bring warmth and a lightly roasted finish that cuts through the richness. That balance is what makes a chocolate hazelnut cake feel fuller instead of just heavier.
It also gives you more character than a plain Nutella style filling on its own. Toasting the nuts first makes the hazelnut flavor much clearer, and the cream helps carry both flavors through the cake. If you like richer chocolate builds, this filling belongs naturally with recipes like banana pudding poke cake when you want another crowd friendly layer style dessert from a different flavor direction.
Ingredients That Matter Most
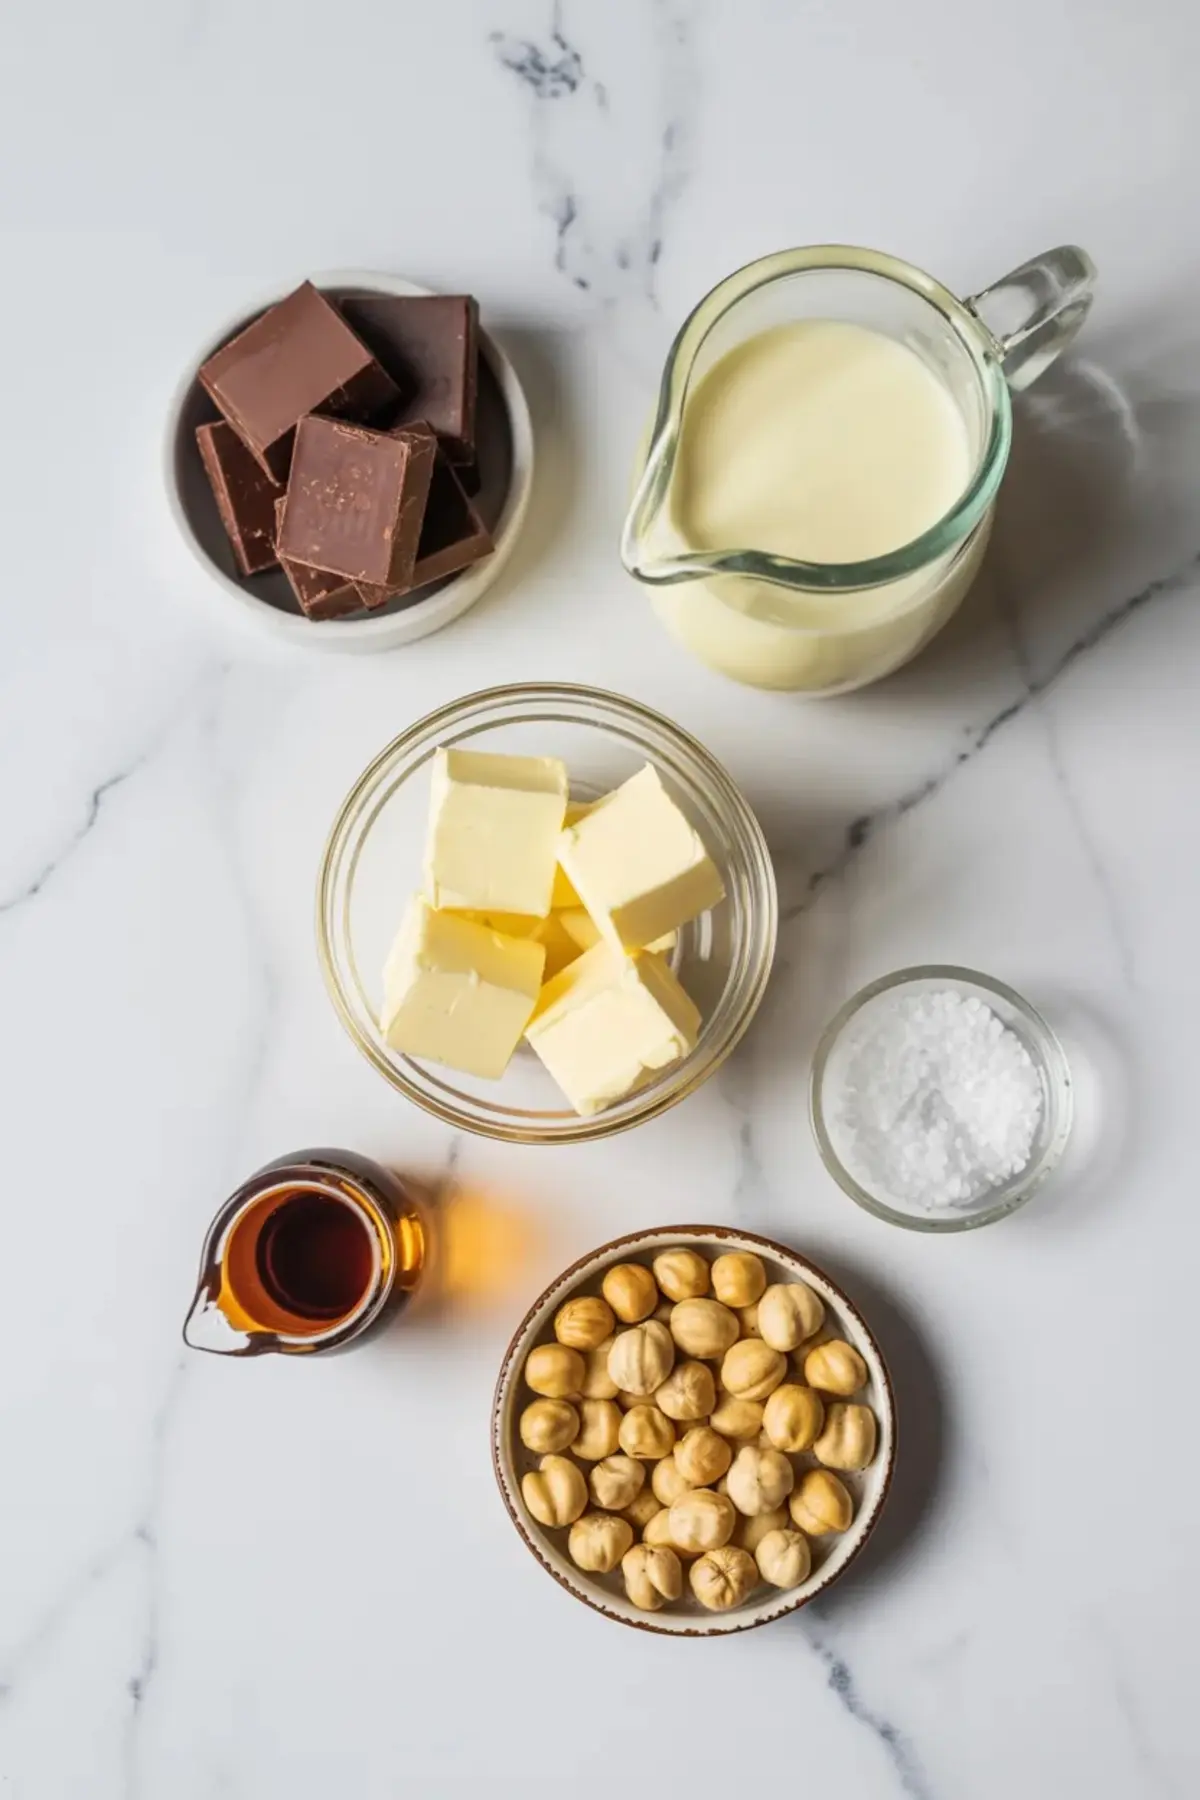
Dark chocolate matters here because it gives the filling structure as well as flavor. A chocolate in the 60 to 70 percent range gives you enough bitterness to balance the sweetness without making the filling too stiff. Heavy cream keeps everything smooth, while butter adds shine and a softer finish once the filling cools.
The hazelnuts do more than add crunch. Once toasted, they deepen the flavor and turn the filling into something that feels more like a proper hazelnut cream filling than a simple chocolate spread. Vanilla and a pinch of salt sharpen the overall flavor. If you like chocolate and nut combinations, chocolate cake cherry pie filling shows another way to build contrast into layer cakes and richer dessert bakes.
How to Build a Smooth Filling
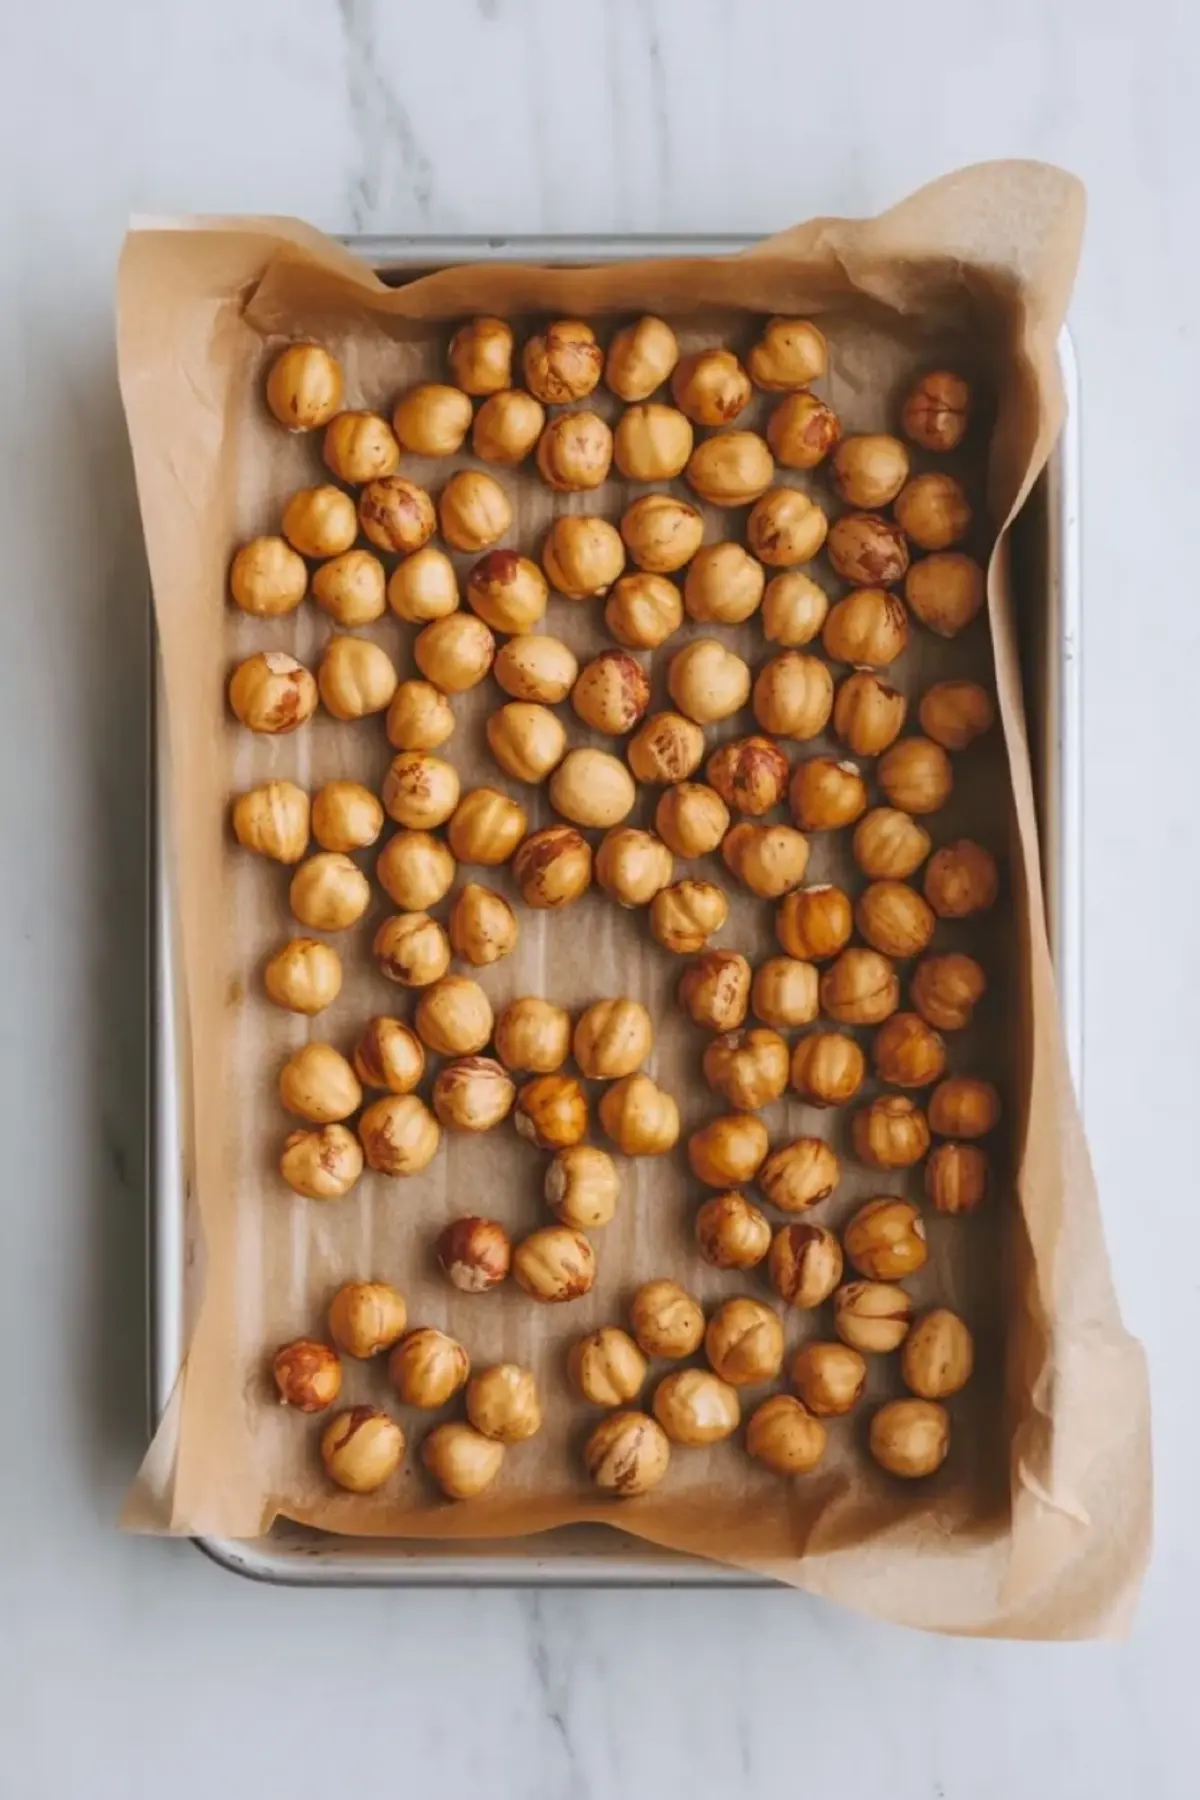
Start with properly toasted hazelnuts, because the nut flavor is much weaker if they go in raw. Once they smell fragrant and the skins loosen, let them cool slightly and rub away the loose skins. They do not need to look perfect, but getting most of that papery skin off helps the final filling taste cleaner.
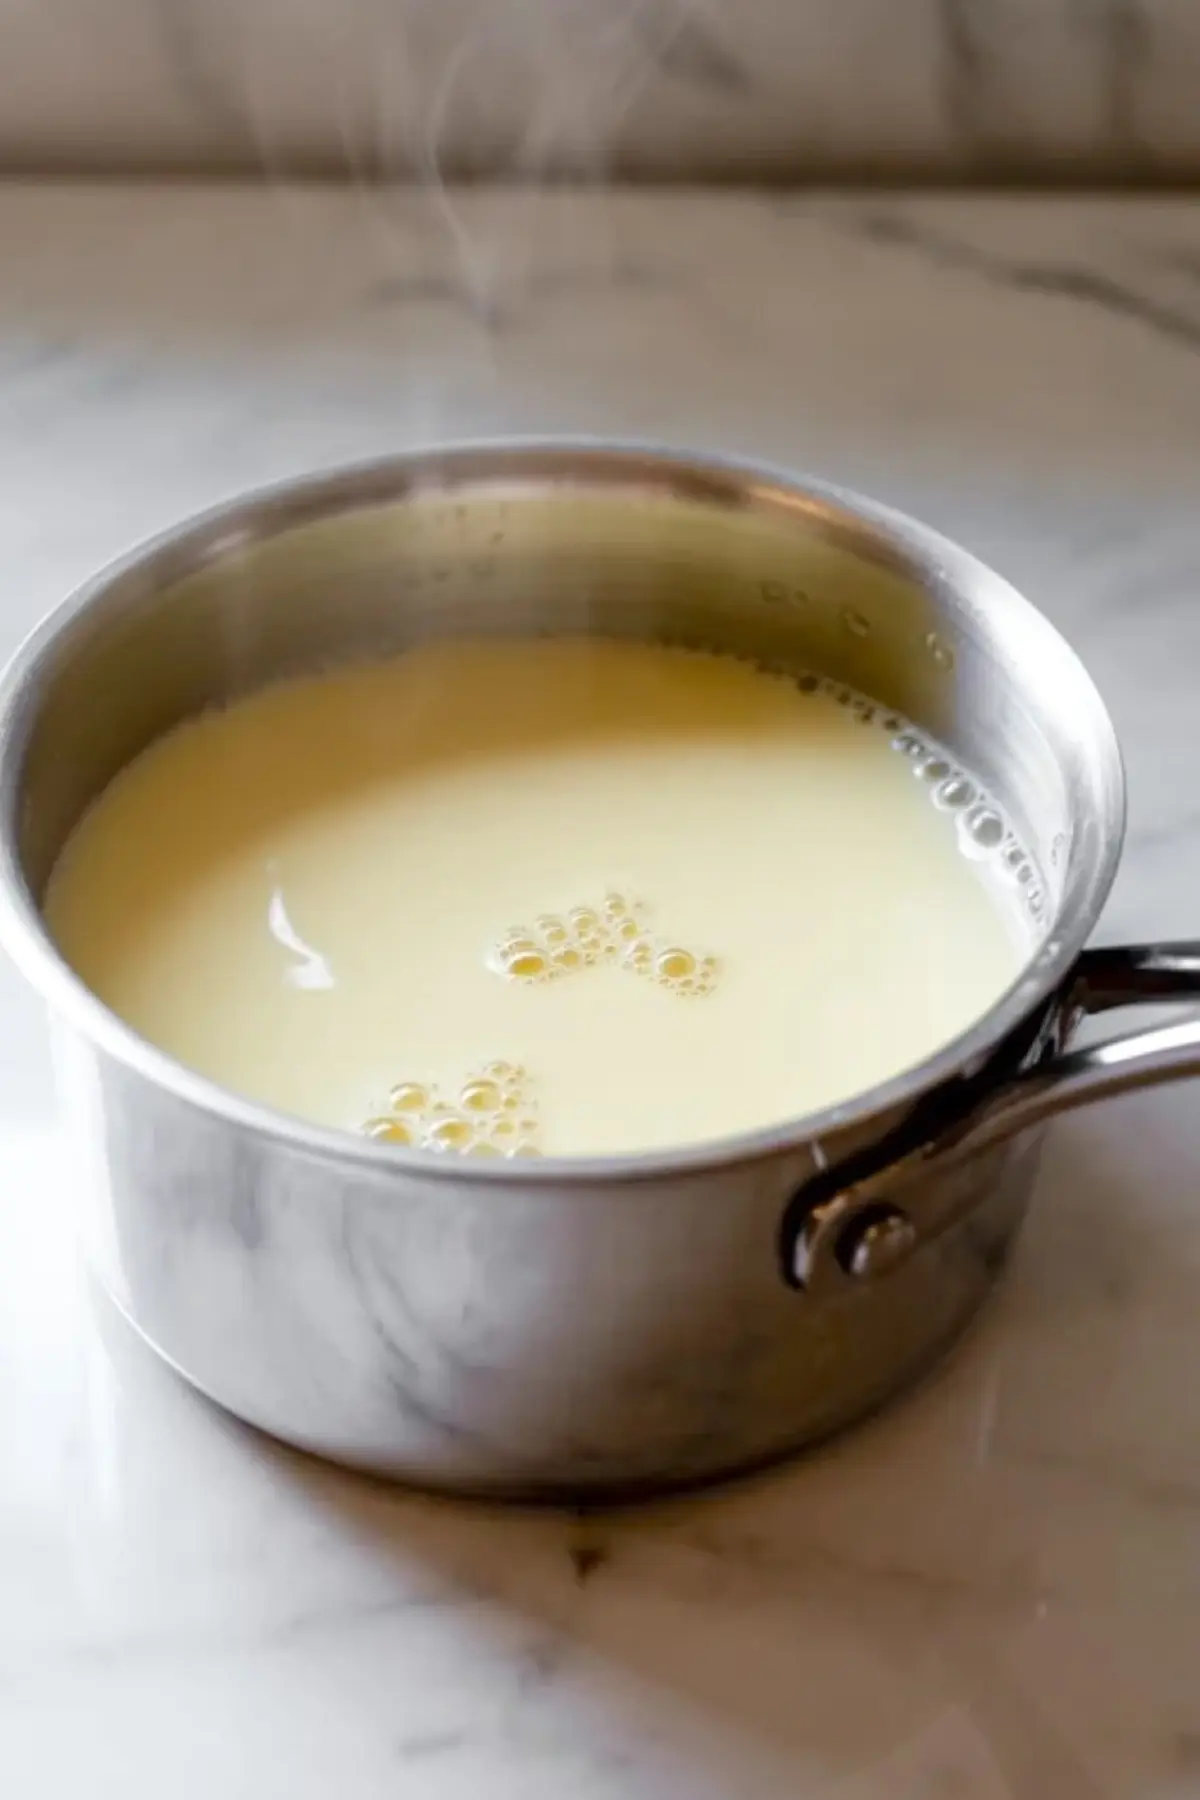
The cream should be heated only until it reaches a gentle simmer. Pouring cream that is too cool over the chocolate will slow the melt and leave small lumps, while cream that boils hard can make the texture less controlled. Let the chocolate sit for a minute before stirring, then mix slowly until the filling turns glossy and even.
Getting the Texture Right for Cake Layers
This filling is most useful when you match the texture to the cake you are building. If you need a softer layer that settles slightly into the crumb, use it closer to room temperature after it has thickened a bit. If you need more structure for a taller layer cake, chill it briefly and stir again before spreading so it firms up without turning stiff.
That small texture adjustment is what makes the recipe flexible. It can act like a soft chocolate hazelnut cream cake layer, a richer Nutella cake filling, or a more textured filling for celebration cakes. Use an offset spatula to spread it evenly so the hazelnuts stay distributed instead of bunching in one part of the cake.
Serving and Storage Tips
Because the filling is rich, it works best with cakes that have a tender but sturdy crumb. Chocolate sponge, vanilla cake, and hazelnut flavored cakes all handle it well. If you are building a layered birthday cake or a more decadent chocolate dessert, this filling gives you a cleaner and more polished middle layer than plain frosting alone.
Store leftover filling covered in the refrigerator and let it soften slightly before using again. A short stir will bring it back to a spreadable texture. Save this chocolate hazelnut cake filling recipe when you want a hazelnut cake filling that feels rich, reliable, and good enough for your best layer cakes.
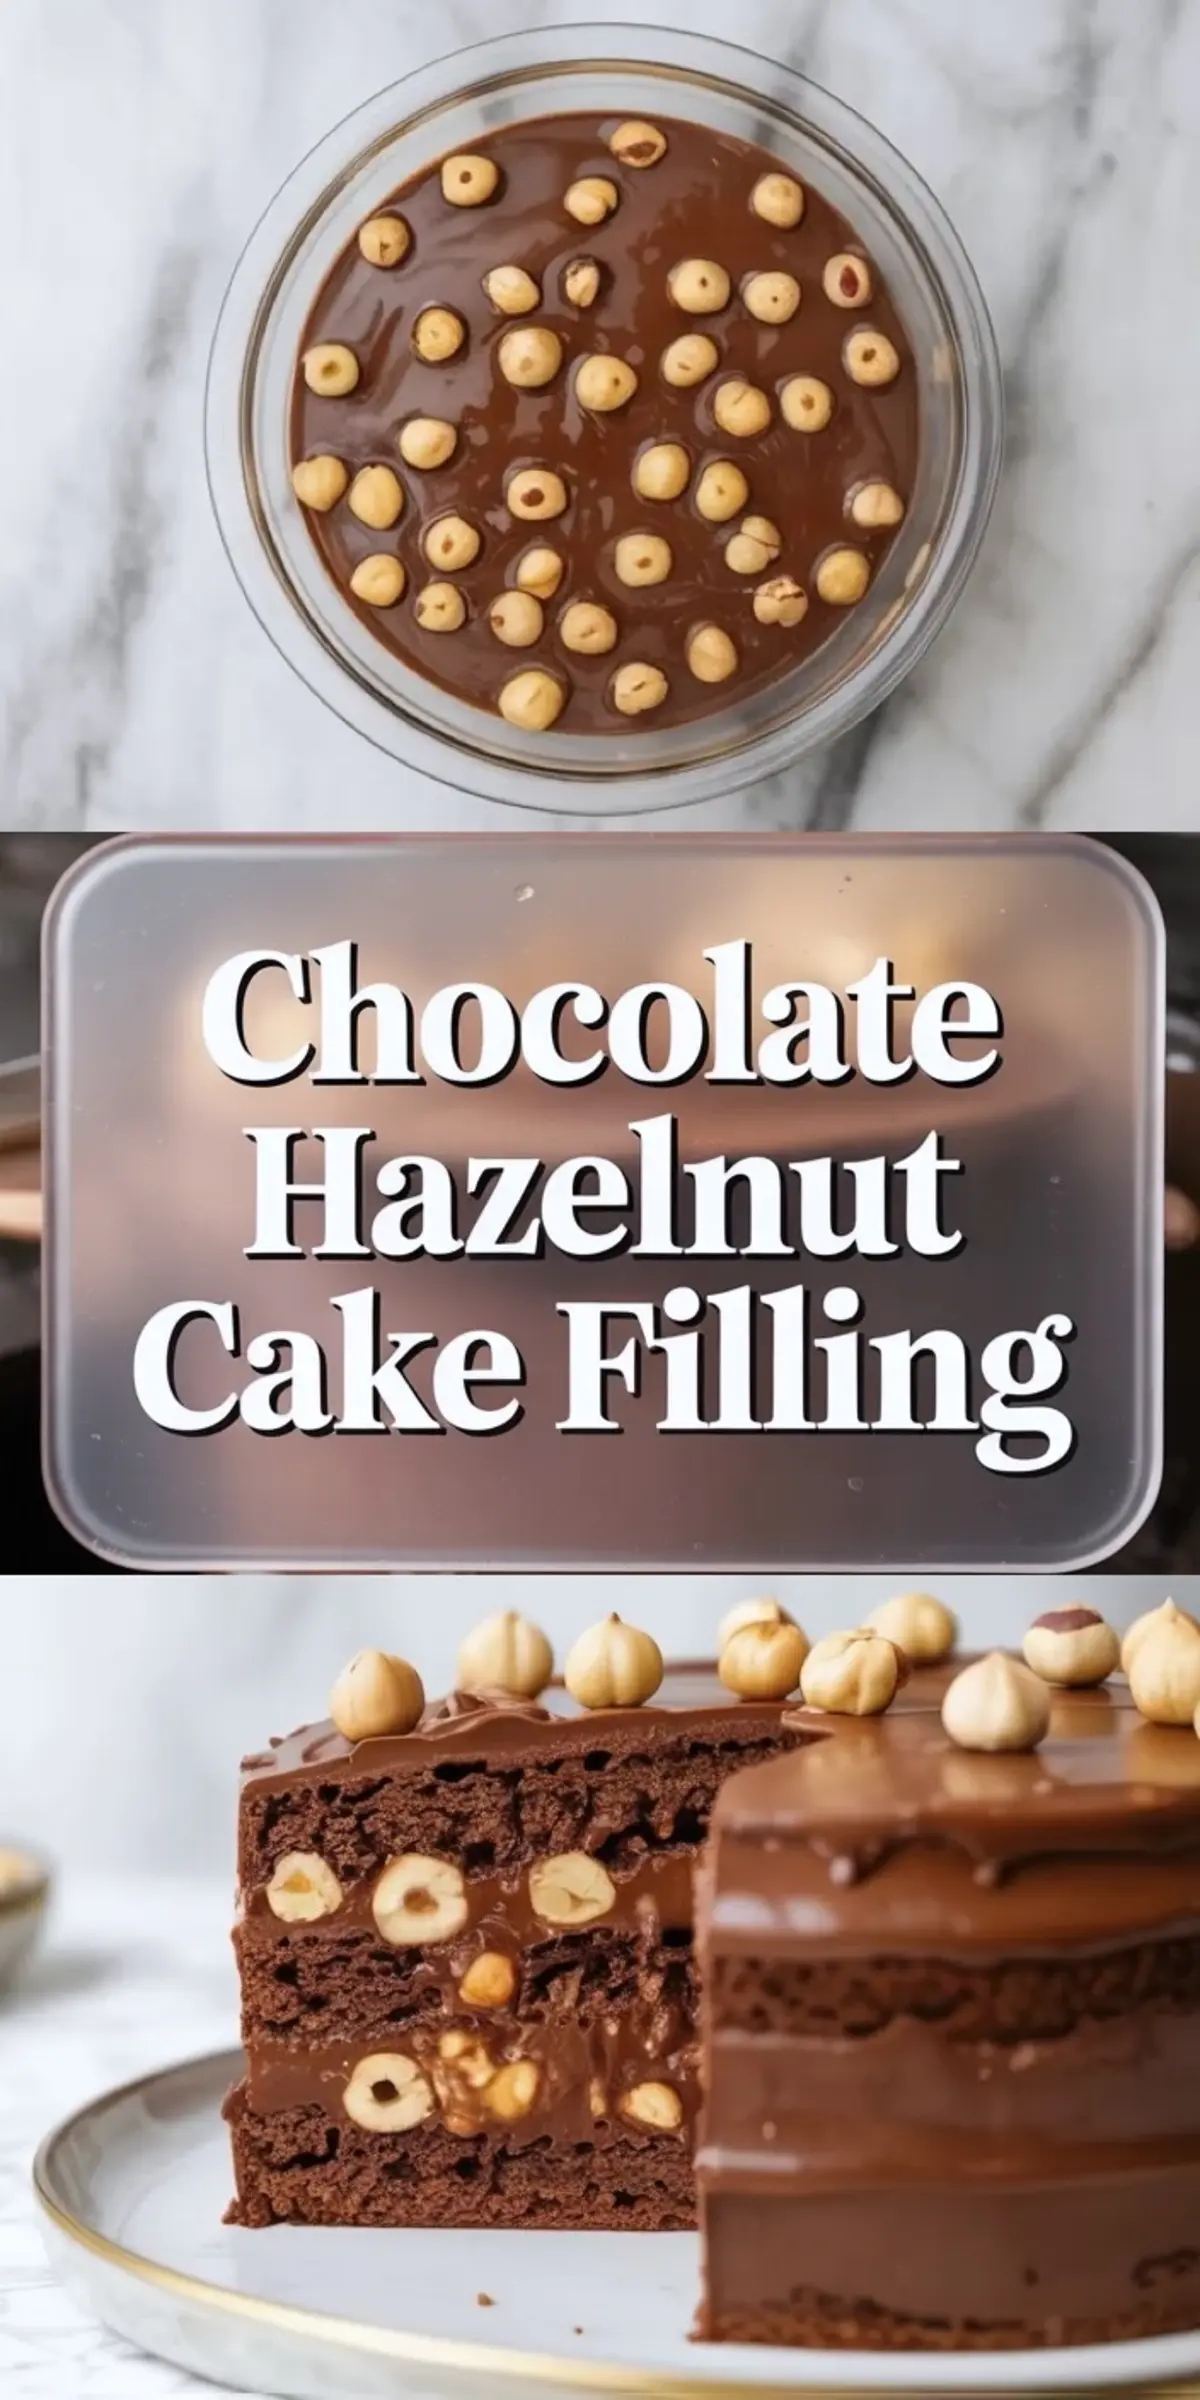
Chocolate Hazelnut Cake Filling
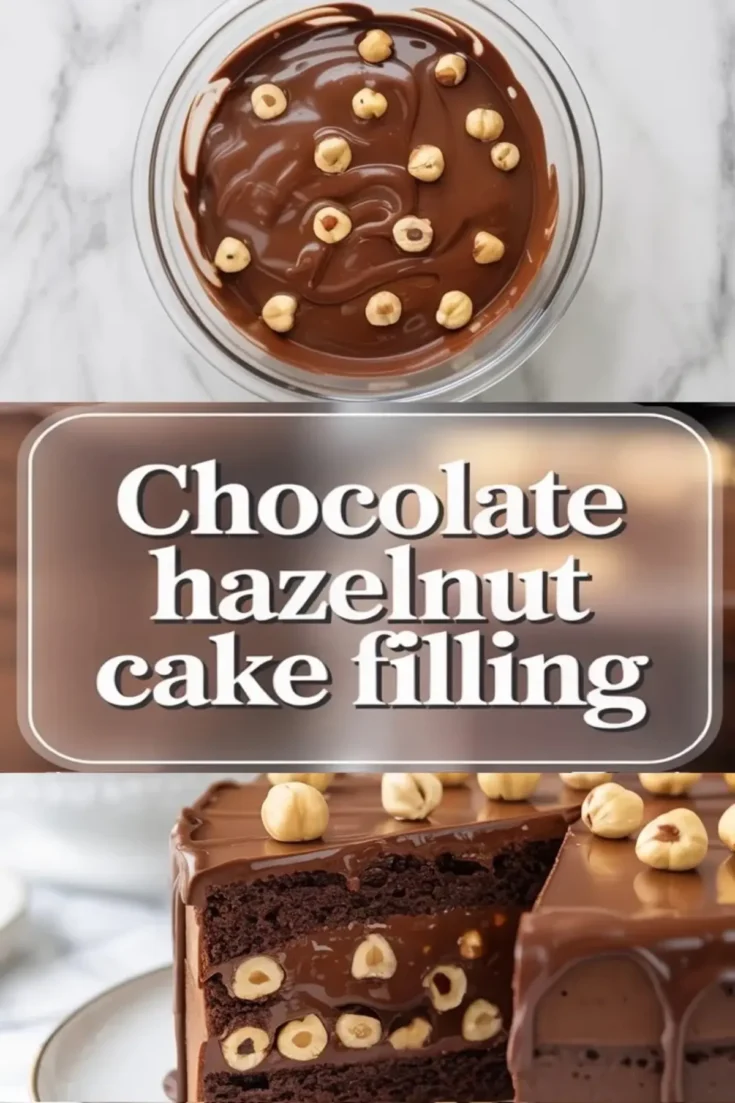
Save this chocolate hazelnut cake filling when you want a rich layer that feels more special than plain ganache or buttercream. It blends melted chocolate, cream, butter, and toasted hazelnuts into a smooth filling with deep chocolate flavor and a clear nutty finish. The texture stays spreadable enough for layer cakes while still thick enough to hold between chocolate or vanilla sponge layers. Use it as a hazelnut filling for cakes, a softer Nutella style middle layer, or the rich center in a chocolate hazelnut cake for birthdays and celebration bakes. If you want a filling that tastes balanced, glossy, and reliable, this one is worth keeping close.
Ingredients
- 200 g (7 oz) dark chocolate (60–70% cocoa), chopped
- 150 ml (2/3 cup) heavy cream
- 2 tablespoons unsalted butter
- 3 tablespoons powdered sugar, adjust to taste
- 1 teaspoon vanilla extract
- 100 g (3/4 cup) toasted hazelnuts, whole or roughly chopped
- Pinch of salt
Instructions
STEP 1: TOAST THE HAZELNUTS: Preheat oven to 180°C (350°F). Spread hazelnuts evenly on a baking tray and toast for 8–10 minutes until fragrant. Cool slightly, then rub in a clean towel to remove loose skins. Set aside.
STEP 2: HEAT THE CREAM: Pour heavy cream into a small saucepan and heat over medium heat until it begins to gently simmer. Remove from heat before boiling.
STEP 3: MELT THE CHOCOLATE: Place chopped chocolate in a heatproof bowl. Pour hot cream over the chocolate and let sit for 1–2 minutes to soften. Stir slowly until the mixture becomes smooth and fully melted.
STEP 4: ADD BUTTER AND FLAVOR: Add butter, powdered sugar, vanilla extract, and a pinch of salt. Stir until the mixture becomes glossy and evenly combined.
STEP 5: FOLD IN HAZELNUTS: Add toasted hazelnuts and gently fold them into the chocolate mixture to distribute evenly.
STEP 6: COOL TO DESIRED CONSISTENCY: Let the filling rest at room temperature until slightly thickened for spreading. For a firmer texture, refrigerate for 20–30 minutes, stirring occasionally to maintain smoothness.
STEP 7: ASSEMBLE THE CAKE: Spread the filling evenly between cake layers using an offset spatula. Use immediately for a soft texture or chilled for a thicker, more structured layer.
Notes
Use high-quality chocolate for the best flavor and texture.
Stir gently to avoid incorporating air bubbles into the filling.
Store leftovers in an airtight container in the refrigerator for up to 5 days and rewarm slightly before use for easier spreading.
Nutrition Information
Yield
12Serving Size
1Amount Per Serving Calories 187Total Fat 13gSaturated Fat 5.2gUnsaturated Fat 8.1gCholesterol 9.1mgSodium 4.9mgCarbohydrates 15gFiber 1.9gSugar 12gProtein 2.2g
