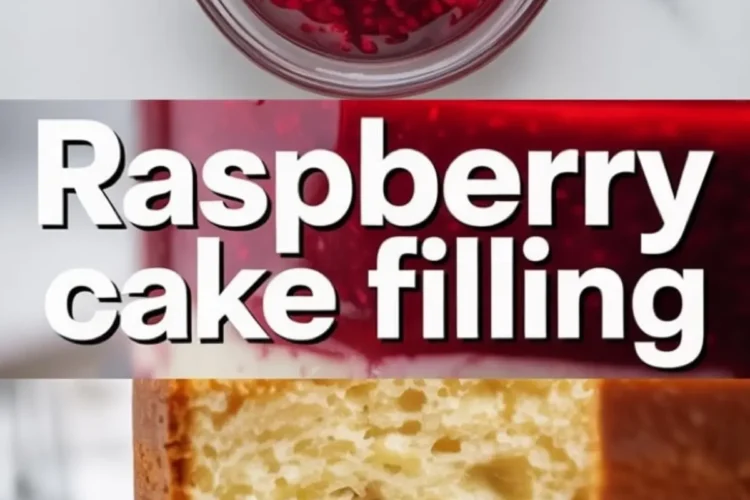
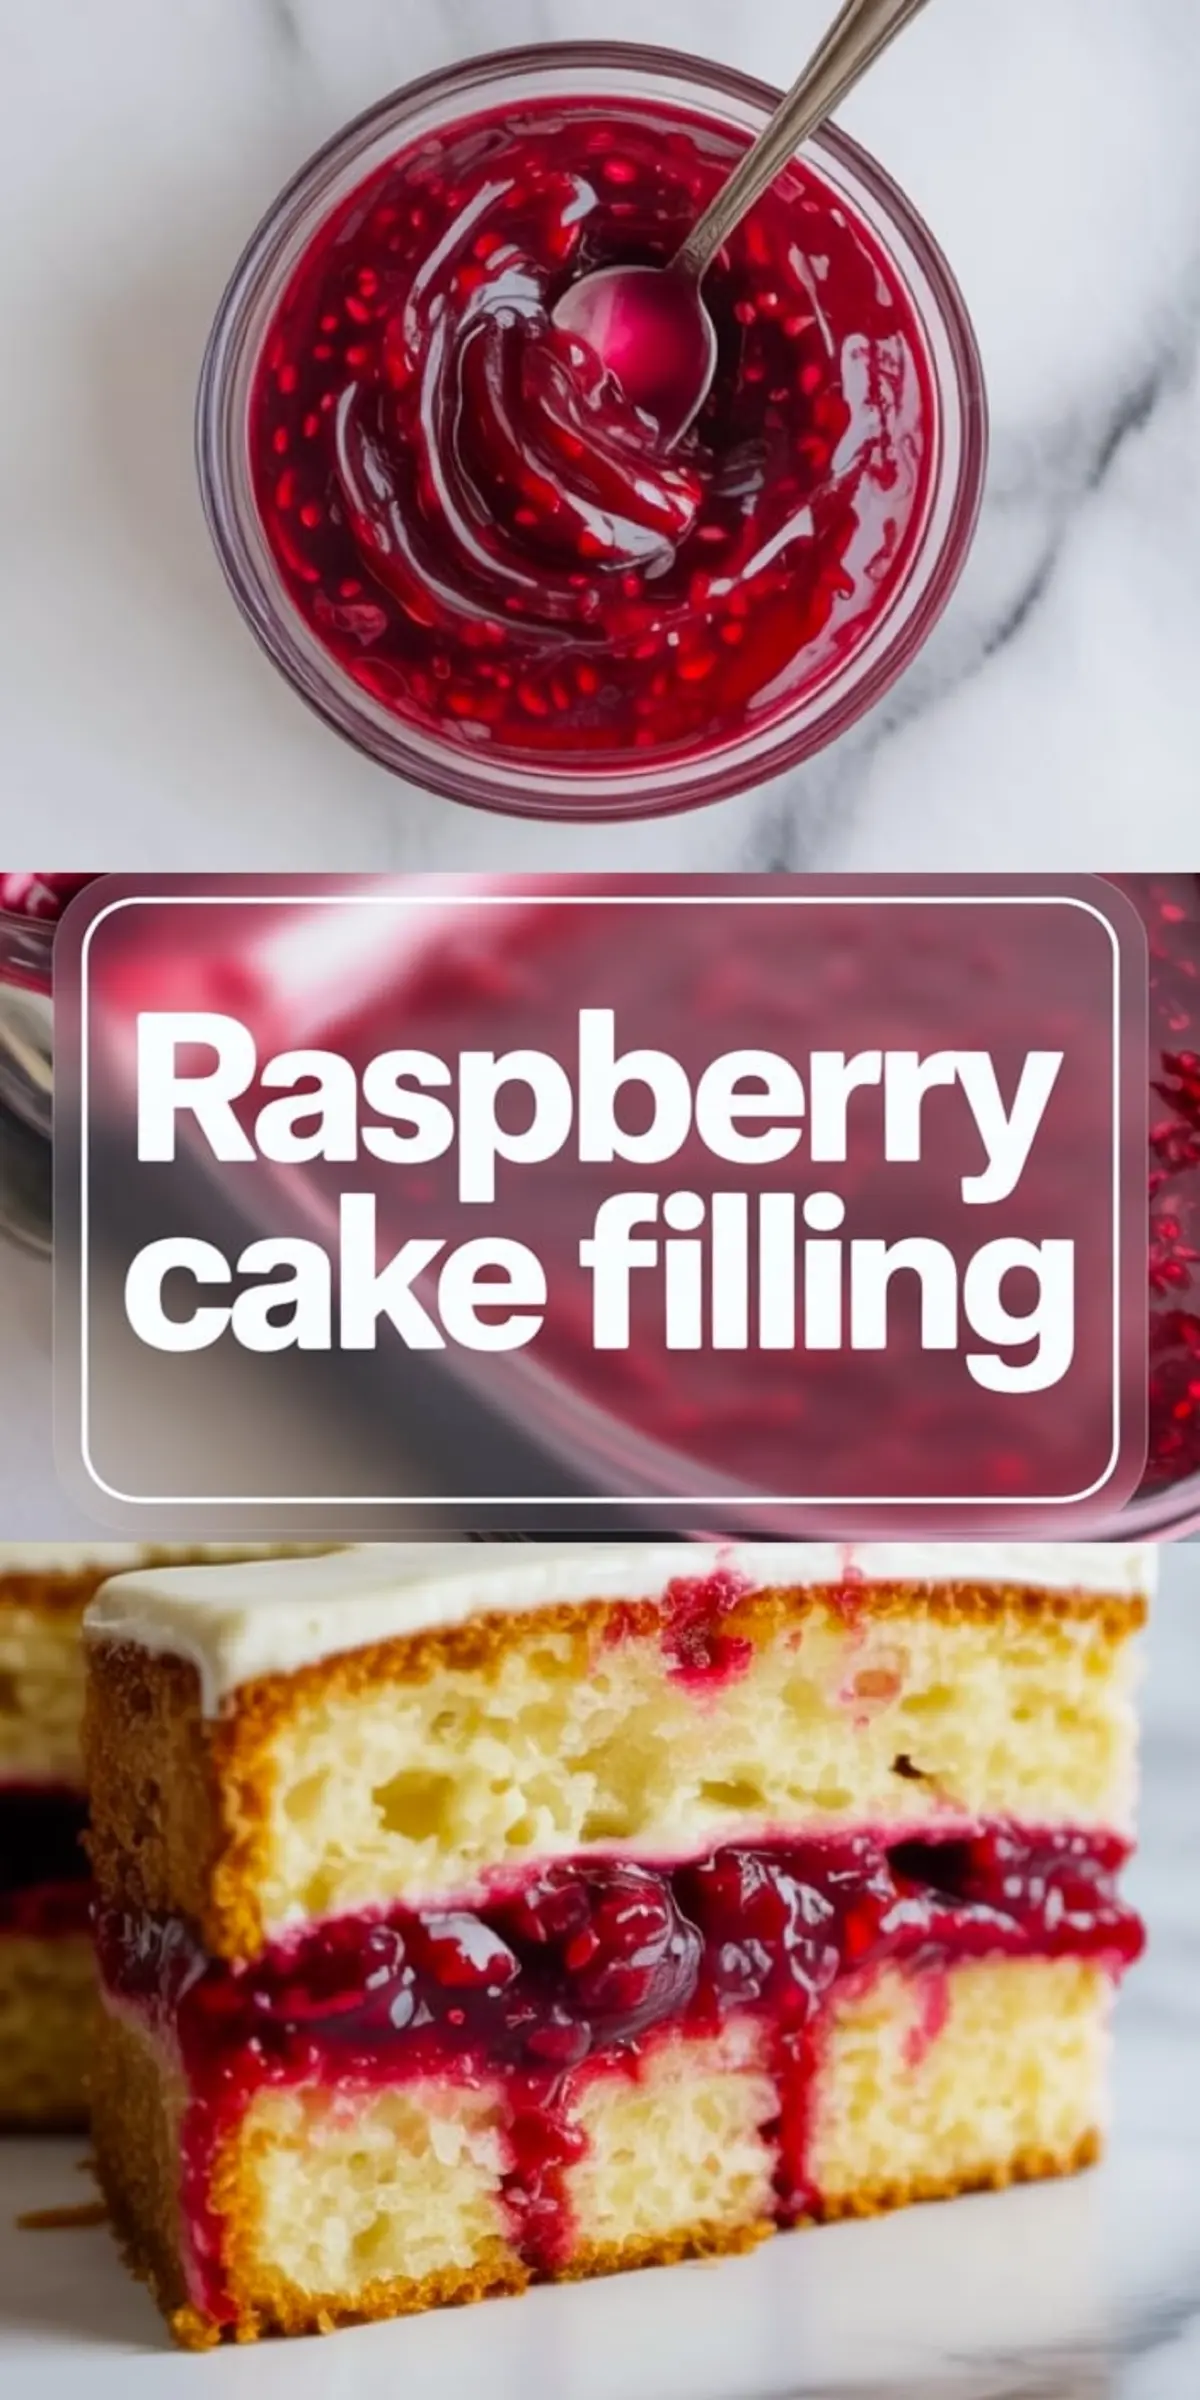
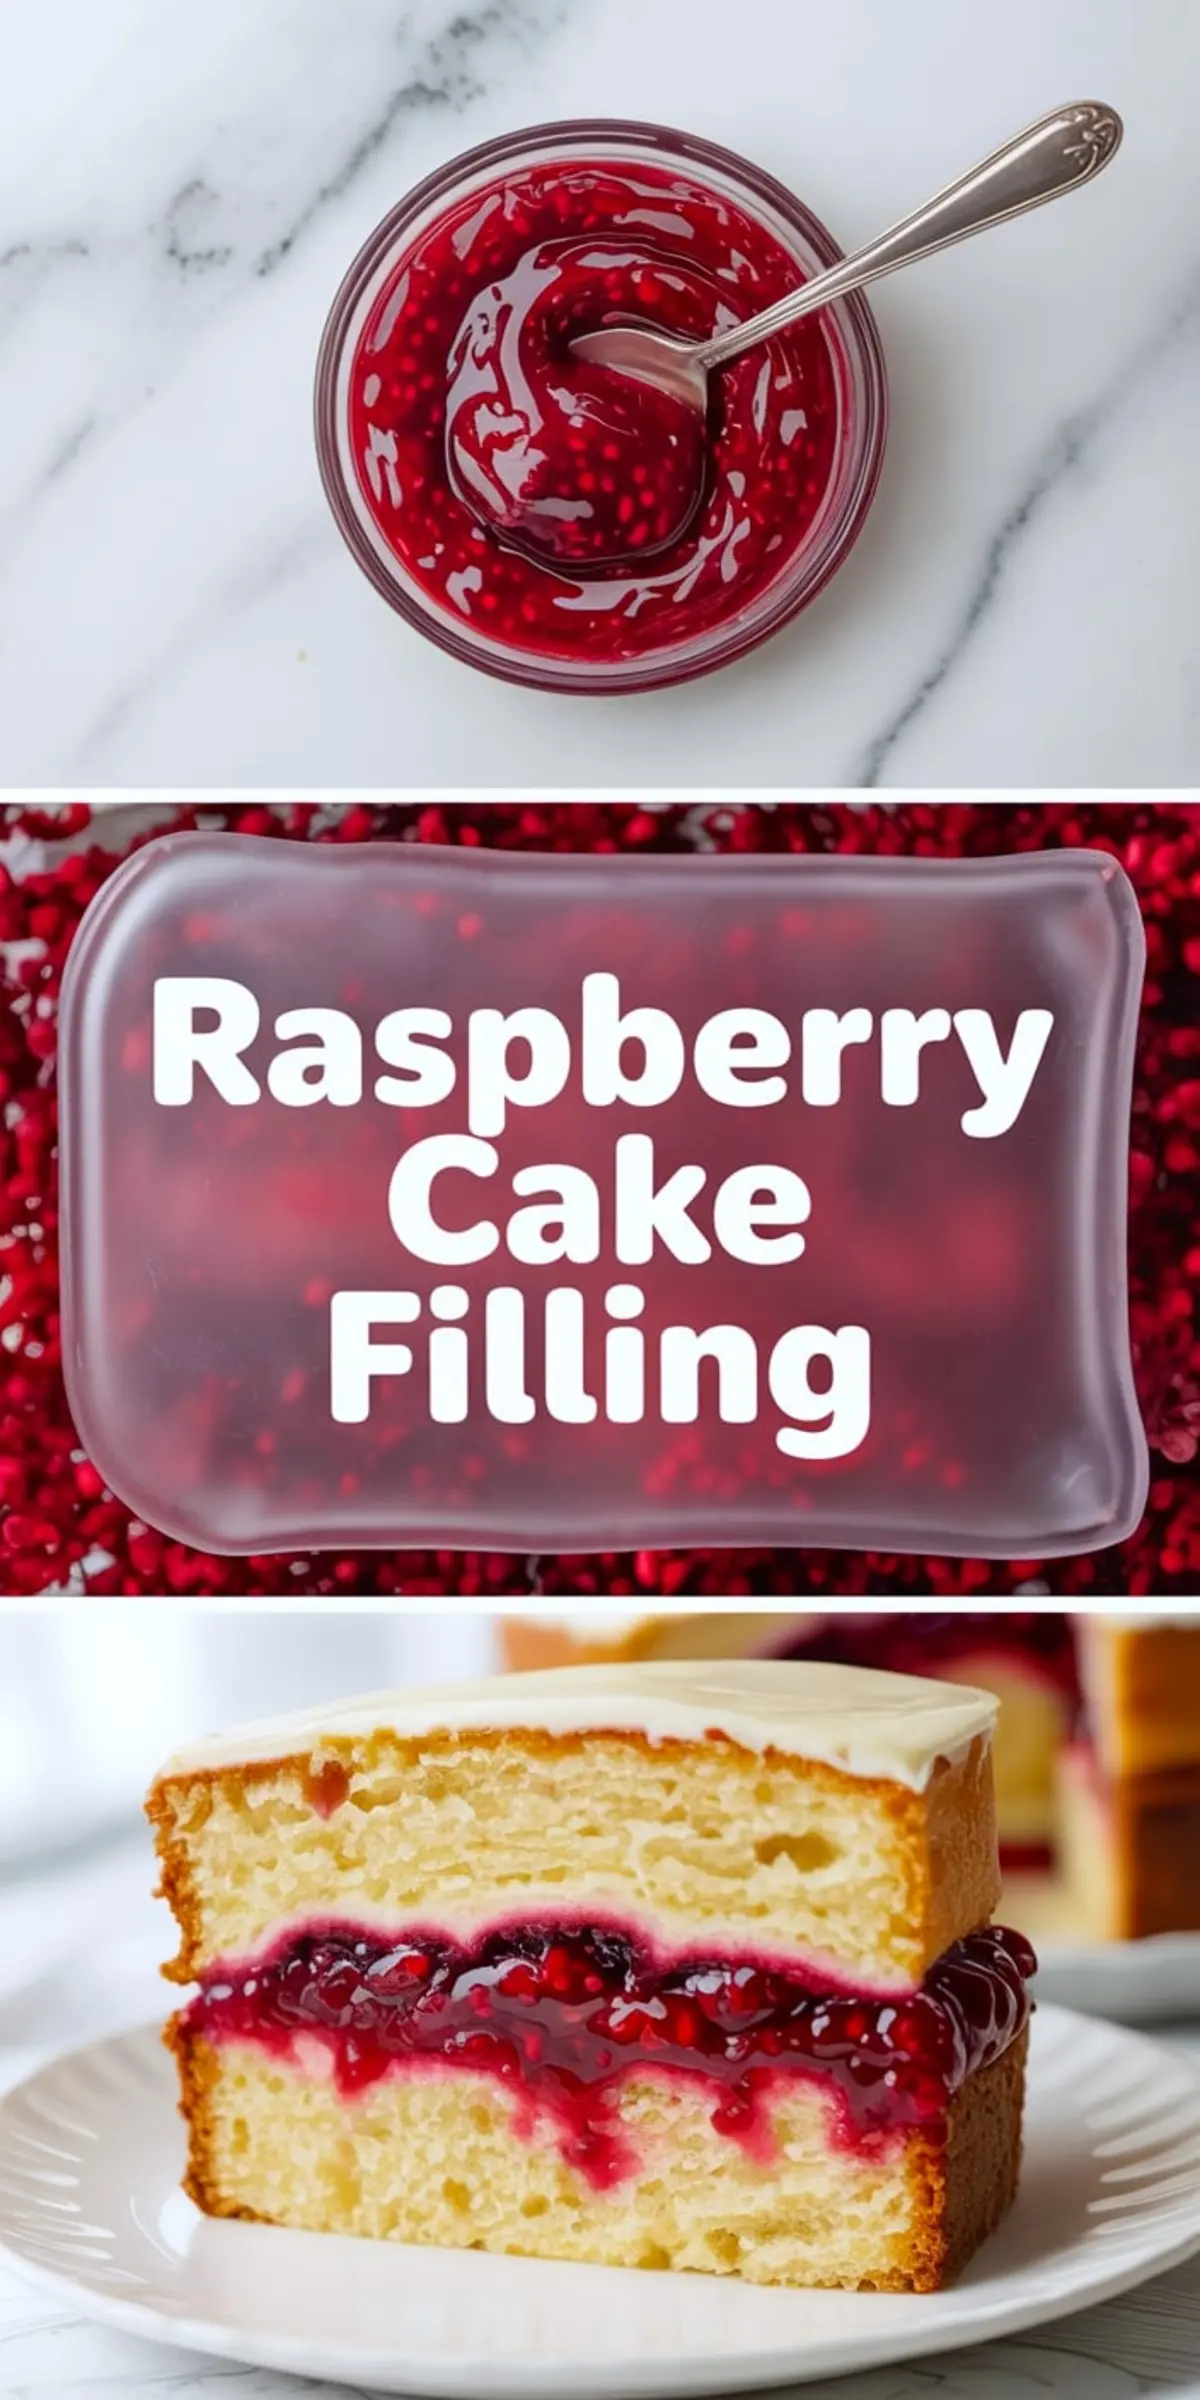
This raspberry cake filling recipe uses real raspberries, lemon juice, and a simple cornstarch slurry to create a smooth, tart, fruit-filled layer for cakes and cupcakes. It’s ideal for birthday cake recipes, raspberry filled cake layers, or any cake with fruit filling. The texture sets beautifully once chilled, and the flavor pairs especially well with white chocolate cake or soft vanilla layers. For anyone searching how to make raspberry filling from scratch or looking for a reliable raspberry cake filling recipe that’s quick, this one gets it done in 15 minutes flat.
The balance of acidity, sweetness, and fruit depth comes from the combination of lemon juice, granulated sugar, and raspberry juice reduced just enough to intensify its flavor.
The mixture simmers long enough for the fruit to break down without becoming overly thick or gummy.
Then, the cornstarch slurry finishes the job. I’ve tested flour, gelatin, and pectin in the past, but cornstarch gives the cleanest flavor and a texture that sits well between layers.
Once chilled, the filling thickens enough to hold in a cake ring but still spreads smoothly with an offset spatula.
What You Need for the Right Texture and Flavor
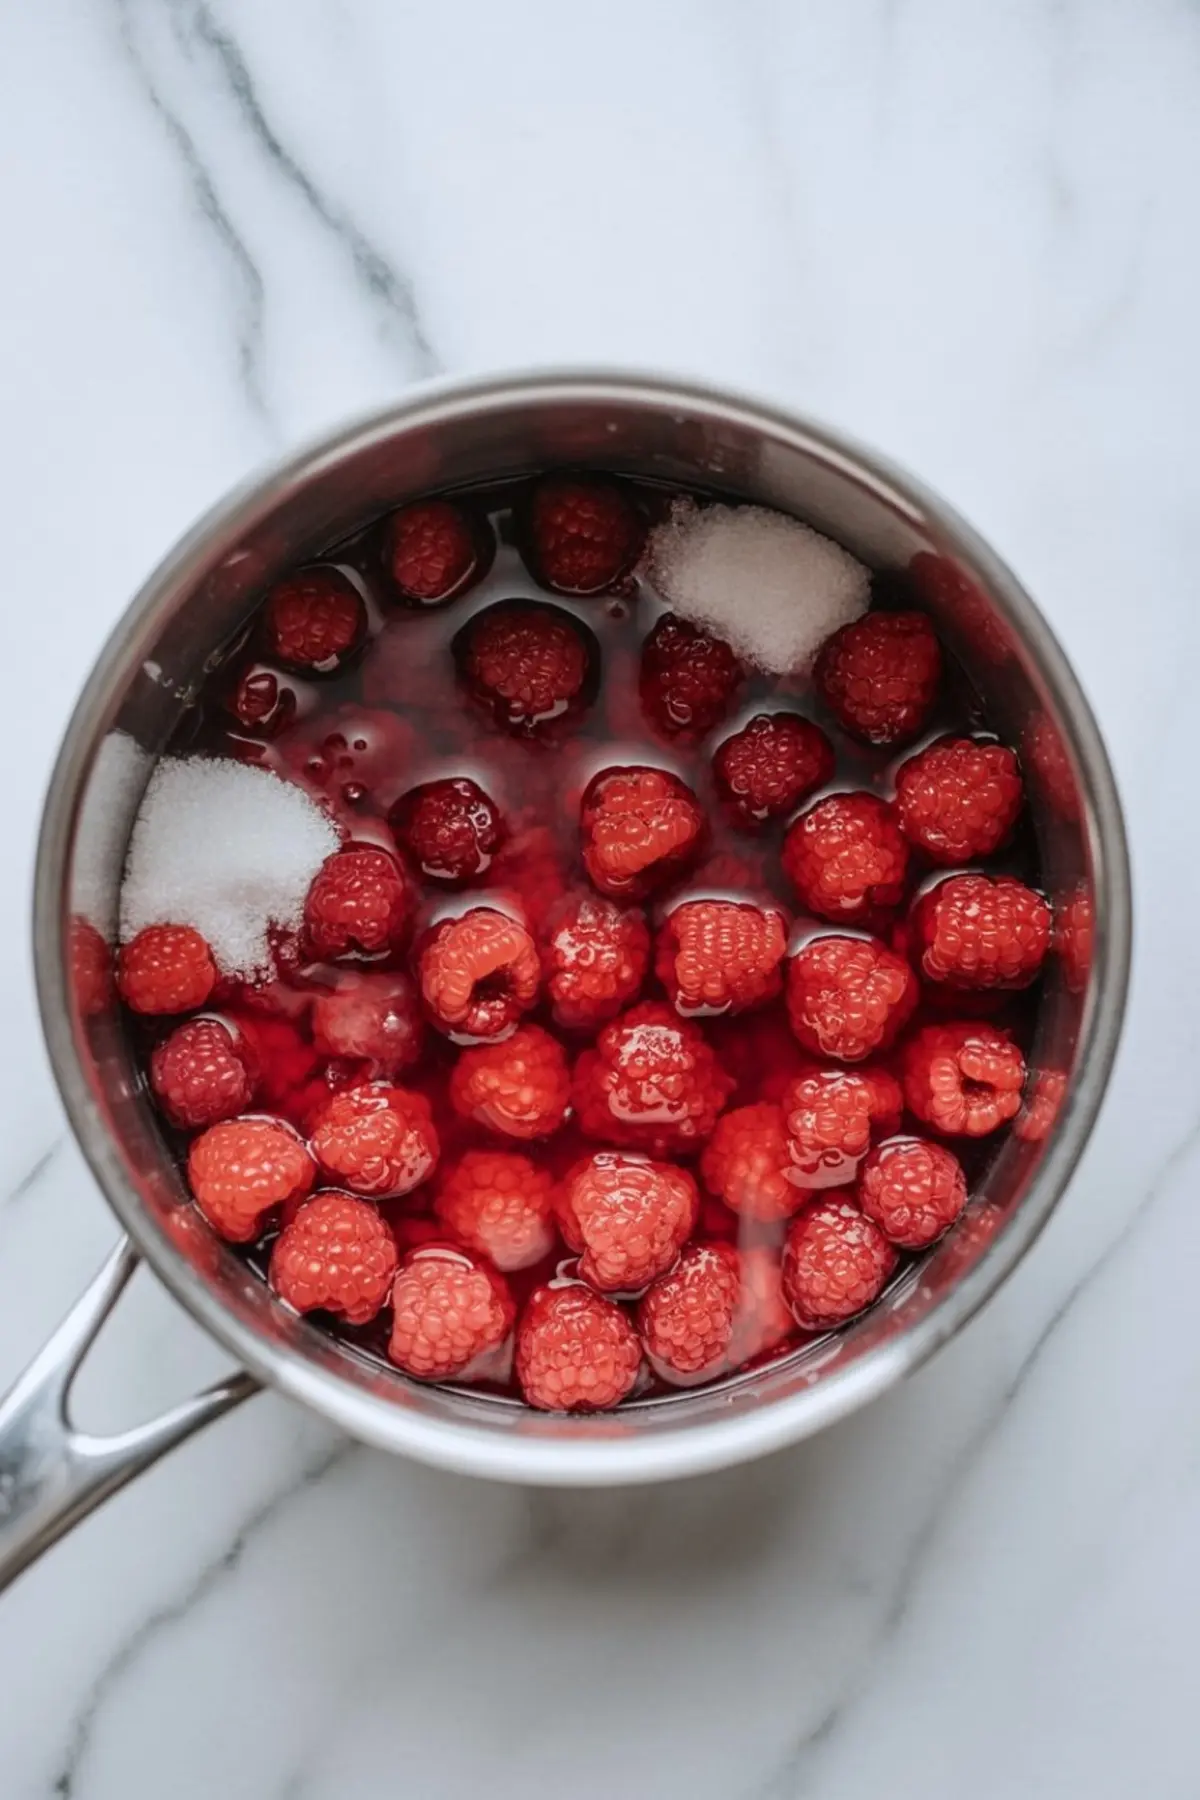
Raspberries form the core of this recipe. Fresh or frozen both work well. Frozen berries release liquid faster, which helps reduce cooking time slightly. I use frozen in winter and fresh during peak season.
Granulated sugar sweetens and also helps break down the raspberries as they heat. I stick with ½ cup to allow the natural tartness of the berries to stay present. If your raspberries are especially sour, you can increase the sugar to ¾ cup.
Lemon juice sharpens the fruit notes. I use freshly squeezed, always. Bottled juice tends to taste flat.
Cornstarch creates the glossy finish and structure. Two tablespoons mixed into cold water gives just the right hold. It’s important the water is cold before whisking or the mixture clumps.
A pinch of salt rounds everything. It may seem like a small amount, but without it, the filling tastes unfinished.
Vanilla extract is optional. I usually add it if pairing this with chocolate cake layers, but skip it when I want the raspberry to shine cleanly in a lemon raspberry cake like this one.
Spotlight on the Raspberry Base
The raspberries should break down into a thick, juicy mixture before the slurry is added.
You’ll notice the skins separating slightly from the pulp. That’s when you know you’re close.
I don’t add water upfront because the fruit brings its own. Watering it down early thins the flavor. Instead, I let the berries release and concentrate.
For those who want a seedless raspberry cake filling, push the hot mixture through a fine mesh sieve. Use a silicone spatula and be patient. That step takes an extra minute or two but gives you a smooth, elegant finish, especially helpful in white layer cakes like this lemon cream cheese cake filling.
Cooking the Filling: Step by Step Details
Start with medium heat and stir constantly during the first 5 minutes.
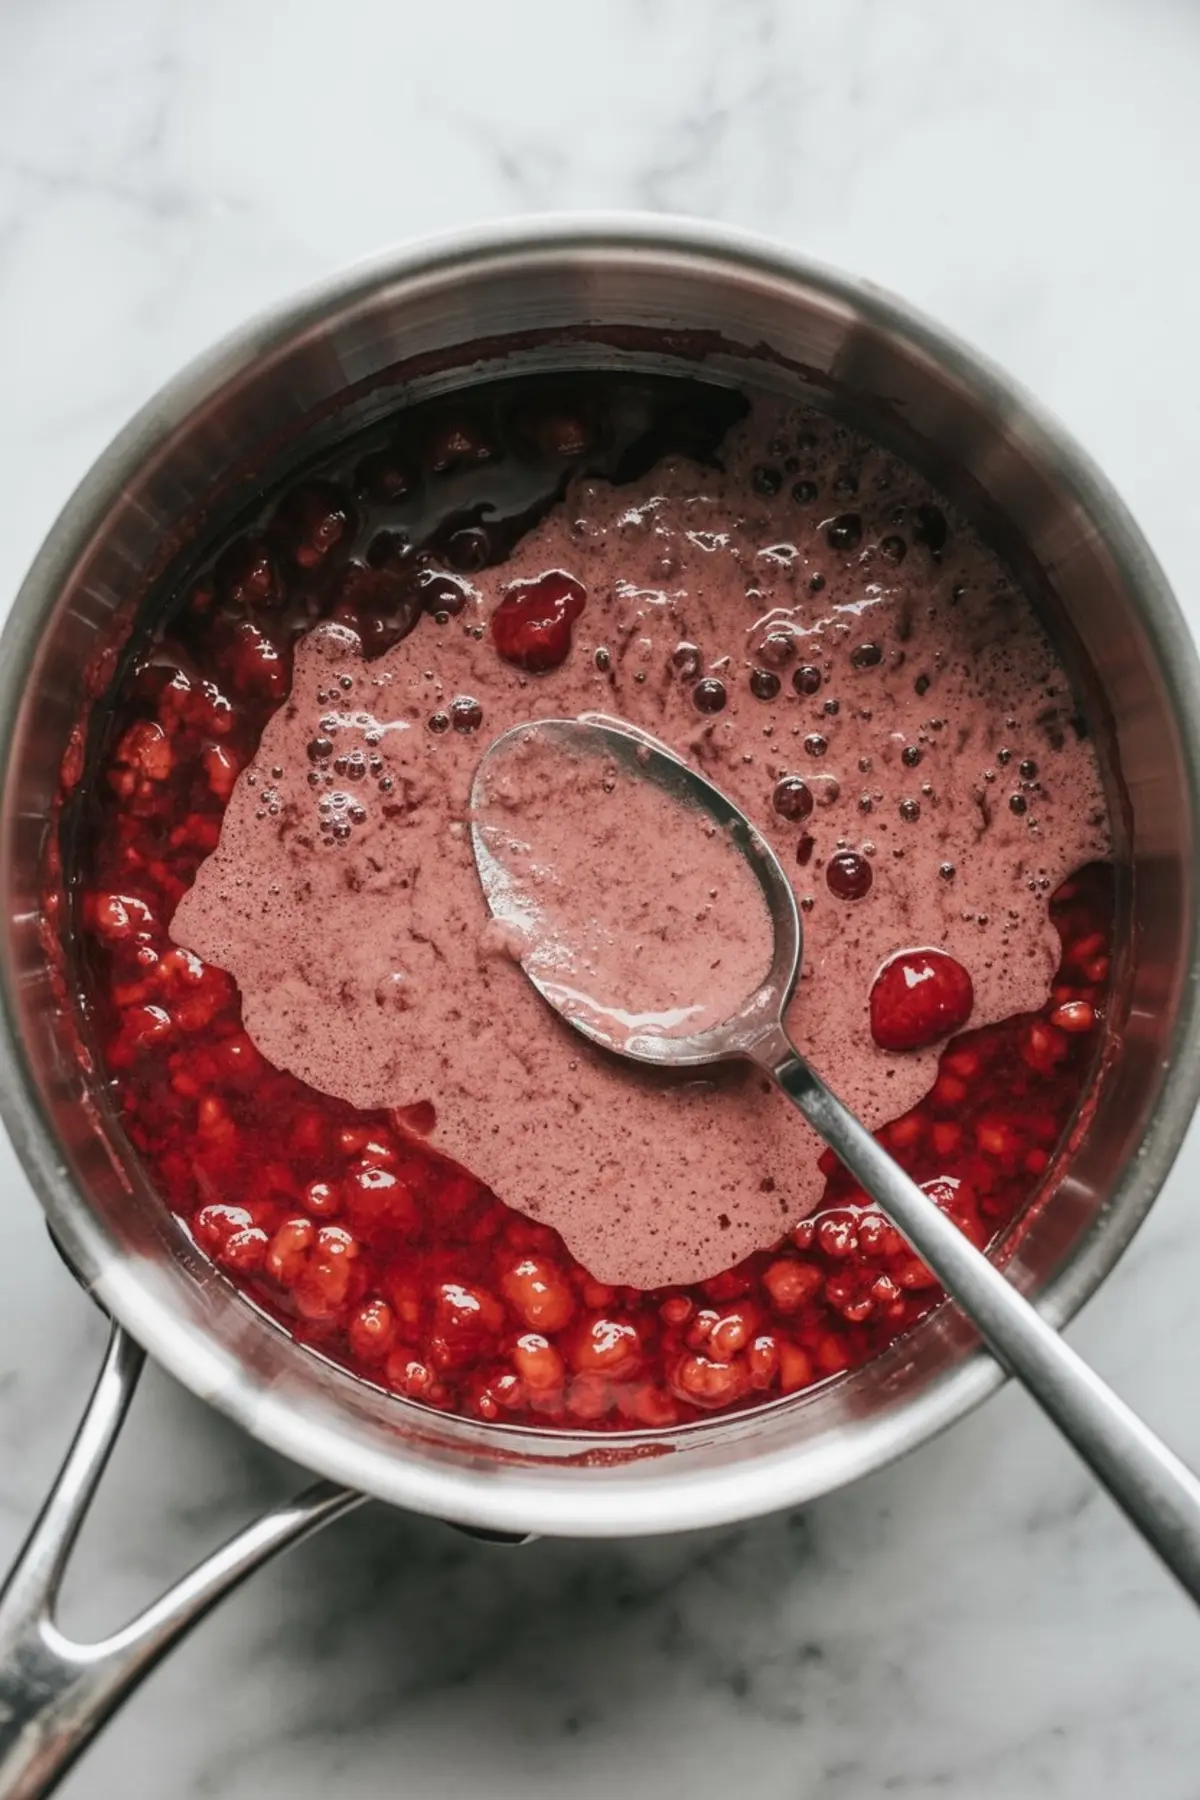
You want the raspberries to release liquid and begin breaking down, but not boil yet. Once they look like a thick jam, pour in the cornstarch slurry slowly and stir continuously.
Watch as the mixture goes from loose to thick in about 2 to 3 minutes. It should coat the back of a spoon and hold a clean line when swiped with your finger.
Remove from heat and stir in vanilla if you like. I tend to leave it out when I’m using this as a fruit filling in strawberry cake layers, since those already carry floral notes.
Cool the mixture in the saucepan for 10 minutes, then strain if desired. I always strain if using this in stacked birthday cake recipes to avoid seed crunch between layers.
Telling When It’s Done
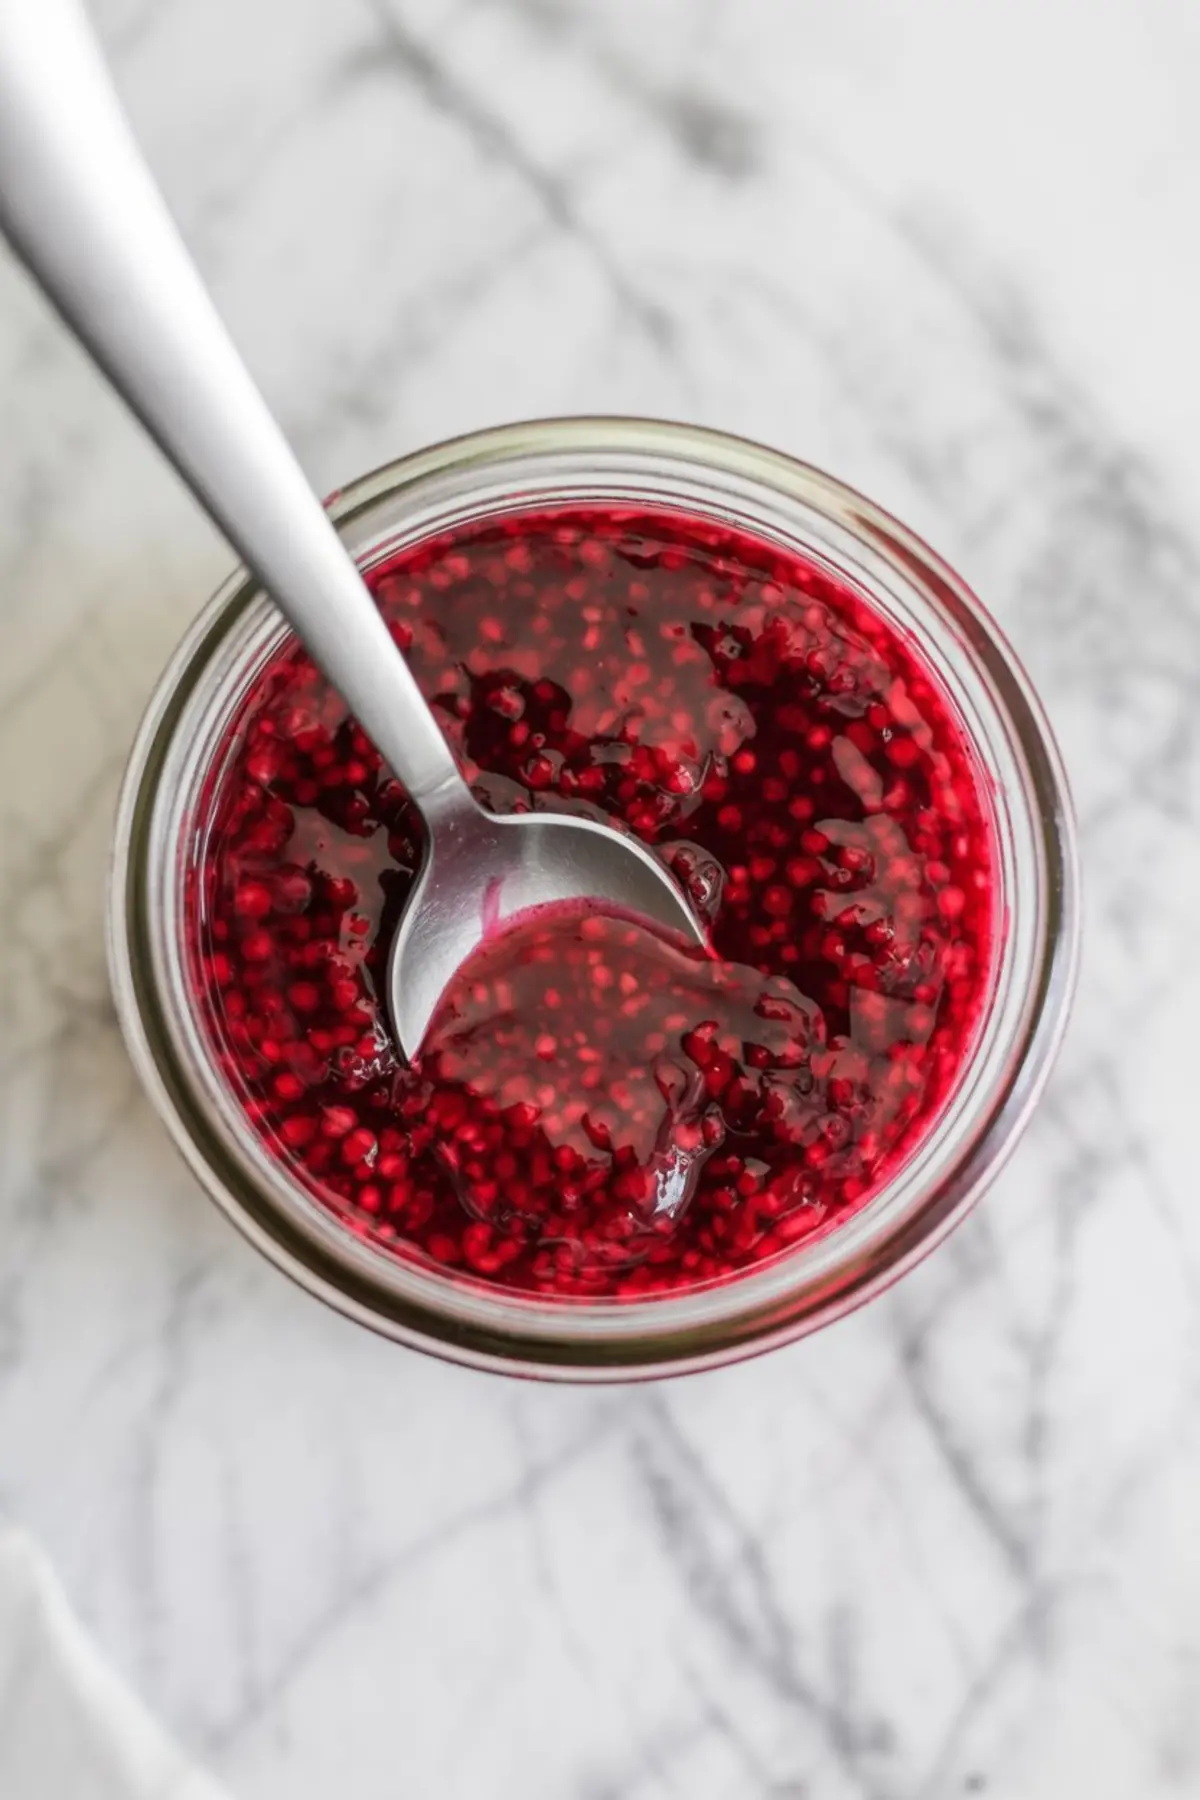
The key sign is the thickness. It should hold on a spoon but still move when tipped.
Undercooked filling stays runny and bleeds out when spread.
Overcooked filling turns starchy and stiff.
If unsure, let it chill and test. The final texture should be smooth, scoopable, and able to spread without dripping.
Adjustments and Troubleshooting
Too loose? Simmer an extra 2 minutes. That’s usually enough.
Too thick? Stir in 1–2 teaspoons of water while still warm.
Too sweet? Add ½ teaspoon lemon juice and stir while hot.
Lacking brightness? Raspberries can vary. If it tastes dull, stir in extra lemon juice after cooking.
Variations to Try
For a deeper berry note, add ¼ cup blackberries with the raspberries. This darkens the color and adds mild earthiness.
For a sweeter, candy-like tone, use 1 teaspoon raspberry jam stirred in after cooking.
To make it lighter, fold in ¼ cup whipped cream once fully chilled for a mousse-style texture.
How to Store Raspberry Filling
In the fridge, store it in a jar or sealed container for up to 5 days.
On the counter, let it sit no longer than 2 hours.
In the freezer, spoon into a freezer bag, flatten it, and freeze for up to 3 months.
To use, thaw overnight in the fridge and stir before spreading. Do not microwave to thaw—it breaks the texture.
Practical Tips from Recipe Testing
Use a silicone spatula for better control during straining. Whisk the cornstarch well. Any lumps ruin the finish.
Don’t skip the salt. It keeps the sweetness balanced. Avoid high heat. That scorches the fruit before it thickens.
Save This Recipe and Share Your Take
Pin this raspberry cake filling recipe so you can always find it when your cake needs a fresh fruit layer.
Tell me in the comments how you used it, especially if you tried a variation or paired it with chocolate.
Let’s keep sharing what works.
Raspberry Cake Filling Recipe
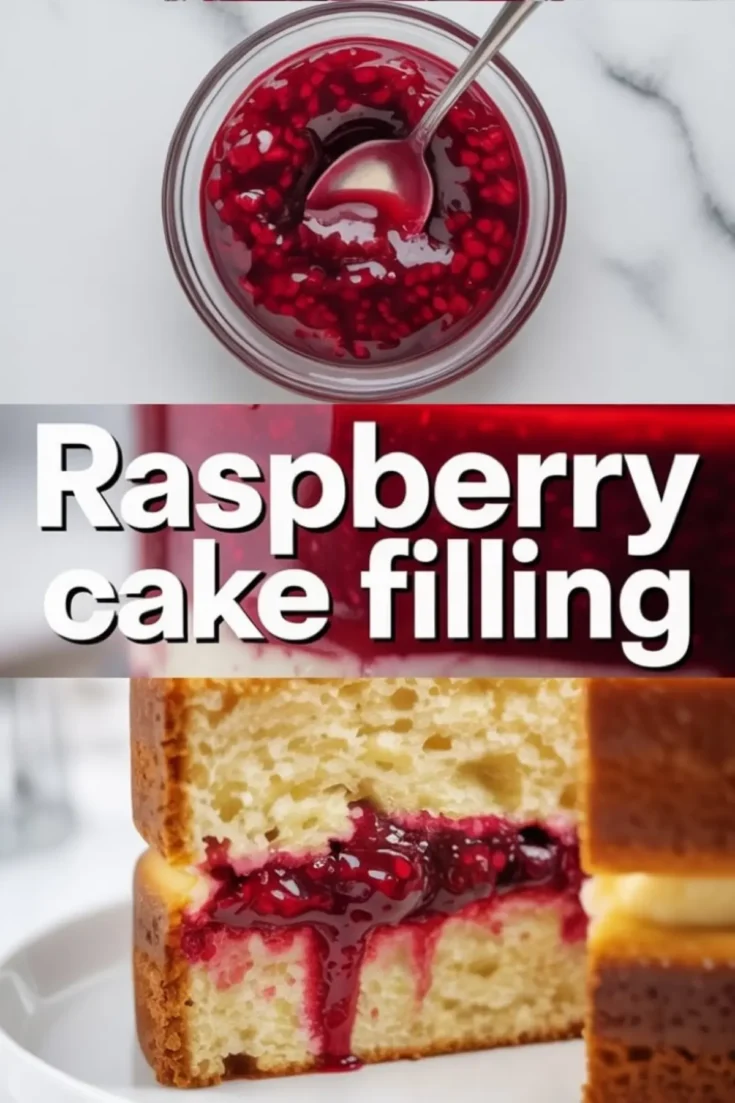
This raspberry cake filling is smooth, tart, and bursting with real berry flavor. Ideal for any cake with fruit filling, it works beautifully in layer cakes, cupcakes, and even white chocolate cake pairings. Learn how to make raspberry filling at home using simple ingredients for bakery-style results. This raspberry filling recipe is perfect for elegant bakes like birthday cake recipes or a show-stopping raspberry filled cake recipe. Save this guide if you’re looking for a reliable raspberry cake filling recipe that’s easy to make and full of flavor.
Ingredients
- 2 cups raspberries (fresh or frozen)
- 1/2 cup granulated sugar
- 2 tablespoons lemon juice (freshly squeezed)
- 2 tablespoons cornstarch
- 2 tablespoons cold water
- 1/2 teaspoon vanilla extract (optional)
- Pinch of salt
Instructions
- COOK THE RASPBERRIES: In a medium saucepan, combine raspberries, sugar, lemon juice, and salt. Cook over medium heat, stirring frequently, for 5 to 6 minutes or until the raspberries break down and release their juices.
- MAKE THE CORNSTARCH SLURRY: In a small bowl, whisk together the cornstarch and cold water until fully dissolved and smooth. This mixture will help thicken the filling evenly.
- THICKEN THE FILLING: Once the raspberry mixture reaches a gentle boil, slowly pour in the cornstarch slurry while stirring continuously. Cook for another 2 to 3 minutes, stirring constantly, until the mixture thickens enough to coat the back of a spoon.
- ADD VANILLA (OPTIONAL): Remove the saucepan from heat and stir in the vanilla extract if using. Let the mixture cool for 5 to 10 minutes in the pan.
- STRAIN IF DESIRED: For a seedless filling, pour the warm mixture through a fine mesh sieve into a clean bowl, pressing gently with a spatula to extract as much liquid as possible.
- COOL COMPLETELY: Transfer the finished filling to a jar or airtight container. Let it cool fully at room temperature, then refrigerate until ready to use. It will thicken more as it chills.
Notes
This filling can be made up to 5 days in advance and stored in the refrigerator. For a thicker texture suitable for piping, reduce water to 1 tablespoon or simmer an additional 1–2 minutes.
Nutrition Information
Yield
1Serving Size
1Amount Per Serving Calories 875Total Fat 3gUnsaturated Fat 3gSodium 14mgCarbohydrates 211gFiber 33gSugar 148gProtein 5g