A well-made birthday cake brings more than sweetness to the table. It shows thought. It shows care.
This simple birthday cake proves that you don’t need layers of fondant or a towering height to make something feel special. A clean design, soft texture, and balanced flavor go much further.
In this post, you’ll learn how to make a minimalist birthday cake that looks polished, tastes homemade, and feels personal. I’ll guide you through the techniques I trust most — from mixing to frosting — and share the choices that make the biggest difference.
You’ll also find serving and storage tips, a practical ingredient comparison, and suggestions for how to adapt the cake for bento cake, mini birthday cake, or elegant birthday cake presentations.
If you’re looking for simple birthday cake ideas that work, baking for a friend, family member, or yourself — this one gives you results with confidence.
Following a special diet?
Every recipe on this site can be converted to gluten-free, vegan, dairy-free, keto, nut-free or egg-free with adjusted ratios so nothing falls flat.
Try the Recipe Converter →Ingredients: How Less Brings Out More Flavor
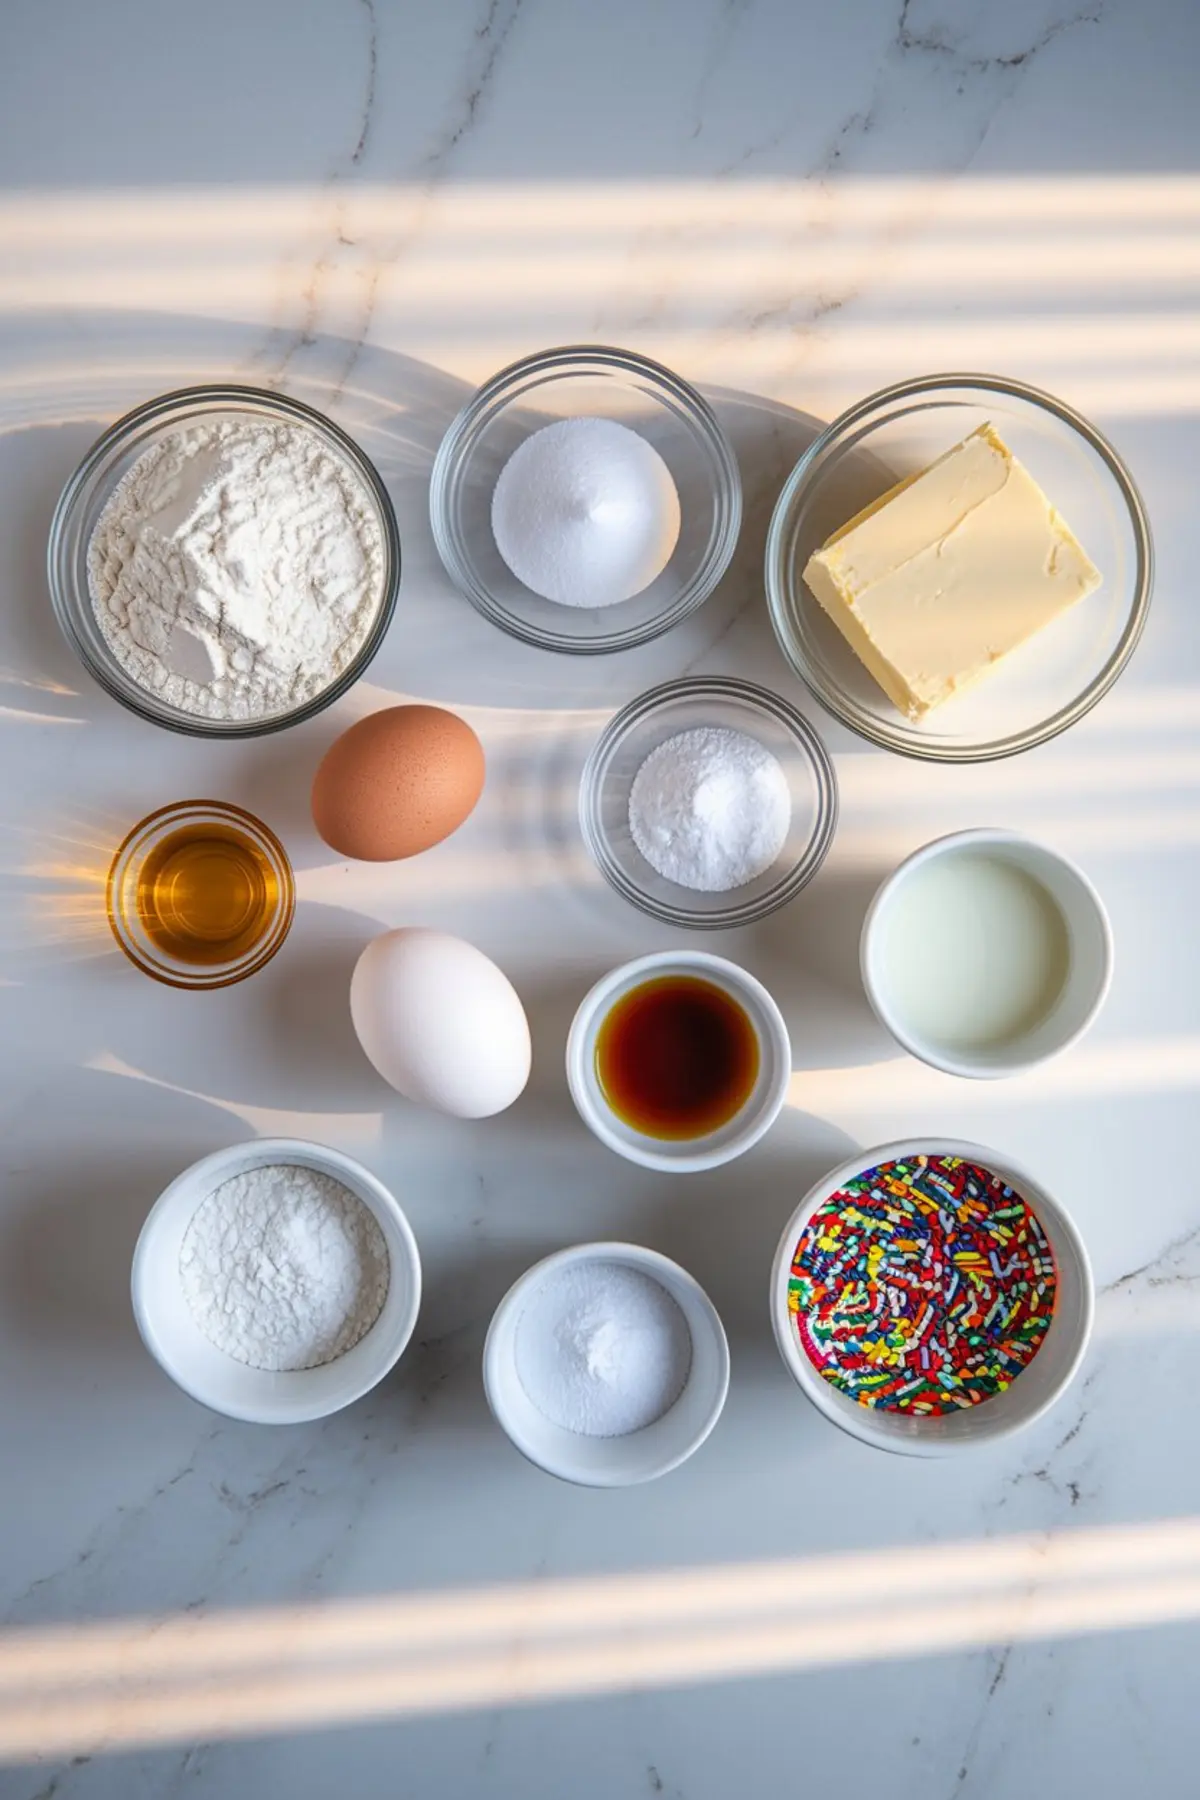
This cake uses basic pantry staples flour, sugar, eggs, butter, and milk, but don’t let the list fool you.
How you mix them and when you add them matters. The eggs bring structure, the butter gives softness, and the vanilla pulls the sweetness into something round and fragrant. I prefer using real vanilla bean paste for this one. It gives the cake specks that look beautiful against a pale crumb and the flavor stays clean.
For the frosting, I go with a classic American buttercream. I’ve tested mascarpone blends and whipped cream bases for this type of cake, but in my notes, buttercream stays the most stable on warmer days. It also spreads smoother on bento-style cakes and mini designs.
If you’re planning to tint the frosting with soft colors, gel food coloring works best. Liquid tends to thin the buttercream too much, and you lose that sharp edge you want for aesthetic birthday cakes or elegant birthday cakes for women.
Box Mix or Scratch? What Gives You Better Control
If you’re choosing between a boxed mix and a homemade base, think about what you want from the final result.
Boxed mixes offer speed, but they come with trade-offs. You’ll get consistency, but the flavor leans artificial, and the texture can turn gummy once frosted — especially for mini cakes or aesthetic birthday cakes that need sharp edges and firmness.
A homemade base takes more steps, but gives you full control. You decide the sweetness, the moisture, and the crumb structure. For example, I keep this recipe slightly less sweet to leave room for the frosting to shine — a detail you can’t adjust in a box.
I’ve worked with both. When time’s tight and the cake is for kids, a boxed mix can work — with adjustments. I reduce the water slightly and add an extra egg to improve texture. But if I’m building a birthday cake for women elegant in look and flavor, or anything that needs to photograph well, I always go from scratch.
Scratch gives you flexibility. You can add citrus zest, switch extracts, or adjust the layers without compromising structure. You’ll taste the difference, and so will your guests.
Baking and Assembly: Keep It Straightforward
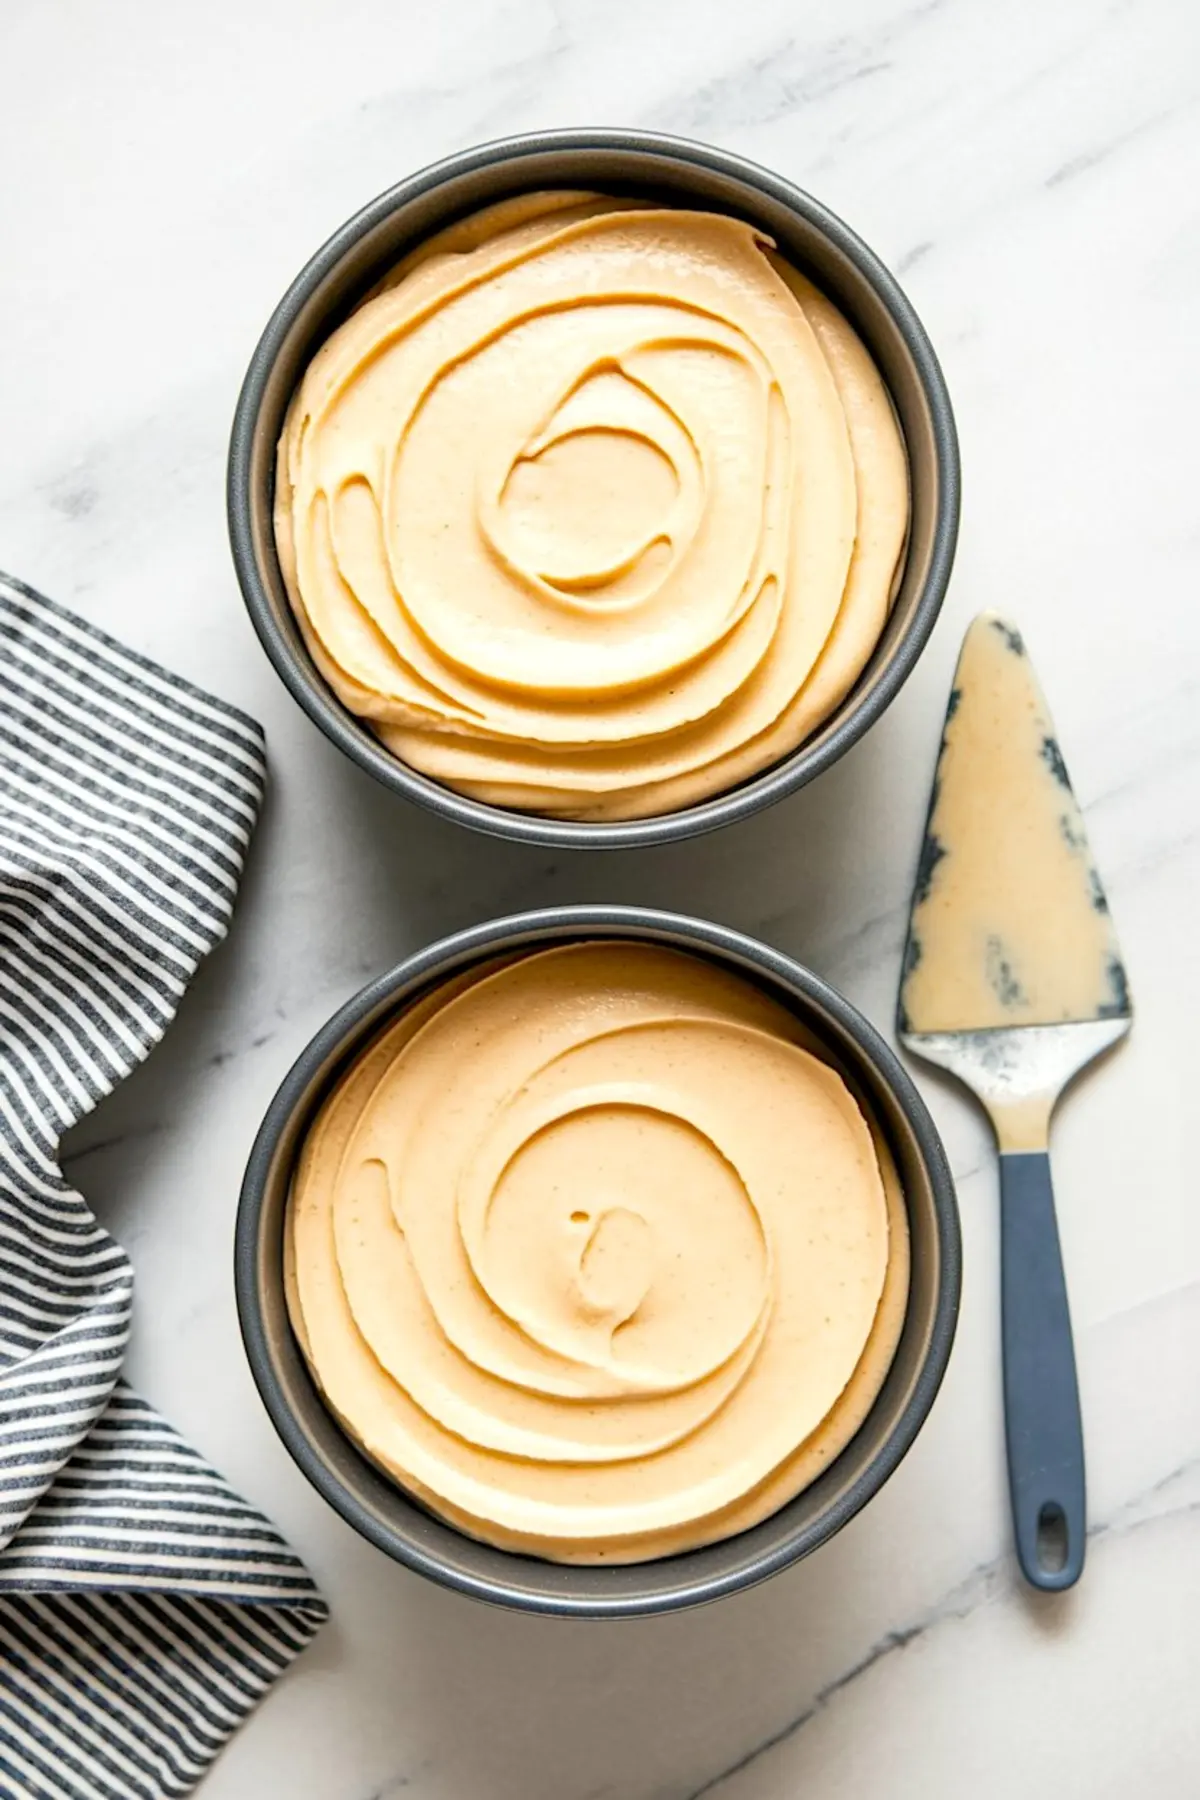
Use a light-colored aluminum pan, especially for mini cakes birthday designs or smaller layers. Dark pans over-brown the edges. I line the bottom with parchment and grease the sides lightly with butter.
Watch your baking time. Smaller cakes cook fast, and even a few extra minutes can dry the edges. I set a timer at 18 minutes and check for doneness with a gentle press at the center.
Cool the layers completely before frosting. If you rush this step, even slightly warm cake will melt the buttercream and ruin the clean look.
I use a cake board even for mini cakes. It helps with rotation as you frost and gives a more finished look when serving.
Simple Cake Designs That Still Feel Special
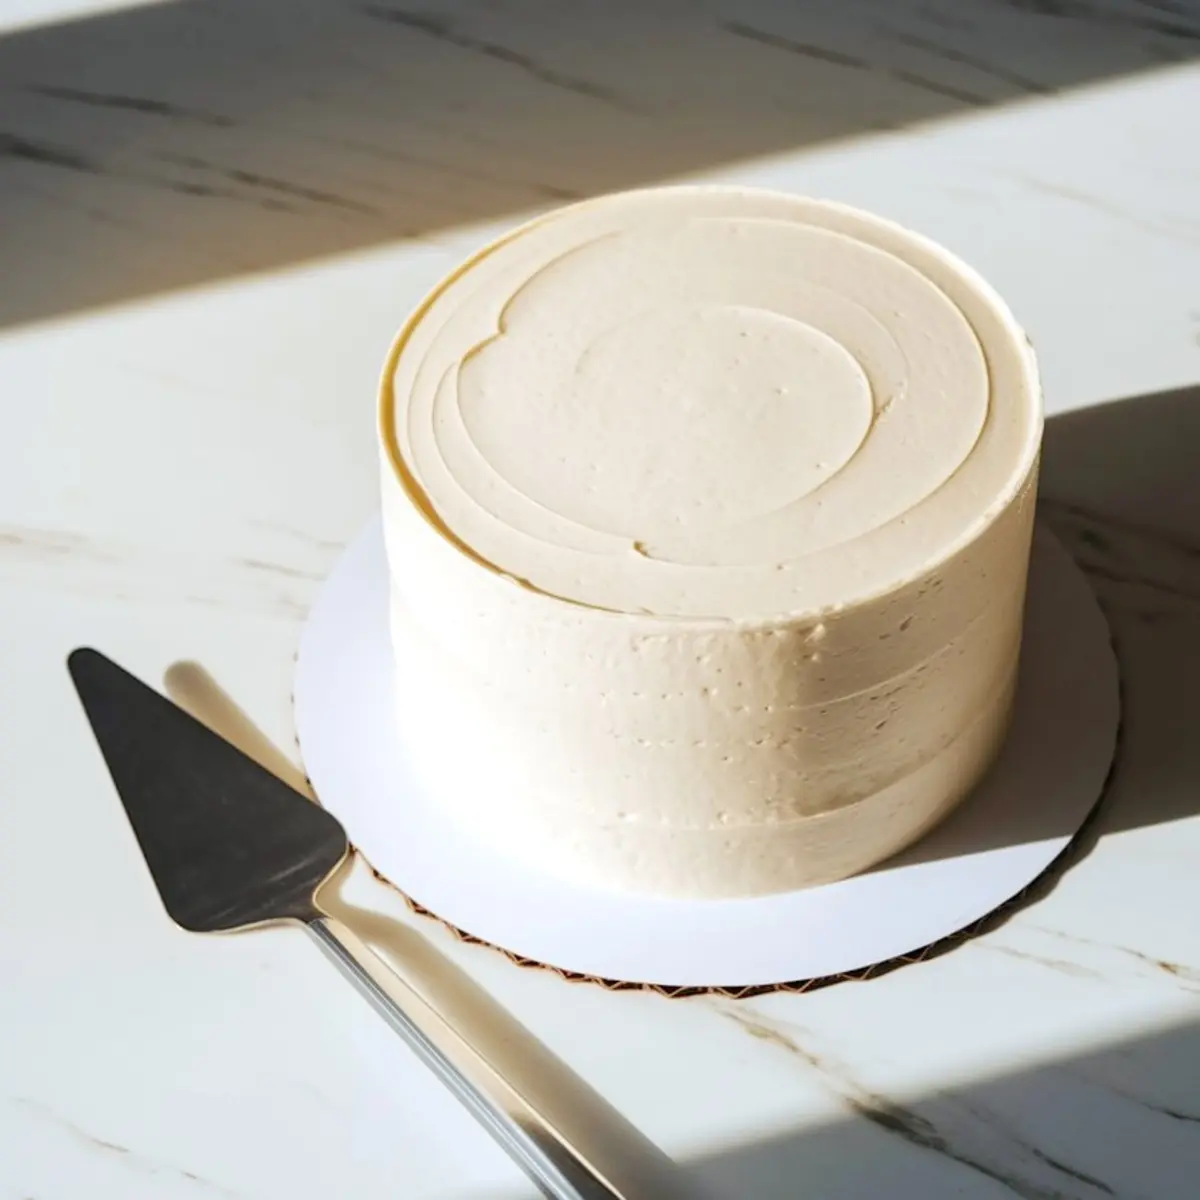
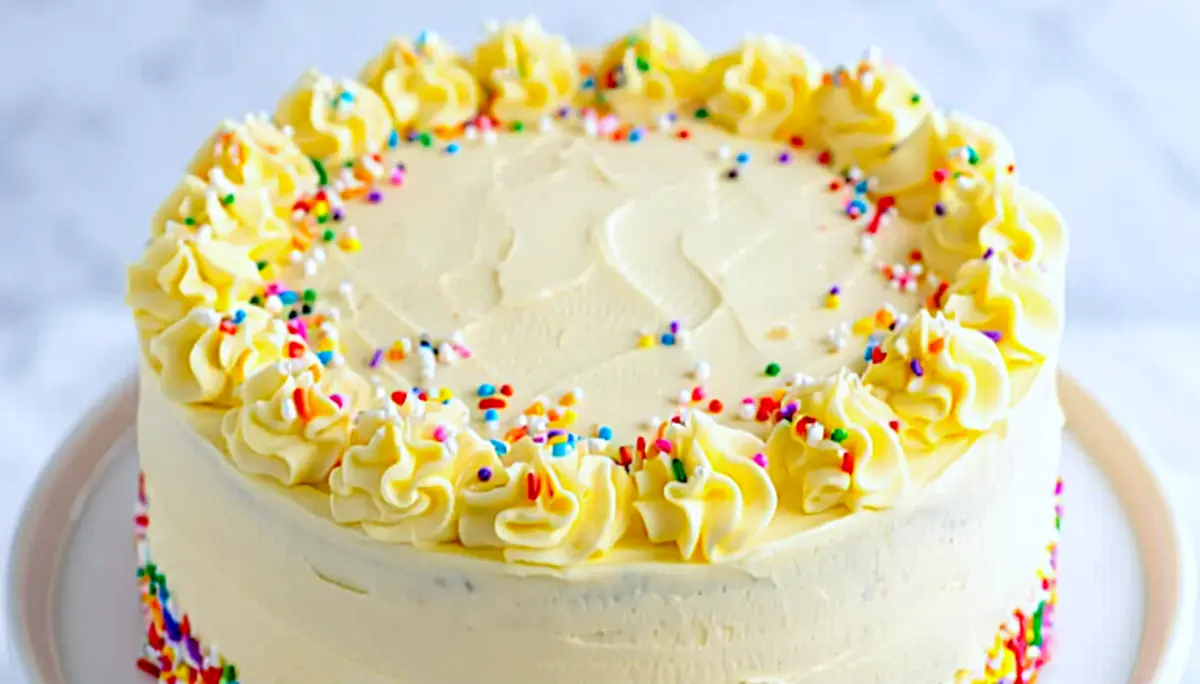
You can frost this cake smooth and leave it as is — or you can pipe a single ring of stars around the top edge. That’s usually enough.
For a bento cake style, I spoon the frosting on top, smooth the sides just once, and write a simple message in the center. No border, no toppers. This kind of presentation feels intimate, especially for smaller gatherings.
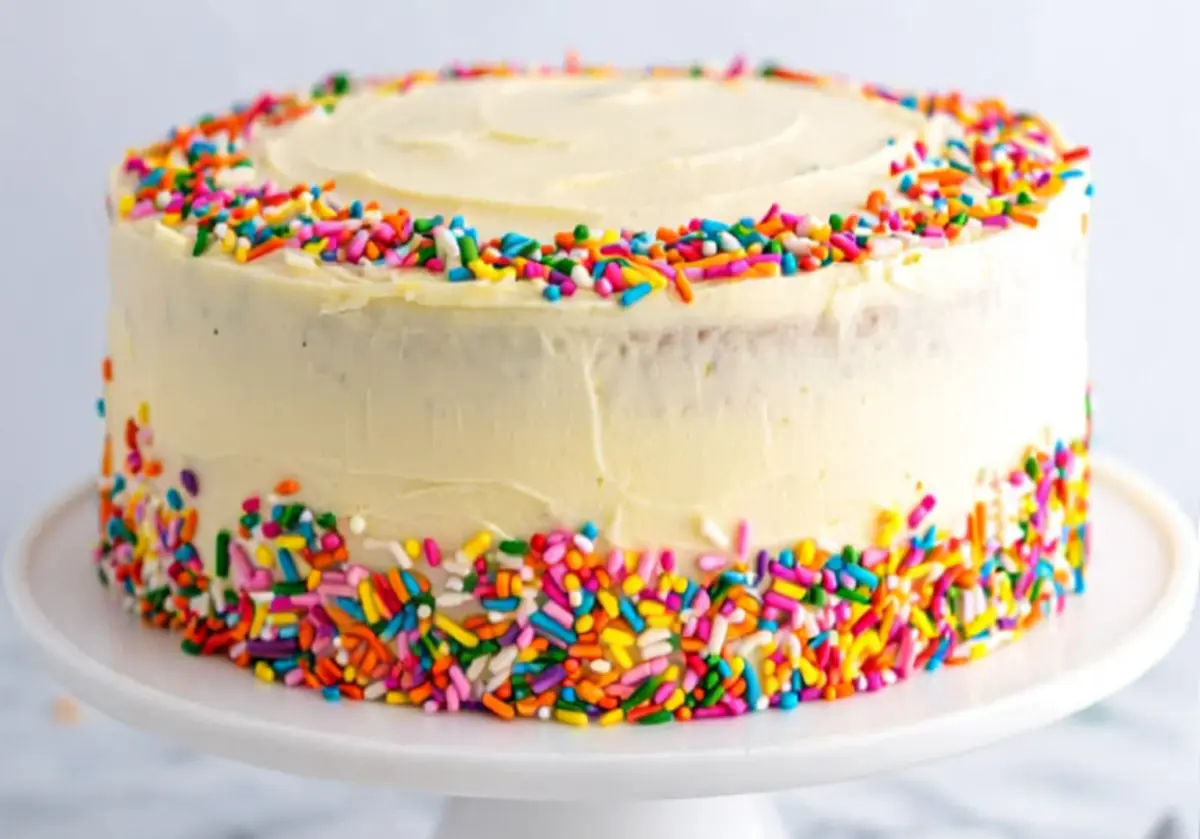
Sprinkles are fine, but I avoid them unless the cake needs color. Instead, try fresh edible flowers, a stripe of jam in the middle, or even crushed freeze-dried fruit as a topping.
If you want something a touch bolder, a cake like this pairs beautifully with a red velvet cake design or a lemon cake with real juice and zest for variety across the table.
Storage and Serving Tips
Once frosted, the cake holds well at room temperature for about 6 hours. If you’re serving outdoors or making it a day ahead, refrigerate it and then let it sit at room temp for at least 45 minutes before slicing. Buttercream needs that time to soften for the best texture.
I’ve learned over time that this cake actually improves slightly after resting overnight. The vanilla deepens and the crumb softens just enough.
Wrap leftovers tightly and refrigerate for up to three days. I avoid plastic containers — they tend to trap moisture and dull the frosting finish. A cake dome or even a cardboard box with parchment works better.
Simple Birthday Cake Ideas for Different Occasions
This base recipe adapts easily. Add lemon zest and swap the vanilla for almond extract to make it feel like spring.
Color the layers soft pink and you have a pretty birthday cake that works for tea parties or birthday cakes for women that don’t shout for attention.
Add a single candle and box it up in a clear container for a small birthday cake that travels well. You can even turn this into mini bento cakes by baking the batter in ramekins and decorating each one with a unique touch.
If you’re feeling playful, pair this with a Strawberry Cake or even an Easy Minecraft Birthday Cake for a themed dessert table with personality.
Final Thoughts and Invitation to Share
I’ve made this cake for quiet birthdays, shared ones, and once, just for myself with a cup of coffee. It doesn’t ask for a lot, but it gives back plenty.
Save this simple birthday cake to your Pinterest board so it’s ready the next time you need something modest, thoughtful, and guaranteed to deliver.
And if you try it, I’d love to hear how it turned out. Drop your questions or tweaks in the comments — it helps others and gives me ideas for what to test next.
Happy baking,
Emma
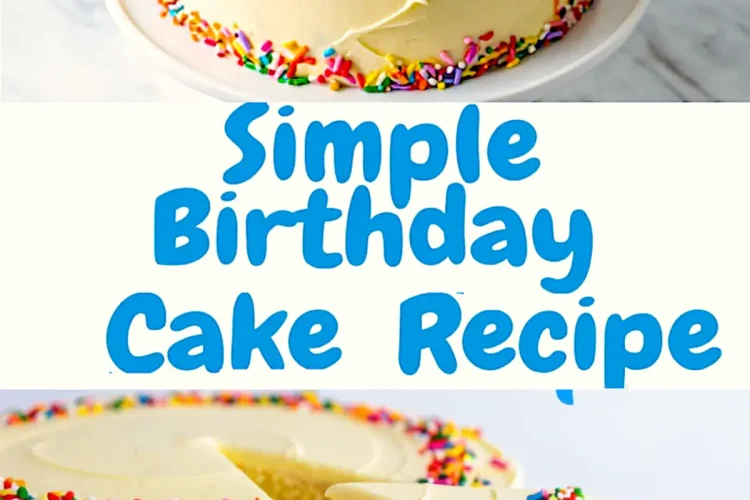
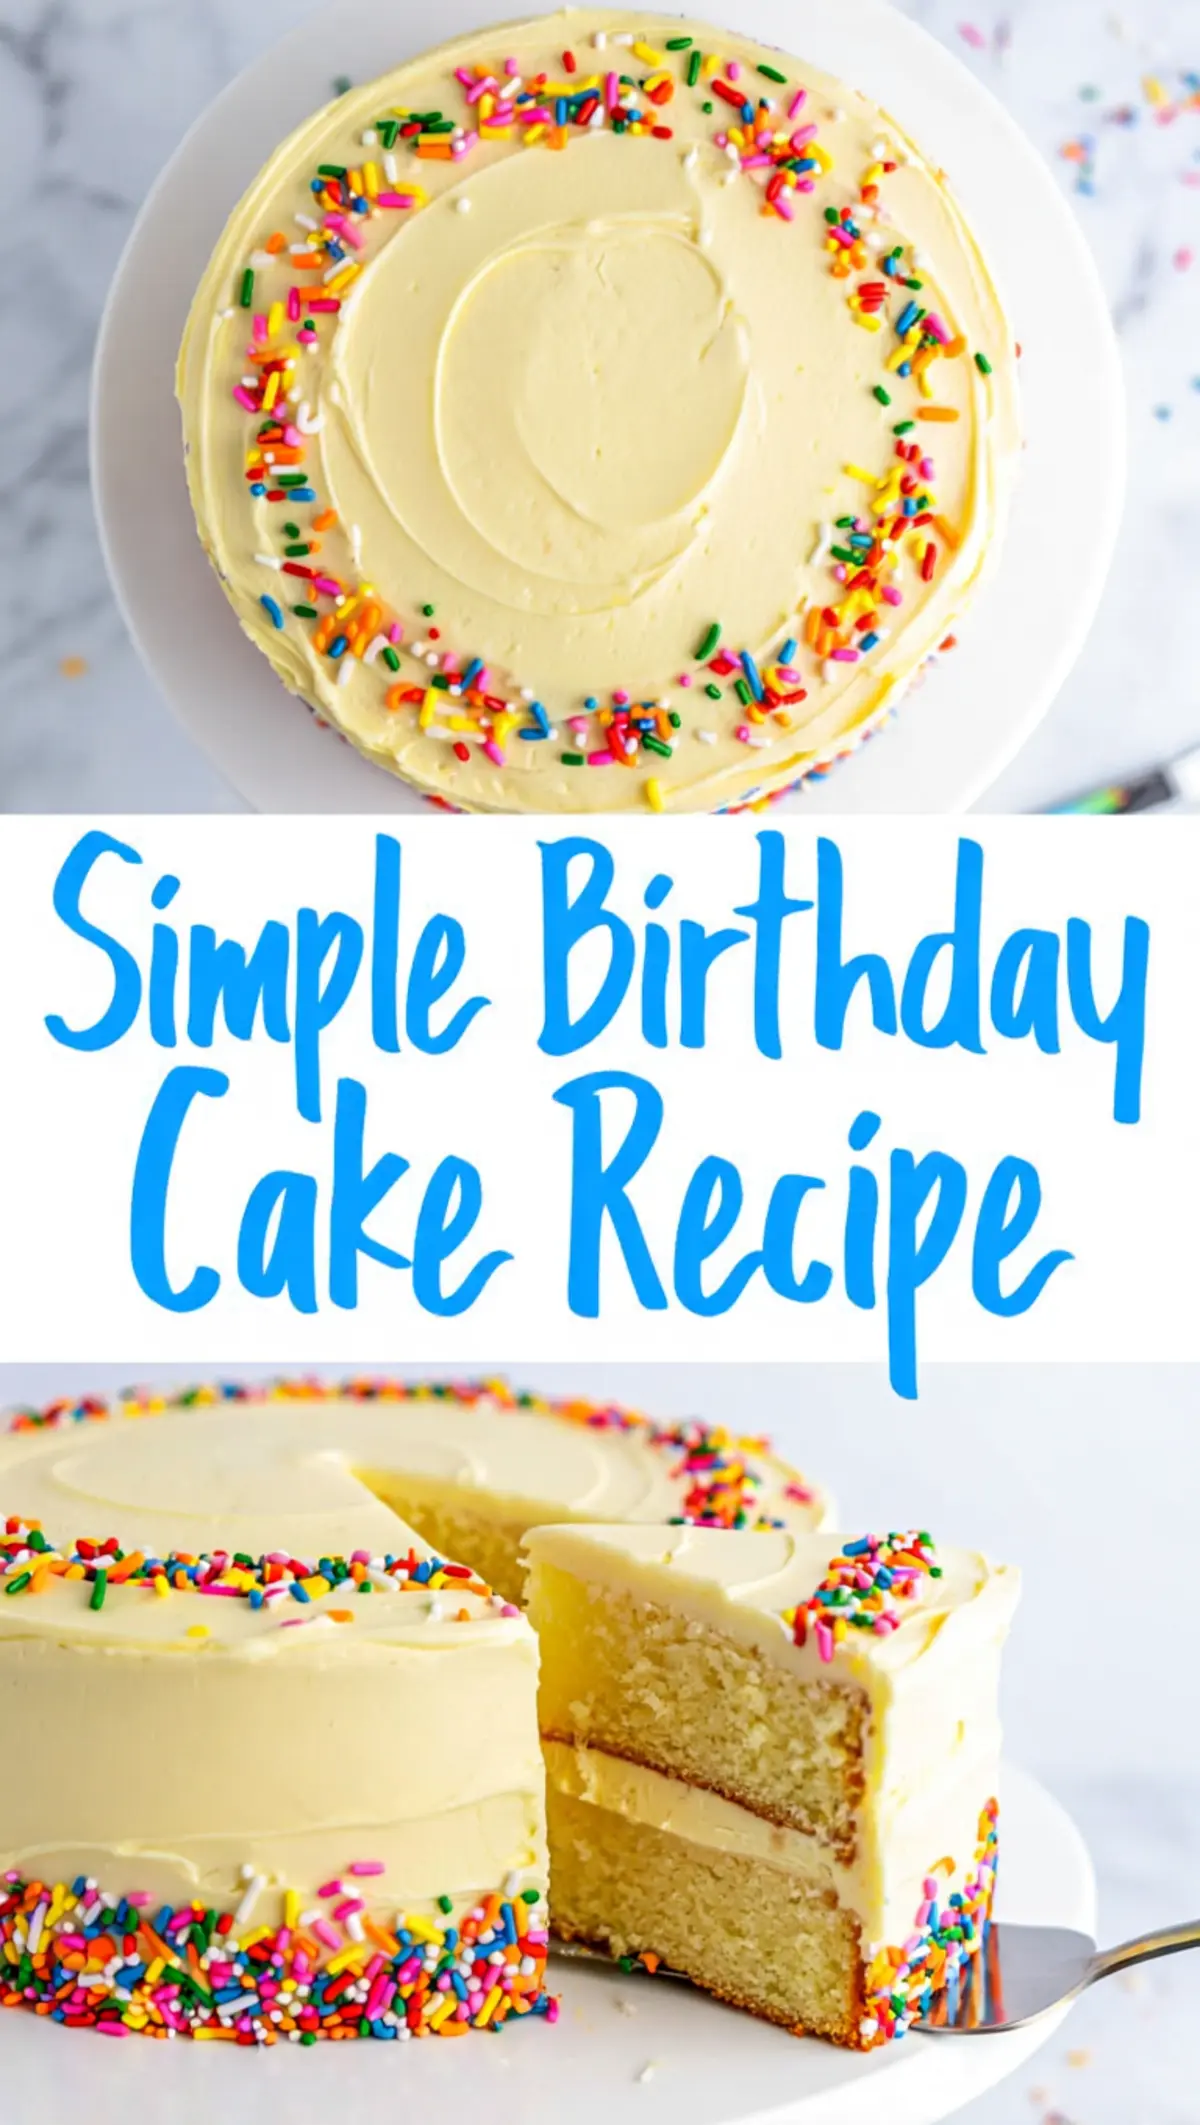
Simple Birthday Cake
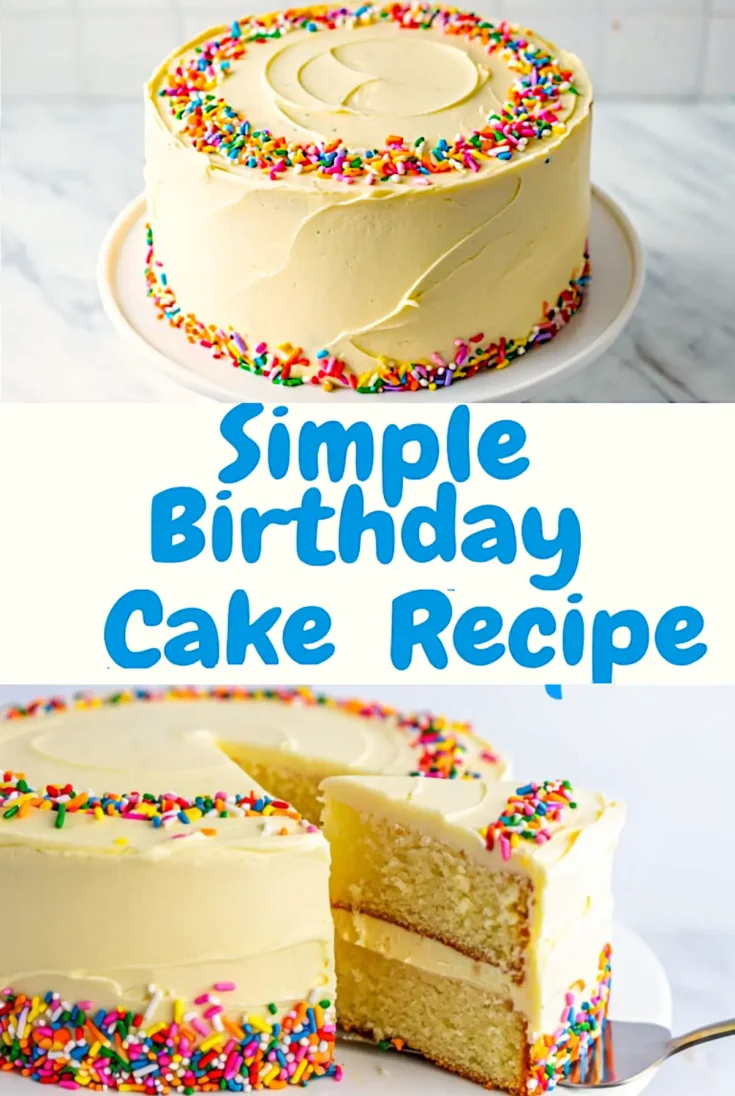
A classic vanilla birthday cake with fluffy layers and smooth buttercream brings warmth and joy to any celebration. This cake features a soft, buttery crumb and rich vanilla flavor, finished with a generous spread of vanilla frosting. It’s easy to make and ideal for decorating with sprinkles, piped edges, or personalized toppings.
Ingredients
- FOR THE VANILLA CAKE
- 2 ½ cups (310g) all-purpose flour
- 2 ½ tsp baking powder
- ½ tsp salt
- 1 cup (226g) unsalted butter, softened
- 1 ¾ cups (350g) granulated sugar
- 4 large eggs, room temperature
- 1 tbsp pure vanilla extract
- 1 cup (240ml) whole milk, room temperature
- FOR THE VANILLA BUTTERCREAM
- 1 ½ cups (340g) unsalted butter, softened
- 6 cups (720g) powdered sugar, sifted
- 2 tsp vanilla extract
- 2–4 tbsp milk or heavy cream
- Pinch of salt
Instructions
- PREHEAT AND PREP PANS: Preheat the oven to 350°F (177°C). Grease two 8-inch round cake pans and line the bottoms with parchment paper.
- WHISK DRY INGREDIENTS: In a medium bowl, whisk together the flour, baking powder, and salt until well combined. Set aside.
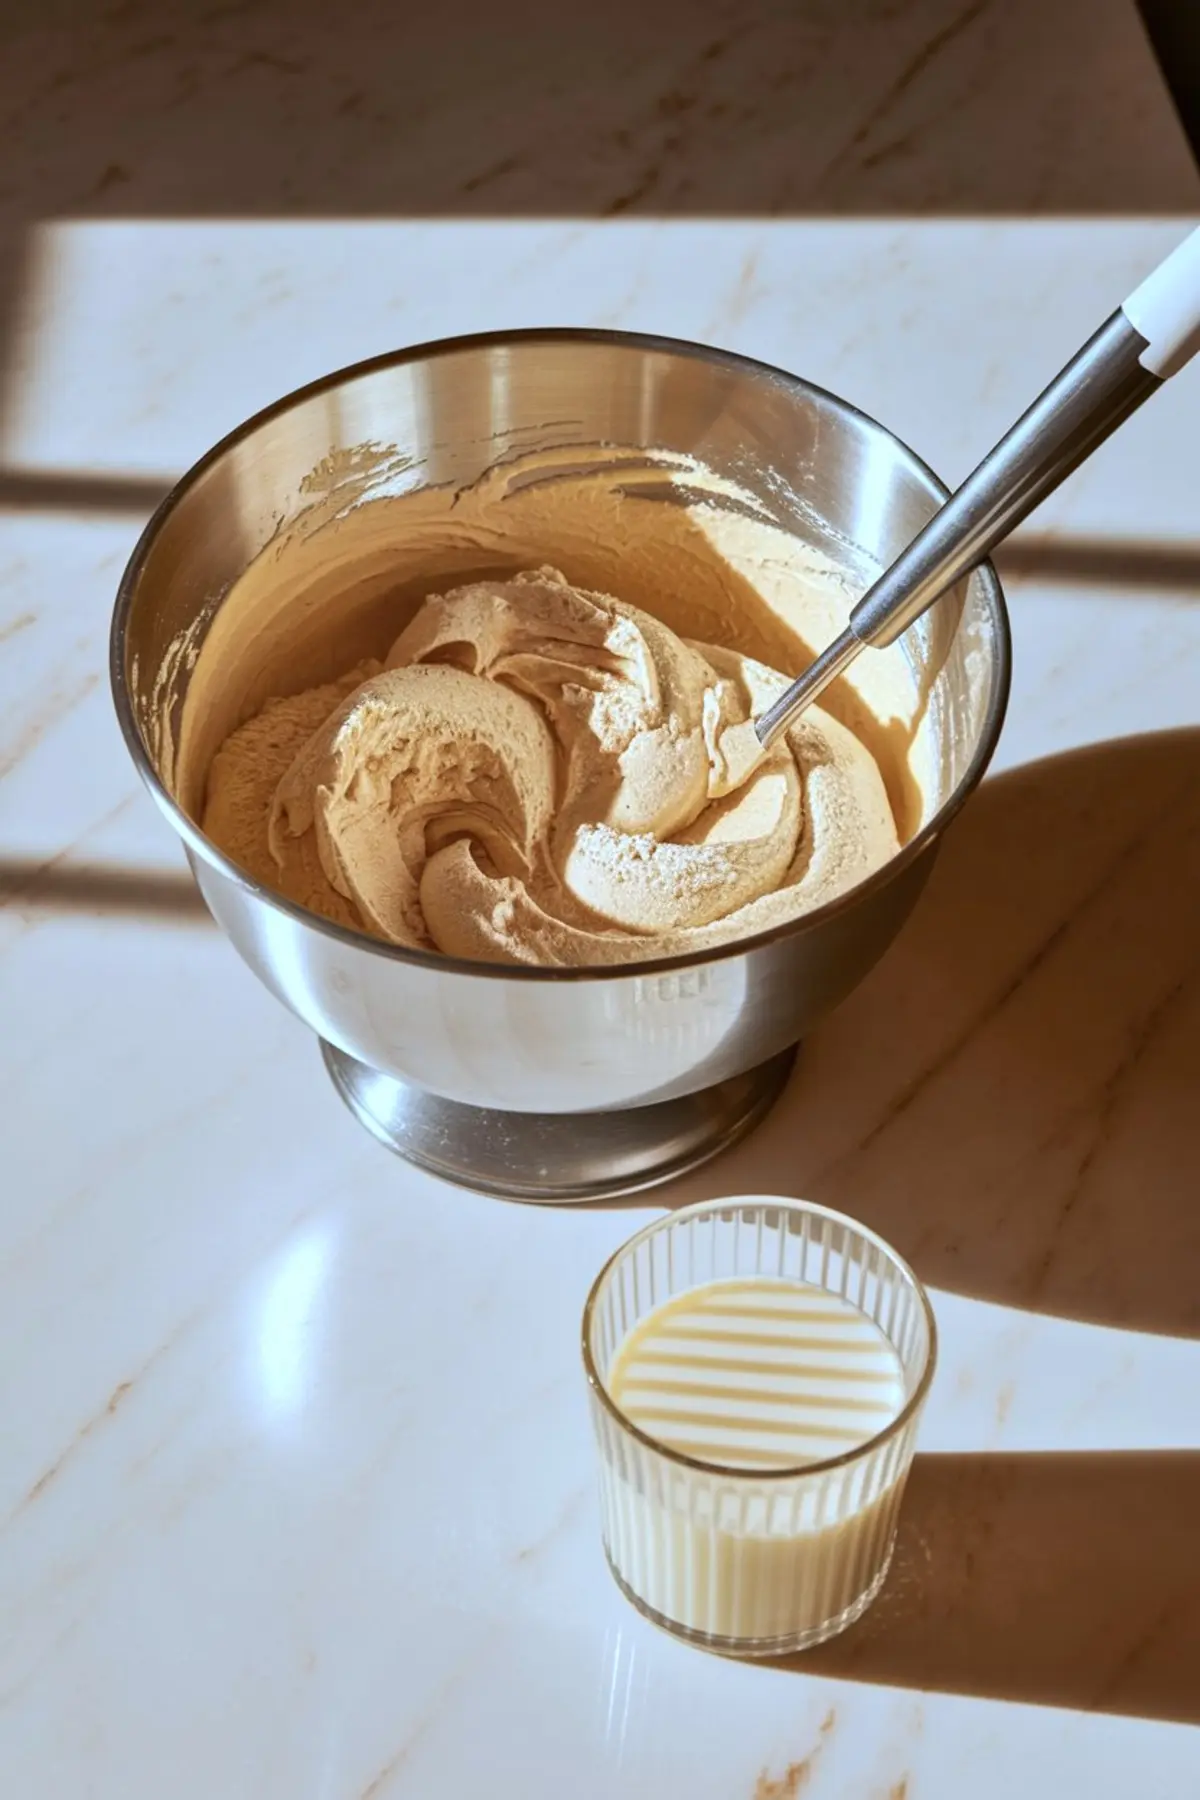
- CREAM BUTTER AND SUGAR: In a large bowl, beat the softened butter and granulated sugar with a mixer on medium-high speed until light and fluffy, about 3 to 4 minutes.
- ADD EGGS AND VANILLA: Add the eggs one at a time, beating well after each addition. Mix in the vanilla extract until fully incorporated.
- COMBINE WET AND DRY INGREDIENTS: Add the dry ingredients in three additions, alternating with the milk in two additions. Begin and end with the dry ingredients. Mix on low speed until just combined—do not overmix.
- DIVIDE AND BAKE: Evenly divide the batter between the prepared pans and smooth the tops. Bake for 30 to 35 minutes, or until a toothpick inserted into the center comes out clean.
- COOL COMPLETELY: Let the cakes cool in the pans for 10 minutes, then turn them out onto wire racks to cool completely before frosting.
- MAKE THE BUTTERCREAM: In a large bowl, beat the softened butter on medium-high speed until creamy and pale, about 3 minutes. Gradually add the powdered sugar, one cup at a time, mixing on low after each addition to avoid a sugar cloud. Once incorporated, increase speed to high and beat until light and fluffy.
- FINISH THE FROSTING: Add the vanilla extract, pinch of salt, and 2 tablespoons of milk or cream. Beat until smooth and spreadable, adding more liquid a tablespoon at a time if needed. Continue beating for another 3 to 4 minutes until fluffy.
- LEVEL AND FILL: If the cakes have domed tops, level them with a serrated knife. Place one cake layer on a serving plate and spread a thick, even layer of buttercream over the top.
- STACK AND FROST: Place the second cake layer on top. Use an offset spatula to frost the top and sides of the cake with the remaining buttercream, smoothing it out as desired.
- DECORATE: Finish with rainbow sprinkles, piped borders, or any decorations of your choice. Serve at room temperature for best texture and flavor.
Notes
Cakes can be baked a day ahead and wrapped tightly in plastic wrap once cool. Buttercream can be made up to 3 days in advance and refrigerated—bring to room temperature and re-whip before using. Store leftover cake at room temperature for up to 2 days or refrigerated for up to 5 days.
Nutrition Information
Yield
12Serving Size
1Amount Per Serving Calories 225Total Fat 8gSaturated Fat 4gTrans Fat 0gUnsaturated Fat 3gCholesterol 81mgSodium 293mgCarbohydrates 31gFiber 1gSugar 10gProtein 7g