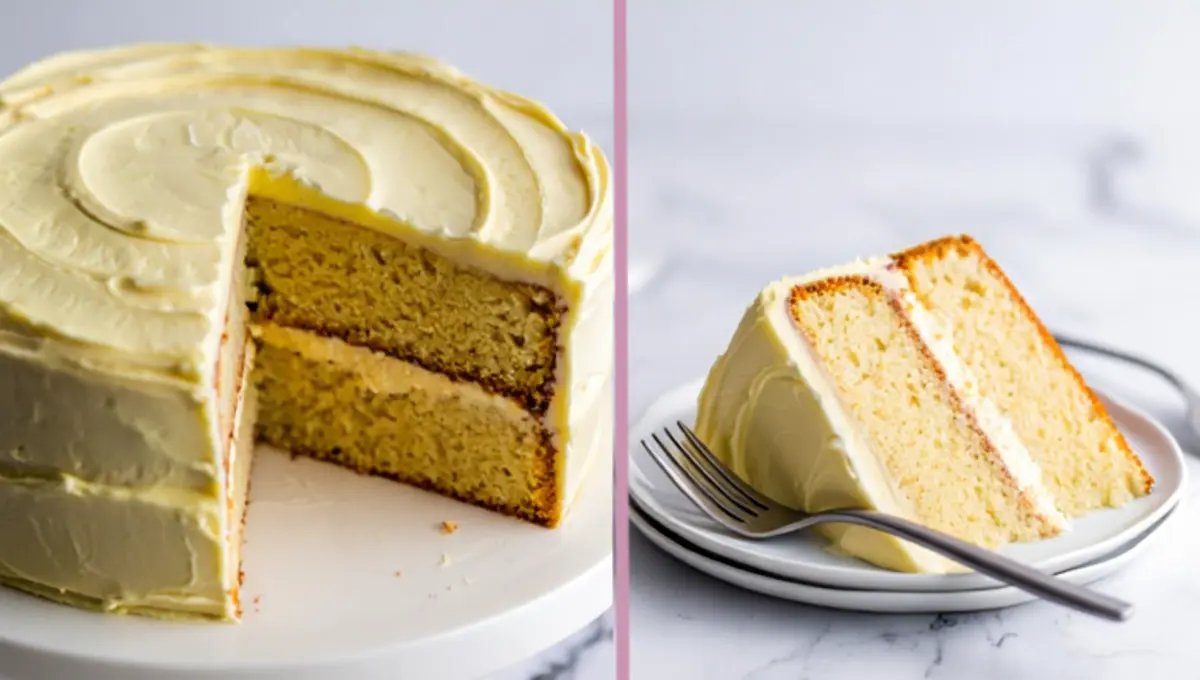
Every baker needs a reliable vanilla cake recipe with clear flavor and consistent results.
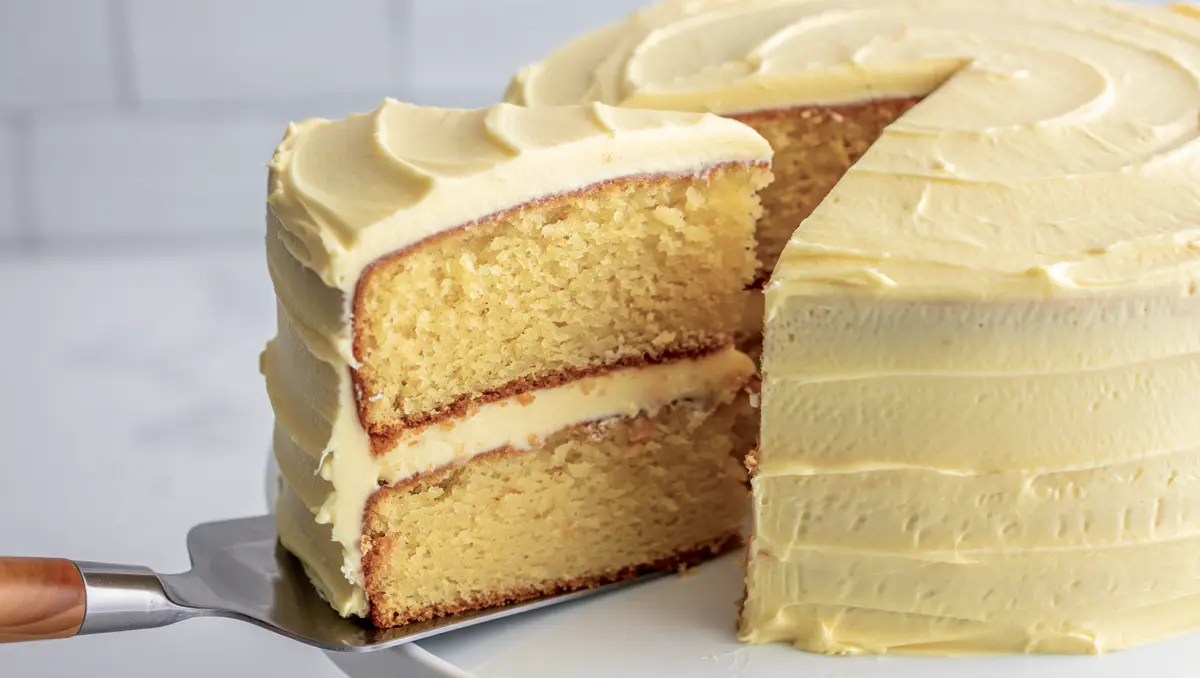
This two-layer version delivers more than softness. The crumb stays tender without falling apart.
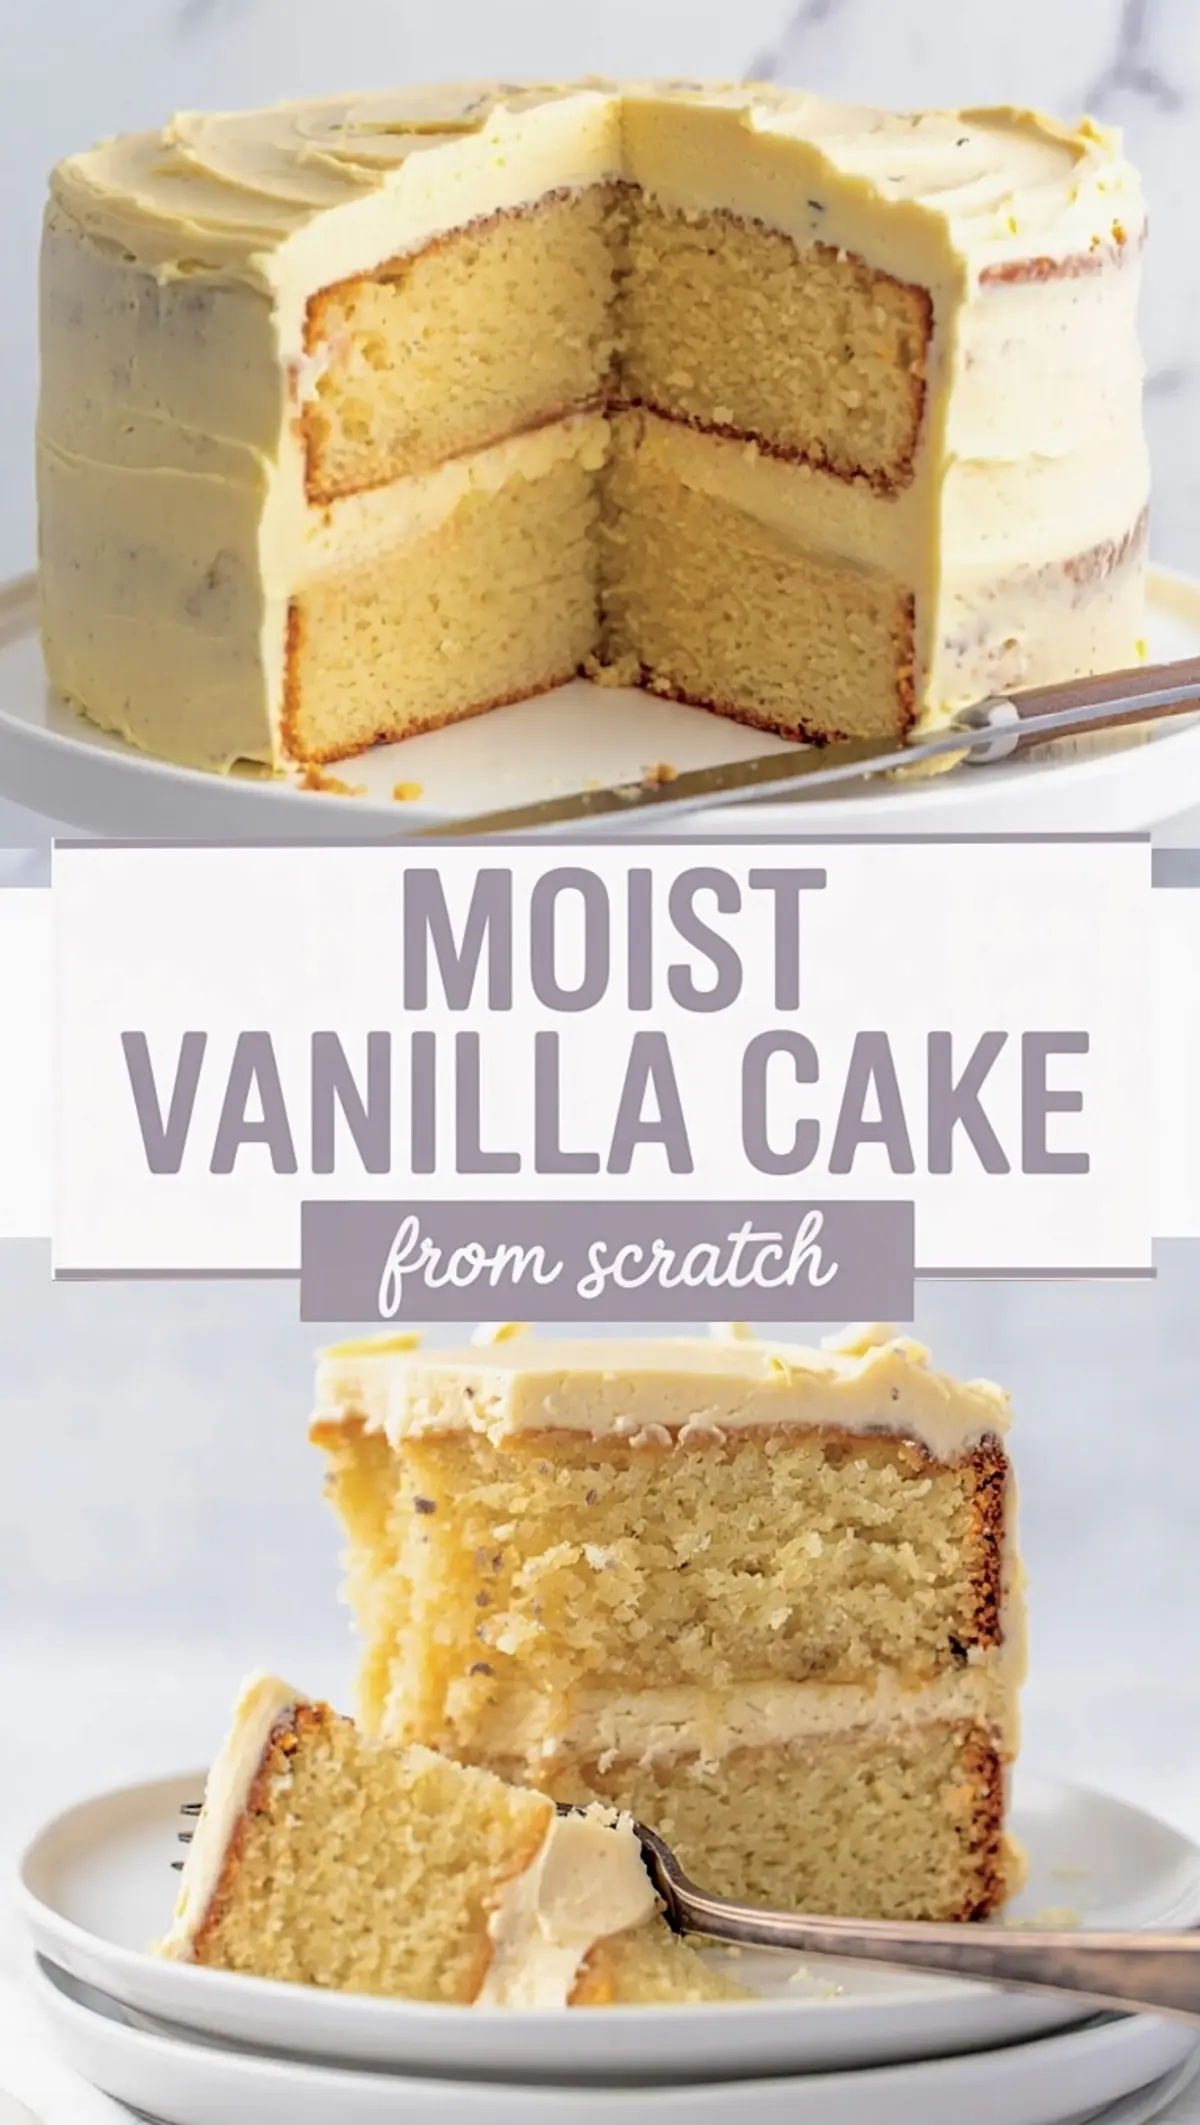
The flavor holds its own with a clean, buttery finish. It slices evenly, layers smoothly, and stays moist for days without needing syrup or extra tricks.
This is a cake you can serve with confidence, plain or decorated. I use this base for birthdays, layered bakes, and anytime I need something that works without fail.
Today you’ll learn how the mix of sour cream and milk gives it structure, why the creaming step builds the right base, and how to frost it so the two layers stay clean and balanced from first cut to last slice.
Following a special diet?
Every recipe on this site can be converted to gluten-free, vegan, dairy-free, keto, nut-free or egg-free with adjusted ratios so nothing falls flat.
Try the Recipe Converter →Start with Proper Mixing: Structure Begins Here
Soft crumb starts at the mixer, not in the oven.
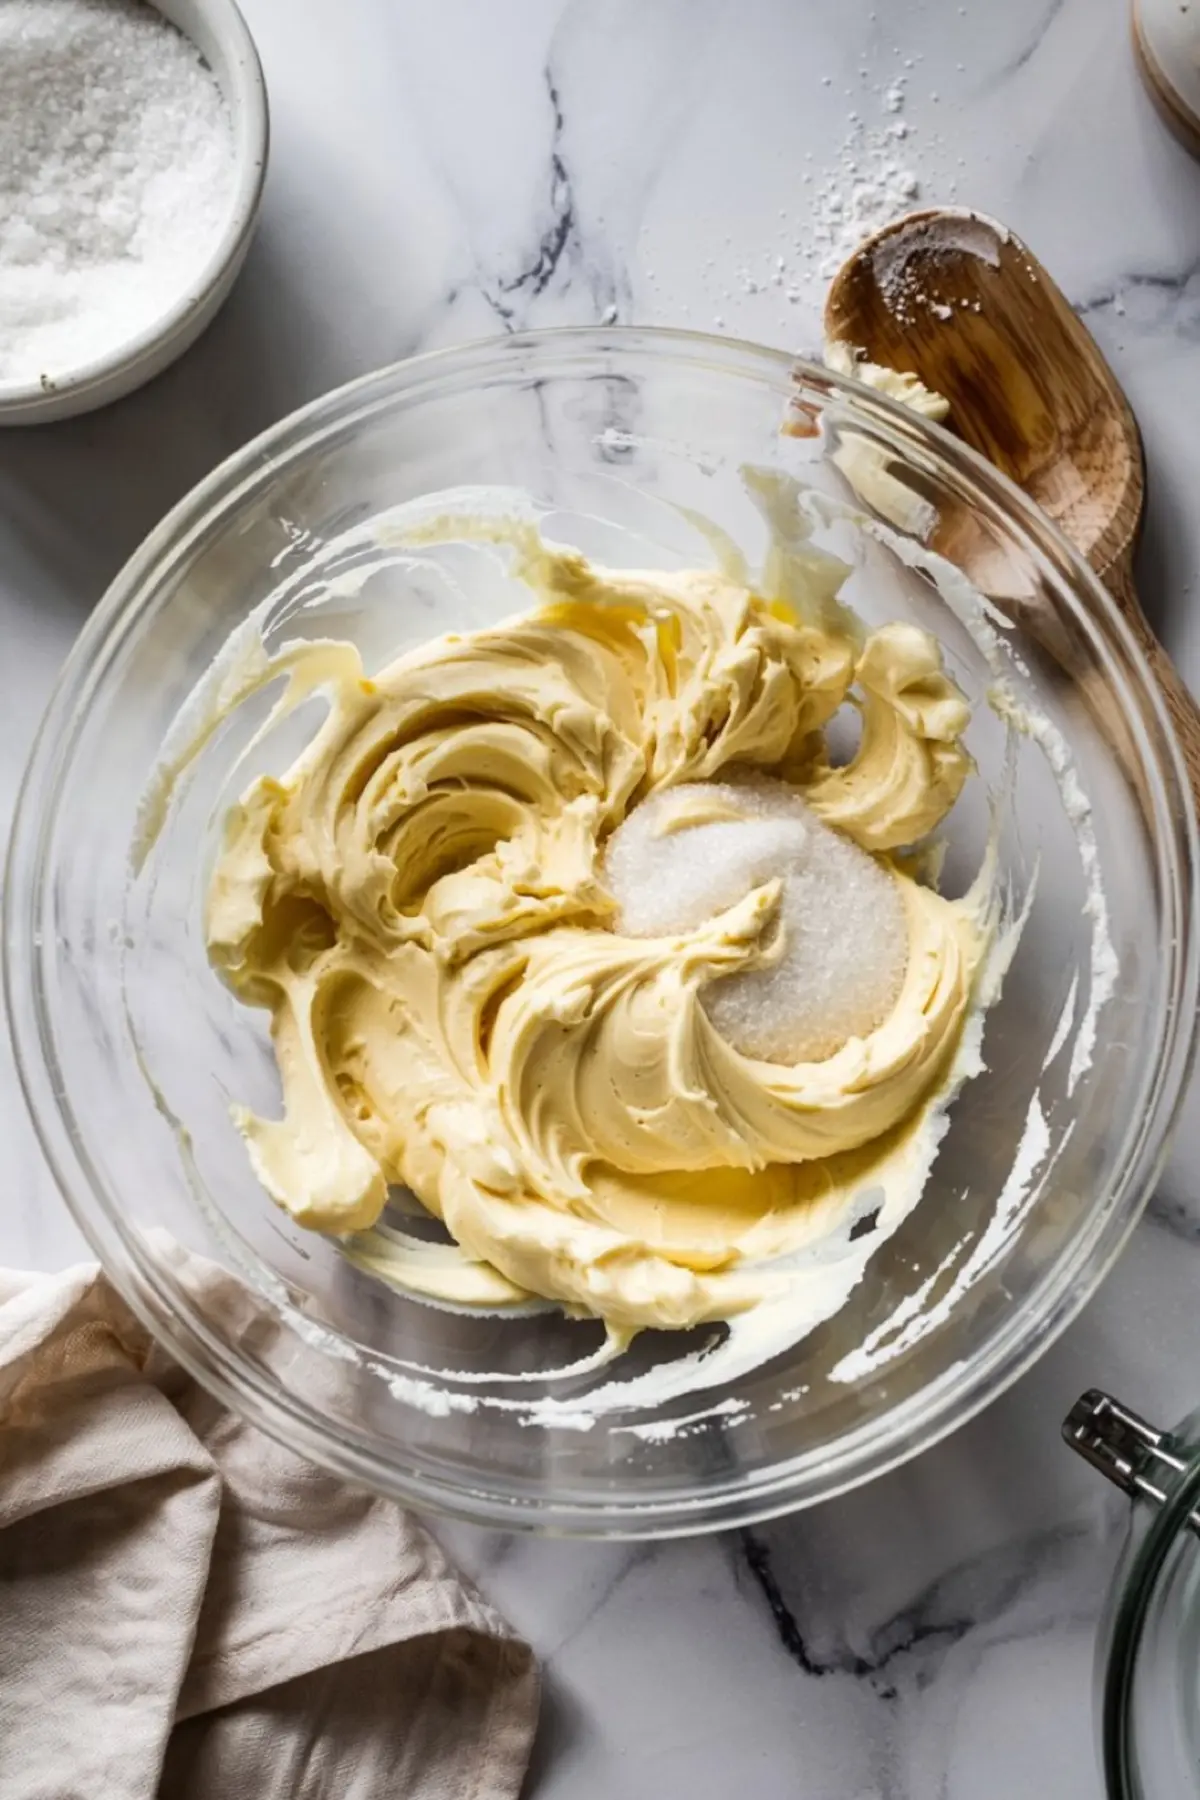
Butter and sugar need time. I beat mine at medium for three full minutes until the mixture lightens and grows. If you rush this step, the whole cake suffers. The butter needs to grab the sugar and hold it, or the structure falls apart.
After creaming, eggs must be fully blended, one at a time. Vanilla follows, folded in gently. I keep a rubber spatula nearby and scrape down the bowl twice.
Milk Alone Isn’t Enough
I mix whole milk and sour cream for the wet ingredients. Milk brings moisture, but sour cream adds density and control. The two together balance lift and softness.
I’ve baked versions with only milk and they tend to dome unevenly. Sour cream helps the batter relax without spreading. It gives you even layers with golden edges and a consistent crumb throughout.
If you’re tempted to substitute yogurt, I’ve tried that. The texture shifts closer to muffin than cake. Save yogurt for snacking cakes. Stick with sour cream here.
Alternating Wet and Dry for an Even Crumb
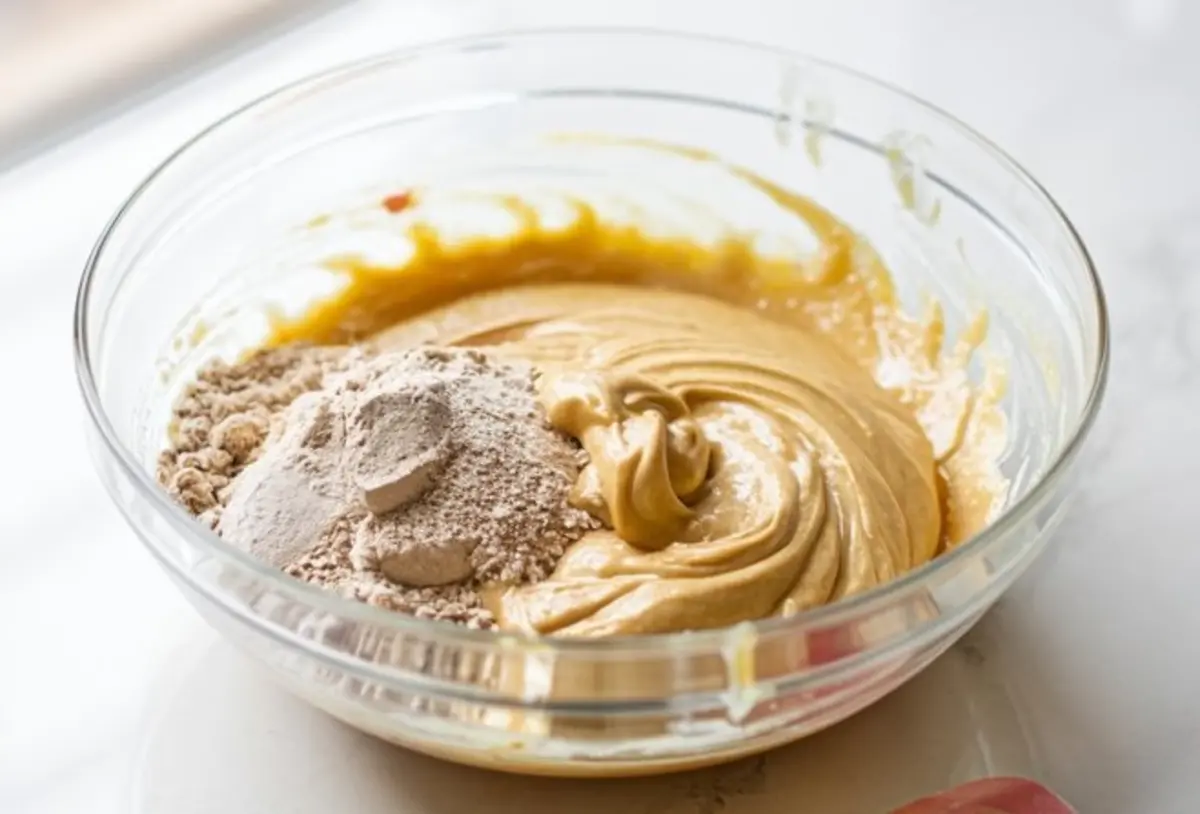
After whisking the dry ingredients, I add them to the creamed butter in three parts, alternating with the milk and sour cream mixture.
I begin and end with the dry ingredients. That helps the batter stay stable and prevents the liquid from overwhelming the structure.
I mix on low speed after each addition and stop as soon as the flour disappears. The batter looks thick but smooth, and it spreads easily into the pans without sinking or separating.
Bake and Cool Without Guesswork
My cakes bake at 350°F for 30 to 35 minutes. I start checking at 30. A toothpick should come out with moist crumbs, not wet batter.
Once out, I let the pans rest for 10 minutes. This small pause helps the edges pull cleanly. I then turn them onto racks and leave them alone until fully cool.
Warm cakes trap steam. If you frost too early, it slides. Always wait.
Buttercream That Holds Without Crusting
I beat unsalted butter until creamy, then sift in powdered sugar cup by cup. Once that blends, I add heavy cream, vanilla, and a pinch of salt.
The final step matters. I whip it on high for 4 minutes. That aerates the frosting and makes it spreadable without melting on touch.
If it feels stiff, a tablespoon more cream helps. But don’t overdo it or the frosting turns loose.
Should You Use Butter or Oil for a Super Moist Vanilla Cake?
Moisture matters more than height or fluff. I’ve tested this recipe with both butter and oil to see what truly delivers that soft crumb people search for in a super moist vanilla cake.
Oil gives you moisture right out of the oven. But it doesn’t carry flavor. By the second day, the crumb starts to feel limp. Butter, on the other hand, holds its shape and keeps its flavor deep and steady.
The cake stays soft, but you also get that full vanilla taste with every bite.
In my experience, the combination of butter and sour cream gives this cake the edge. It stays tender without turning greasy, and it keeps its texture even after a night in the fridge.
If you’re comparing recipes labeled moist vanilla cake or best vanilla cake, this one balances flavor and structure better than most. You don’t have to trade one for the other.
Frost, Stack, and Store Like You’ve Done This Before
Level your layers first. A serrated knife makes it easy. I spread frosting evenly on the first layer, then gently place the second one on top. Press down just enough to set.
For clean sides, I always crumb coat first. A thin layer locks in loose bits. After chilling 15 minutes, I finish the frosting and smooth with an offset spatula.
Store the finished cake at room temperature for up to two days. If your kitchen runs hot, refrigerate but let it sit out 30 minutes before serving.
Leftover slices stay soft wrapped in parchment, stored in an airtight container.
How I Serve It and Why Simplicity Wins
I often serve this two-layer cake with fresh berries or a spoon of lightly sweetened cream. The cake already carries enough richness. Avoid overloading it.
This base holds well under decoration. I’ve used it for birthday cakes, layered it with jam, and even adapted it for shaped cakes like my Easy Minecraft Cake.
If you want to build more variation from this same batter, swap the vanilla for almond extract and pipe with chocolate buttercream instead. Or go richer still with my Chocolate Mousse Cake.
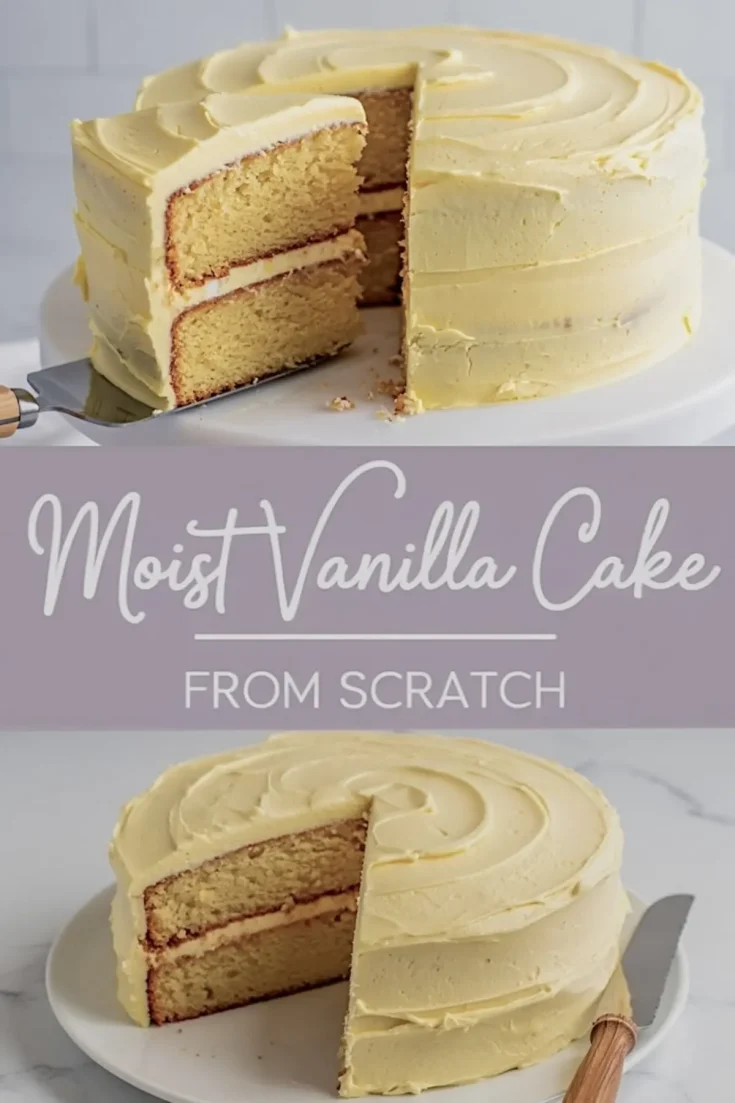
Save This Vanilla Cake Recipe for Later
This two-layer vanilla cake doesn’t need convincing. It stands up to celebration and slices clean every time.
Pin it now so you’ll have it ready next time you want a cake that speaks clearly. And if you make it, I’d love to hear in the comments how it turned out.
Did you frost it plain or stack it high? Did you pair it with berries, chocolate, or something else?
Your thoughts might help the next baker. Let’s keep sharing.
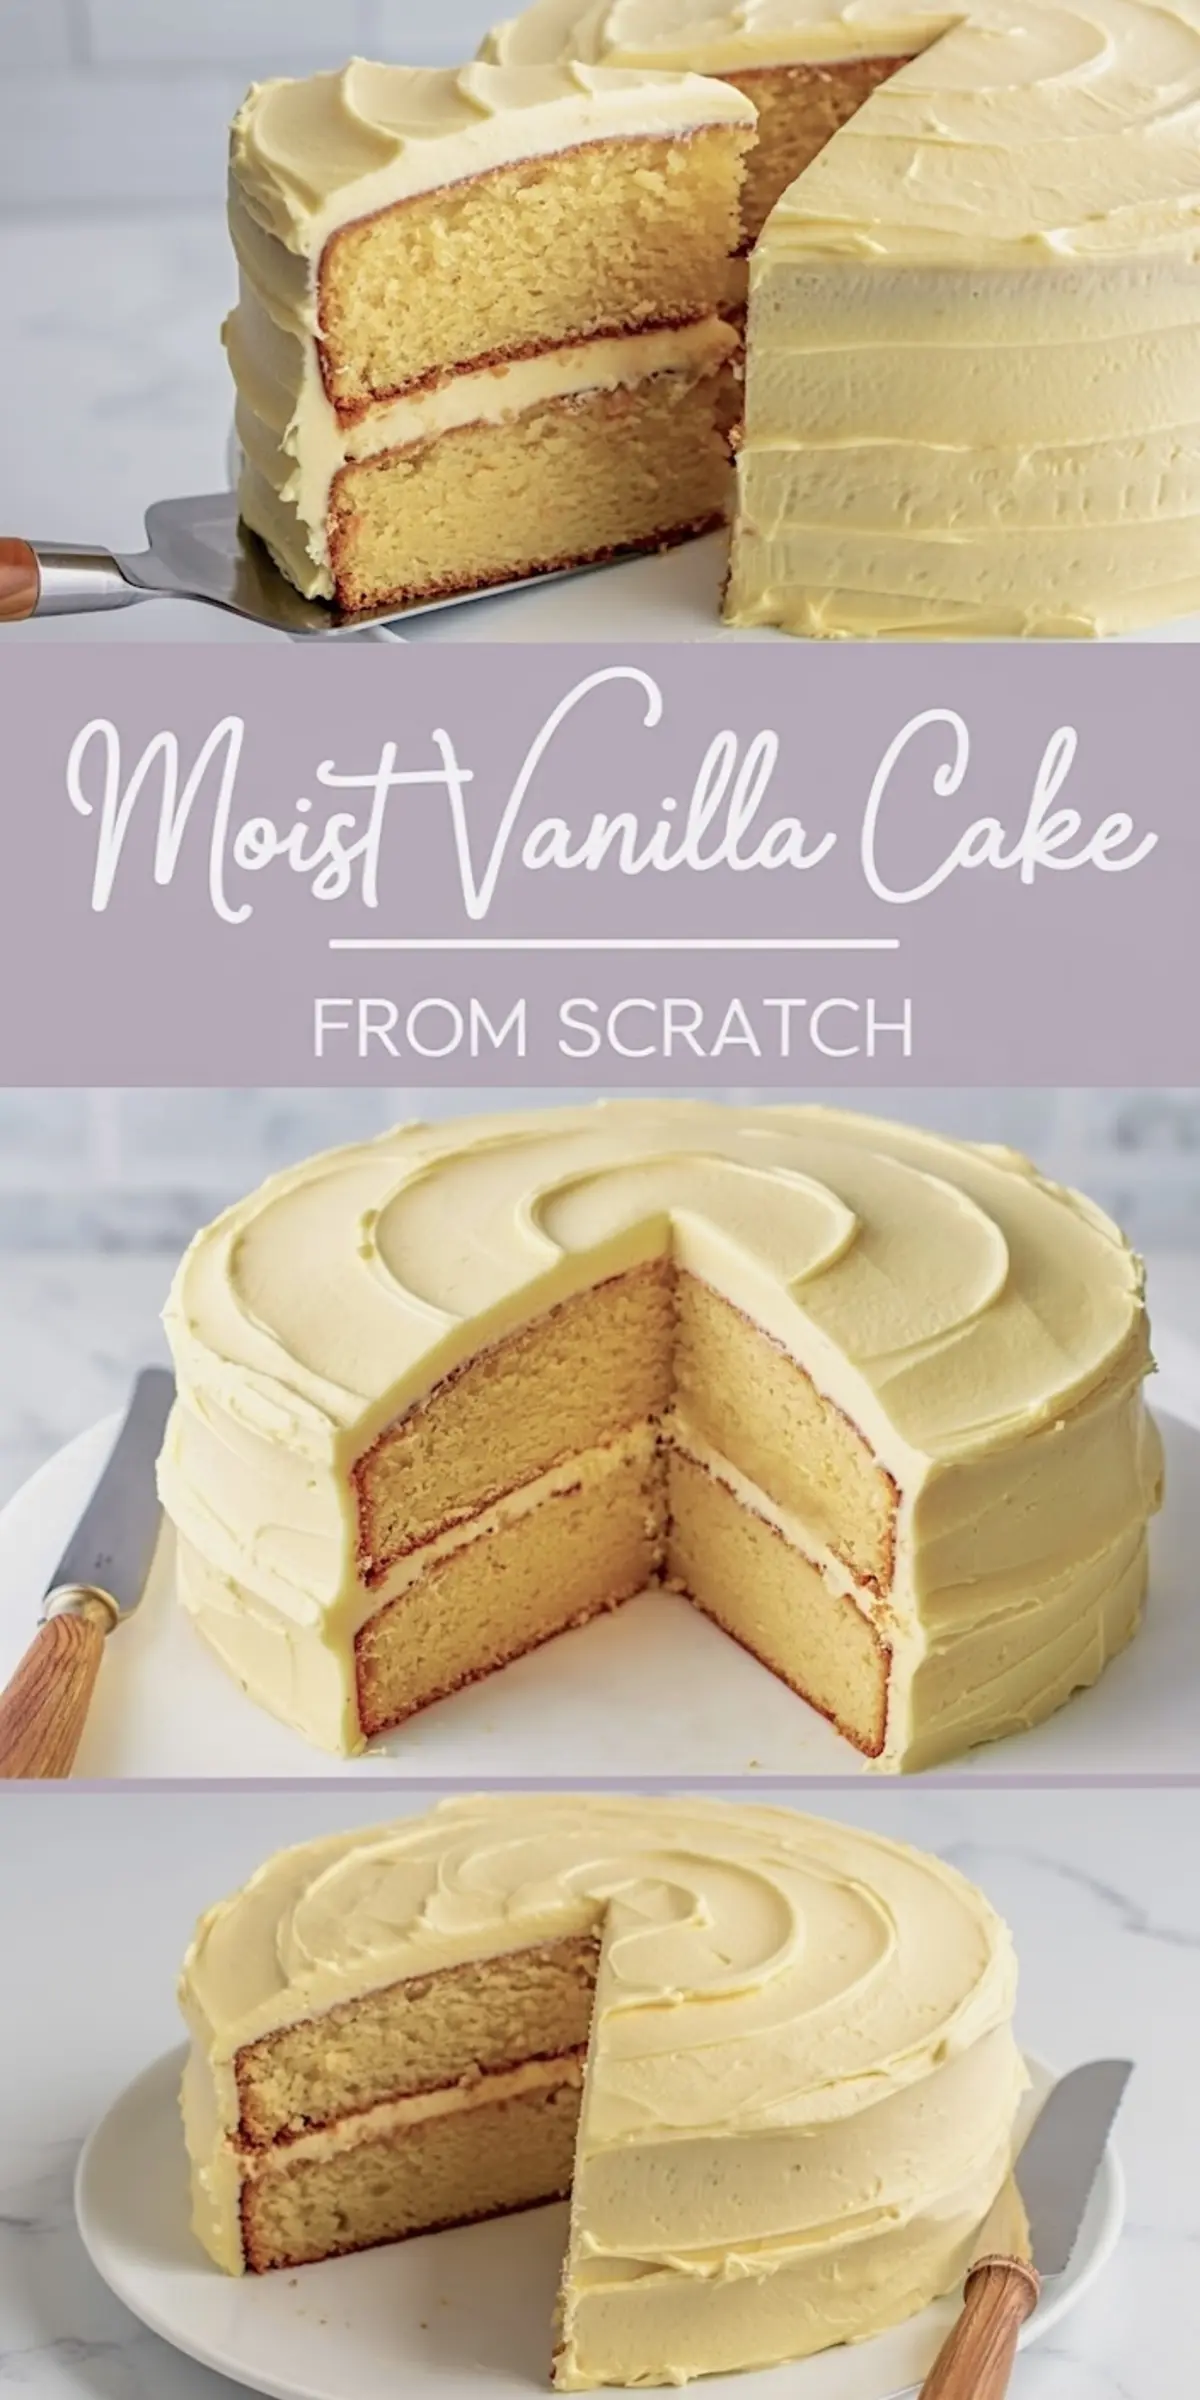
Vanilla Cake Recipe
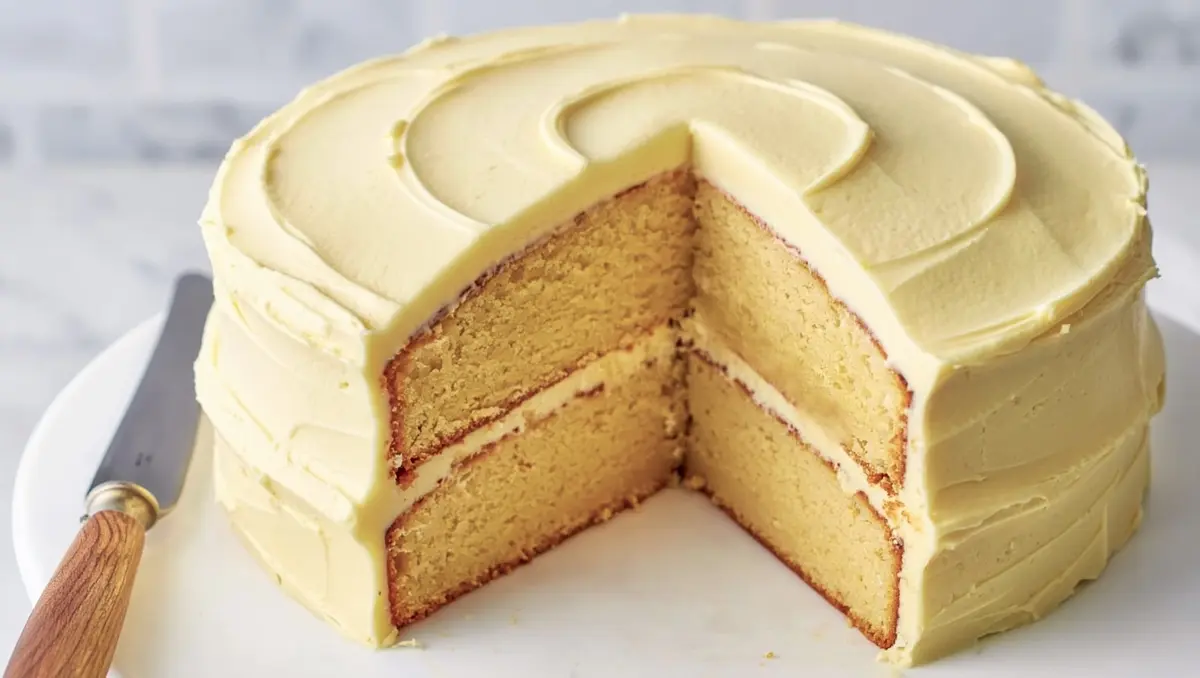
A classic vanilla cake with a soft crumb and buttery vanilla flavor, paired with a light, fluffy vanilla buttercream. The cake layers are moist from a combination of whole milk and sour cream, and the frosting spreads smoothly for easy decorating.
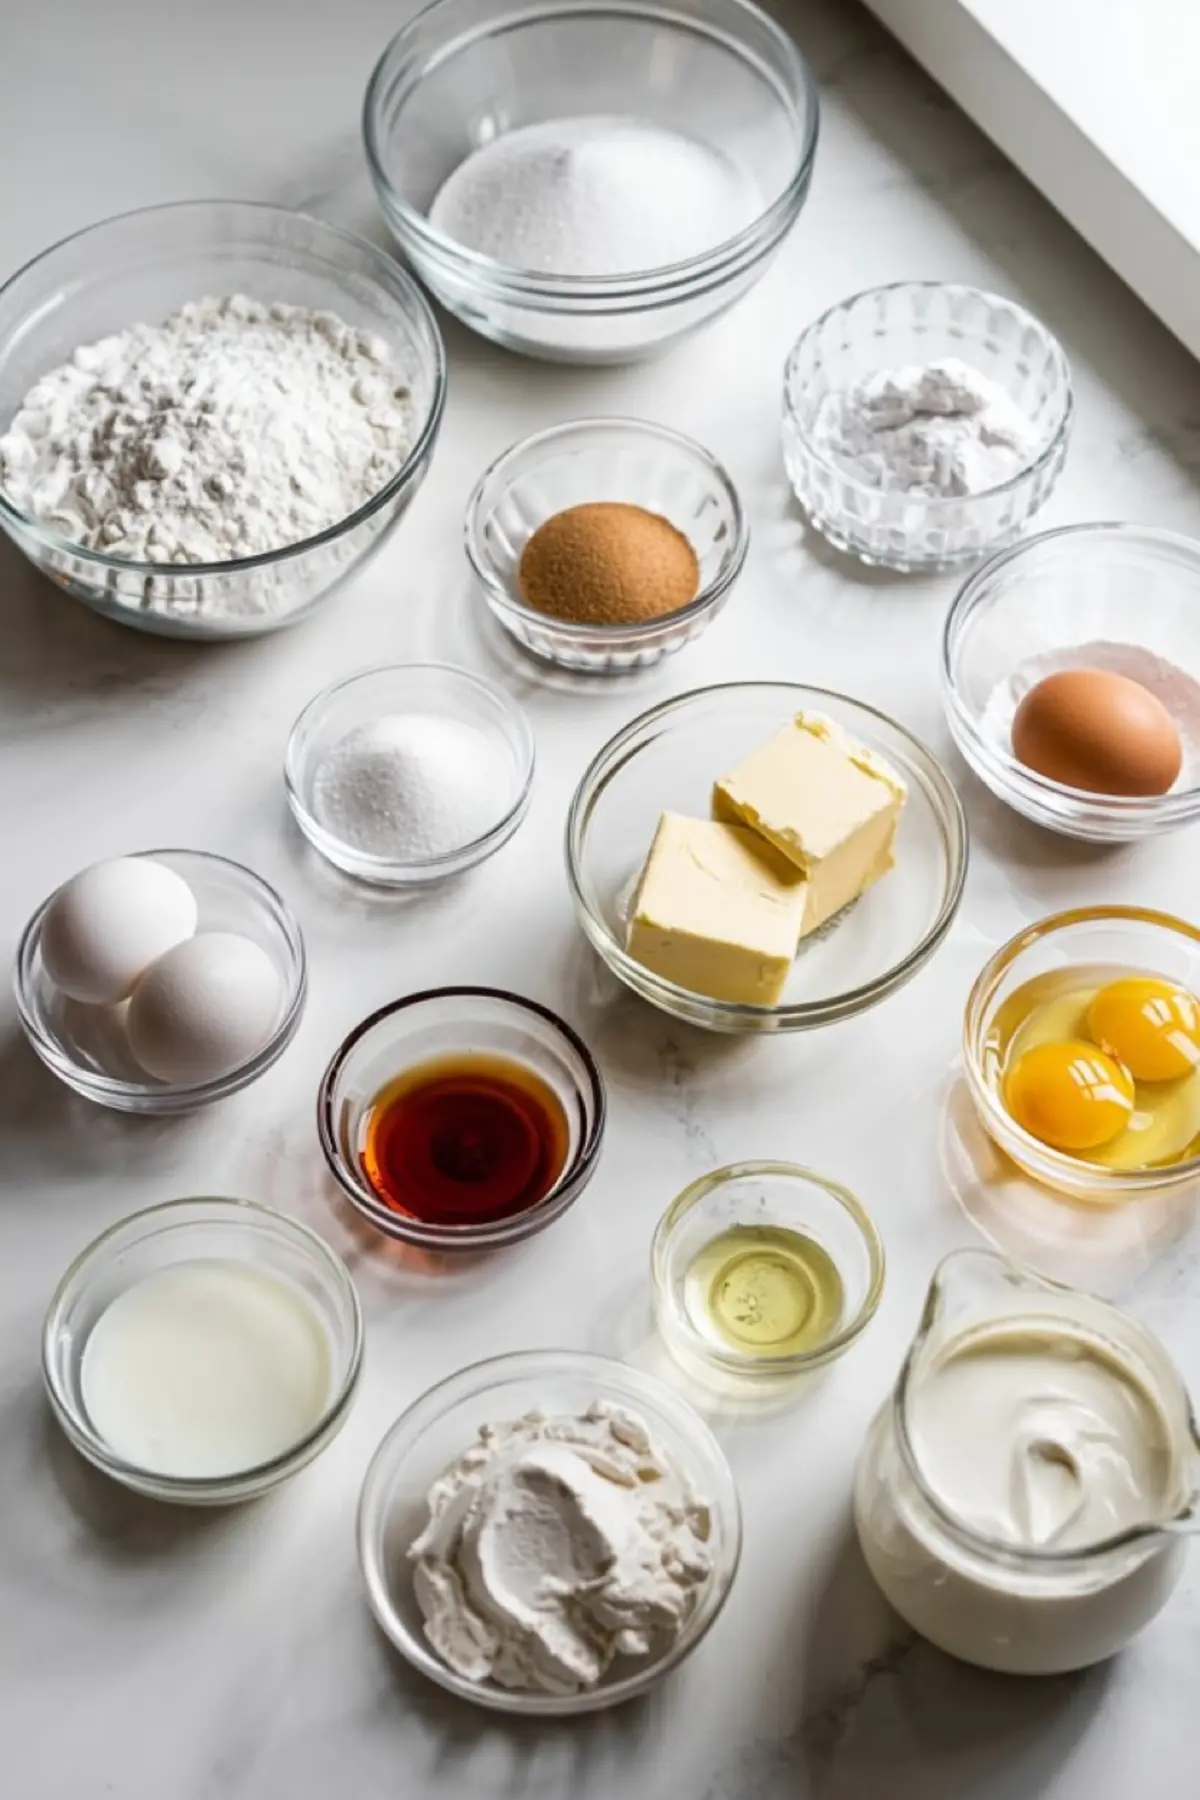
Ingredients
- FOR THE VANILLA CAKE
- 2 ½ cups (312g) all-purpose flour
- 2 ½ tsp baking powder
- ½ tsp baking soda
- ½ tsp salt
- ¾ cup (170g) unsalted butter, room temperature
- 1 ¾ cups (350g) granulated sugar
- 4 large eggs, room temperature
- 1 tbsp pure vanilla extract
- 1 cup (240ml) whole milk, room temperature
- ½ cup (120ml) sour cream, room temperature
- FOR THE VANILLA BUTTERCREAM
- 1 cup (227g) unsalted butter, room temperature
- 4 cups (480g) powdered sugar, sifted
- 2 tbsp heavy cream or milk
- 1 ½ tsp pure vanilla extract
- Pinch of salt
Instructions
- PREPARE THE PANS AND OVEN: Preheat the oven to 350°F (175°C). Grease and flour two 8-inch round cake pans and line the bottoms with parchment paper to ensure easy release after baking.
- MIX THE DRY INGREDIENTS: In a medium bowl, whisk together the all-purpose flour, baking powder, baking soda, and salt. Set aside for later use.
- CREAM THE BUTTER AND SUGAR: In a large mixing bowl, beat the unsalted butter and granulated sugar on medium speed for 3 to 4 minutes, until the mixture becomes light in color and fluffy in texture.
- ADD EGGS AND VANILLA: Add the eggs one at a time, beating well after each addition. Scrape down the sides of the bowl, then mix in the vanilla extract until fully incorporated.
- COMBINE MILK AND SOUR CREAM: In a separate bowl or measuring jug, stir together the whole milk and sour cream until smooth. This mixture helps keep the cake moist and tender.
- ALTERNATE WET AND DRY INGREDIENTS: Add the flour mixture to the creamed butter in three additions, alternating with the milk and sour cream mixture. Begin and end with the dry ingredients. Mix on low speed and stop as soon as the batter is combined to avoid overmixing.
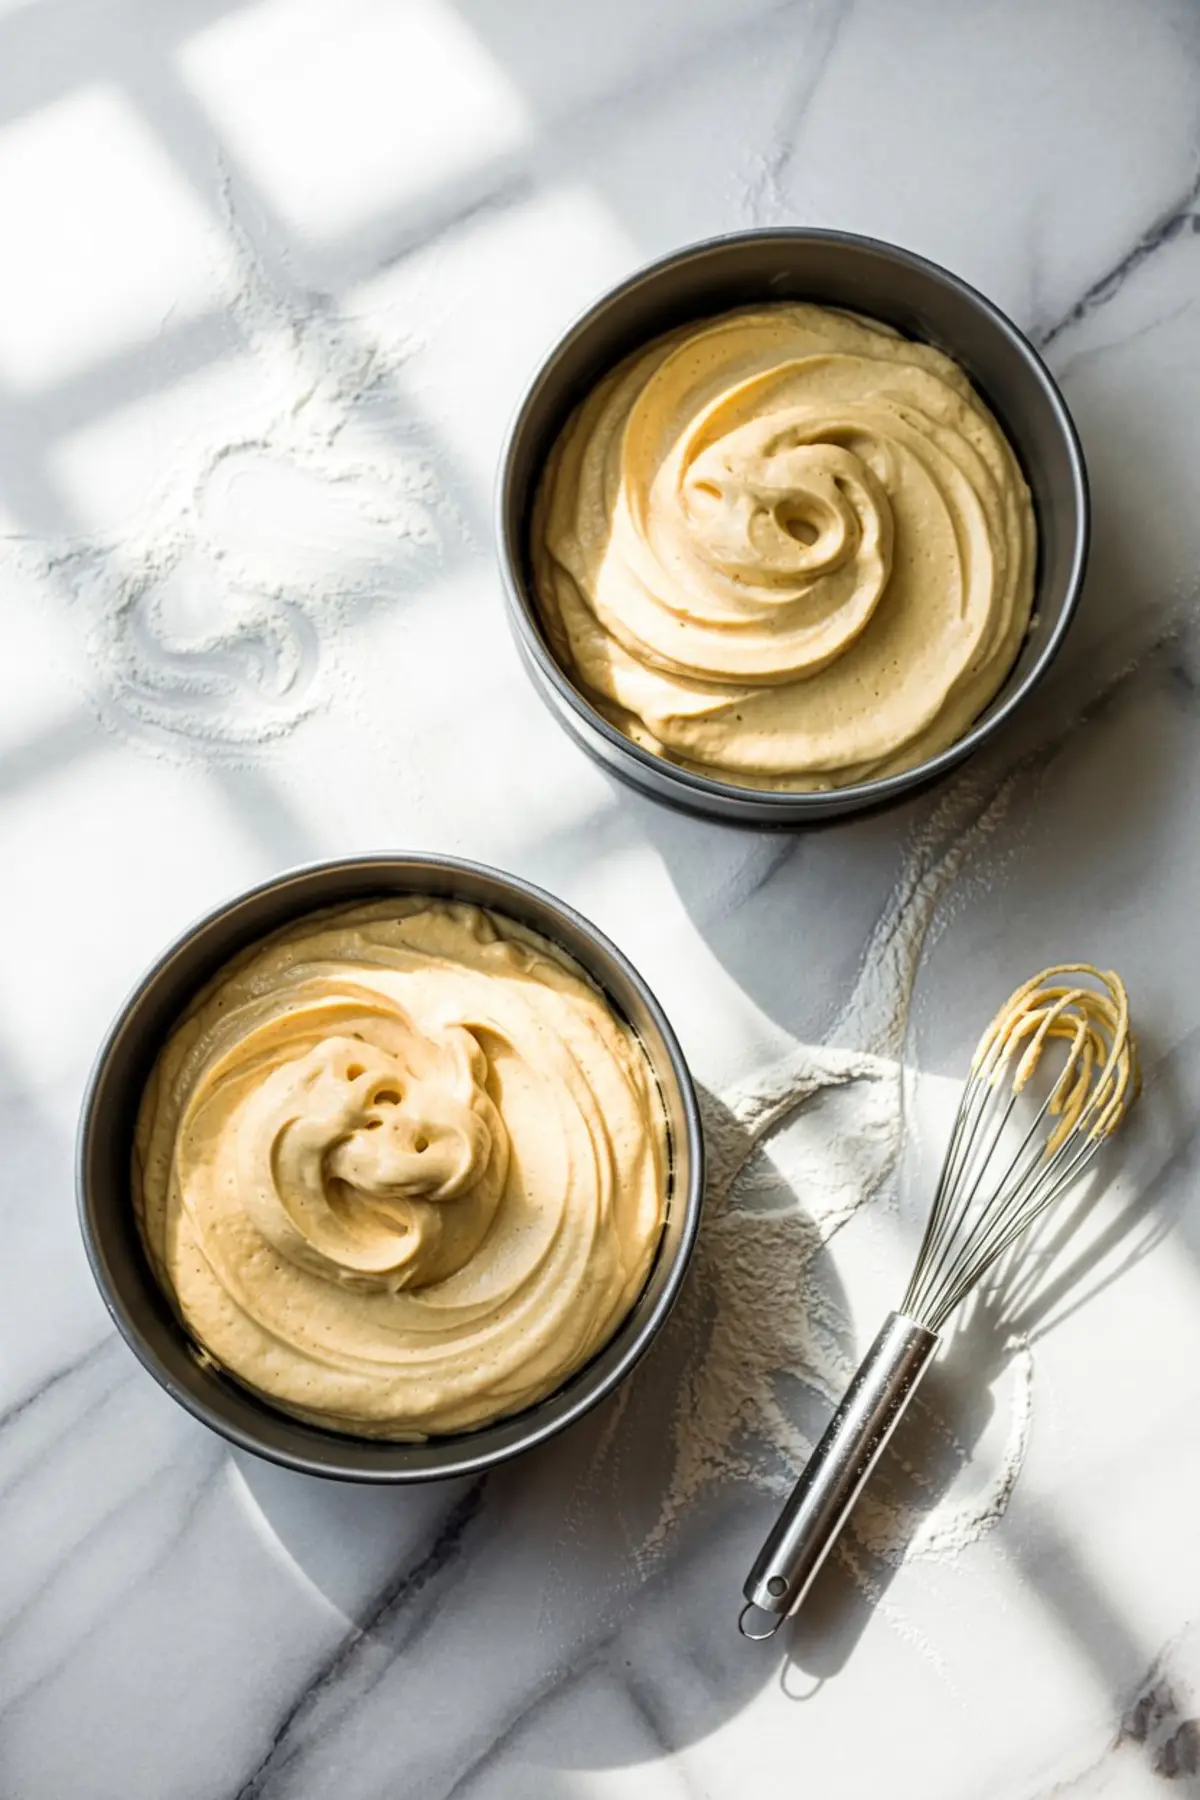
- DIVIDE AND BAKE: Divide the batter evenly between the prepared pans and smooth the tops with a spatula. Bake for 30 to 35 minutes, or until a toothpick inserted into the center comes out clean.
- COOL THE CAKES: Let the cakes cool in the pans for 10 minutes, then turn them out onto a wire rack. Allow them to cool completely before frosting.
- MAKE THE BUTTERCREAM: In a large bowl, beat the butter on medium speed until creamy and smooth. Add the powdered sugar gradually, one cup at a time, mixing on low speed until combined.
- FINISH THE FROSTING: Add the vanilla extract, salt, and cream or milk. Beat on high speed for 3 to 4 minutes until the frosting is fluffy and spreadable. If the frosting is too thick, add more cream one tablespoon at a time.
- LEVEL AND LAYER THE CAKE: If needed, trim the tops of the cake layers to level them. Place one layer on a cake stand or serving plate and spread a generous layer of buttercream on top.
- STACK AND CRUMB COAT: Place the second cake layer on top and press down lightly. Apply a thin layer of frosting around the cake to seal in crumbs. Chill the cake for 15 minutes to set the crumb coat.
- FROST AND DECORATE: After chilling, apply the final coat of buttercream. Smooth the sides and top with an offset spatula. Decorate as desired and serve.
Notes
Ensure all dairy ingredients are at room temperature for better emulsification. Cake layers can be made a day ahead and wrapped tightly once cooled. Frosting can be made in advance and re-whipped before use.
Nutrition Information
Yield
12Serving Size
1Amount Per Serving Calories 214Total Fat 7gSaturated Fat 4gTrans Fat 0gUnsaturated Fat 3gCholesterol 80mgSodium 335mgCarbohydrates 29gFiber 1gSugar 9gProtein 6g
Loved this recipe! I substituted sour cream with ,vanillia siggis yogurt witch taste alot like sour cream and I didn’t have enough vanilla so I put a scoup of vanillia pudding powder. Turned out fabulous 👌
Julie, your tweaks make perfect sense. I lean on Siggi’s vanilla yogurt too when the sour-cream tub runs empty. The tang and fat keep the crumb tender. The spoonful of pudding mix adds botg starch and vanilla, so the cake sets a bit softer and stays moist; clever way to stretch the extract. Next time you might shave a tablespoon off the sugar to keep the sweetness in check, but if it tasted right to you then you’ve already dialed it in 😊
Very good recipe! The cake came out perfect! I made this for my little princess, so I ended up doing a Nutella buttercream icing, and it complimented the cake perfectly. Thank you for the recipe!!!
This made me smile. Nutella buttercream sounds like a dream with this cake, and I love that you made it for your little girl. Feels good when it all comes together like that, doesn’t it? Thanks for sharing how you made it special.