I remember my first taste of a real chocolate shake at a small ice cream stand near my childhood home. My father handed me a paper cup topped with a cloud of cream, and the flavor took hold of my senses. That memory remains vivid, and I have spent many evenings trying to recreate that sensation in my own kitchen. You can now experience your own version without fuss or fancy tools, using simple steps that bring consistent sweetness and smooth texture.

Following a special diet?
Every recipe on this site can be converted to gluten-free, vegan, dairy-free, keto, nut-free or egg-free with adjusted ratios so nothing falls flat.
Try the Recipe Converter →My Personal Connection to Chocolate Shakes
I have chased that nostalgic feeling since the day I watched melted chocolate swirl in a big metal blender. My first attempts at home involved random scoops of ice cream and too much milk. The result tasted decent, but it lacked the thick consistency I craved. Over time, I learned that the choice of ingredients matters. Cold milk, quality chocolate ice cream, and just enough chocolate syrup create a base that stands on its own. A hint of vanilla extract makes the flavor richer. My mother would slip a drop or two of vanilla into most of her chocolate desserts, and I have followed that tradition. The small addition elevates the entire shake.
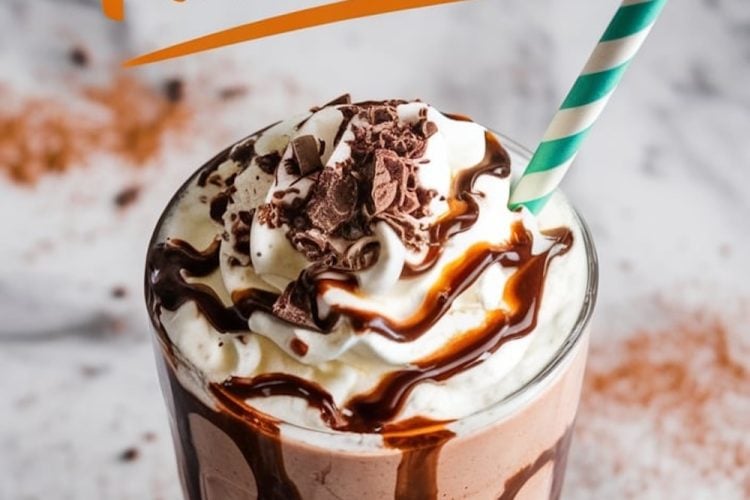
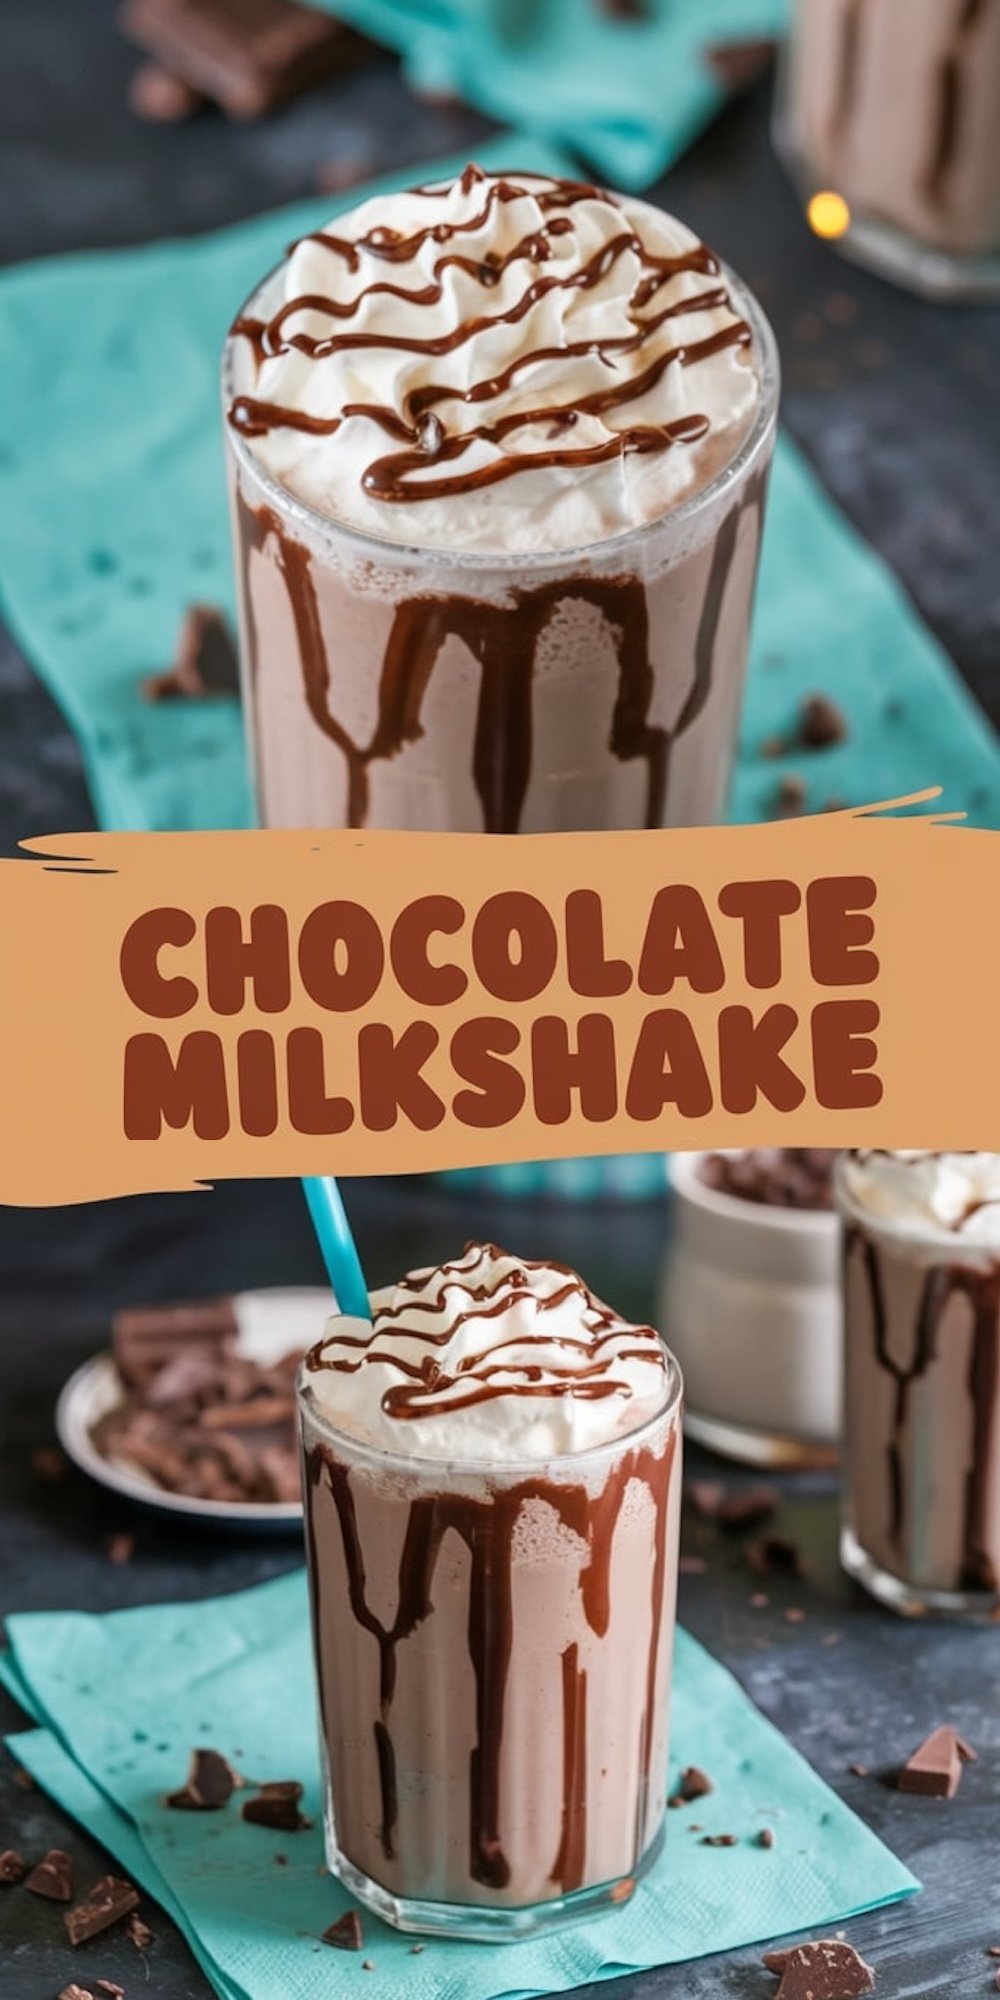
My friends often request a glass during movie nights or game nights. They come in expecting a plain drink, then leave impressed by the final look: chocolate drizzle forming streaks along the glass, a pile of whipped cream on top, and a gentle dusting of cocoa. That presentation impresses guests while staying simple. I enjoy that mix of practicality and flair. A modest swirl of extra syrup can turn the final product into a small piece of edible art.
Key Ingredients for a Creamy Blend
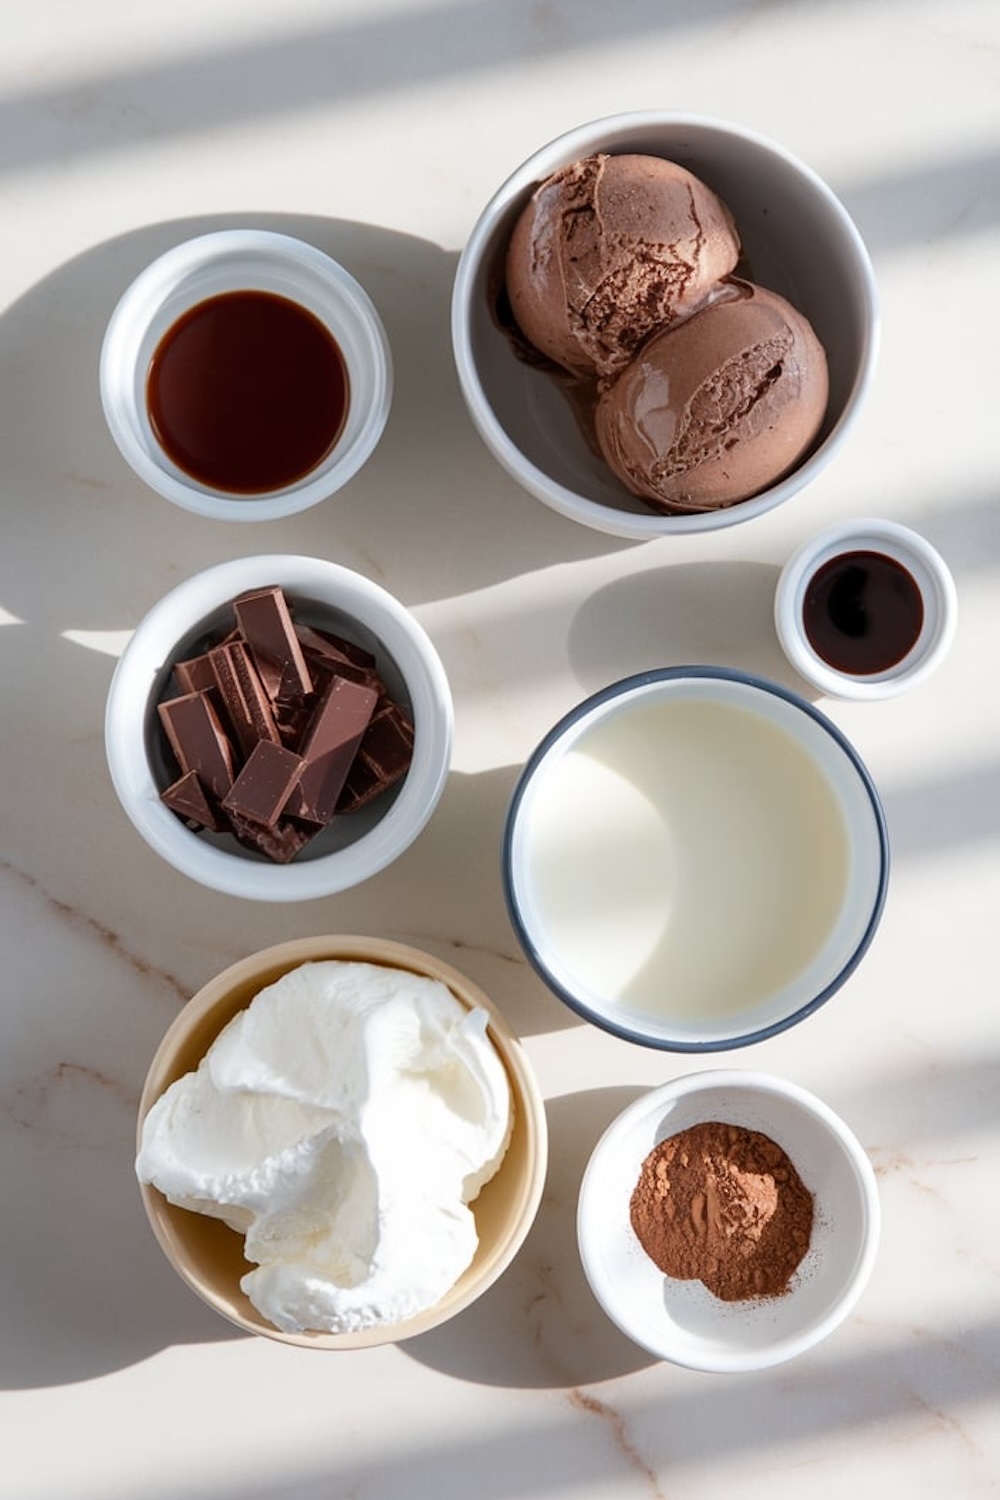
Fresh whole milk gives the shake a full-bodied feel. Ice cream also plays a major part, so a soft, chocolatey variety does best. Three or four scoops work well, and I add more if I notice the mix getting too runny. Chocolate syrup offers a direct punch of flavor, plus it helps the color. A teaspoon of vanilla extract rounds out the taste. Whipped cream can come from a can or a homemade batch. I prefer a homemade version if I have time, because the taste is richer and the control over sweetness is in my hands.
The key is balancing the ratio of milk to ice cream. Some days call for a denser experience, especially if I plan on sipping the shake with a spoon. Other days call for a thinner drink that flows through a straw. I keep extra ice cream on the counter in case I need to thicken the consistency mid-blend. In my early trials, I tried using low-fat milk, but I noticed the difference. The texture felt a bit watered down. A chocolate shake needs that creamy element for complete satisfaction.
Steps for a Satisfying Sip
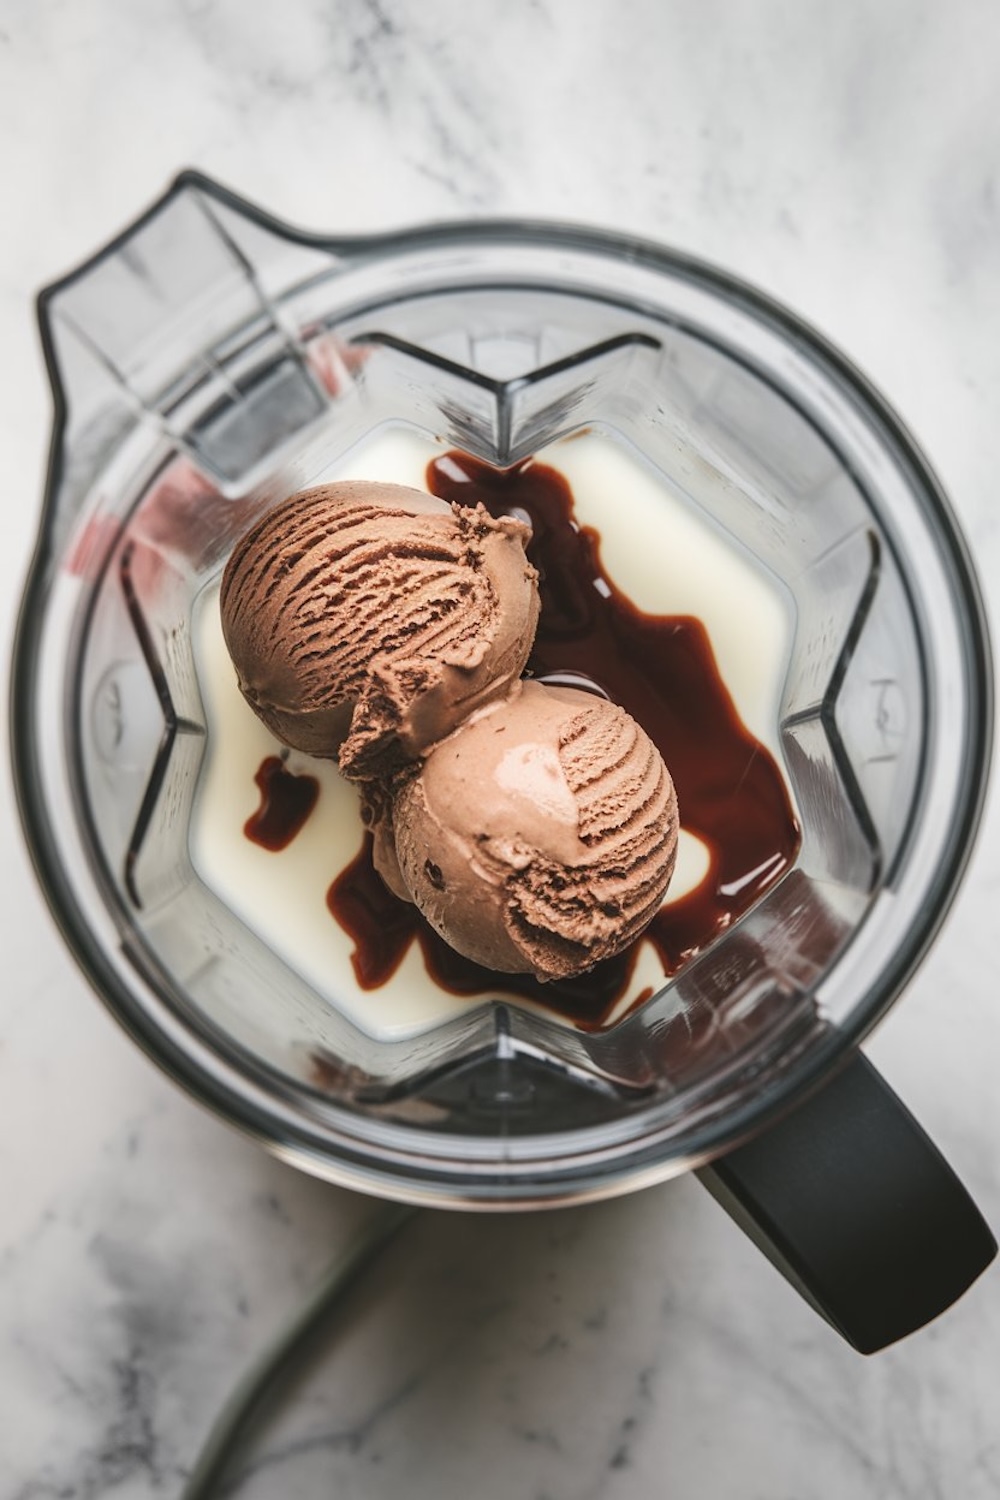
I always start by chilling my glass. That little trick keeps the milkshake cold for a longer period. This step helps the chocolate drizzle stick to the glass as well. A quick five-minute freeze of the glass is enough. My blender is set up with all the ingredients nearby. I pour the milk first, followed by the chocolate ice cream, chocolate syrup, and the dash of vanilla. A few pulses break everything up, and then I let the blender run for about twenty seconds. The sound of swirling ice cream signals that it’s almost ready.
The aroma of fresh chocolate emerges once I stop the blender. I lift the lid to check the thickness and color. If the mixture looks a bit pale, I add more syrup. If it seems too thin, I add half a scoop of ice cream. One more quick blend adjusts the shake to my preference. That’s the magic of a homemade recipe. Small changes can make a big difference in the final taste.
Glazing the Glass with a Chocolate Drizzle
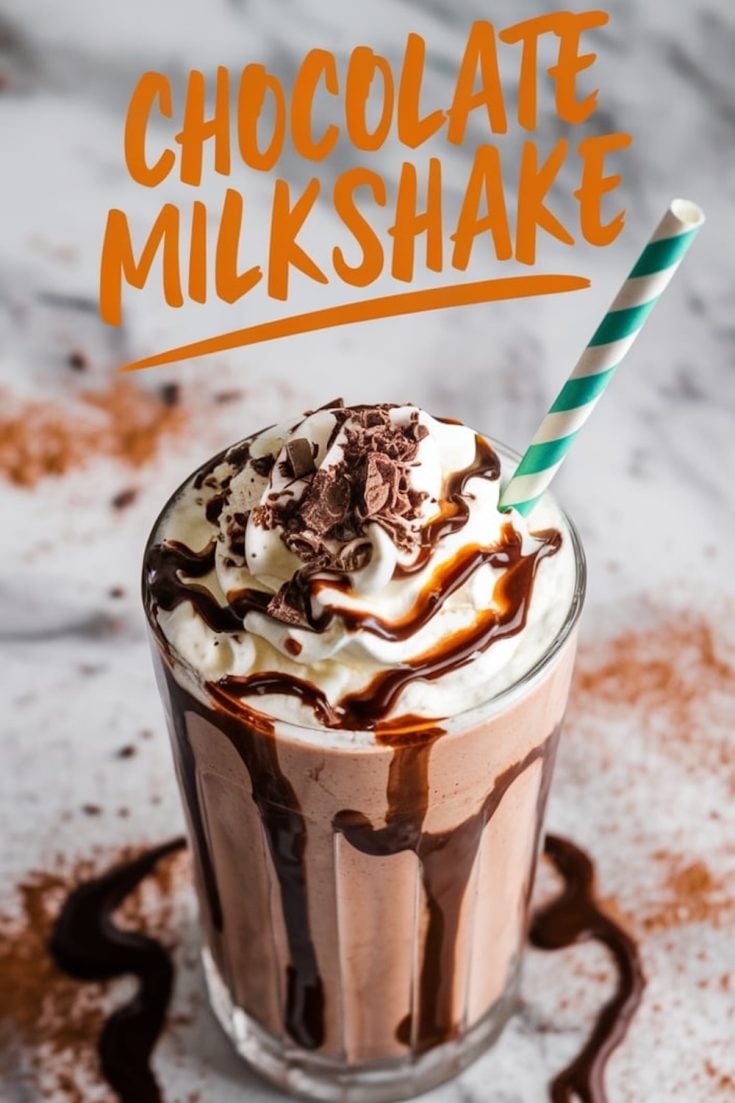
I tilt the chilled glass carefully, then I pour a thin stream of chocolate syrup near the rim. The syrup slides down the sides and sets into delicate stripes. Freezing the glass again for a few extra minutes helps the syrup harden. That detail gives the milkshake an appealing design that looks professional. My younger relatives love this part, because it turns a plain dessert into something that resembles a cafe creation. Sometimes I melt real chocolate chips for a thicker drizzle, but store-bought syrup works fine.
A friend once told me she worried that the syrup might make the drink too sugary. I believe the final taste still depends on how much overall syrup goes in the blender. The drizzle along the glass is more of a bonus. I often use a smaller stream of chocolate drizzle if I want to keep the sweetness balanced. Visual appeal matters, and this small step adds a playful element.
Whipped Cream Topping for Extra Delight
A swirl of whipped cream on top completes the look. I’ve tested different styles over time. Sometimes I use a piping bag to create fancy peaks, and other times I just spoon it over and shape it with a quick twist. Friends often ask if whipped cream is optional. I think it adds a light contrast to the chocolate flavor beneath. A fine dusting of cocoa powder or grated chocolate ties it all together and gives a hint of surprise. My cousin swears by a light sprinkle of salt on top, but that’s an acquired taste. I’ll let you decide.
This step also helps if you plan to serve these shakes at a gathering. A tall glass with whipped cream overhead looks appealing on a table. Guests see the drizzle inside the glass, then they spot the whipped swirl. I find that people often take their first sip with their eyes before the straw even reaches their lips. Presentation does half the work in winning hearts.
Taste Adjustments and Simple Tweaks
I keep the sweetness under control by adjusting the chocolate syrup and the vanilla amount. Some days I skip vanilla altogether if the ice cream I use already includes strong flavoring. Extra scoops of ice cream help if I end up with a thin consistency. Higher-quality syrups tend to produce deeper chocolate notes, so I keep a bottle of premium syrup for special treats.
Children often love adding sprinkles or candy bits on top. My niece once requested a peppermint version. I swapped the vanilla extract with a drop of peppermint essence, and it tasted like a holiday milkshake. My neighbors tried a coffee twist by blending a small amount of cooled espresso in place of half the milk. They reported a mocha-like experience. Customizing the recipe remains an easy process. The basic method stays the same, so feel free to explore.
Other Chocolate Desserts for Your Sweet Tooth
A well-rounded kitchen stays prepared to satisfy any craving. A great next step involves trying a batch of Chocolate brownies with nuts. Those crunchy bits add an extra layer of fun. Another idea is Chocolate croissants if you want a flaky pastry to pair with your milkshake. A warm bite of croissant plus a cold sip of shake creates a contrast that I find appealing. A final suggestion is Chocolate donuts that bring a classic bakery delight right into your kitchen. Donuts paired with a milkshake can feel like a decadent breakfast or an indulgent dessert.
I recall a weekend brunch with my extended family. We lined up different chocolate dishes on the table, then placed this milkshake in the center. The combination of brownies, croissants, donuts, and shakes produced an exciting buffet of sweet flavors. Everyone sampled a bit of each treat, and we ended the meal in laughter and contentment.
Pin This Recipe and Join the Conversation
I often share my kitchen trials with friends online. You can do the same by saving this recipe on your Pinterest board, then revisiting it whenever you feel a craving for a creamy chocolate delight. Share your versions in the comments. Let me know if you tried a flavor twist, or if you have a trick for making the drizzle more eye-catching. I love hearing stories from others who appreciate the same dessert traditions. That sense of community keeps me motivated to explore more ideas and come up with fresh variations.
I hope you enjoy the feeling of lifting that frosty glass, sipping through the straw, and savoring a bit of sweet nostalgia. Each sip reminds me of simpler moments, and I believe you can create your own memories by trying this recipe at home. A chocolate milkshake stands as a classic dessert that rarely disappoints. My final piece of advice is to get creative and let your personal style guide the finishing touches.
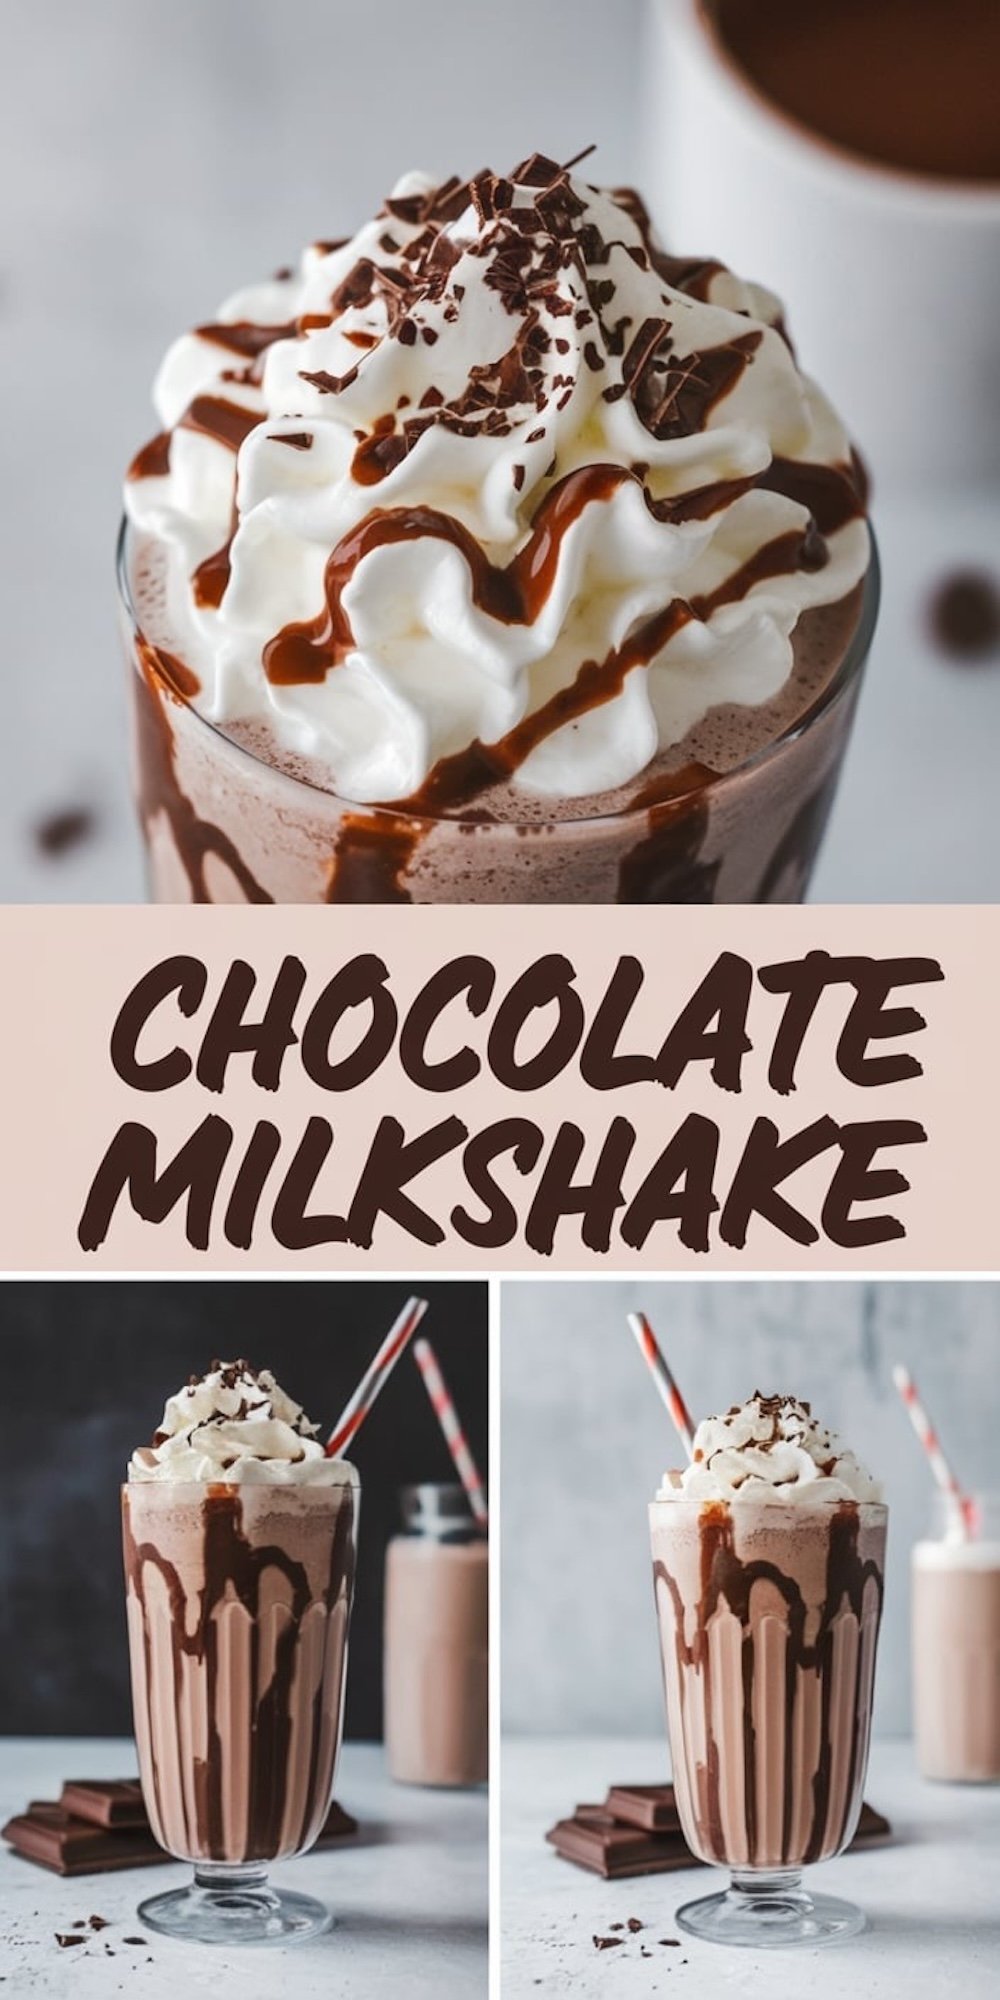
Chocolate Milkshake with Whipped Cream Recipe
A creamy chocolate milkshake featuring a decorative chocolate drizzle and a whipped cream topping. This simple recipe combines rich flavors and a visually appealing presentation.
Ingredients
- FOR THE MILKSHAKE
- 2 cups cold milk (whole milk works best for creaminess)
- 4 scoops chocolate ice cream
- 3 tablespoons chocolate syrup (plus extra for decoration)
- 1 teaspoon vanilla extract
- 1/4 cup whipped cream (store-bought or homemade)
- FOR CHOCOLATE DRIZZLE ("LEGS")
- 1/4 cup chocolate syrup (or melted chocolate)
- Optional: Pinch of cocoa powder for garnish
Instructions
- PREPARE THE GLASS WITH CHOCOLATE "LEGS": Tilt a clean, tall glass slightly and pour a thin stream of chocolate syrup near the rim. Rotate the glass to create streaks down the sides. Place the glass upright in the freezer for 5 minutes to set the drizzle.
- MAKE THE MILKSHAKE: Combine milk, chocolate ice cream, chocolate syrup, and vanilla extract in a blender. Blend until smooth. For a thicker texture, add an extra scoop of ice cream.
- ASSEMBLE THE MILKSHAKE: Remove the prepared glass from the freezer. Pour the milkshake into the glass carefully to avoid disturbing the chocolate drizzle. Top with a swirl of whipped cream.
- ADD FINAL DECORATIONS: Drizzle additional chocolate syrup over the whipped cream. Optionally, sprinkle chocolate shavings or a pinch of cocoa powder on top. Add a striped straw or spoon to complete the presentation.
Notes
To enhance the flavor, use high-quality chocolate syrup or melted chocolate for the drizzle.
Adjust sweetness by varying the amount of chocolate syrup in the milkshake.
Nutrition Information
Yield
3Serving Size
1Amount Per Serving Calories 603Total Fat 19gSaturated Fat 12gTrans Fat 0gUnsaturated Fat 6gCholesterol 64mgSodium 345mgCarbohydrates 95gFiber 3gSugar 86gProtein 15g