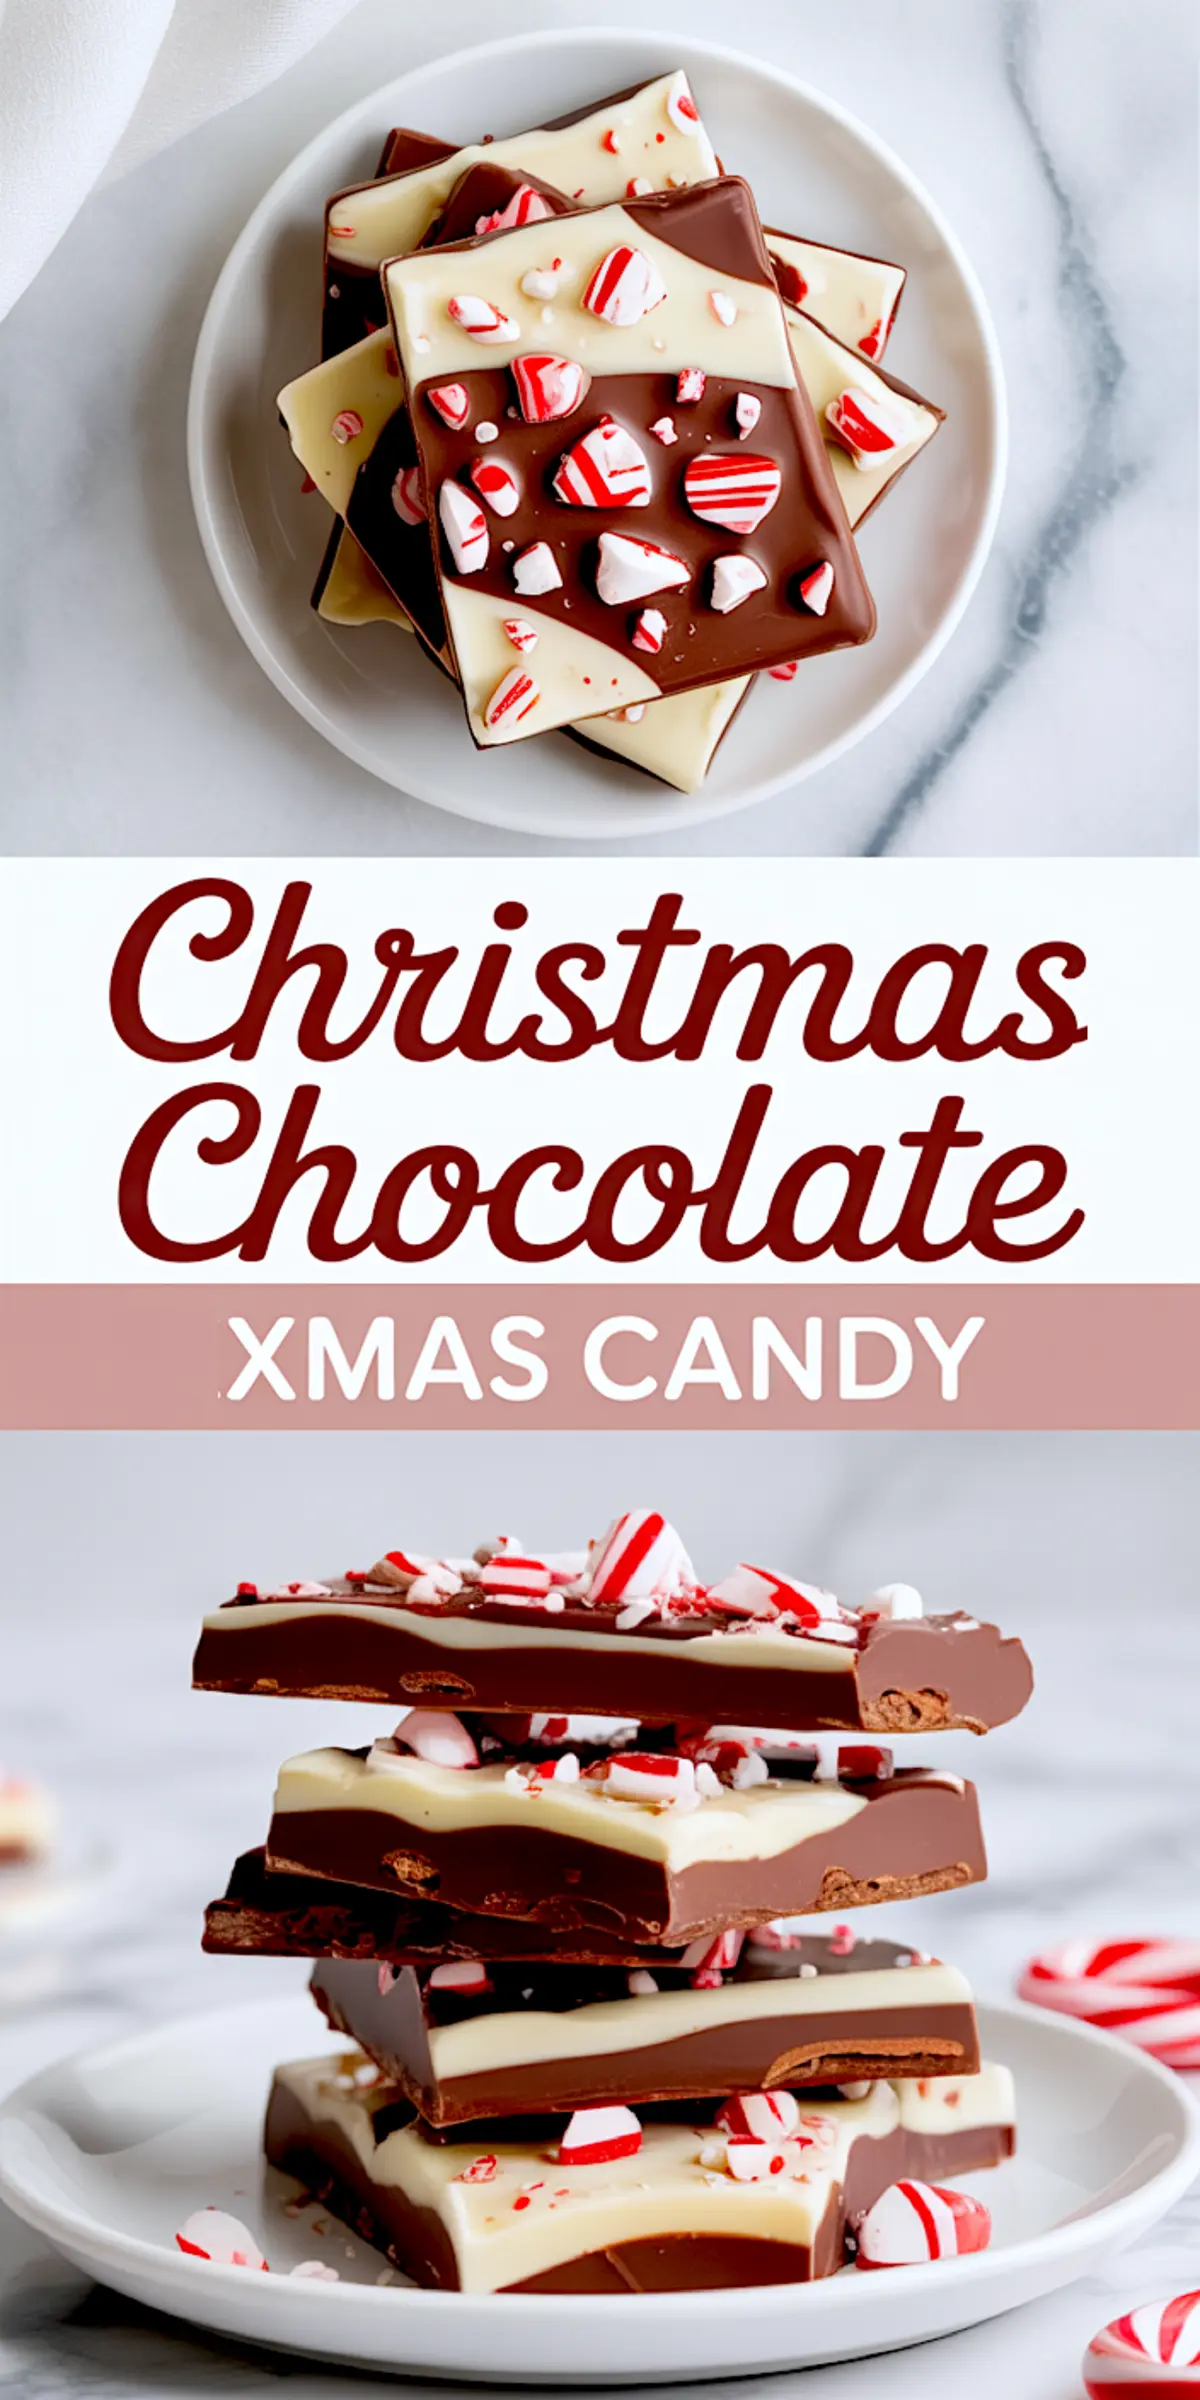
Christmas Chocolate Peppermint Bark is one of those recipes that delivers confidence right from the start. You melt, you swirl, and you sprinkle, and what you end up with looks like a candy shop display without the work of a candy maker.
This bark earns a spot at every holiday table because it combines the richness of chocolate with the bright snap of peppermint. It is a recipe you can trust for gifting, for cookie trays, or as a stand-by treat when guests arrive. You will leave this page knowing exactly how to make bark that holds its shape, looks beautiful, and tastes balanced.
I’ve shared many holiday treats here before, from Christmas hot chocolate to Candy Cane Chocolate Hearts. This bark sits proudly next to them as one of the easiest yet most striking recipes to keep in your December rotation.
Following a special diet?
Every recipe on this site can be converted to gluten-free, vegan, dairy-free, keto, nut-free or egg-free with adjusted ratios so nothing falls flat.
Try the Recipe Converter →How I Chose Each Ingredient For Peppermint Bark
Chocolate sets the foundation. I use both semi-sweet or dark chocolate and white chocolate. Dark chocolate provides depth and balances the sweetness. White chocolate softens the bite and carries the peppermint flavor clearly. The contrast between the two makes each bite layered instead of flat.
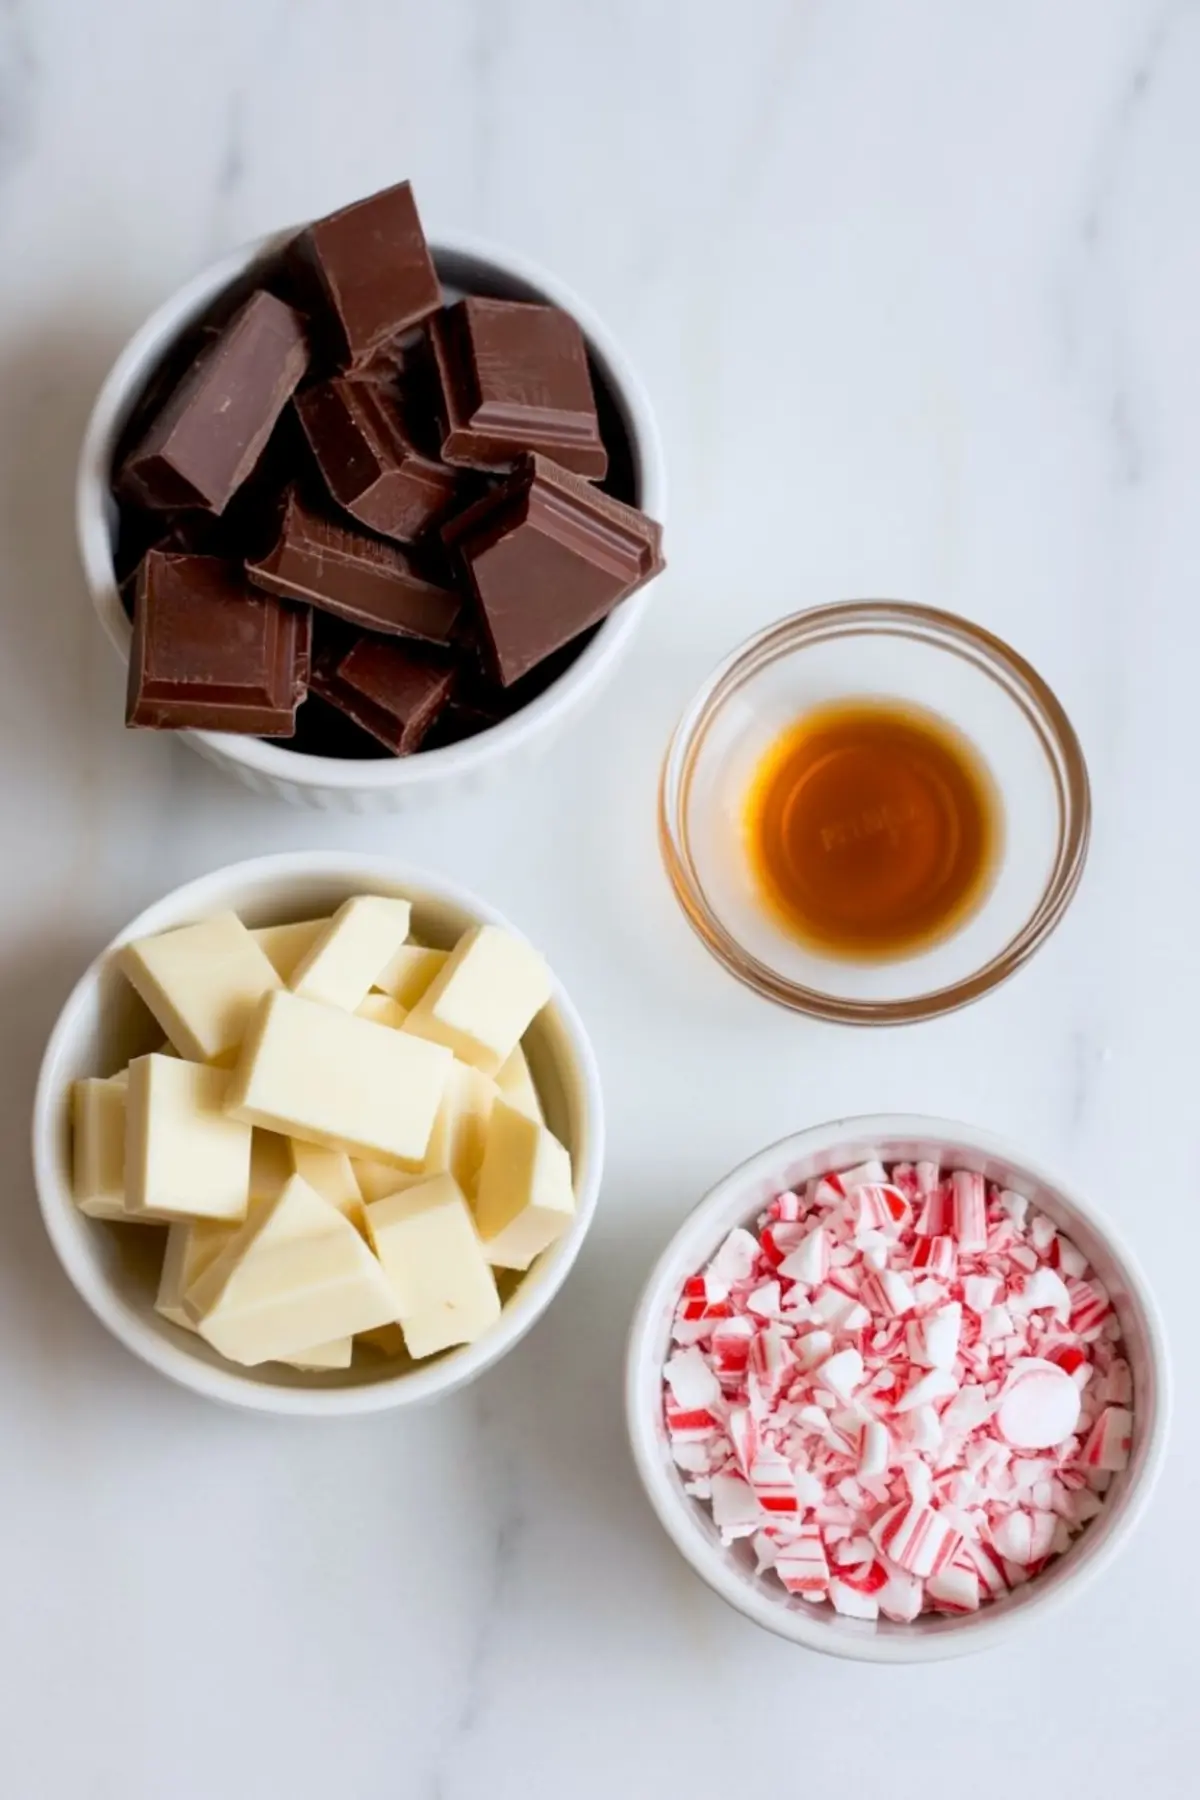
Peppermint extract is optional, but it strengthens the flavor and lifts the richness of chocolate. I find that half a teaspoon divided between the layers gives clarity without overpowering.
Candy canes give the bark its signature look and crunch. Their red streaks bring instant holiday cheer. When crushed, they scatter across the chocolate like little jewels. I often keep extra on hand for Peppermint Chocolate Blossom Cookies or even to stir into whipped cream.
A Useful Note On Chocolate Choices
I have tested both chocolate bars and chips for this recipe. Bars melt more smoothly and give a glossy finish. Chips are easier to find and need less chopping, but they sometimes contain stabilizers that change the texture. In my notes, bark made with chopped bars holds the swirl more cleanly. If you want to impress with presentation, choose bars. If you value speed, chips will work well.
Preparing The Base Layer
I start with a lined tray. Parchment paper or a silicone mat works best because it allows the bark to release easily once it has set.
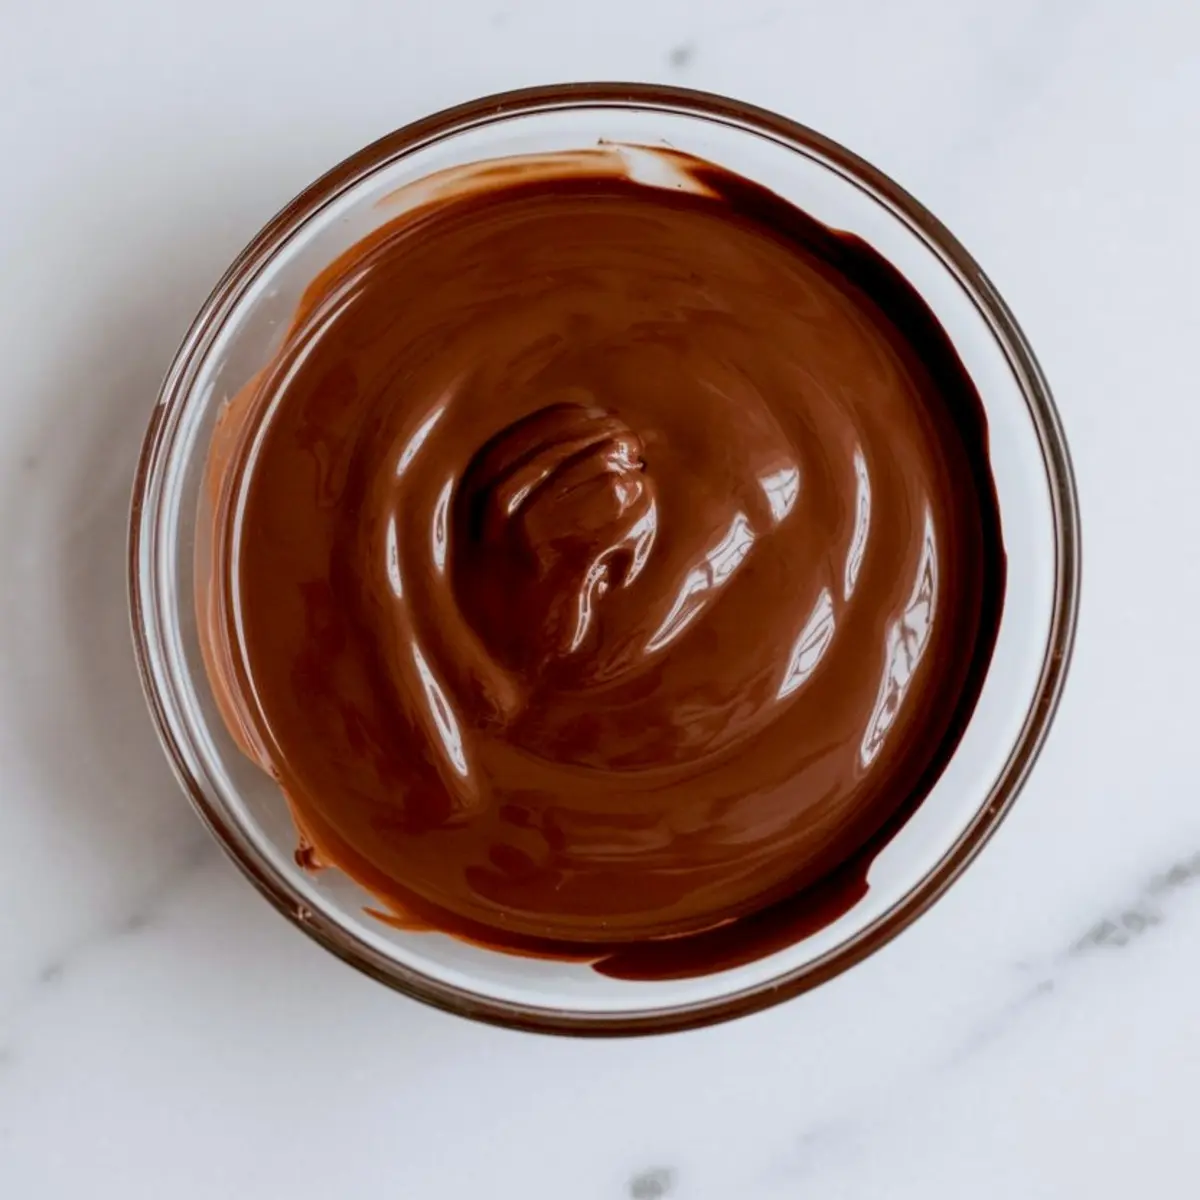
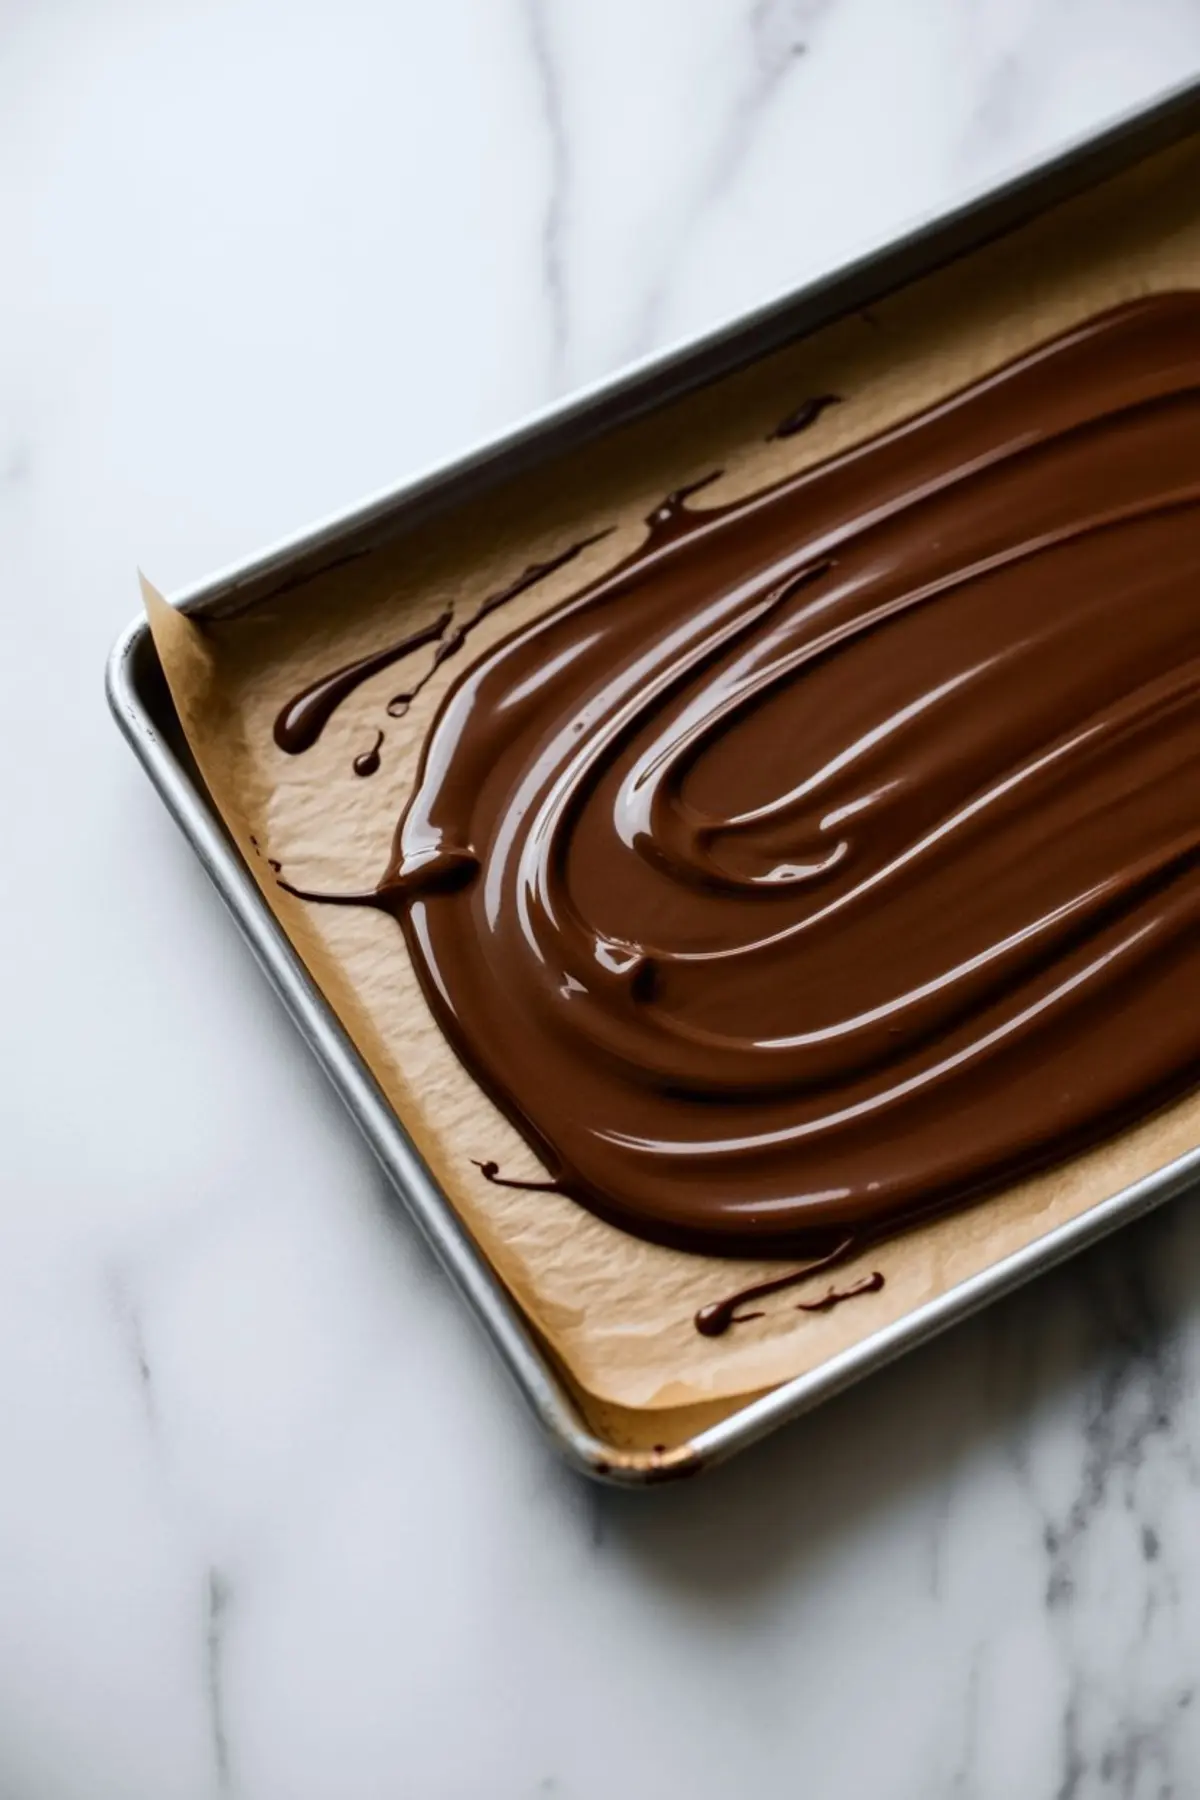
Dark chocolate goes down first. I melt it slowly in a bowl over simmering water. Microwaving in short bursts also works, but I prefer the gentle control of a double boiler. Once spread evenly, I let the tray chill for just 15 minutes. That short rest gives enough firmness to support the white chocolate without blending into a muddy layer.
Adding The White Chocolate Swirl
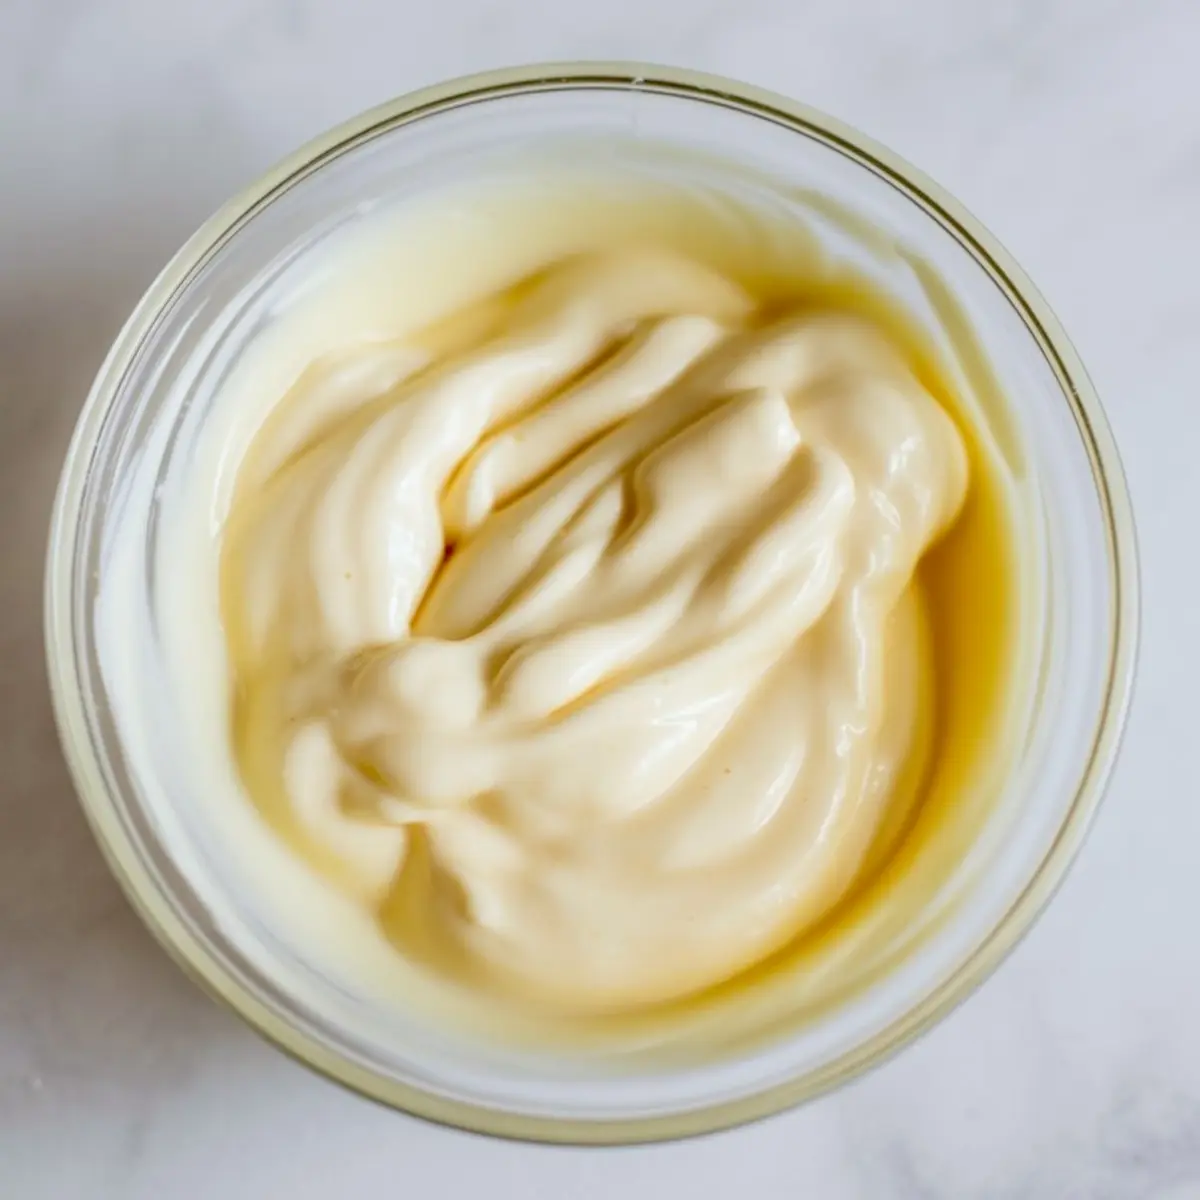
White chocolate can scorch quickly. I always melt it on lower heat and stir constantly. Once smooth, it pours beautifully over the semi-set dark chocolate. A skewer or toothpick helps create the marble effect. The trick is to stop before the swirl becomes a mix. You want ribbons, not a blended gray.
At this point, you could easily serve it plain. But peppermint bark earns its title with one last step.
Topping With Peppermint Crunch
The candy canes scatter across the warm chocolate and adhere as it cools. I press them gently with a spatula so they hold even after breaking. The cooling process does the rest.
This step always feels festive. The bark already looks finished before it has even set. That quick transformation is why I call this one of my most reliable elegant Christmas desserts.
Storing, Serving, And Gifting Peppermint Bark
Once chilled and broken, bark keeps well in an airtight container for about a week on the counter, or longer in the fridge. I wrap individual portions in wax paper and tuck them into tins with ribbon. They travel well, making them one of my go-to Christmas chocolate gifts.
For serving, scatter bark pieces on a tray with cookies and cakes. They fill gaps, bring color, and invite people to pick one up casually.
Quick tip: refrigerating bark before cutting keeps the pieces sharp, while breaking by hand gives a rustic look. Both are welcome at the table.
Why This Bark Belongs On Your Holiday List
This bark earns a place every year because it blends speed with beauty. You need little more than chocolate, peppermint, and a tray, yet the result looks thoughtful.
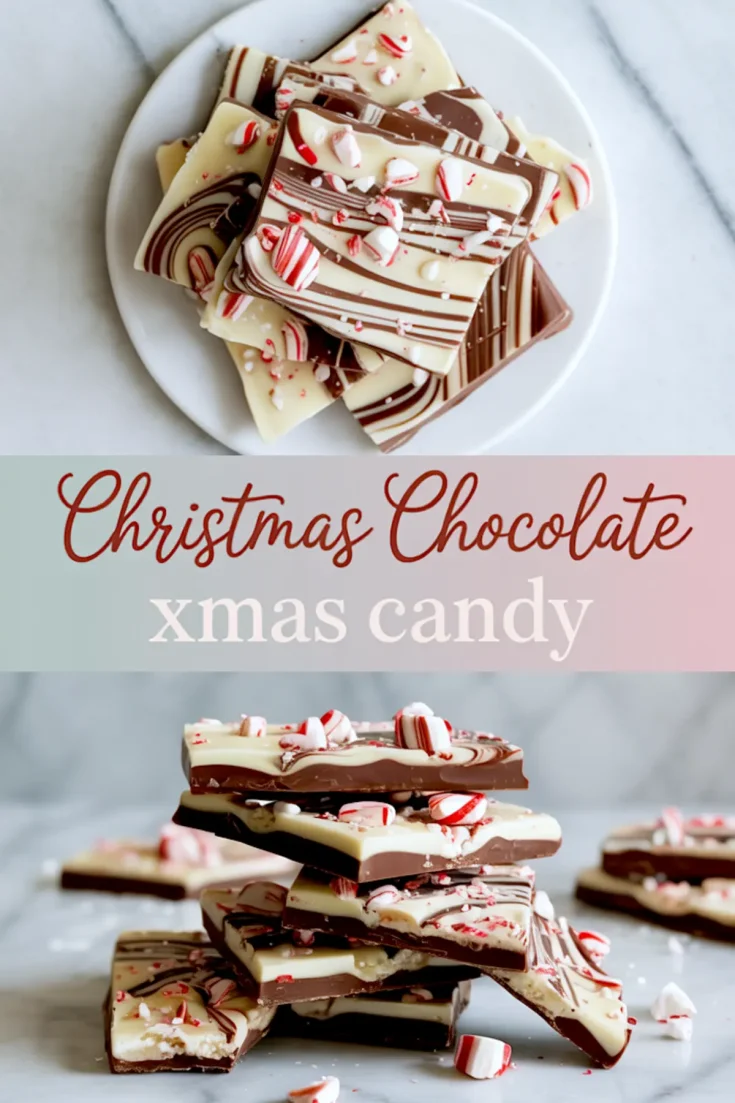
I have learned that recipes like this carry more weight than their short prep time suggests. Guests remember the snap of chocolate, the bright flavor, the glossy surface with red and white streaks. They ask for the recipe. That is the sign of a holiday staple.
Save And Share Your Peppermint Bark
Keep this recipe close by saving it to your Christmas Pinterest board. It is the kind of bark you will want on hand for trays, tins, and custom gifts.
I’d love to hear how it turned out for you. Share in the comments if you made adjustments, added mix-ins, or gifted it to someone special. Community tips often spark the best variations.
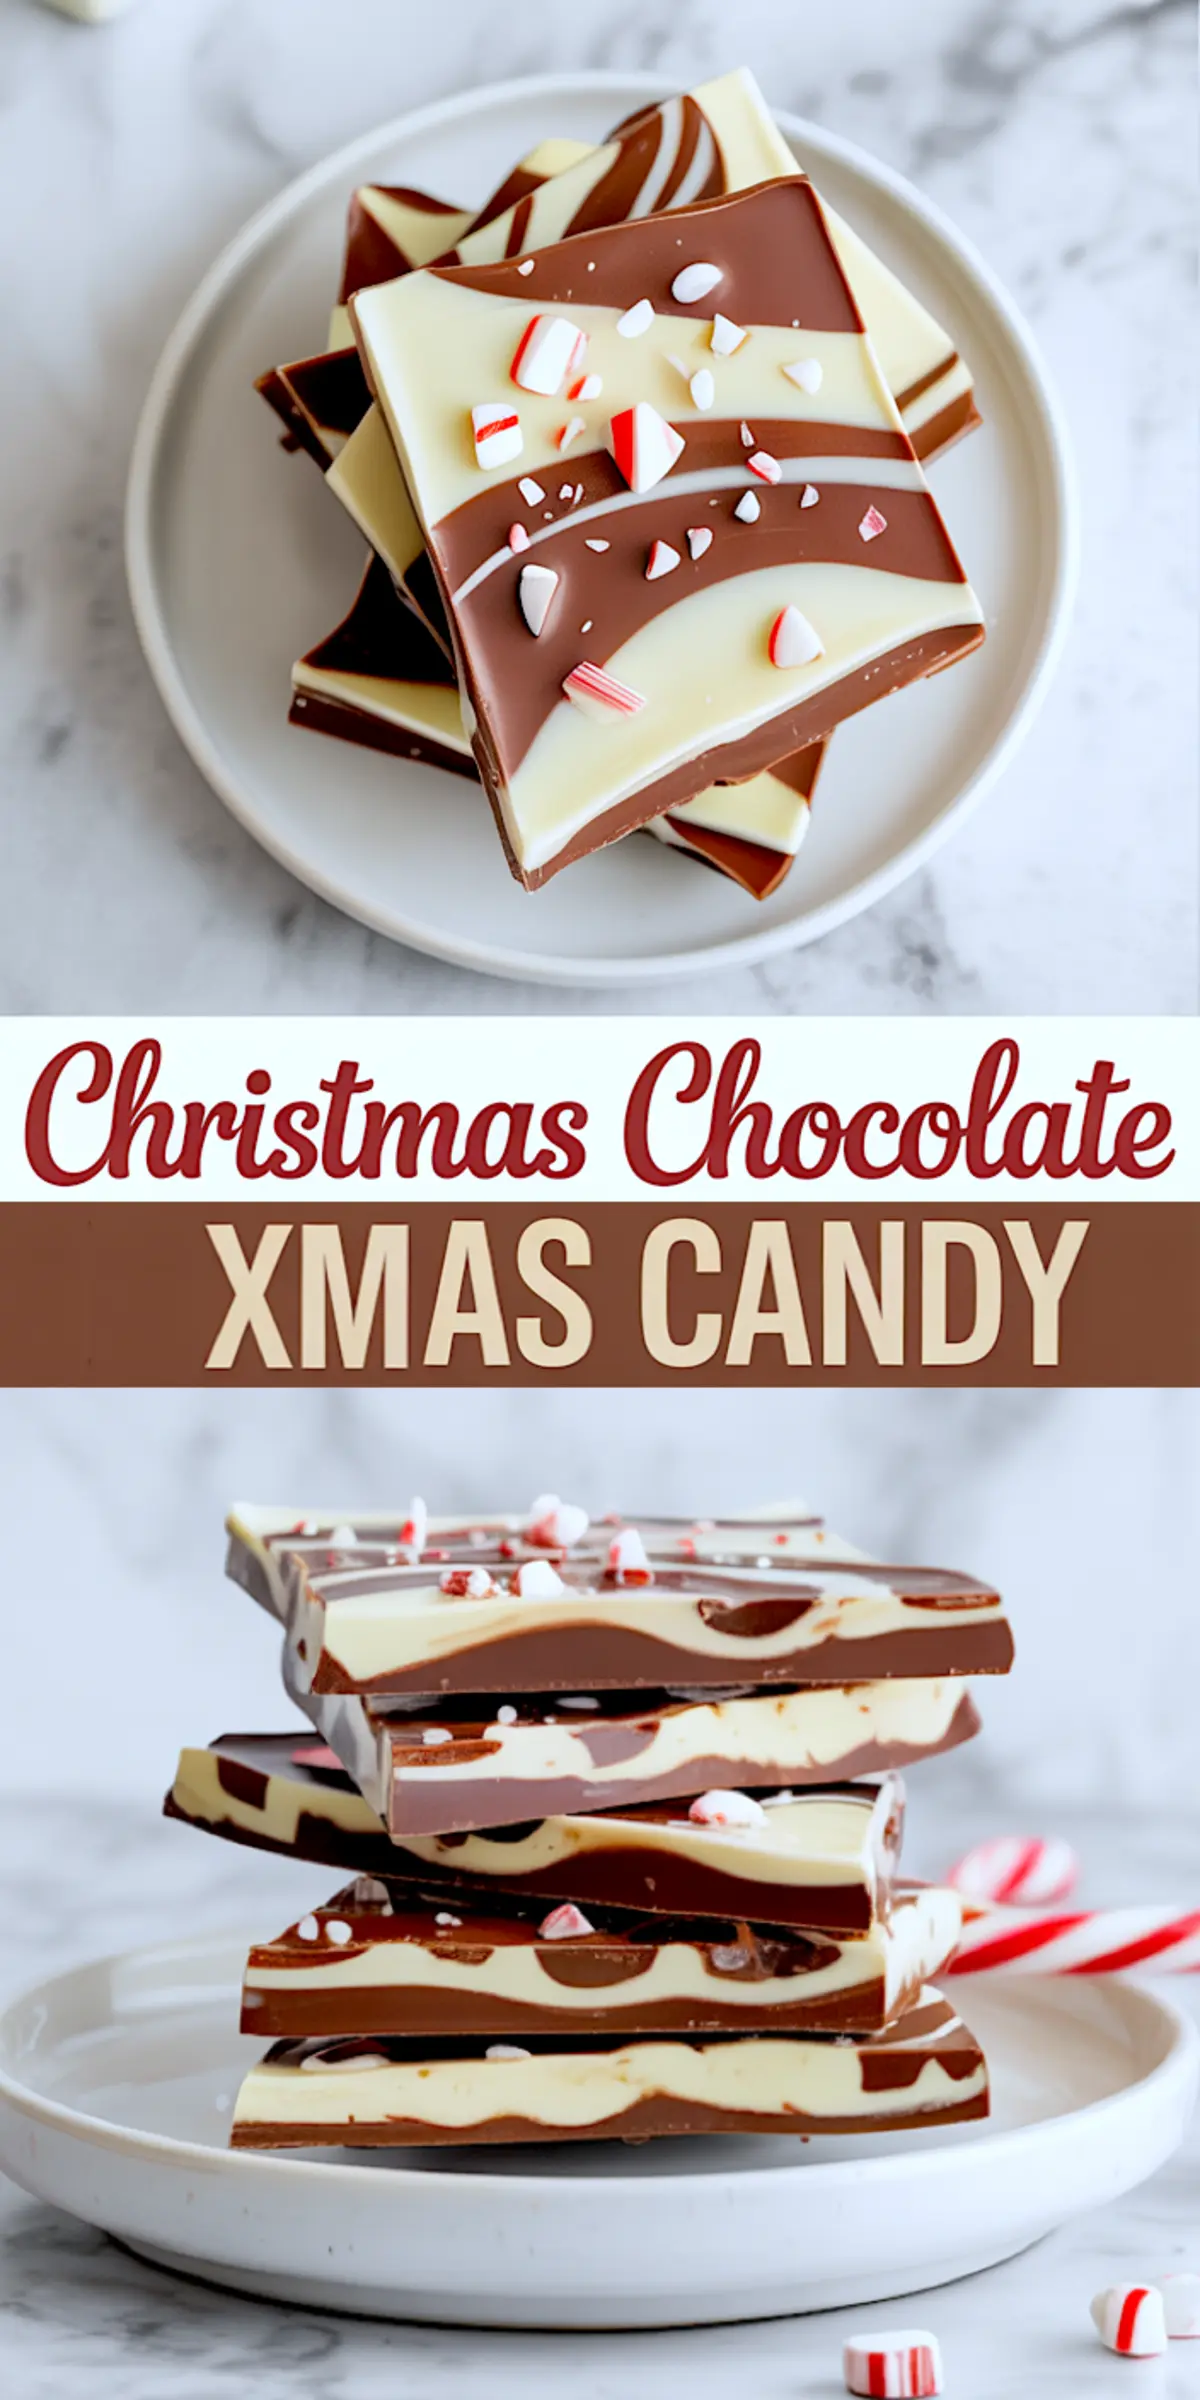
Christmas Chocolate Peppermint Bark
Christmas chocolate peppermint bark layers melted chocolate with crushed candy canes for a crisp, minty bite. I pour the chocolate, swirl the layers, and add peppermint before it sets. It’s one of the easiest Christmas candy recipes to make ahead, and it looks beautiful on dessert trays or packed as Christmas chocolate gifts. I always keep a batch for last-minute guests or custom chocolate bags with ribbons and tags. It doubles as a quick option for candy Christmas decorations, especially when paired with other elegant Christmas desserts. Save it under Xmas treats when you want something simple but still festive that ties into your Christmas feeling and matches Christmas themes decorations.
Ingredients
- FOR THE CHOCOLATE BARK
- 12 oz (340 g) semi-sweet or dark chocolate, chopped or in chips
- 12 oz (340 g) white chocolate, chopped or in chips
- ½ tsp peppermint extract (optional, for an extra minty flavor)
- FOR THE TOPPING
- 5–6 candy canes, crushed (or about ½ cup peppermint candies)
Instructions
- PREPARE YOUR WORKSPACE: Line a 9x13-inch baking sheet with parchment paper or a silicone mat. Crush the candy canes by placing them in a zip-top bag and hitting them with a rolling pin, or pulse them in a food processor for finer pieces.
- MELT THE DARK CHOCOLATE: In a heatproof bowl, melt the semi-sweet or dark chocolate using a double boiler or microwave in 30-second intervals, stirring after each interval until smooth. Stir in ¼ tsp peppermint extract if using. Pour the melted chocolate onto the prepared baking sheet and spread it into an even ¼-inch thick layer. Refrigerate for 15 minutes to partially set.
- MELT THE WHITE CHOCOLATE: Using the same method, melt the white chocolate slowly and gently to prevent scorching. Stir in the remaining ¼ tsp peppermint extract, if desired.
- LAYER AND SWIRL: Pour the melted white chocolate over the semi-set dark chocolate. Use a skewer or toothpick to gently swirl the two layers together to create a marbled pattern. Avoid overmixing so the swirl remains visible.
- ADD THE TOPPING: Immediately sprinkle the crushed candy canes over the warm, swirled chocolate. Press them down gently with a spatula to help them adhere as the bark sets.
- CHILL AND BREAK: Place the tray in the refrigerator for 1 hour or until the bark is completely firm. Once set, remove from the pan and break into irregular pieces using your hands or a knife.
Notes
Store bark in an airtight container at room temperature for up to 1 week or in the refrigerator for longer freshness. For gifting, wrap pieces in parchment or wax paper and place in treat bags or tins.
Nutrition Information
Yield
25Serving Size
1Amount Per Serving Calories 161Total Fat 2gSaturated Fat 1gTrans Fat 0gUnsaturated Fat 1gCholesterol 1mgSodium 27mgCarbohydrates 35gFiber 0gSugar 22gProtein 0g